[ page 10 ]
General Dynamics F-16 in 1/72 scale : kit review & modelling reports of HASEGAWA kits
.... continued from page 9...
 [18]
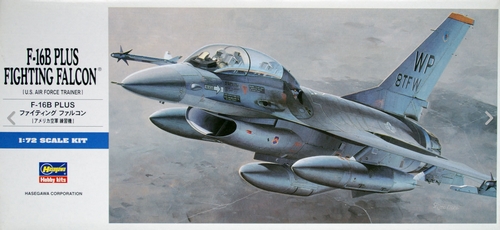
[18]Another kit of the Hasegawa F-16B "PLUS" kit #814 was made. A similar model was made op page 5.....
The basic construction is the same as noted on that page. So take care when joining the upper and lower fuselage halves and align these well.
The wing joints also again needed
putty and sanding.... I decided also to droop down the inner flaps. These
were cut in with a razor saw, lines inscribed deeper and bended down. The
holes for the pylons were filled as well where no pylon would be fitted
on this model.
The model scheme picked was
for an early Royal Netherlands Air Force F-16B Block 5 (before any MLU
upgrades) with a TIGER scheme during a NATO Tiger Meet. This
F-16B-05-CF c/n 6E-7 was also used during various tests by the NLR.
I got the decals from the Revell F-16B kit #04355. These are very nice and depict a F-16B before extensive MLU upgrades.
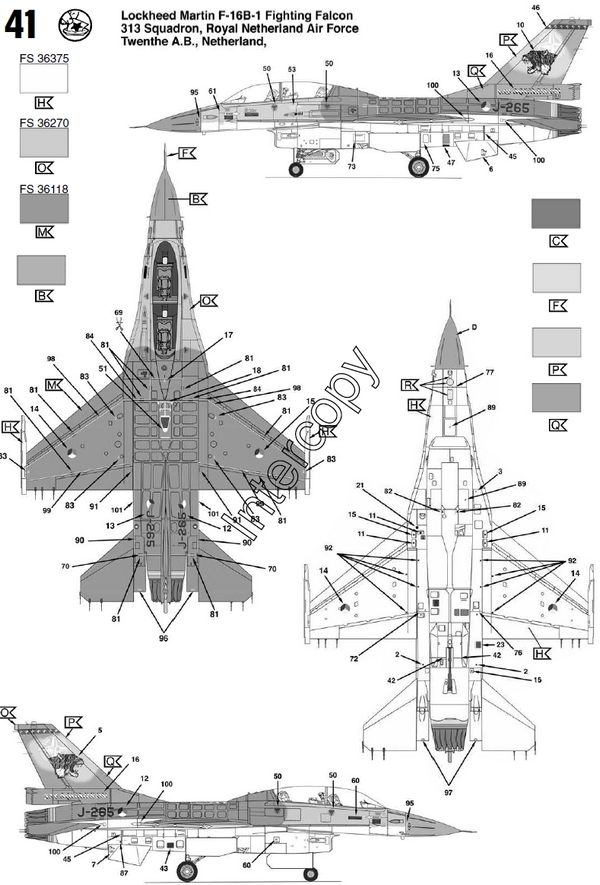
Kit assembly was as described earlier, but this early aircraft does not have any MLU IFF antennas and so on. (is a Block 5 before upgrade).
The
model got the standard
NATO F-16 colours of lower surfaces FS36375 (airbrushing Gunze Sangyo H308
acrylic),
FS36270 (using Gunze H306), and aft upper areas FS36118 (using Gunze
H305) with the airbrush. The gear bays and undercarriage got a
white coat and a blue battery box added from scrap.
The model got a few gloss varnish
coat to prevent "silvering"
before putting on the many decals including all those walkway lines.
The final finishing was as per kits above with also a couple of 370 gallon tanks. Static dischargers were refined and made from fishing line.
A metal pitot made form a needle installed. At the right side a second pitot (missing in the kit) was added as fitted aft of the radar nose from scrap.
A final semi-gloss varnish coat was also airbrushed on top in a few thin layers.
In the cockpit I added a red protection cover on the HUD. The 2 ACES seats were as per kit but got some harnasses from tape. (Often after market resin seats do not fit the kit tub as they are too wide).
The two seat canopy was to be set open on this model. Inside the canopy 2x2 handles were added and the extension bar was made from a metal needle and a section was painted black.
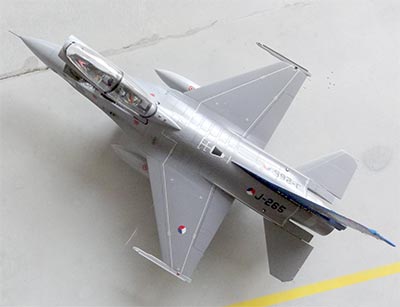
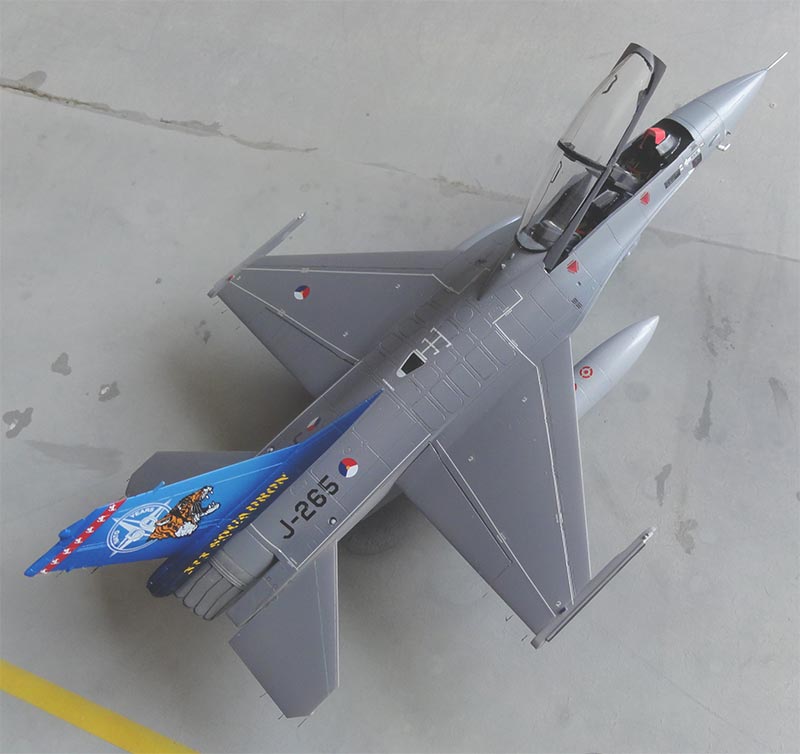
Another nice KLu F-16B Block 5 coded "J-265" is now in the collection.
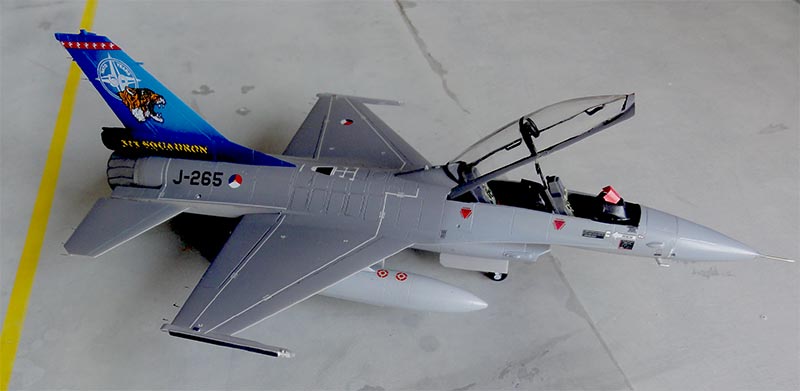
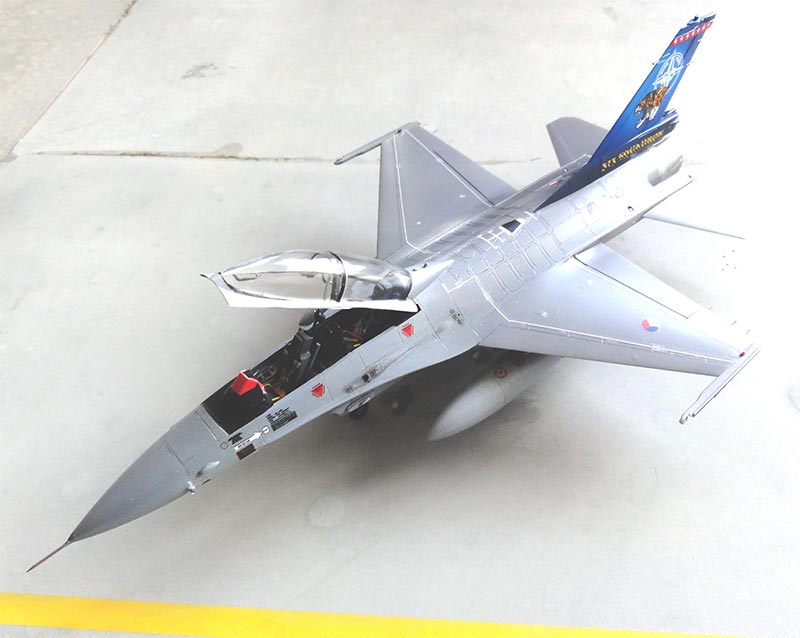
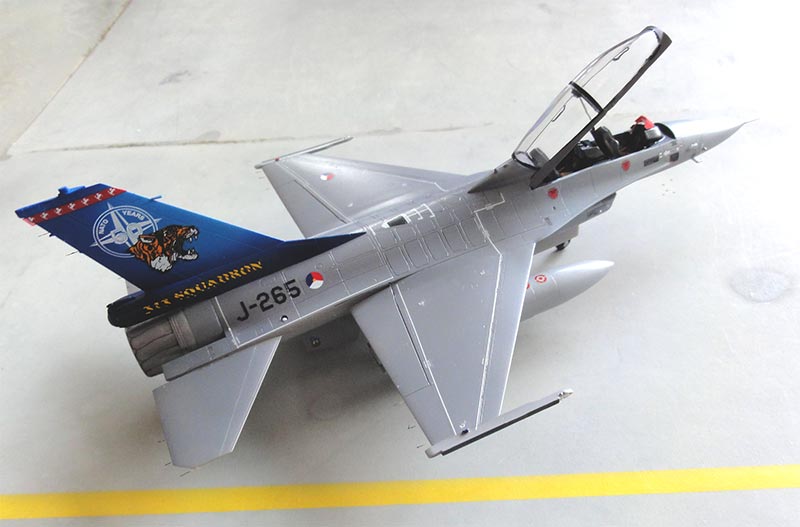
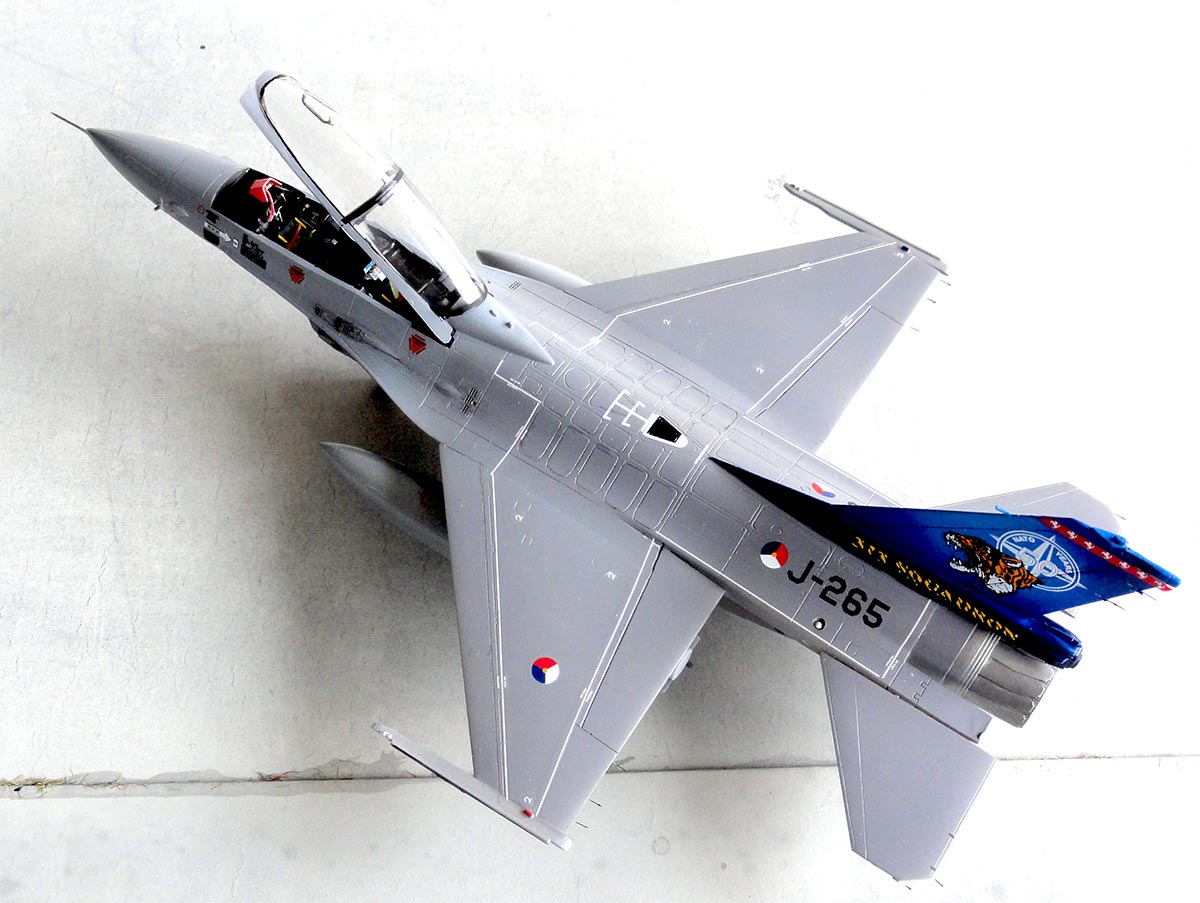
F-16B Block 5 "J-265" Royal Netherlands Air Force (KLu) 313 squadron during NATO tiger meet
page 1
page 2
page 3
page 4
page 5
page 6
page 7
page 8
page 9
page 10
page 11
page 12
page 13
page 14
page 15
page 16
page 17
....
[19]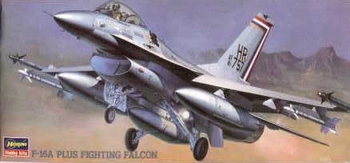
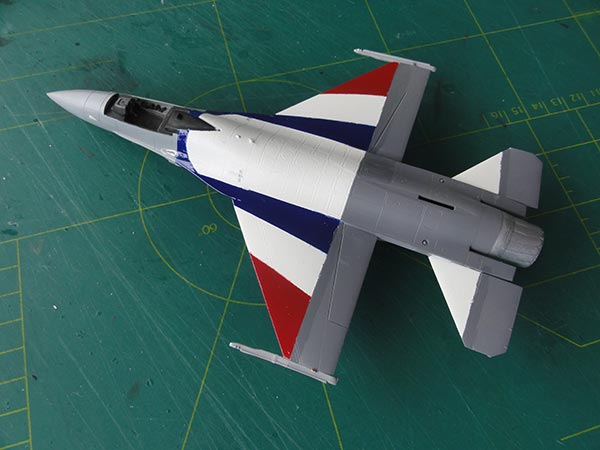
Another kit of the Hasegawa F-16A PLUS no.1193 was made but with other decals:
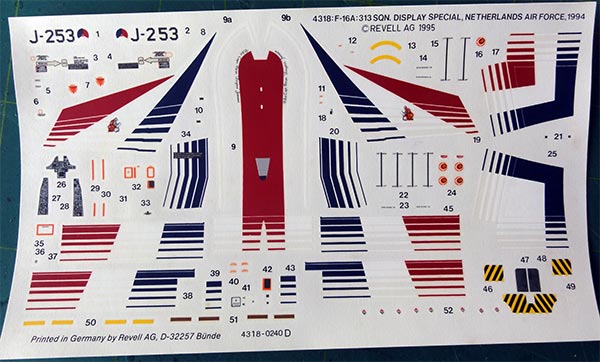
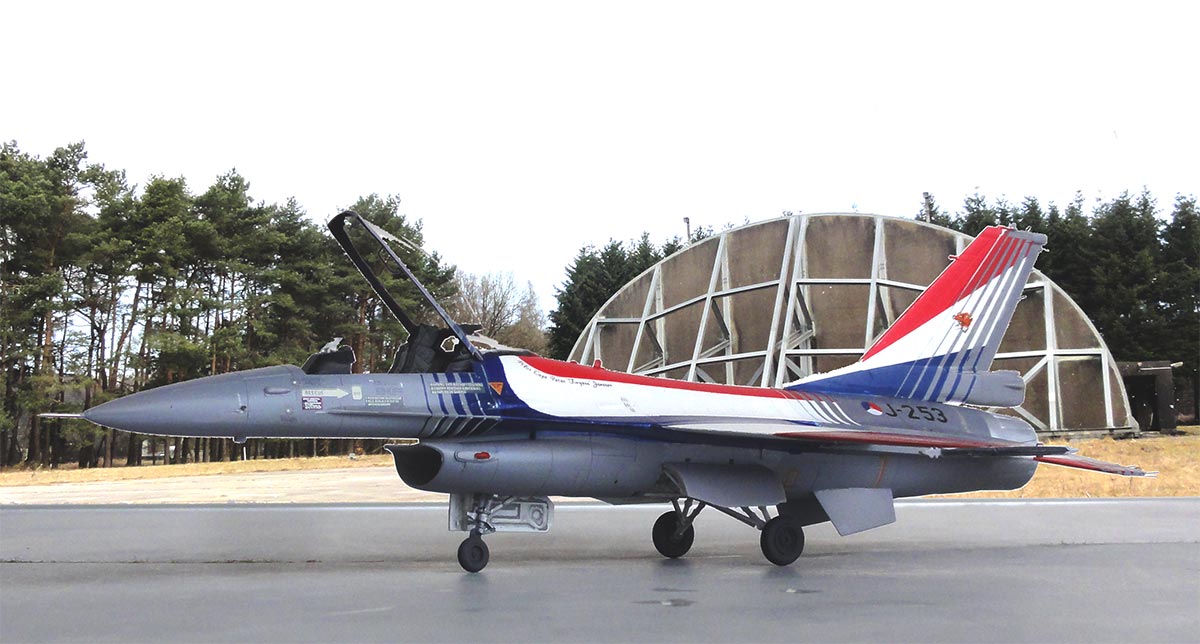
The decals came from Revell kit #04318 with a very spectacular paint scheme depicting a F-16A "J-253" of Royal Netherlands Air Force (KLu) 313 squadron during the season 1994. It flew demonstration flight during air shows in conjunction with the "J-251".

This old Revell kit I used for the Indonesian F-16a seen on page 8 here..... . On the Hasegawa kit made here, I used just the Revell decals.
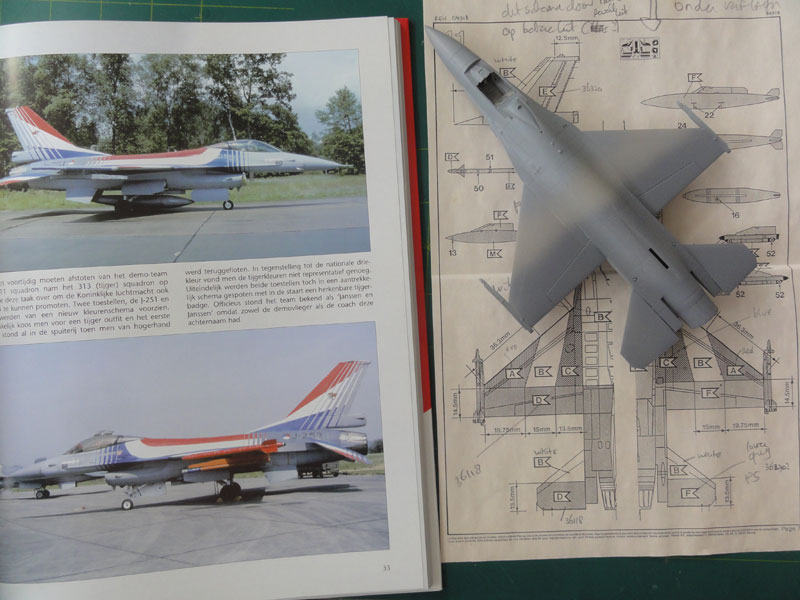
Note: many nice photos can be found on Dutch F-16's in the book "F-16: 25 jaar in dienst van de KLu" of C. van Gent and J.KL. Bosma , De Alk publishing, 2004. This scheme is seen on page 33.
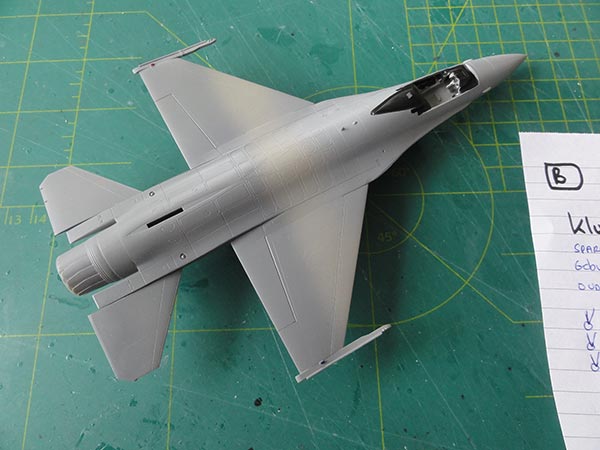
The basic construction of the Hasegawa is the same as noted on page 1. It can be made straight out of the box. The KLu F-16 has standard the small intake, Pratt and Whitney engine and thin wheels and flat main gear doors. It has the larger stabilizer that soon became standard on the F-16. But the version is of the initially delivered standard before the MLU upgrade program: so no external strengthening stiffeners on the fuselage and no advanced IFF antenna fairings in front of the canopy. Also the landing lights are fitted at the main landing gear.
In the kit assembly, take care when joining the upper
and lower fuselage halves and align these well. The wing joints also again needed
putty and sanding.... The
holes for the pylons were filled as this demonstration aircraft was kept "clean".
First
the basic scheme picked was airbrushed which is standard for
the Royal Netherlands Air Force F-16A: so lower surfaces
FS36375 (using Gunze Sangyo H308
acrylic),
FS36270 (using Gunze H306), and aft upper areas FS36118 (using Gunze
H305) with the airbrush.
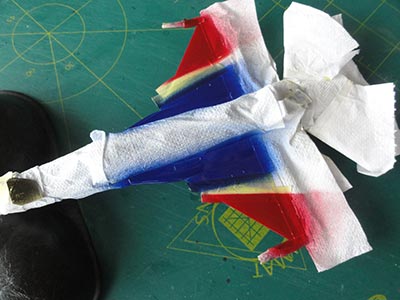
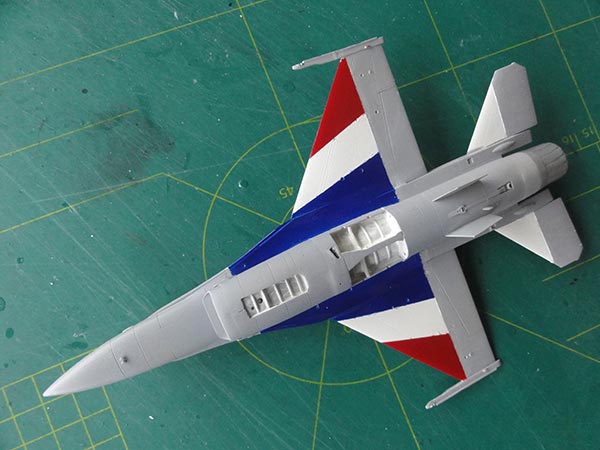
Then
the peculiars of the scheme: most of the airframe Red, White and Blue
colours for the demo aircraft were to be airbrushed. The details are
provided through the decals.
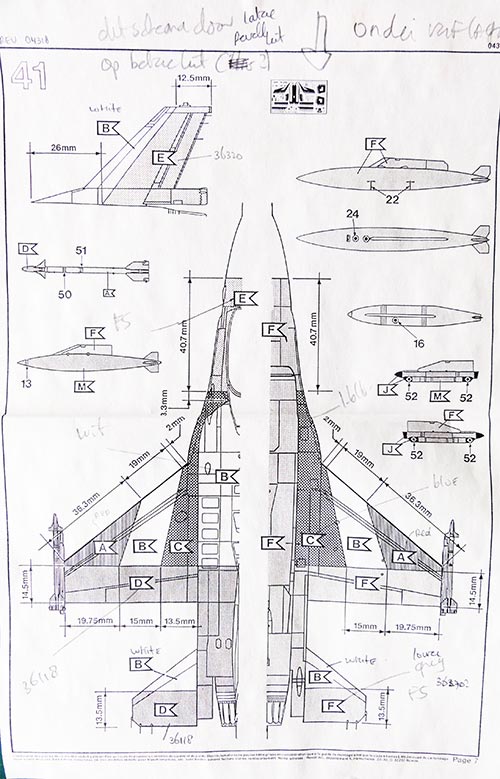
But first some pre-paint work is needed with very careful masking in tenths of millimeters accuracy. Fortunately, the Revell instructions in their kit are well detailed and indicate clearly where to paint the Red, White and Blue areas. So a lot of masking work. Do not forget the vertical tail as well.
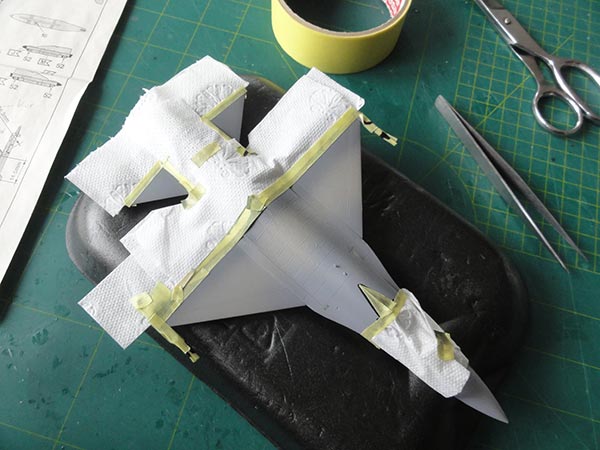
I started with the White... than when dried masked off these white areas..
....than on top the Red and Blue after 24 hours
dryling and than again masking.
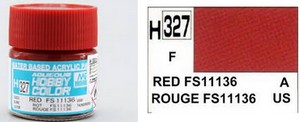
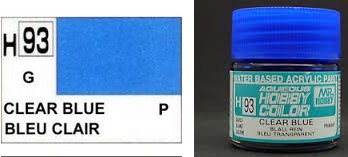
For the Red I used acrylics Gunze
Sangyo H327 and for the Blue Gunze Sangyo H93.
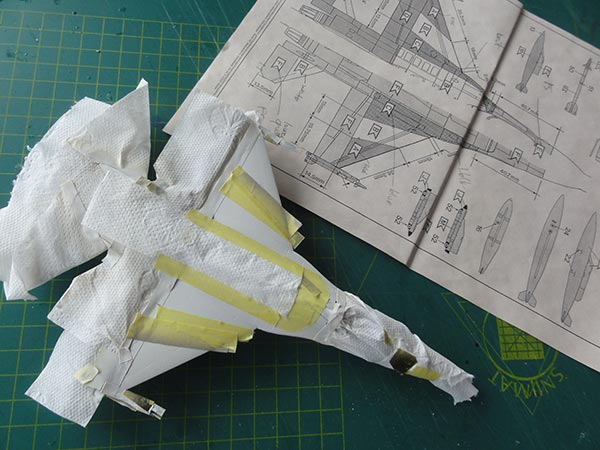
Pre-paint work needed....
 ...
...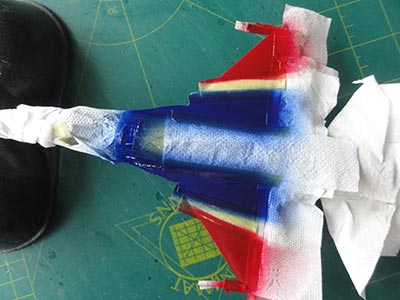
I had quite some trouble to get sharp colour edges, my choice of masking tape was not a good one. I should have used TAMIYA masking tape here in stead of a cheaper alternative tape. So, for bright coloured models, use Tamiya tape for masking the edges!!! Now a lot of repair work was needed and sanding and polishing at the edges.
The decals were next, but first the model got a few gloss varnish coat to prevent "silvering" before putting on the many decals.
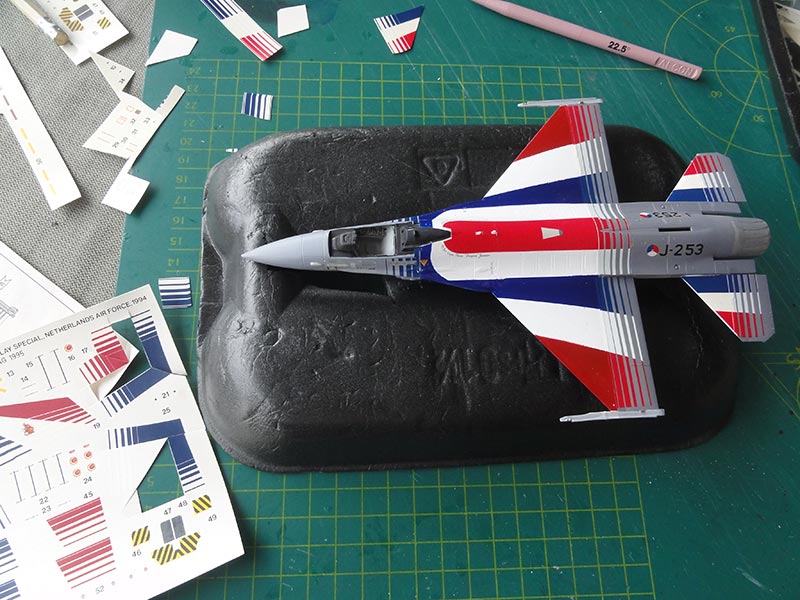
I had 2 sets of decals of the very old Revell F-16A #04318. I started with one set. It turned out that unfortunately the white decal areas are "translucent" so I was glad to have 2 Revell decal sets. When dry, of the second set the white areas were cut out and applied on top of the first one (so not the other colours).
The decals are good but a few small errors are: stabilizer decals are better cut in two and not a very large white area is present. You need to cut away large portions of the clear film and the decals are quite old. At the rear fuselage, a few light grey walkway lines are seen on the real aircraft so add these as well from any F-16 decal sheet. The scheme has only 2 KLu roundels at the rear fuselage (so not at the wing, which is correct).
I found that some red stripes were too short but that caused by the fact that I used the decals on the Hasegawa kit. So, with a fine brush, the missing red bit of the stripes were painted though it still shows a bit
The remainder of finishing the model was as standard with thin wheels, flat main gear doors and so on. The gear bays and undercarriage got a white coat.
A final semi-gloss varnish coat was also airbrushed on top in a few thin layers.
In the cockpit the ACES seat got some harnesses from tape. A metal pitot tube was made from a needle. At the right side a second pitot (missing in the kit) was added as fitted aft of the radar nose from scrap.
At all trailing edges of flying surfaces fine static dischargers were added made from fishing wire (that were painted black). (any brand of thin line can be used, I have a roll from Trabucco).
The canopy was to be set open on this model. Inside the canopy 2
handles were added and than it was installed. That completed the model!


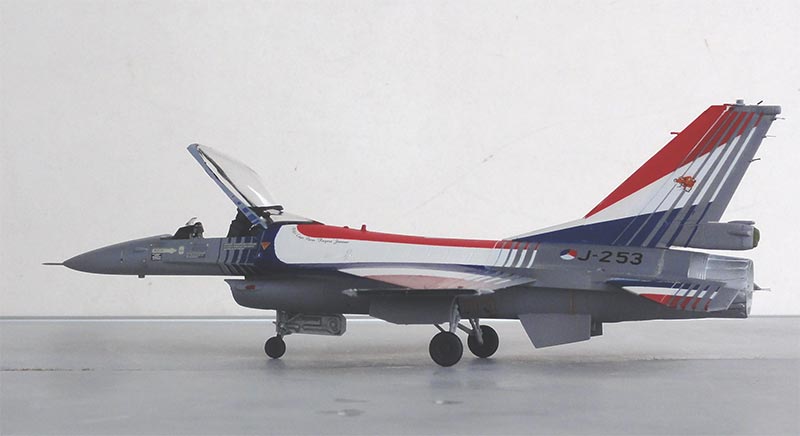
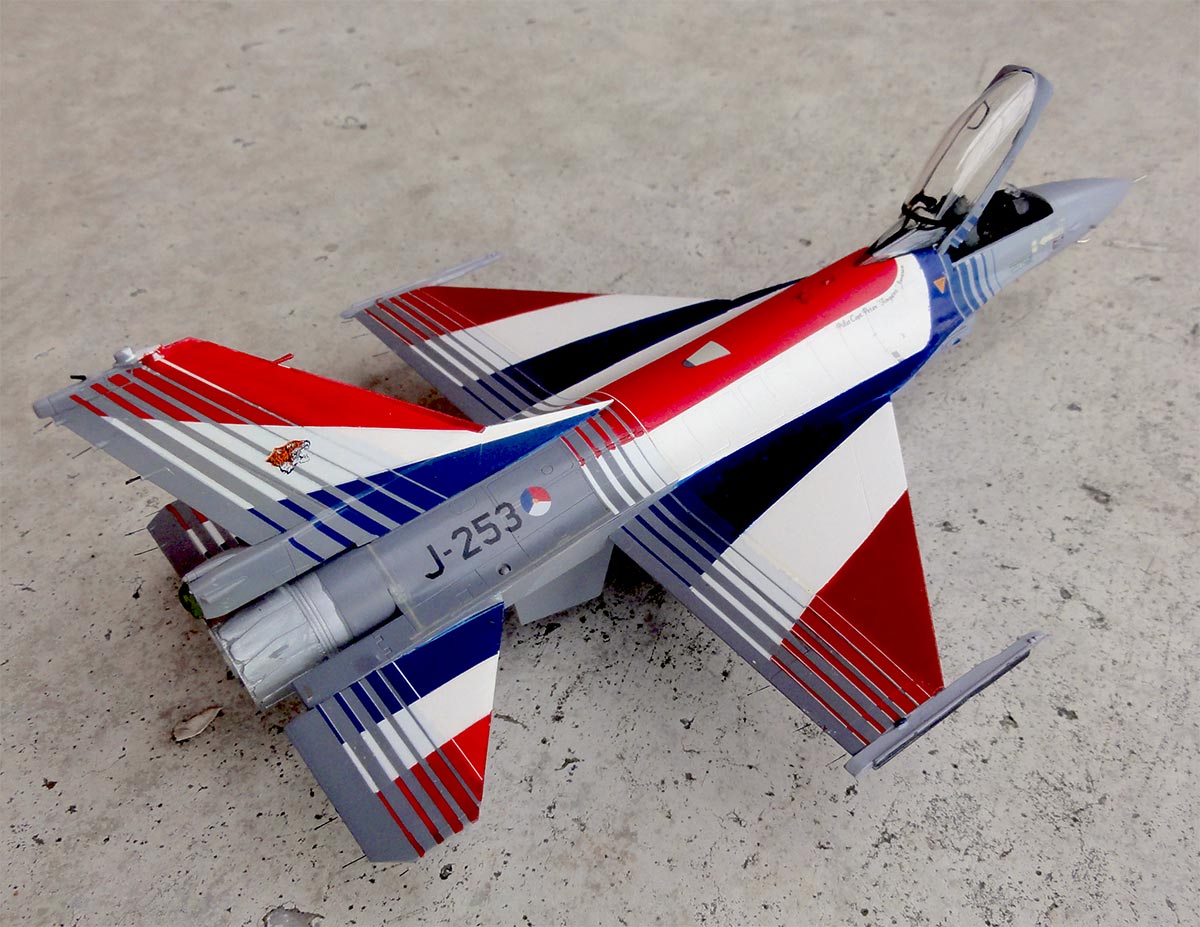
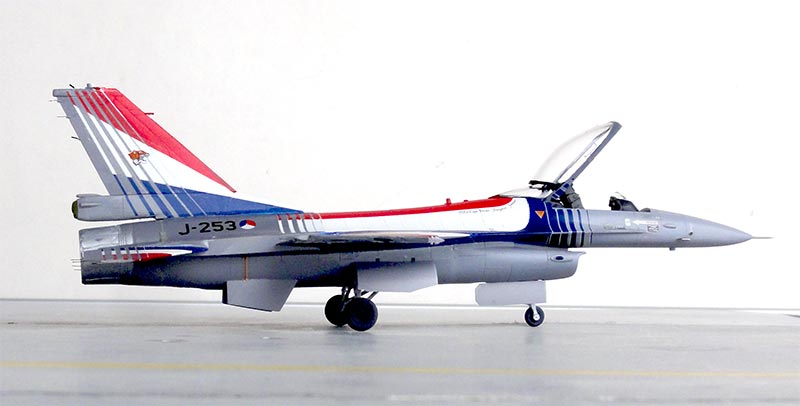
F-16A Block 10 "J-253" (serial 78-0253 / 6D-420) of Royal Netherlands Air Force (KLu) 313 squadron Aerobatic demonstration aircraft during the season 1994

On to next [ Page 11... ]
..

(c) Copyright "designer"/ All rights reserved. Your comments are welcomed by webmaster
Created this page
May 19, 2017