A&A models
[ page 3 ]


Beechcraft (Super) King Air models in 1/72 scale
... continued from page 2...
page 2
page 3
page 4
..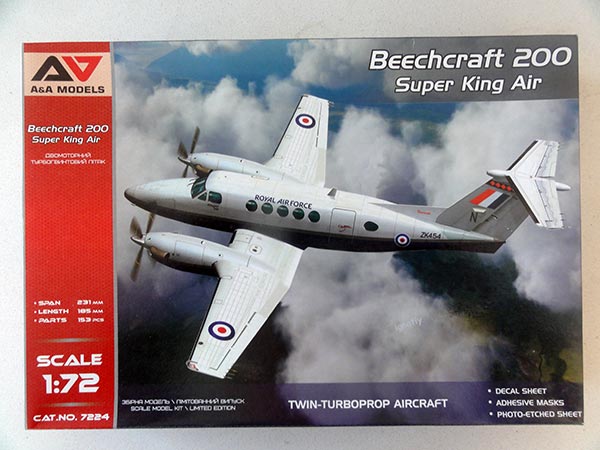
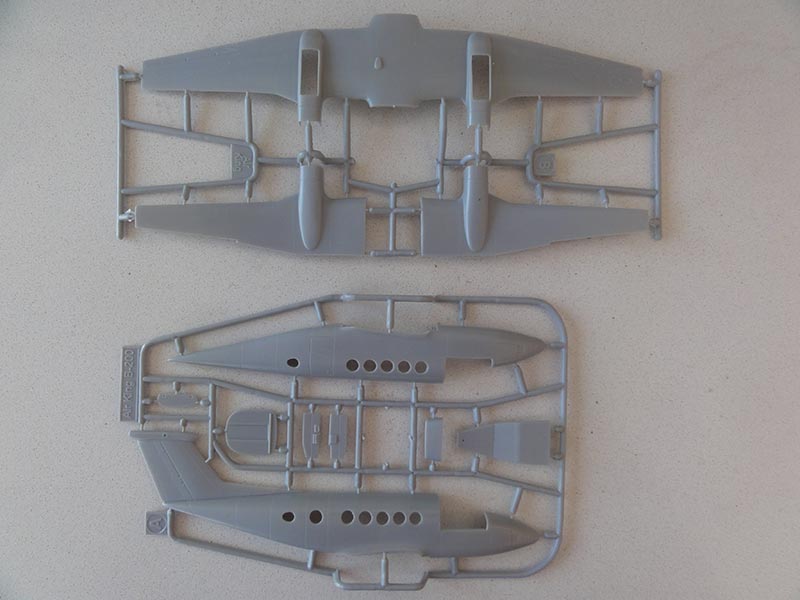
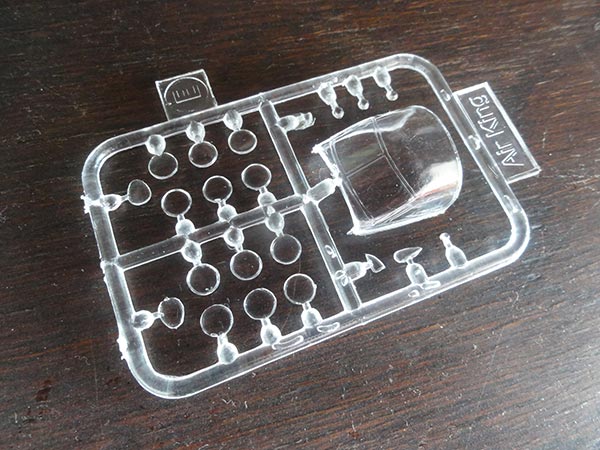
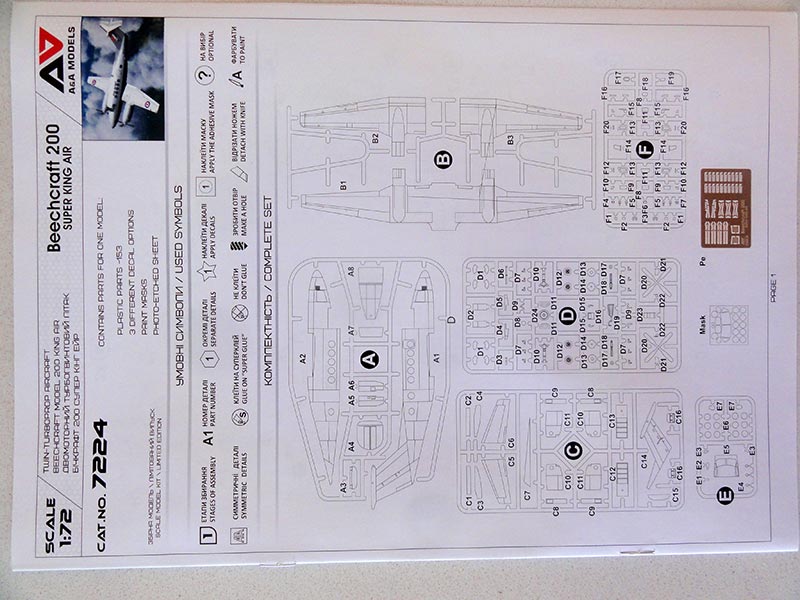
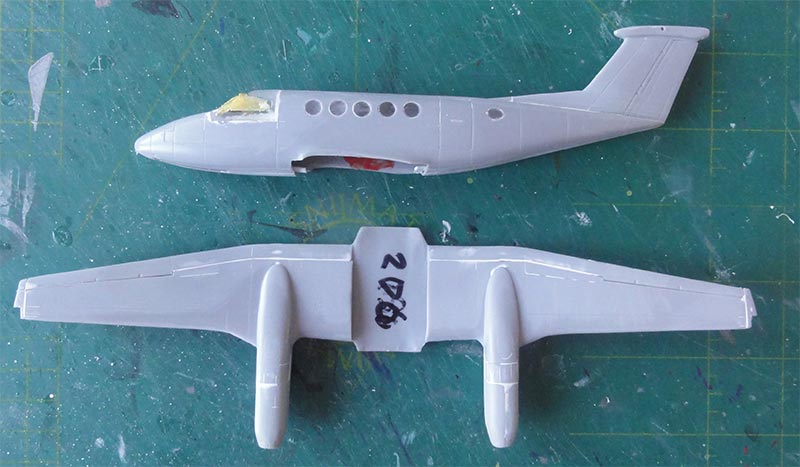
Kit #7224 for a King Air 200 has some 150 parts in 5 light grey sprues and 1 transparant sprue.
Only 4-bladed propeller parts are in this kit release. (Note that many early King Airs had 3-bladed props which are found in other A&A Models kit releases #7240/ #7237).
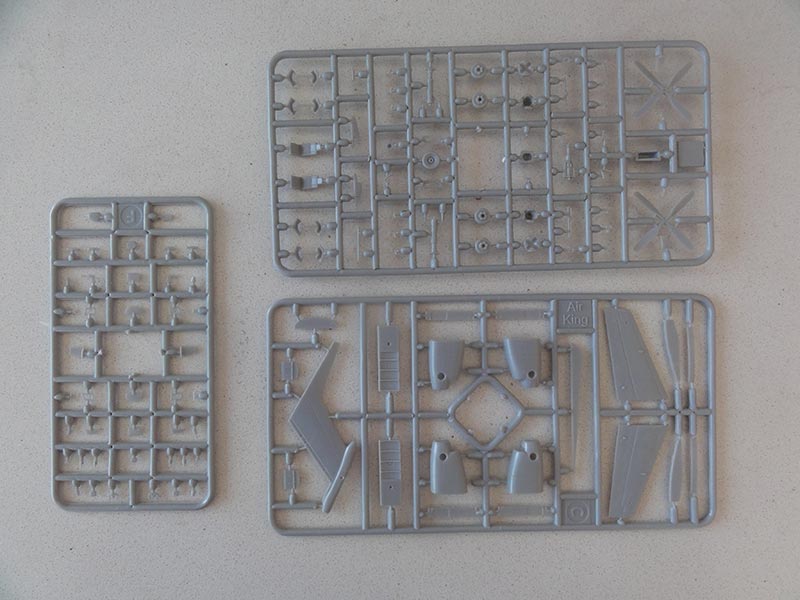
An etched metal fret is for gear forks and smaller bits. And you get a masking set which is very welcome to airbrush the paint scheme.
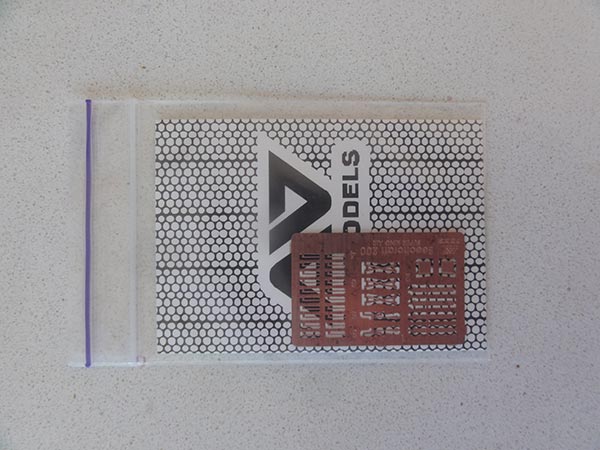
(etched metal fret, masking set at the back)
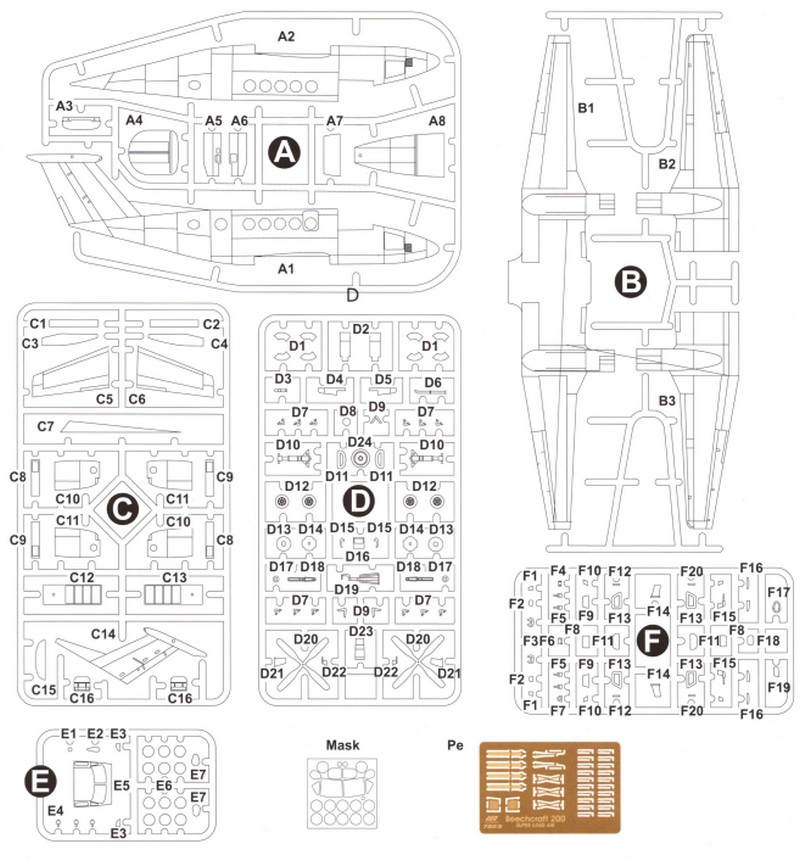
NOTE that some sprues are different as seen in the other kit releases. The main wheels for example are different and also the nacelles. Also check out the main gear doors: some King Airs have pairs of 2+2 shorter doors in stead of longer main doors. This varies per particular version.
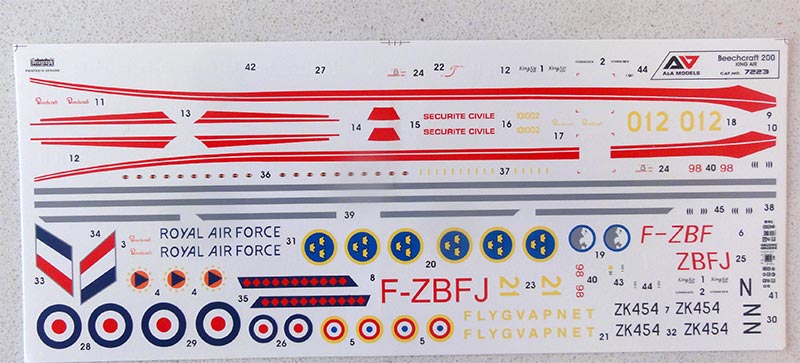
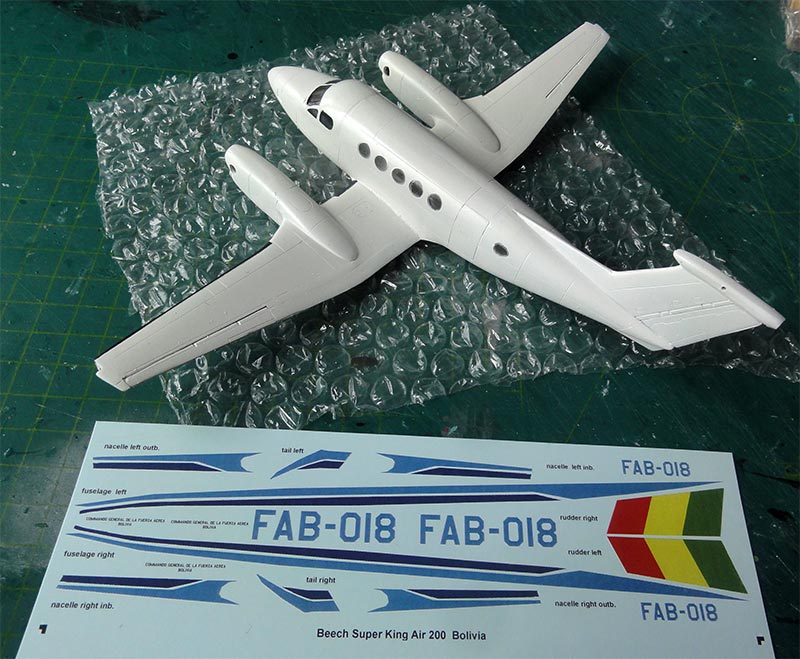
Decals in kit #7224 are for:
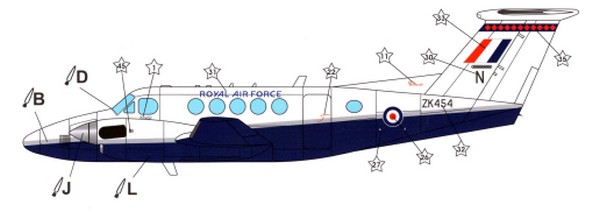
-1- King Air 200 , Royal Air Force, RAF Valley, 2008 in white and blue
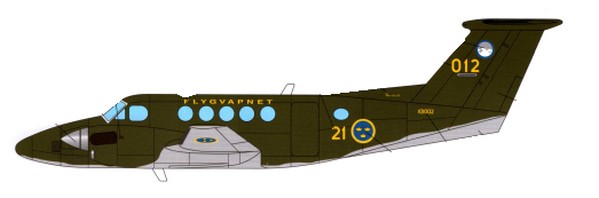
-2- King Air 200, Swedish Air Force "Flygvapnet", 1993 in light grey and green
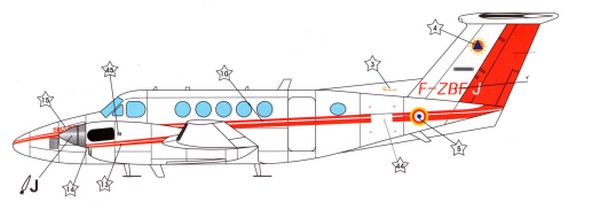
-3- King Air, French Security Civile, 2018 in white with red trim
The kit decals are fine.
* I will however make another scheme with home designed custom decals, more about that later on.
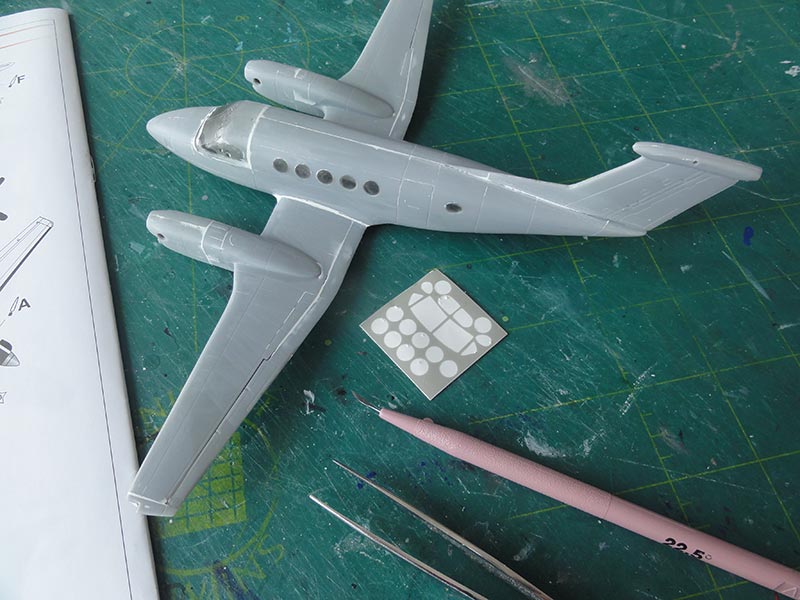
The excellent A&A Models instructions are good and show all details and full colour scheme profiles and detail colour paints in AK and Gunze paints.
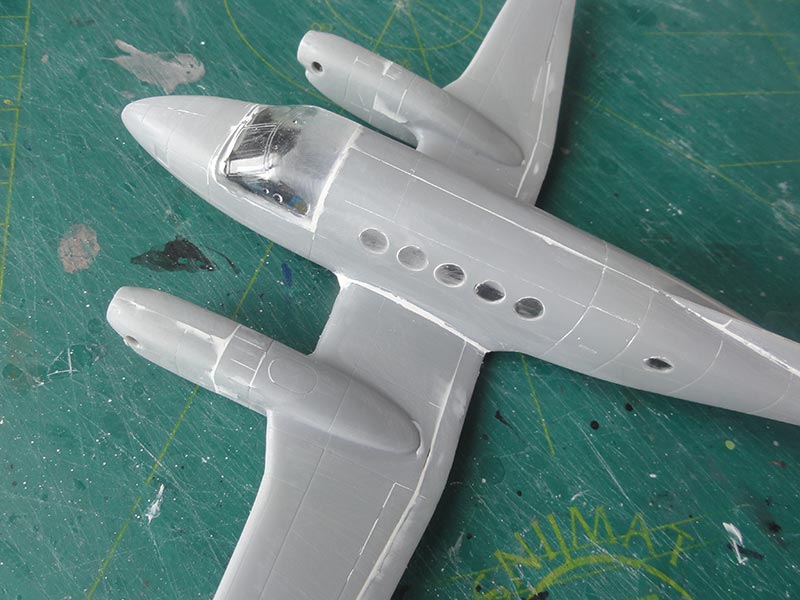
As with the other A&A Models King Air kits, the parts are fine but short-run. There are no locator pins and you to do need to sand all glue edges. But there are engraved panel lines. And again, unfortunately the cabin windows are not very clearly moulded.
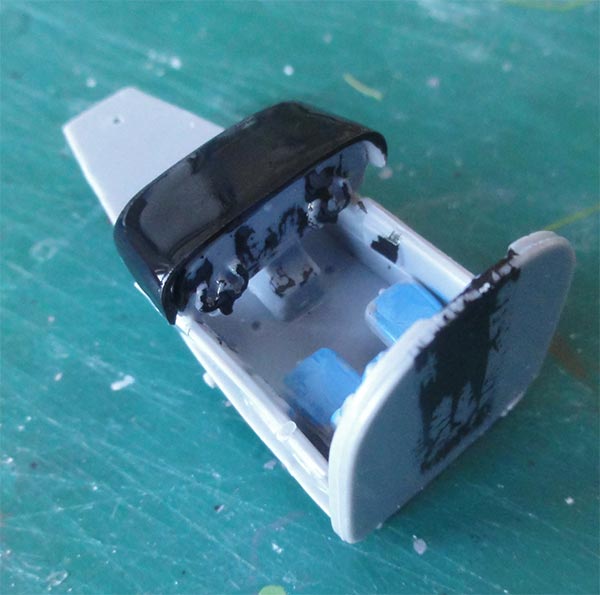
There is no cabin interior in this -200 series kit but nothing is seen of it. The cockpit interior is adequate. The cockpit glazing is one part which is nice as it can be blended in with putty and sanding. (* see note later on).
The kit looks very similar to the 1/72 MACH 2 Beech King Air 200 but the A&A Models kit has more parts and better decals. But the MACH 2 kit is one of their better kits and can alos be built into a nice model.
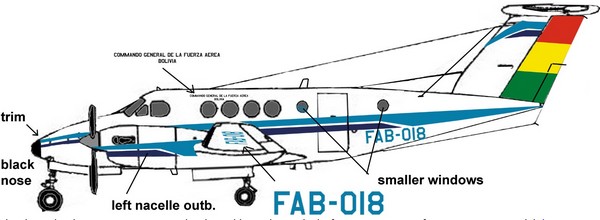
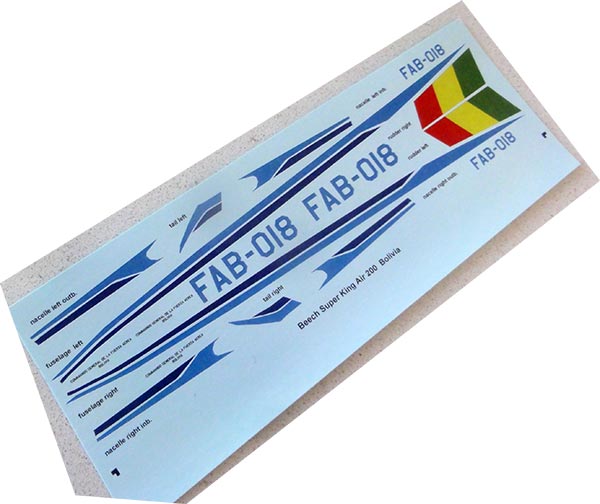
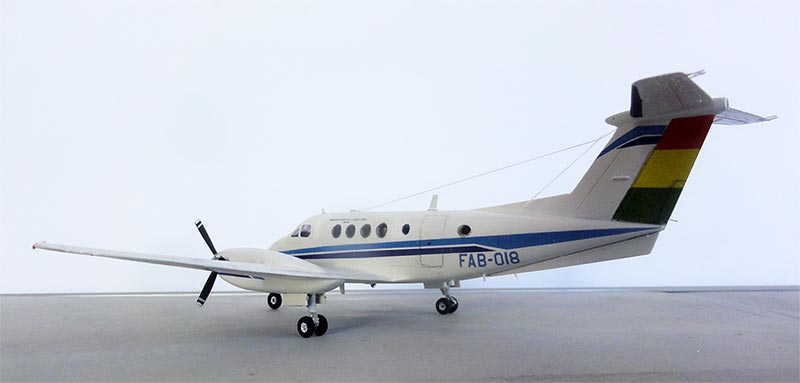
Here is a drawing I made of the King Air 200 coded FAB-018:
Decals were custom designed and printed and are also available for other modellers. Sheet AIPD 96 details can be seen at the decal page here and how to get a decal sheet.
OK, let's start building.
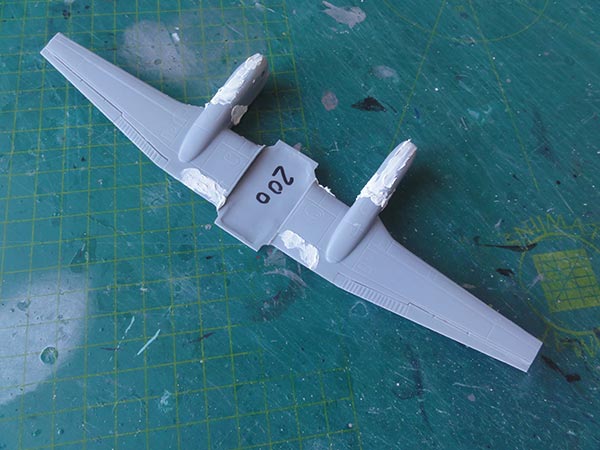
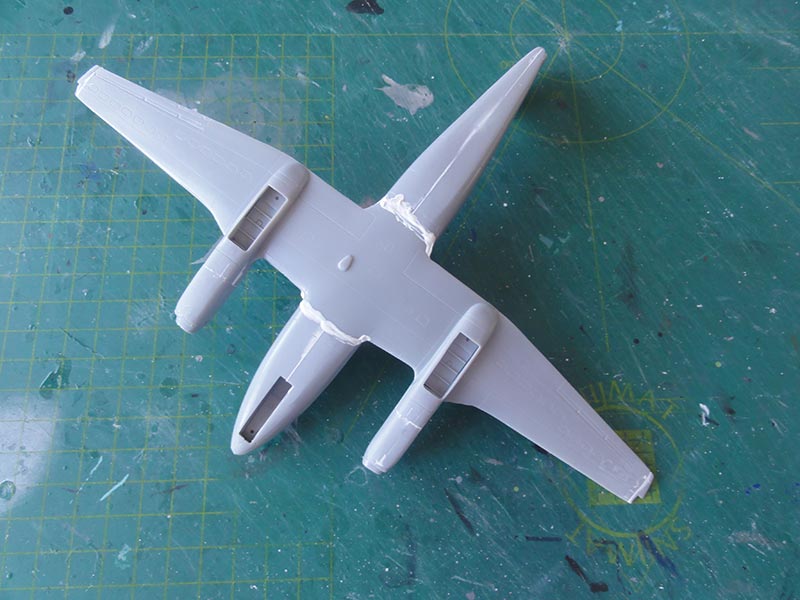
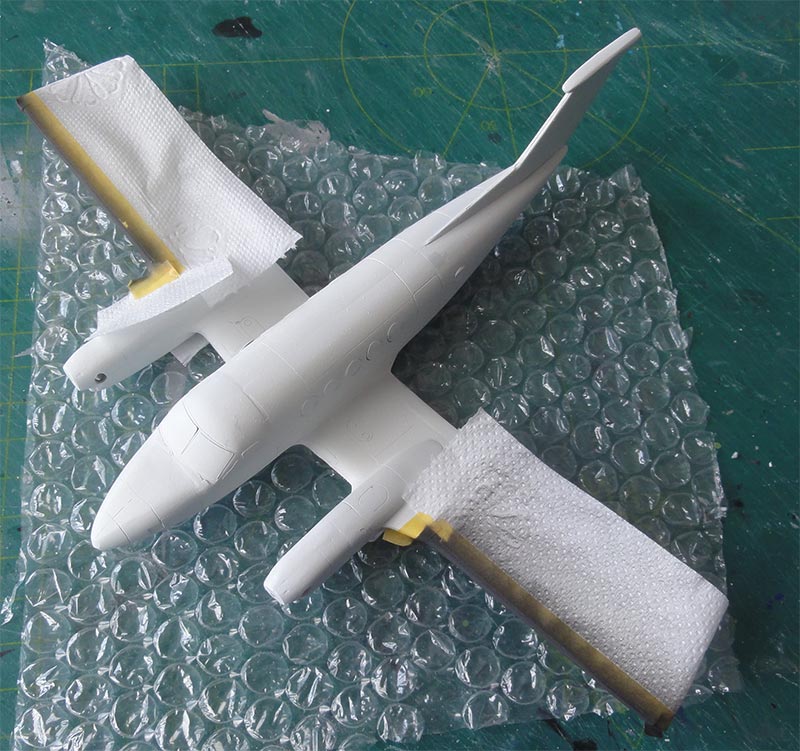
The wing parts were assembled but after the flap outlines were inscribed a bit deeper. The wing needs some putty and sanding as do the nacelles. Do not obviously install yet the propellers!
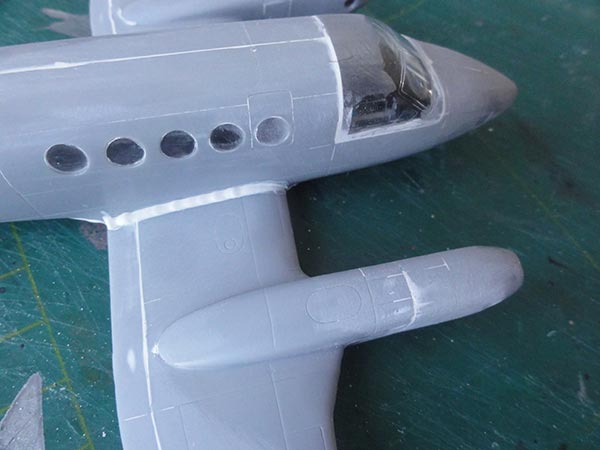
The fuselage cabin windows should as described with the earlier made King Air models be installed from the insides'. So before any main fuselage assembly. They are not very clearly moulded and polishing will not really help.
The cabin windows were set and made as flush as possible at the outside BEFORE the fuselage halves were joined. Cut off the tiny locator edge on each window in order to set each cabin window.
Some interior was painted but of the cabin inside not a lot is seen. A few seat straps were added later on from tape. I did not use the etched metal Pe parts.
IMPORTANT: I found out that how the cockpit glazing aligns with the fuselage sides is very sensitive to how a modeller sanded and joined the fuselage halves. So check first by taping the fuselage halves together before glueing and check it cockpit glazing fit.
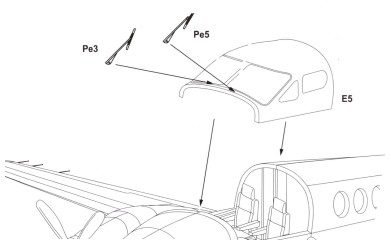

If the glazing seems to be "too wide", a modeller may try to saw the part #E5 in 2 as there is a central cockpit window frame. Or add a smal thin strip between the fuselage halves at the front spine area.
The prepared fuselage halves were joined with the cockpit interior assembly. Do not forget adequate nose weight!
The 2 large sub-assemblies were joined. Some putty and sanding was needed at the wing-fuselage joints. The cockpit glazing needed some putty and sanding. Protect with tape before sanding the glazing.
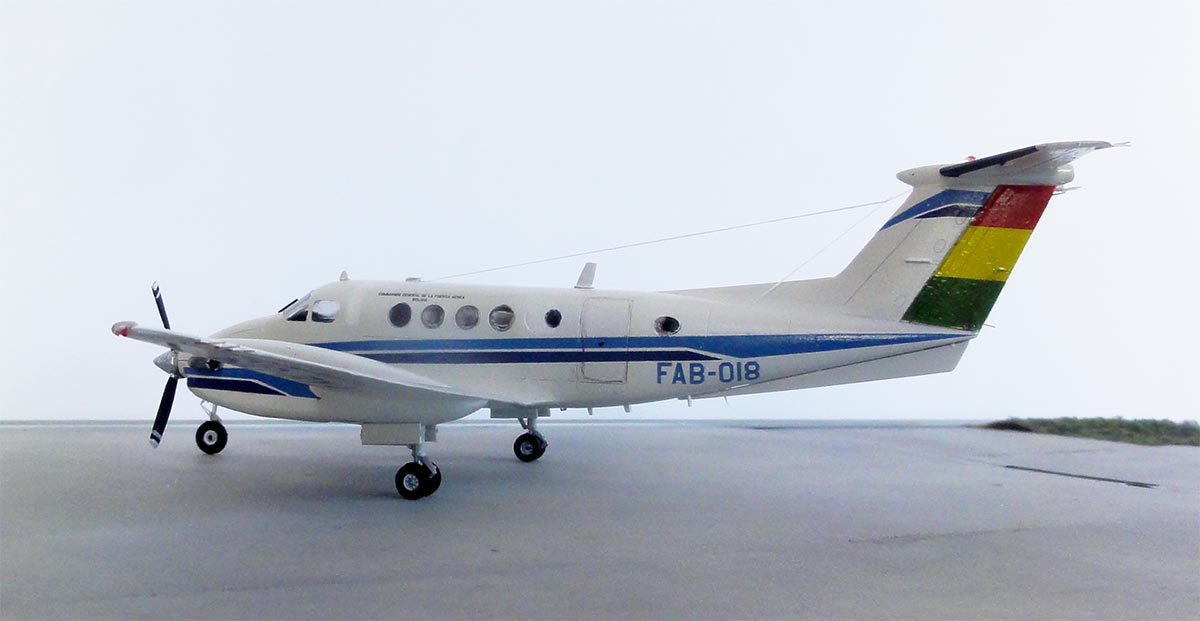
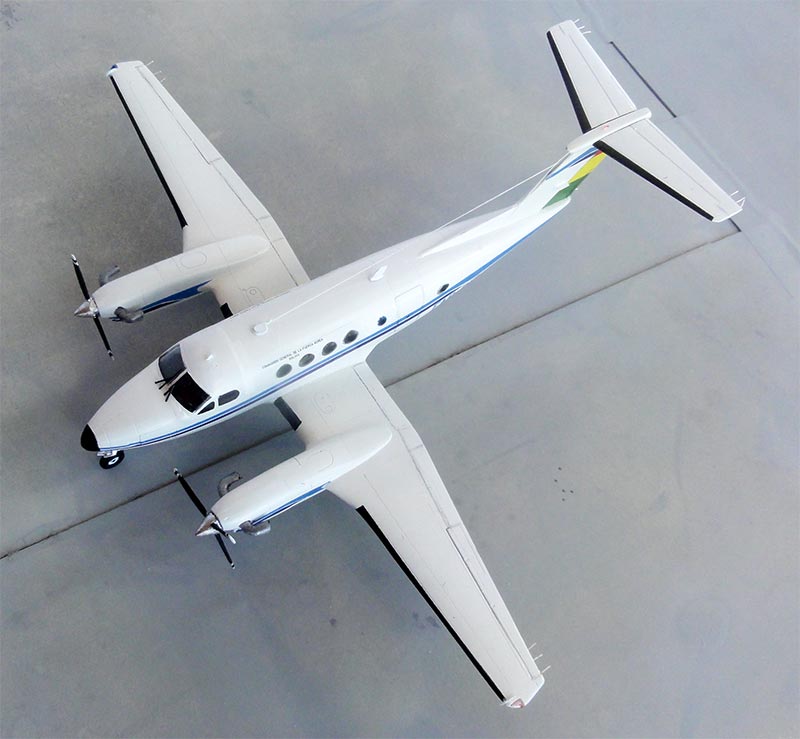
King Airs are seen with different ventral fins. Normally one large fin is fitted but another variant may have 2 fins. Check references for your desired model scheme. The kit has the single central fin #C7 as needed for the Bolivia FAB-018 scheme.
The landing gears and smaller bits are to be installed later.
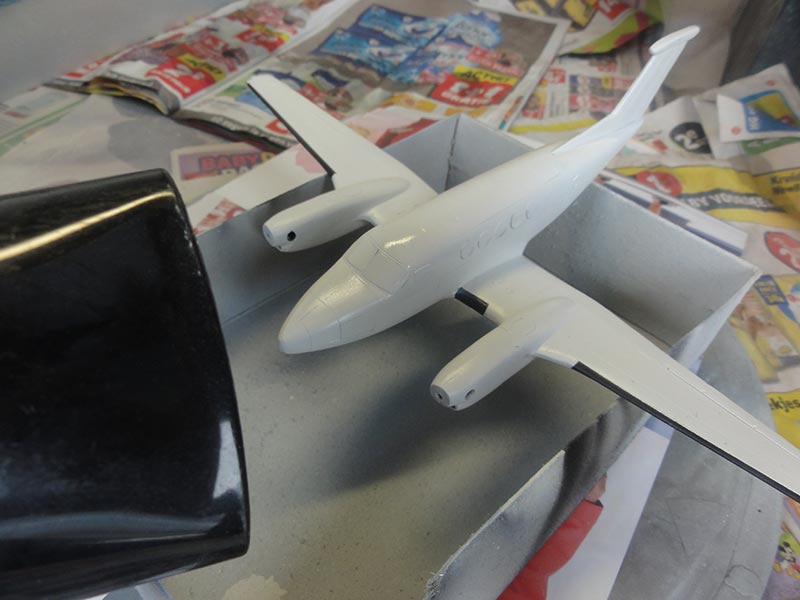
The model needed now the gloss white paint applied. So mask the windows with the masking set included in the kit. These are very nice.
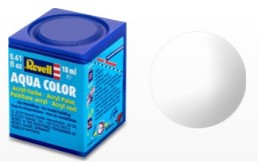
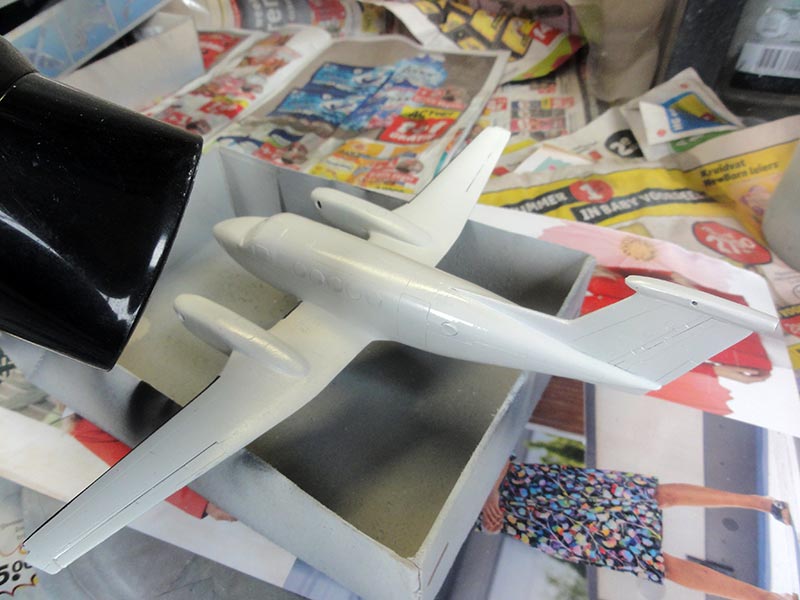
First the model got a base grey airbrushed with Revell Aqua 75 steingrau acrylic to check for any flaws.

The model than got again another base grey coat as needed.
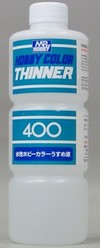
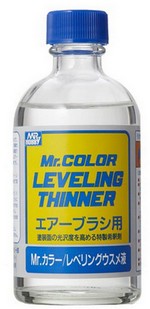
The overall Bolivian King Air scheme is gloss white and it is a good practice to airbrush first a mat white coat. Airbrushed were a few layers of Revell Aqua 05 weiss. Than followed a few gloss white coats with Gunze Sangyo Mr.Hobby H1 white acrylic thinned with 80% Gunze acrylic thinner and 20% Gunze levelling thinner.
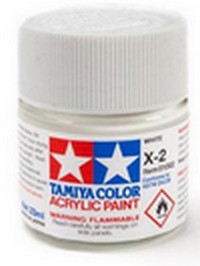
A final good effect is obtained with a final thin coat than with Tamiya White X-2 thinned with Tamiya thinner X-20A.
The leading edges of the outboard wing sections were masked off and airbrushed mat black. The inside edges were hand painted.
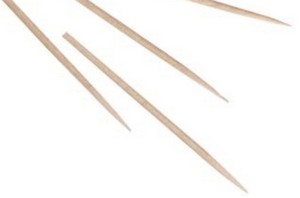
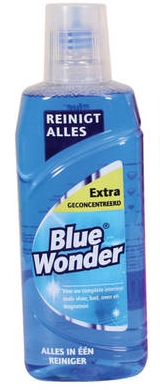
All looked OK now. The window masks were removed. Any small irregular window edges can be removed with a tooth pick dipped in window cleaner fluid or Blue Wonder.
The desired Bolivia Air Force self designed and made custom decals could now be applied. If you need a decals set, look here how to get one....
All decals need to be cut out separately from the continuous decal film with fine scissors.
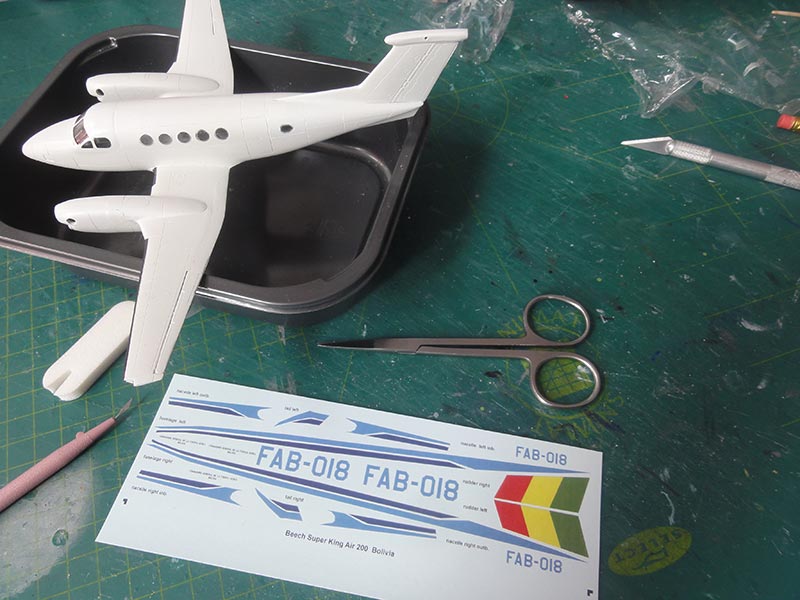
With decalling done, the landing gear and the smaller bits are to be installed. The long main gear doors of the kit were halved/ reduced in length as some King Airs including the FAB-018 had shorter rear doors and the front doors closed up when parked.
I found out a bit late that this Bolivia King Air 200 FAB-018 had 3-bladed propellers; I got props from A&A Models kit releases #7240 or #7237 that I had.
The propeller blades were airbrushed black and white tip stripes painted and both front and rear areas. The spinner was painted Vallejo Chrome 77.707 and the props installed.
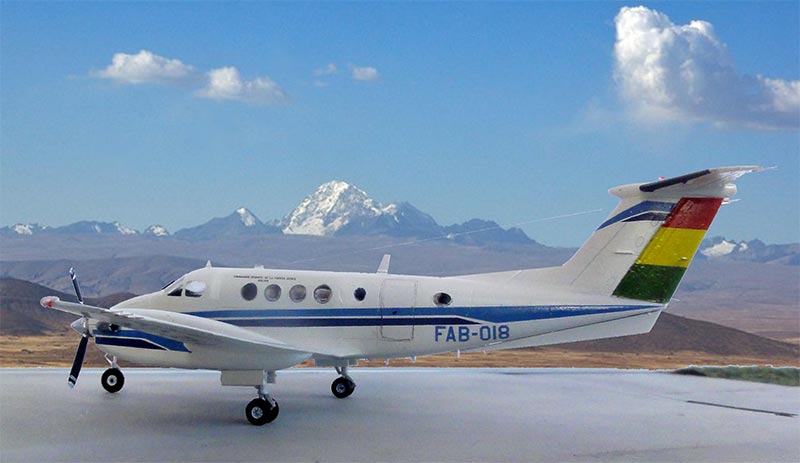
A final gloss varnish coat was airbrushed to get an even sheen and protect the decals. That completed this nice model.
BOLIVIA
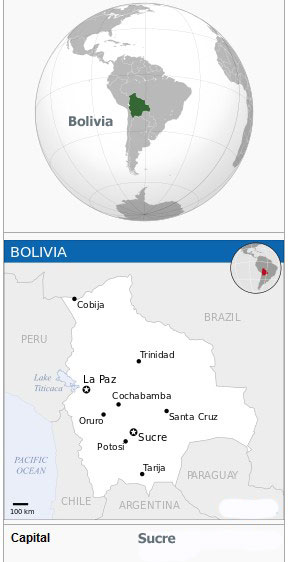


[area: 1,100,000 sq.km | population: 11,6 million | capital: Sucre with La Paz executive | GDP USD 3,700 nominal per capita ]
Bolivia became a Republic in 1925. The military obtained over the years equipment from the USA. Used aircraft included types like still the good old T-33 and PC-7. In 2011 some K-8 Karakorum jets were acquired. Various transports are types like the Fokker F-27 and C-130, BAe 146, DC-10, C-212 but also few Antonov AN-26 (MA-60). And some 20 Beech King Airs of various versions.
Beech King Air 200C, c/n BL-28, coded FAB-018 was acquired in 1981 and still seems to be flying in 2020 with Escadron 310.
To next [ Page 4... ]

(c) Copyright Meindert "designer"/ All rights reserved. Your comments are welcomed by webmaster
Created this page
Oct 20, 2025