MACH2
[ page 4 ]


Beechcraft (Super) King Air models in 1/72 scale
... continued from page 3...
page 2
page 3
..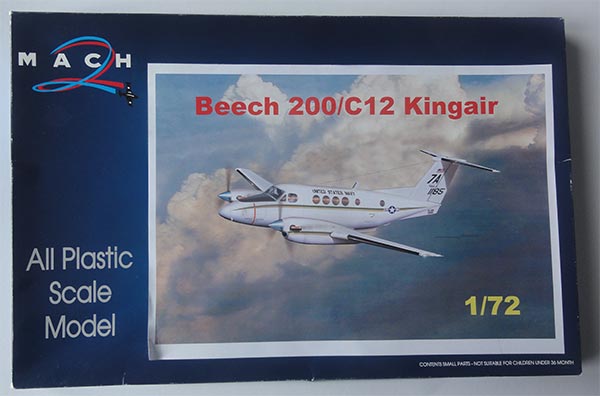
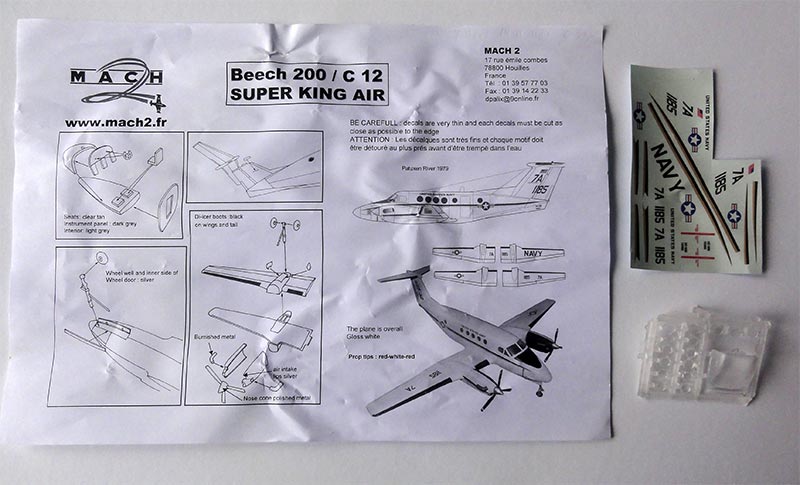
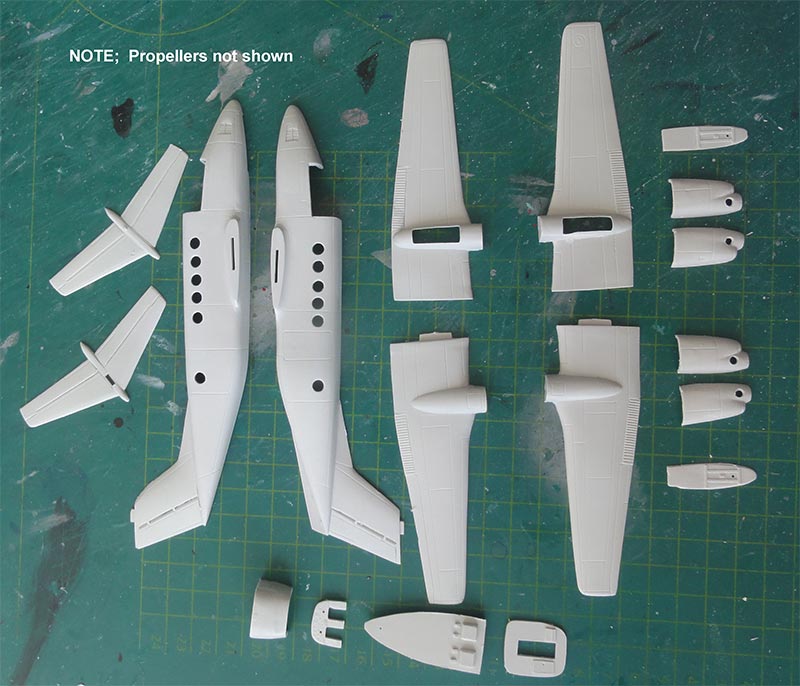
Another 1/72 King Air kit was the short-run one from MACH2 from France. It is for a Beech 200/ C12 and first edition was in2012 and later a few different releases. There is only a basic one page instruction. Kit #GP.048 had decals for a US NAVY King Air based at Patuxent River 1979. (MACH2 also released a RC-12 with some other parts).
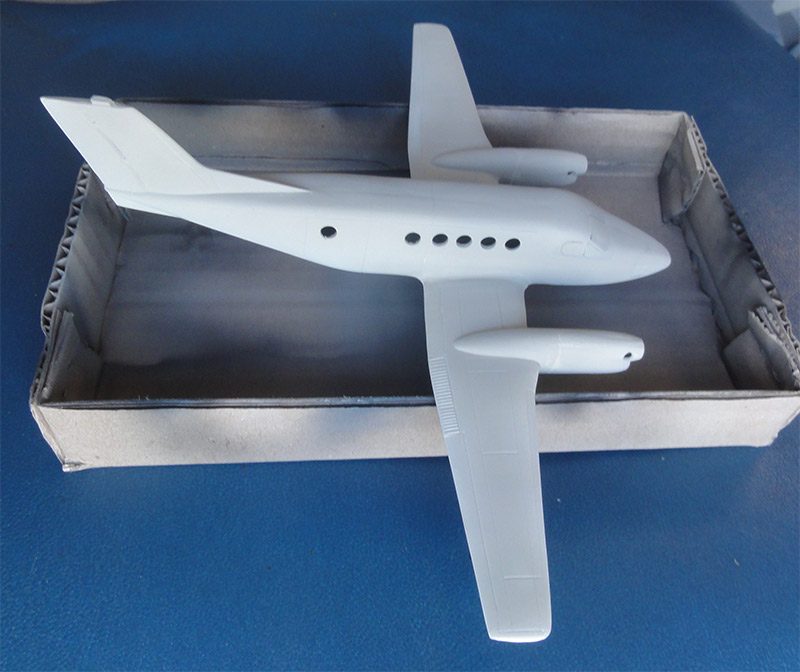
I purchased this kit 10 years ago and although the A&A models kits presented in the previous modelling reports, it was decided to make this kit anyway. And I was surprised how nice it would turn up after some basic modelling efforts.
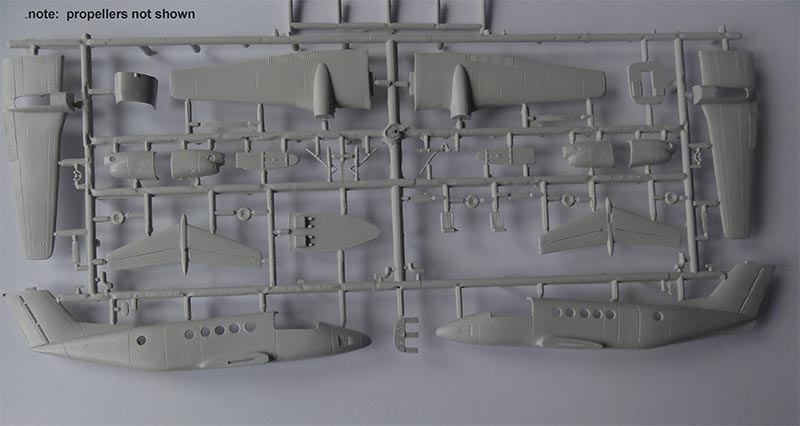
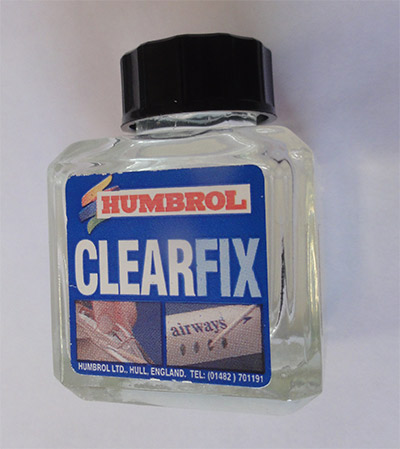
Yes, the kit parts have the typical MACH2 style and look crude. But when nicely separated with a razor saw from the sprues, some sanding it will turn up to fit pretty good. The exception are the cabin windows, they are scratched and too big to fit. Suggesting and closing up these windows with Humbrol Clear Fix is a good alternative and the window openings themselves are reasonably horizontally aligned.
After preparing the main parts...
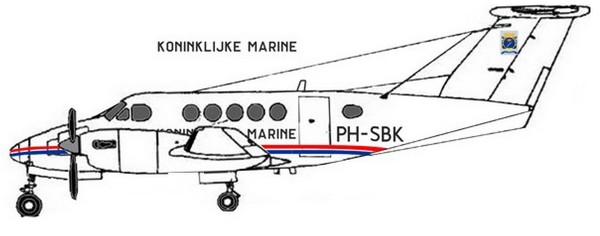
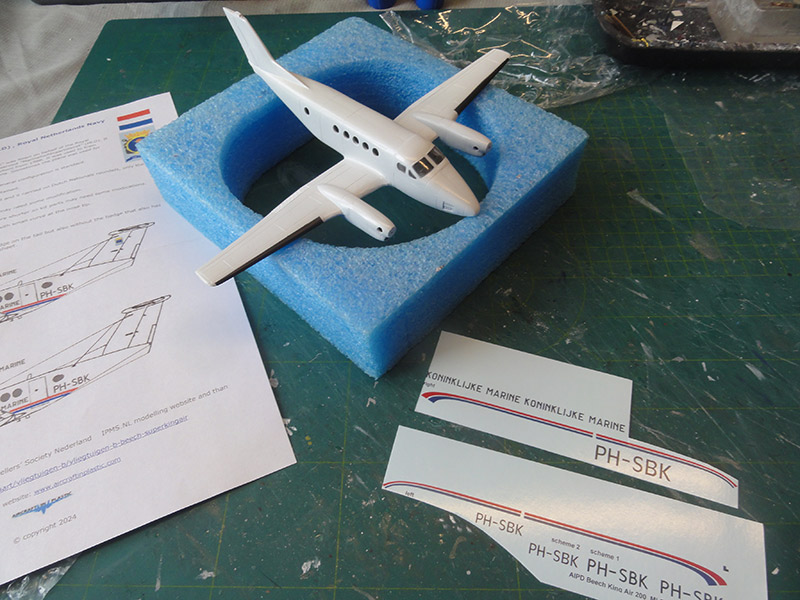
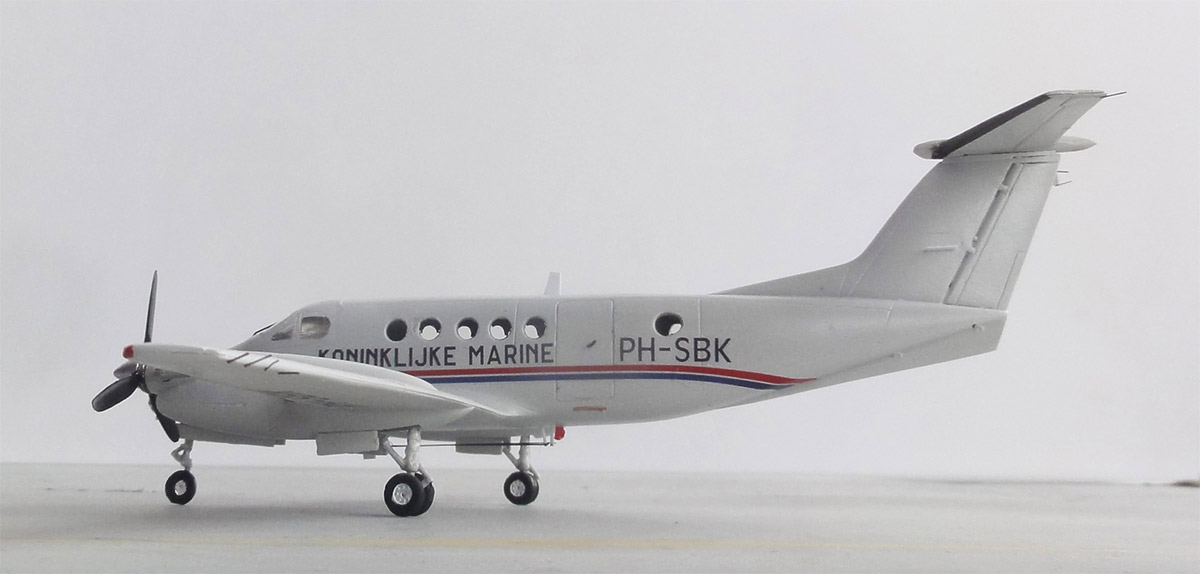
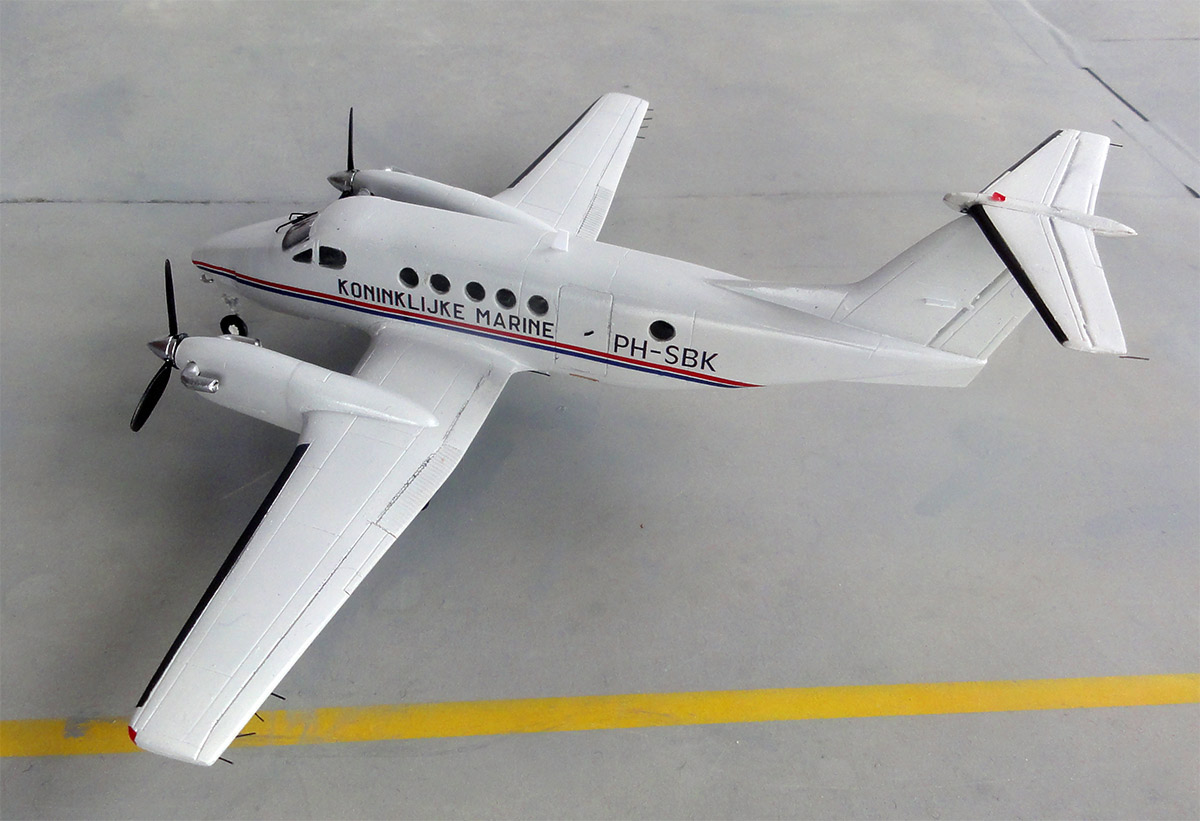
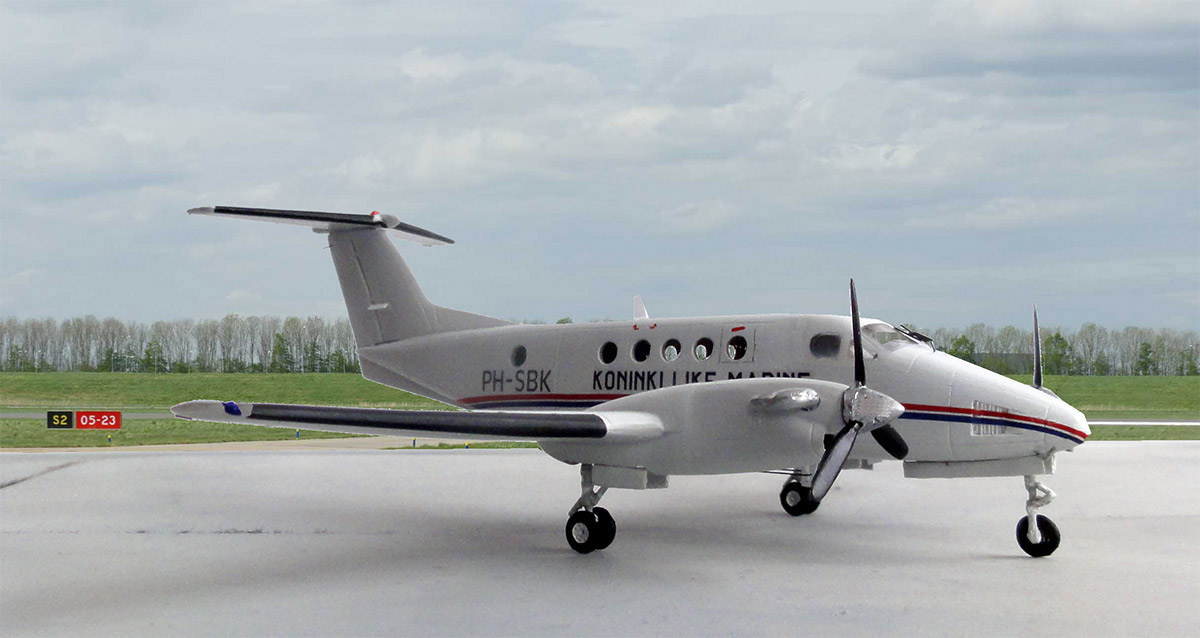
I opted a different scheme: Super Beech King Air flown on behalf of the Royal Netherlands Navy Flying Service ( MARINE LUCHTVAARTDIENST MLD) coded PH-SBK. It was used to train navigators and observers that would fly on the MLD Lockheed P-3C Orions in the 1980s and 1990s. See history information on the Dutch IPMS Nederland NedMil pages here... [external link].
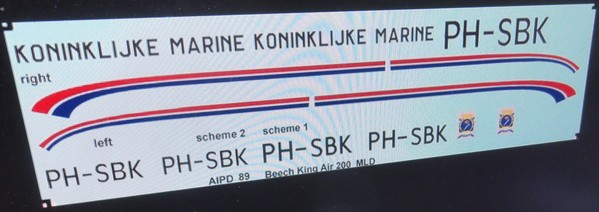

The needed MLD markings were custom designed and colour laser printed and are also available for other modellers. Sheet AIPD 89 details can be seen at the decal page here and how to get a decal sheet.
(note: you get 2 variations of PH_SBK schemes).
Back to the MACH2 kit....
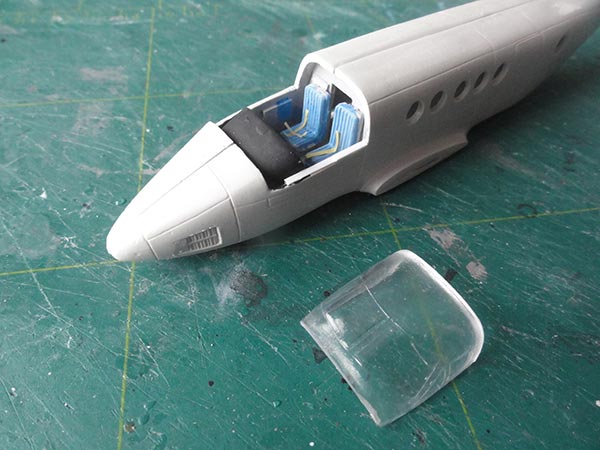
The cockpit interior is there but no cabin interior but that is OK. The cockpit floor is too wide and needed trimming about 1 millimeter to fit inside. Add a nose weight to avoid a tail sitter!
The transparant cockpit part had scratches inside and outside! So polish this part first before installment.
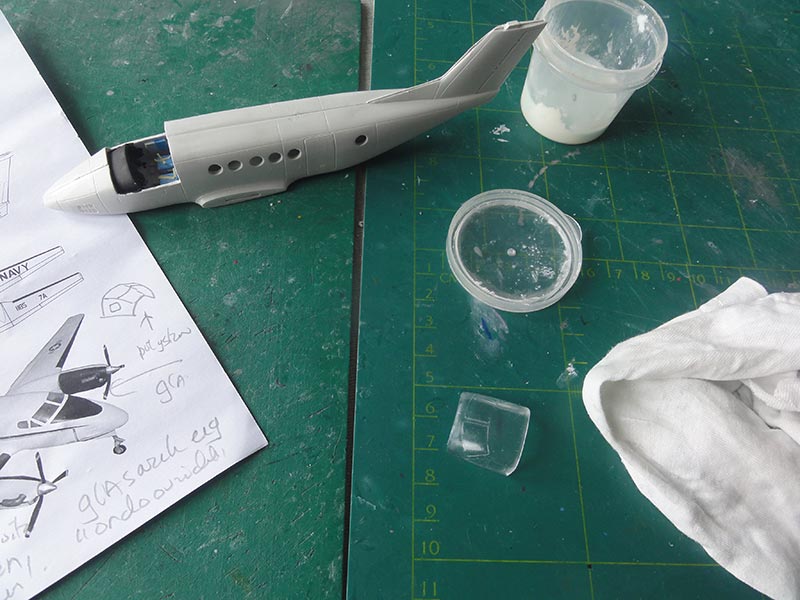
The wing halves, cabin and fuselage was assembled and the cockpit interior got a basic paint and the seats some seat straps. The transparant cockpit part was set. I needed sanding it flush particularly at the top roof/ spine and also had to putty the edges. Sand all flush.
Polish the clear areas when done.
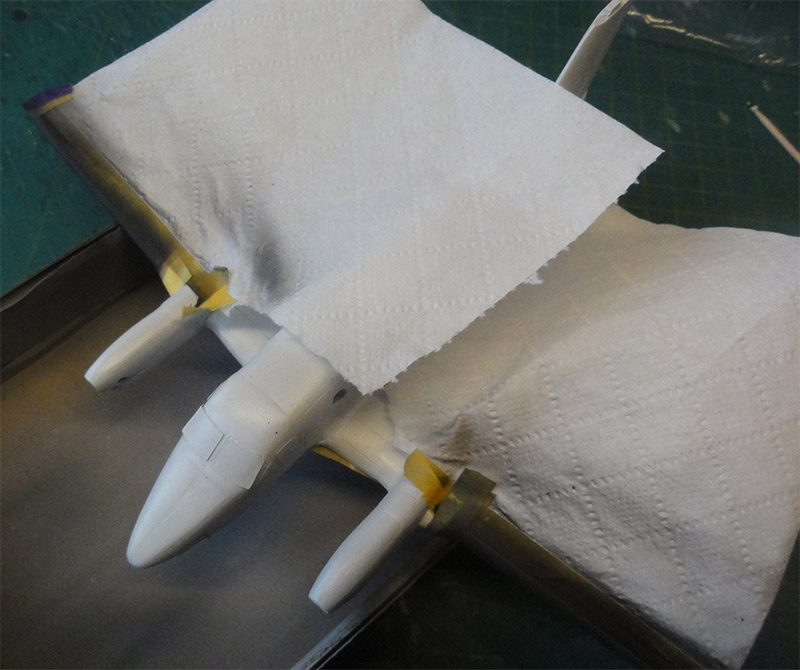
The wing assembly with nacelles was done and putty and sanding again needed. I later found out that that exhaust openings are not aligned; it may be better to close these with rod at this stage, putty and sand the nacelles smooth. The pipes themselves can be reduced in size and set later on.
I also made use of a metal spar to get better strength for the wing installment. A metal rod will used that will run through drilled holes.
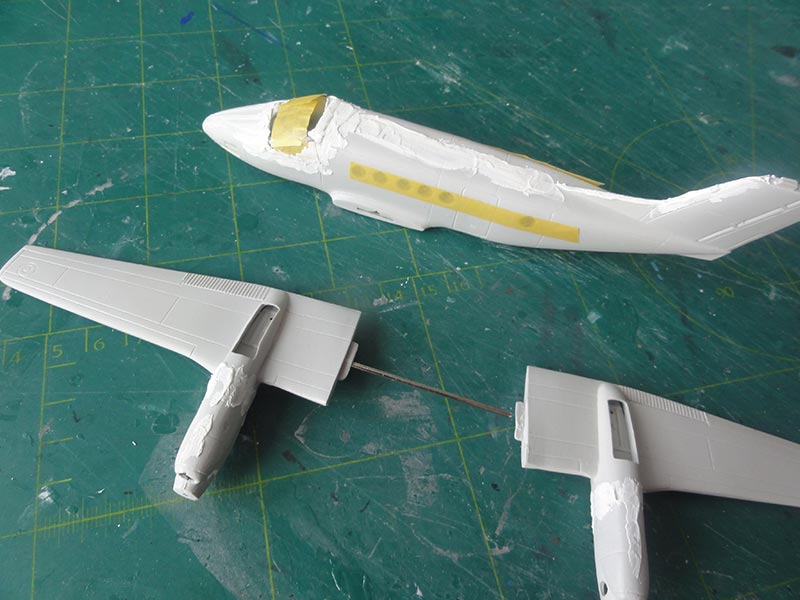
So quite some putty was needed. Sand all areas.
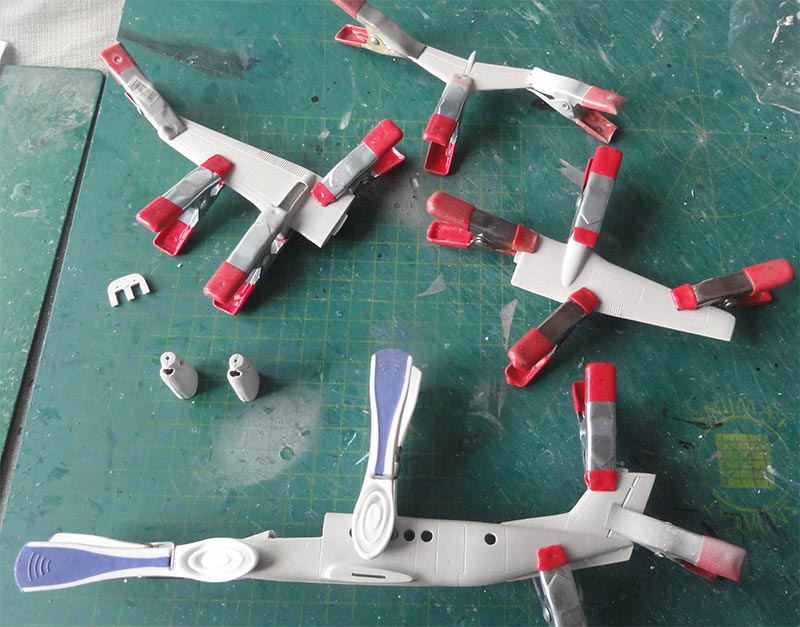
Leave off the wing halves, horizontal tailplane and smaller bits like gears for later. They would get some white paints first as you can reach all areas with the airbrush easier.
Obviously mask off the windscreen and cockpit windows and I was lucky to have some masks from previous made A&A models so these were re-used. Or cut from masking tape.
The assemblies got a base grey coat with Revell 75 steingrau Aqua acrylic paint, thin with distilled water and some IsoPropylAlcohol IPA 50%. Any flaws in sanding and filling become visible and repairs were done with putty and sanding again. ( I forgot to make a photo). When all looked smooth...
Next, the fuselage, wing halves, gear doors and stabilizer got a white paint airbrushed. Airbrushed were first some coats of Revell white "weiss" thinned mat paint. Than followed a few coats of 50% thinned Gunze Sangyo Mr./Hobby H1 white acrylic (or use your own favourite white paints).
The wing halves were mated with the metal spar to the fuselage. Some white putty from Vallejo was used at the not too big wing root-fuselage joints.
Swipe off the excess putty with a cotton swab.
Another few coats of gloss white were airbrushed.

The leading edges of the wing and stabilizer were masked and airbrushed Revell Aqua mat black "schwarz".
The model surfaces were glossy so ready to get the decals. I picked the second MLD scheme with the Super King Air without long wire antennas.
Decalling was done with my own designed and custom printed decals sheet as noted above. All markings are colour laser printed on ONE continous decal film so each one needed cutting out with fine scissors. No other preparation is needed.
Dip only 30 seconds in luke warm water and than slide off from the paper onto te model. Do not pull off a decal with tweezers... IT WILL FOLD DOUBLE! The decals are very thin 13 micron and will conform to the model surface.
The long cheat lines need also curve at the rear fuselage next to the ventral fin. Decalling took less than an hour.
Detail parts to follow.
The gear struts, wheels and hubs were hand painted and installed. The nose gear strut is far too long, I removed 4 millimeter to get a horizontal sit of the model.
The 2x2 exhaust pipes to be set on the nacellss were rather crude and the openings are not well aligned. I discovered this TOO LATE and had to close gaps with white glue and paint gloss white. The pipe parts were trimmed and made a bit smaller and installed. They were painted burned metal.
The prepaired stabilizer was set on top of the tail, trim a bit the receiving lug hole.
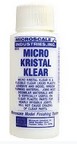
The rear cabin window shape at starboard and port were made a bot more oval to the rear. All cabin windows were closed up NOT using the scratched and too big kit parts but with Humbrol Clear Fix. This worked out fine. (you can also use Microscale Kristal Clear).
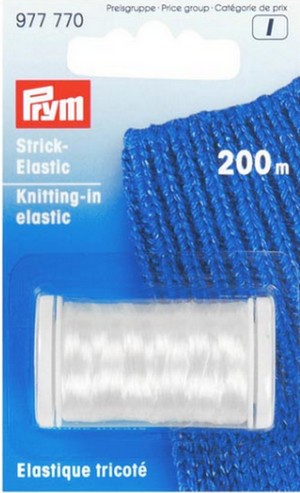
At the lower fuselage it seems that 2 wire antennas were present on this plane. With rod and flex PRYM wire these were made. (I did not see a long antenna wire running from tail to fuselage, probably this was on the first MLD scheme).
Various static dischargers were cut from stretched "black" sprue and fixed with superglue. A few blade antennas were made from thin card, set and painted white.
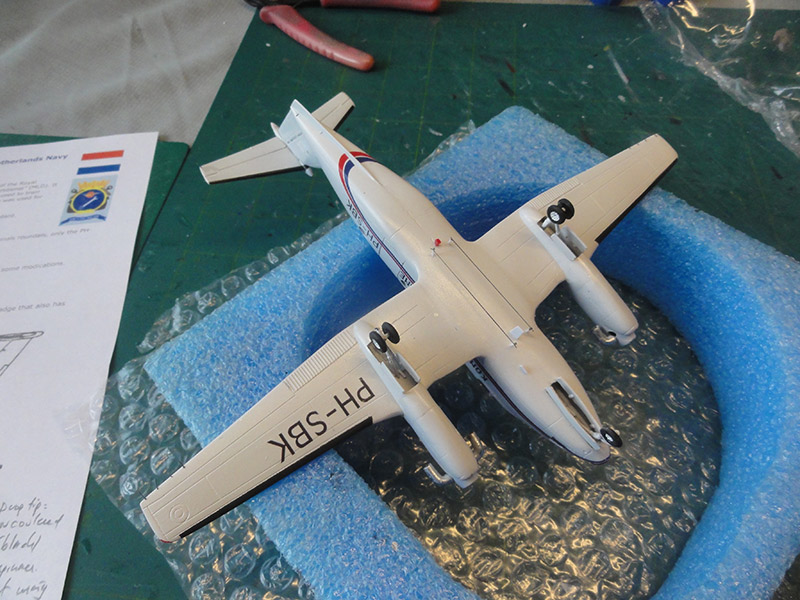
This MLD King Air 200 had 3-bladed propellers and these are provided in this MACH2 kit release. The propeller blades were airbrushed black and probably the tips were black as well, hard to see on photos. The spinner was painted Vallejo Chrome 77.707 and the props installed.
I accentuated a bit the gaps of the moving controls with a pencil. Otherwise this plane was kept in clean condition and washed after each training sea mission to remove salt spray.
A few tiny red emergency cut out markings were painted with a fine brush.
A pair of wind screen wipers were also made from the black stretched sprue and set. A small door handle was set at the port rear door as well from black sprue.
A final gloss varnish coat was airbrushed with Johnson Future/ Pledge to get an even sheen and protect the decals.
(or use your favourite gloss varnish).
Shield off the windscreen when doing this. That completed this nice model.
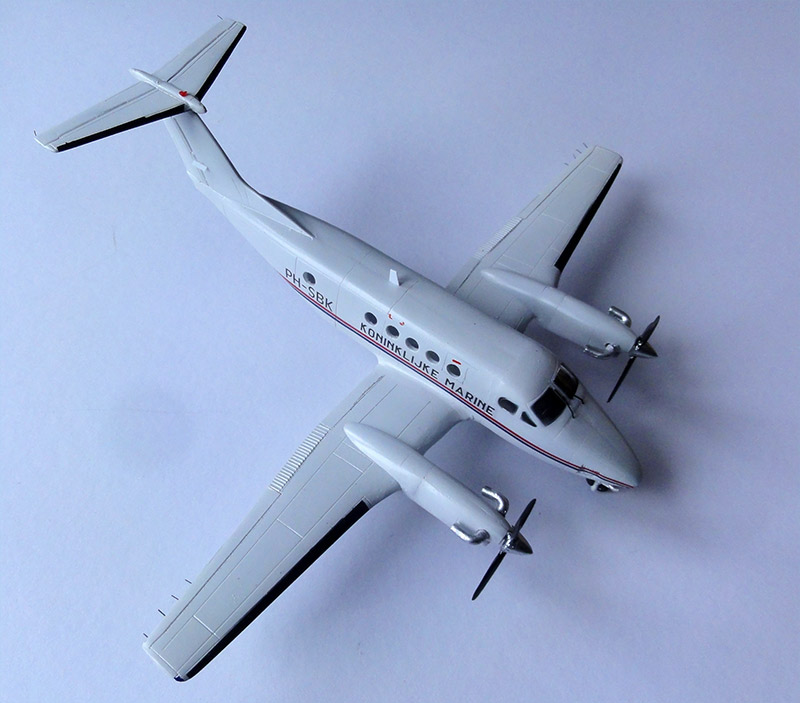
The result is seen here..
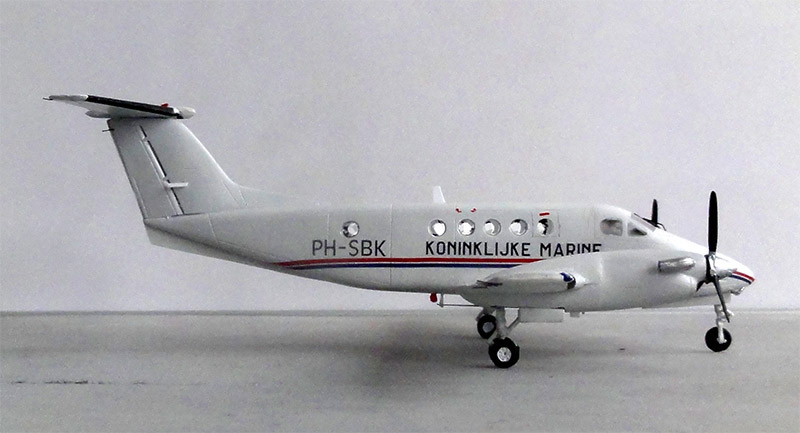
Super King Air 200, MLD, serial 3704, coded PH-SBK
... set in a scenery...
YEP... even a few more Super King Air kits are in the stash... To be made in the future.

(c) Copyright Meindert "designer"/ All rights reserved. Your comments are welcomed by webmaster
Created this page
January 18, 2026