A&A models
[ page 1 ]


Beechcraft (Super) King Air models in 1/72 scale
page 2
page 3
page 4
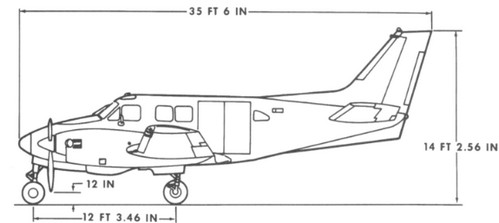
The King Air as designed and developed by the famous American company Beechcraft as small passenger and utility propeller aircraft in the 1960s. A whole family would be manufactured over the following decades. The first models had a cabin for some 6-8 passengers, a pair of PT-6A-6 propeller turbine engines and it had a low horizontal tail plane. The wing and stabilizer have pneumatic de-icing as well as usually heated wheel brakes and air intakes.
First Model 65-90 King Air prototype flight was on January 24, 1964. Over the years several sub-variants would appear like the Model 65-A90 of length 10,82 m and wing span 13,98 m. At port, usually some 2 cabin windows are seen. Model C90 from 1970 has an increased wing span of 15,32 m and PT-6A-21 turbines. Several military variants also were delivered like VC-6, T-44 and H20.
King Air Model 100 got a 1,27 m stretched pressurized cabin and could now accommodate some 15 passengers with 3 cabin windows at port. It had a dual wheel main undercarriage and PT-6A-28 tubines of 680 shp driving 3- bladed propellers. Length was 12,17 m and wing span 13,98 m. First deliveries started end 1969. Model A100 got 4-bladed propellers and extra fuel. The Model B100 from 1976 had Garrett TPE-331 engines of 715 shp. Military designation was U-21F. It still had low mounted tailplanes.
A big modification was done with the Models referred to as Super King Air (though later the common King Air name was used). The Model 200 series cabin was stretched, got other PT6A-41 850 shp engines and now a T-tail that reduced pilot load. The wing had modified air foils and span was extended to 16,16 m and total length was 13,36 m. The Hartzell 3-bladed propeller was used.
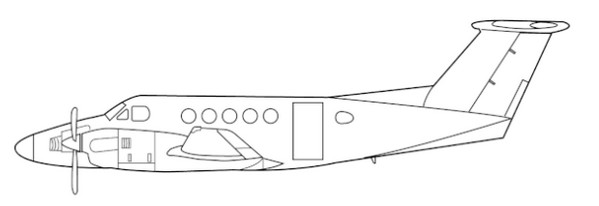
It usually had 2 pilots and cabin for 13 passengers. At port, usually some 5 cabin windows are seen. First flight was in 1972. Model B200 got PT6A-42 propeller turbines, better pressurization and some smaller improvements like electrical driven gear. McCauley 4- bladed propellers with smaller diameter were also introduced. Military versions are C-12 Huron.
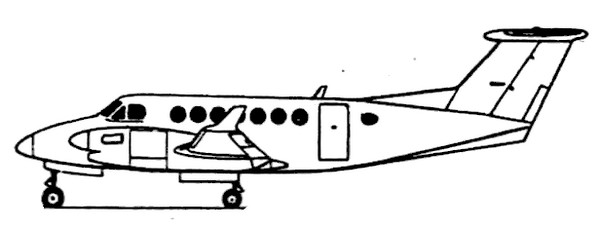
The Model 300 series got PT6A-60A engines of no less than 1,050 shp in redesigned nacelles. The propellers are from Hartzell. The cabin was a bit stretched with usually 6 windows seen at port. Wing span was 16,61 m and length 13,34 m. First flight was in 1981. Deliveries started from the spring of 1984. The B300 has a big cargo door and airstairs.
Model 350 got again a 0,61 m stretched cabin. At port, usually some 7 cabin windows are seen. Wing span was 17,65 m including wing lets and length 14,22 m. First deliveries started in 1990. Most cabins have a storage area and lavatory in the back. In the rear upper nacelles are hatches that also provide storage accessible when on the ground. A polarized cabin window can be tinted by each passenger. The B350 has a big cargo door.
Over 7,000 King Air planes have been manufactured in quite some variants. Still today, the type is popular and modernized planes have modern Garmin or Collins avionics with full digital cockpits. They weigh about 150 kgs less and thus additional cargop or fuel can be carried. An Extended Range ER version is also available and the new price is about 7,800,000 USD and DOC about 1,000 USD/flying hour.


A&A models has released several King Air kits:
- King Air 200 #7224
- King Air C-12 (-200 series) #7237 and #7240
- King Air 350 #7226 civilian schemes
- King Air 350 Japan coast guard #7243
Several kits were purchased.

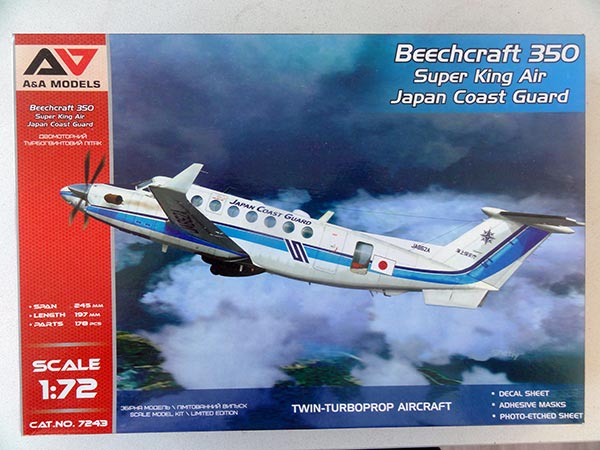
A&A Models 1/72 kit #7243 for a King Air 350 was released in 2023 for a Japan Coast Guard version.

The kit has some 178 short-run parts in no less than 10 sprues and a transparant sprue. It is best to separate these from the sprues with a fine cutter. There are no locator pins and you do need to sand all glue edges. But there are engraved panel lines. Unfortunately the cabin windows are not very clearly moulded.
The typical nacelles are provided for the different -350 engines. But the bigger diameter 4-bladed propellers are moulded "in flight position" and not feathered as parked. So this needs modification for a "parked model".
( Note that many early King Airs had 3-bladed props which are found in A&A Models kit releases #7240/ #7237 ).
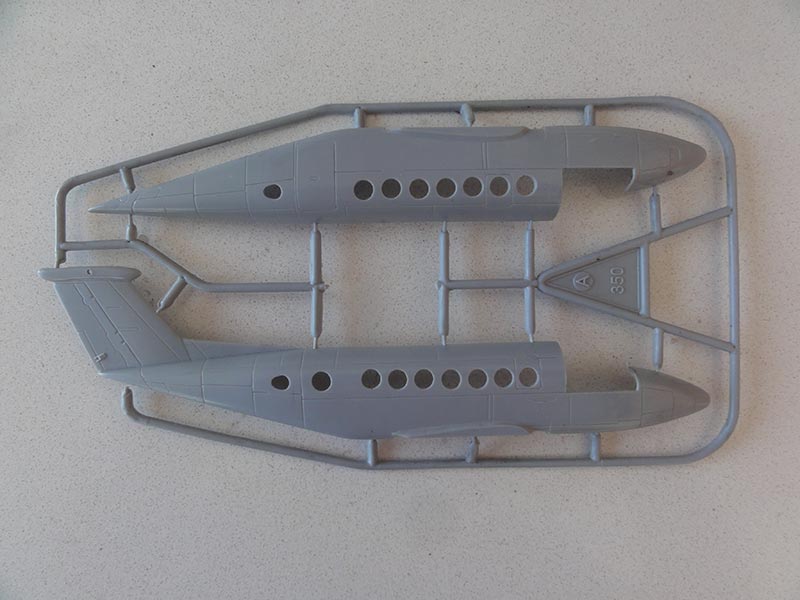
The long -350 series fuselage with extra windows. The cockpit interior is adequate but quite some effort is needed as all parts need trimming.
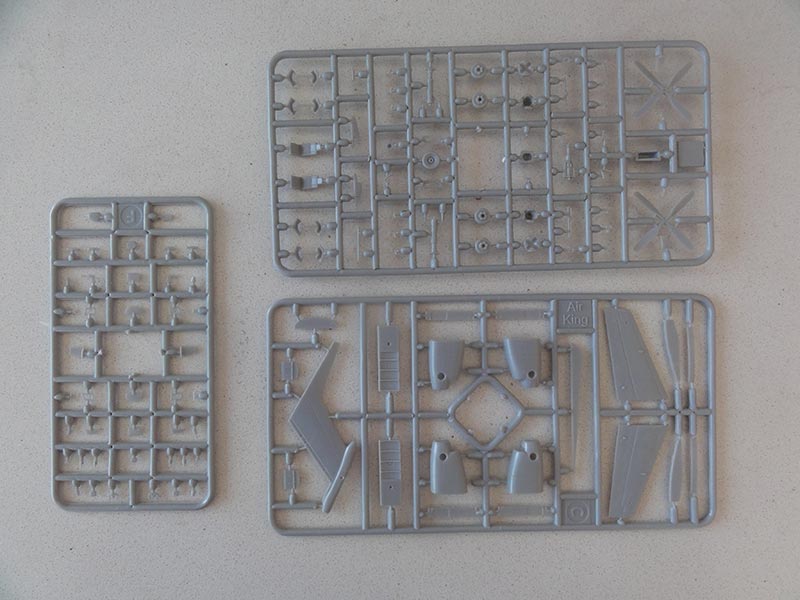
It has some other parts for the "Coast Guard" configuration like different shaped ventral fins #C10 + C11. An extra ethed metal fret Pe for the rear window enforcements. You also get a cabin interior in this kit with seats (but no equipment racks) and a search radar fairing to be set below the mid fuselage.
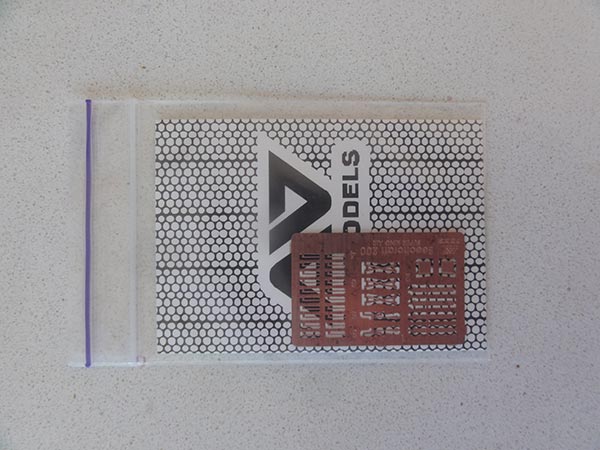
(etched fret, masking at the back)
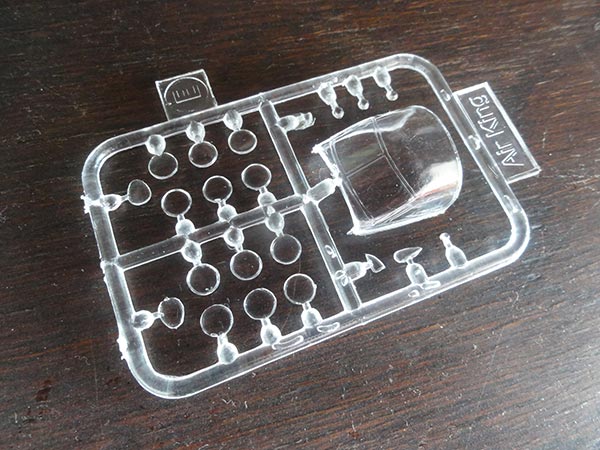
The cockpit glazing is one part which is nice as it can be blended in with putty and sanding. (* see note later on).
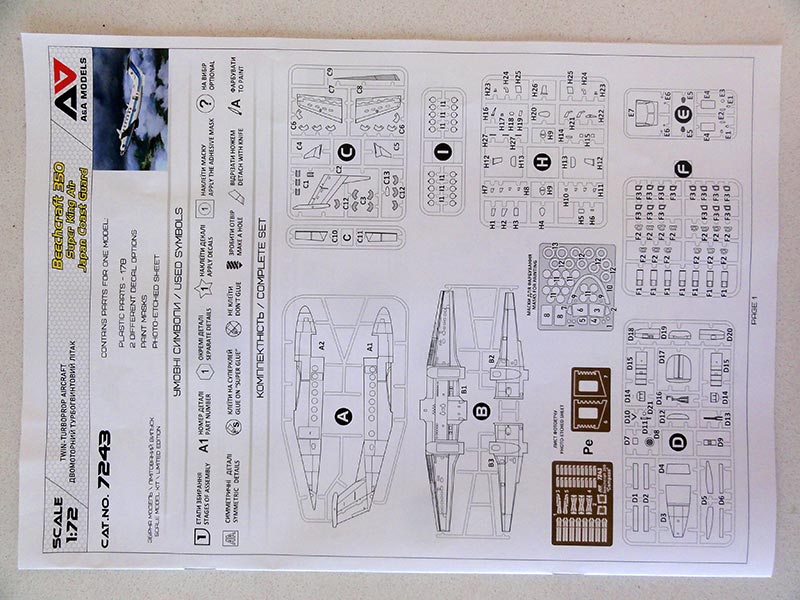
The excellent A&A Models instructions are good and show all details and full colour scheme profiles and detail colours in AK and Gunze paints.
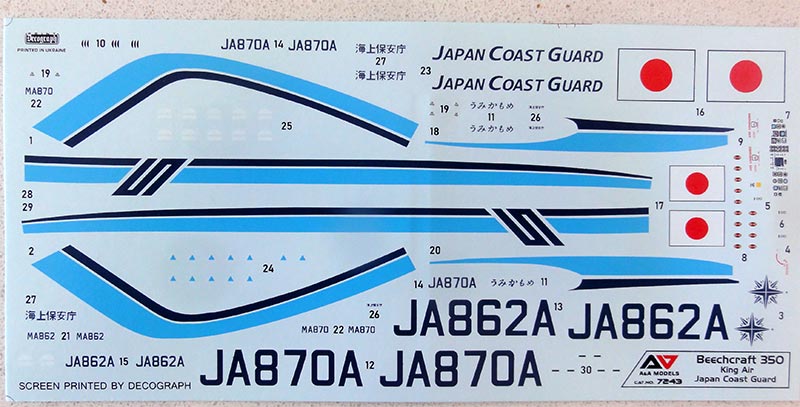
The decals are for 1 scheme of Japanese Coast Guard King Air coded JA870A or JA862A. The finish is gloss white with nice blue trim and cheat lines.
A quick dimensions check showed the wing span misses 1,5 millimeter at each tip; a strip of plastic can be set before glueing each winglet but I did not bother as it can hardly be seen. The fuselage length, shape and cabin window locations at each fuselage station are OK.
This kit will be made as per kit in te the Japanese Coast Guard scheme as provided.

Let's start assembly.
Before the fuselage halves are tackled, open up the big rear observation windows as shown in instructions STEP 13 on both port and starboard sides.

The wing parts were assembled after the flap outlines had been inscribed a bit deeper.
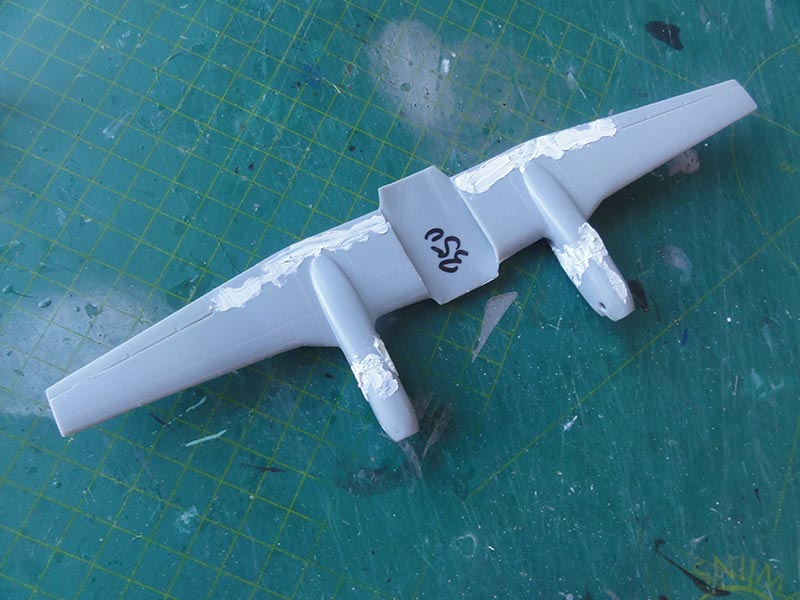
The King Air 350 wing parts with winglets were set and need some putty and sanding as do the nacelles. Do not obviously install yet the propellers!
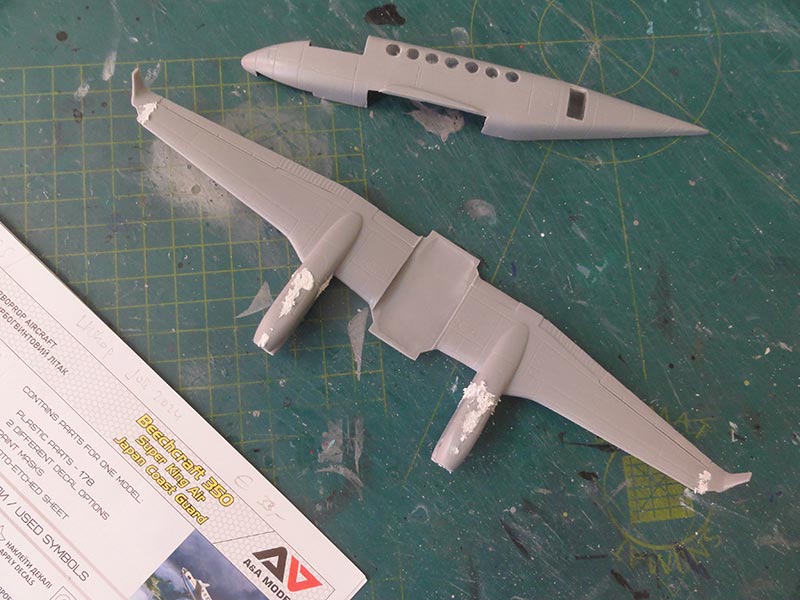
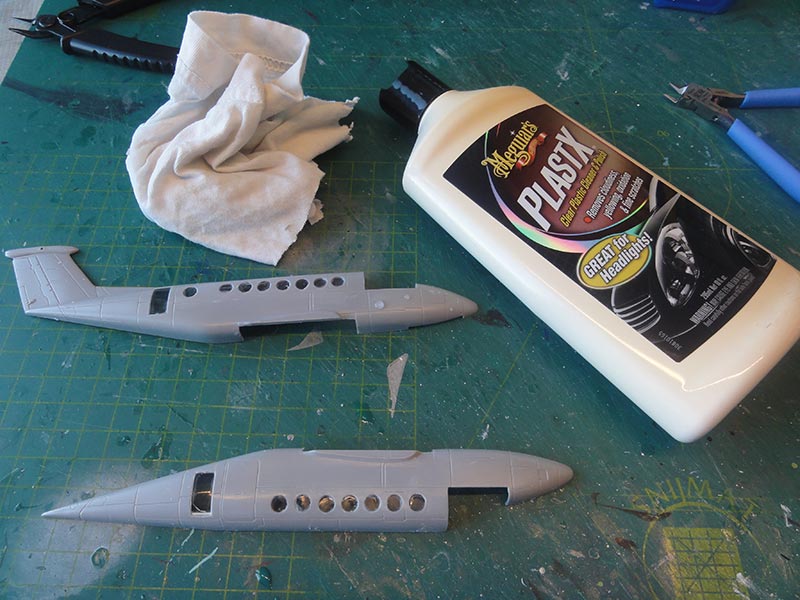
The cabin windows should be installed from the insides'. So it has to done before fuselage closure. The tiny locator of each window part was cut off to get a better fit. The windows were fixed with thin liquid cement, it is not easy to avoid spills. There are still irregular edges.

The window transparancies looked also moulded unclear. I tried sanding and polishing with paste BEFORE the fuselage halves were joined. But the irregularities are in the plastic so it did not work. I will do a special trick later on.
The interior assembly was next.
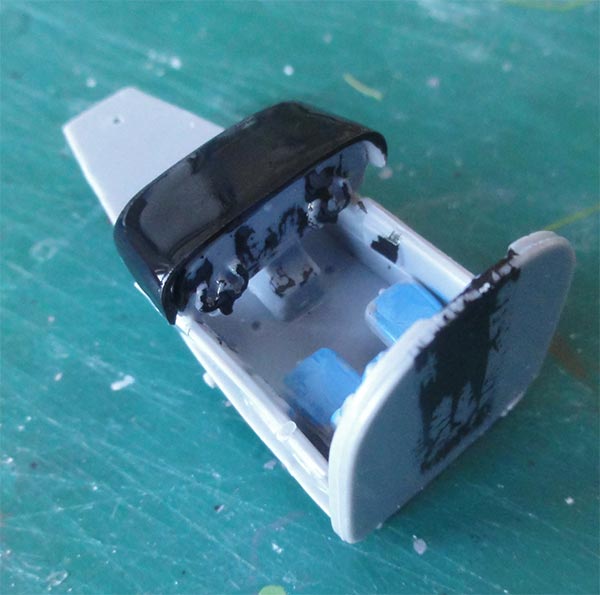
Of the cabin insides not a lot is seen. A few seat straps were set on the cockpit seats from tape and some instrument panels suggested and the control. I did not use the etched metal PE parts.
This coast guard kit also had a rear cabin interior.
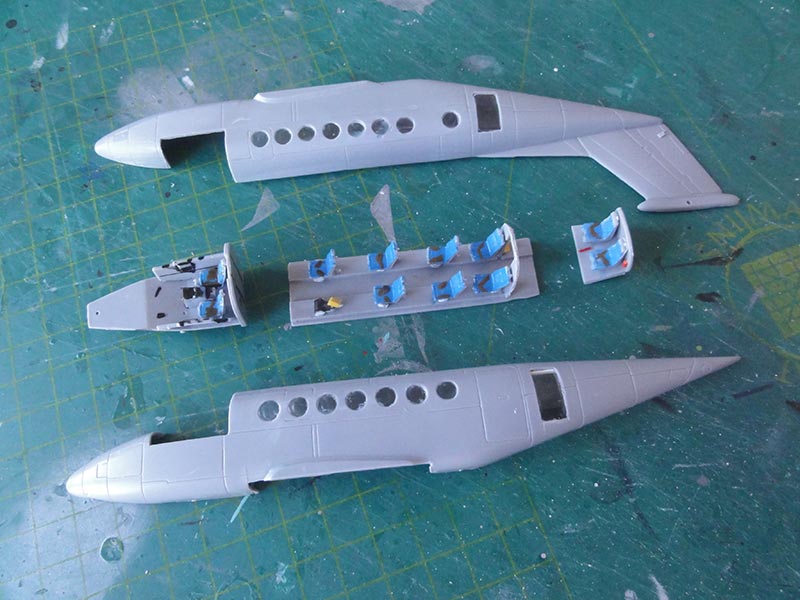
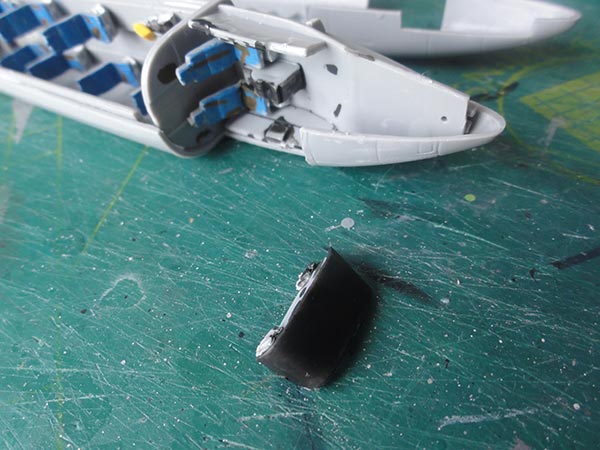
The fuselage halves were joined, puttied and sanded. Do not forget enough nose weight as I did....
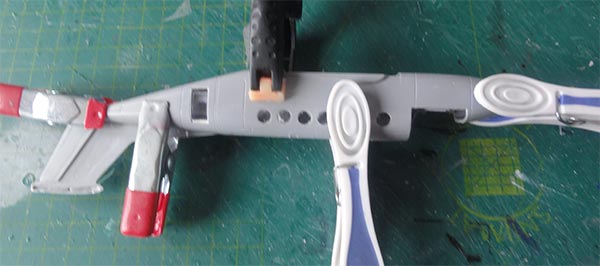
IMPORTANT: I found out that how the cockpit glazing #E5 aligns with the fuselage sides is very sensitive to how a modeller sanded and joined the fuselage halves. So check first by taping the fuselage halves together before glueing and check it cockpit glazing fit.
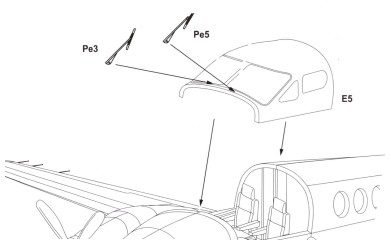
If the glazing seems to be "too wide", a modeller may try to set a tiny plastic strip between the fuselage halves to widen it a bit. It may be just 0,25 mm. Another risky option is to saw the part #E5 in two as there is a central cockpit window frame.
I was not uinhappy with the fit so kept the part #E5 unchanged and installed it. The instrument panel cover #D4 needed though to be reduced in width in order to avoid interference with the cockpit glazing.
Mask the clear areas.
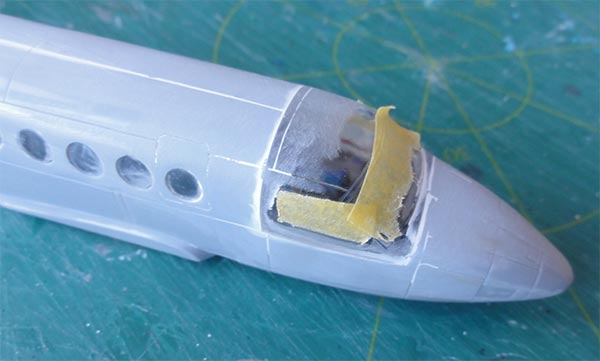
Ensure the fuselage spine is very smooth! Redo puttying if needed and sand again.
The Coast Guard version has large rear observation windows.
I did not use the etched metal parts Pe6 + Pe7 for the re-enforcement skins. Thick sticking metal foil was used instead, cut in a similar pattern as the etched metal parts.
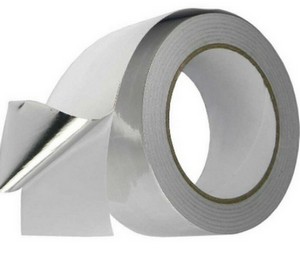 foil
foil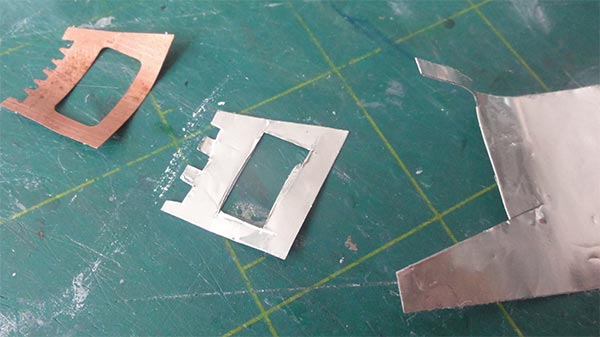
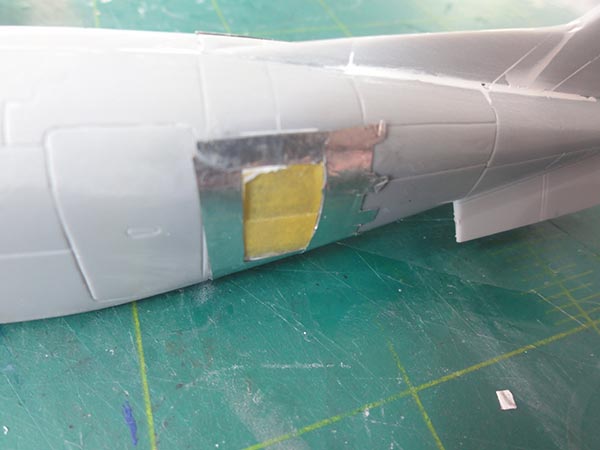
The wing and the fuselage were joined and needed putty and sanding. The specific ventral fins #C10 + C11 were installed, note that these are different in shape than on most King Airs.
The landing gears and smaller bits are to be installed later to avoid damage.
The windows were masked with the nice masking set from the kit with all those circles.
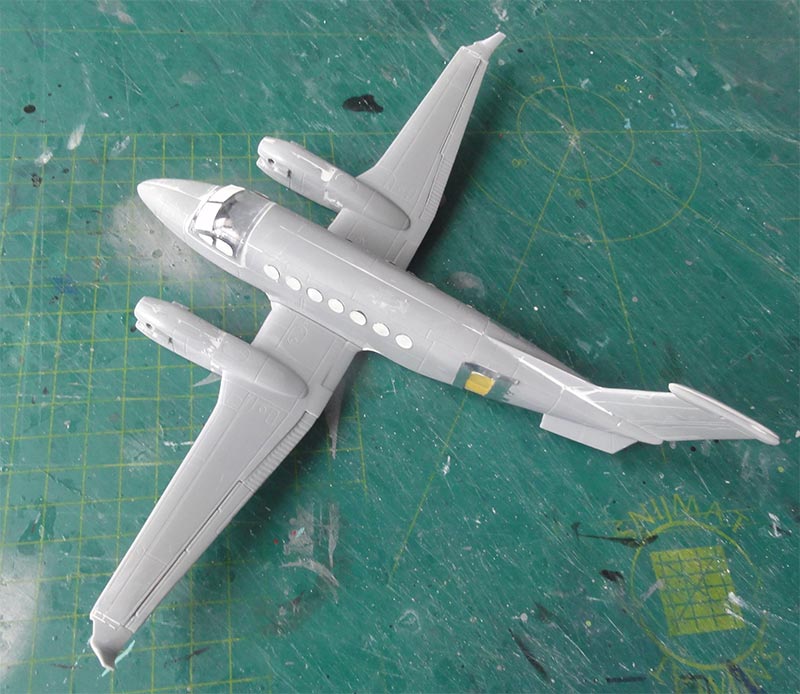
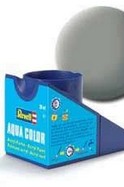
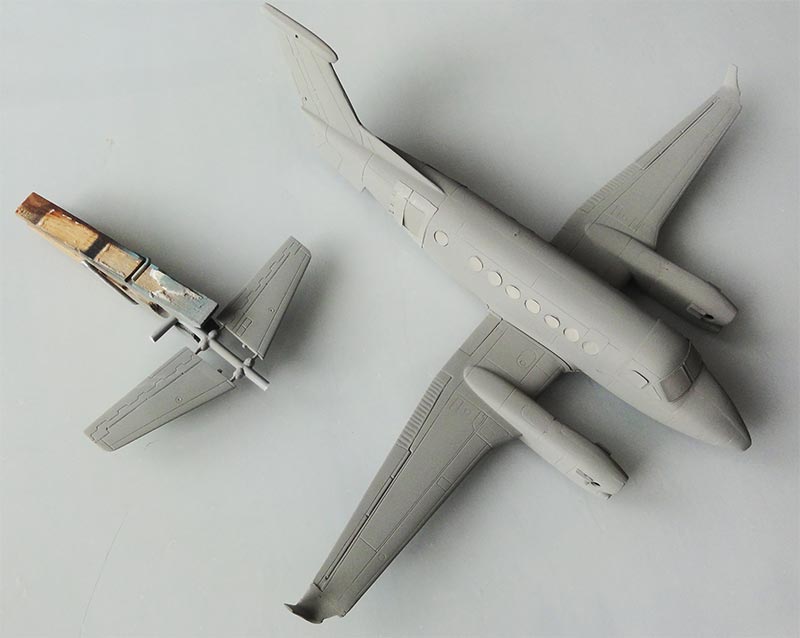
Than followed a base grey airbrushed with thinned Revell Aqua 75 steingrau acrylic paint to check for any flaws. Do also airbrush the tailplanes. It looked OK.

The JAPAN COAST GUARD King Air overall scheme is gloss white.


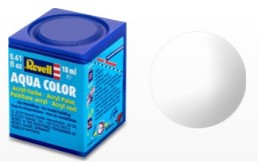
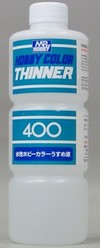
It is a good practice to airbrush first a few mat white coats. So airbrushed was Revell Aqua 05 weiss acrylic. Than followed a few gloss white coats with Gunze Sangyo Mr.Hobby H1 white acrylic thinned with 80% Gunze acrylic thinner and 20% Gunze levelling thinner.
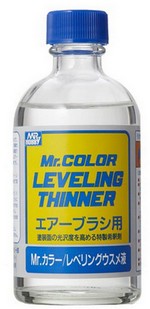
A final good effect is obtained with a final thin coat with Tamiya White X-2 thinned with the special Tamiya thinner X-20A.

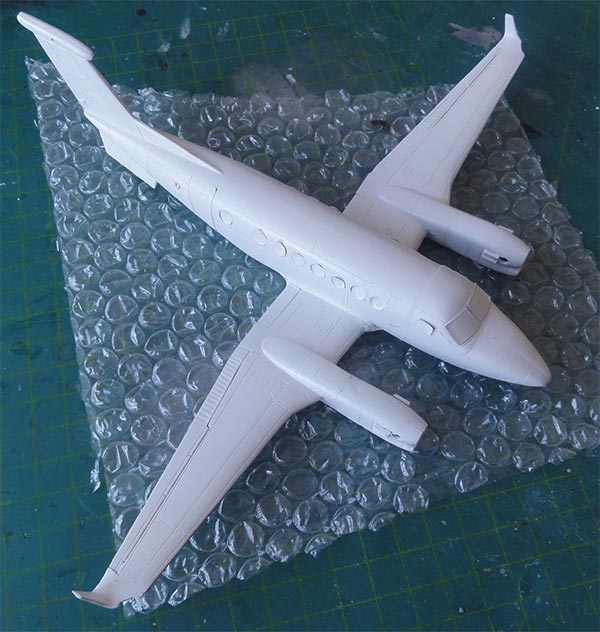
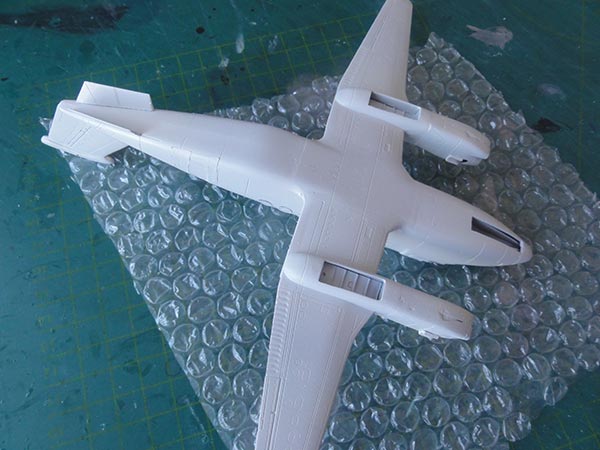
On the real King Air the wing and stabilizer have pneumatic de-icing boots. So the leading edges of the outboard wing sections and stabilizer were masked off and airbrushed mat black. The inboard wing edges were hand painted. (I forgot a photo).
This particular Japan Coast Guard scheme also has black inboard nacelle areas; these were hand painted.
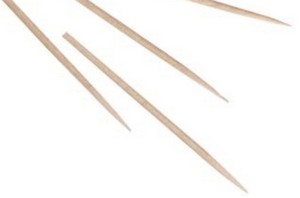
As the model had obtained the required paint scheme, the window masks were removed. Any small irregular window paint creeps can be removed with a tooth pick dipped in window cleaner fluid or Blue Wonder. This will also remove any masking tape glue residue.

The windows still look a bit disappointing as they are not moulded very clear. Do NOT make the mistake to polish them again! The polishing paste will get inside the edges, behind the windows and will spoil the finish!!
I did a special trick to disguise a bit the unclear windows:
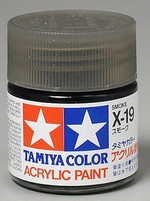
The windows looks' can be improved by hiding the unclear appearance by hand painting each window with Tamiya X-19 smoke transparant paint. This turned out good. (note that on a real modern King Air each cabin window has polarized adjustable screens and can be tinted as desired).
The model surfaces were already gloss so now the decals from the kit were set. The A&A Models kit decals are excellent. I found however the the rear Japanese flag decals #17 are a bit translucent; a squared white decal was set on the cheatline #1 and than the kit flag decal #17.

With decalling completed, the landing gear and the smaller bits are now to be installed. I had to drill open a bit wider the wheel axle holes to fit it. The nose gear wheel peg was reduced 0,5 mm in width. I did not bother to install the numerous very tiny gear inside door hinges #G8.
The 2x2 curved engine exhaust kit parts are a bit crude. Sanding is needed. For the Coast Guard version, 4 extra nacelle protection plates #C1 are provided.
The typical small radar fairing #K1+K3 at the belly is fortunately in the kit. Was painted matt black and set in place. Note also the inboard gloss black nacelle areas painted as well.
Some transparant light parts are also provided in the kit, a nice detail. The wing tip anti-collision light parts needed a bit trimming though to fit.
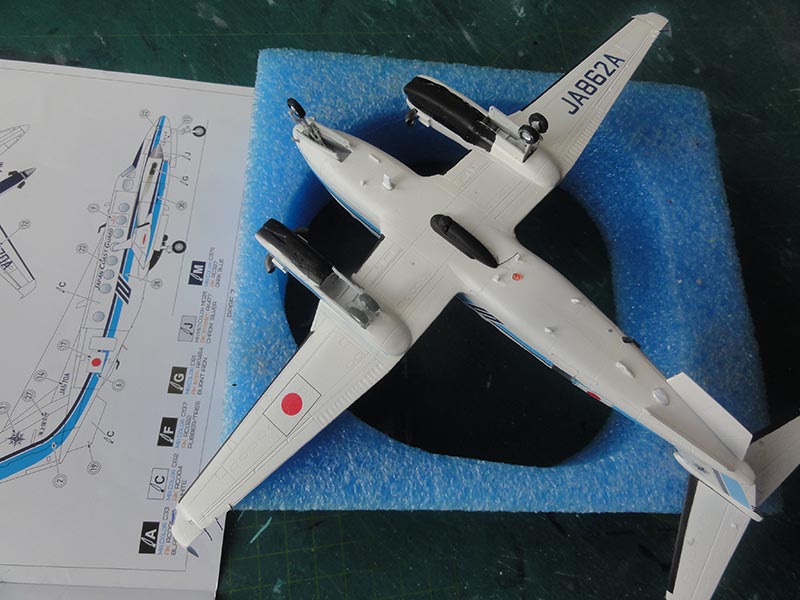
The various smaller antennas were set as well and the nose pitot tubes.
I found that I had not installed adequate nose weight; a probe "pogo stick" is seen here but I later decided to add extra nose weight in the nose gear bay and removed the stick. Note the added transparant light as well. Still some weathering is needed at the flap gaps.
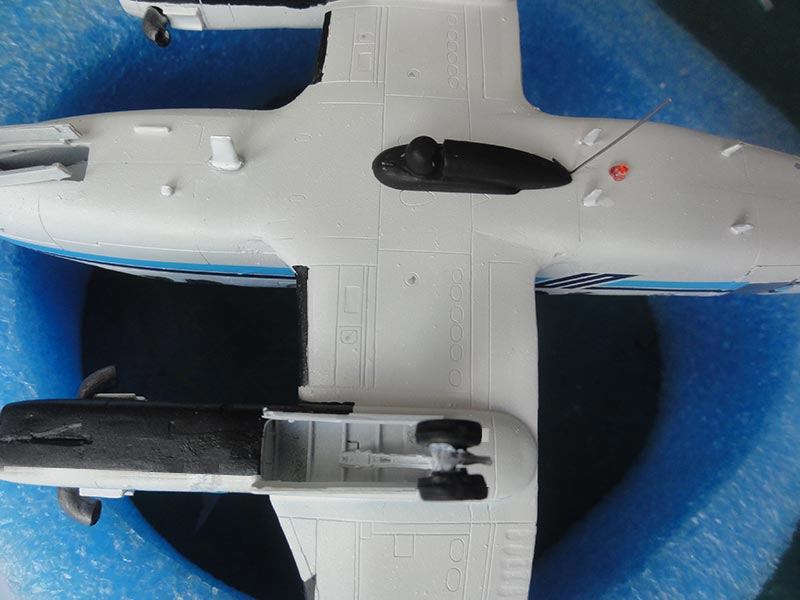
There is also a long wire antenna and a wire near the tail. These were made with thin fishing line. Fix with super glue.
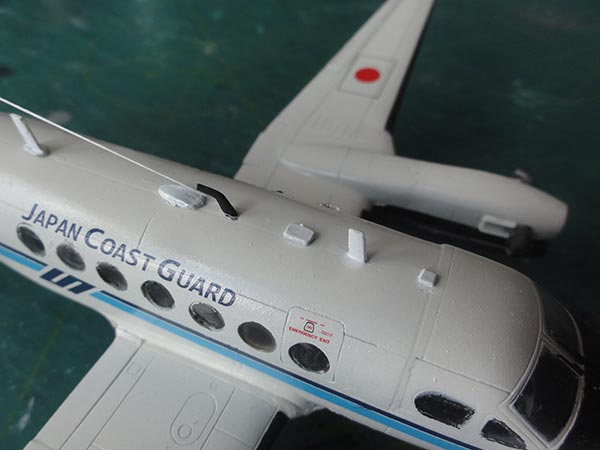
Very nicely the "Pe" fret has 2 tiny wind screen wipers. These look great and were painted black and set with super glue at the lower end. Do not use superglue at the clear areas to avoid window fogging.
The many static dischargers were made from bits of fishing line (so the thick Pe5 parts in the etched metal fret were not used). The bits were set with super glue and painted white.
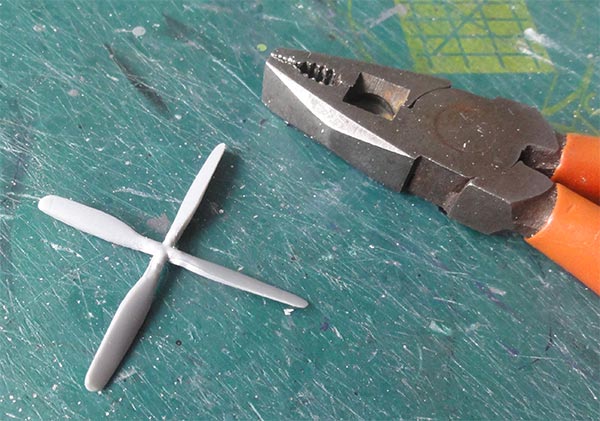
Set the spinners...
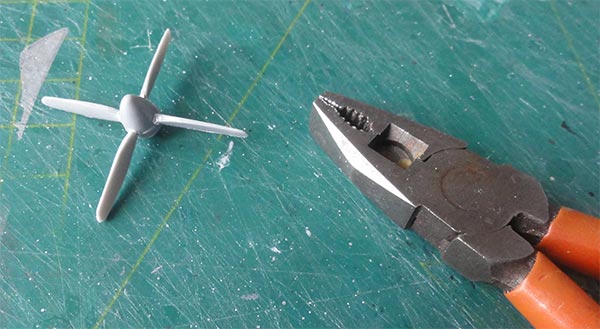
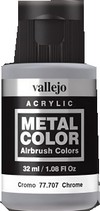
The prop blades were painted mat black and the tip white-dark grey-white stripes are decals (or paint). The spinner is chrome coloured for which Vallejo 77.707 acrylic metal was hand painted.
The nacelles holes for the propellers needed a bit drilling wider and the propellers were fixed with white glue.
As usual a thin gloss varnish coat was airbrushed on the entire model to get an even sheen and protect the decals. Airbrushed was Johnson Future/ Pledge clear gloss varnish thinned with 10% Gunze Mr.Hobby Levelling Thinner. Shield off any clear model areas with a piece of carton while airbrushing.


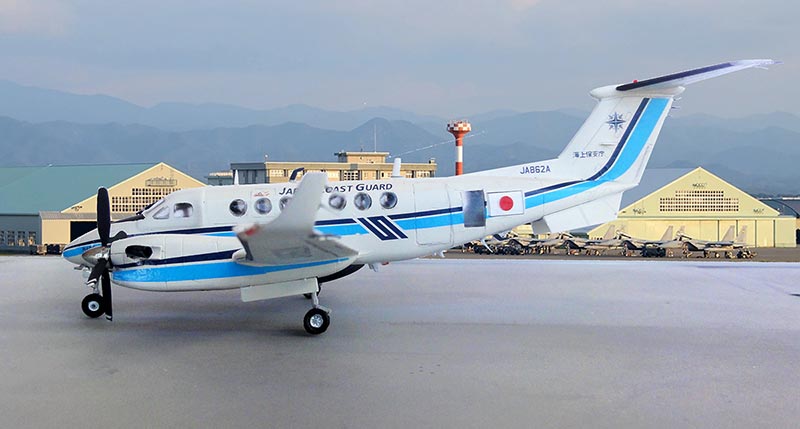
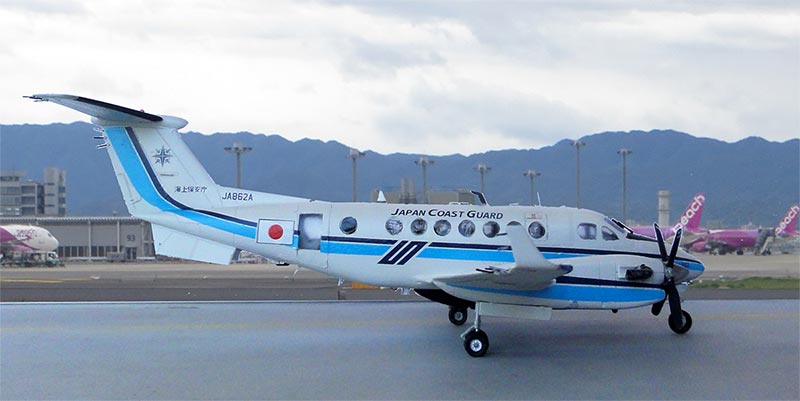
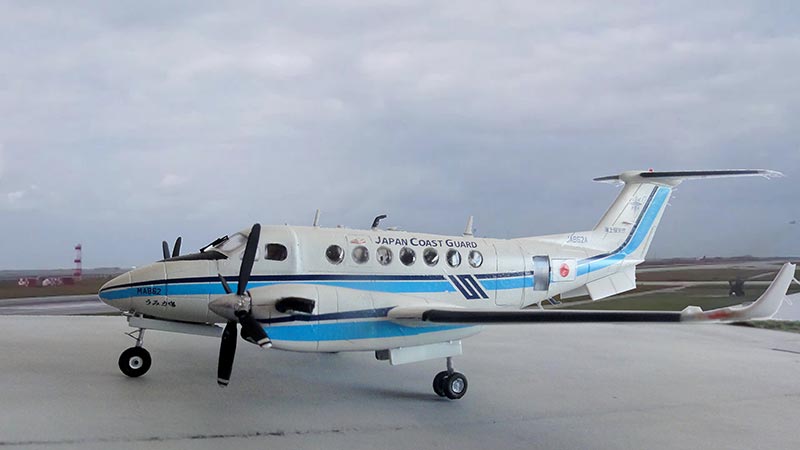
That completed this smart looking model.
JAPAN COAST GUARD


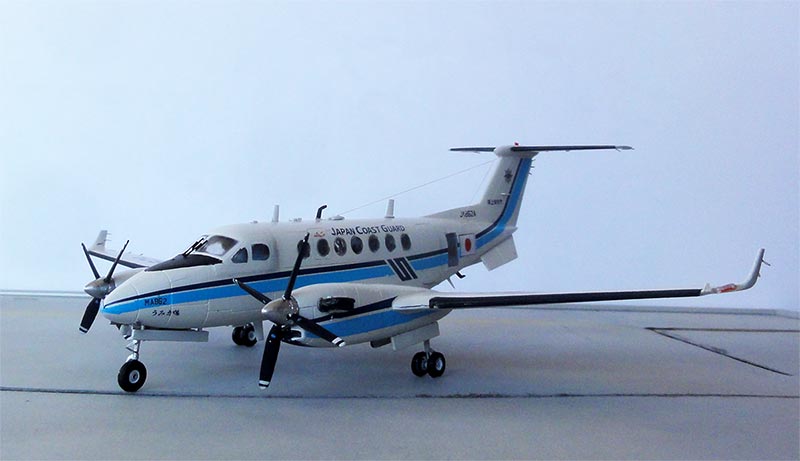
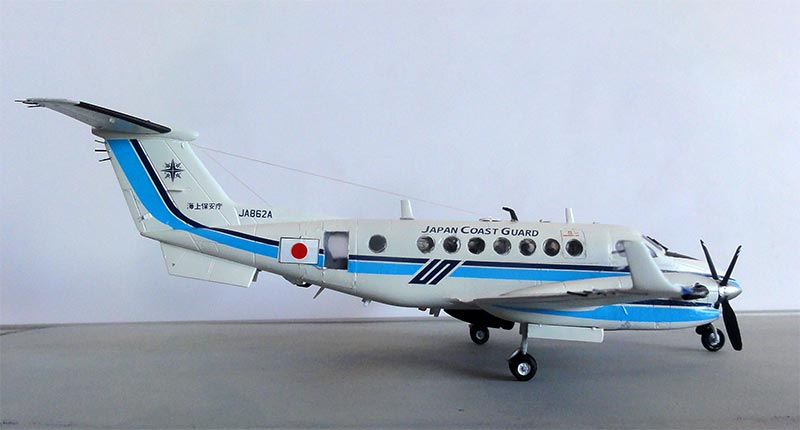
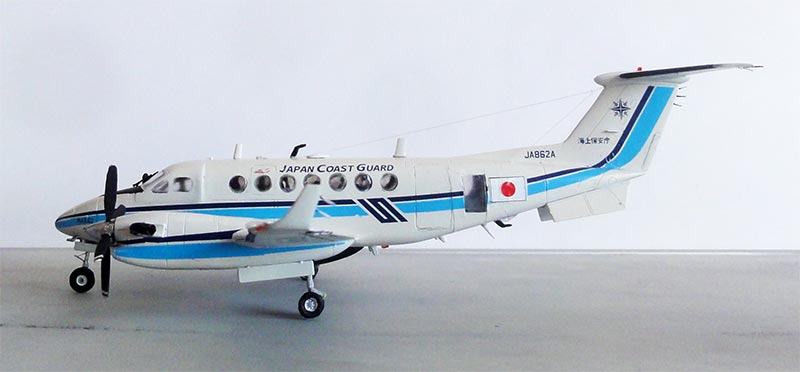
(Hawker) Beechcraft King Air 350, Japan Coast Guard, coded JA862A (c/n MA862). This plane usually based at Ishigaki air station. き.ん.ば.と
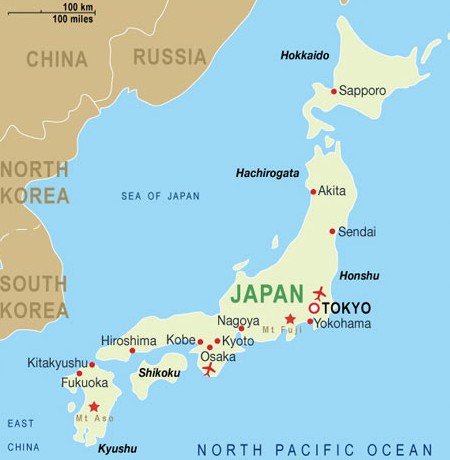
This base is on an island between south Japan Kyushu and Taiwan.
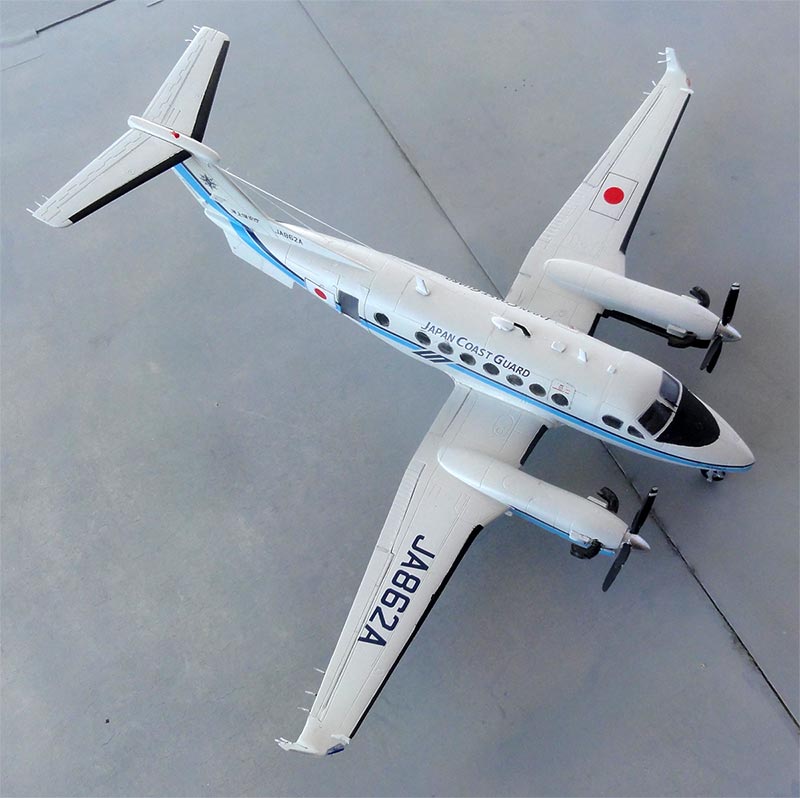
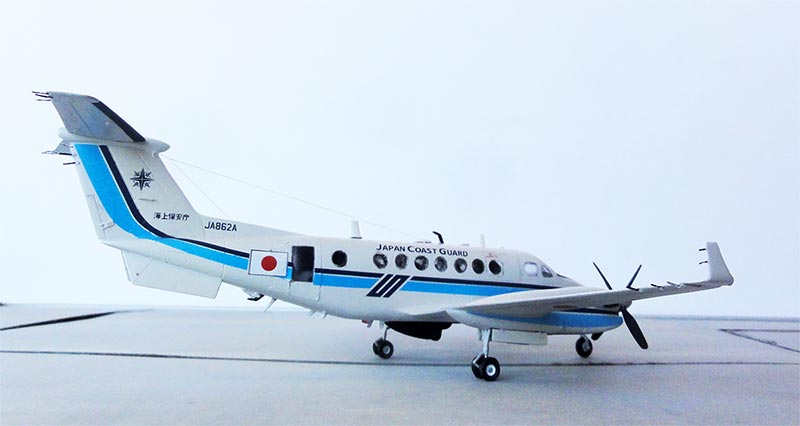
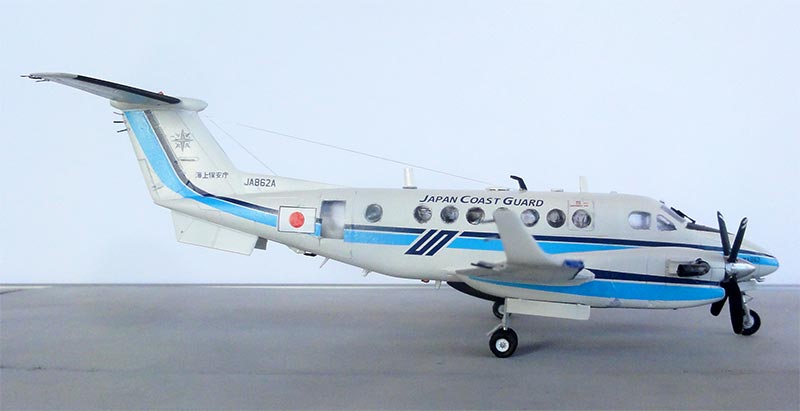
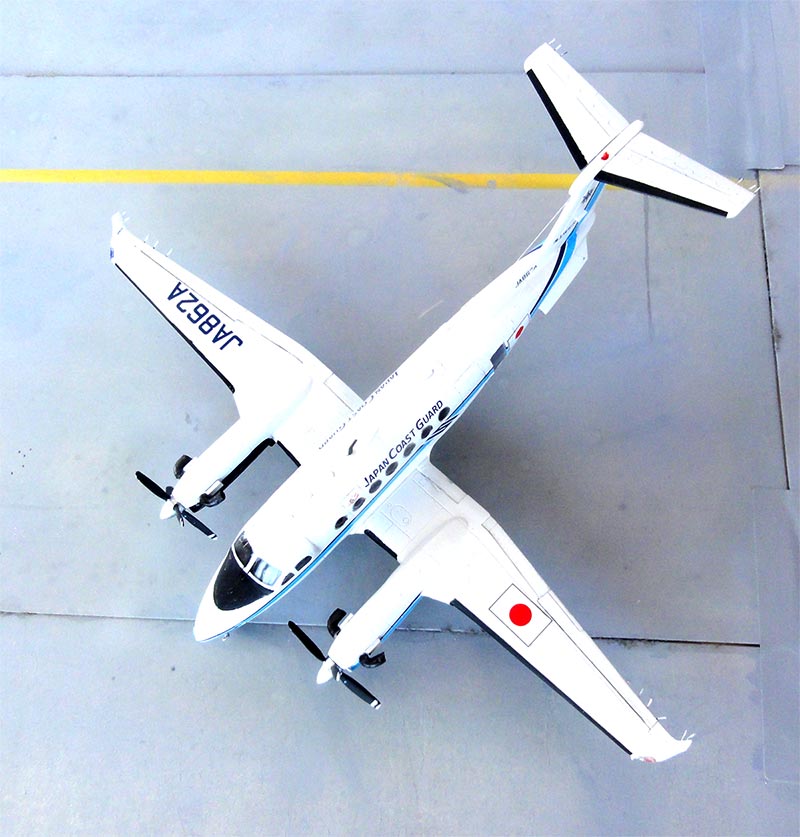
... in a scenery...
A few King Air kits are made also with custom decals for the World Air Forces in Plastic collection.
On to next [ Page 2... ]
books:
- Beech aircraft and their predecessors, A.J. Pelletier, Putnam publishing, U.K 1995
- International Air Power Review, Volume 11, 2003/2004, pages 74...
internet: WikiPedia

(c) Copyright Meindert "designer"/ All rights reserved. Your comments are welcomed by webmaster
Created this page
Sept 24, 2024