[ Page 2 ]
1/32 scale Infinity De Havilland Vampire model kit
... continued from page 1...
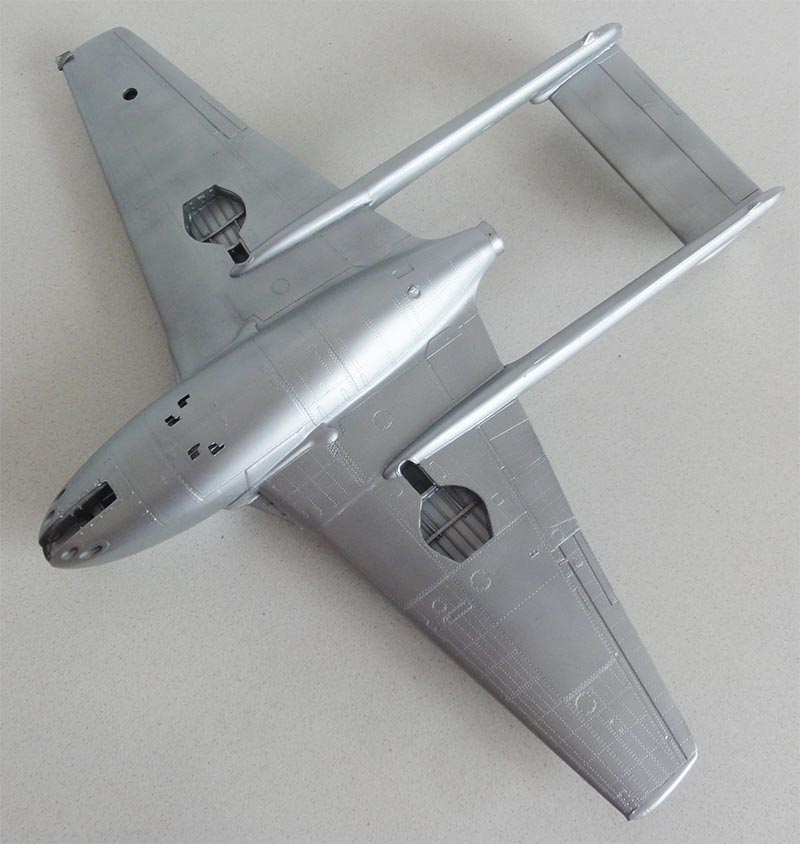
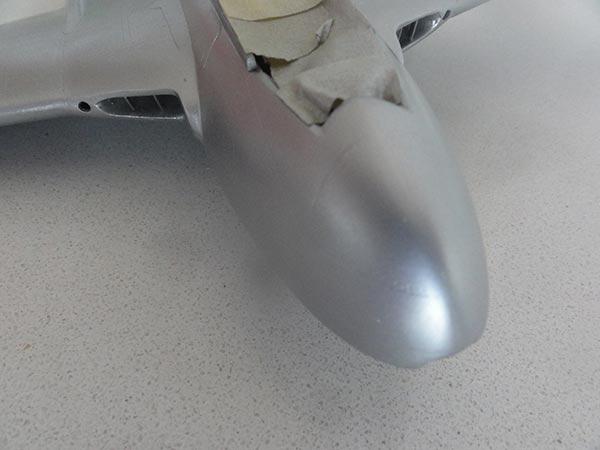
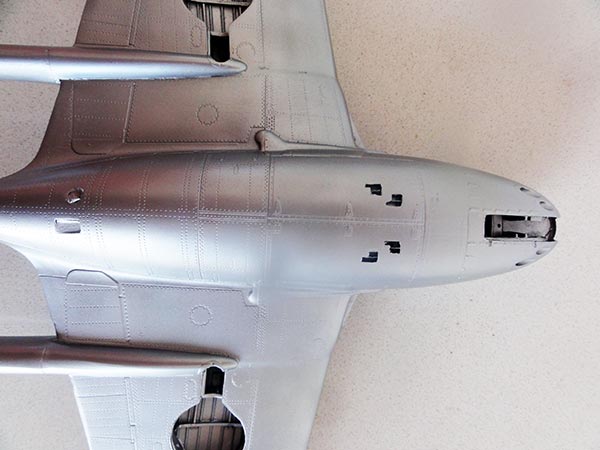
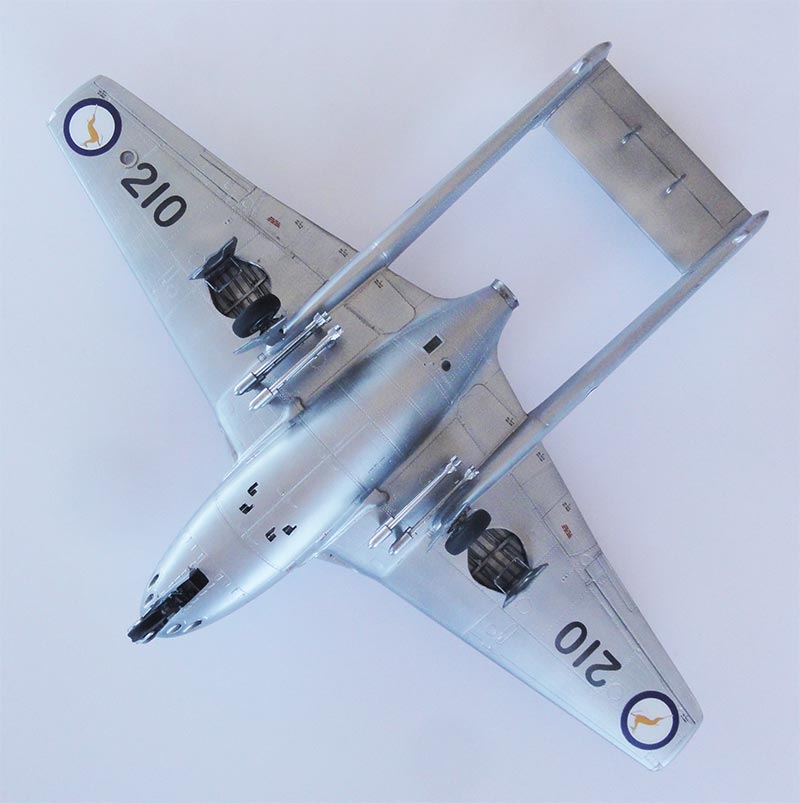
Many Vampires were finished in an overall "high speed silver" finish for most air forces that operated the type. For the high speed silver Revell Aqua 90 "silber" acrylic paint was airbrushed.
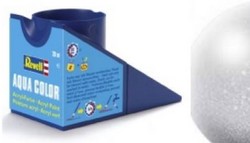
For airbrushing these thick Revell Aqua paints make a mix of 50% paint, 25% IsoPropylAlkohol (IPA) and 25% distilled water.
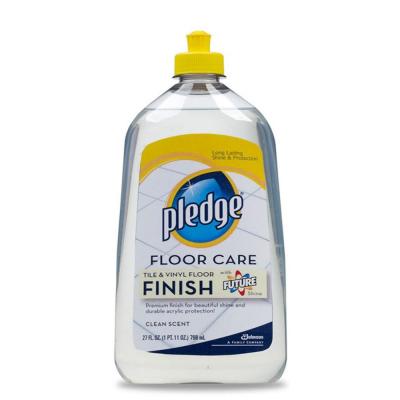
Several varnish Johnson Future/ Pledge layers were airbrushed thinned 30% with IPA and a drop of glycerine as flow improver. This will enhance the gloss "high speed silver" effect.
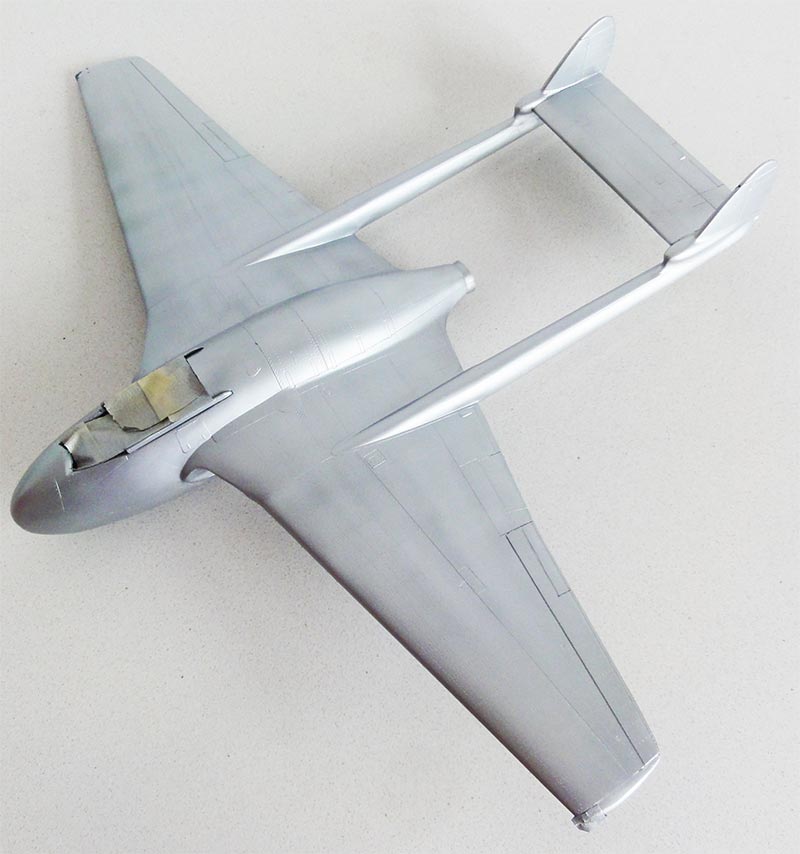
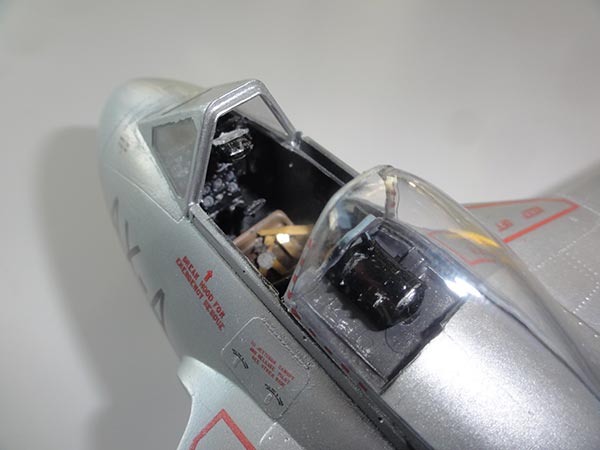
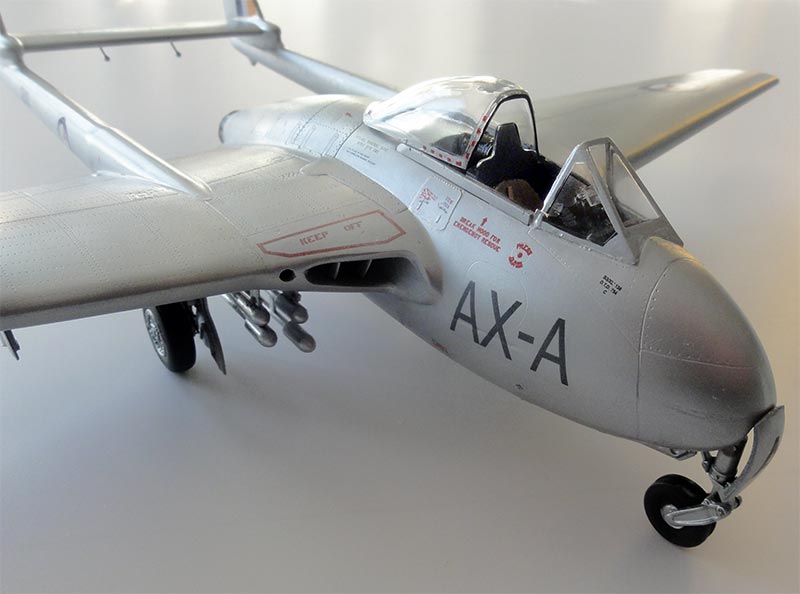
The corrected nose is seen here as well.
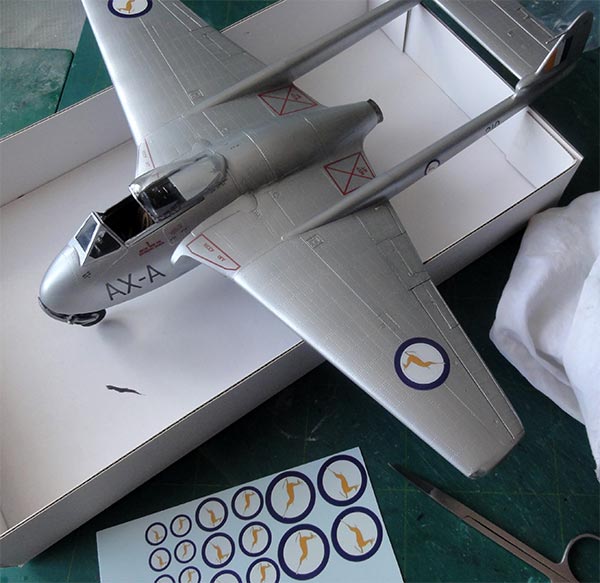
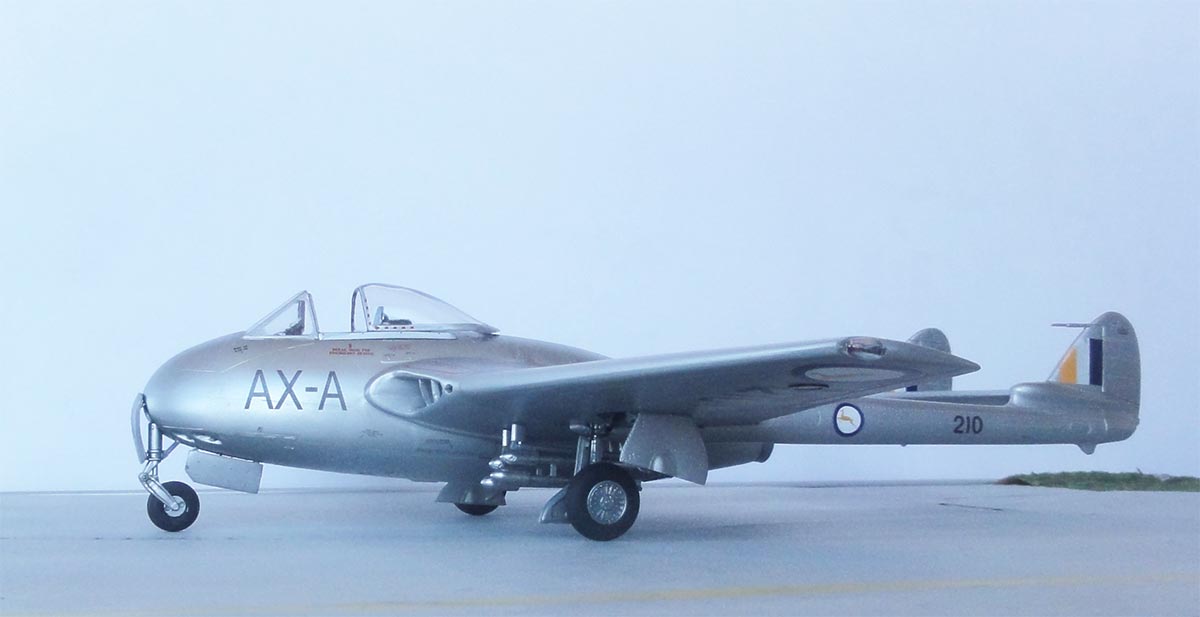
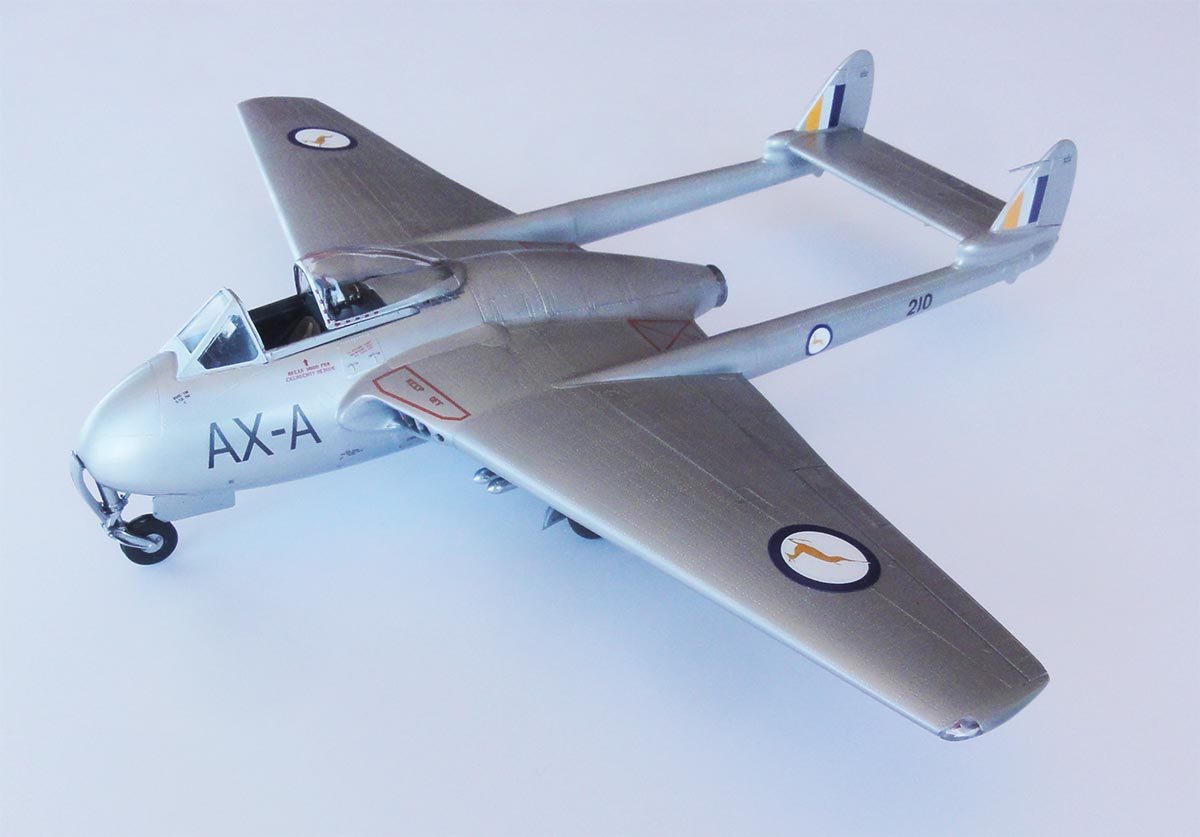
I opted for a South Africa Air Force (SAAF) Vampire scheme which was their first jet fighter and would be a nice companion to their latest jet fighter: the SAAB Gripen 1/32 model made.
From 1950, a total of 50 DH.100 Vampires FB.5/52/ FB.6 and a total of 27 DH.115 Vampire T.11/ T.55 two seaters aircraft was delivered. Codes were 201 up to 277 and these had initially the old style "roundels with the springbok". In 1/32 scale, these had diameters of about 10 mm on the tail booms and 27 mm at the wing. Note that the springbok faces are handed between forward/aft en starboard/port.
Later, the national markings changed to the "springbok in the castle".
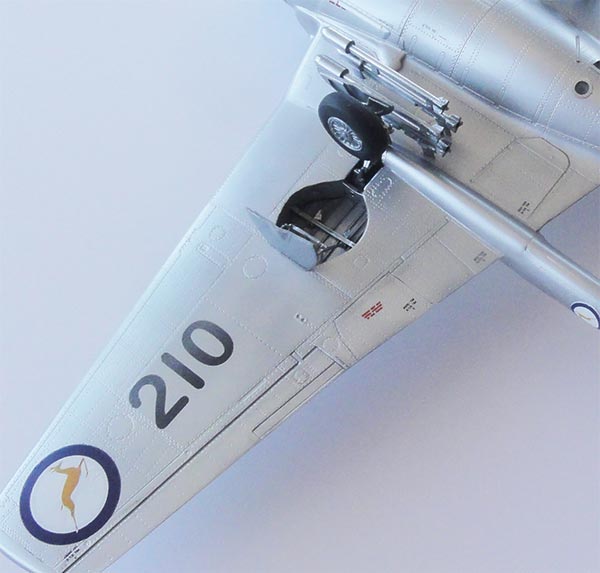
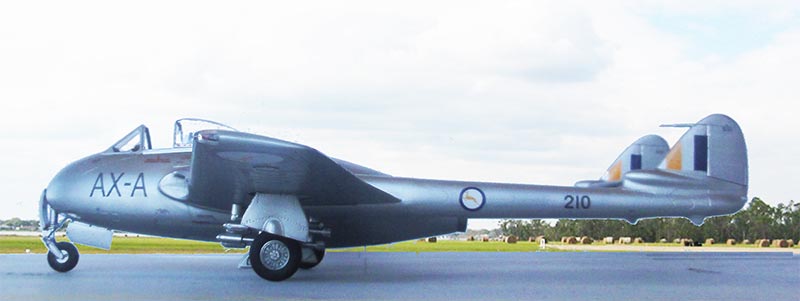
Decals of the correct size in 1/32 were not available to me when I made this model. I designed the specific markings with a graphics PC program looking at various photos. A scheme for a Vampire FB. Mk5 of no.1 squadron coded AX-A and no. 210 was picked as flown in the 1950s. I also designed the markings for Vampire no. 216 of the Flying School flown still in 1971 that had dayglow panels (but these decals remained unused).
The decals for home use were custom printed by a Third Party on an OKI laser printer and include the "white" colour.
NOTE: I was later informed that the "springbok shape" in the roundel was INCORRECT! So I made new decals and these will "be set" over the old roundels. The SAAF tail flash has an orange bar.
Photo below shows on the right the better shapes springbok. 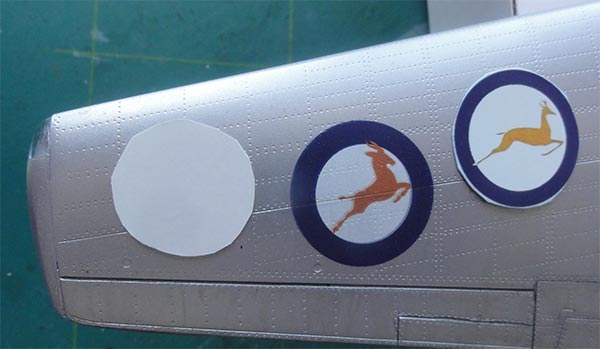
Each custom printed decal needed to be cut out with fine scissors from the continuous decal sheet. The smaller stencilling came from the kit decals, assuming the "B-" stencilling for the RAF scheme to be applicable to the SAAF Vampires as well.
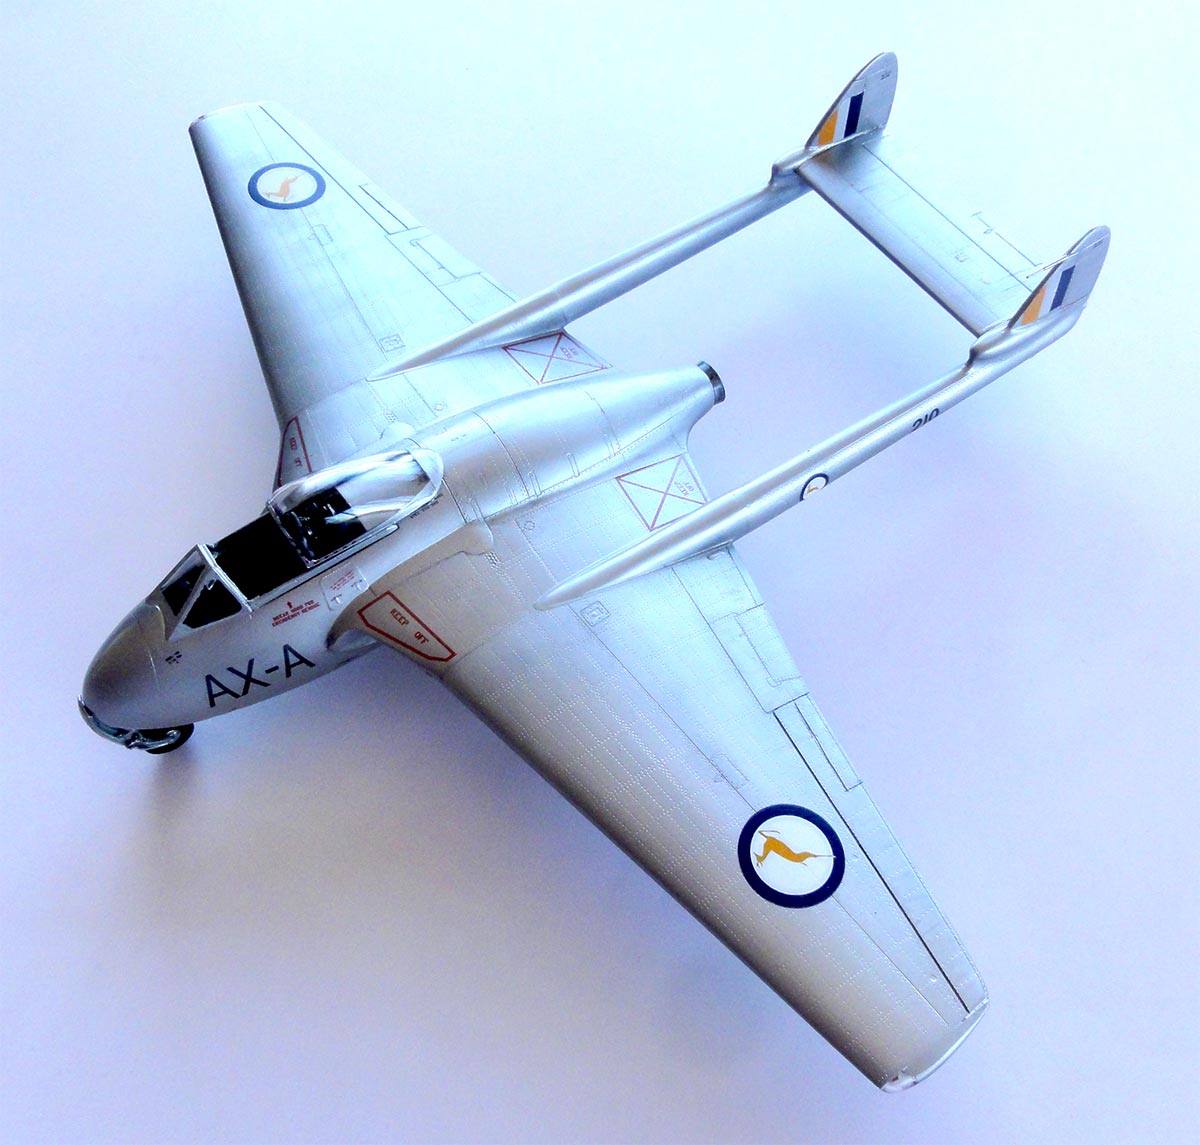
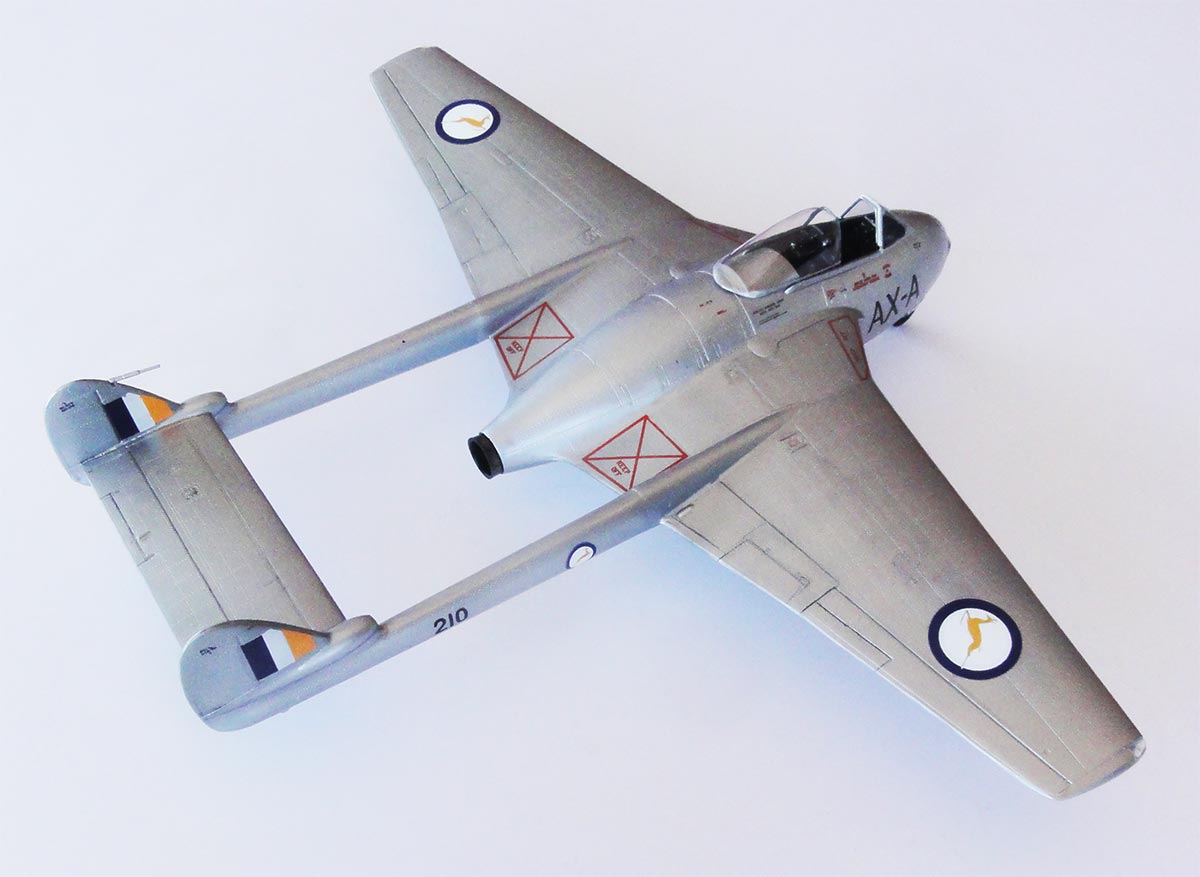
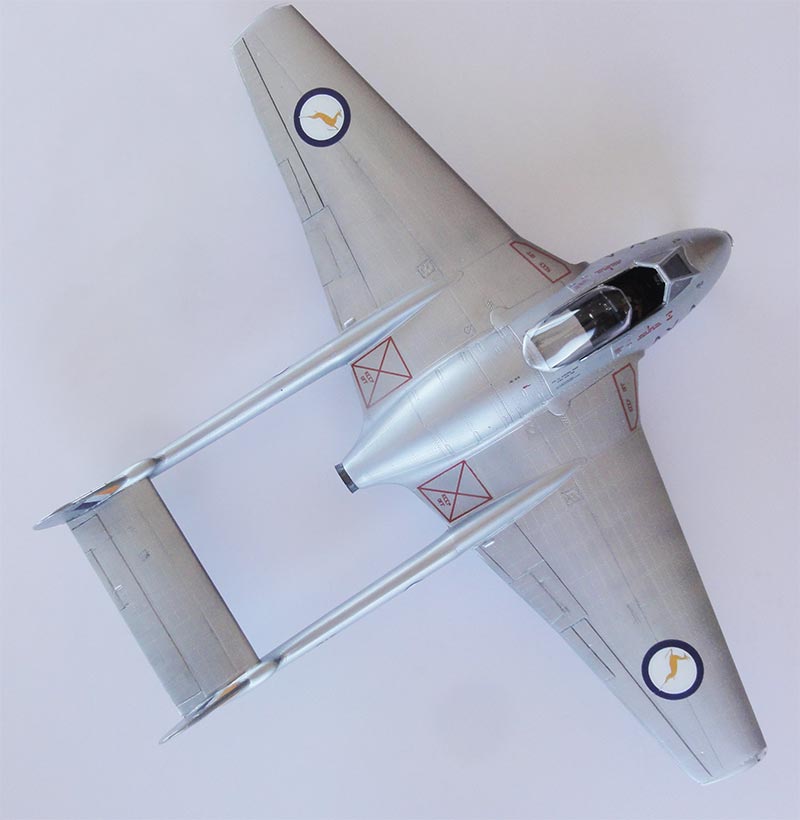
The roundel positions are similar to those seen at Royal Air Force Vampires with the lower wing roundels situated more towards the wing tip.
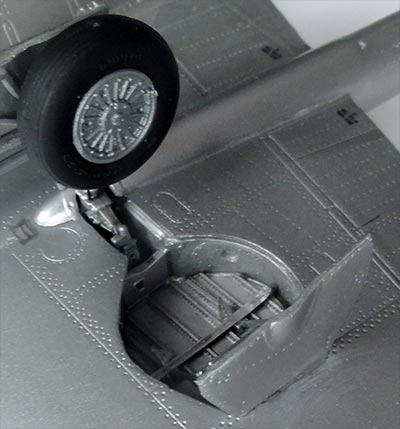
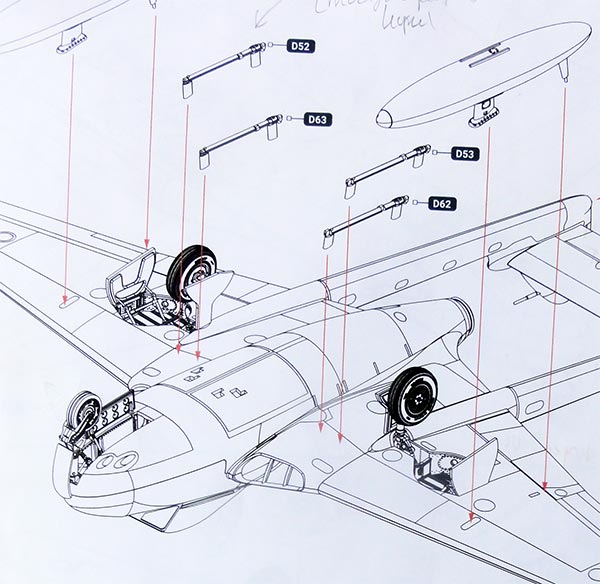
The main landing gear parts were now to be installed. It seems that the FB.50 had a longer stroke undercarriage and the kit parts look good. For the main wheels, 2 types of hubs are in the kit. I used for the FB.mk 5 the parts #D7.
Fitting the two main gear legs #D36 is a bit troublesome. The main gear legs are very sensitive on how the side walls with the attachment lugs of the gear bays were precisely glued earlier in STEPs 12+13. I had to trim the stubs on the gear legs. The instructions a bit unclear and unfortunately no drawing is included in the instructions on how it all gear bits should be set and aligned. I looked at my references and set the main gear legs at 90 degrees.
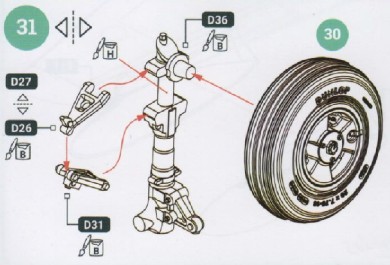
It was also unclear in STEP 31 how the anti-torque scissors #D31, D26, D27 should be fitted, I think they should be set at the rear leg side on both port and starboard main gear legs. I also added an oil hydraulic curved pipe made from black stretched sprue on each leg.
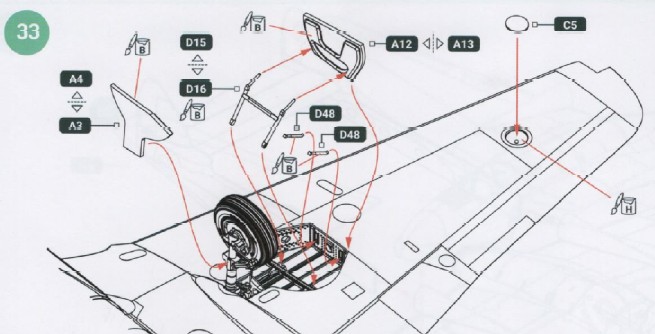
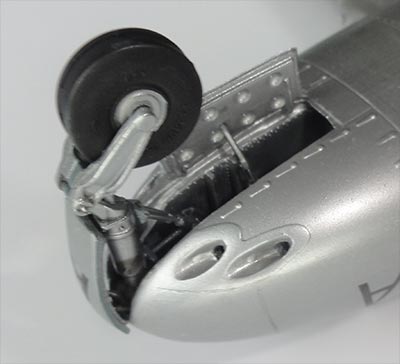
The Infinity kit nose wheel has a correct shimmy tyre with parts #D78+79 and was installed with its gear leg #D16. I think that in STEP 37 the gear door rod #D3 should be set at the other side wall, otherwise it will interfere with a gear retraction. The front nose gear door #A6 has nice detail and should be set a bit above the nose gear bay as seen in STEP 43.
The small etched metal frames for the light and small belly windows seen in STEP 42 were set after these had been painted silver with super glue; they look may be still too thick but have nice detail.
The rear exhaust pipe ring (unmarked but #D5) shown in STEP 42 was trimmed a bit; I removed 2 mm and set it in place with the wider opening at the rear. The exhaust insides' were painted black and burned black on the outside exhaust ring.
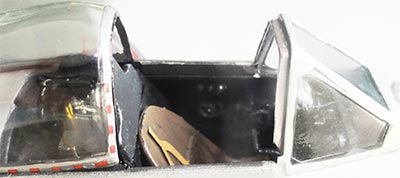
The excellent cockpit as per kit had gotten earlier a black/ very dark grey airbrushed coat to avoid a "coal hole" effect with some drybrushing done as well. Now cockpit details were completed as indicated in instruction STEPs 1, 10, 11. Early Vampires had no ejector seat! Photos suggest these had a sort of RPB – Synthetic Resin Bonded Paper – known as ‘the plastic seat’ as in many Spitfires. I painted the seat part with several brown shades. The pilot seat harness is provided in the kit with etched metal strips; these were set after those were painted leather brown with the buckles painted in silver. There is plenty of detail here.
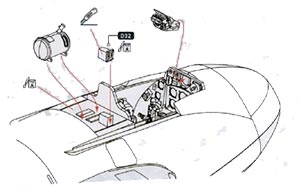
I suggested some electrical wires for the cockpit instruments made with black stretched sprue at the rear of instrument panel #D71. The gun sight #D24 and smaller parts in STEP 29 on the coaming were installed as per kit. The small provided decals for cockpit side walls, knobs and regulator switches were also set.
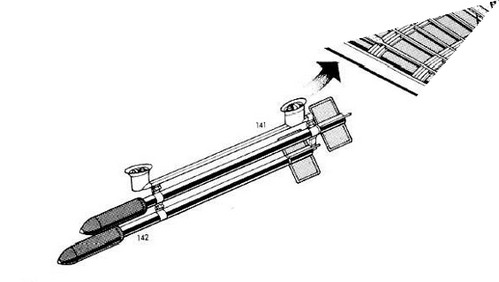
It was decided to set unguided rockets. You get their rails in the kit but not the rockets (these are Infinity aftermarket sets). The Infinity kit FB.5 instructions show were the rails should be installed, seen here...
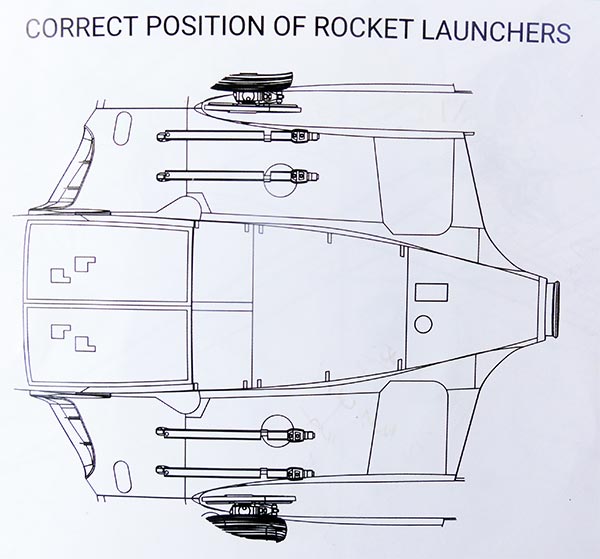
I used 60 lb. rockets from the Matchbox/Revell Sea Venom kit, they were painted "steel" and installed in pairs.
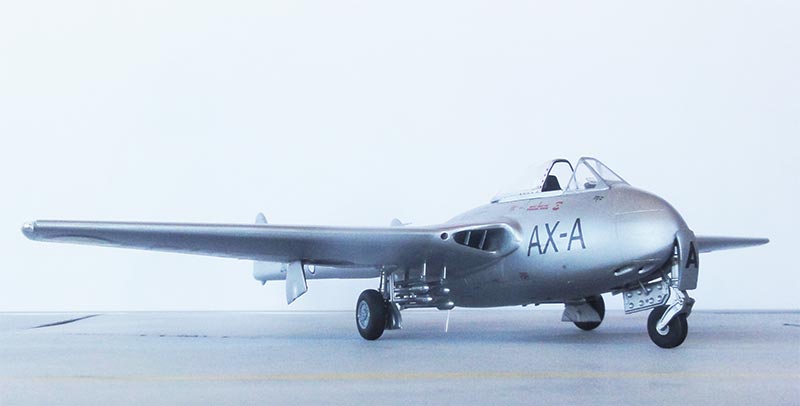
The pitot tube was set on the port vertical tail fin but did not see any radio antennas in photos.
The model is almost impossible the keep on its nose gear! Despite a lot of ballast weight in the nose and adding more ballast.... I was unsure if the gear would hold in the long term. So a piece of transparant stretched sprue was installed below the rear of the fuselage belly (set in a tiny drilled hole); it is hardly noticeable.
![]()
The gaps
and edges of control surfaces got a dark wash for added realism. I used a mix of varnish and
black paint applied with a fine brush or use your own favourite method.
A clear gloss varnish Johnson Future/ Pledge coat was airbrushed on the overall model with my usual technique. This will give an even sheen and protect the decals.
I painted a front frame though and the windscreen was set in place as seen in STEP 41. Some 1 mm off the ridge at the rear of the windscreen #1. Some trimming and white glue was needed to close the gaps when installing the windscreen. The canopy got the red kit decal stripes #B28+B29.
The canopy was set slided open and fixed with a drop of white glue.
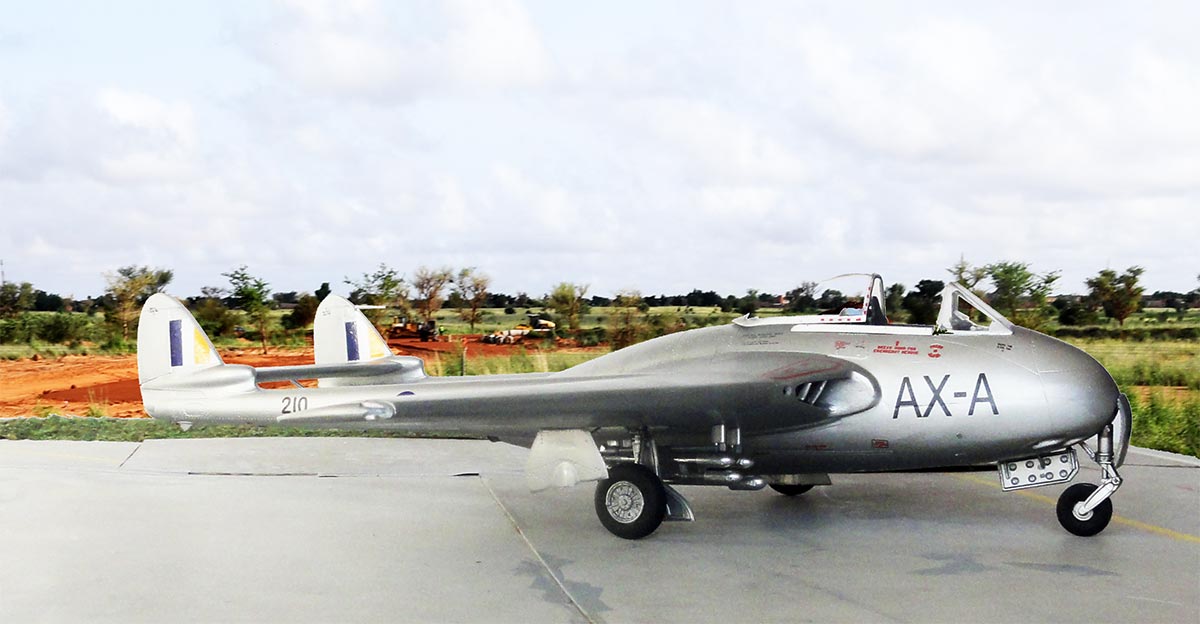
That completed this very nice 1/32 Infinity Vampire kit which was the HPH' first endeavour into "normal plastic moulded kits". You can check out my completed HPH resin 1/32 kits here of the AERO L-29 Delfin and AERO L-39 Albatros.
![]()
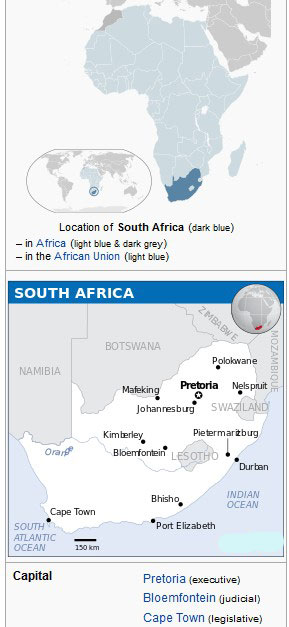


[area: 1,221,000 sq.km | population: 60 million | capital: Pretoria | GDP 6,500 USD per capita nominal ]
From 1950, a total of some 50 DH.100 Vampires FB.5/52/ FB.6 and about 27 DH.115 Vampire T.11/ T.55 two seater jets was delivered.For more information about the South
African Air Force (SAAF) look at the Mirage page here...

... in a scenery ...
NOTE: if you would like to make your kit in a similar scheme and need decals, drop me a mail; it may be possible to make another decal print.
To next [ Page..... ]
Back to 1/32 Models.......

(c) Copyright Meindert "designer"/ All rights reserved. Your comments are welcomed by webmaster
Created this page
October 18, 2022