Improving the 1/32 Revell kit
[ page 6 ]
... continued from page 5...
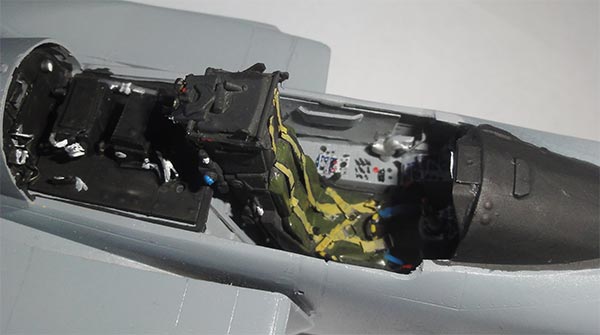
COCKPIT DETAILING
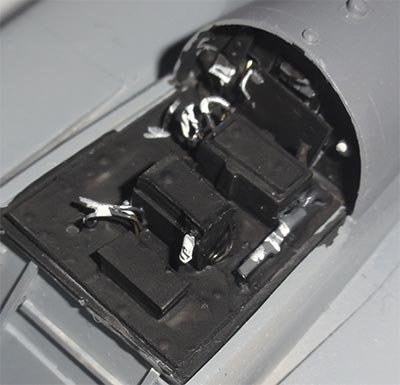
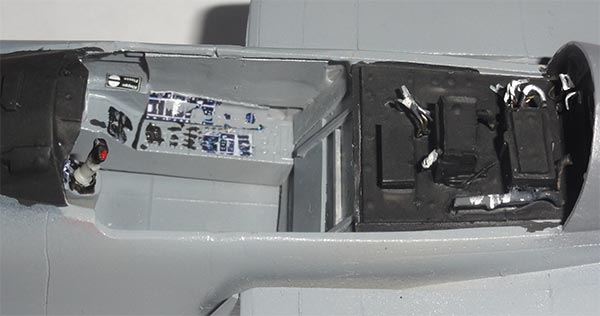
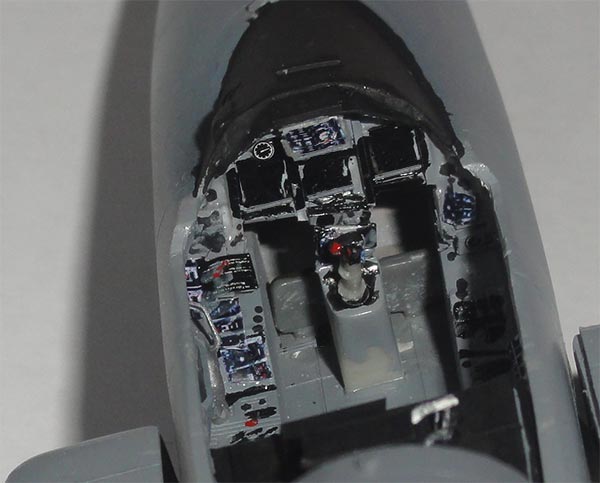
The kit cockpit parts are unusable, Revell did not have the information as the Gripen was still highly secret. A few decades later, it is surprising that still no full 360 degree cockpit photos can be found in various books and internet. Many still show mock-up photos.
A few good photos were found in a Czech book showing Czech Gripen details including some cockpit photos. The overall impression is that the Gripen has a rather clean cockpit layout.
The main instrument panel has 3 large CRT displays and a few “clocks” only. The panel was made from scrap.
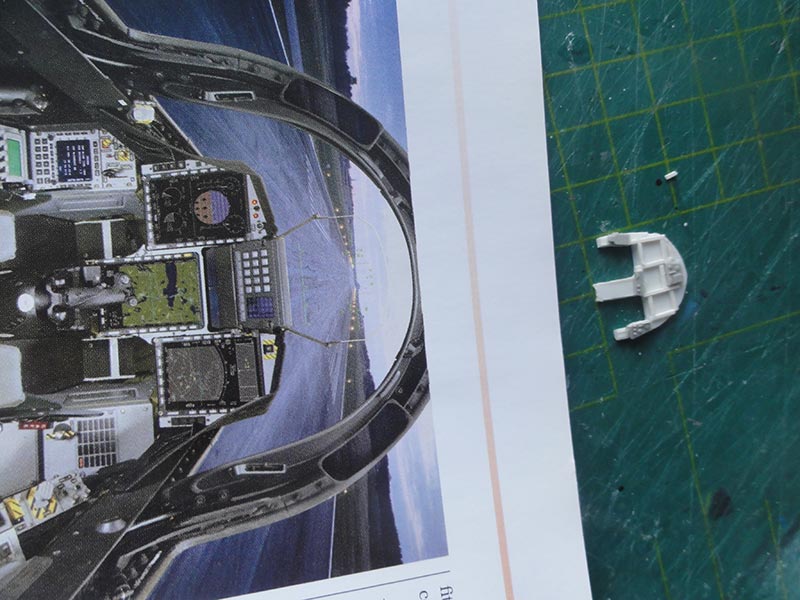
The panel is pretty small even in 1/32!
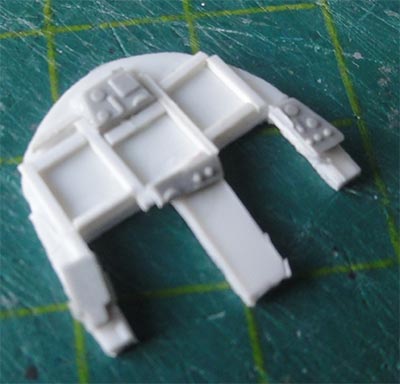
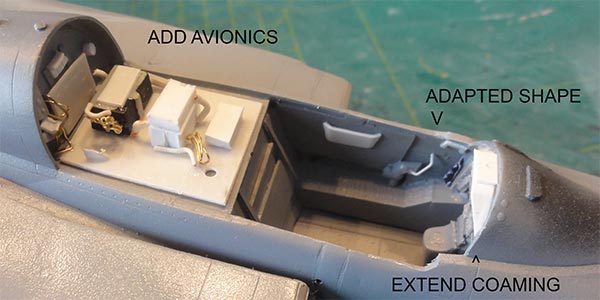
The smaller side panels and details were made from bits found in the spares box and decals. At the front of the instrument coaming a sort of angled extension plate was made from card.
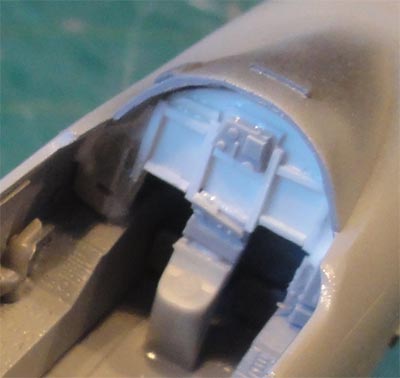
The basic interior colour is probably FS36320 with black details and black internal canopy frames.
The rear avionics boxes need a new scratch replacement. Card, stretched sprue and metal wires were used with main colours in black.
EJECTION SEAT
As noted earlier a 1/32 Kitty Hawk Mirage 2000 Mk.10 seat will be used for the Gripen Mk.10 SL seat. A seat harness was added made from tape, etched metal buckles from the spares box. The main colour was black with olive green parapack and details in some other colours.

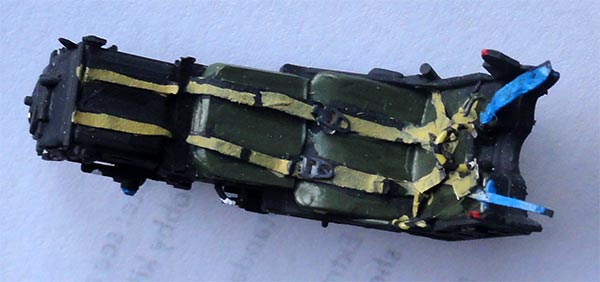
Some etched metal seat buckles were added found in the
spares box.
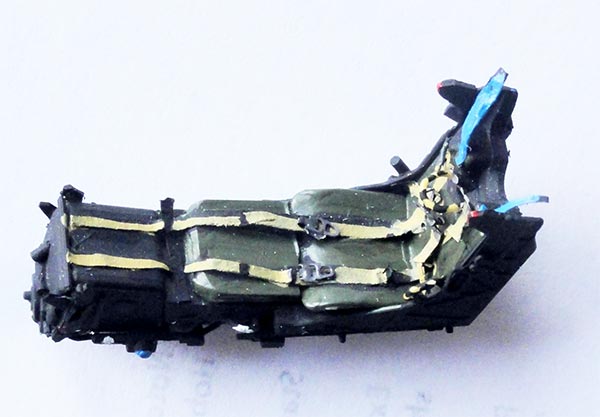
Here it is loosely set in the cockpit…
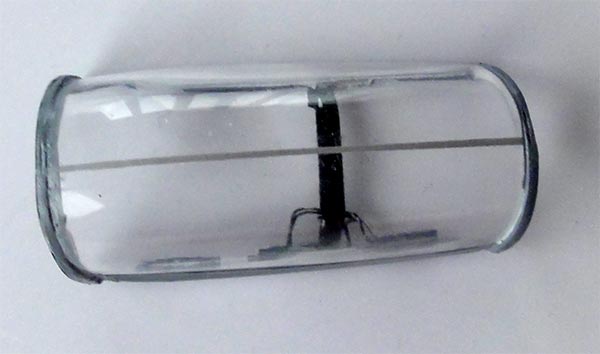
FINAL WINDSCREEN FITTING
A big task now is fitting the windscreen. It had been changed earlier, see previous remarks. Now it needed gap closing. The clear screen was protected with tape. Next, surrounding surfaces protected with masking tape and gaps filled with putty and sanded.
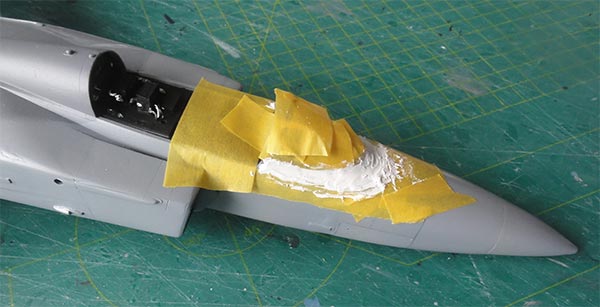
Sanding was done and than another few passes of the grey colour FS36320 coats were airbrushed.
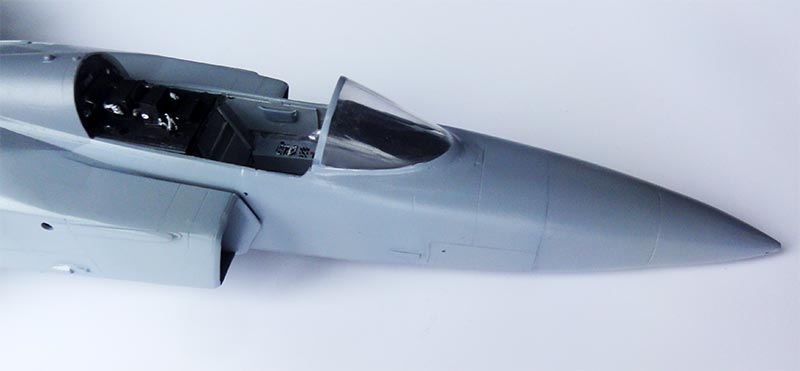
At the same time, a central thin frame was to be painted onto the improved main canopy. After very careful masking, this narrow frame was airbrushed as well (in the FS36320).
page 2
page 3
page 4
page 5
page 6
page 7
![]()
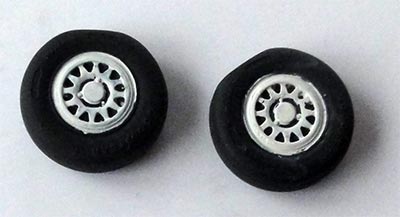
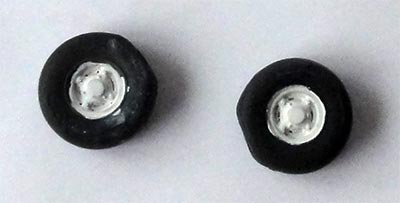
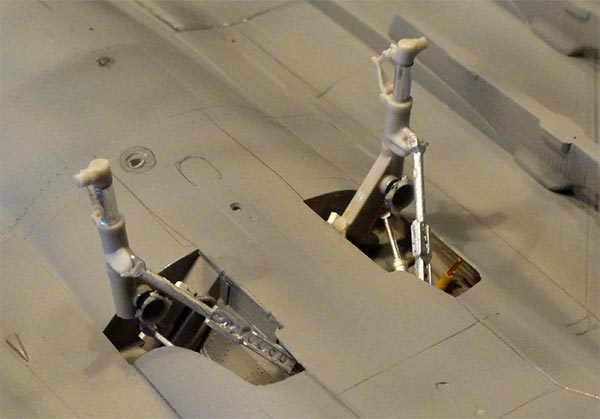
UNDERCARRIAGE
The
undercarriage takes some rework. The too small diameter kit wheels
were replaced by new ARMORY resin wheels from their set AR AW32503. 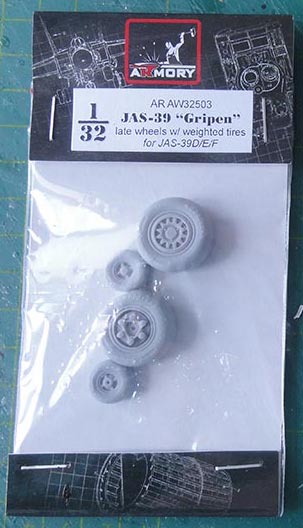
The main gear struts from the kit were measured and checked with photos. Those from the kit are not that bad at all and have the correct angles and dimensions! I checked the track of 2,4 meter (or 7,7 cm in 1/32) and the height of the legs without the legs set fixed. After it was clear how to set these, the main legs were installed.
In the main bays, some details were added made from scrap with electrical wire and stretched sprue. Detailing the main gear is not a lot of work.
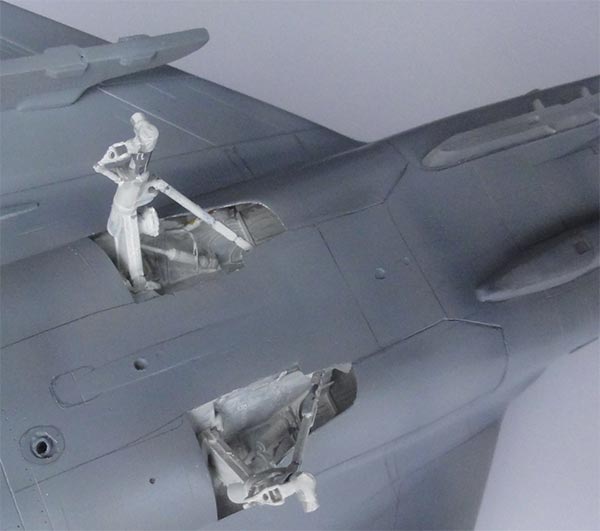
Note that the big main gear doors are in the “closed” position as seen on most parked Gripens. A few small curved gear doors were made from card (not seen here).
KEEP WATCHING THIS MODELLING REPORT
Back to 1/32 models.......

(c) Copyright "designer"/ All rights reserved. Your comments are welcomed by webmaster
Created
February 16, 2022