Improving the 1/32 Revell kit
[ page 5 ]
... continued from page 4...
The next important mile stone is going forward with the colour scheme…
PANELS AND COLOUR SCHEME
The model got a few recessed panellines with the OLFA panel scriber. But I did not add many as large areas are puttied and not to spoil the surface appearance. A lot can be done also with pencilled lines and shading.
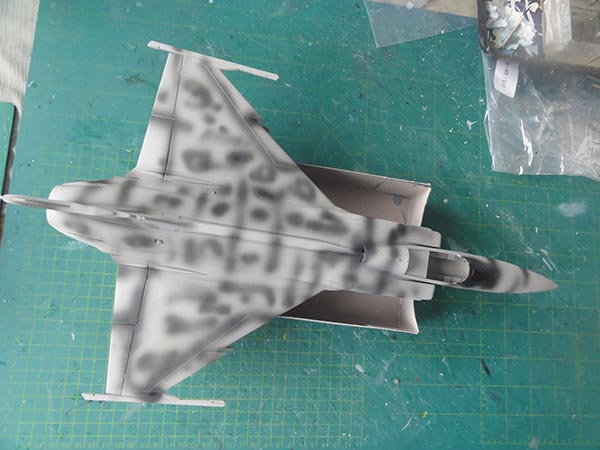
As seen, a few base “weathering” effects with black patterns were airbrushed for any recessed panel lines.
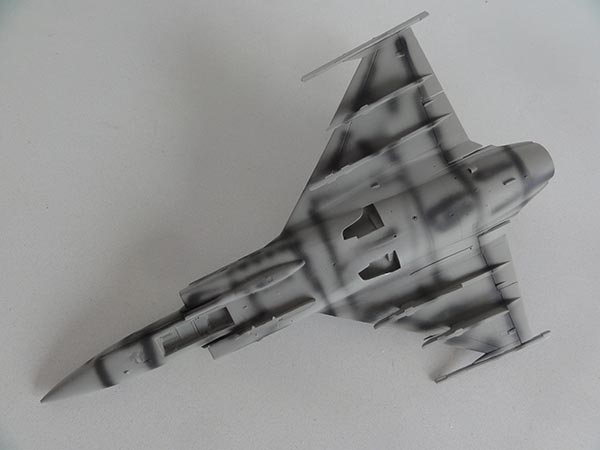
Now what scheme and air force to pick?
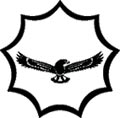
My long time modelling friend Erwin persuaded me to make this model in a South Africa Air Force (SAAF) scheme and provided some documentation also from South african friends. Though this would need some custom made decals with low visibility SAAF markings and flag. These sport low visibility SAAF markings and flag.
I will design the decals with a graphics program on the PC and the decals than will be laser printed by a friend on decalpaper.
For the SAAF scheme the Gripens show a sort of “diamond shaped pattern”. These scheme colours are approx. an overall scheme of Fed.Std FS36320 grey and the diamond in FS36118.
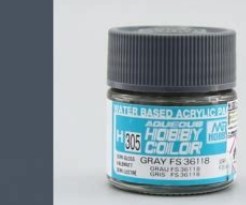
Gunze Sangyo acrylic colours were airbrushed of respectively H307 and H305 but any paint brand will do for these Federal Standard colours.
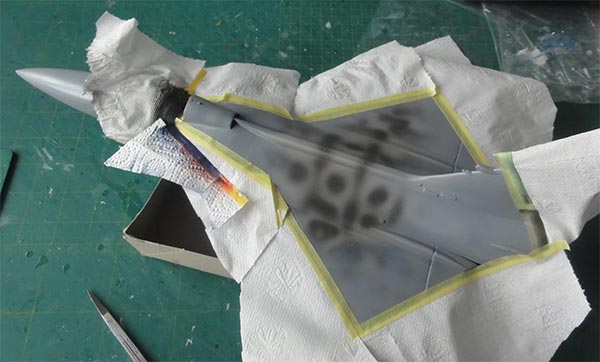
Some “soft masking” is needed with now the diamond seen..
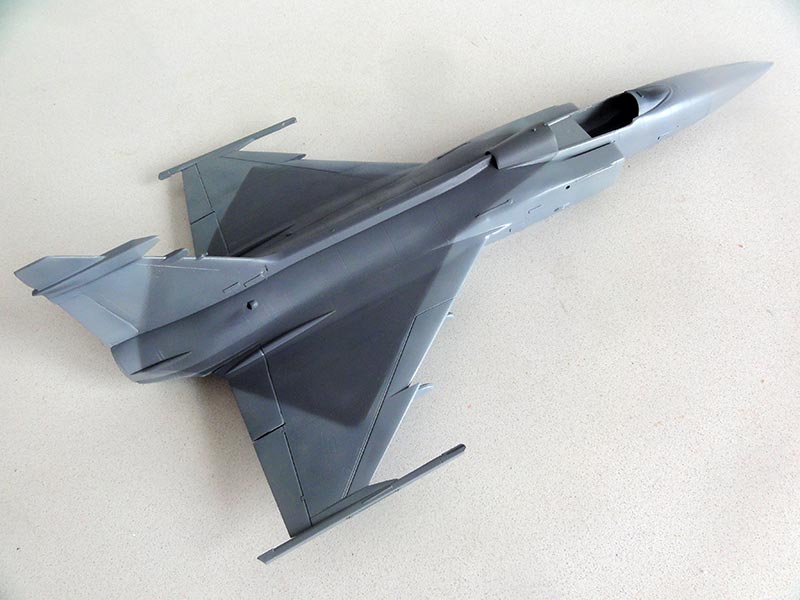
The gear bays and door insides are mainly white.
page 1
page 2
page 3
page 4
page 5
MAIN CANOPY
As the cockpit sill had been increased 4 mm in length, so the canopy should be increased in length, the proportions will than also look like seen on the real Gripen.
The approach chosen was to shave off any raised kit canopy details. Frames of 2 mm each at the rear and front edges will be added from bended card strips.
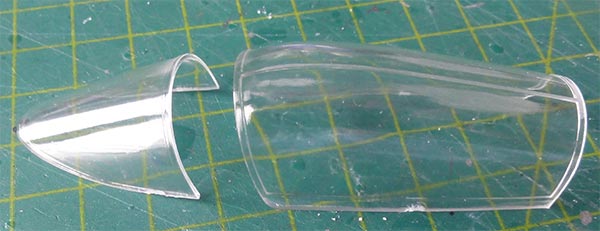
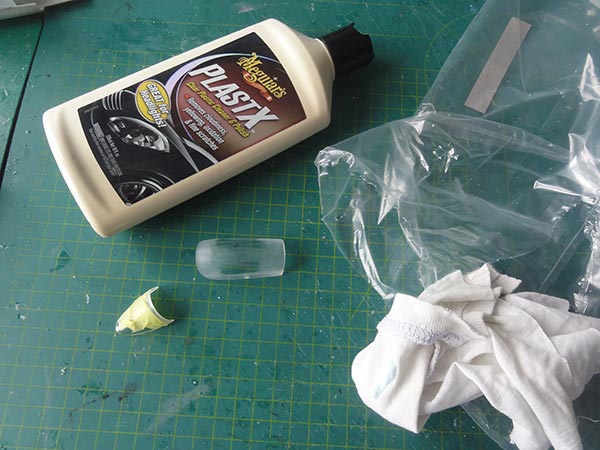
First the canopy was, after masking the main areas, carefully sanded at the raised edges so the raised frames are now removed/ hidden and than polish A LOT!
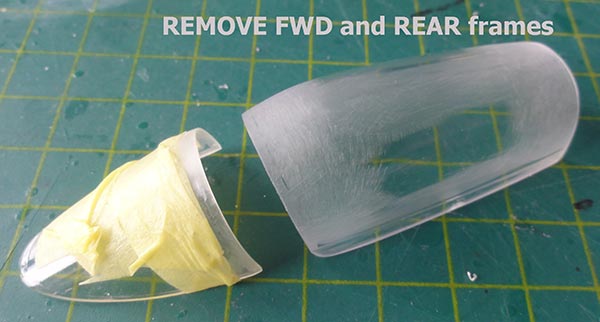
The needed canopy extension of frames of 2x 2 mm width: at front and rear edges were made with bended plastic strip.
The interior of the canopy framing was made from scrap with card looking at photos. This canopy is turned open to the left, there is a strength bar aft of the seat. Also, I saw rather wide edges at the canopy front with the mirrors almost being unvisible when seen from the front. The mirrors were cut from metal sheet.
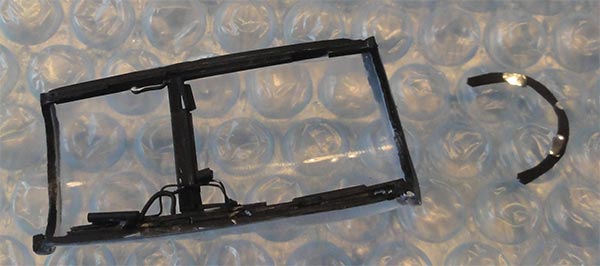
Detailing the canopy requires care as not to damage the clear section. Main frame colours are black.
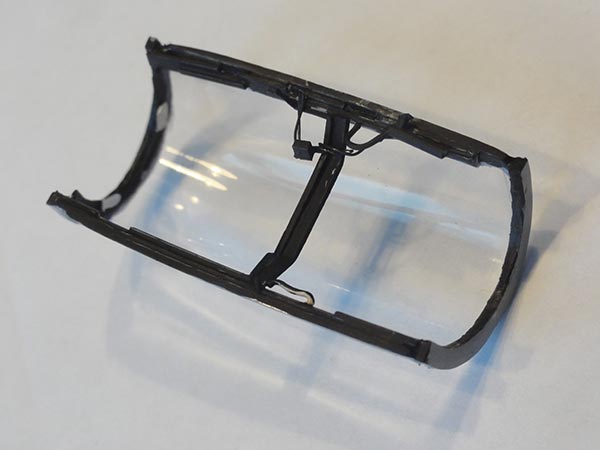
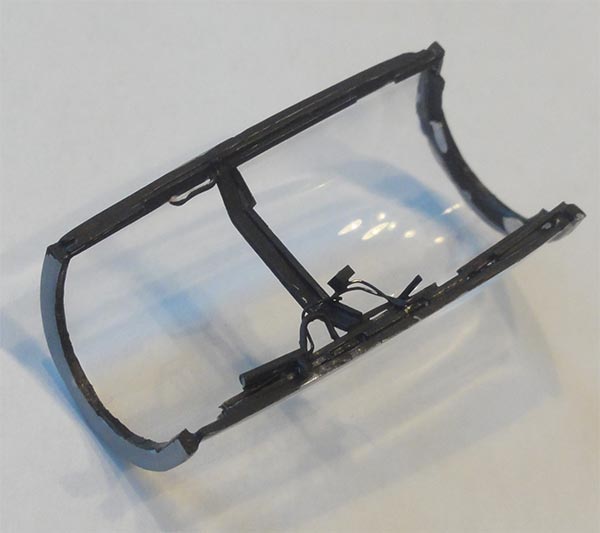
IMPORTANT NOTE: a central thin frame is not yet set, it will be added later onto the canopy top centre line.
WINDSCREEN
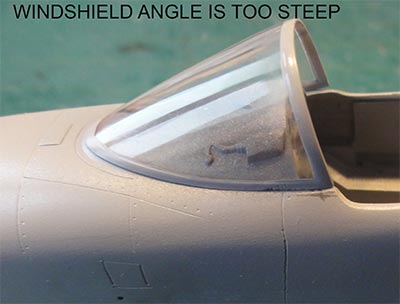
The windscreen was the next item. It was placed in position but it did not look good. It seemed that the steep angle was a bit too much. To make sure, another overall model side view photo was made from long distance to avoid camera lense distortion. With the photo editor program it superimposed on the scale drawing.
I concluded that the windscreen should still be set about 2 mm more forward and tilted a bit to get a less steep angle…
This can be achieved in 2 steps: first by removing some plastic at the rear area of the windscreen mating surface; this is marked here “red”:
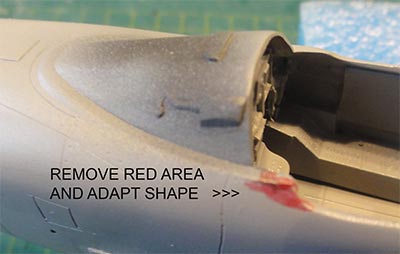
Sand symmetrical. Next, I added a strip of 1 mm below the front of the wind screen nose at the mating surface. There will than be a visible gap but this can be closed/ filled with putty. The other small gap between the windscreen rear edge and front of canopy is not obvious as the canopy will be set open on the model. To be done.....
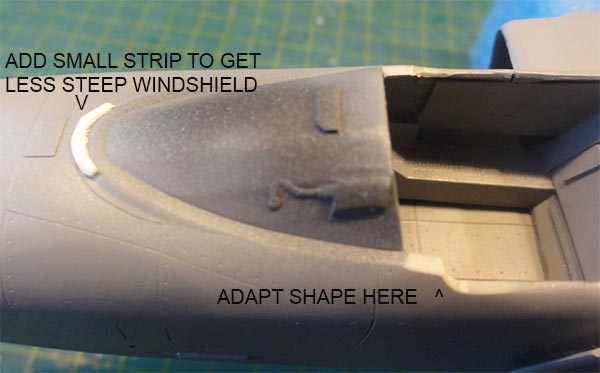
PHOTO CHECKS
A new side view photo with corrected wind screen sit (again from long distance to avoid camera lense distortion) was made and another check including the "line patterns" as seen here:
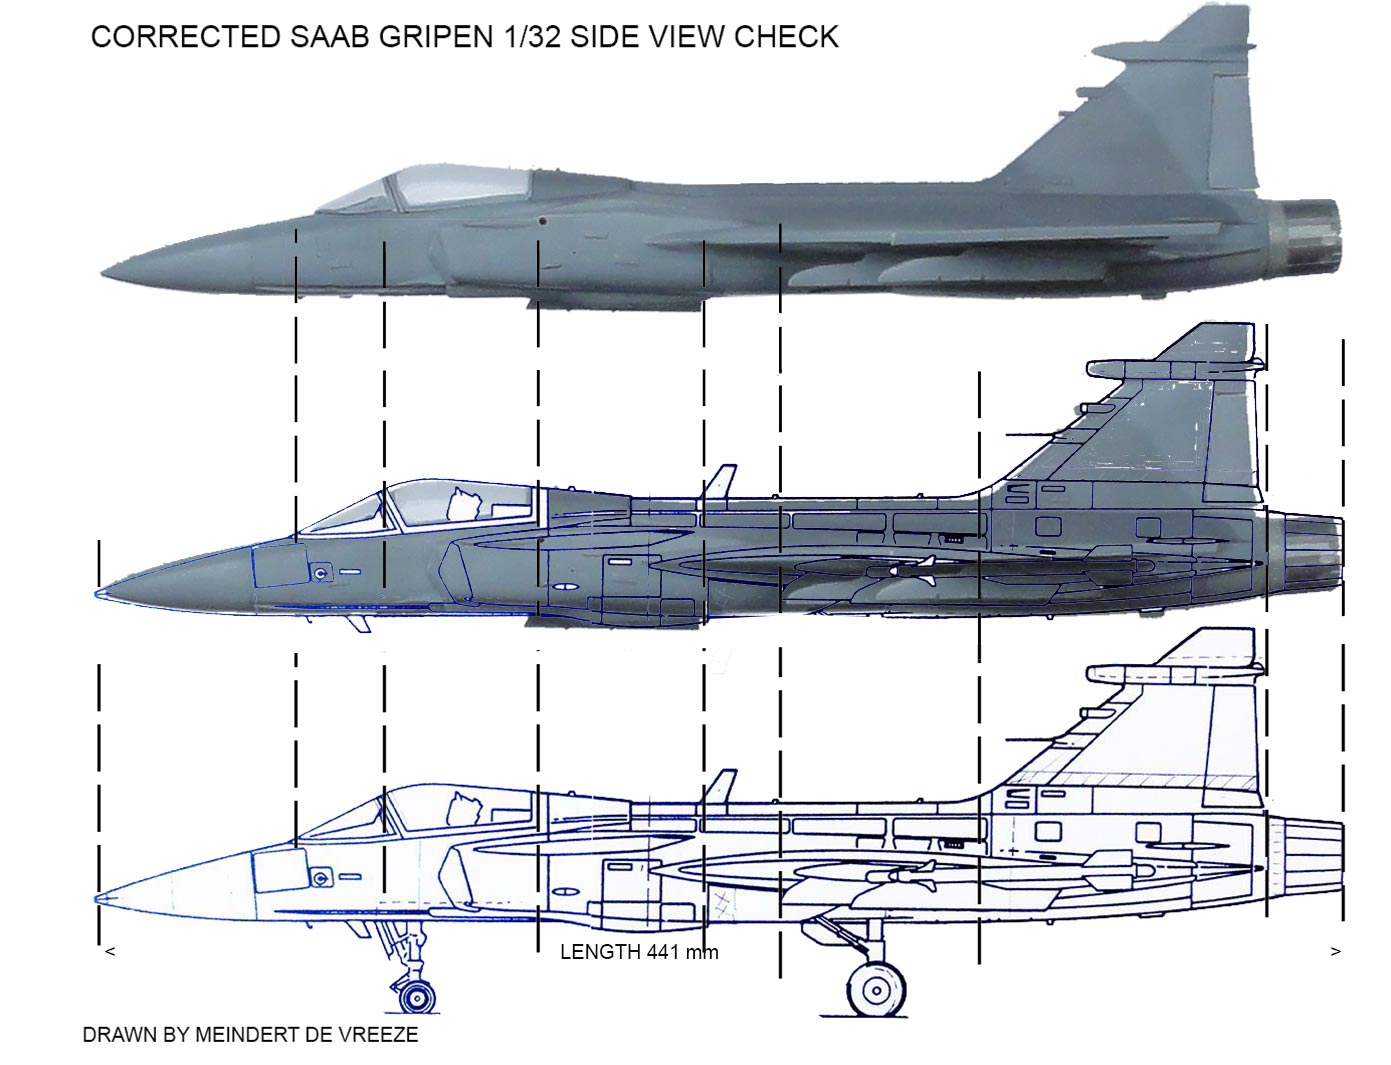
The side profile looks fine though the intake looks to be about 1 mm bit too far forward but this is almost undetectable.
An upper view photo was made from a large distance to do a check.
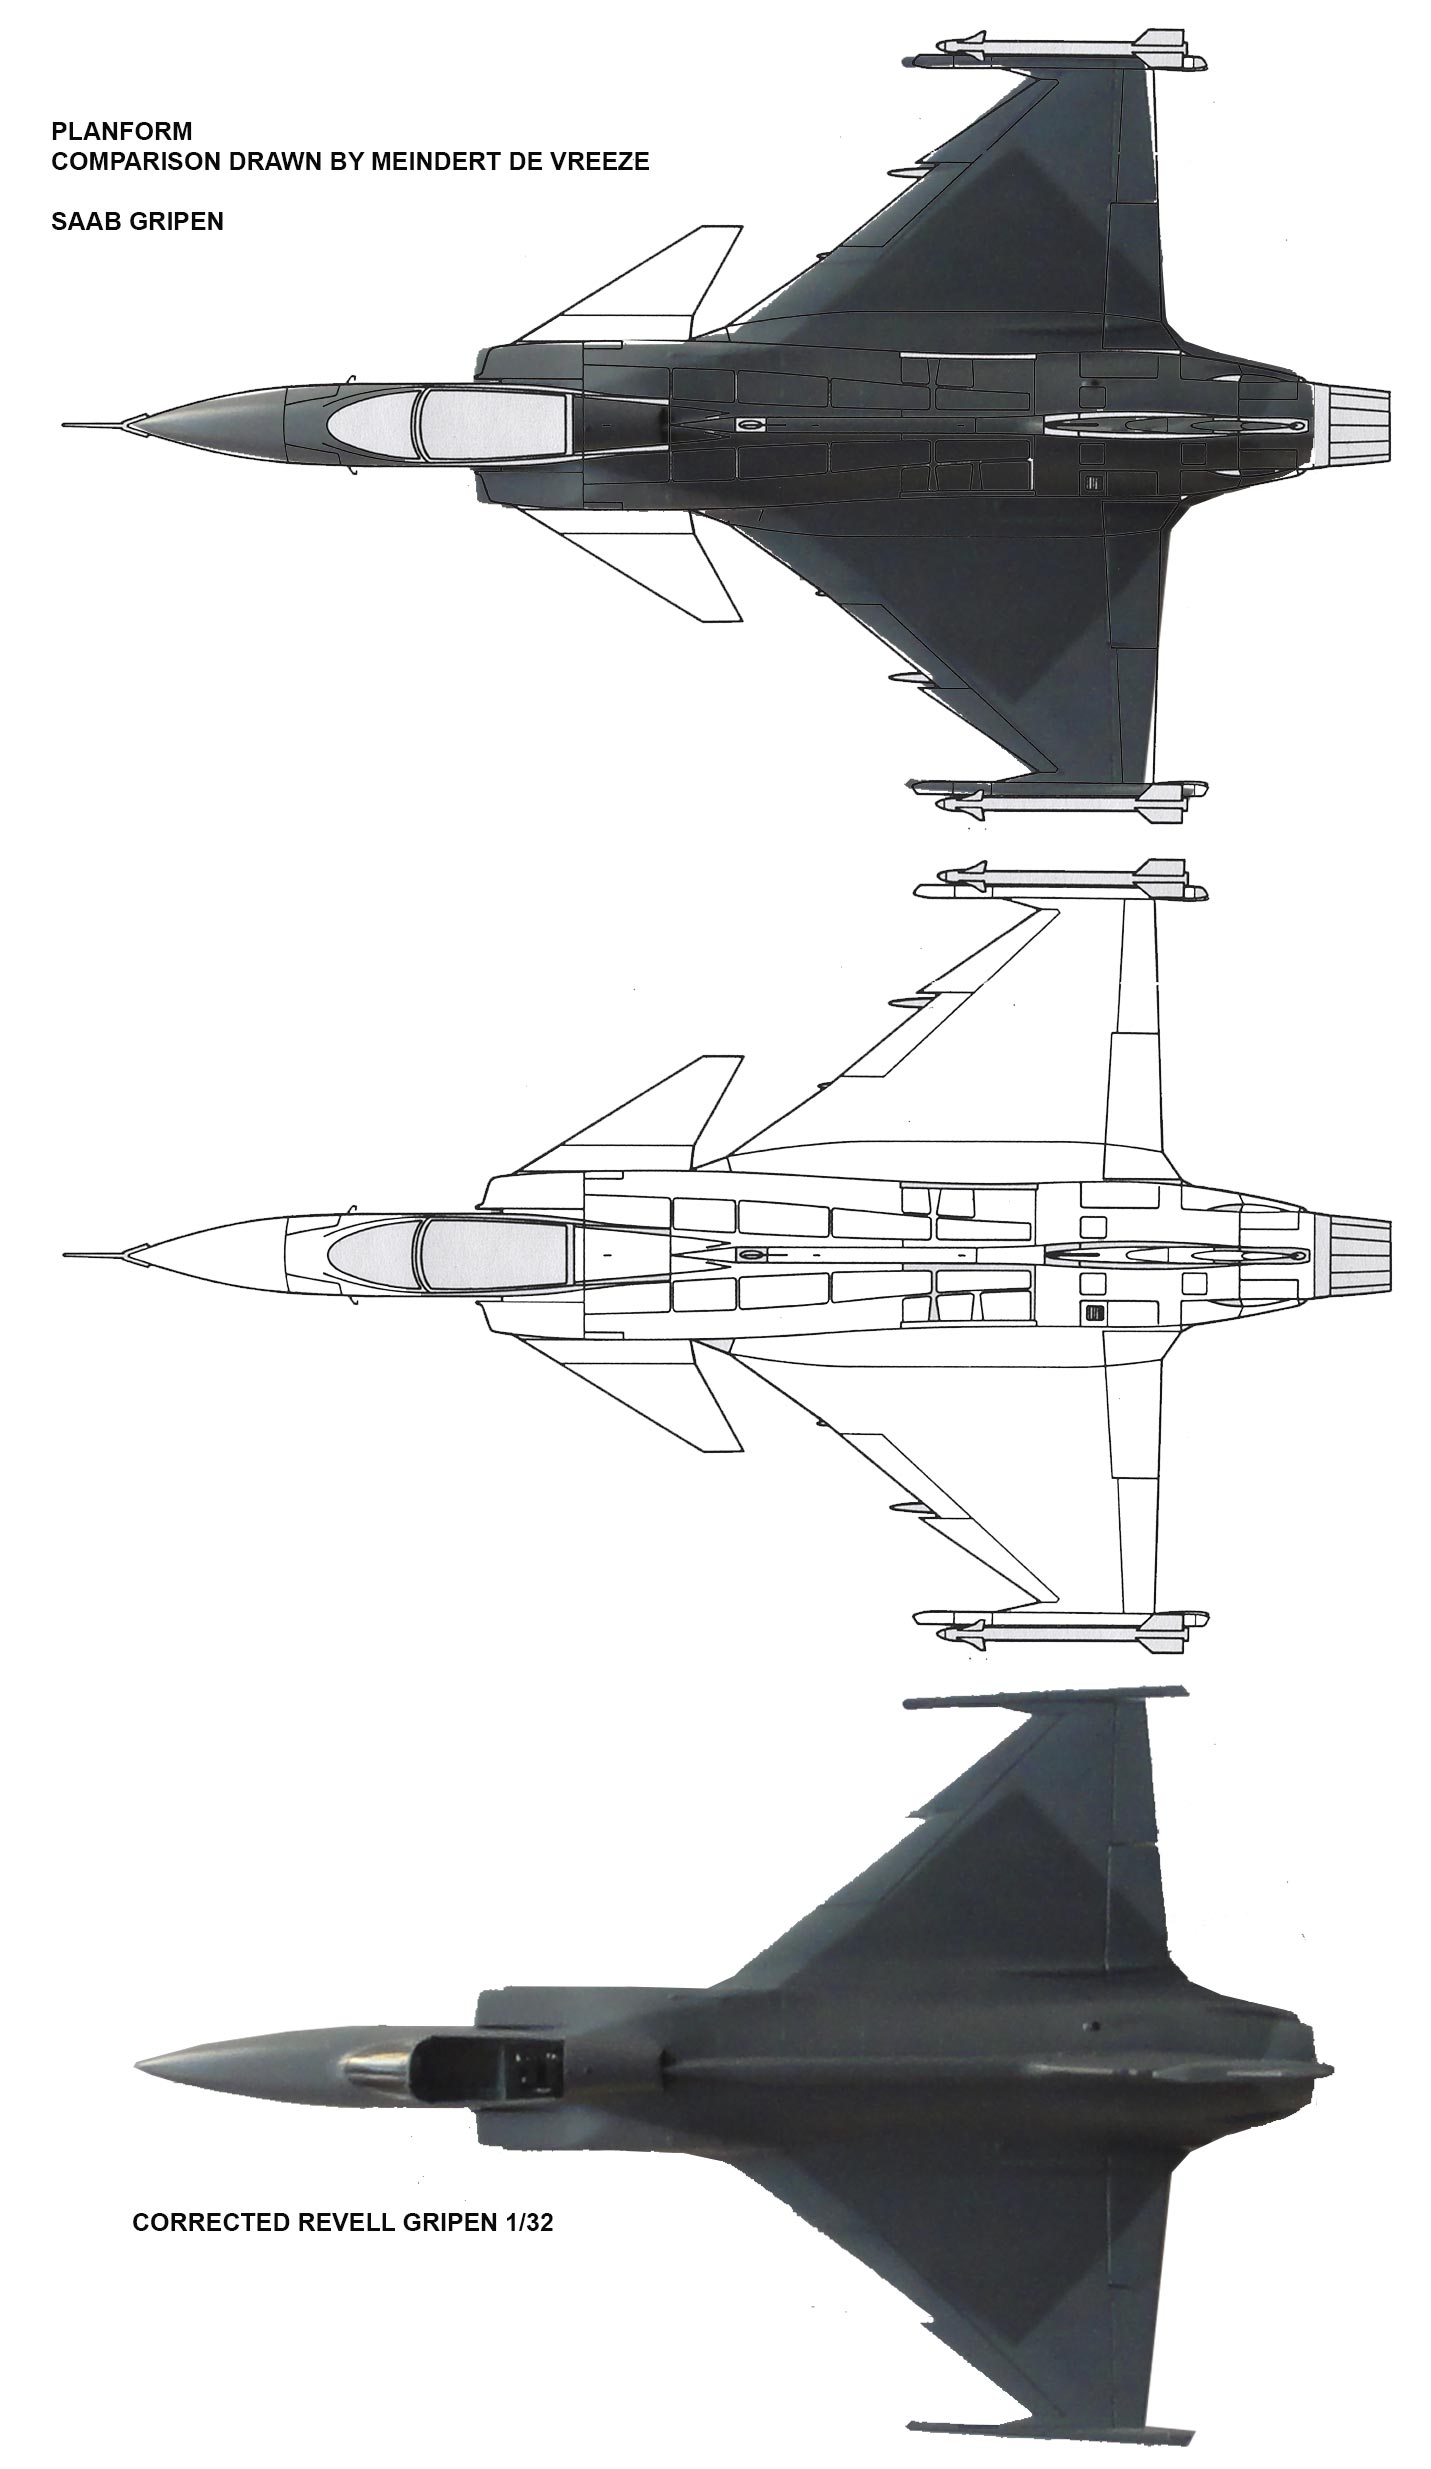
In upper plan view the model looks quite good. The span is correct with a better leading edge sweep. The trailing edge angle and wing chord at the ailerons deviate as expected a bit as the wing planform was rotated but this is not obvious when looking at the model. The nose upper profile with canopy and wind screen looks good now.
As regarding the intakes they look OK though the angled upper is a bit different than the drawing, but may be here the drawing is not entirely correct. It was concluded this issue is almost indetectable. Also the canopy will be set in open position.
After all that effort done on correcting the Revell kit I was happy! Ready to proceed further on detailing.
Back to 1/32 models.......

(c) Copyright "designer"/ All rights reserved. Your comments are welcomed by webmaster
Created
Dec. 30, 2021