Improving the 1/32 Revell kit
[ page 4 ]
... continued from page 3...
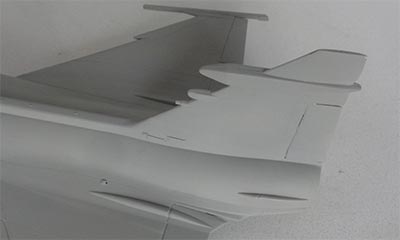
CANARDS
The shape of the canards is a good basis for further corrections. First remove the raised “stubs” and raised details.
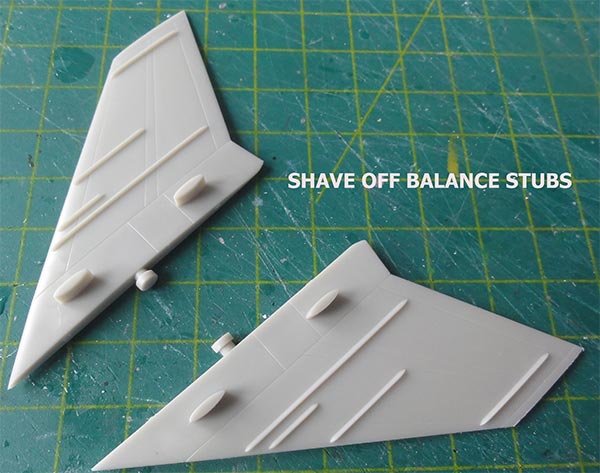
Next, add a small tip extension of 3 mm with card. The small locks at their rotation rod were removed so it can be installed later on.
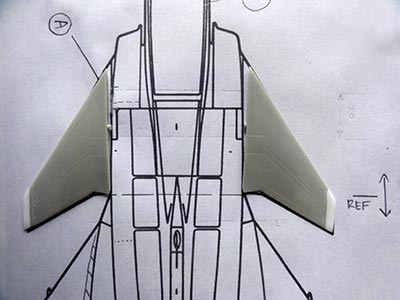
This is seen here compared with the drawing.

The canards were not yet installed at this stage as they are very vulnerable.
page 1
page 2
page 3
page 4
page 5
PYLONS AND STORES
Now the base model could be further completed but it would be nice to have also some pylons and stores. It is a good idea to tackle this now as it may need adjustments at the lower wing.
With various drawings and the good 1/72 Revell Gripen kit, it was found that the 1/32 kit pylons are very inaccurate.
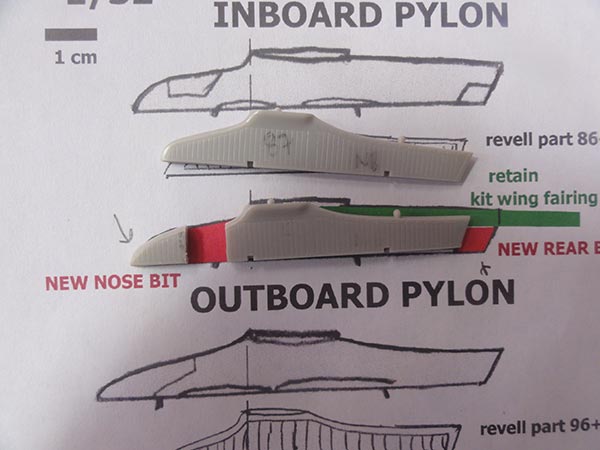
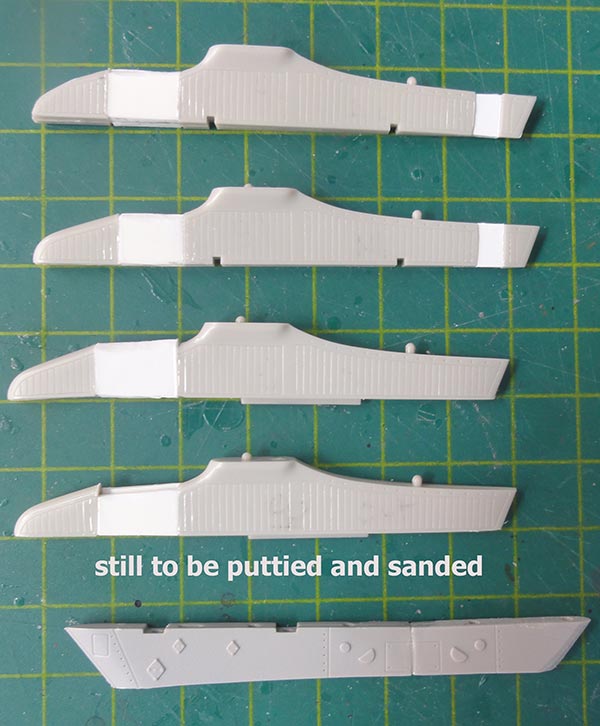
A drawing was made to 1/32 and it was clear that when making inserts, sections of the kit pylons can be used. Cuts were made and putty and card used. The strange engraved vertical lines were also filled with putty and all was sanded.
A replacement for the central pylon was found in the spares box and will be adapted.
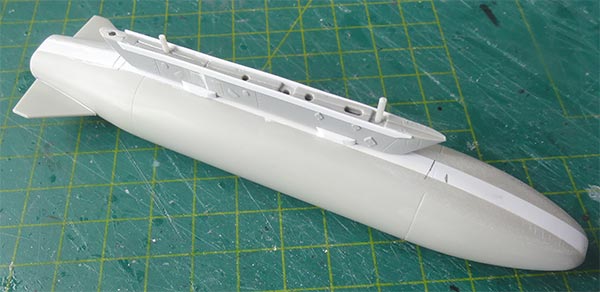
For the central fuel tank, it was also seen that it needs a flat horizontal cross section that is not in the kit parts.

An insert was made with strip of 4 mm wide, it was bended, glued, puttied and sanded.

The far better looking corrected central fuel tank and pylon is seen here.
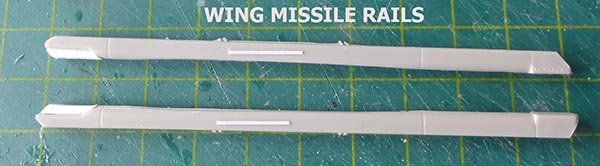
For the wing tip missile rails that had been cut off earlier, some far better ones were found in the spares box and only needed a bit adaption.
It was also decided to add an extra forward pylon below the right intake. A good one was found in the spares box and a bit adapted.
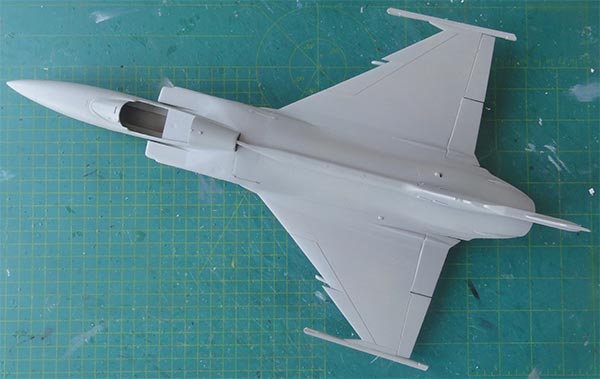
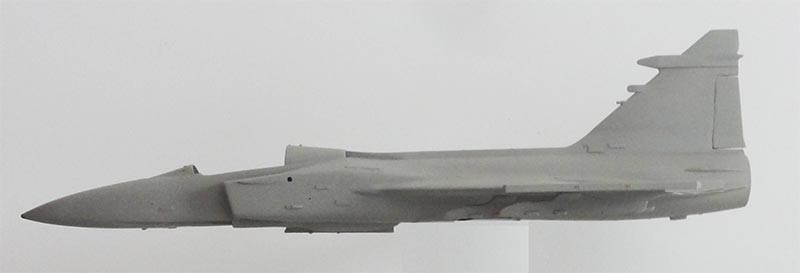
FIRST OVERALL RESULT
It look fine till now.
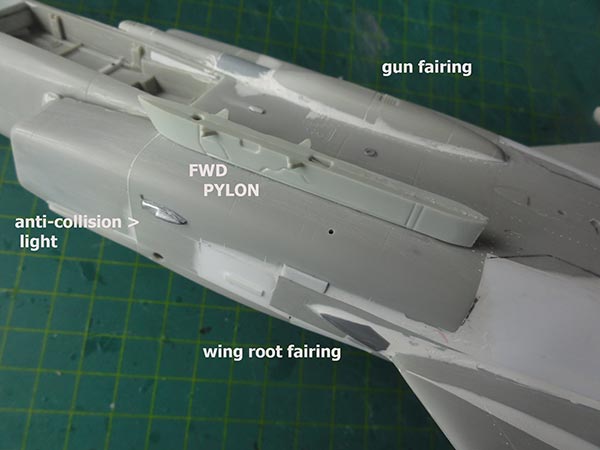
A small fairing for the anti-collision light on each intake was added (the kit parts #34 were not used).
Also 4 re-shaped pylons were installed after the spanwise stations were checked with the 1/72 Revell kit. Any gaps with the wing were closed with putty but it took less effort than first thought. Note that the sweep angles of the pylon bases moulded on the wing were not changed, this is almost invisible, the pylons themselves were set "in flow direction".
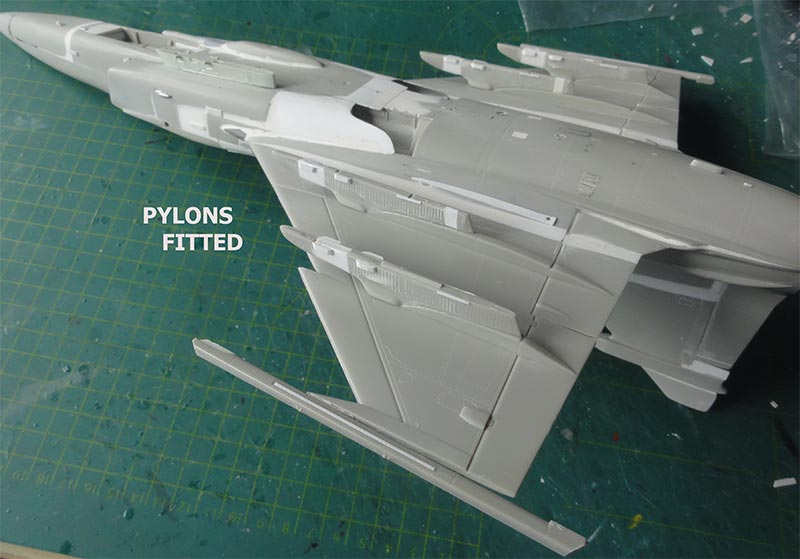 Please note the replaced wing tip missile launchers.
An important build mile stone was reached! The overall model could now get a base grey primer coat.
I airbrushed Revell Aqua acrylic 75 “steingrau”.

An important stage to see any flaws in the puttied areas.
It was obvious that after so much modifications and puttying some small rework was needed with putty but nothing too dramatic. Some re-puttying and sanding was needed but took quite some effort to get smooth surfaces.
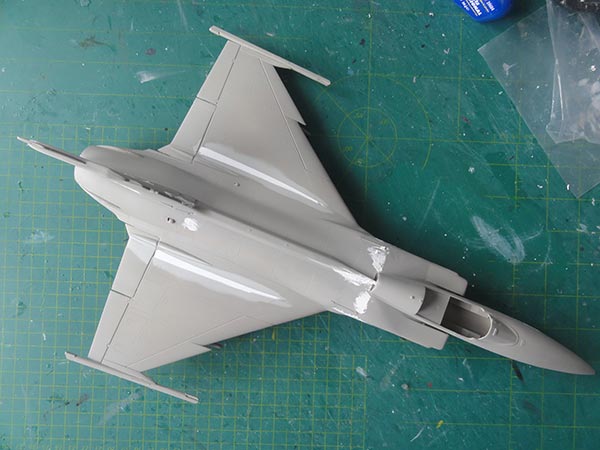
It was again checked with another pass of base primer.
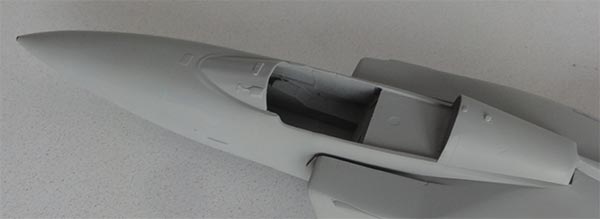
The cockpit area obviously needs extra detail, to be done later. Also, an attachment point for the canards should be made. In the photo also on the intake the small fixed fairing at the canard is seen.
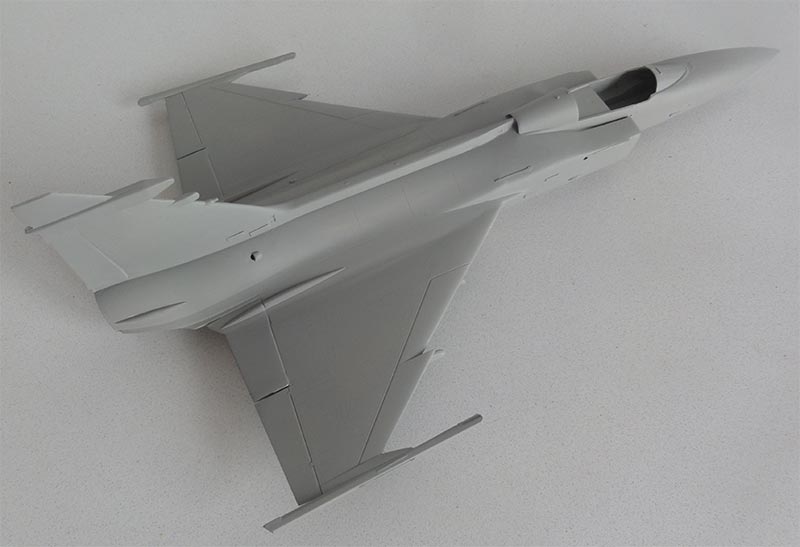
Another check was made with the photo camera with the scale drawing. A few photos were made "from a far distance to avoid camera lens distortion as much as possible".
The composition is seen here.
 ... and superimposed on the scale drawing....
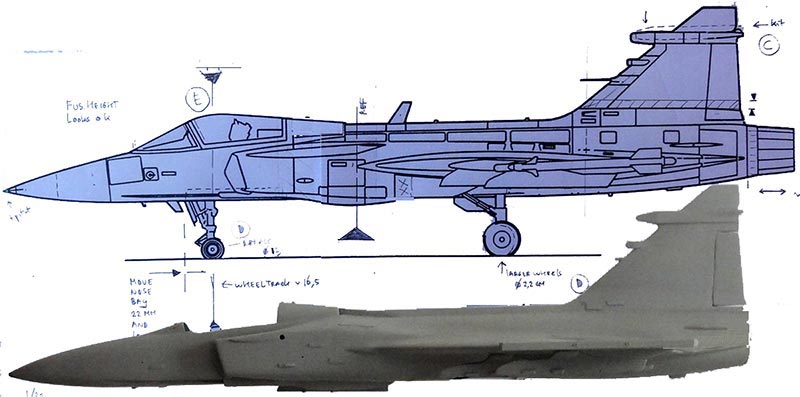
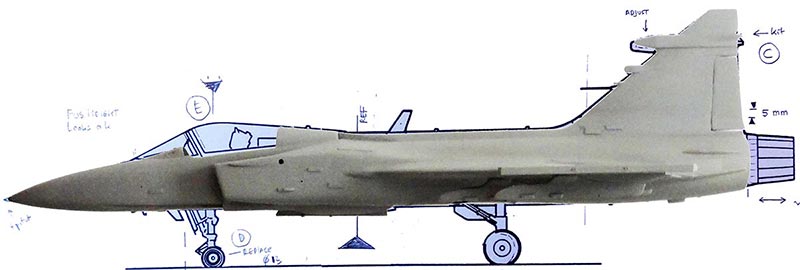
Some work is still be done with the windshield and removing 1 mm on top of the fin. The intake is now about 1,5 mm bit too far forward but will be retained as the canopy will be extended and will be set in open position....
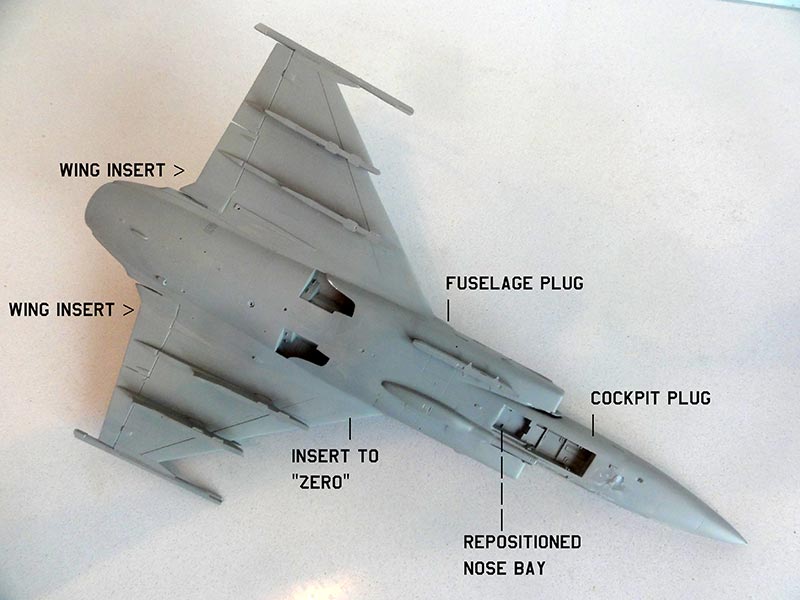
A summary of what has been done till now:
- fuselage plug of 17 mm
- cockpit plug / sill of 4 mm
- wing span from 5 mm each near flap to near 1 mm at forward edge with "vortex" extension
- new missile rails
- repositioned nose bay
- adapted main gear closed doors and bay
- improved gun fairing
- improved pylons
- improved vertical tail
- (canards are here not yet installed)
Still, some minor corrections will follow as well as the smaller details to be added like large fences on fuselage near canards, low visibility light strips etc etc (not yet done)
From the corrected vertical tail, 1 mm was sanded off from the top. After these changes, the intakes sit about 1,5 mm too much forward; it was decided not to change this. The (to be improved) canopy will be set open and than it is not too obvious.
On to next [ Page 5... ]
Back to 1/32 models.......

(c) Copyright "designer"/ All rights reserved. Your comments are welcomed by webmaster
Created
Dec 18, 2022