[ page 1 ]

F-84G Thunderjet in 1/32 scale: kit review & building the Hobbyboss kit
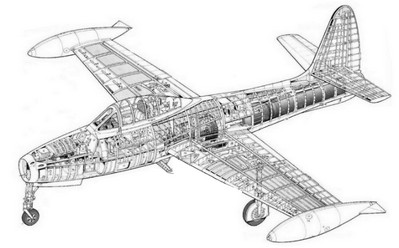
The Republic F-84 Thunderjet was an American turbojet day fighter aircraft of which development started in the Second World War. It first flew after many problems in 1946 as jet engines were a new way of propulsion. The F-84B was the first production version being put into USAF service end 1947 and the F-84C looked very similar. They had large structural strength problems. The program continued and the F-84D got a J-35A-17 jet engine. The F-84E got a longer fuselage and another gun sight. Structural strength was improved. It could carry two 230 gallon wing drop tanks. JATO bottles for assisted take off could be fitted and the usual lower air brake had slots. F-84E deliveries started May 1949.
The definitive version was the F-84G introduced in 1951. It got an uprated J-35A-29 engine with a shorter tail pipe end. The front fuselage got extra blow-in doors and a stronger multi frames canopy (that was also often retrofitted to older jets). It also got an in flight refuelling receptacle in the port wing leading edge and the wing tip tanks could have refuel probes as well. The gun sight also changed. Later aircraft got a perforated air brake and also again a different APG-30 type gun sight.
The Thunderjet became the Air Force's primary strike aircraft during the Korean War as it became clear it was not a really good day fighter opposing the Soviet MiG-15. Its role changed to fighter bomber. More than 7500 Thunderjets were produced and many supplied to NATO countries because of the Cold War.
The Thunderjet was also the first jet aircraft to fly with the U.S. Air Force Thunderbirds aerial aerobatic demonstration team. The USAF Strategic Air Command had F-84 Thunderjets in service from 1948 through 1957.
page 2
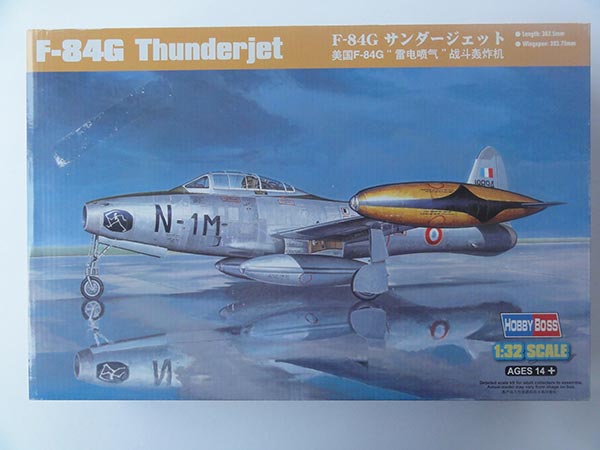
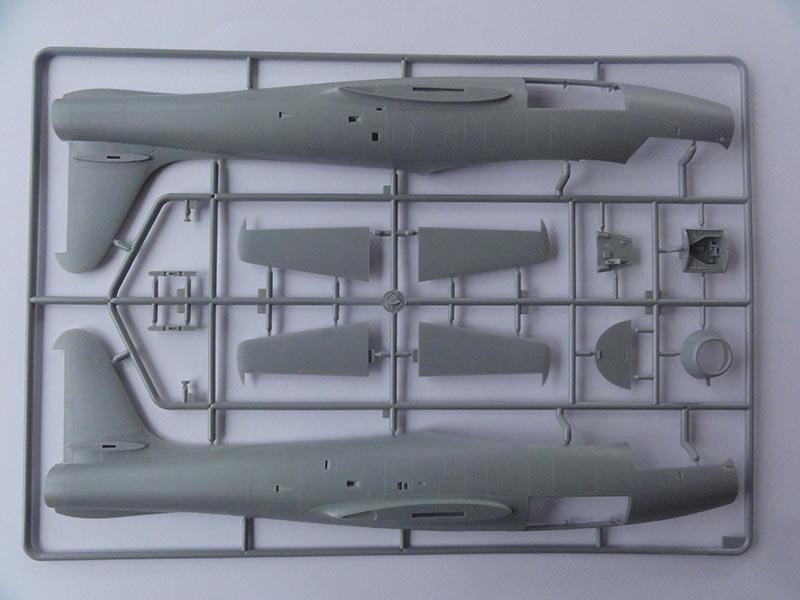
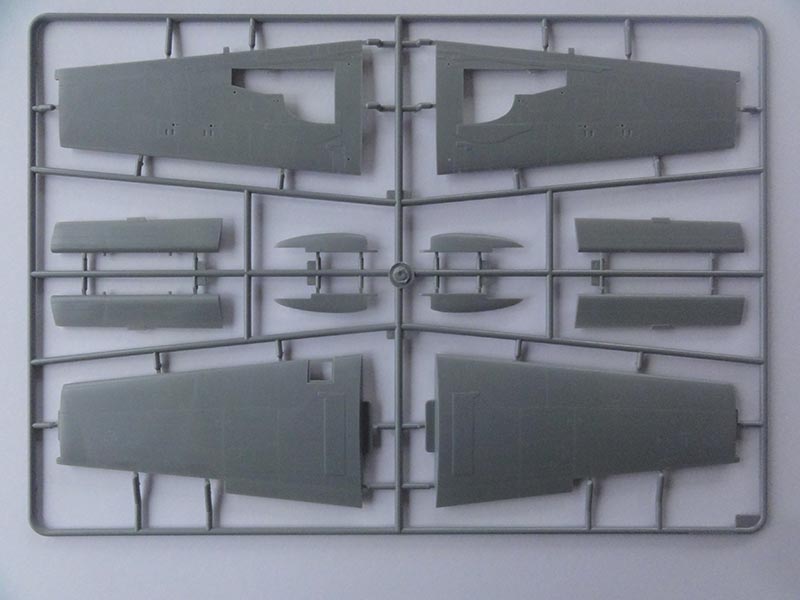
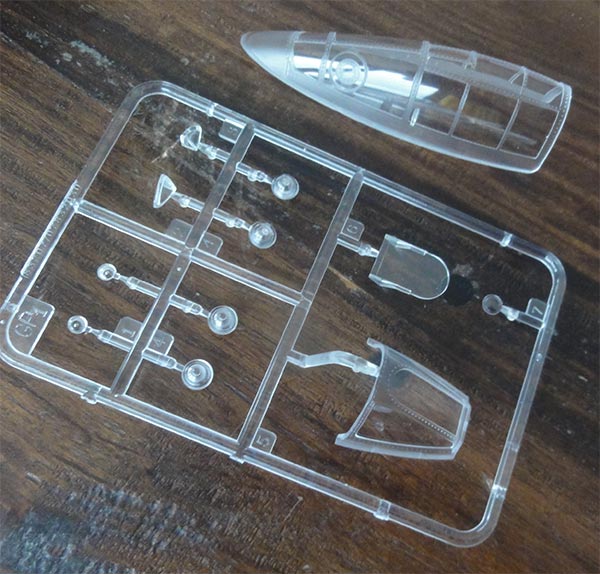
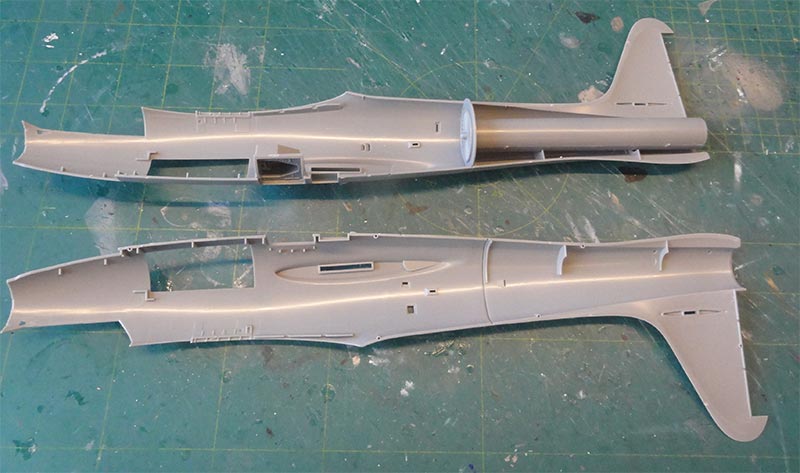
The 1/32 scale Hobbyboss kit for the F-84G Thunderjet #83208 is a very nice kit. The only other kits were vacuforms from Combat Models and a basic ID Models (now Tigger).
The kit parts with engraved panellines and rivets look very good.
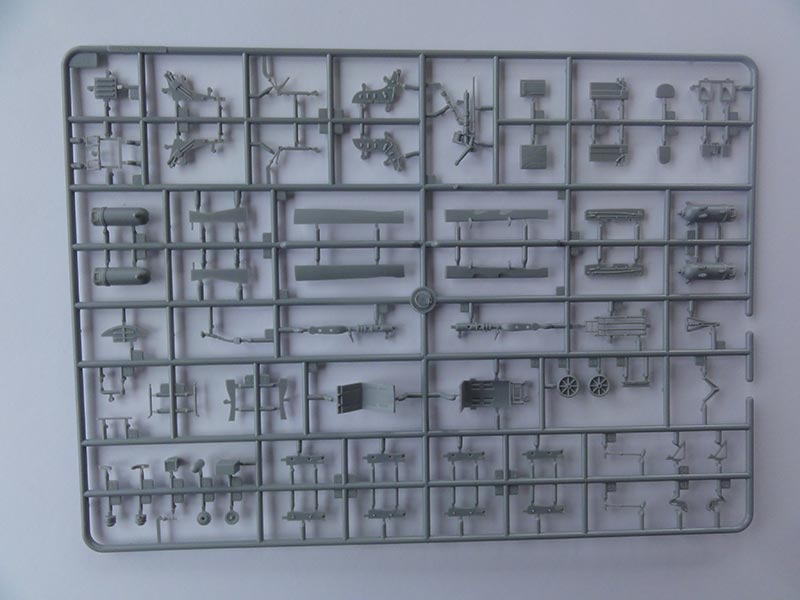
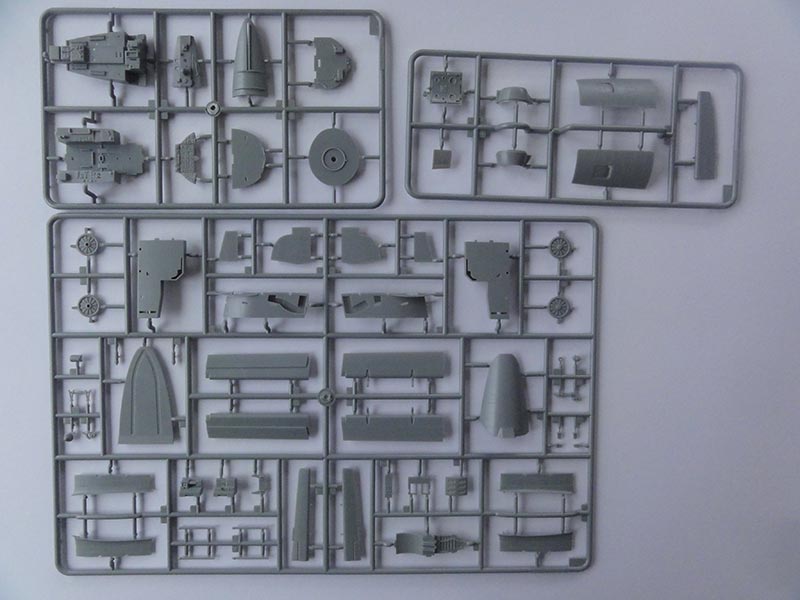
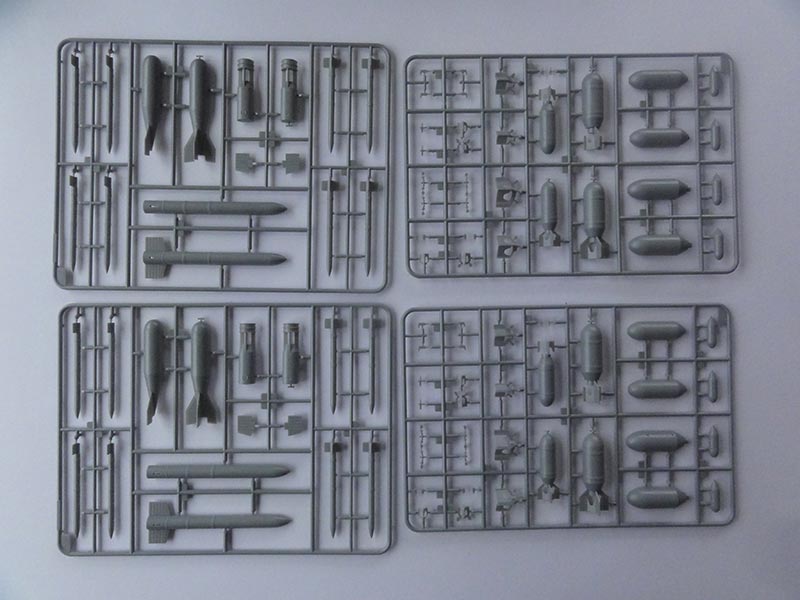
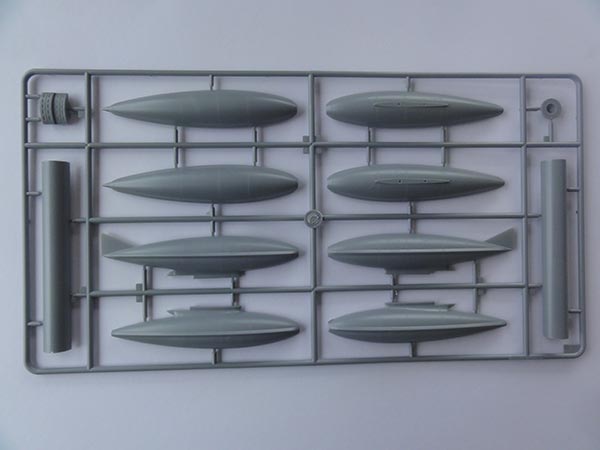
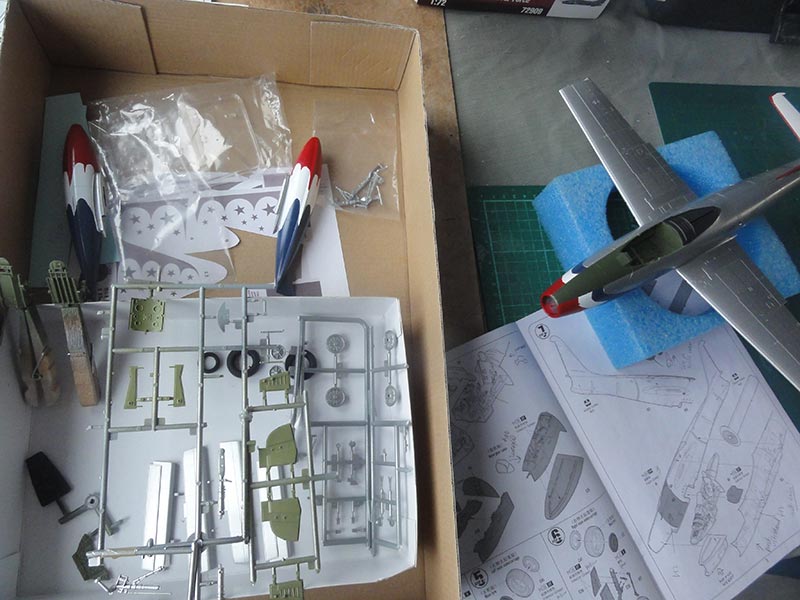
Stores include unguided rockets, bombs, lower wing fuel tanks and the wingtip tanks. You can also make the model without wing tip tanks as wing tip parts are provided. The later style re-enforced canopy is included. You get two styles of seats in the kit, an early and later style and both look accurate. Cockpit detail is very good and the side consoles and circuit breakers look OK. The main instrument panel looks pretty good as well with raised detail and with a decal. (see later note).
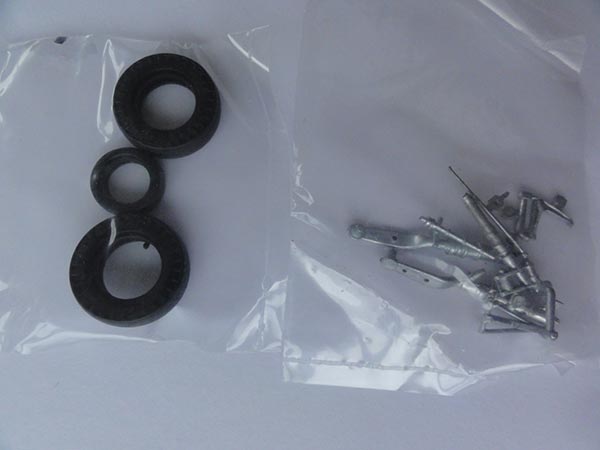
You get "soft rubber" tyres. I am not very happy with these as the "weakener" inside during the years tends to distort the plastic hubs. Some plastic tyres would have been better.
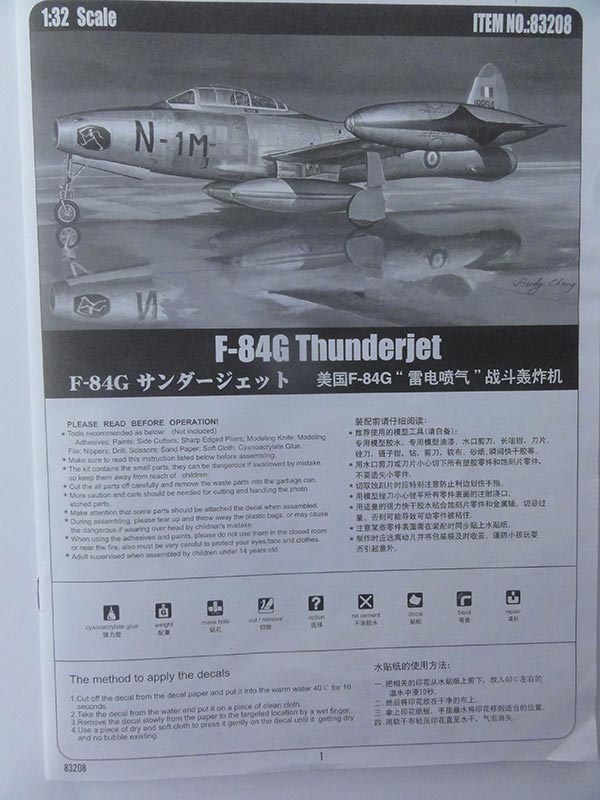
The Hobbyboss instructions are good with clear 15 build steps. A small blanked off paper was sticked hiding the metal landing gear parts' drawing; but these fine parts were however found in my kit package. Very welcome indeed. Some stated colour details are not correct. The gear bay and door interiors are not field green but in fact green-chromate with a yellow hue.
Nice are the panels with F-84G blow-in auxiliary doors in the forward fuselage in the separate sprue H. The longer F-84G jet pipe rear is also provided.
Sprue H also has a part for the lower air brake. But F-84G-10-RE from aircraft serial 51-1079 onwards the air brake had many perforation holes. The part in the kit does not have these and that is an omission in the kit.
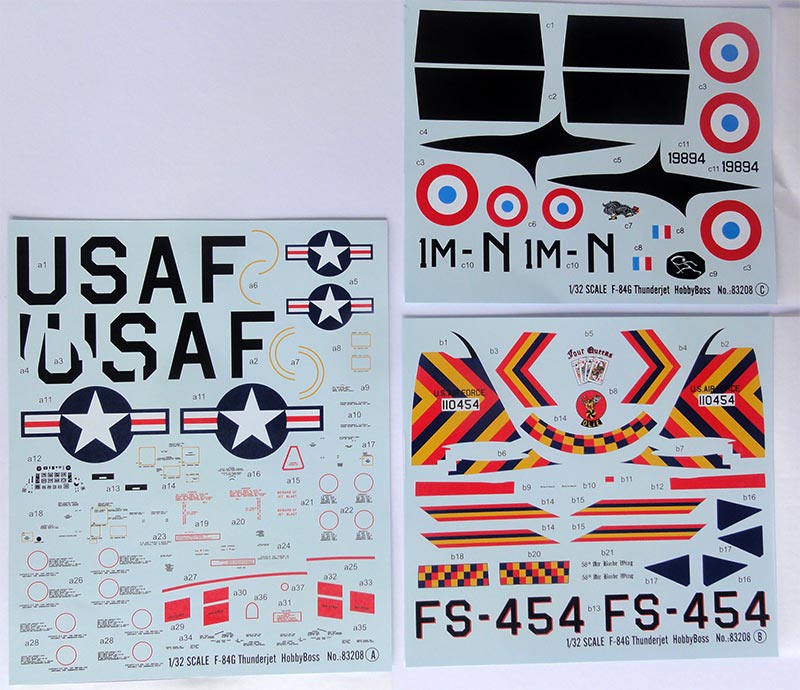
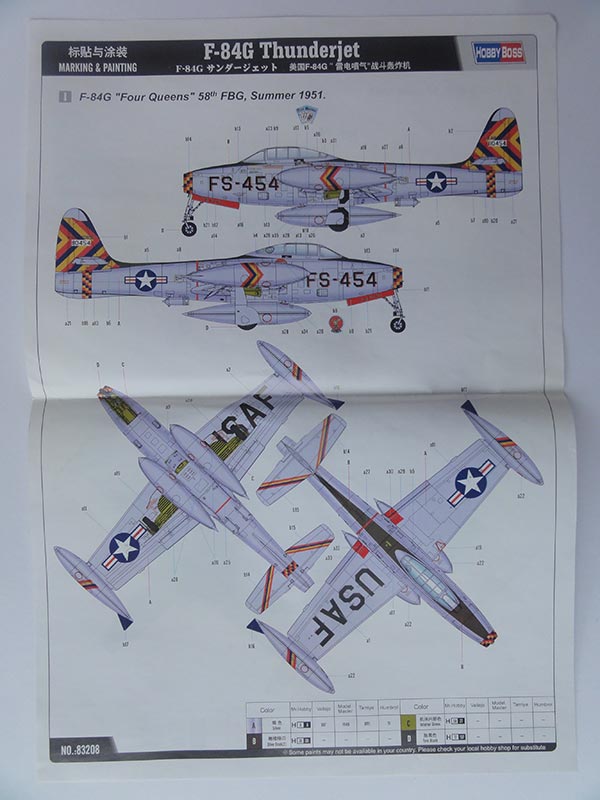
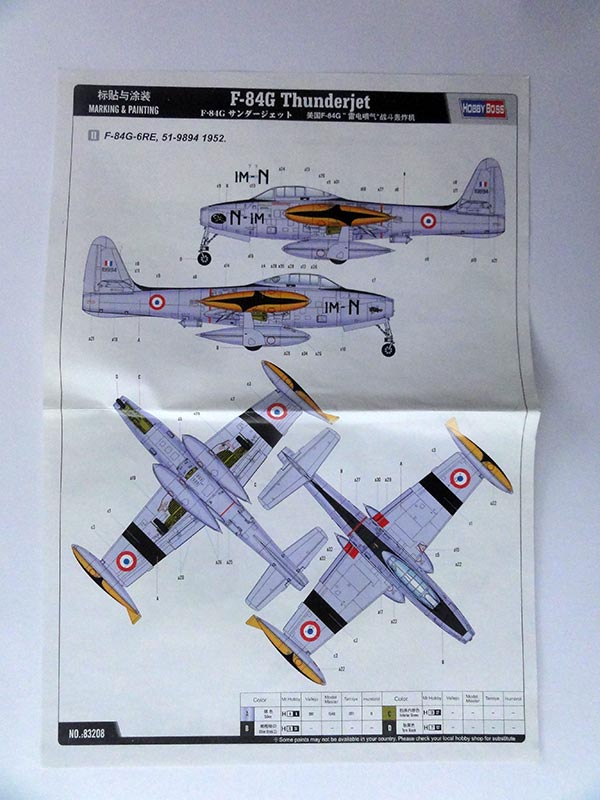
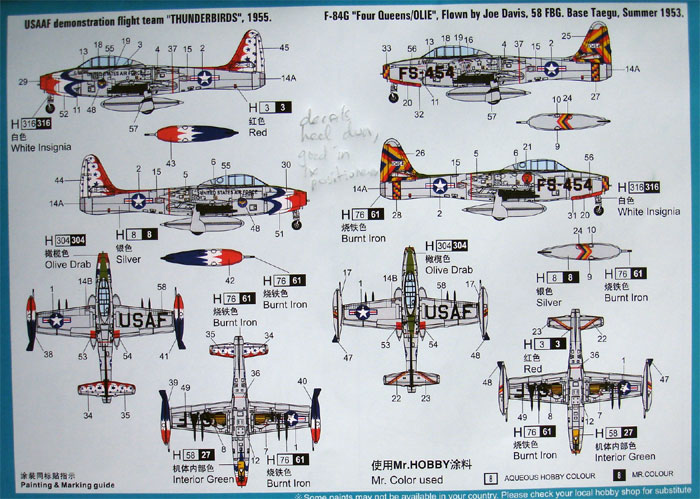
The kit decals look fine and are for:
[1] F-84G, USAF, 58 FBG, Summer 1951 nick name "Four Queens". I am not sure if the AIR BOMBER decal is correct.
[2] F-84G, French Air Force "Armee de l'Air", flown 1952.
A separate colour drawing shows these schemes.
(NOTE: another 1/32 Hobbyboss kit release was for the F-84E with kit #83207. The kit has a few different parts).
I wanted to make a model of the famous USAF Thunderbirds aerial demonstration team Thunderjet. No aftermarket decals were found in 1/32 scale. Another model friend also wanted these for his 1/32 kit. So it was decided to design my own decals and have these custom printed.
![]()

The
USAF Thunderbirds aerial aerobatic team was activated May 25, 1953 at
Luke AFB in Arizona. For air force promotion and to drive pilot flying
skills. The first team aircraft was the F-84G Thunderjet. The team
often flew the "diamond four ship" formation and many loops, rolls and
climbs for an impressive show. The first official show was flown June
8, 1953. Soon an international tour followed in the region. The
national flags were soon added on the special fuselage
marking. The Thunderbirds team remained active. After
flying the
F-84G Thunderjet, in 1955 the F-84F Thunderstreak with swept wing came,
than the F-100C Super Sabre, F-105 for a short season, F-4E, T-38 and
now flying the F-16. Look for my 1/32 F-16C model here... ...
For the needed F-84G Thunderbirds decals I used information from various sources but also looked at my 1/72 Hobbyboss kit (seen here... ).
I first designed a large sheet with the coloured bands as decals. These made the decals sheet very large. But later decided that the colourful bands on the nose and wing tip tanks are better airbrushed as a decal would never follow the curved contours. The exception are the tail markings which are more easy to set but difficult to mask. Other specific markings are also on the sheet and for the stencilling some kit decals are to be used.
I added a few options for the Thunderbirds Thunderjet scheme and made this sketch:
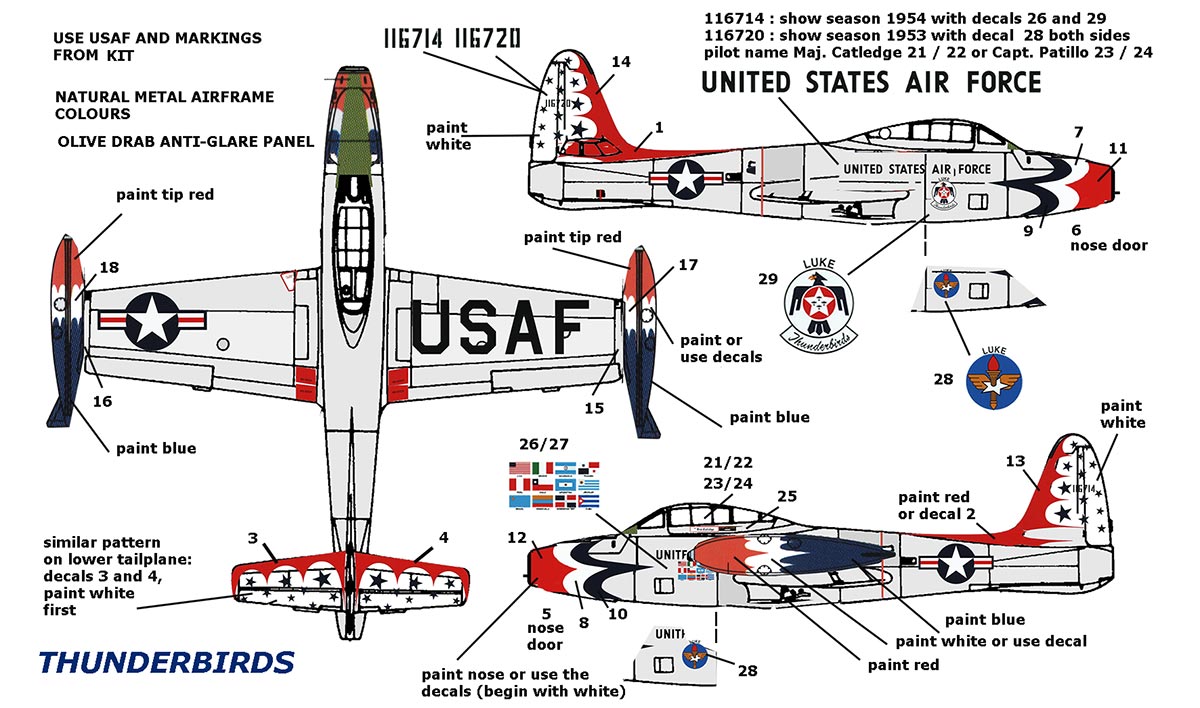
NOTE: later it was decided that many patterns are
better airbrushed after masking; masking guidance is provided for
cutting your masks with tape. It gives a better result.
The decals sheet is seen here. Interested in this 1/32 sheet F-84G Thunderbirds AIPD-11 for your model? Look at my decal page here...
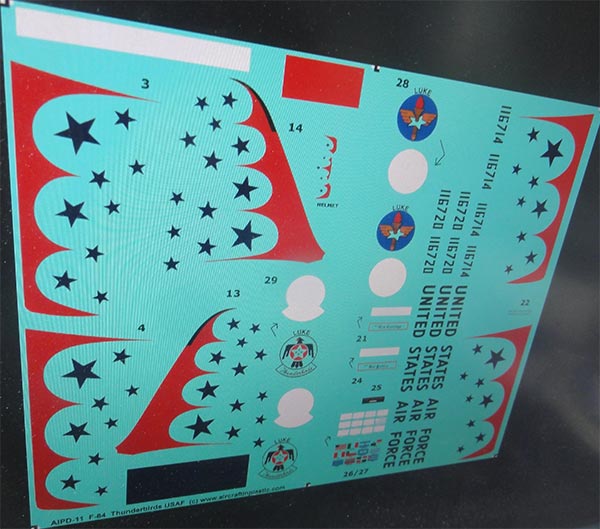
The custom made laser printed decals are very thin and well usable.
![]()
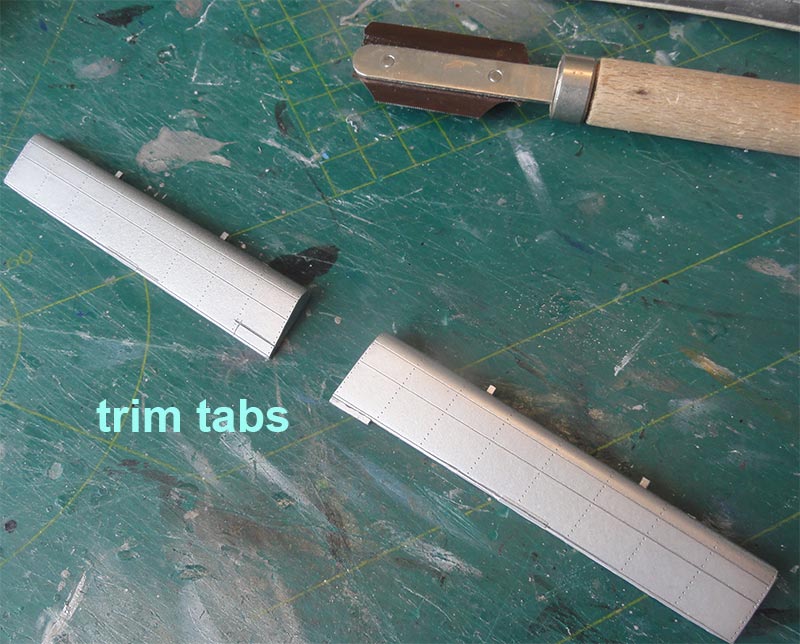
The Hobbyboss model will be build 95% out of the box but a few small corrections done for a slightly more accurate 1/32 F-84G:
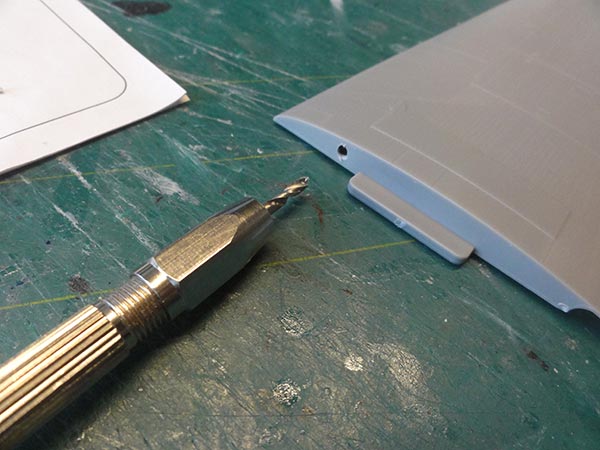
(a) the kit trim tabs on the aileron parts seem to have changed. The extended small trim tab at right/starboard aileron (parts #B7+B10) should be repositioned more inboard. And the trim tab at the port aileron (parts #B3+B6) should be removed and a new one re-scibed sitting inboard at the trailing edge. The corrected ailerons are seen here...
(b) the lower air brake style differed on the later F-84G. It seems that for F-84G-10-RE from aircraft serial 51-1079 onwards the air brake had many perforation holes. Also for the Thunderbirds jets. So new part needs to be made from scrap.
The wingtip tanks should have no refuelling probes, so as per kit. The inside pylons were usually fitted so will be installed later on.
![]()
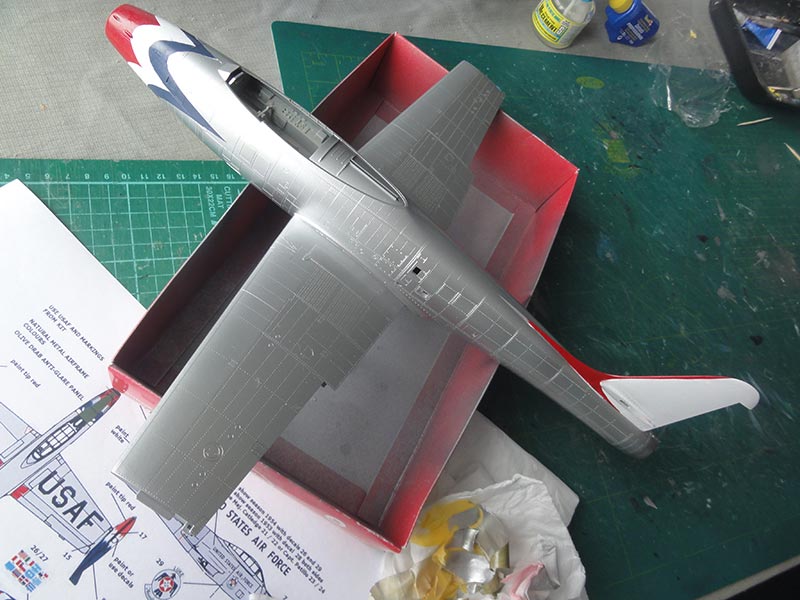
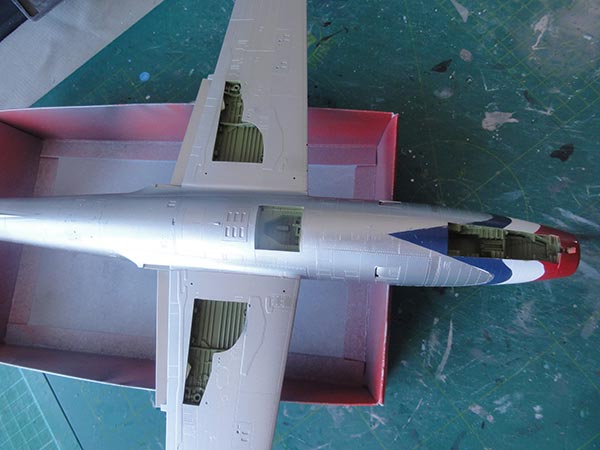
The kit cockpit interior looks pretty accurate, some smaller bits for extra detail can be added later. The interior paints were also to be applied later on. The nose gear bay is excellent and note the side' air flow tunnels.
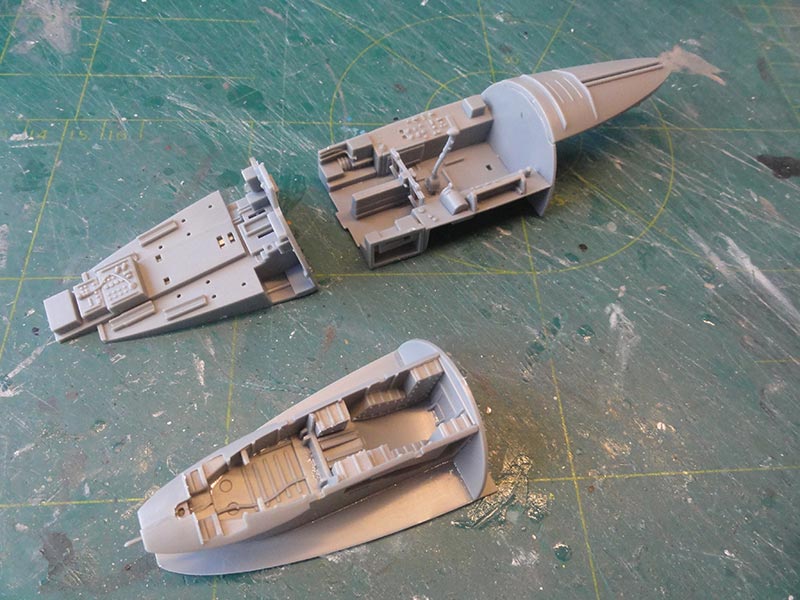
The fuselage shows the "holes" to fit the parts with the F-84G blow-in doors.
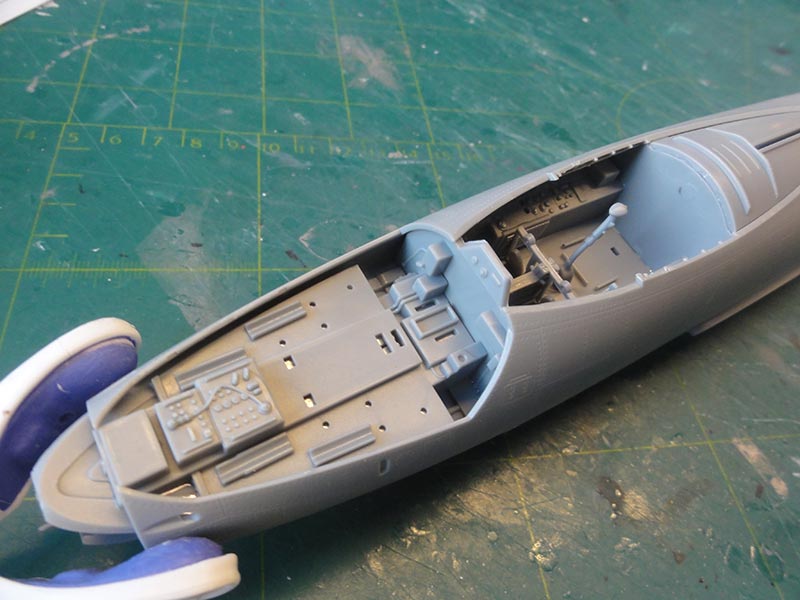
Overall the fit was pretty good.
For added wing-fuselage joints' strength, I added a metal spar to connect the wing halves running through the fuselage. The spar is a spoke from a bicycle wheel. Holes were drilled.
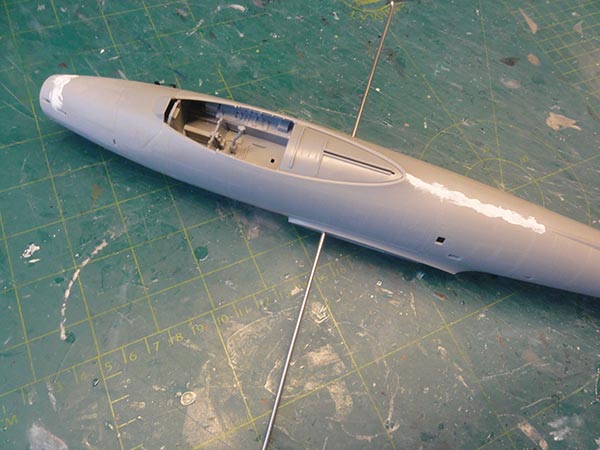
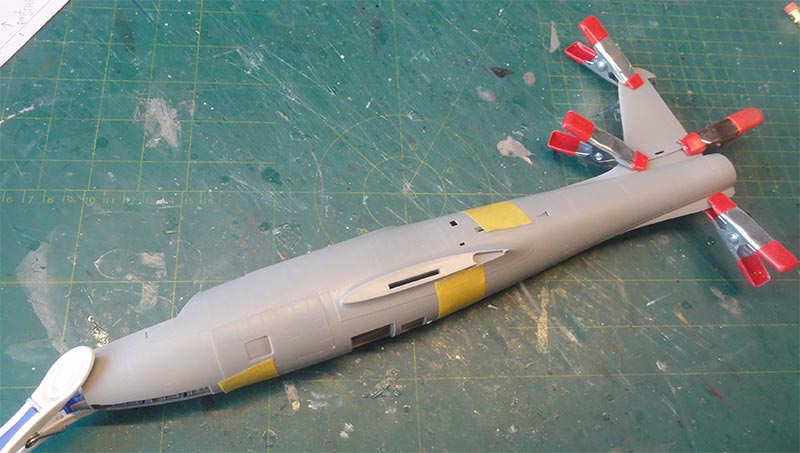
The Thunderbirds jets indeed had the refuelling wing panel part #H7 with inscribed panellines as shown in STEP 8 so it was installed. The loose wing tips parts were not needed, wingtip tanks will be installed later on instead. The nose, spines needed some putty and sanding.
The horizontal stabilizers were not yet installed as well as all the smaller parts like gears, doors and brakes.
![]()
TIP: also airbrush a few small plain decals sheets in the colours, these are handy for any paint repair work!

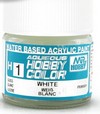
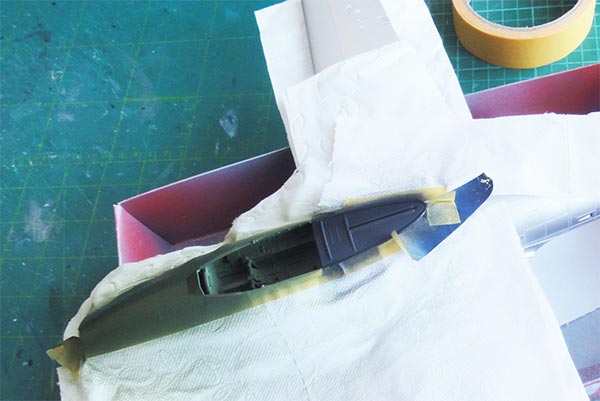
For airbrushing: start with white at the nose, tip tanks, rear vertical fin and dorsal edge and both sides of the horizontal stabilizers. A thinned acrylic Revell mat coat 301 white first and a few coats of gloss Gunze Sangyo Mr.Hobby H1 white acrylic. Also airbrush the wingtip tanks and nose gear doors #D22 and #D23. Let dry.
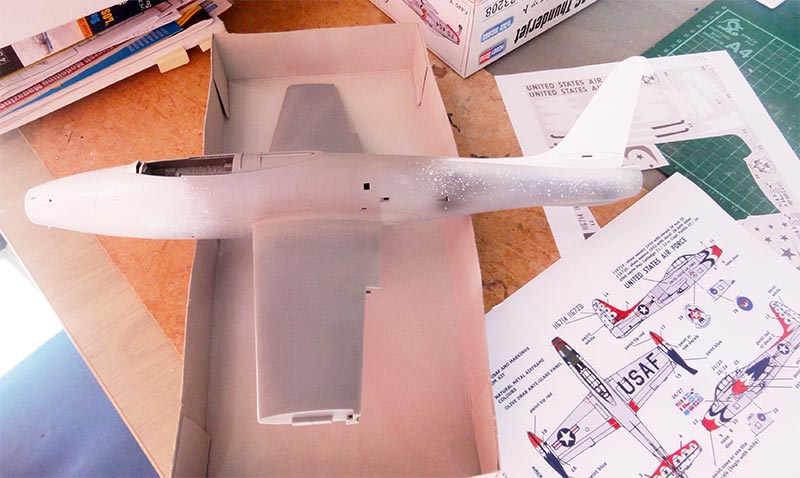

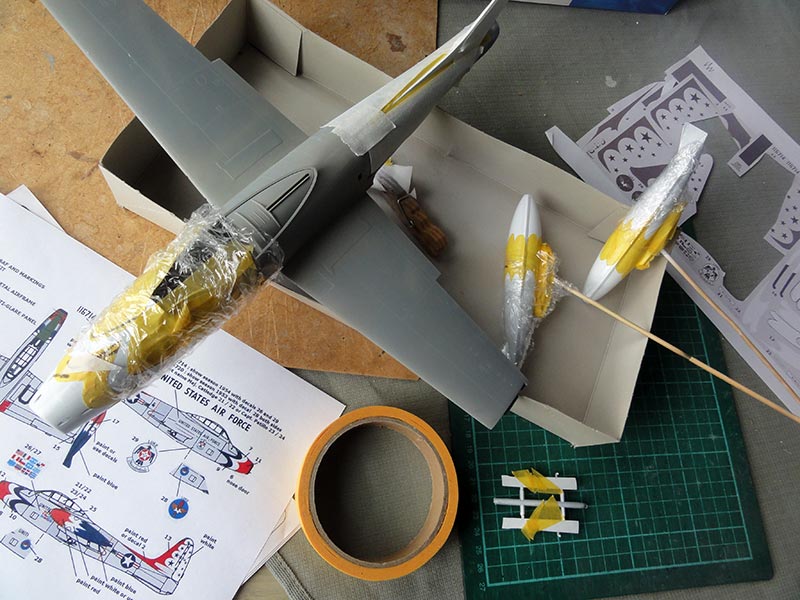
The white bands were masked and also the nose gear doors were not forgotten. The drawing and my drawn patterns with scheme were used as guide. Those curved patterns on the wingtip tanks are extremely difficult to mask with all those curves; take your time here.
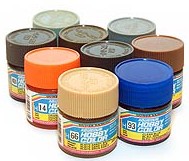
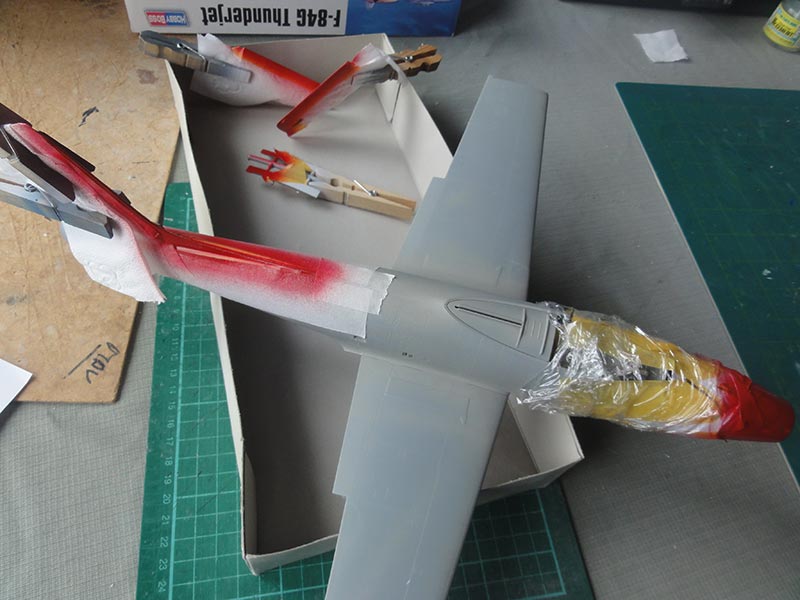
Than followed the Thunderbirds red for which Gunze Sangyo Mr.Hobby red H327 acrylic (FS11136). Red needs a few thin coats to cover good. So on fuselage nose and wingtip tanks. The stabilizers and tail need only masking their leading edges as the red pattern with blue stars are supplied with the custom decals.
Mask the red again and airbrush the blue with Gunze Sangyo Mr.Hobby H328 (FS15050) blue acrylic paint. Again, blue is difficult to get even and a few coats are needed.
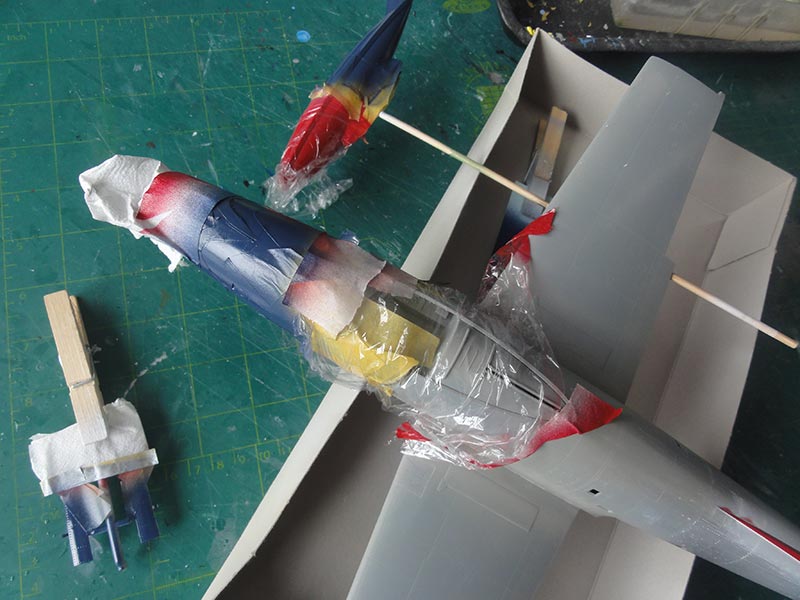
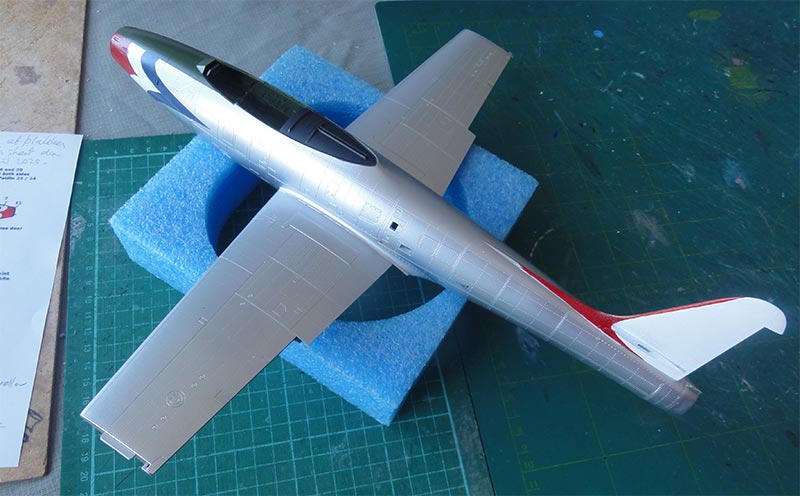
The Thunderbird colours were now airbrushed on the model.
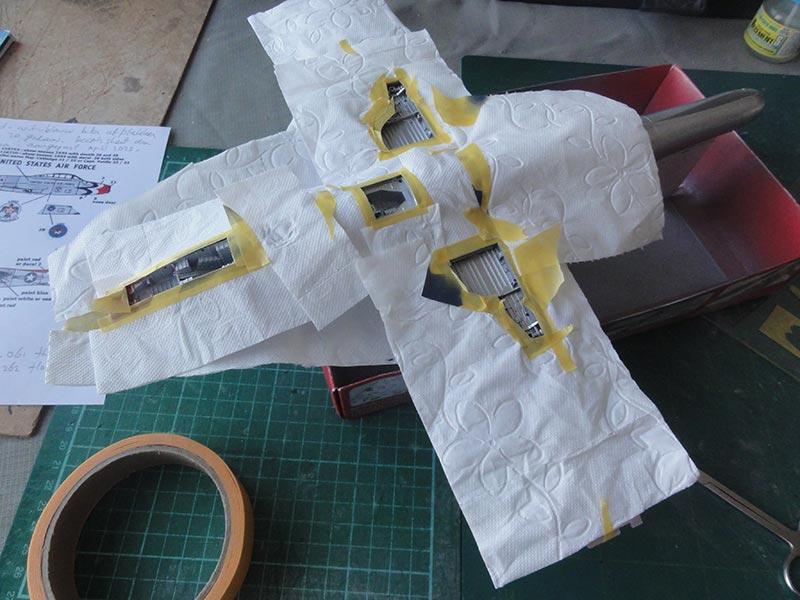
Next step was that all the colourful airbrushed
areas of the fuselage and tail were masked. This remainder of the model would get natural metal coats.
(NOTE:
later in their service career many NATO and USAF F-84 got
anti-corrosion measures with aluminium paints but not in those early years flying with the Thunderbirds).
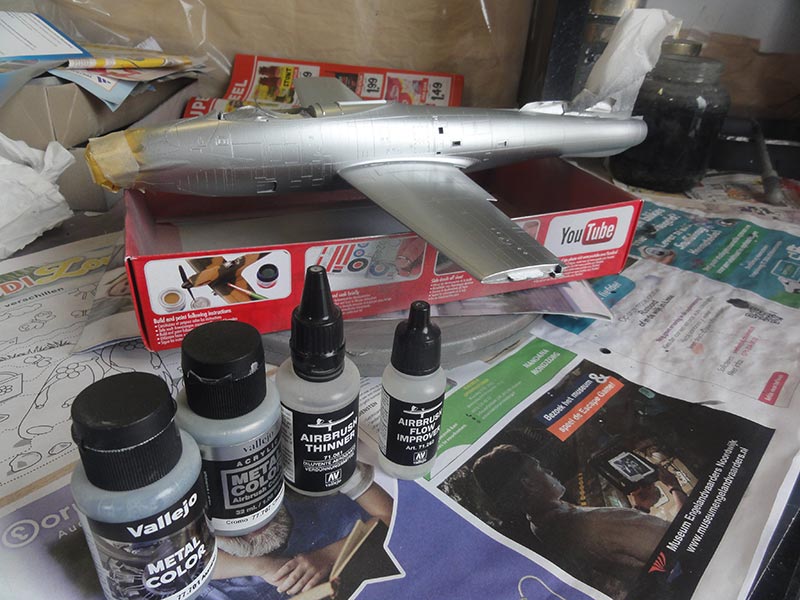
In the old days I airbrushed ALCLAD metal coats. This is very bad for your health even when wearing good paint respiration face set. So now I try to airbrush acrylic metal paints.
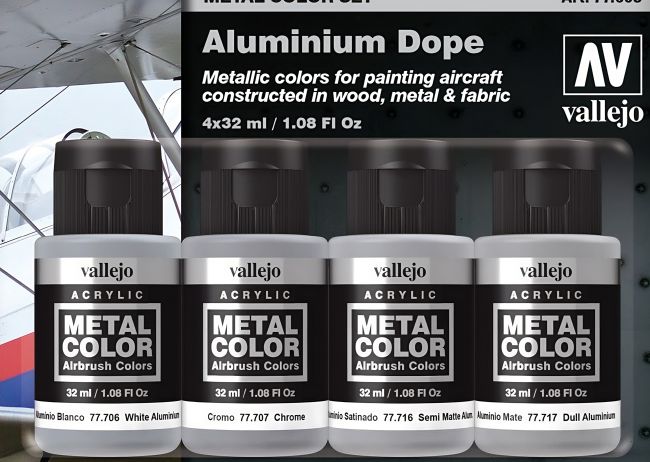
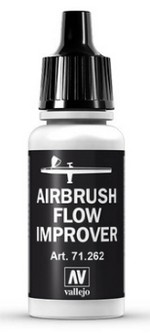
The acrylic metal paints of Vallejo are quite good. Airbrushed were Vallejo aluminium metal 77.701 and some panels in chrome 77.707 applied. I also used a few drops of Vallejo airbrush flow improver 71.262 in the mix. This is a sort of paint retarder to avoid the paint drying too fast in the airbrush nozzle and on "its way to the model surface...".
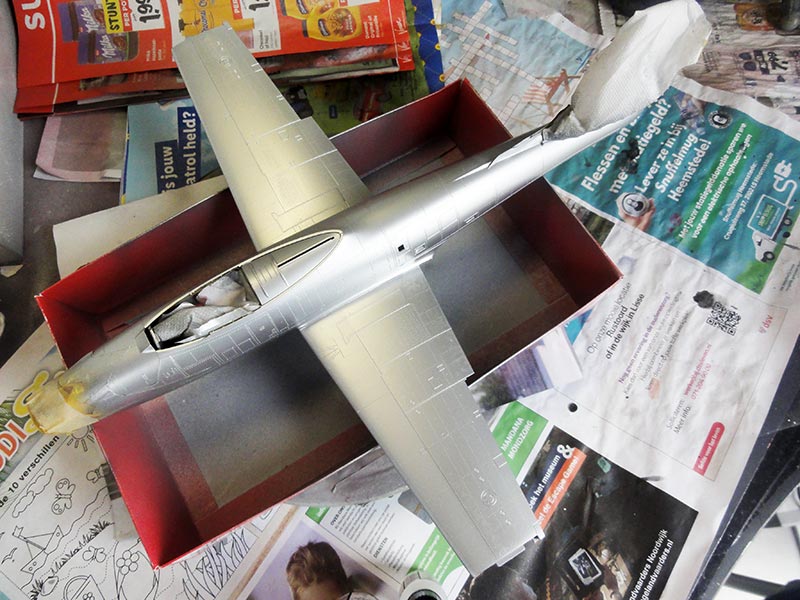

The masks and tapes were to be carefully peeled off with tweezers.
Below the thin red leading edge airbrushed on the tail is seen. (It was also airbrushed on the leading edges of the stabilizers).
A few tiny repairs were needed that could be done with a very fine paint brush by hand.
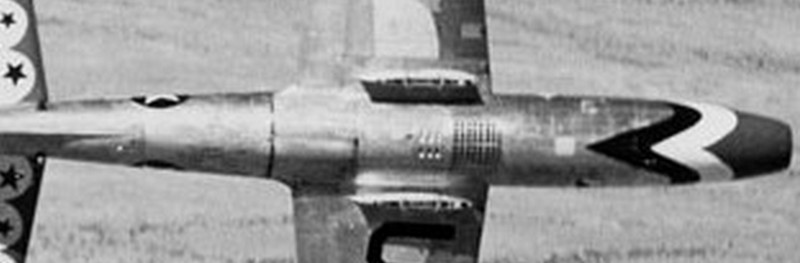
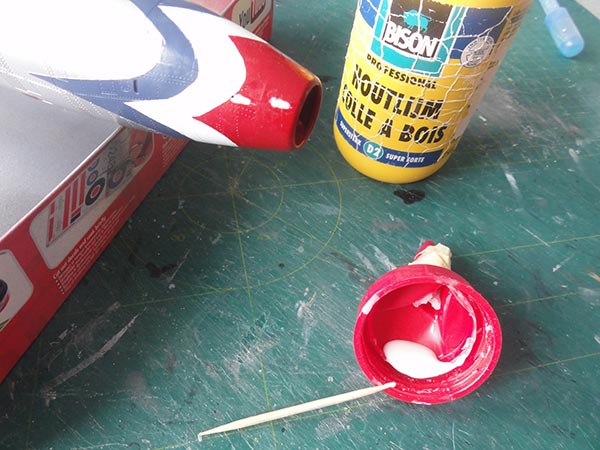
On Thunderbirds Thunderjets photos the gun ports are visible but seem closed up with plugs inside. The open gun ports in the kit nose were closed with white glue and when dried hand painted red.
![]()
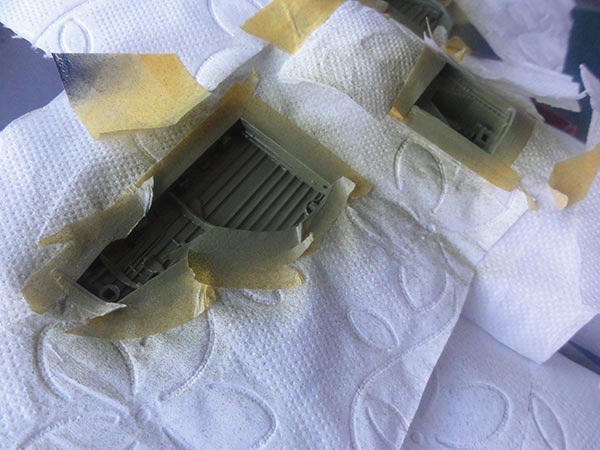
The
gear bays and insides' of gear doors were airbrushed green-chromate.
This was done by a mix of 80% Gunze Sangyo H340 green + 20% Gunze Sangyo yellow H34. The
surrounding bay areas thus needed again masking and than airbrushing.
The cockpit tub insides' and seat were airbrushed inside with Gunze green H340 (about FS34097) as well as the nose anti-glare panel. All needed a bit masking. (The windshield frame remains metal).
The cover panel aft of the cockpit tub was airbrushed mat black.
The wingtip tanks after removing the many masking tapes needed some polishing, scraping off with a tooth pick creeped paint spills and hand painting.
The Thunderbirds Thunderjet paint scheme is now on the model. Next steps to follow.
On to next [ Page 2... ]
References:
Books:
- F-84 Thunderjet, Bert Kinzey, Detail & Scale Vol.59
- F-84 Thunderjet in action, Squadron Signal publications
Web:
- IPMS Nederland
KLu
F-84 Walkaround
(of my modelling friend Cees Hendriks)
- IPMS U.K. SIG Aerobatic Display teams internet
site
- Wikipedia Thunderbirds link....
Back to 1/32 Models
(c) Copyright "designer"/ All rights reserved. Your comments are welcomed by webmaster
Created this page:
May 25, 2025