Fisher Model and Pattern
[ page 3 ]
F7U-3M Cutlass in 1/32 scale: building Fisher Model and Pattern kit
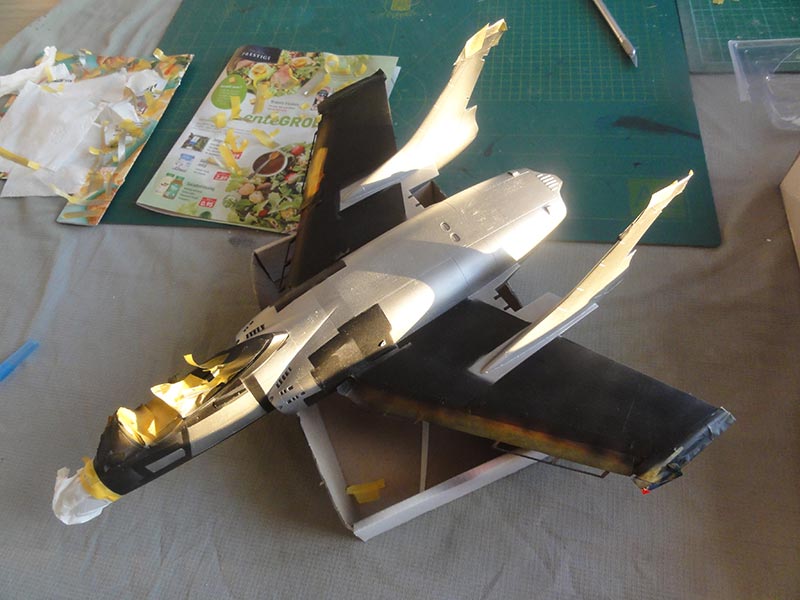
The next step was to airbrush a base grey coat to check for any small gaps and flaws. Usually I use an acrylic of Revell 75 "grau".

This coat revealed that additional putty and sanding was needed, particularly at the wing roots and joints of the vertical tails. After that was done, another base grey was airbrushed and it looked OK now.
The next step was to airbrush the red insides of the slats, airbrakes.

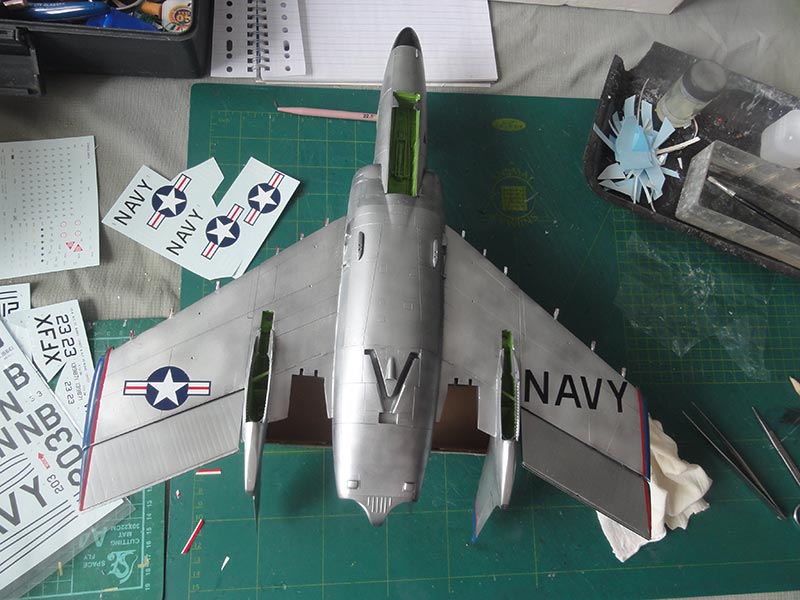
As noted earlier, it was decided to pick the paint scheme of the VX-4 Cutlass "139871" with the various natural metal hues. The VX-4 "The Evaluators" aircraft also shows blue tail tips and blue wing tips.
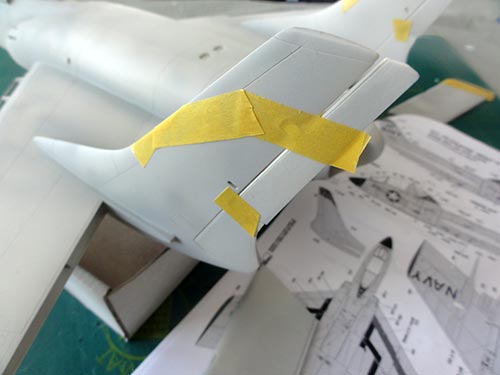
The various areas of blue of the US Navy VX-4 Cutlass with base natural metal hues were also masked with fine masking tape.

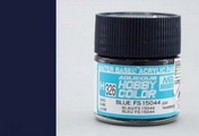
For the red colour I used Gunze Sangyo H3 red acrylic and for the blue colour Gunze H326 blue acrylic for FS15044.
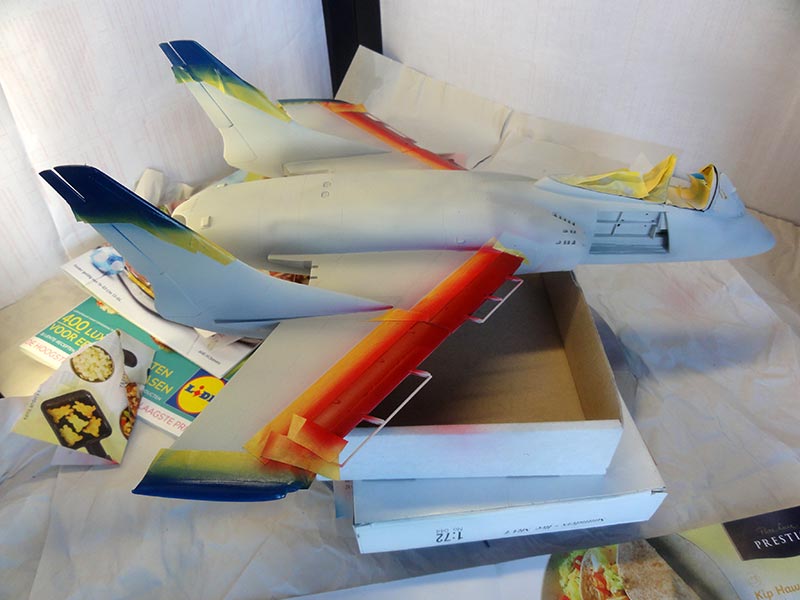
Note that the red leading edge areas need not to be perfect as they will be 80% covered by the deployed slats.
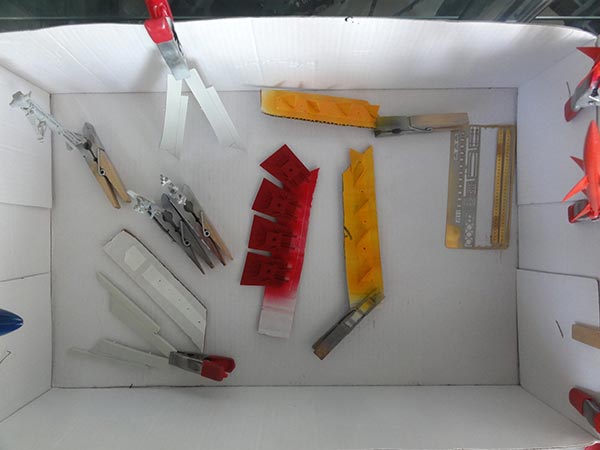
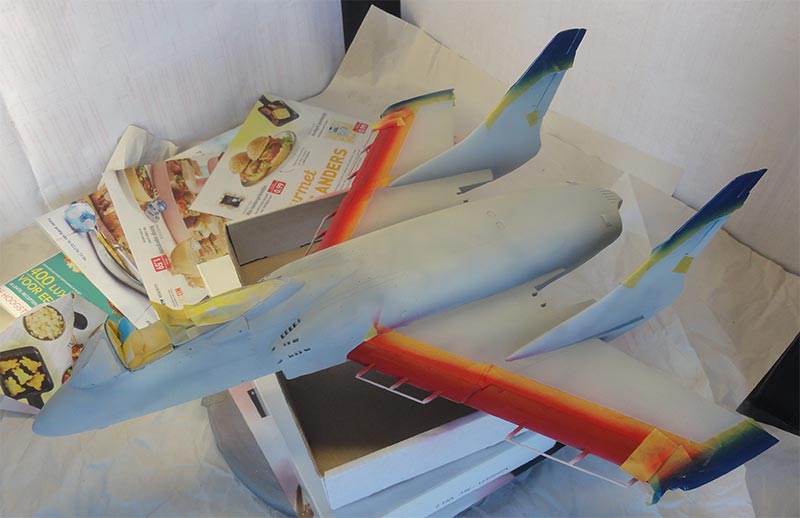
The smaller parts were not forgotten. The fins of the missiles were also airbrushed.
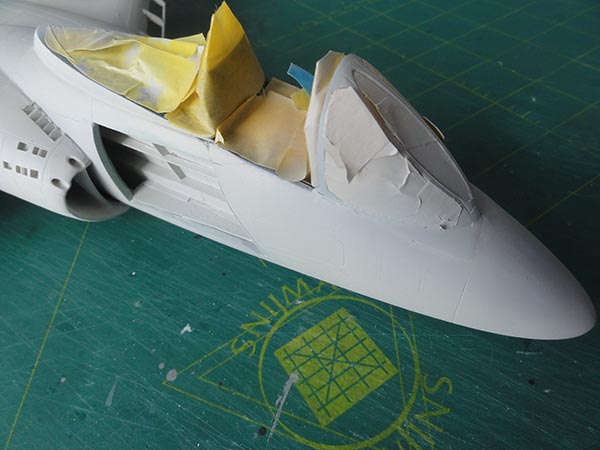
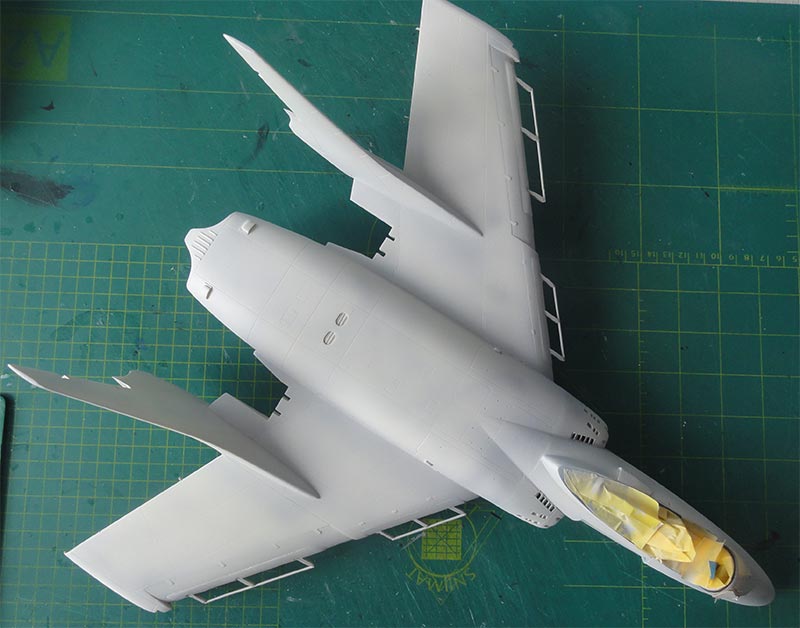
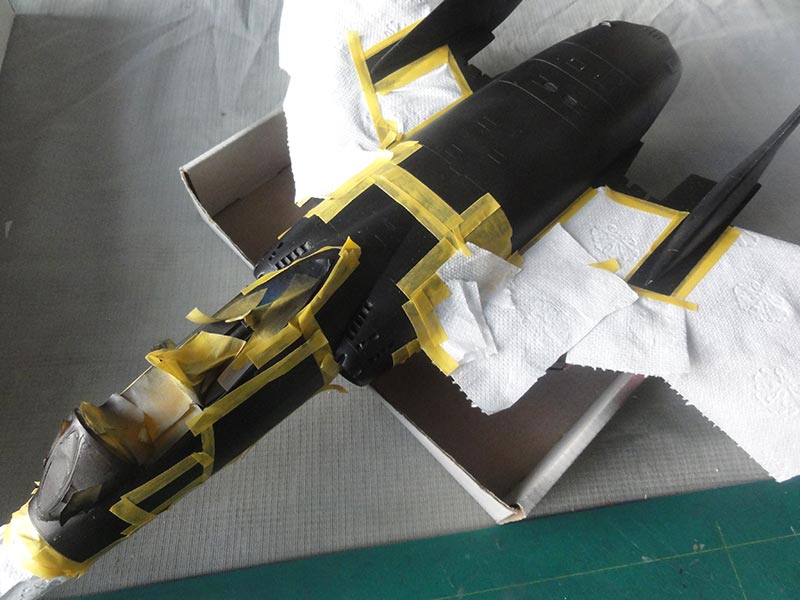
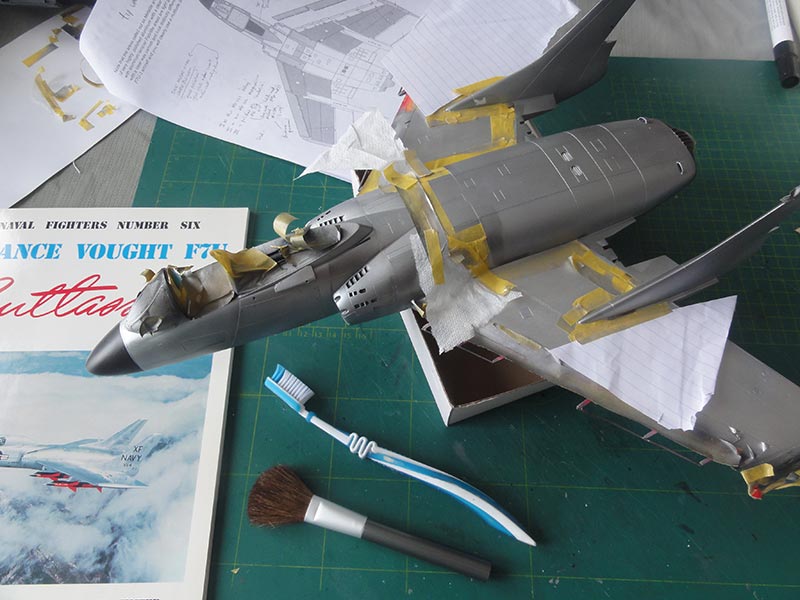
The red and blue areas were now masked and the interiors protected with tape and tissue as the next steps would be to prepare for the metal coats. The small bits at the slat areas also need tiny tapes to mask.
I used the ALCLAD system which requires a gloss black undercoat. A base gloss coat of black was airbrushed, I used Revell acrylic 07 schwartz.
Do not forget the four slats and pair of ailavators.
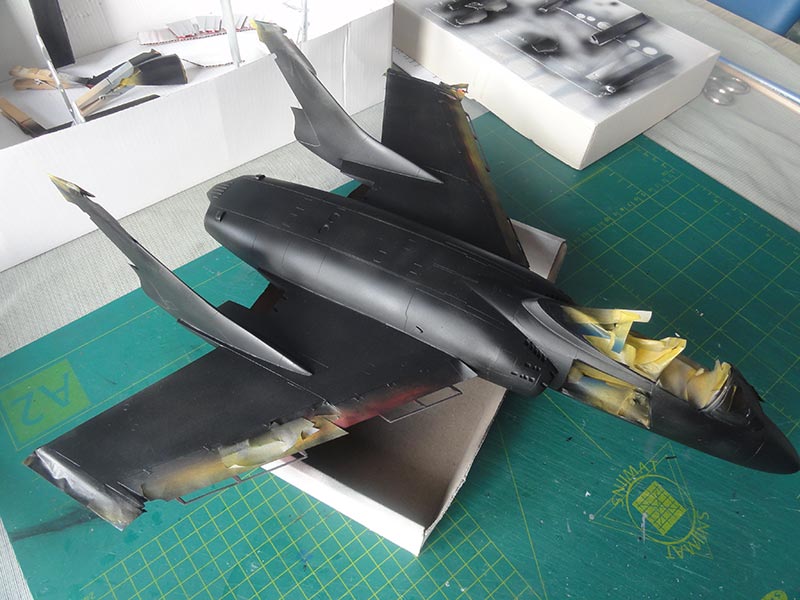
Several shades are seen on natural metal Cutlass aircraft, see the SCRAP PAGE here for the details. The natural metal hues are only marginally different on the real aircraft but will add interest to this big model.
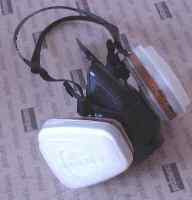

FIRST PROTECT YOUR HEALTH with a special face mask and ensure enough ventilation in the area! Read my resin handling tips here...
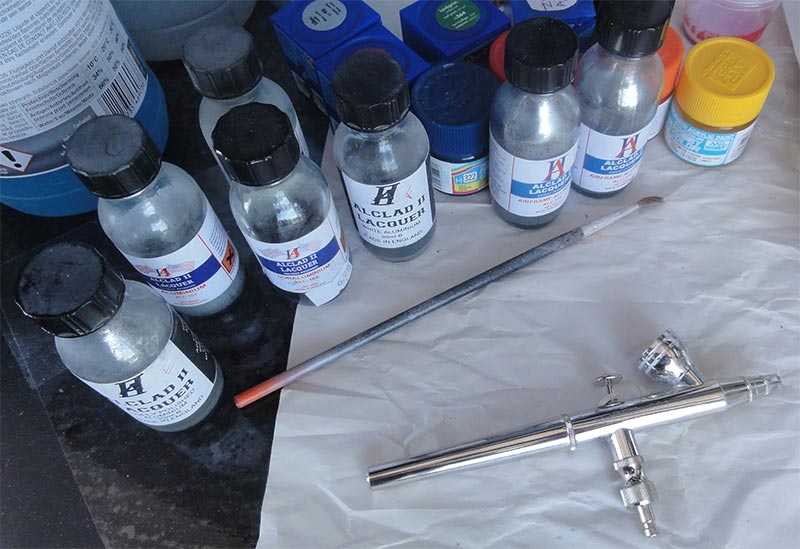
[1] I started airbrushing for the "metallite" areas ALCLAD ALC 119 polished aluminium.
[2] some smaller panels were masked off... and I continued with the ALC 119. This gives a slightly darker panel.
[3] Let dry. Now remove any small dust with a tooth brush. These small dust particles are almost unavoidable as there are many 90 degree angles at the model. Than I polished with a special soft cloth which worked out.
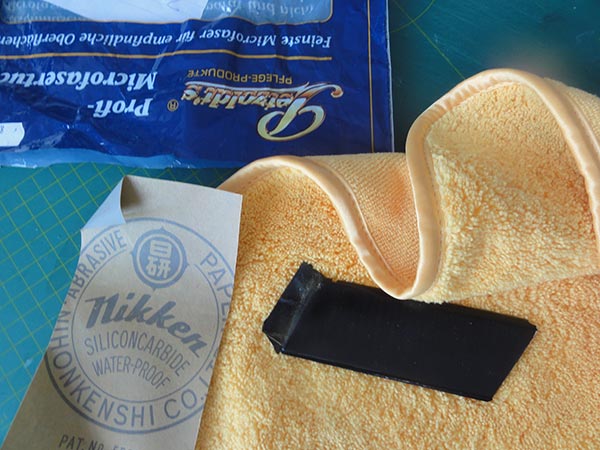
The ALCLAD polishing revealed every small scratch, so I had to buff/polish and airbrush another coat.
I ran out of paint so bought a few new ALCLAD 119 bottles and..... found they probably do have a different thinner. They also "smell different". Probably due to new health regulations these have been changed.
I was unable to get a similar high polished effect as with the older bottles.... well, nothing you can do.
[4] the next areas of magnesium alloy were airbrushed with ALC 102.
[5] let dry and mask
[6] the next coat was for the aluminium alloy with ALC 101.
[7] the darker burned metal at the exhaust section was a mix of some darker hues.
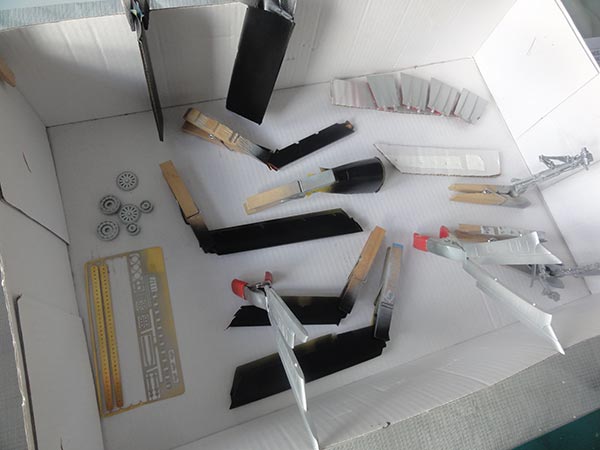
Also the smaller bits and gear doors were not forgotten. The wing missile pylons were also given coats.
The model now needed tidying up. A lot of work as tiny bits of overspray were there. After that the tiny spots needed another airbrushed coat of ALCLAD.
The metallic paints were now on the model and parts. Next were the remaining colours of panels and bays....
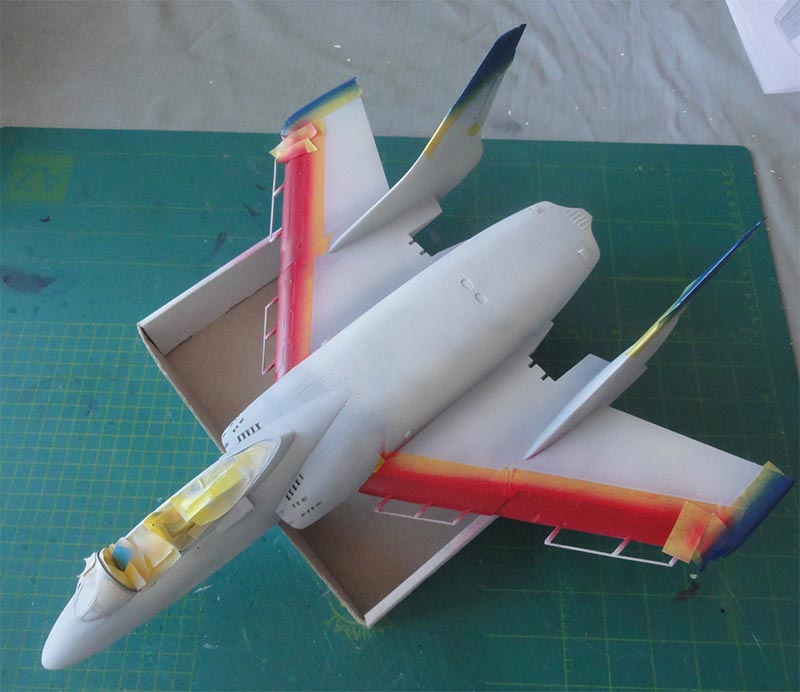
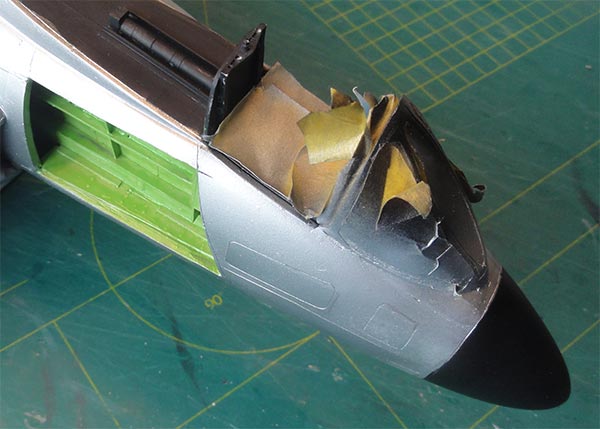
The insides of the undercarriage gear bays have different colours on early (natural metal) Cutlasses. I concluded from the aircraft manuals, see the "scrap page", that the deeper areas were interior green and the areas near the gear openings and the inside of the gear doors are natural metal. (Note: on later Cutlasses with the Gull gray/ White schemes these bay interiors are I think white).
The opened up avionics bay was given also a base coat.
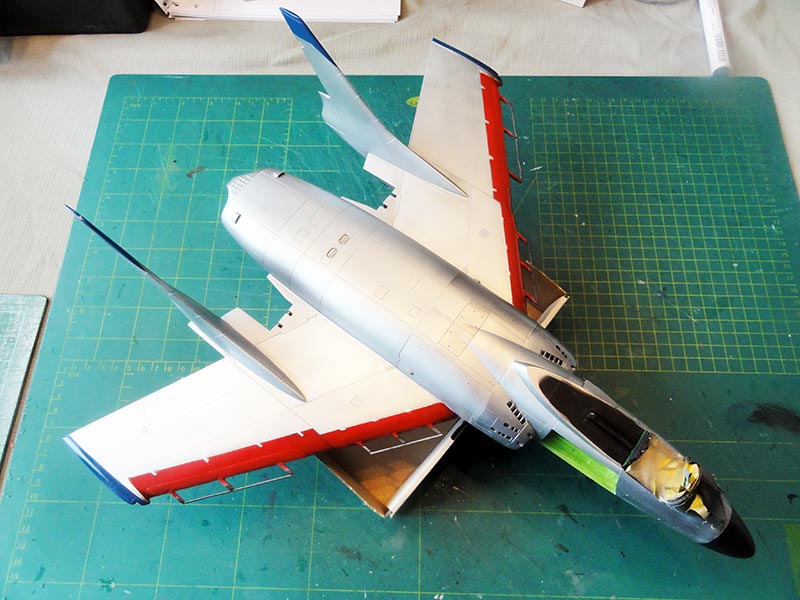
The result with also the masking tape removed at the red and blue areas......
---
page 1
page 2
page 3
page 4
page 5

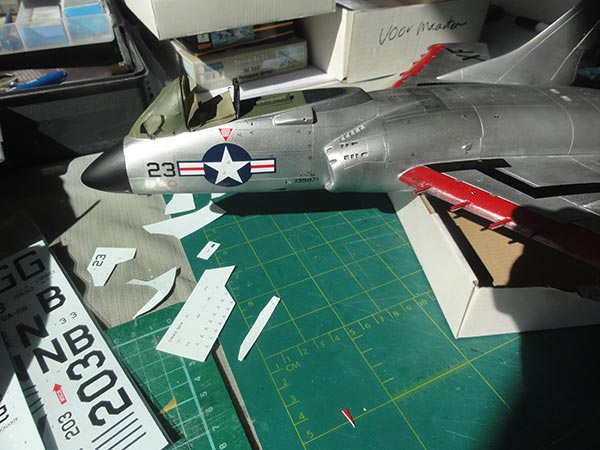
DECALLING
As the model now has its main paints and colours, it is best to add the decals now. This avoid handling damage later on.
The surfaces are glossy metal, so no varnish under coat is needed and decals can follow.
The FISHER kit decals are fine and include many stencils as well. They are printed by Micro Scale. The VX-4 "139871" scheme shows the various decal locations.
For the larger decals, the carrying film was removed with fine scissors.
In the FISHER instructions and on the decals sheet also the tail tips have red trim lines (8r and 8l). I think red trim lines should also be on the wing tips though not 100% sure. These were added from red stripes from the decals spares box.
The black walk way lines were also used but some black paint was dry brushed over these for wear.
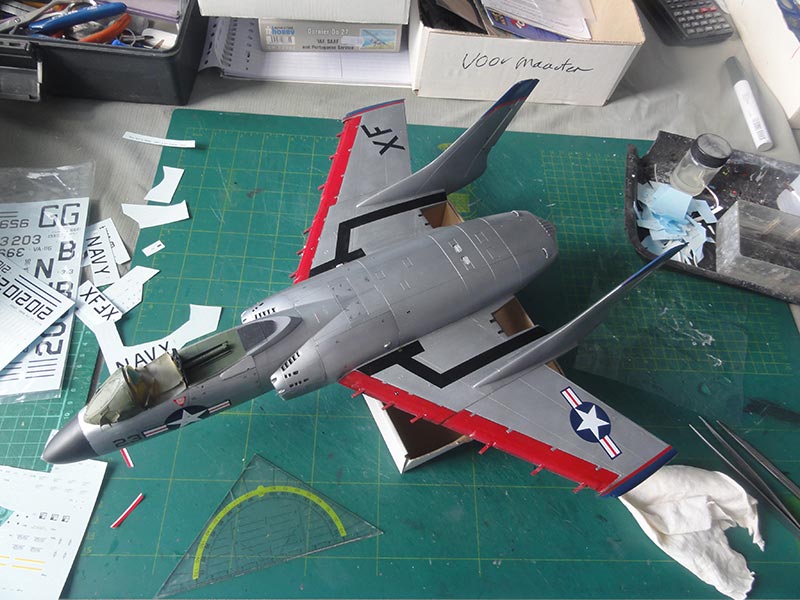
I had a problem with the amount of "white stars" #4 for the VX-4 scheme provided. I needed about 16 extra stars and fortunately could find most of these in my spares decals box, but they are not exact the similar size.
Most of the decaling is now completed.
On to next [ Page 4... ]
Back to 1/32 Models
(c) Copyright "designer"/ All rights reserved. Your comments are welcomed by webmaster
Created this page May 17, 2020