[ page 3 ]
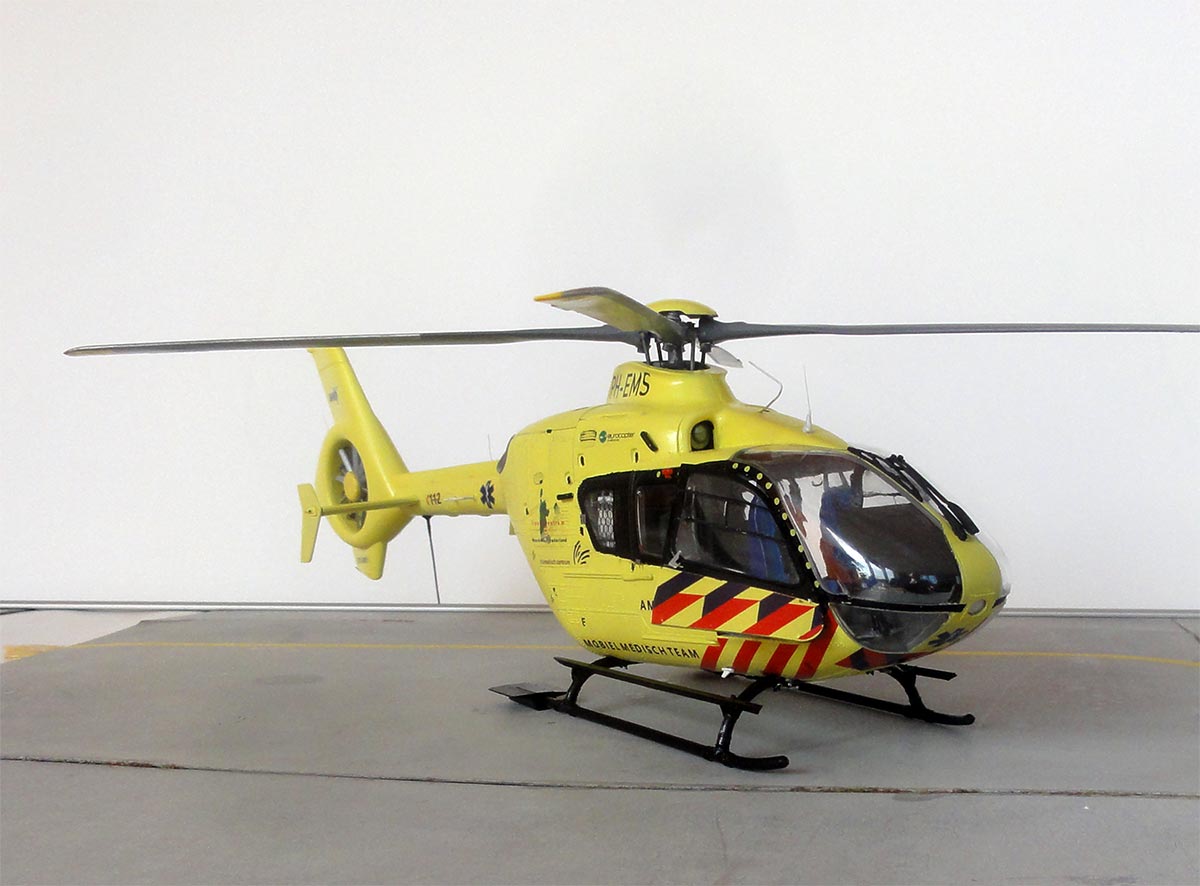
1/32 scale Eurocopter EC-135
... continued from page 2....
Page 2
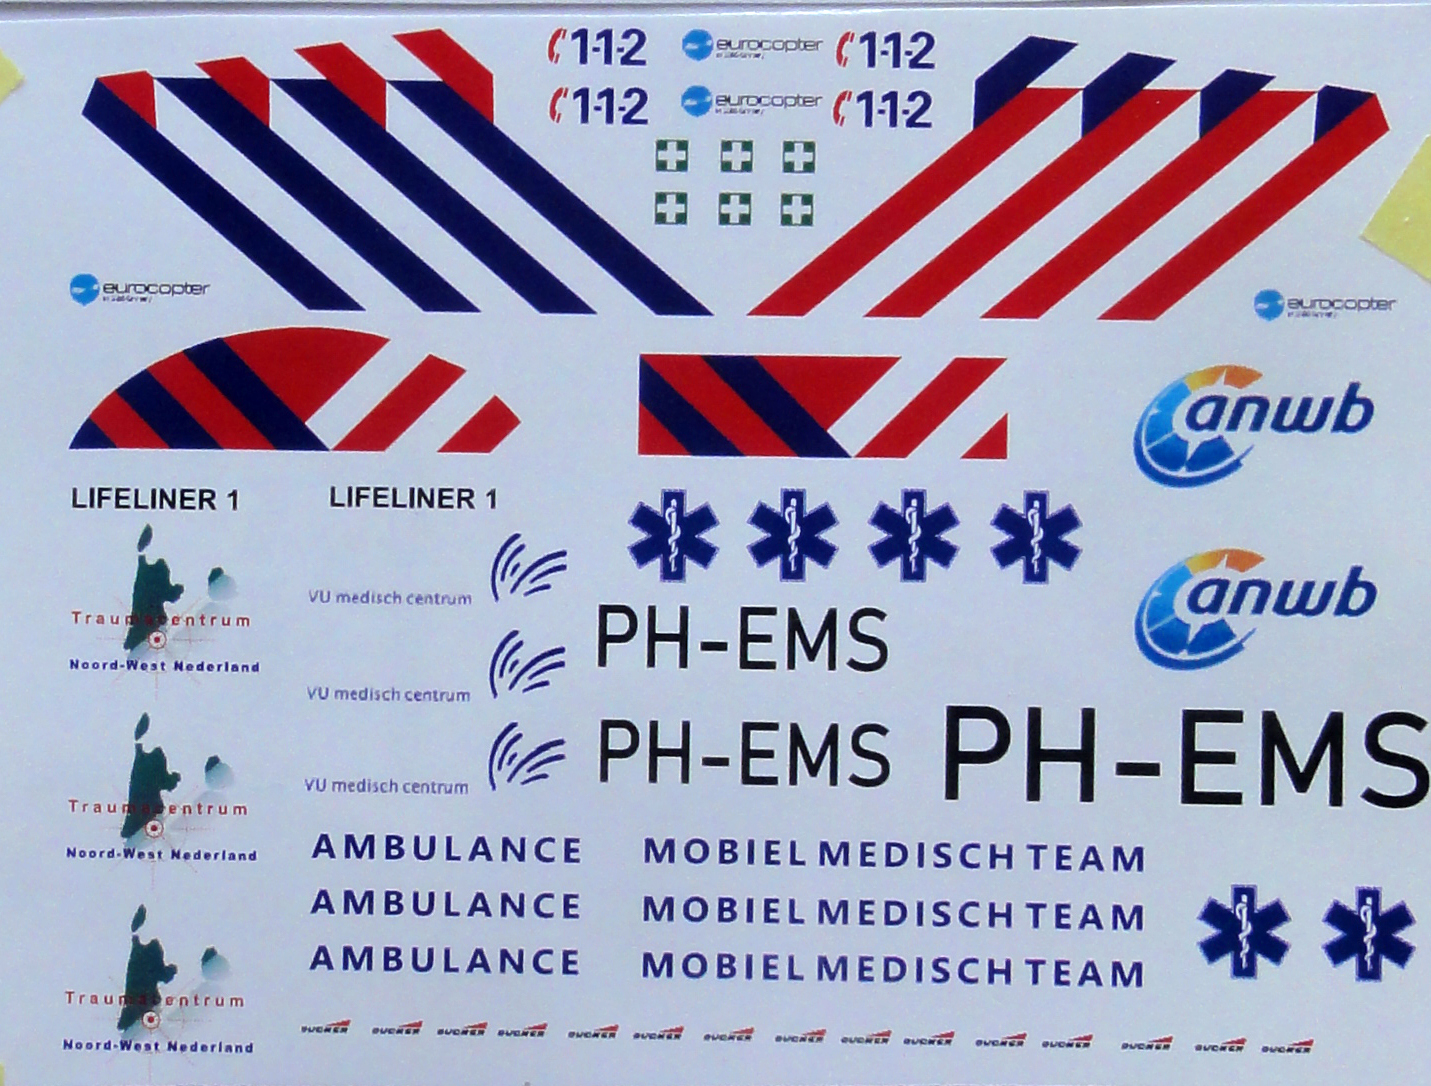
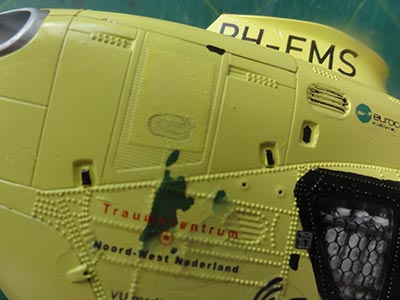
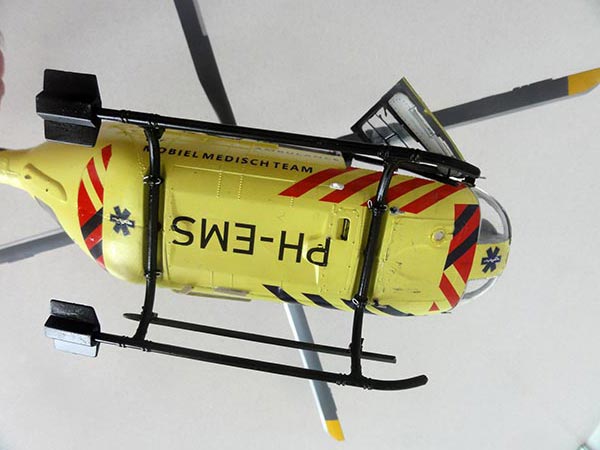
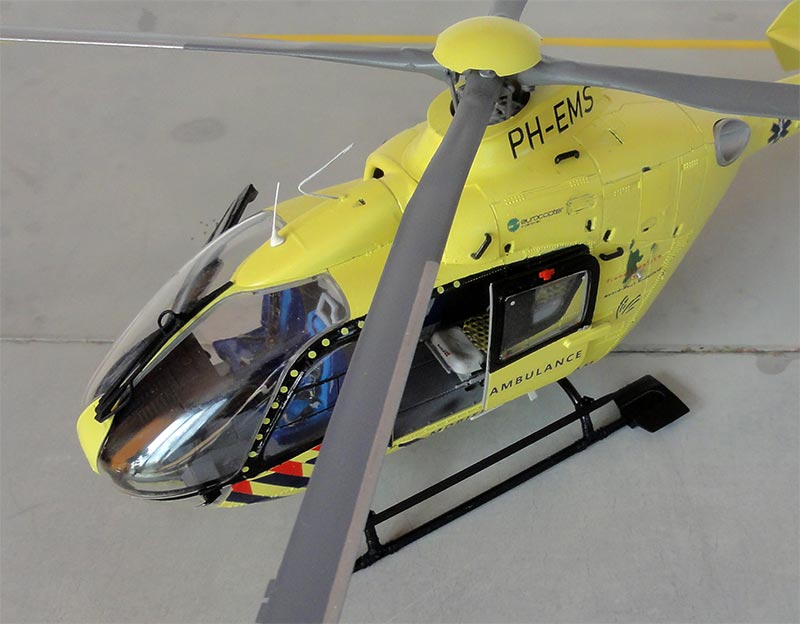
The home designed ANWB EC-135 decals and at a print shop custom printed of my modelling friend Maarten were put on the model. It is best done now before installing the smaller parts. Maarten had designed and added the PH-EMS registration on the decal sheet on my request.
 ...
... ..
..
The decals after printing had gotten at least 8 layers airbrushed of floor varnish Johnson Future / Pledge varnish to protect the printed decal ink. The decals are printed on one big sheet so cutting out is needed of each individual decal.
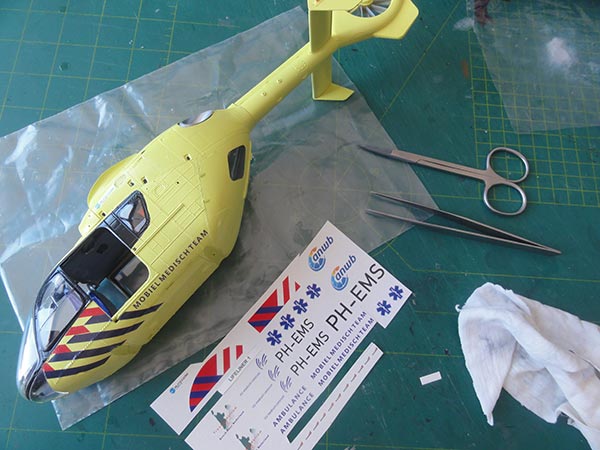

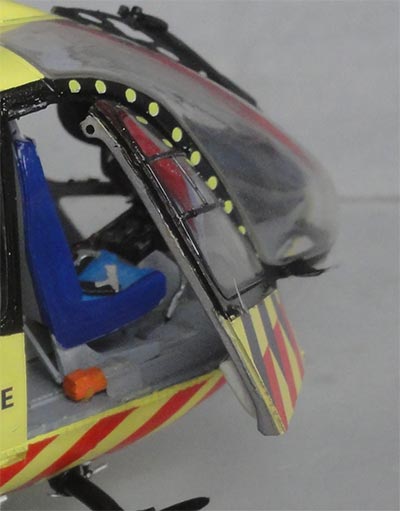
I started with the complex red-blue nose stripe decals. Most were added individually and I used a pattern made of drawn paper to ensure correct "one chance only" cutting and size. The blue stripes turned out a bit dark but accurate enough.
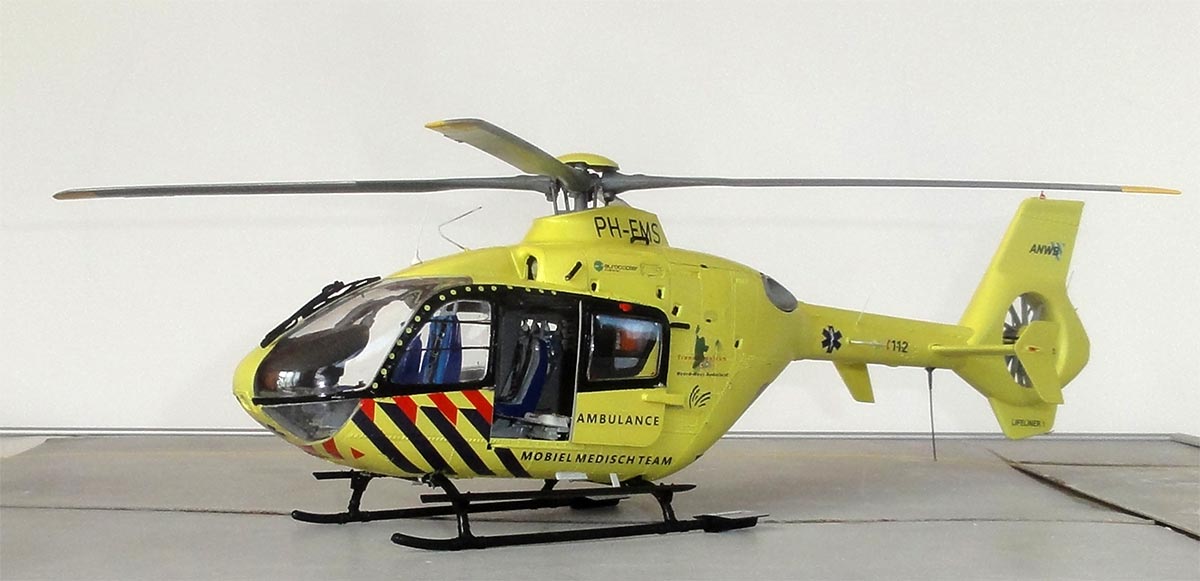
The texts are still for in Dutch "mobiel medisch team" as appropriate of that period of the first PH-EMS paint scheme. This had the old style ANWB logo, obtained from the FVC decal sheet.
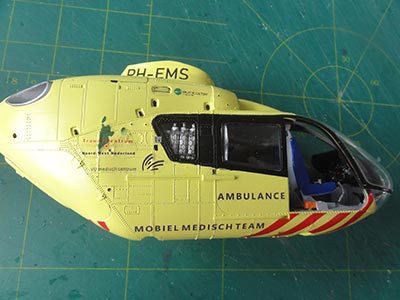
I found that during decalling the engraved grid panel aft of the rear windows is a bit different as per kit on both sides. I suggested these different panels with a pair of decals. (I usually airbrush an extra piece of clear decal sheet with the outside colour of a model; this always comes in handy for model repairs and corrections).
 ..
..  ...
...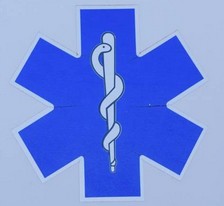
As "white" could not be printed, below the medical symbols a bit of white was painted first before setting these decals.
When decalling was done, next...
STEPs 46-48
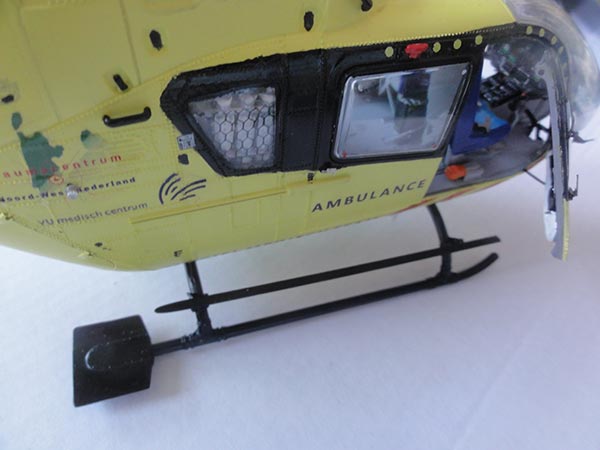
These steps deal with the standard skid on which also this helicopter sits. Ensure that the high legs are at the front. The PH-EMS also has the horizontal skid plates #Z213 and the mid bars #215 and #216. The skid is simply gloss black overal.
Some smaller parts were now installed like the pitot tubes and lights. I also added a 4x2 hook braces from metal wire on the skid attachment points.
STEP 59
The handle grips #142 as shown in layout STEP 59 can be use as guide for the ANWB EC-135 PH-EMS.
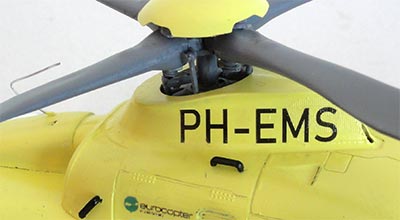
Antenna #182 was to be set a bit off set on top of the intake bullet fairing but I replaced it with thinner metal wire.
As the old PH-EMS scheme with old stype ANWB logo on the tail was made, antenna #179 is also to be installed; but I made a new one from thinner metal wire. (Note: the later PH-EMS scheme deleted antenna #179 with a new antenna #264 which is also in the kit).
 ..
.. STEPs 60,61
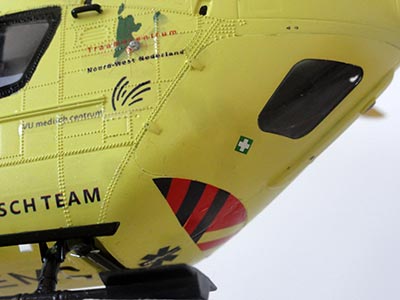
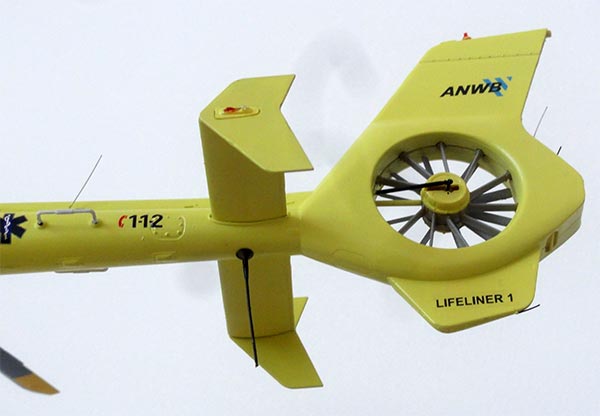
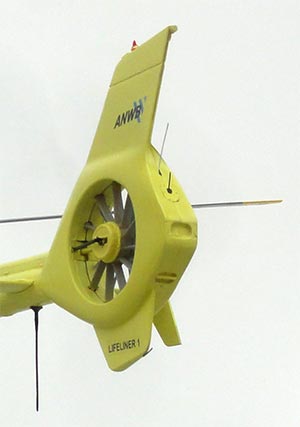
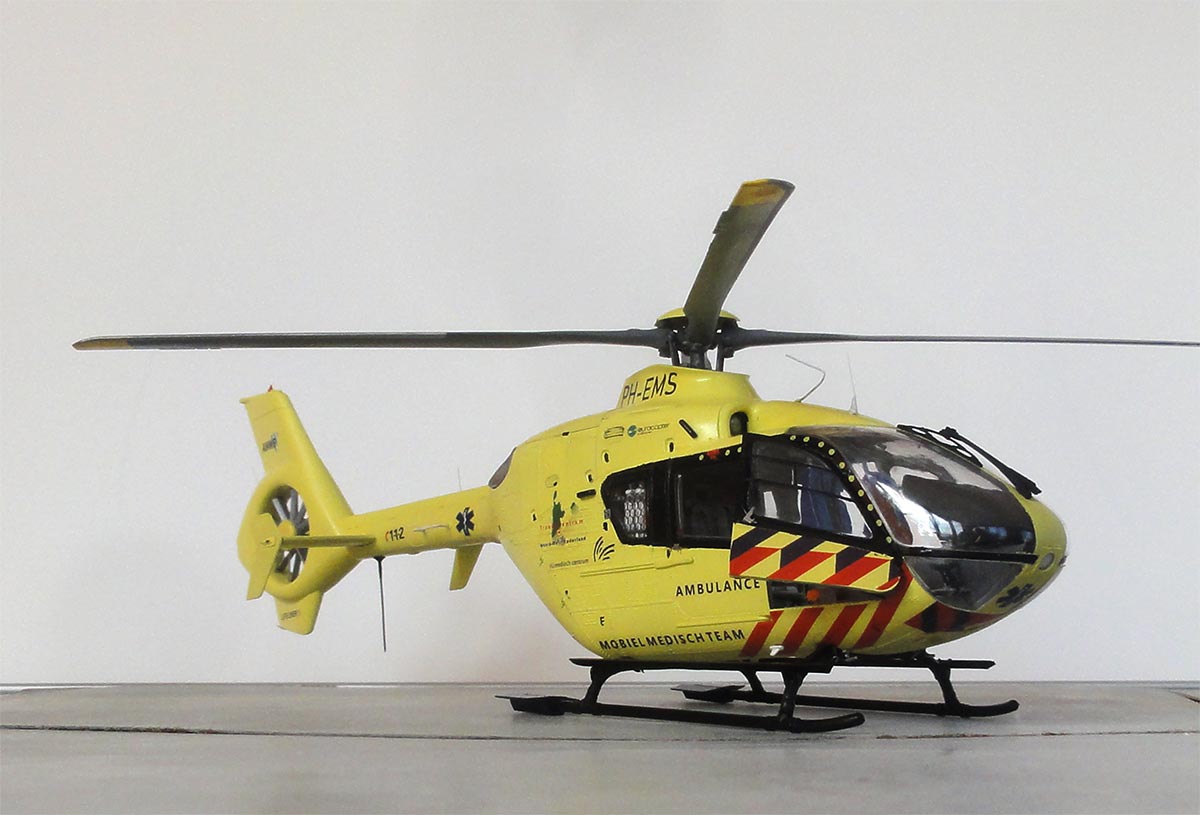
The small tail part #Z231 and antenna #262 are not needed. In stead of part #Z321 I installed a slightly smaller bit. The anti-collision light #422 got a transparant red TAMIYA paint. A pair of small antennas were set on the rear of the fin, Revell suggests "streched sprue" here. A small static discharger was set on the bottom of the tail fin.
STEPs 62-66
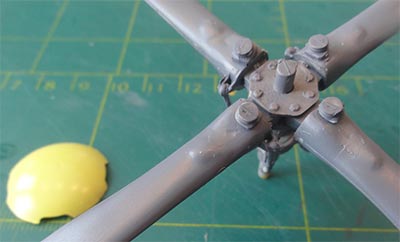
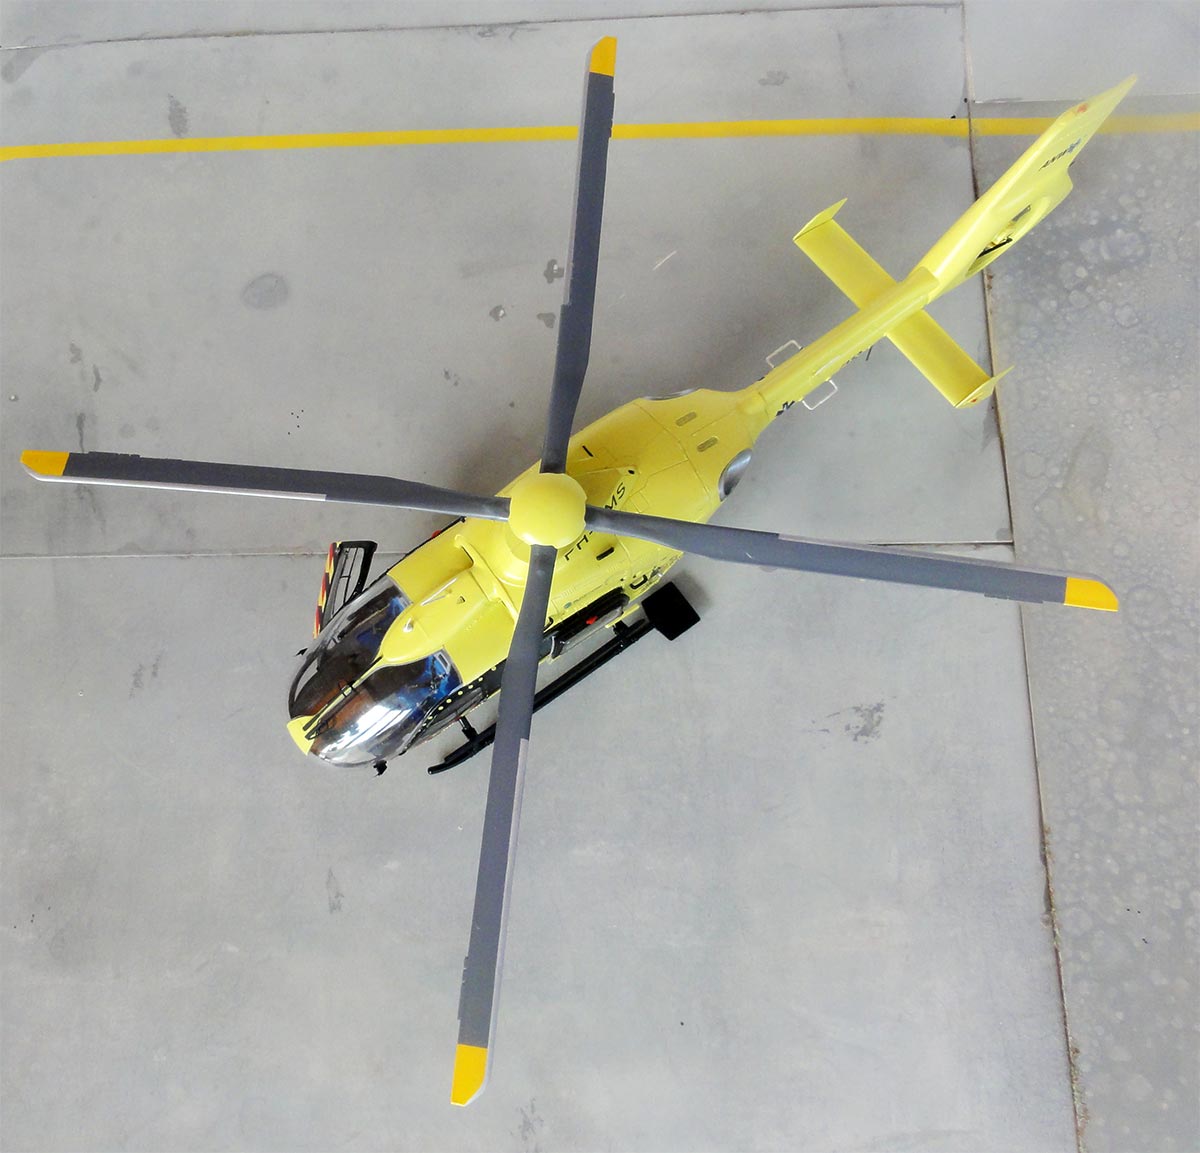
Assemble the main rotor as indicate, they are OK.
IMPORTANT: the Revell instructions are a bit unclear regarding the main rotor rotation. The real rotor turns anti-clockwise when seen from above.
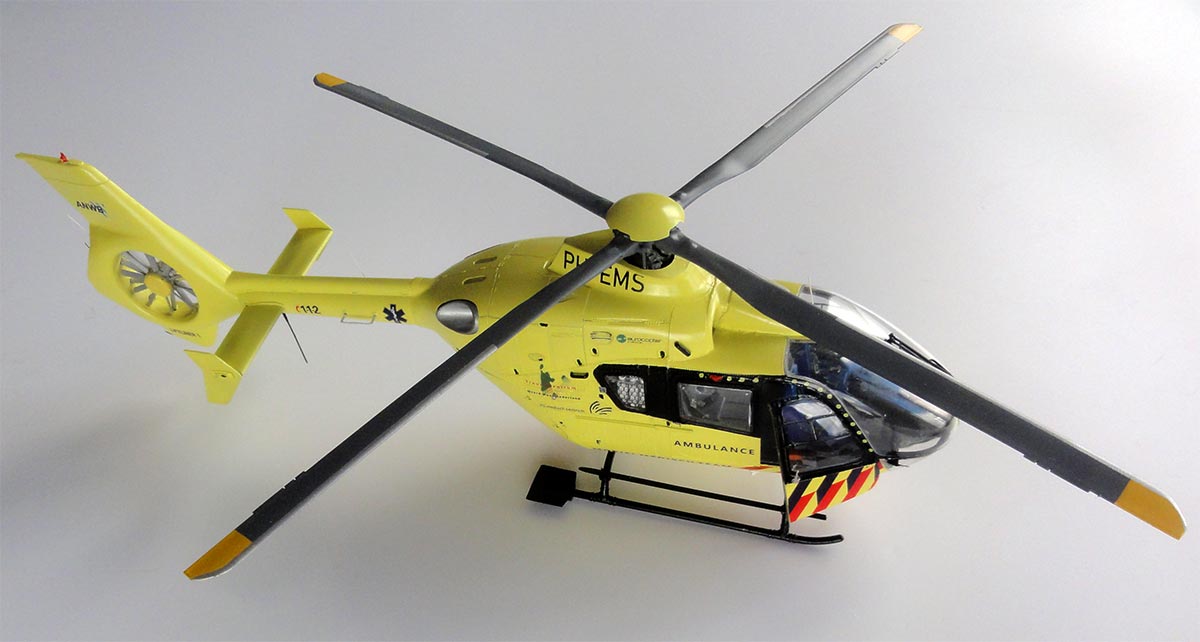
The blades were airbrushed medium grey with yellow tips for which Gunze Sangyo H4 yellow acrylic was used. Mask and airbrush and also note that a part of span section of metal leading edges need additional masking.
Use a pattern to get assemble the blades to the hub to 90 degree angles; take care not to break off the fittings. I bended the blades because of gravity just a little as this is a "rigid rotor" system on the Eurocopters.
 ...
...
EXTRA's
An extra handle is also to be set on the engine fairing, see STEP 59. Smaller door handles were added from scrap.
STEPs 67-68
The windscreen wiper was set and the main rotor set "not fixed" on the model.
On the door edges I added all individual yellow dot decals found on the FVC decal sheet. On the cabin door window also a few dots for red and grey.
 ..
..
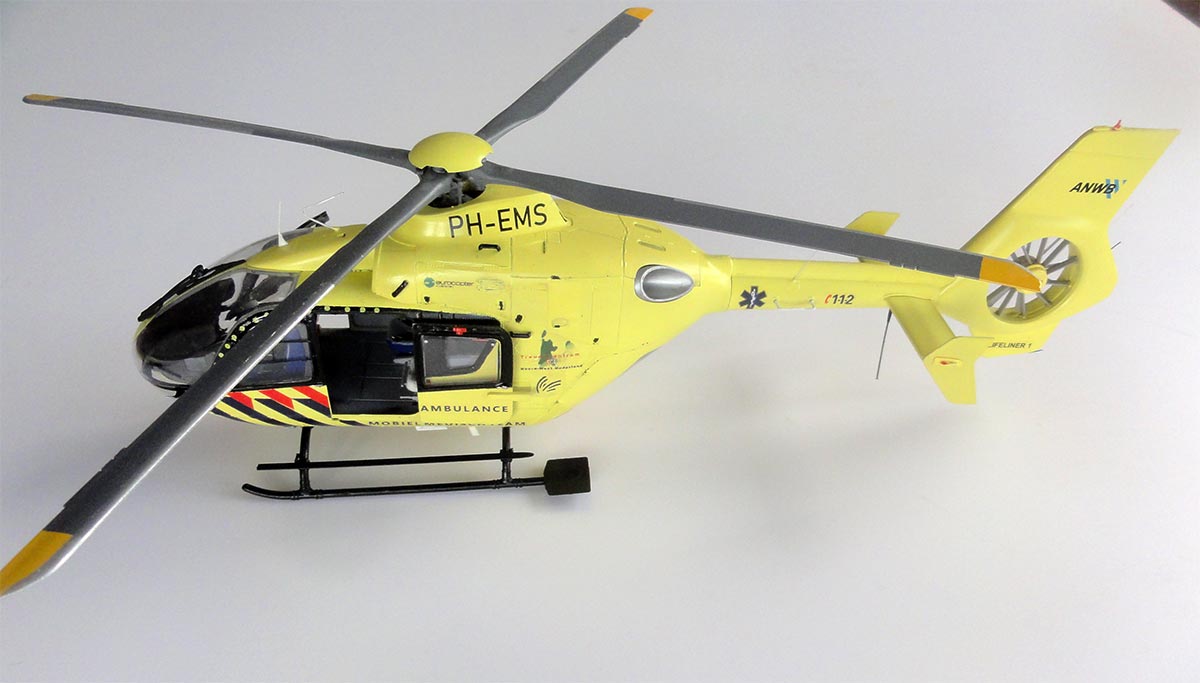
The forward right pilot entry door was set in place as well, the hinges were re-enforced with thin black stretched sprue. The stretcher was fixed with super glue inside the rear of the cabin floor as well as the left slide door.......
A final gloss varnish was airbrushed, using Johnson Future/ Pledge wth some 20% IPA thinner mixed in; shield off the transparant windows when applying the varnish coat. This coat gives a nice even sheen and protects the decals.
The main rotor was loosely set in place...
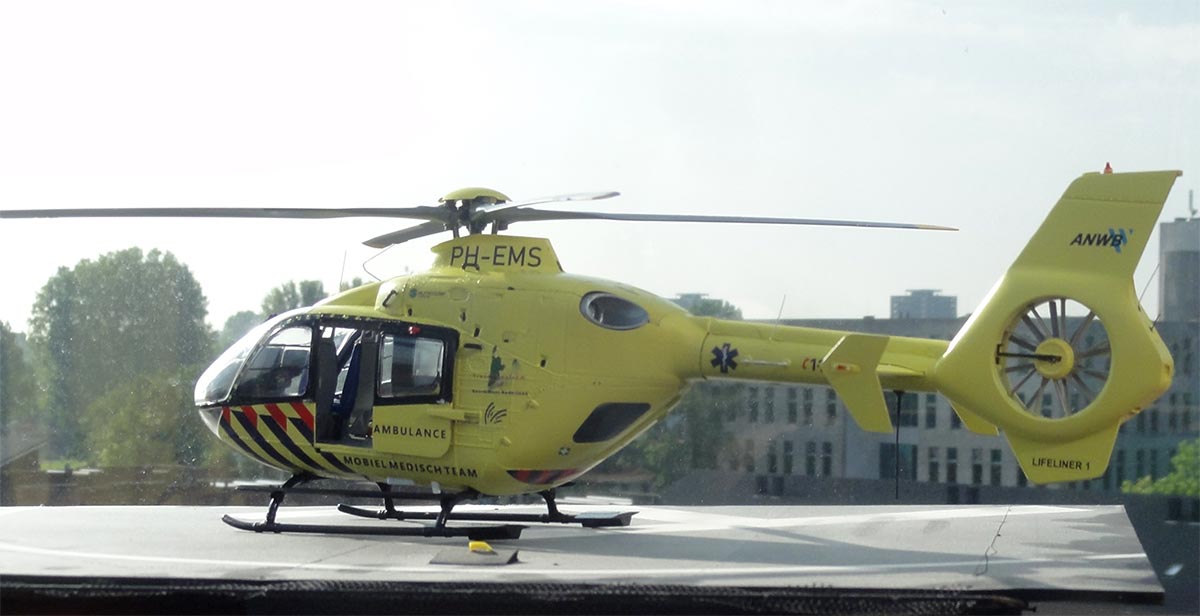
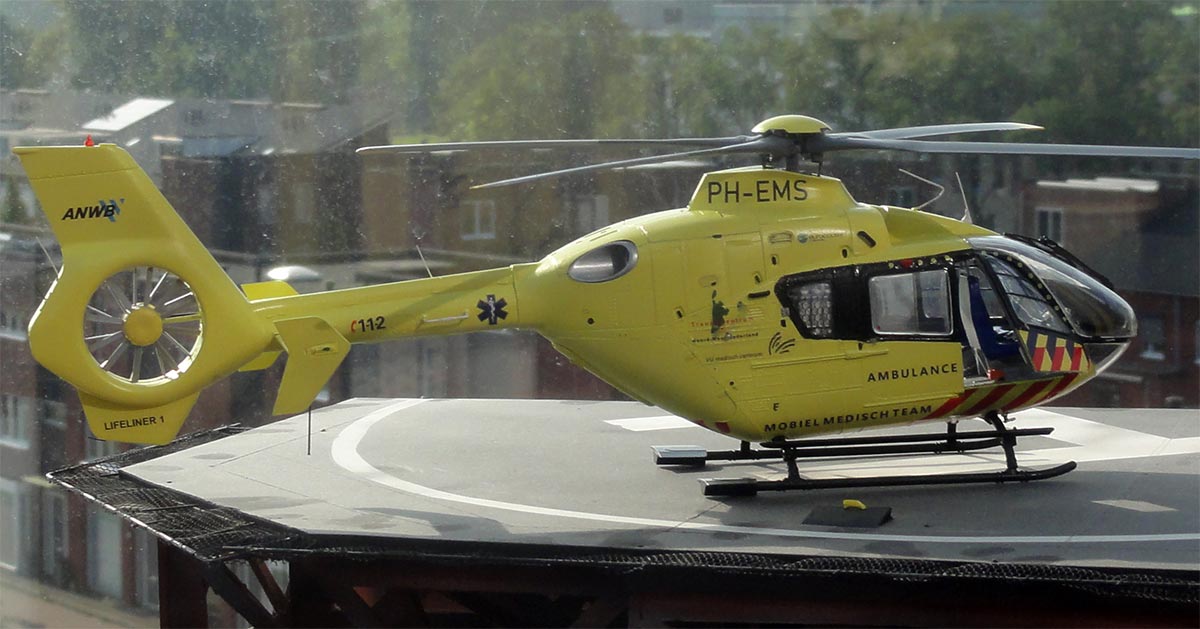
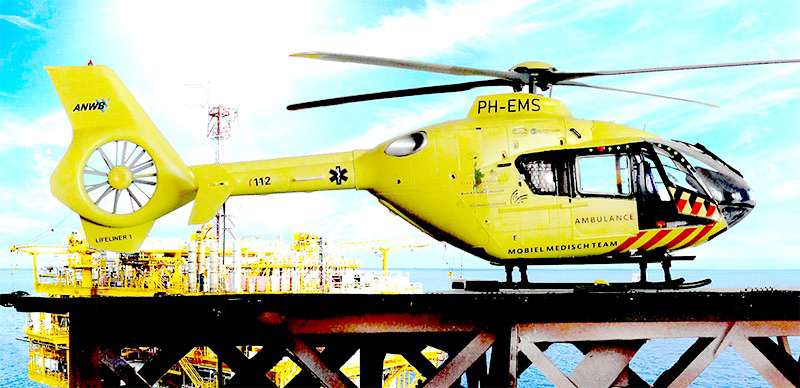
That completed a very nice model of a helicopter seen often in the Dutch skies saving lifes.

ANWB EC-135 T2, registered "PH-EMS", 2005

rescue to nearby oil platform...
Also check out the ANWB H145 helicopter
Back to 1/32 Models.......
(c) Copyright "designer"/ All rights reserved. Your comments are welcomed by webmaster
Created this page
August 14, 2021