[ page 4 ]
1/32 scale Bolkow Bo-105
... continued from page 3...
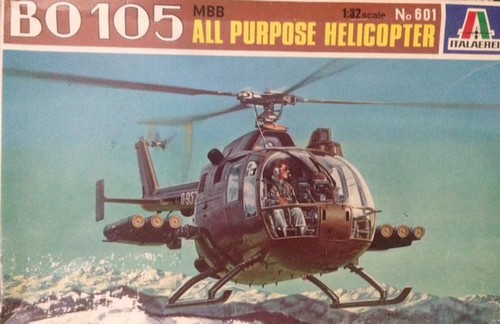
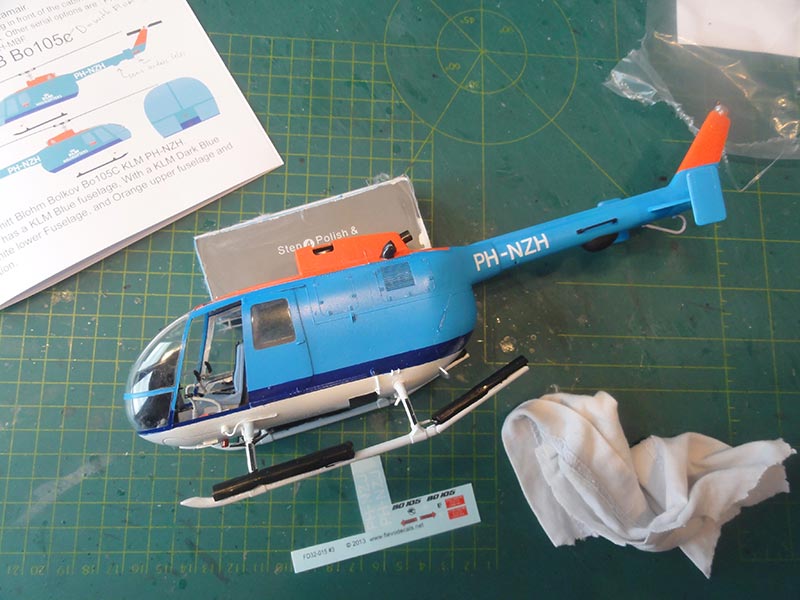
Another old Italeri kit #601 was made and will be finished as a KLM Helikopters model.
![]()
The KLM (Noordzee) Helikopters and KLM/ERA division founded in 1965 operated various helicopter types in the last decades, particularly for off shore services over the North Sea. Types included several Bölkow / MBB Bo-105D:
- PH-NZH prod.no 2375 from May 1976 to end 1982 (went later to KLu).- PH-NZI prod.no 2495 from April 1977 to April 1986 (with lease to UK operator as well).
- PH-NZJ prod.no 2592 from Nov 1977 to end 1980.
Also the longer Bo-105 CBS like the
- PH-NZX prod.no 4777 from Oct 1993 to Feb 1995.
- PH-NZY prod.no 4774 from Oct 1993 to Feb 1995.
and CBS-4 version:
- PH-KHD prod.no 5275 from 1996 to 2005.
- PH-KHE prod.no 5281 from 1996 to 2005.
These helikopters were also sometimes leased to others like the German ADAC and Dutch ANWB Medical Air Assistance.
In 1998, Schreiner took over the KLM operations.
Page 2
Page 3
Page 4
Page 5
 ..
.. 
As noted on previous pages, the MBB Bo-105 was released as 1/32 scale model kit in 1978 by Italaerei from Italy. (later called Italeri).
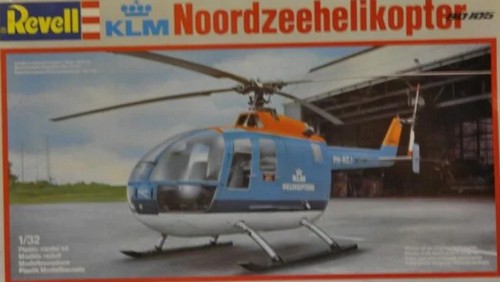
It also appeared in a Revell release kit #4426 with KLM Helikopters decals in 1983.
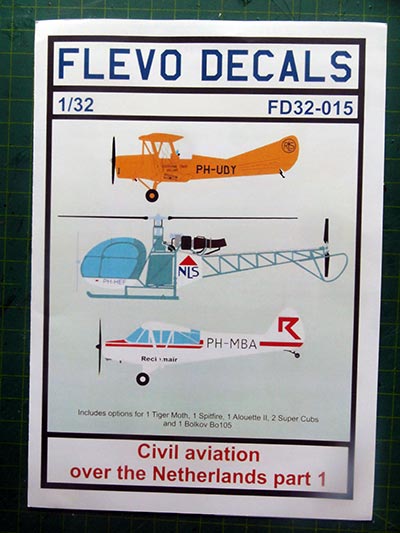
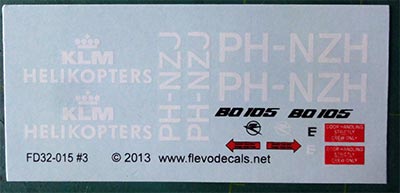
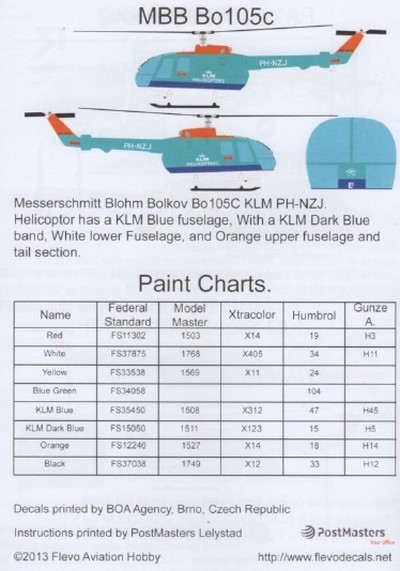
I did not have this released kit but had purchased an aftermarket Dutch civil aviation decalset from FLEVO DECALS #FD32-015 from 2013.
 .
. 
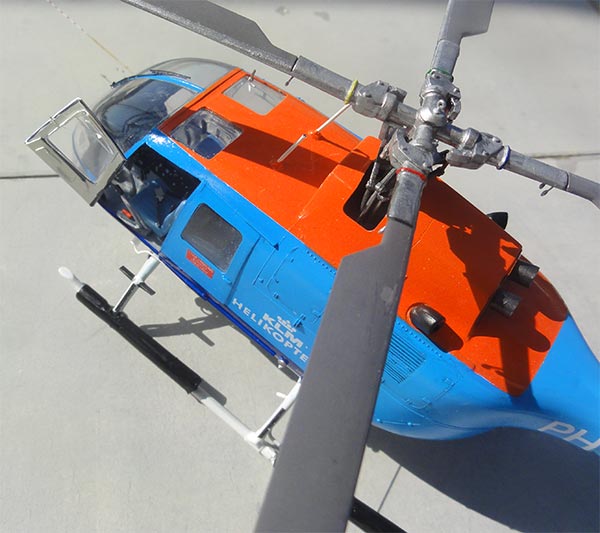
Each KLM helikopter was a bit different, so it is best to pick one and use photos to detail the model, in this case of the "Bo-105D PH-NZH". The basic version is a Bo-105C but as it could also be fitted with floatation gear on the skids it is designated as Bo-105D U.K. certified for off shore / over water operations over the North Sea.
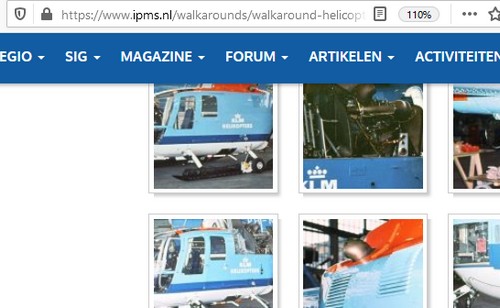
It is highly recommended to study the WWW.IPMS.NL walkarounds for the many details, see references...
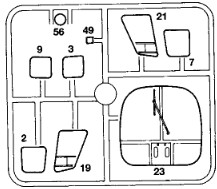
Different types of radio compass bulges were seen below the tail boom including the kit part #59. Also, different tail bumpers, both are numbered in the kit #32. Antennas also varied. Even the KLM titles varied in style, with just plain KLM or KLM Helikopters.
On the standard skid additional external details will be added, but basically the model is made as per kit. I did not have very detailed interior photos so the rear cabin sliding doors were not cut out further.
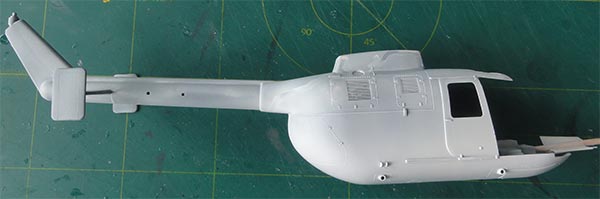
The fuselage halves with floor are quickly assembled with the closed cabin bulkhead. Also, the closed intake part #4 was set. Some putty was needed and this was sanded when dried.
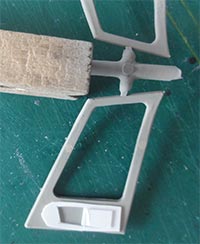
The next thing to do is to look at the wind shield and wiper configuration. There is one wiper seen on photos of KLM Bo-105 helicopters, so the kit part can be used. (I did not bother to shave off the integral moulded wiper, some detail later on will hide this).
Also, the small sliding window panels in the crew doors are in the correct position as per kit in the upper window section.
I did also add isolation webbing seen on the cabin walls (see page 2 how...).
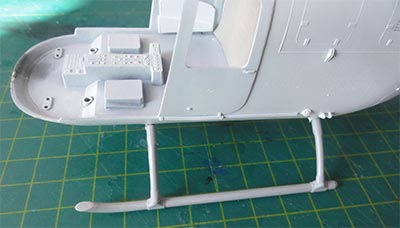
The standard kit skid has some small horizontal steps, these are in the wrong location. These were cut off and the skid halves installed.
(Note: if you use one of the later Revell kits, you may need to reduce the skid width and stabilizer span; see notes on page 2...).
 ..
..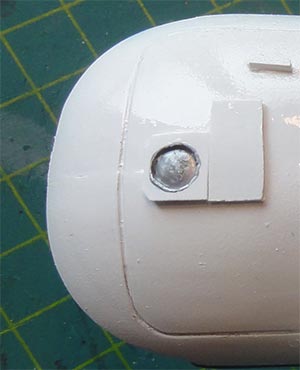
Below the fuselage, I added a bit different shaped Doppler panel for the KLM Bo-105.
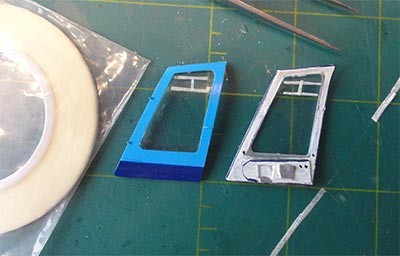
On the insides below the rear cabin window interior panels were added made from card as well as on the crew door insides'.
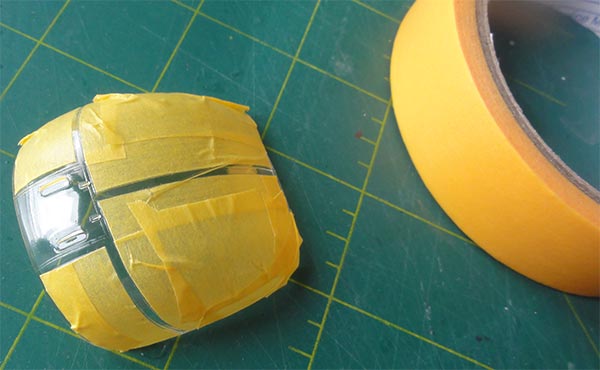
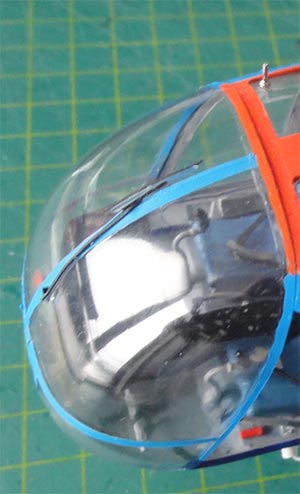
The large forward wind shield was masked and got a base white undercoat airbrushed on the frames as well as the overall fuselage.
It did not take a lot of time before the colour scheme could be airbrushed.
The KLM colours are a bit difficult to establish when using acrylic paints. In the 1960s to 1980s the old KLM blue colours were still used with another medium blue hue and complemented with the darker blue and white.
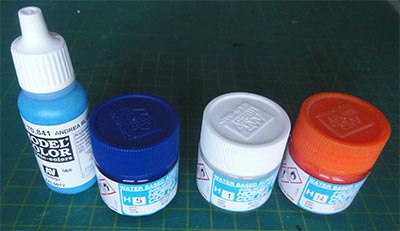
I settled for these acrylic colours:
- white with Gunze Sangyo H1;
- medium blue with Vallejo 70.841 for RAL 5012;
- darker blue with Gunze Sangyo H5;
- orange high visibility surfaces with Gunze Sangyo H14.
(if you use enamels, you may consider the Humbrol colours 34, 47, 15 and 18).
Obviously, the first colour is overall white. Followed by masking with fine masking tape.

The medium blue followed. I had difficulties airbrushing the Vallejo medium blue paint as it very quickly dries in the fine airbrush head even when thinning with Vallejo airbrush thinner 71.061. The Gunze Sangyo paints are far superior.
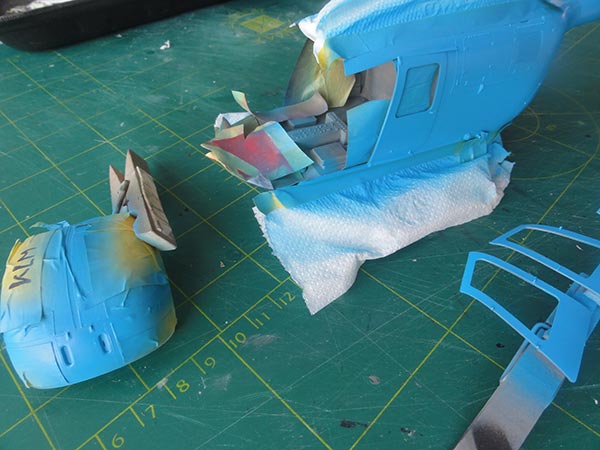
Masking again and now the darker blue trim. It is quite difficult to mask in a symmetrical accurate pattern with curved sections of tape.

The orange was the last colour airbrushed.
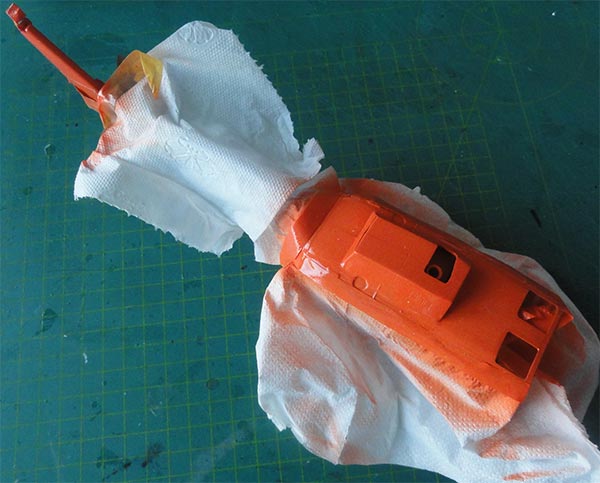
Note: some bits of aftermarket plain decal sheets were in these colours airbrushed as well; these may come in handy if repairs are needed later on.
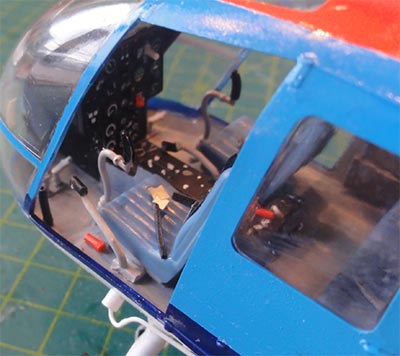
The model now had its main colours. So now the interior was tackled mostly as per kit. I believe the main interior colours on KLM Bo-105 helikopters were cream-white and details in grey. After painting...
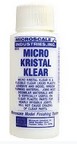
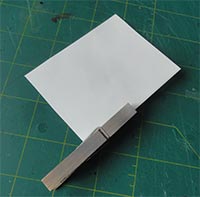
The cabin windows were set in place in the cabin side walls from the inside before installing the seats. The windows fit OK, use Kristal Klear to fix them.
I did not have a good photo of the KLM customized instrument pedestral so simply used the kit part with decals from a Revell kit.
The pair of front seats is a bit simplified in the kit. At the rear of each seat, the hollow areas were closed with card.
The seat cushions were painted medium blue/ grey and seat straps added from tape and bits. Same for the rear bench #16B.
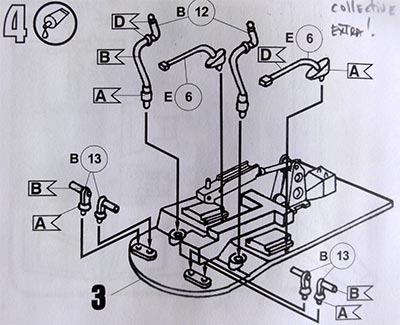
The forgotten pair of large collective pilot controls were added and made from some plastic rod. (you may alternatively find the collective controls #E6 in kit #04906).
The instrument pedestral had to be trimmed a bit at the lower mating edges to move it to the rear as it interfered with the large clear wind shield.
Below the tail boom various different fairings can be seen on KLM Helikopters Bo-105's. Usually the smaller radio compass fairing #59 is seen as well as the pair of VOR antennas #31.
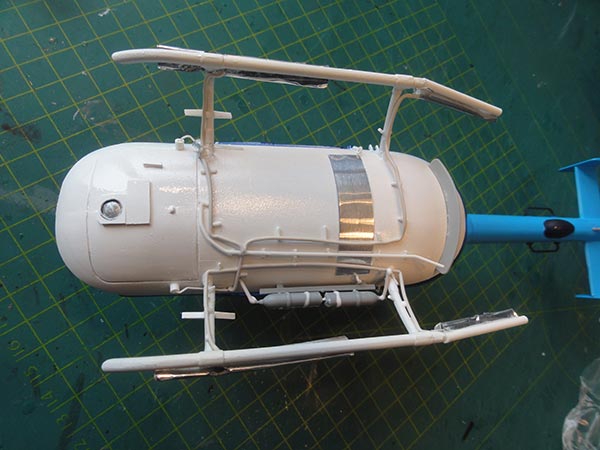
With plastic rod, the rear skid section was made longer for the floatation gear. The floatation bags were made by using bits of the TOW missile containers in the kit but wrapped with foil to suggest the rubber bag surfaces.

The various air pipes and other lower details on the belly were made, they are a bit educated guess as I had only side photos. So stretched sprue, rod and flexible electrical wire were used.
The various details were painted.
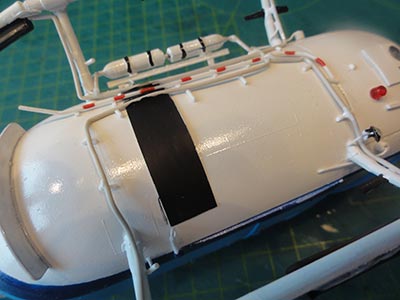
Please note that floatation bag colours may vary on the real KLM helicopters so study photos. The bags were painted gloss black. Also the compressed air bottles were added, I used scrap parts from the spares box.
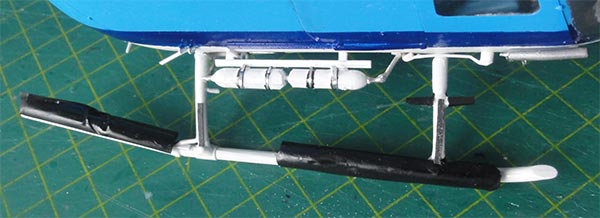
On the KLM helicopter, not one but two small pitot tubes were seen at the lower right fuselage in front of the skid. These were made from scrap. A long probably High Frequency (HF) antenna will also be added later on.
Also, it was found that this old kit did not have the small stubs and anti-collision lights (green and red) on the tail stabilizer vertical fins #30. These were made from scrap and the transparant lights came from the spares box. (when building the later Revell kit, these stubs are on the fins so correctly added by Revell).
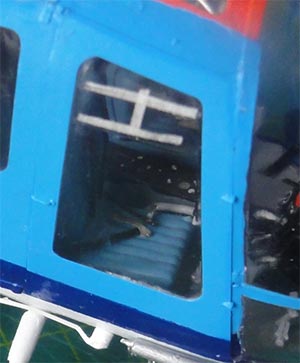
The insides of crew doors were painted. The small sliding window panels in the crew doors were covered from the inside with white tape to show them.
The wind shield does fit but there were still some small gaps. These gaps were filled with white glue (or use Microscale Kristal Klear). When dry, hand paint these closed gaps.
 ...x
...xOn the wiper, black tape was added on top to suggest a separate part. On top of the right upper cabin window, a temperature probe was set with white glue.

 ..
.. 
The crew doors fit but tiny gaps were closed with white glue and painted with a fine brush when dried.
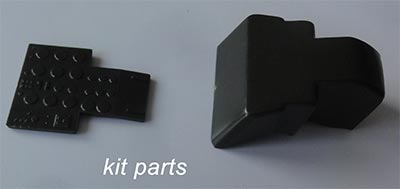
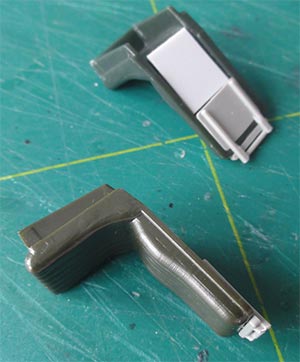
The exhausts #26B on the real Bo-105 are a bit oval. The kit parts are round and solid. With a drill, open up these up. With a plier I pressed them a bit "oval". Same with the rear exhausts #27B.
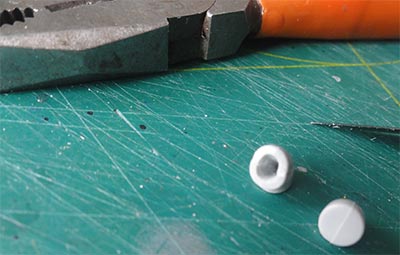
The exhausts were painted dark metal/ black and set in place on a small thin plate cut from aluminium sheet.
The few decals from the FLEVO DECAL set were now added. The surfaces were already glossy so it is quickly done. Note that the KLM Helikopters had different styles of markings. So pick a particular helicopter and add markings as appropriate.
I selected the KLM Bo-105D "PH-NZH". (this helicopter was later sold December 1982 to the KLu and became the "B-83").
At this stage the model got a somewhat semi-dull varnish acrylic coat to get an even sheen and to protect the decals. I airbrushed a mix of Johnson Future / Pledge with some 10% mixed in Tamiya X-21 Flat Base and the mix thinned with 40% Iso Propyl Alkohol (IPA). Shield off the transparancies while airbrushing.
More details were added:
- a few grips/ handles were added and painted.
- 2 large antennas on the cabin roof and the crew doors were set.
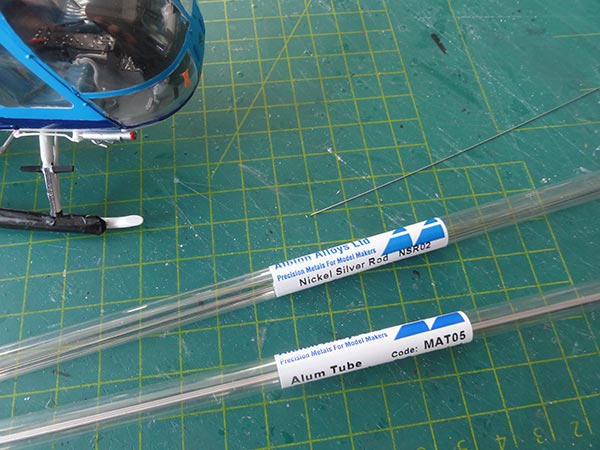
- long HF antenna was made with a long silver rod from an ALBION ALLOYS set that was painted brown and white with red stripes. It was set in a Alu tube below the right pilot door.
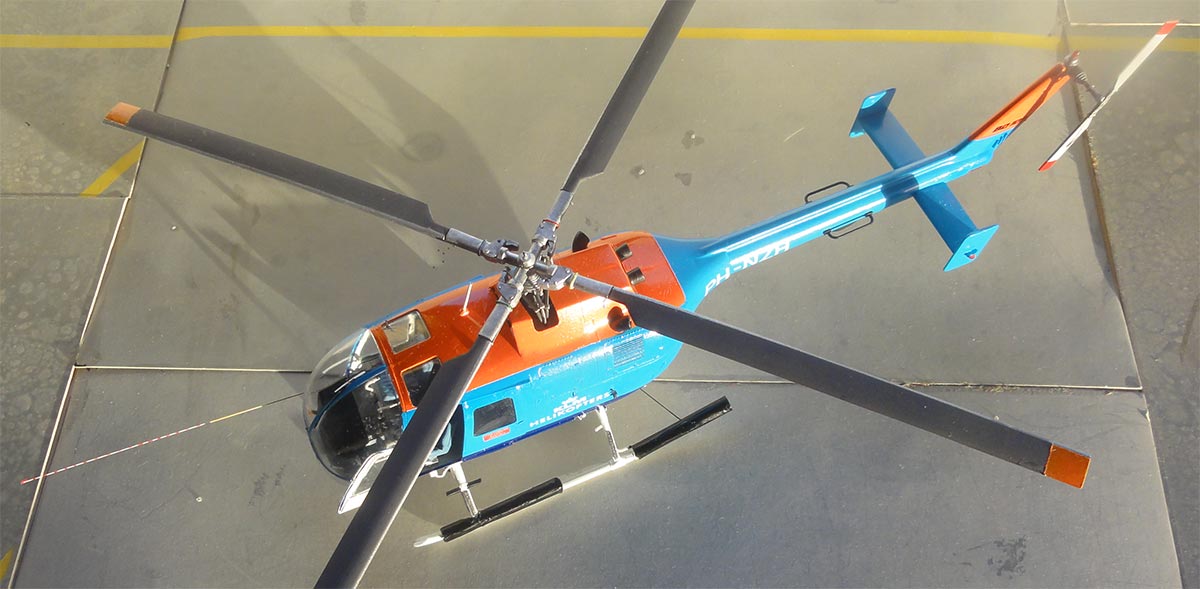
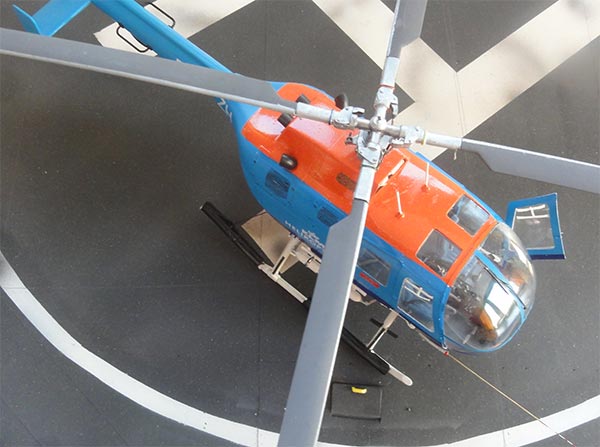
On the main rotor blades, the tips were airbrushed yellow/orange and the tail rotor tips red. On other KLM helicopters, other colours were seen as well. The main rotor was further completed as described for the other kit on page 2.
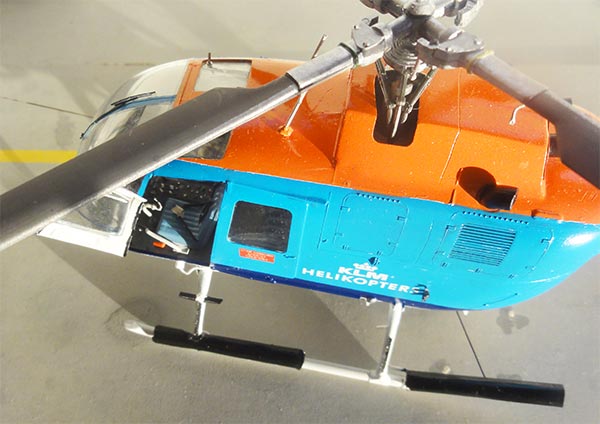
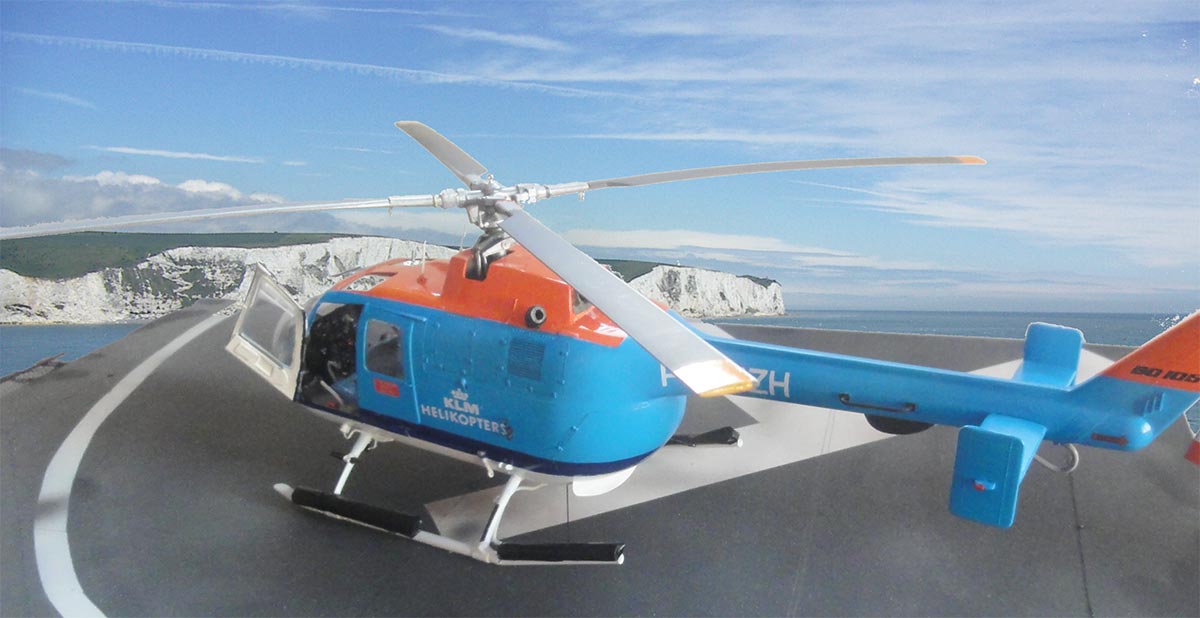
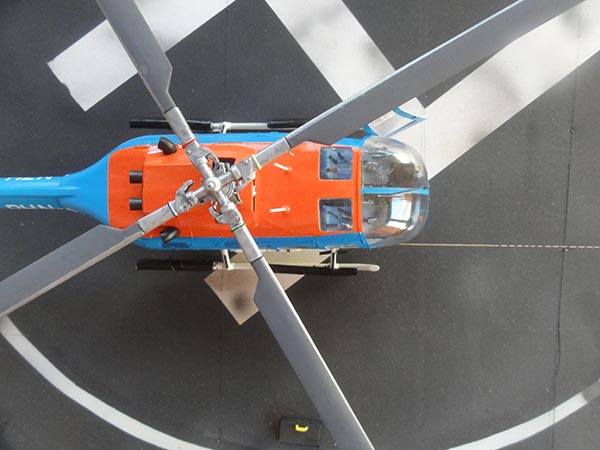
KLM HELIKOPTERS
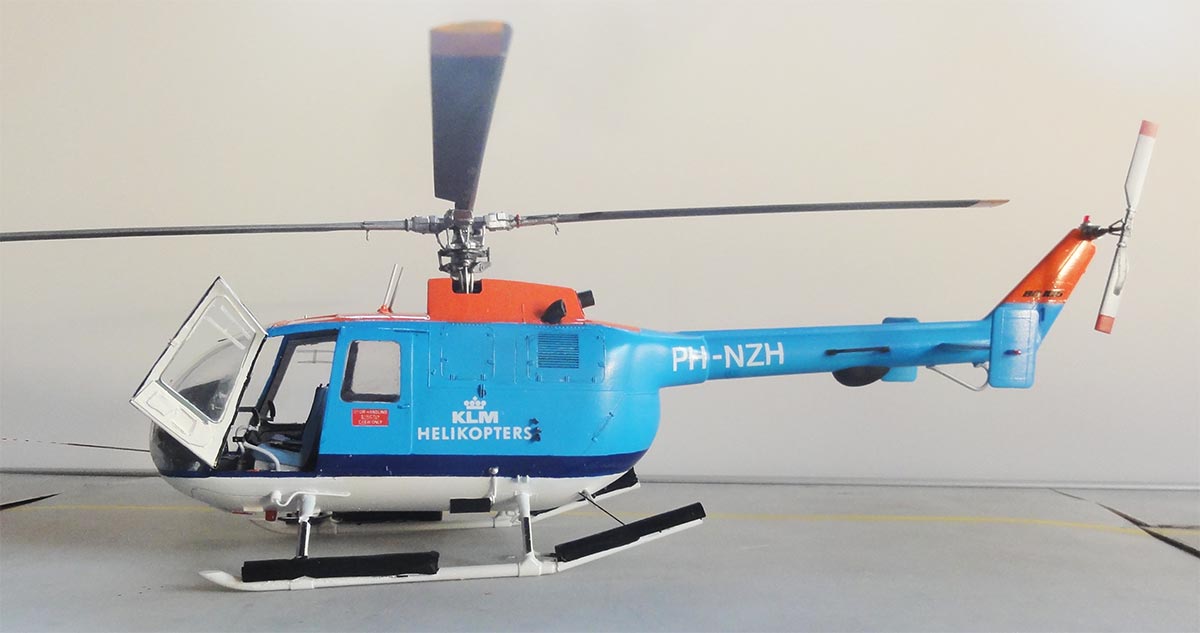
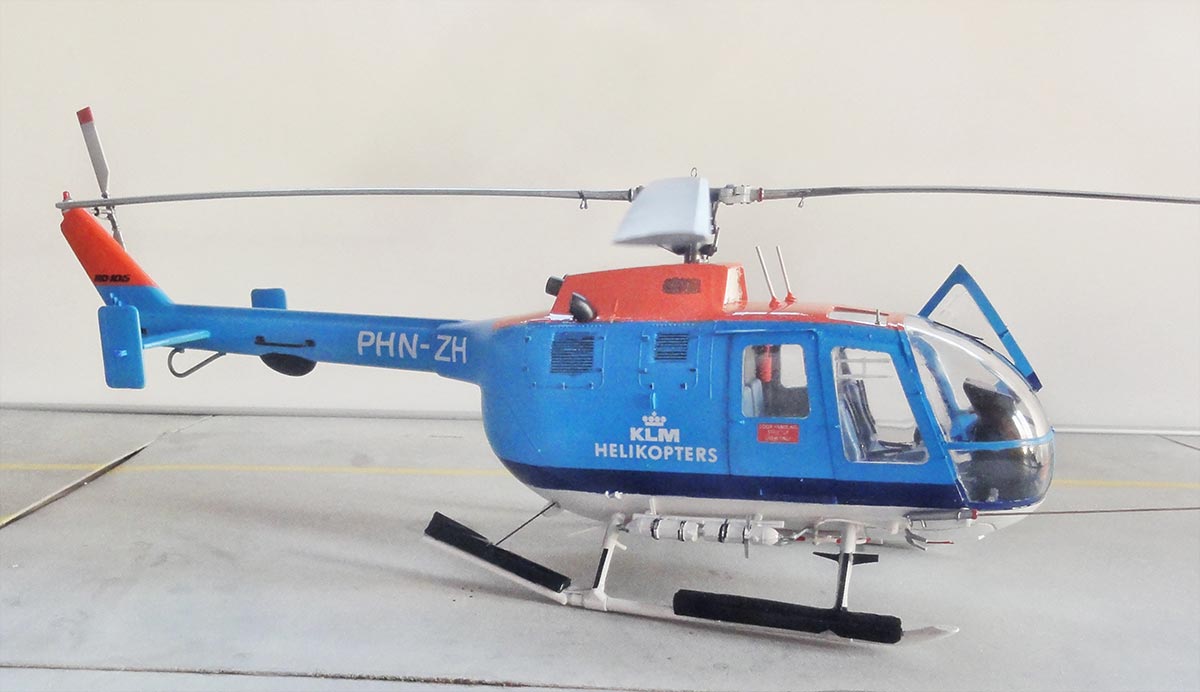

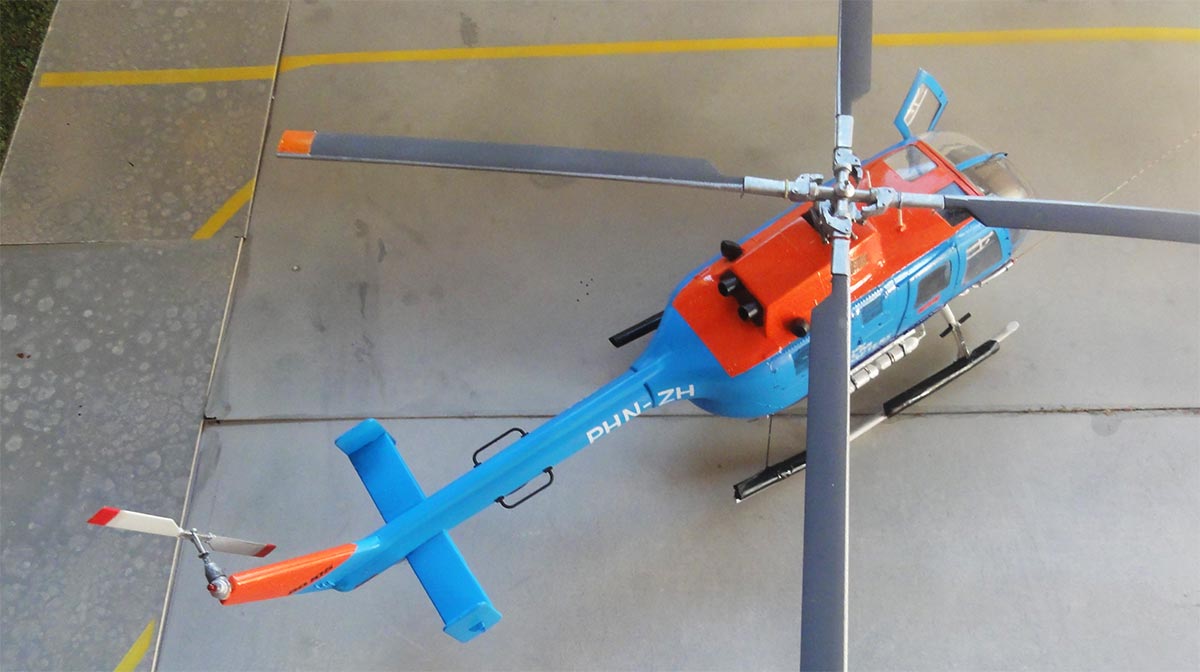
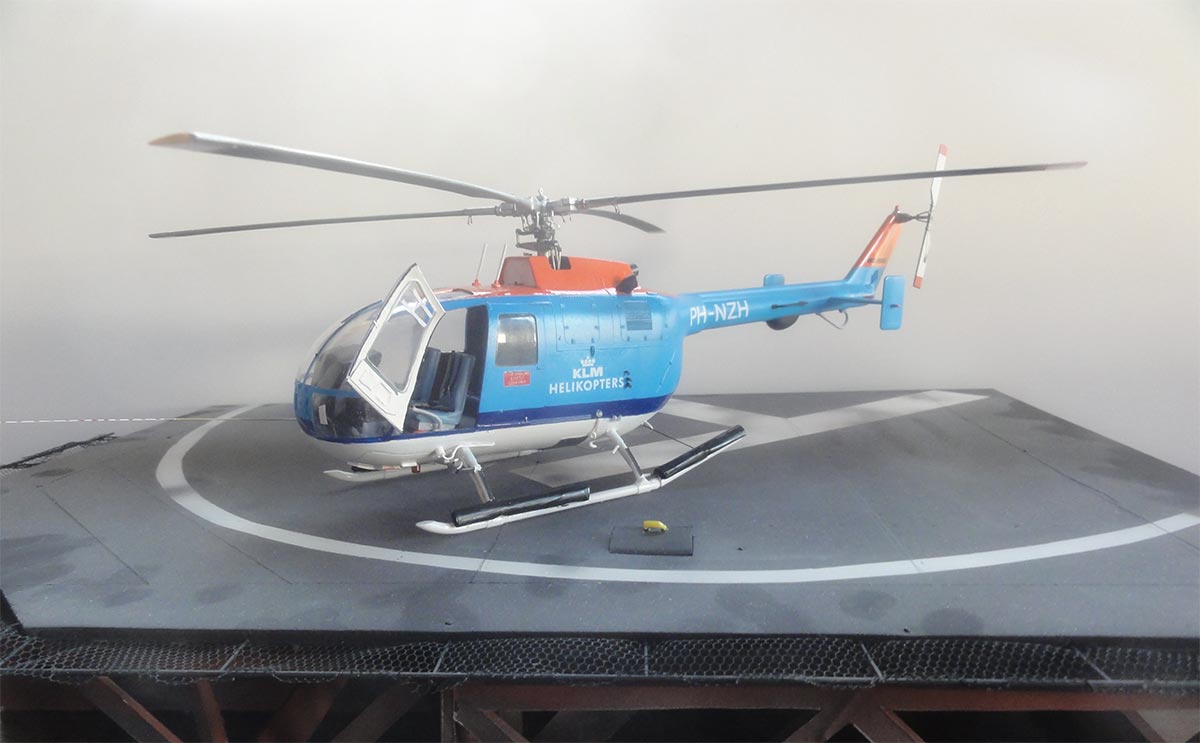
note the long HF antenna

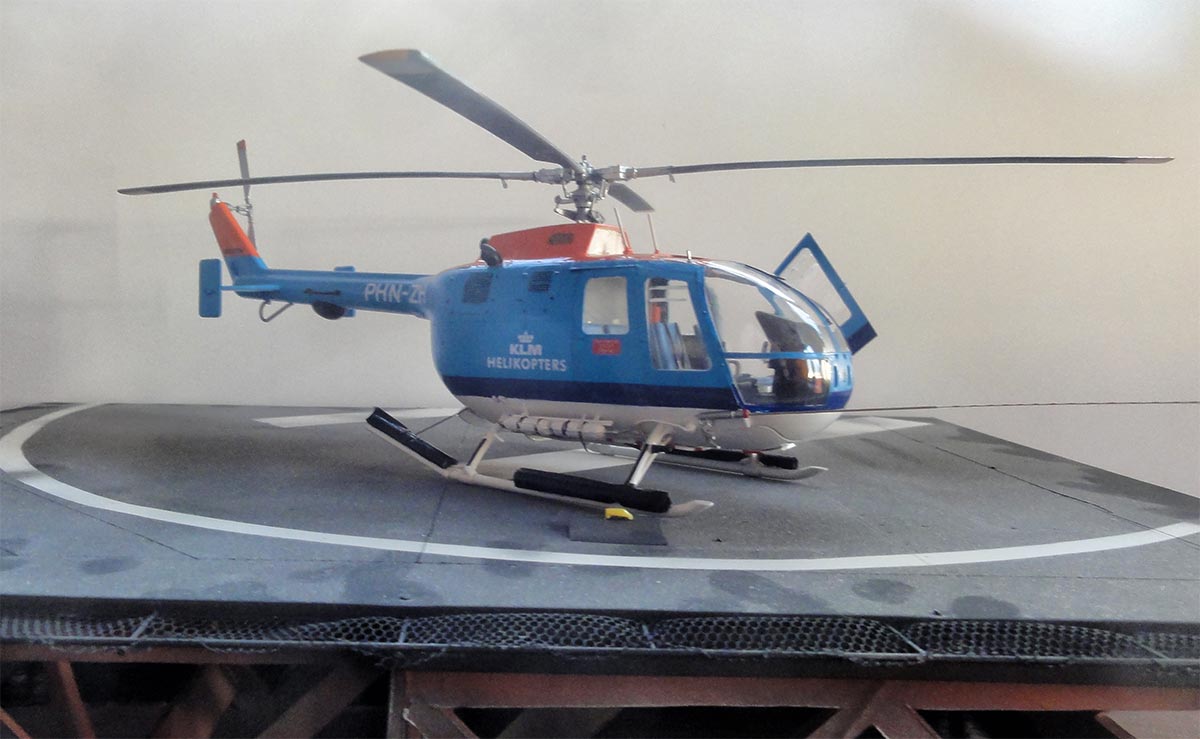
Bo-105D KLM helikopters PH-NZH
On to next [ Page 5...]
Back to 1/32 Models.......
(c) Copyright "designer"/ All rights reserved. Your comments are welcomed by webmaster
Created this page
January 6, 2021