[ page 3 ]
1/32 scale Bolkow Bo-105
... continued from page 2...
The interior was now a bit further detailed. 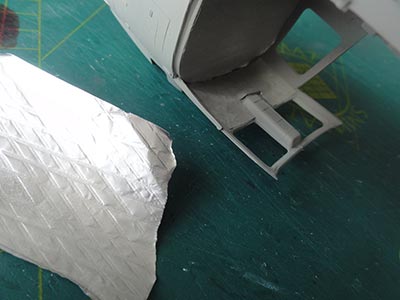
Page 2
Page 3
Page 4
Page 5
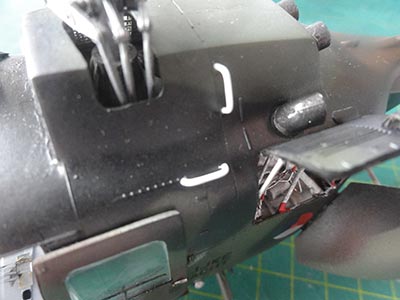
On the insides below the rear cabin window interior panels were added made from card.
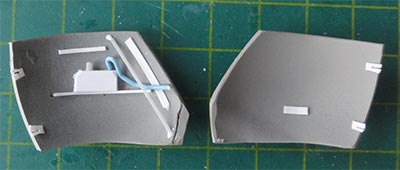
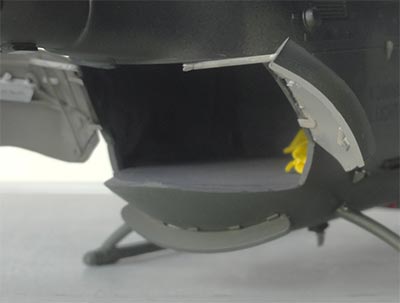
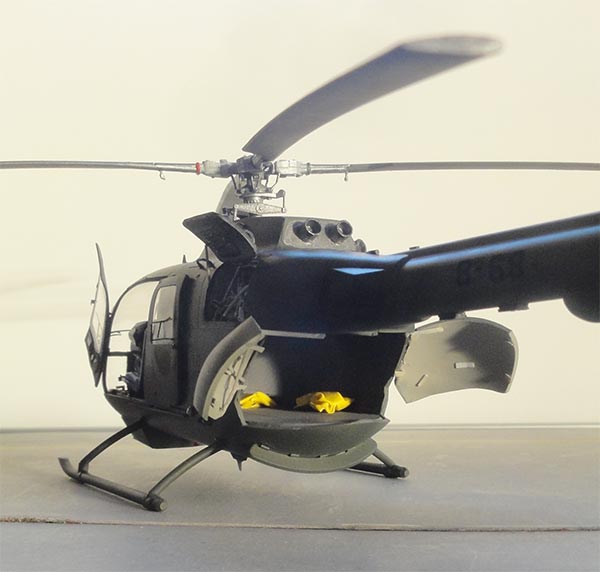
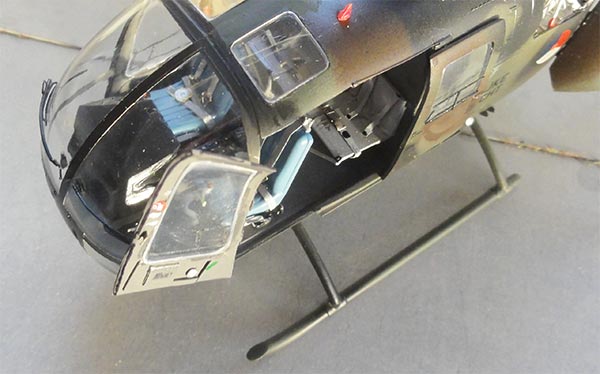
The cut out clam shell doors were detailed on their insides as well as the forward doors that will be set open.
It was found that this old kit did not have the small stubs and anti-collision lights (green and red) on the tail stabilizer end plates #30. These were made from scrap and the transparant lights came from the spares box. (when building the later Revell kit, these stubs are on the end plates so correctly added by Revell).

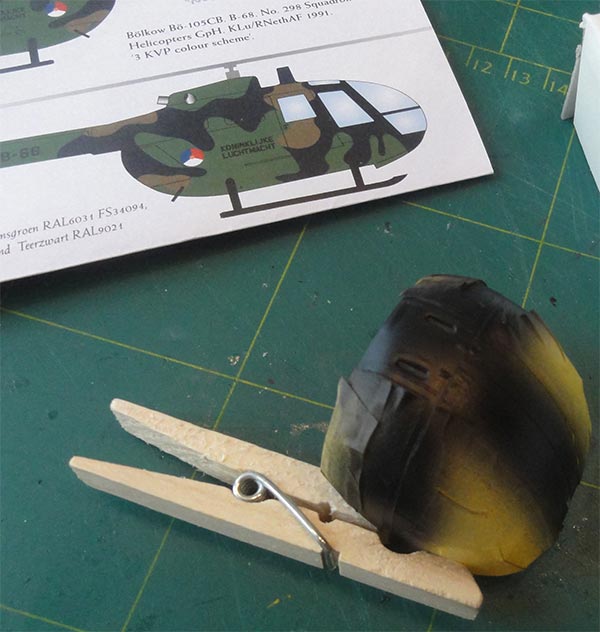
The cabin interior on the later CB was very dark grey; this was airbrushed. (Note that earlier in service life KLu Bo-105 helicopters the cabin was even cream-white or medium grey). It was masked off as the exterior colours are now to be airbrushed...
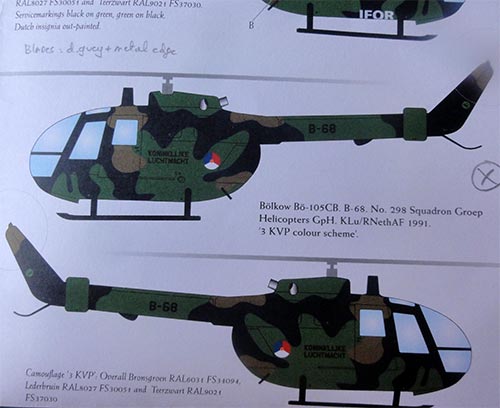
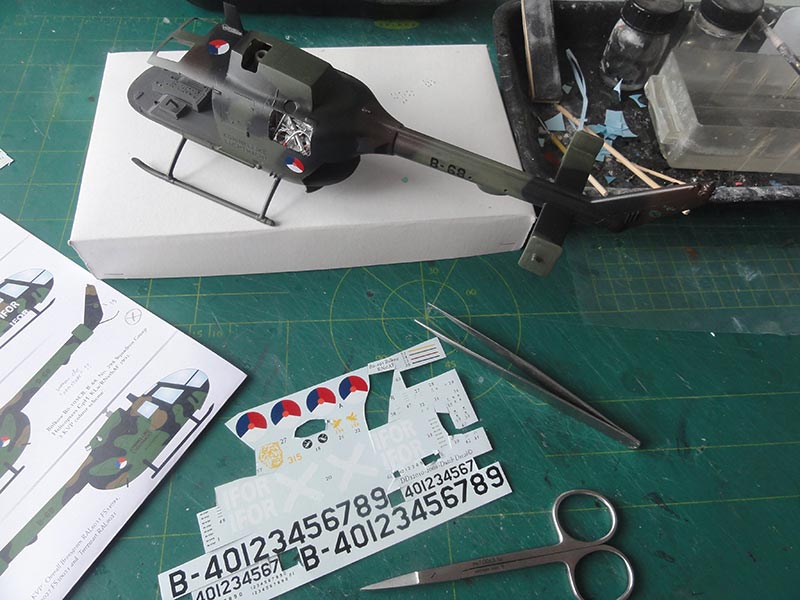
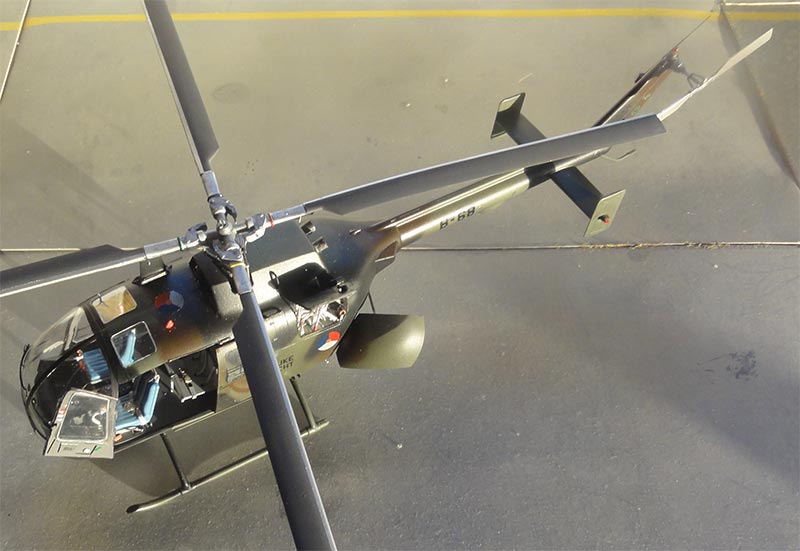
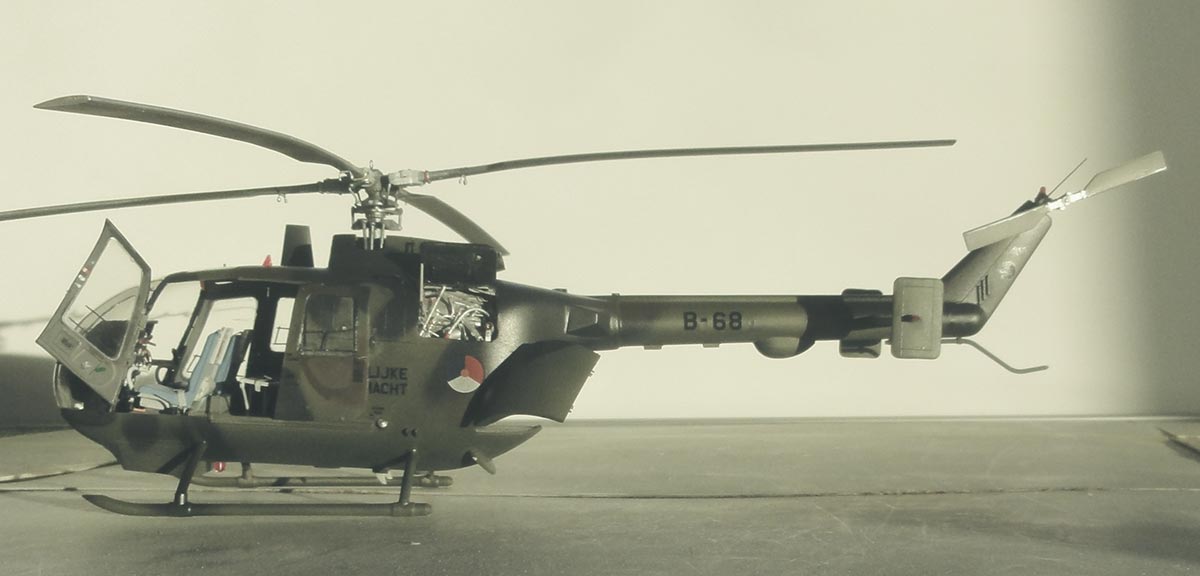
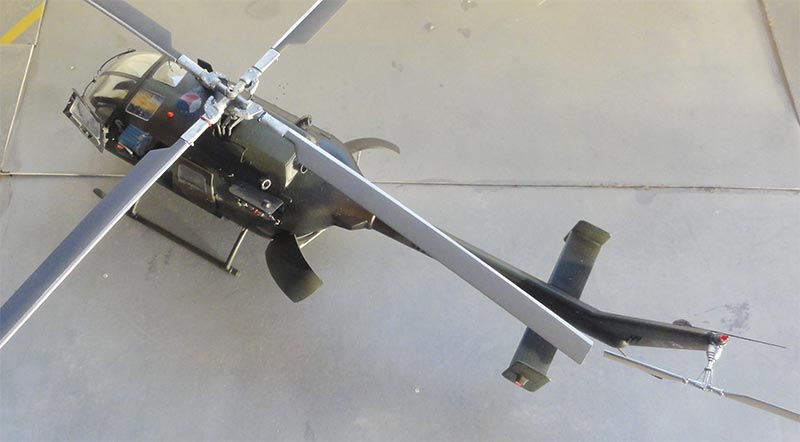
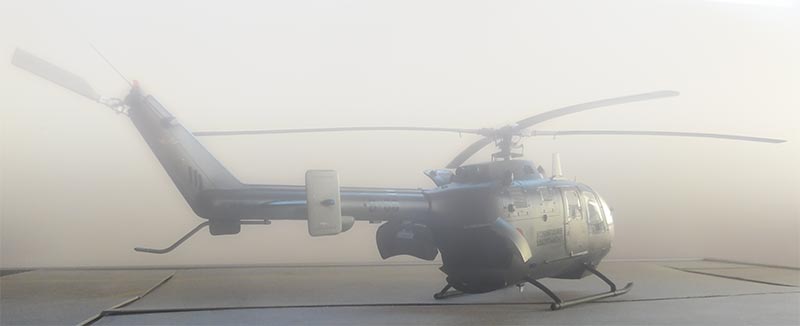
The depicted is Bo-105 CB "B-68" as of 1991 flown by KLu no. 298 squadron. Decals are in the Dutch Decal sheet #32010.
It has the later style KLu wrap around camouflage with 3 colours for which acrylic paints were airbrushed:
- RAL 6031 green with Revell Aqua 65;
- RAL 8027 brown with Revell Aqua 84;
- RAL 9021 black with Revell Aqua 08.
(Tip: the camouflage pattern has also been provided by me to the IPMS.NL site, see references here.... ).

The smaller parts and doors were not forgotten. The airbrush was my usual Harder and Steinbeck Infinity. Some masking was needed with "loose" pieces of paper and no hard camouflage borders. Also, some bits of aftermarket plain decal sheets were airbrushed; these may come in handy if repairs are needed later on.
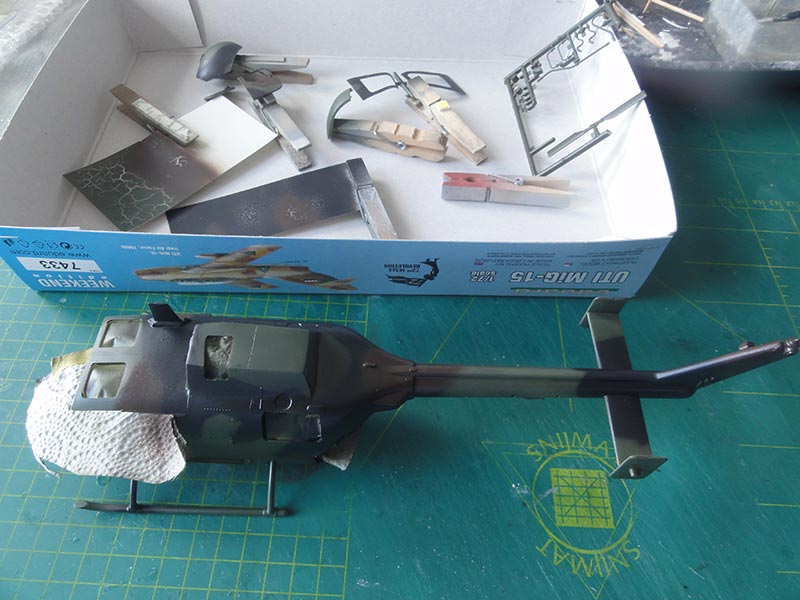
The opened bay at the engine was painted in various metal colours with a paint brush.
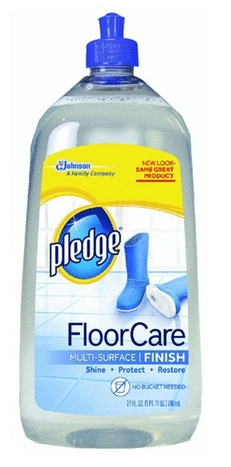
The few decals were applied after the model got a gloss varnish coat with the usual Johnson Future / Pledge.
The decals are fine but I could not locate the "no step" decals indicated in the instructions so these were not used. (NOTE: if you have and want to use KLu decals possibly in your kit, be careful as those in various kits are in the wrong colour).
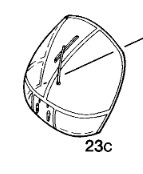
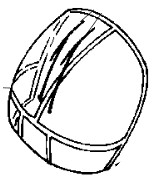
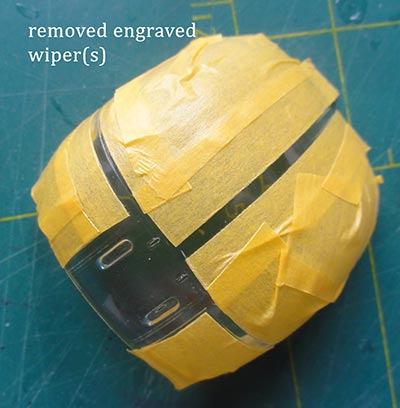
The large wind shield kit part #23C has one wiper moulded in the plastic. The KLu CB had 2 wipers which are when at rest, are seen dropped horizontally. So the wiper had to be shaved off from the kit part, the areas sanded gradually finer with sand paper grids in various sizes and the surface polished.
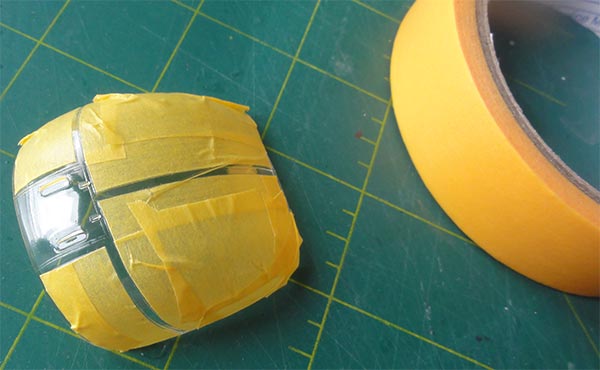
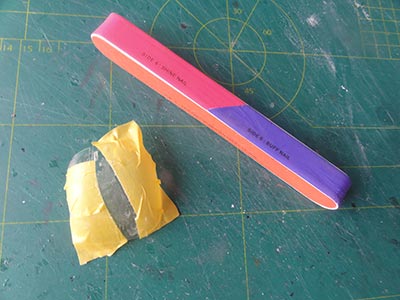
Masking tape was used to reduce the scratches made during sanding. Polishing paste and an old T shirt used.
 .
. 
The now clear part...
Also the cabin sliding door windows and crew door windows may differ a bit between individual helicopters. There are often ventilation sub-windows in both crew doors and sliding doors. And these vary in location per individual helicopter! Some are set on top of a window, others in the middle and others at the bottom. So this may require additional shaving, sanding and polishing!
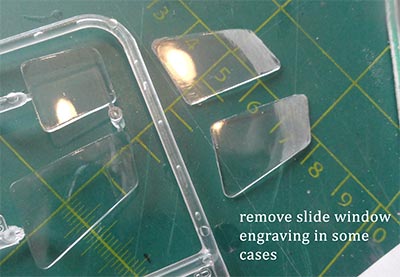
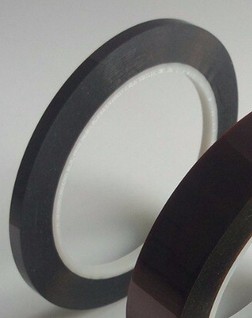
For this KLu Bo-105 CB the small slide windows were in the "lower bottom" location, so indeed the 4 windows needed the similar shaving, sanding and polishing treatment. These sliding windows will later on be suggested with thin black "circuit board" tape.
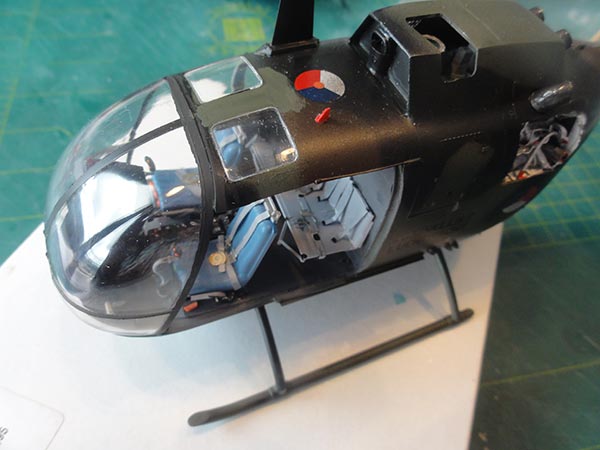
The prepared windows were set in place in the cabin side walls from the inside before installing the seats. They fit OK, use Kristal Klear to fix them.
New masking tape was applied on the large wind screen and the frames airbrushed in the camouflage colours.
It was now time to tackle the various details of the interior.
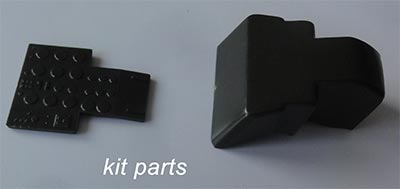
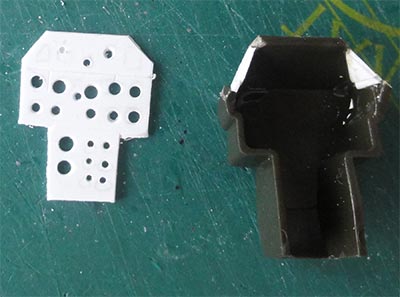
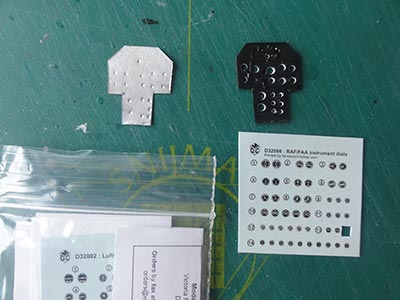
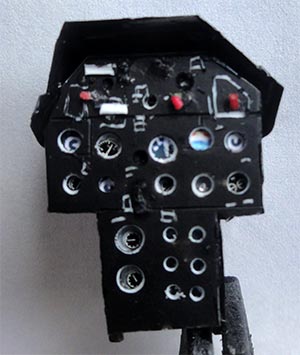
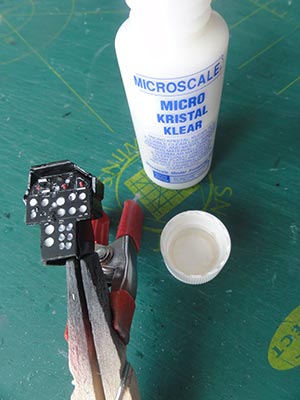
The KLu CB had a different instrument pedestral with extra instruments. From card a new panel was made. The clocks were drilled out and an instrument decal set used.
 .
. 
The glass shields were suggested with Microscale Kristal Klear.
 .
. 
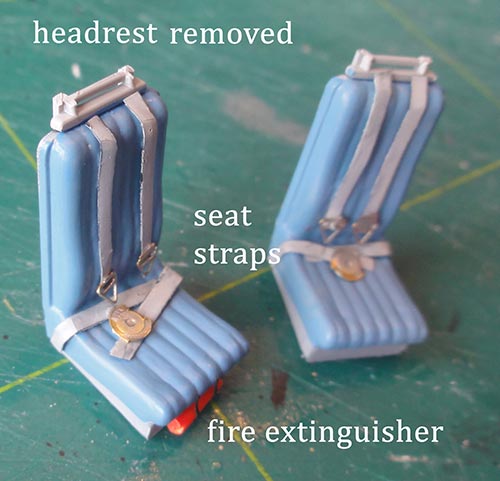
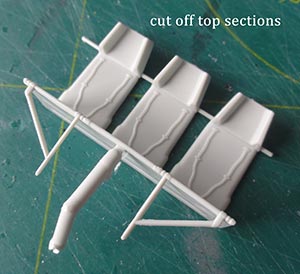
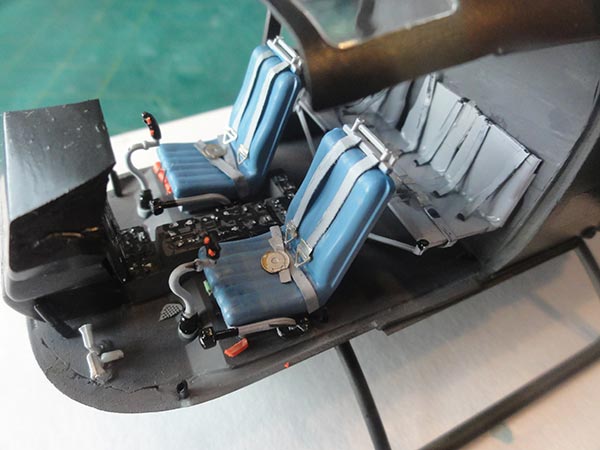
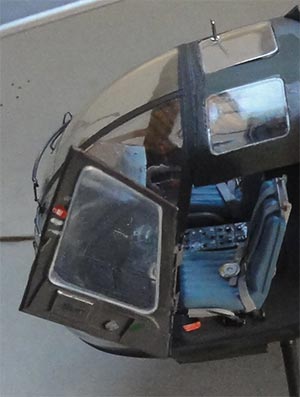
The pair of front seats is a bit simplified in the kit. At the rear of each seat, the hollow areas were closed with card.
A upper bit of each seat was a bit of part #E1 found in Revell kit #04906 (or make from rod). The seat cushions are in KLu Bolkows usually medium blue/ grey. Seat straps were made from scrap. Below the pilot seat a tiny fire extinguisher was added.
The rear bench #16B was not used. In this particular helicopter a simple canvas bench was seen. I had a spare bit from a Revell EC-135 kit that was adapted.
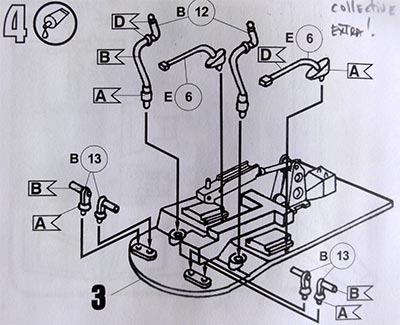
The forgotten pair of large collective pilot controls were added and made from some plastic rod. (you may alternatively find the collective controls #E6 in kit #04906).
Seats and bench installed and smaller bits. The changed instrument pedestral had to be trimmed at the lower mating edges as it interfered a bit with the large wind shield.

The wind shield does fit but there were still some small gaps. These gaps were filled with white glue (or use Microscale Kristal Klear). When dry, hand paint these closed gaps in the surrounding camo colours.
The exhausts #26B on the Bo-105 are a bit oval and not round. The kit parts are round and solid. With a drill, opened up these. With a plier I pressed them a bit "oval". Same with the rear exhausts #27B.
The exhausts were painted dark metal/ black and set in place on a small thin plate cut from aluminium sheet.
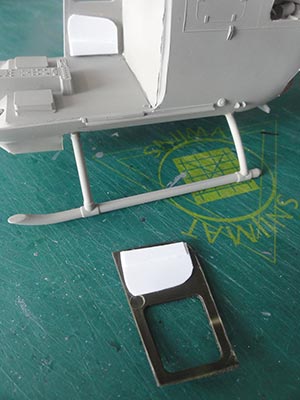
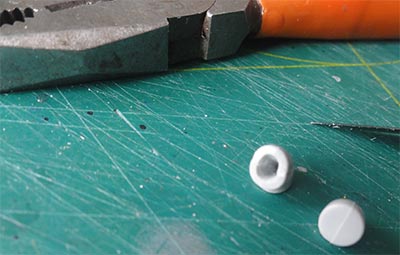
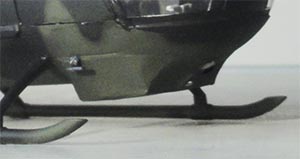
On the right lower side in front of the skid, a small missing pitot tube was added (or use part #E26 when using the later Revell kit).
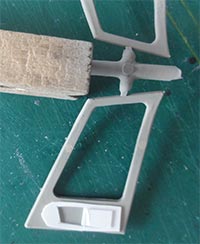
The clam shell doors were set on small notches with a pair of fixation rods.
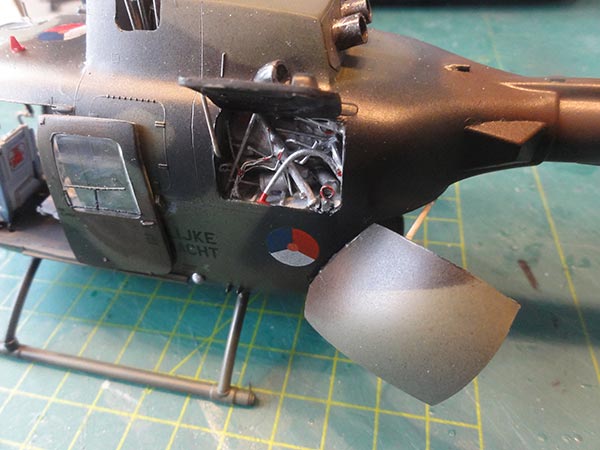
The access hatch was set and a pair of small handles/ grips were also added on the left side of the top engine fairing. (Note that on individual helicopters these vary or sometimes are not seen).
The cabin doors were set next. I opted to keep the left crew door open. Be carefull when using superglue as it often "fogs" the clear surroundings. The sliding windows in the doors were suggested with thin black "circuit board" self adhering tape.
Now the model got a somewhat dull varnish acrylic coat to get an even sheen and to protect the decals. I airbrushed a mix of Johnson Future / Pledge with some 20% mixed in Tamiya X-21 Flat Base and the mix thinned with 40% Iso Propyl Alkohol (IPA). Shield off the transparancies while airbrushing.

The final details....
Two windscreen wipers were made from black stretched sprue and set horizontally in rest position. (As noted earlier, the moulded wiper was removed earlier and the transparancy polished).
On top of the right upper cabin window, a temperature probe was set with white glue.
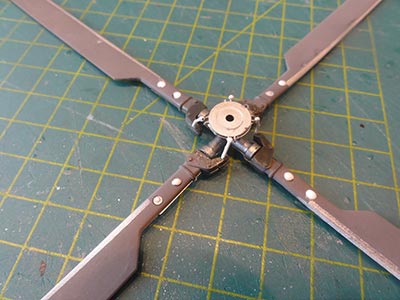
The main rotor blades have a metal leading edge. The blades and parts were airbrushed medium grey with Gunze Sangyo acrylic H317 FS36231 with aluminium details. The leading edges were masked off and airbrushed Revell Aqua 99 aluminium.
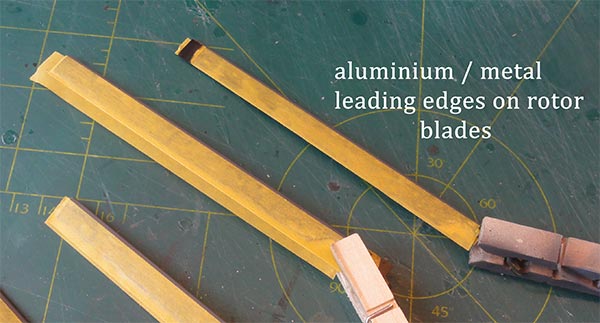
NOTE: I later found that 2 tiny balance tabs are set on modern Bo-105 main blades; these can be set on the model.
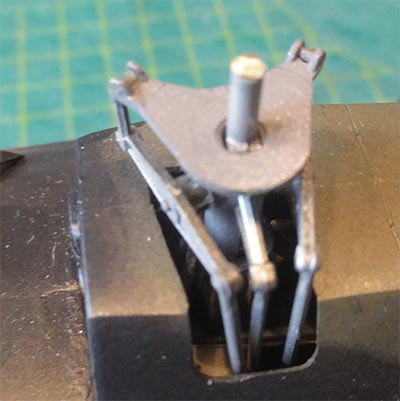
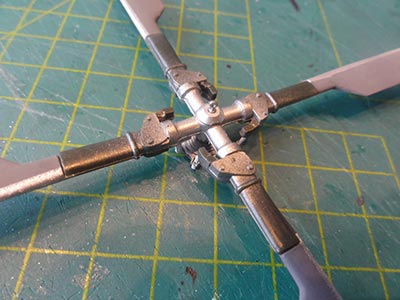
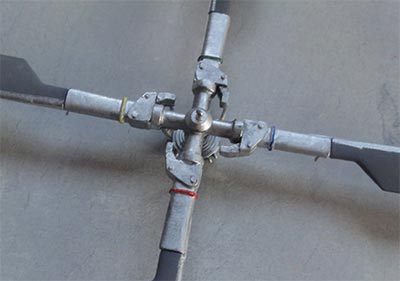
The rotorhub assembly is easy. I wanted to keep the main rotor detachable, so the upper 3 mm of part #A5 was cut off and the smaller bits #A47+A48 simply glued on top of the rotor hub. The rotor can be set on top and can rotate.
 .
.
On the lower sides, the small holes were filled with white glue dots. I did not see clear photos that the rotor tips were painted.
The blades were CAREFULLY bended a bit down from about 4 cm outside the rigid hub.
The four rotor blades got some tiny extra anti-flutter weights made from scrap. And 4 colour bands in the order of blue-green-yellow-red were painted to mark each balanced blade with a very fine brush.
The tail rotor got a grey colour but no painted tips. All was set and that completed this nice 1/32 Bo-105 of the KLu.

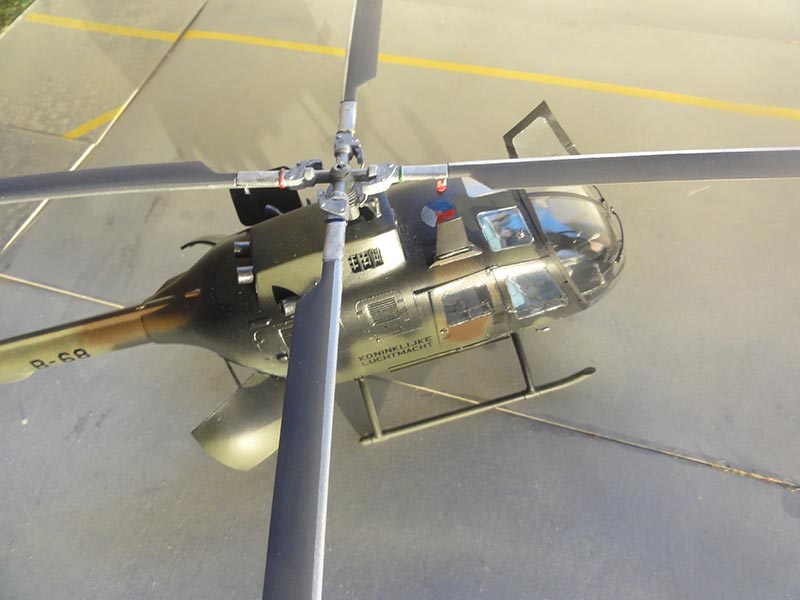
Koninklijke Luchtmacht Bo-105CB, "B-68", 1998

On to next [ Page 4.... ]
Back to 1/32 Models.......
(c) Copyright "designer"/ All rights reserved. Your comments are welcomed by webmaster
November 24, 2020