[ page 9 ]
McDonnell Douglas (Boeing) F-15 Eagle Plastic scale model in 1/72 scale
... continued from page 8....
modelling report
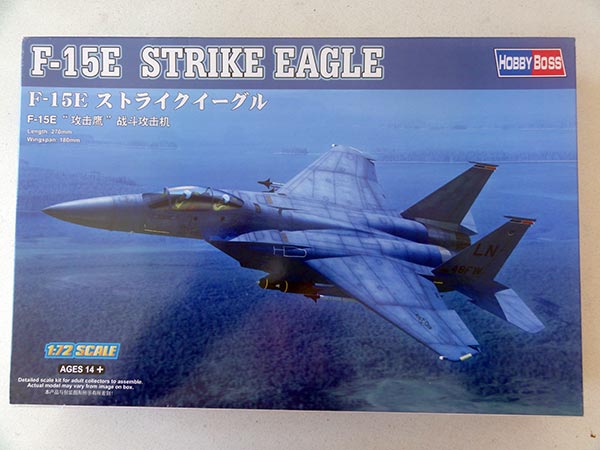
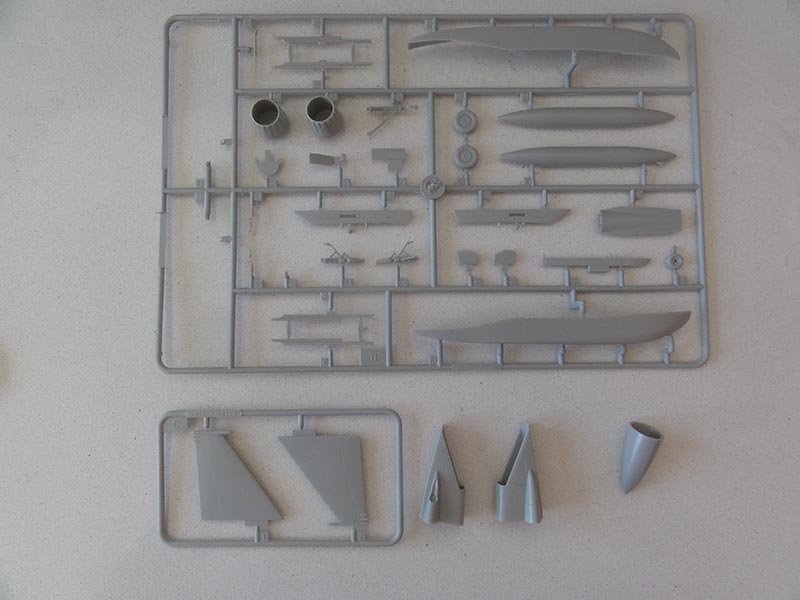
Typical of this brand, it has a few parts but the shapes are quite good. Some models can even be bought assembled.
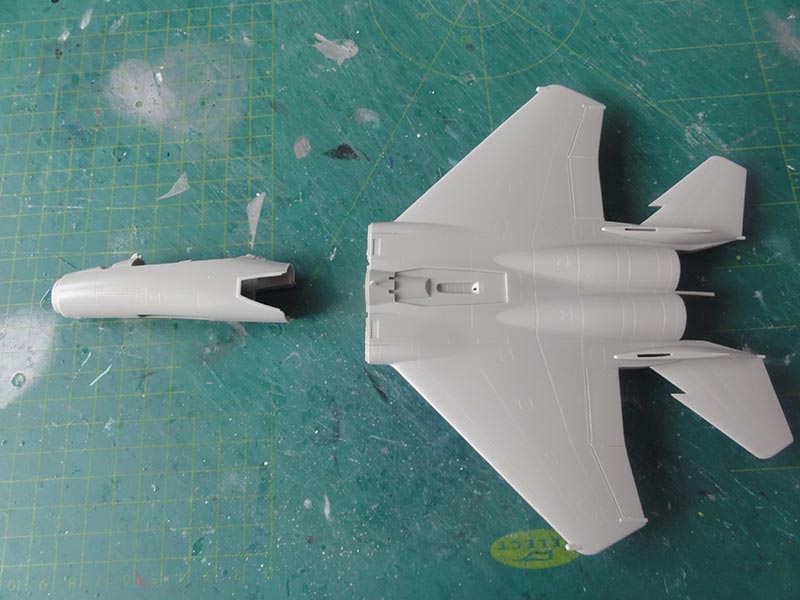
There are 3 sprues, 2 bigger fuselage and wing parts and a transparant canopy and windscreen. The kit has juist some 40 simplified parts to reduce the effort needed to make the model. Some are to be "snugged" in notches at early stages of assembly. But the panellines are recessed and fine.
Examining the parts I saw they are the same as in Hobby Boss F-15C kit #80270! You only get other Strike Eagle decals. So this is certainly not an F-15E.
The F-15E characteristics are NOT captured in the parts, these are listed later on. And no parts for weapons or typical Strike Eagle designator pods are provided.
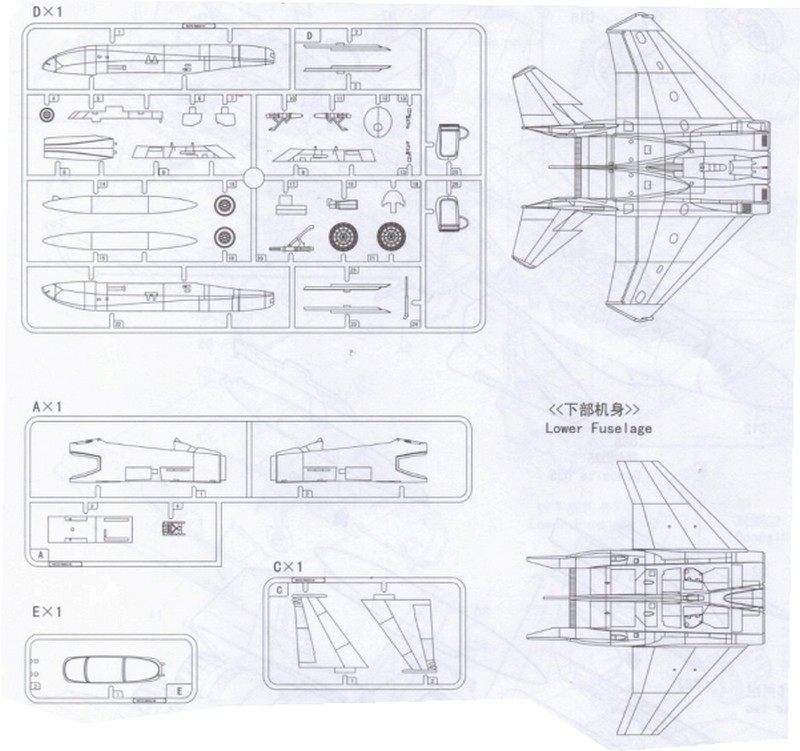
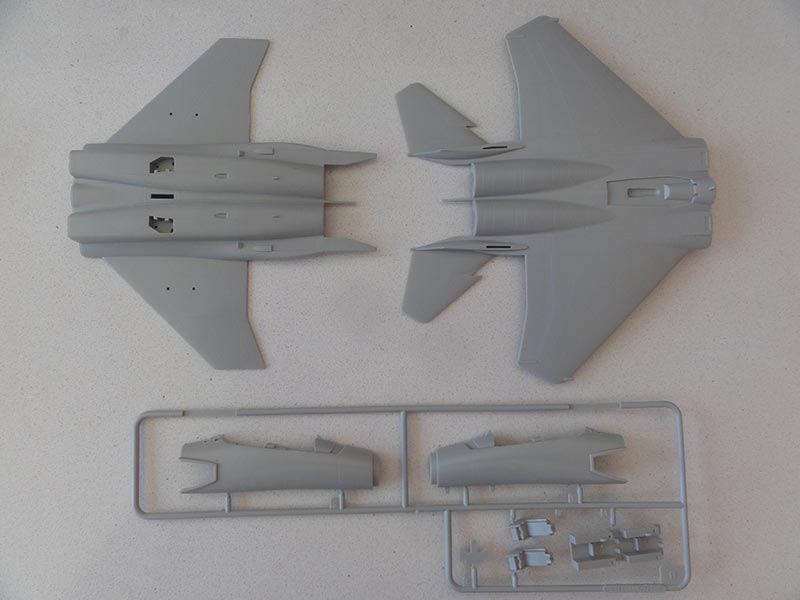
Even the stabilizers are moulded in one piece with the upper wing fuselage part.
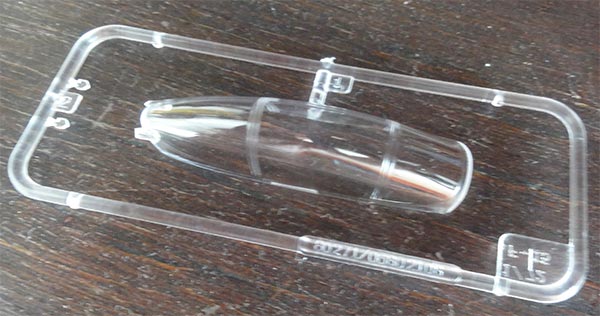
The canopy is one part but looks OK.
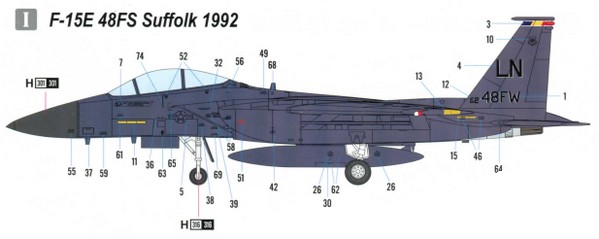
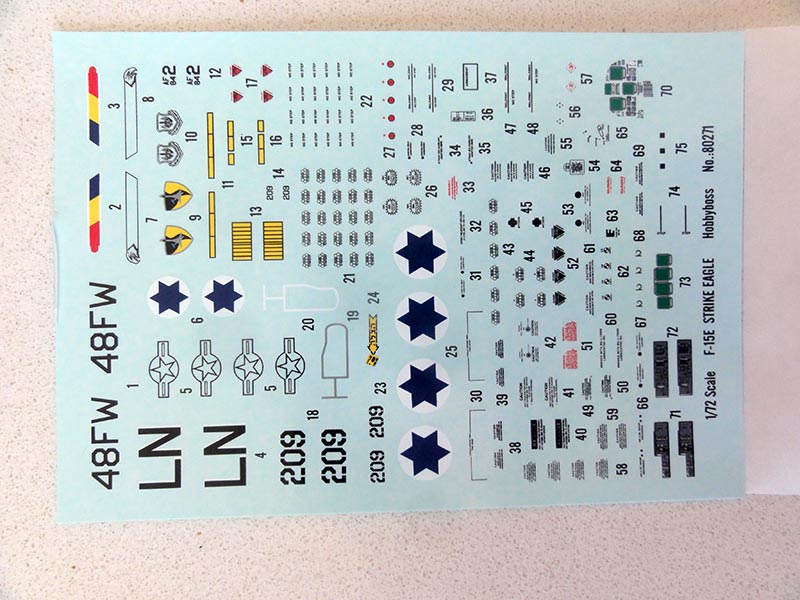
Kit #80271 has decals for
- I - F-15E, USAF, 48FW coded LN based at Lakenheath, U.K
- II - F-15I, Israeli Air Force in a IAF camoufage scheme of "Hummers squadron". (not F-15E but F-15I which the kit again does not capture).
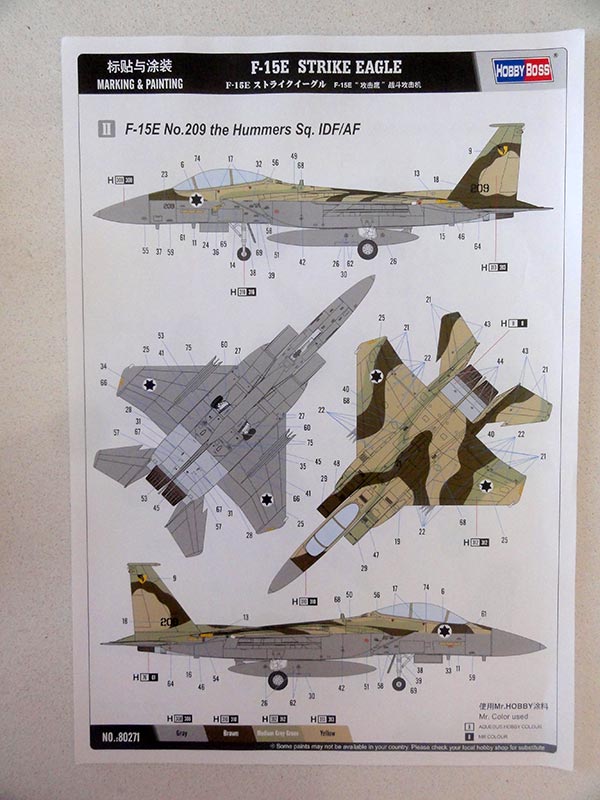
There are nice decals though include stencilling and a separate colour page with the schemes.
The exhaust parts are simple with the "turkey feathers" for the Pratt and Whitney engines. These are usually seen on the F-15I but most USAF F-15E do not fly with "turkey" feathers.
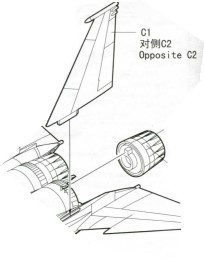
For an Israeli F-15I you will need to add a thin upper anti-flutter tail ballast weight on the port vertical tail #C2 from scrap. And may be a few other small details such as scoops.
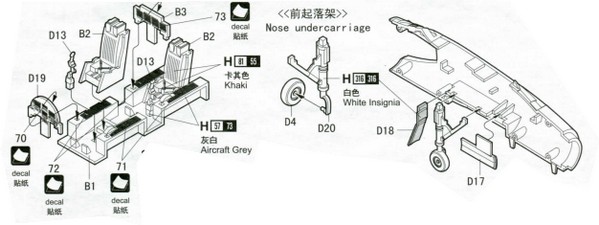
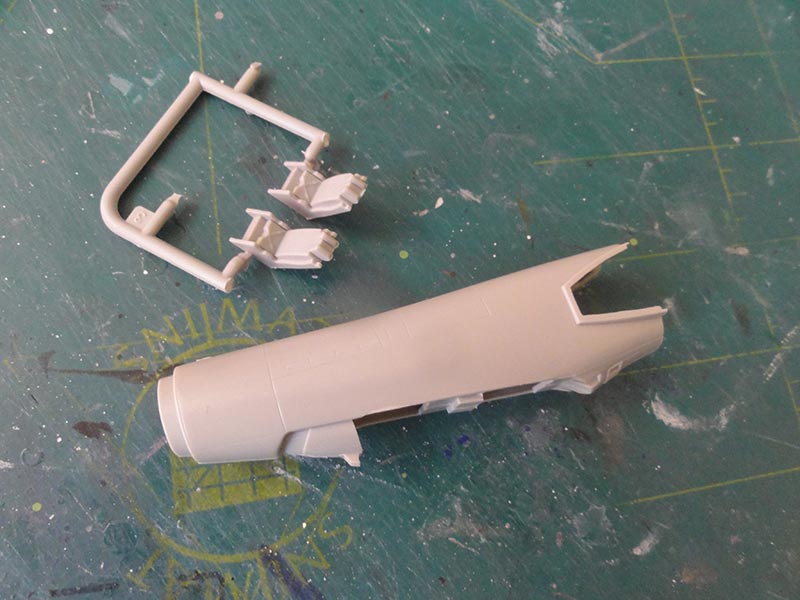
The cockpit is OK but the seats are one part though shape looks acceptable. Decals are provided for the instrument panels and side consoles.

The canopy and windscreen are one clear part #F1 so to be set closed. A modeller can separate the windscreen with a razor saw if desired.
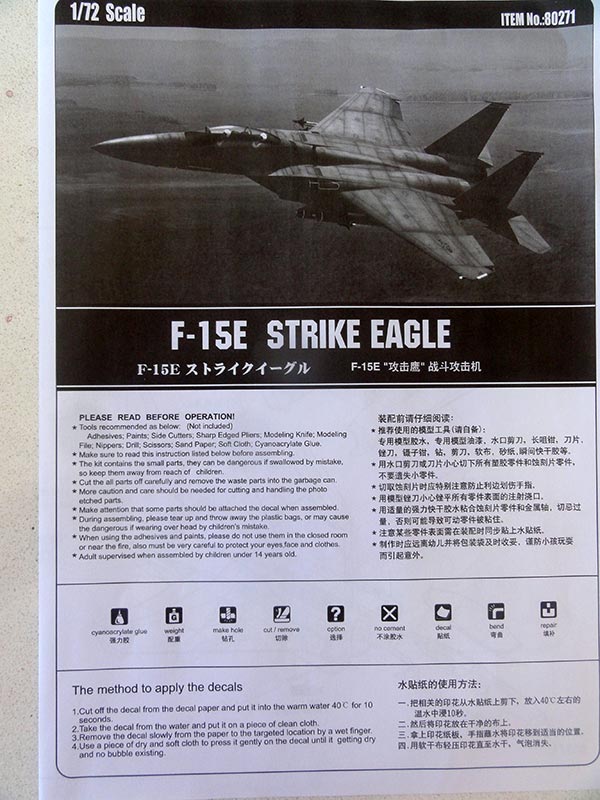
The kit instructions are OK but have some inaccuracies as they are also used for the Hobby Boss F-15C. As noted the parts are the same as the F-15C kit. So typical F-15E parts are not there:
-a- lower fuselage has separate parts for the bulbous Fast Packs typical of the F-15E type. But for these NO racks are provided! And no weapons are provided, just the wing fuel tanks and their pylons with side launch rails (but again, no missiles). These kit fuel tanks are too thin/ slim with no adequate diameter and are better replaced with spares.
-b- for a F-15E Strike Eagle or F-15I the kit does not have the thicker main wheels. Find new thicker ones in the spares box.
-c- for a F-15E or F-15I the thicker bulbous main gear doors are missing; these can be suggested with card and putty though as these are mostly seen set closed.
-d- side air intake scopes aft of the main gear were later fitted on Strike Eagles; these are missing in the kit but can be made from scrap.
-e- typical Strike Eagle smart bombs with designator pods and missiles need to be sourced from other kits.
The kit is better suited as an F-15C or F-15J with some small changes.
But I wanted to have another F-15E Strike Eagle in the collection. So will be made with some modifications and add ons for a USAF F-15E as I had some spare parts. I will also use different decals, more about that later on.
But if you want an F-15E, buy a better 1/72 suited kit.
- windscreen was separated with a razor saw.
- wing flaps and ailerons recesses were inscribed a bit deeper.
- thick antennas were cut off and will be replaced with thin ones from plastic card.
- closed "walls" at the air intakes in the lower fuselage part were opened up to suggest deeper air flow tunnels.
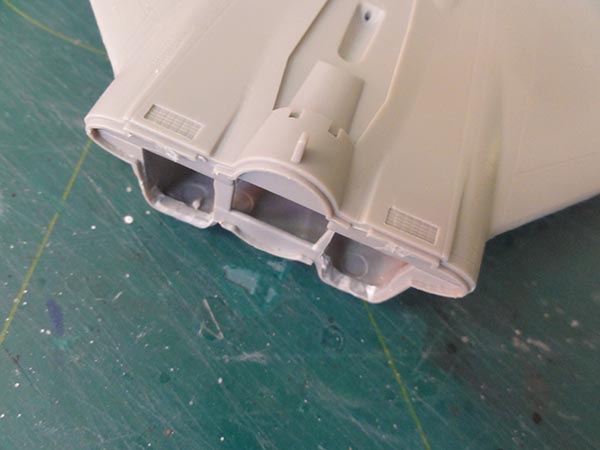
Continueing the build.....
The air intakes are just 2 parts but OK.
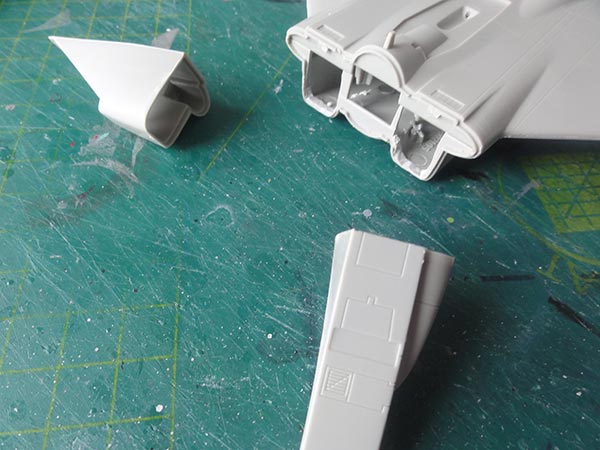
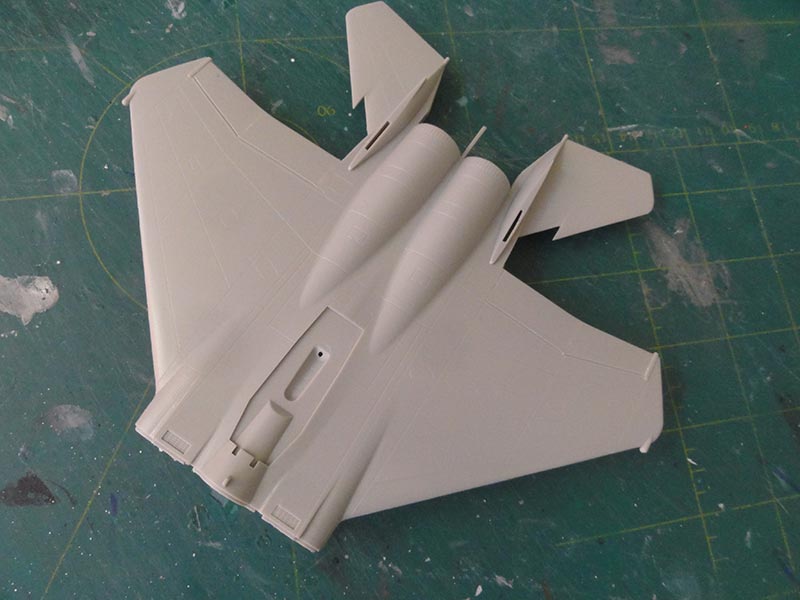
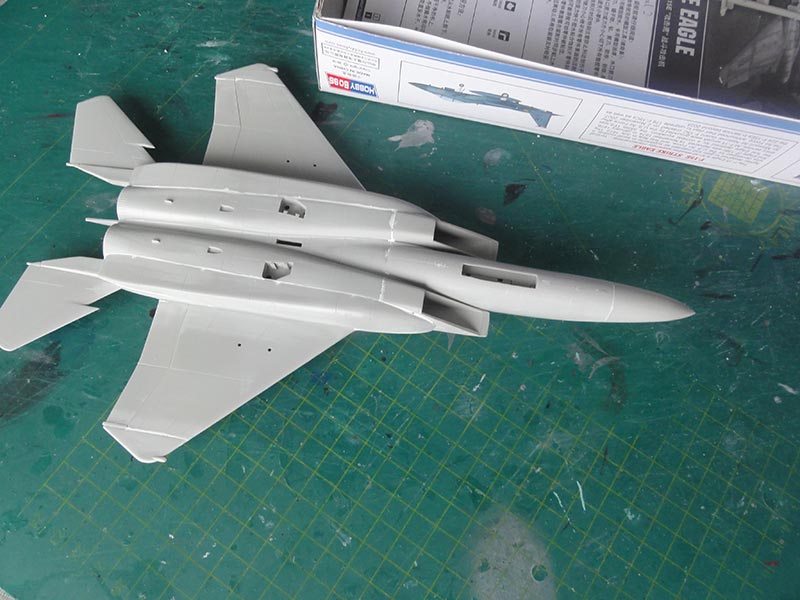
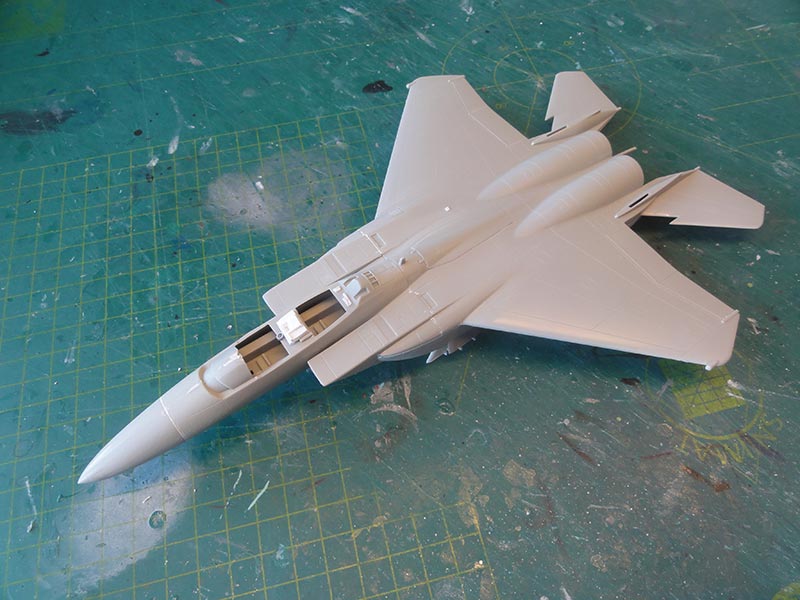
The side fast pack FST parts were set and all joints puttied as well as at the joints of lower fuselage and upper wing-fuselage.
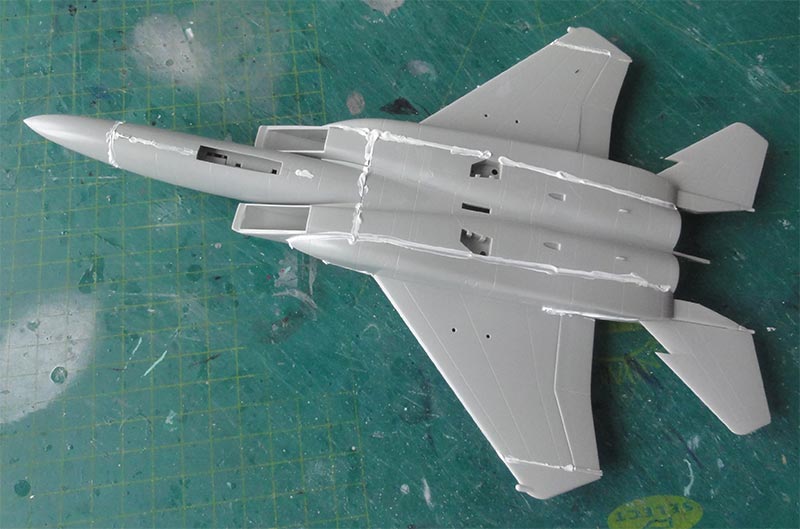
... and sanded...
The Strike Eagle which I wanted to make as model needs some changes.
Long FST racks were made from thick plastic card using the 1/72 Great Wall Hobby kit as example/ guide. I was lucky that have some spare smaller pylons (or see how to tackle that on the made F-15S kit here...).
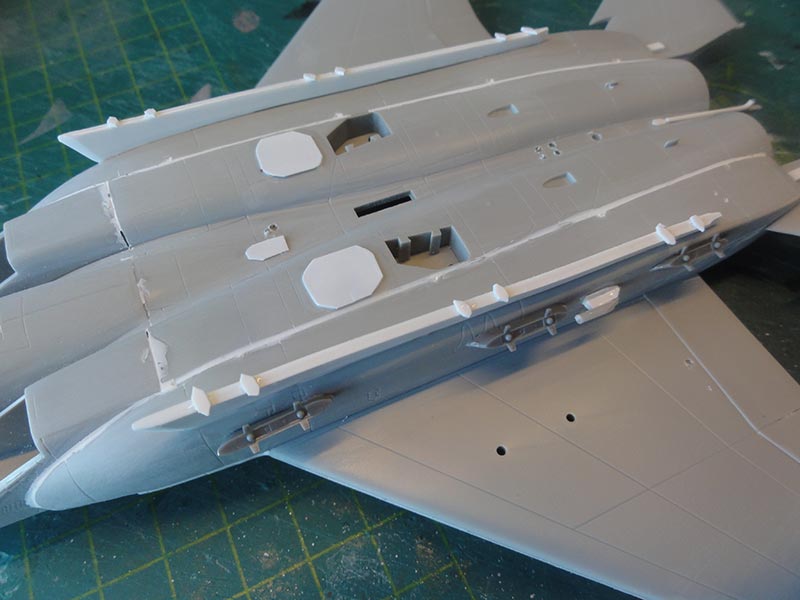
The bulbous Strike Eagle main gear doors are missing in the kit; they are usually seen closed on parked Eagles. They were suggested with plastic card and blended in white putty or white glue. The landing gears themselves were not yet installed, will be done after the paint scheme and decals had been applied.
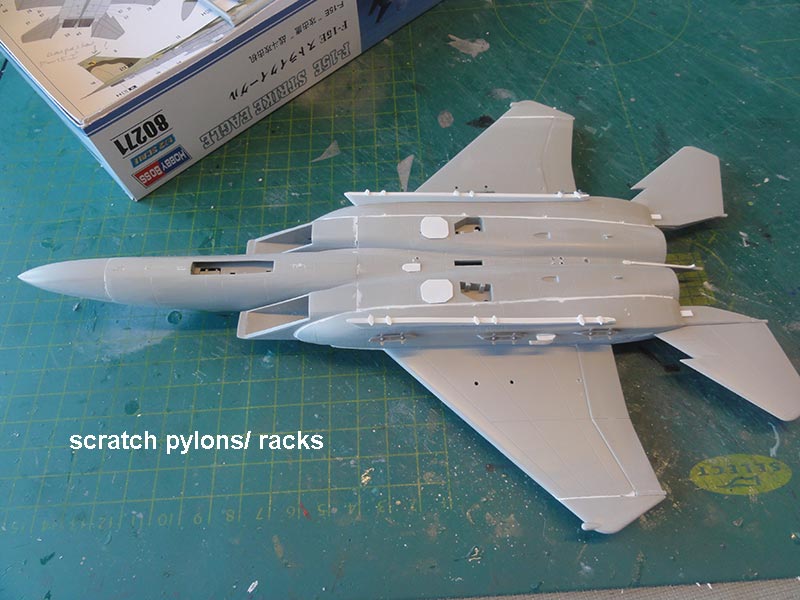
The missing side air intake scoops were also made from scrap.
I did not install the vertical tails, will be done after these had gotten their paints and decals. Not installing will help masking any areas for the metal rear panels near the exhausts.
On the mid section of the cockpit systems operator tub some extra details were suggested made from plastic card. The air brake on the upper fuselage was set closed.
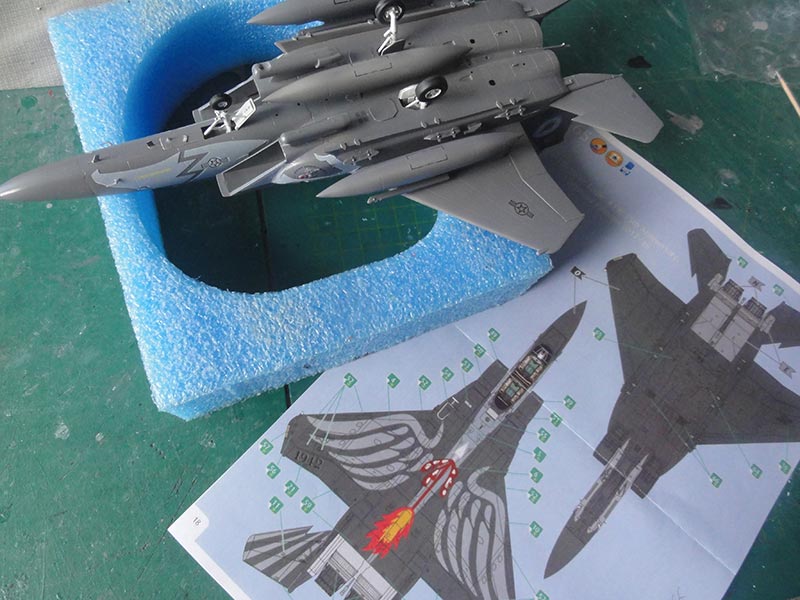
I got other decals from the 1/72 Revell F-15E kit #03841 for the model.

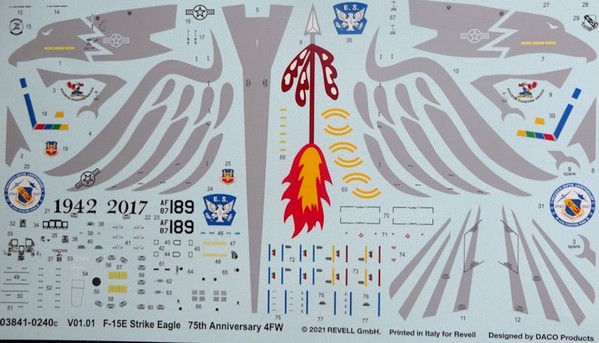
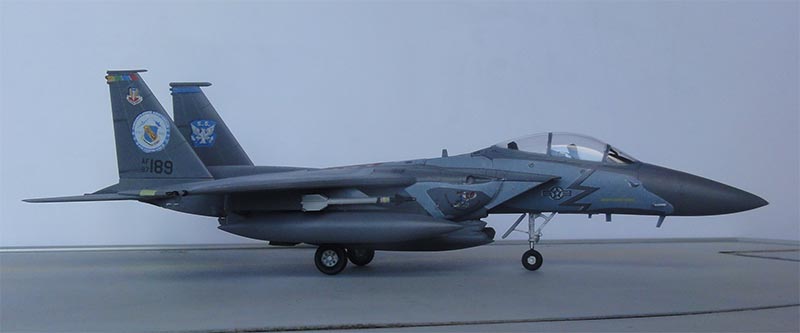
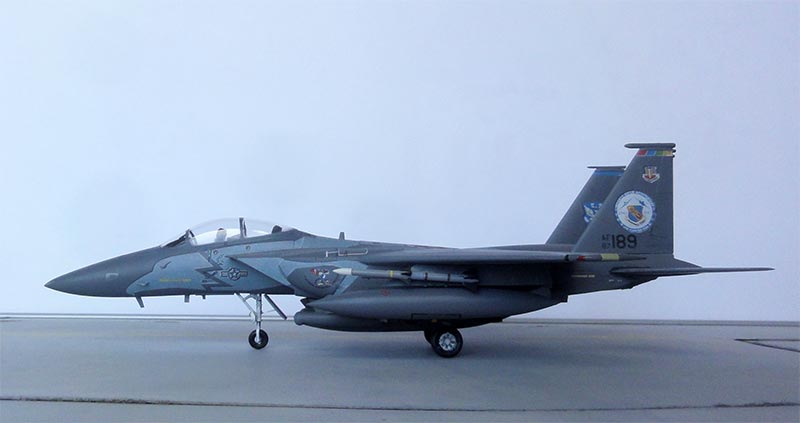
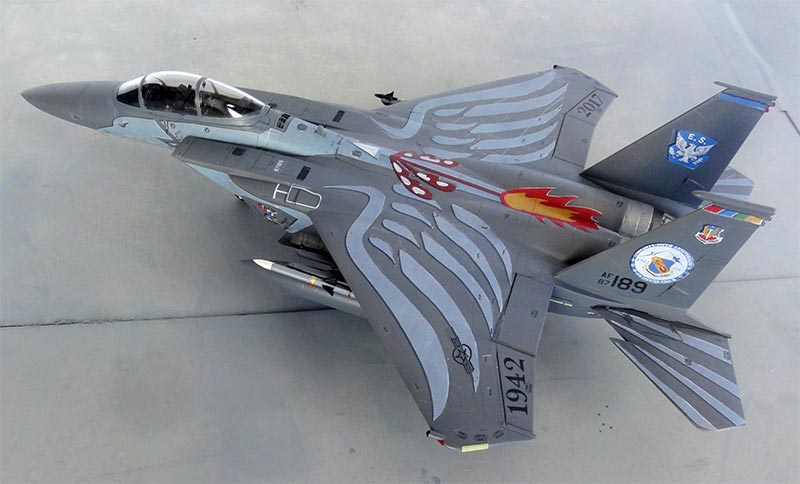
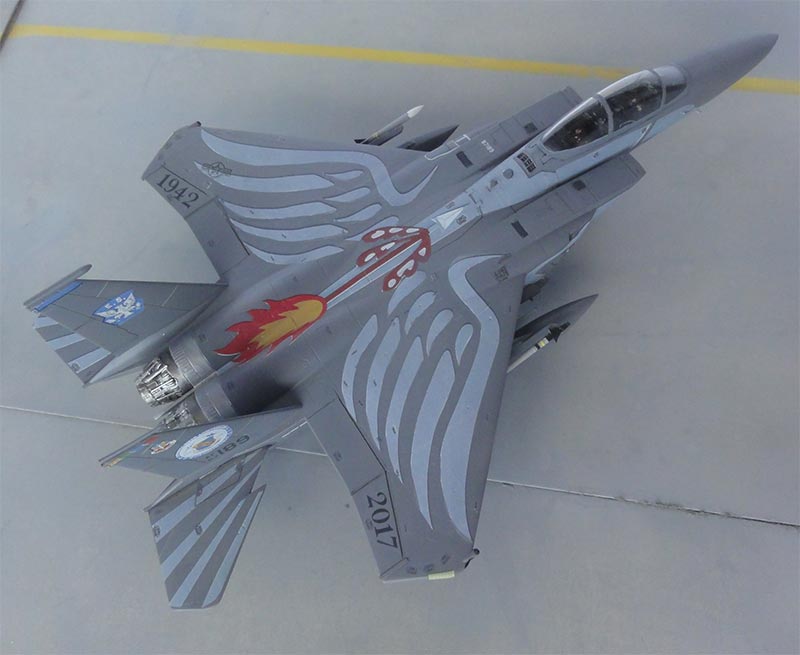
The Revell decals are for an USAF F-15E Strike Eagle of the 4 Fighter Wing with 75 year anniversary markings in 2017 based at Seymour Johnson, USA.
The base paint work would start for the rather standard scheme.

For the base grey airbrushed was thinned Revell Aqua 75 steingrau acrylic paint to check for any flaws. It looked OK.
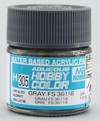
After this general F-15E Strike Eagle gray Federal Standard FS36118 overall coat of the squadron paint scheme was airbrushed with Gunze Sangyo H305 acrylic.
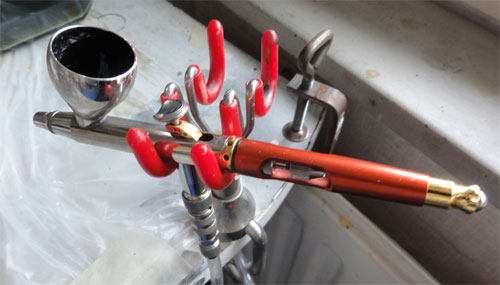
The smaller parts while still in their sprues like gear door outsides' and wing pylons and launch rails. The gear door insides' were airbrushed white as where the landing gear legs and struts still in their sprues.


The areas in front of the exhausts at lower and upper rear fuselage were masked and airbrushed metal with Vallejo 77.701 aluminium acrylic. These areas are seen on all F-15 Eagles.
While airbrushing, the assembled exhausts got a mix of Vallejo metal paints including burned metal 77.703. The insides of the exhausts were painted dull white to suggest burned areas.
I painted the cockpit tub and insides medium grey FS36321. Though the ejection seats are simply, they are not to bad when painted tyre black, seat cushions olive drab green and adding some seat straps from tape. The canopy would be set closed anyway.
Make sure the gray surfaces are glossy before decalling is done to avoid "silvering".
After decalling was done, the landing gears were installed. The gears are white and I painted the oleos and landing lights Vallejo Chrome 77.7097.
The gear bays were hand painted white on their insides just like the gear doors. The front nose gear door #D17 was set closed after in was cut in two.
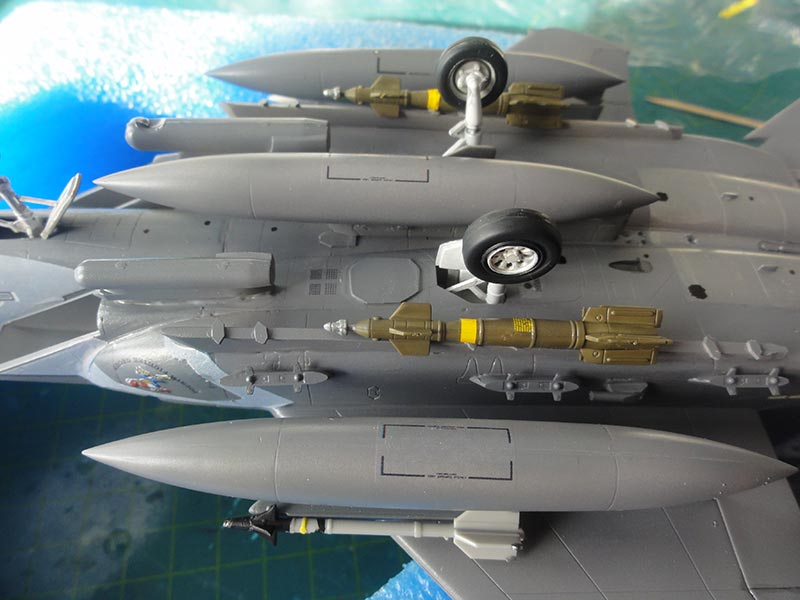
I was lucky to have some thicker F-15E main wheels in the spares box. The wheel tyres were airbrushed tyre black and the hubs dirty white. The main gear struts and wheels were set at about 85 degrees. I added later on a few hydraulic pipes from thin metal wire.
The model got a pair of better looking wing fuel tanks that were left overs from a Great Wall Hobby kit.
At the wing tips and tails anti-collision lights were painted (red port and blue starboard). The wing tips low vis lights were painted light yellow.
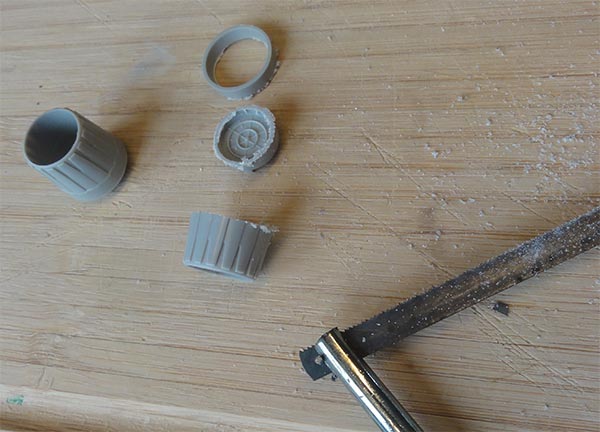
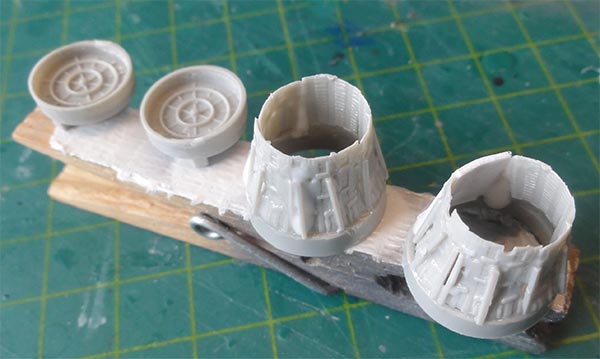
Hobby Boss kit exhausts are only for Pratt & Whitney F100 engines with "turkey feathers" installed. I found a few parts in the spares box and needed to do some razor sawing to make exhausts as usually seen on the Strike Eagles.
Sidewinder AIM-9L missiles are not in the kit and can be obtained from other kits (such as F-15, F-16 or Hasegawa Weaponset IV etc). I also added a few laser designator pods retrieved from 1/72 Kinetic F-16D "Viper 52" kit: an AAQ-28 and AN/AAQ-13 pod.
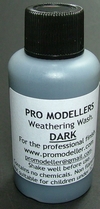
Only some slight weathering with "wash" was applied at moving surface' recesses, gears and bays with Promodeller "dark" wash, but other techniques can also be used such as very tinned varnish (Future) with a drop of black acrylic paint. Or use the "oil technique".
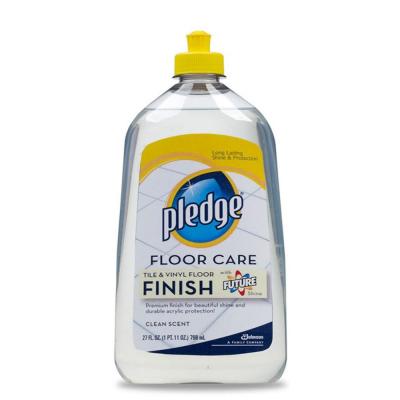
When dried an overall semi-matt varnish coat was airbrushed of Johnson Future/ Pledge with 5% X-21 "flat base" with the usual technique.
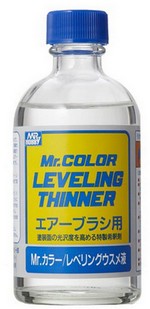
It is a good idea to add some 10% Gunze Mr.Color Levelling Thinner in the varnish mix. This really helps airbrushing a nice varnish layer. (it seems the leveling thinner is lacquer! but a few drops really help levelling).

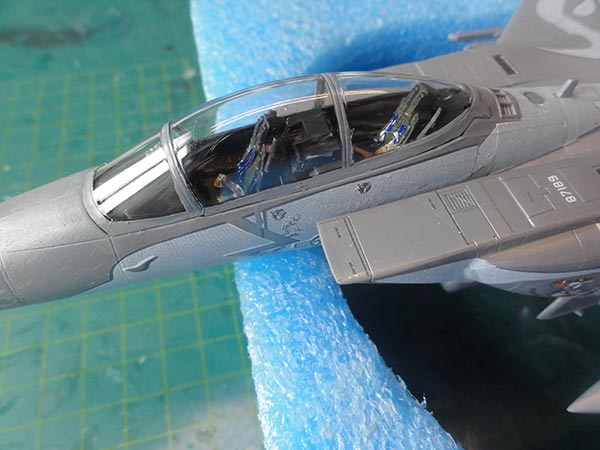
The single part canopy and wind screen was installed after it got a single mirror and a few handles inside at the front canopy frame. That completed the model.

![side]](f-15e-hobbyboss-53.jpg)
(c) Copyright "designer"/ All rights reserved. Your comments are welcomed by webmaster
Created this page March 21, 2025