[ page 8 ]
McDonnell Douglas (Boeing) F-15 Eagle Plastic scale models in 1/72 scale
... continued from page 7....
modelling reports

Academy from South Korea also released quite some F-15E kits in 1/72 in different kit releases. Though they are designed to "snap together" the kits are in fact well detailed and fit extremely well, one of the best fitting kits I have ever seen.
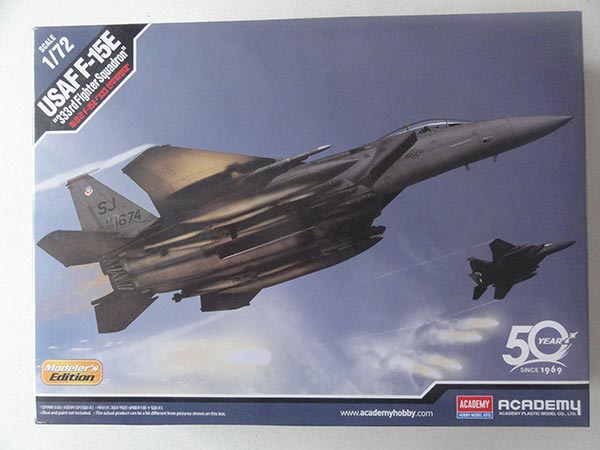
Academy kit #12550 is for 3 USAF F-15E Strike Eagles of the 333 Fighter squadron, 336 FS and 335FS tail code "SJ" based Seymour Johnson. The kit was released in 2017.
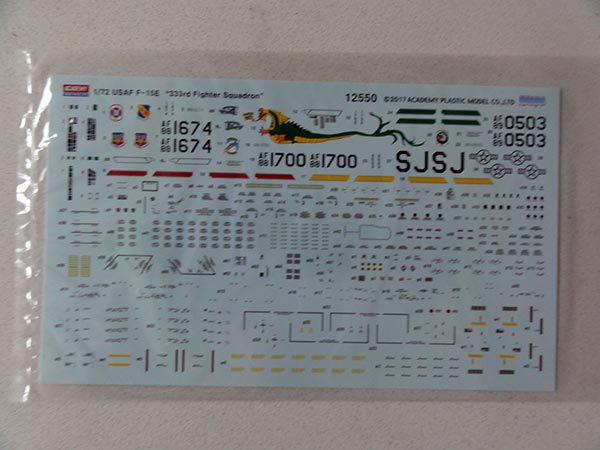
The basic schemes are all overall grey FS36118.
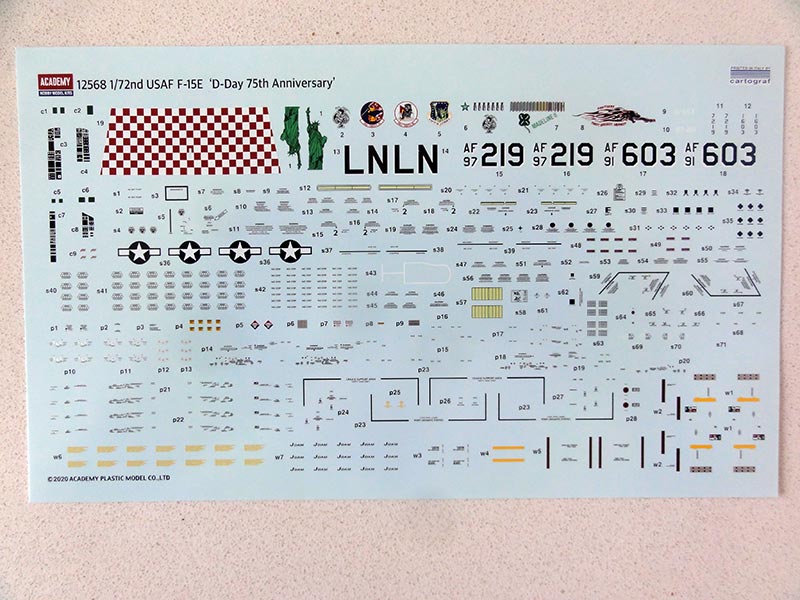
A lot of stencilling is also provided. The decals in this kit are printed very well by Cartograph, so "top notch".
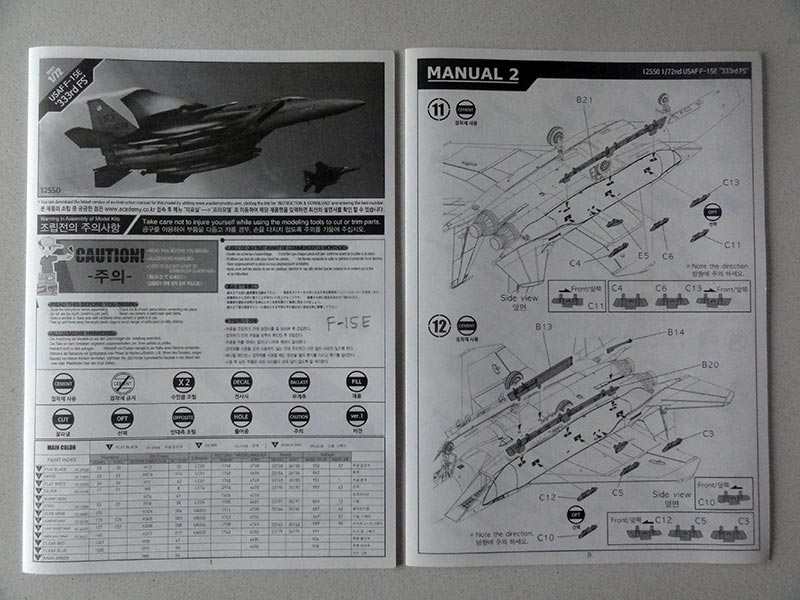
The b/w assembly instructions with some 16 steps are OK.
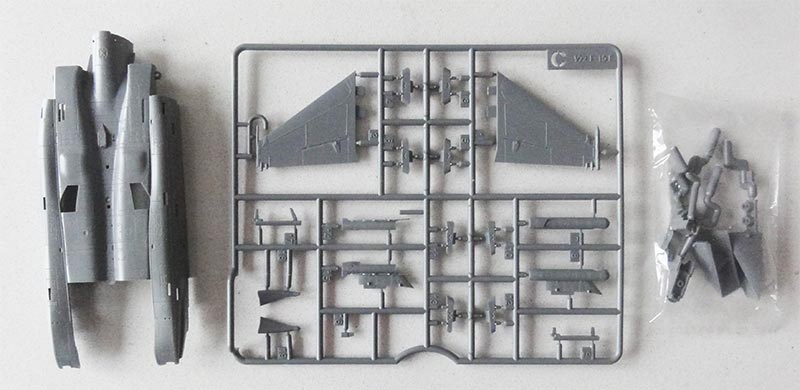
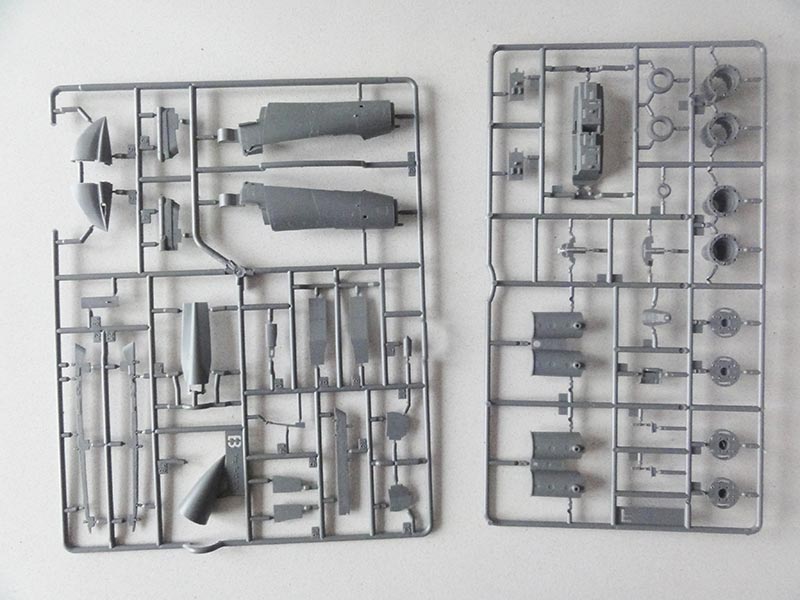
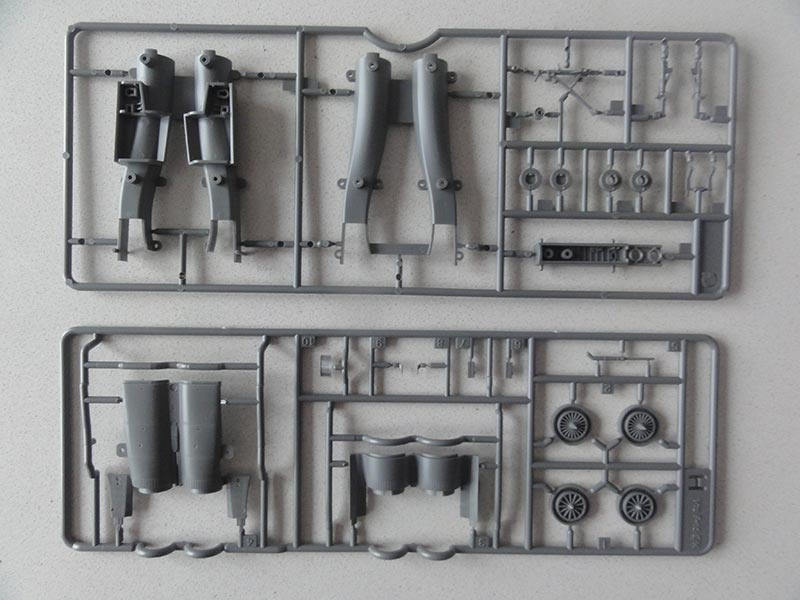
There are parts for the 2 General Electric GE F110 exhausts and fan intake inside as some versions use these engines, like some in South Korea F-15K and Singapore. The more common Pratt and Whitney F100 engine fans and exhausts "without turkey feathers" are also in the kit, these last parts look rather crude. But these F100 parts are in fact the only weak point of the kit as the exhaust pedals actuators are crudely represented.
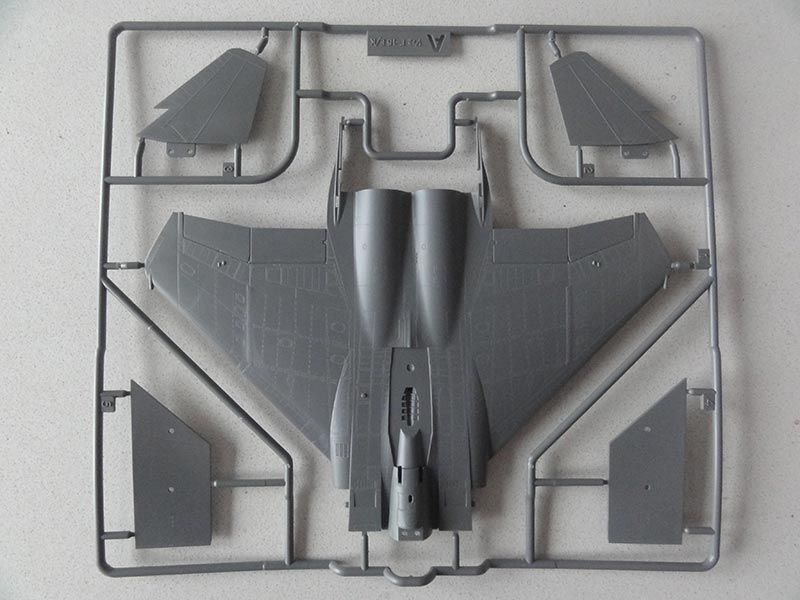
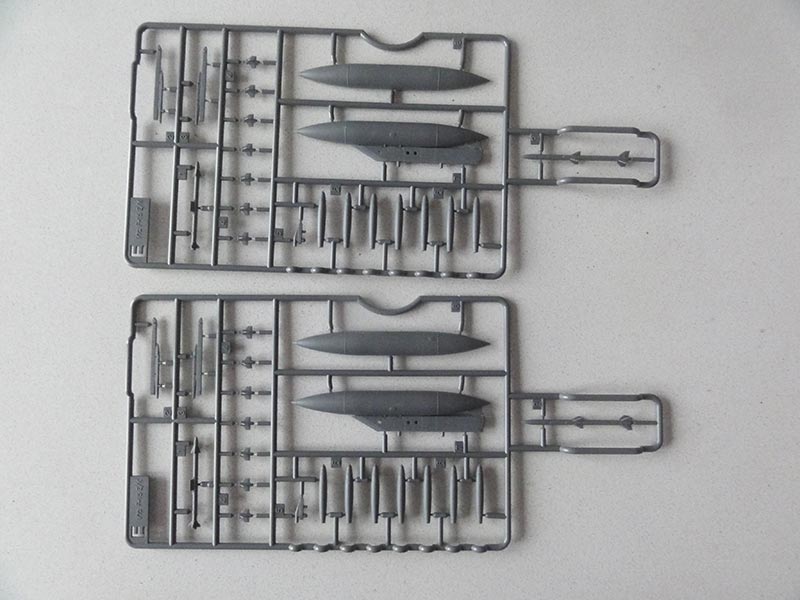
The kit has no less than 90 parts and another 40 parts for the stores that include AN/AAQ-13 LANTIRN, AN/AAQ-14 LANTIRN, AN/AAQ-33 SNIPER POD, small GBU-38 ? bombs, 2 missiles AIM-9X ? and two 610 gallon fuel tanks.
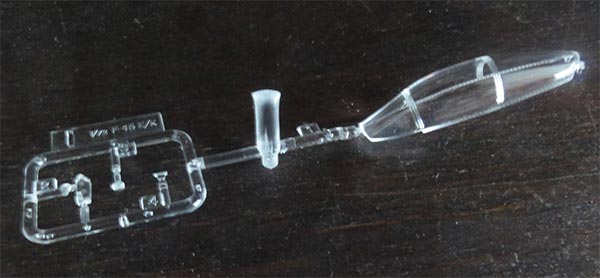
The clear canopy and windscreen is one part so the cockpit is to be set closed. A raised mid seam ridge has to be polished off the canopy. (a modeller can set the rear canopy open but then needs to separate it with a razor saw).
The panellines are recessed and extremely fine. The big upper air brake can be set open. The air intakes have the flow ducts to lead to the (different type of) engine fans.
The lower fuselage part has the bulbous Fast Packs typical of the F-15E type moulded on both sides and the typical F-15E small stub/pylons and long pylon are separate to be "snapped into the recesses and fit".
The cockpit though is adequately detailed with raised details on instrument panels, side consoles, and nice ACES ejection seats. Decals are provided for the instrument panels if you prefer these over painting.
The landing gear is OK and correct with the typical F-15E thicker main wheels, bulbous gear doors and so on.
Several of these kits will be made.
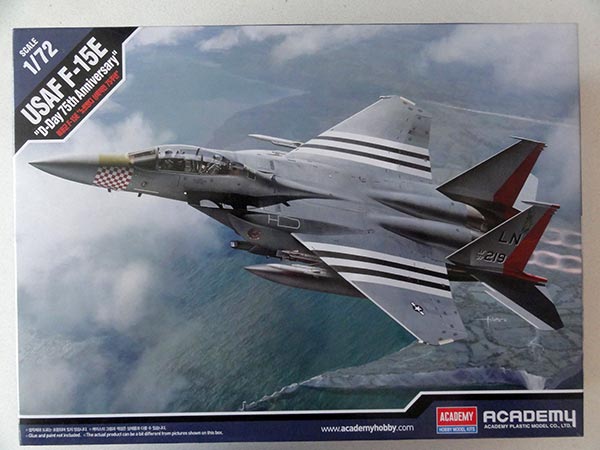
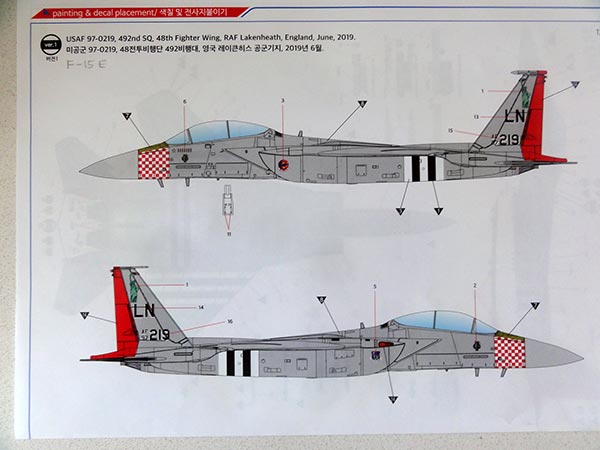
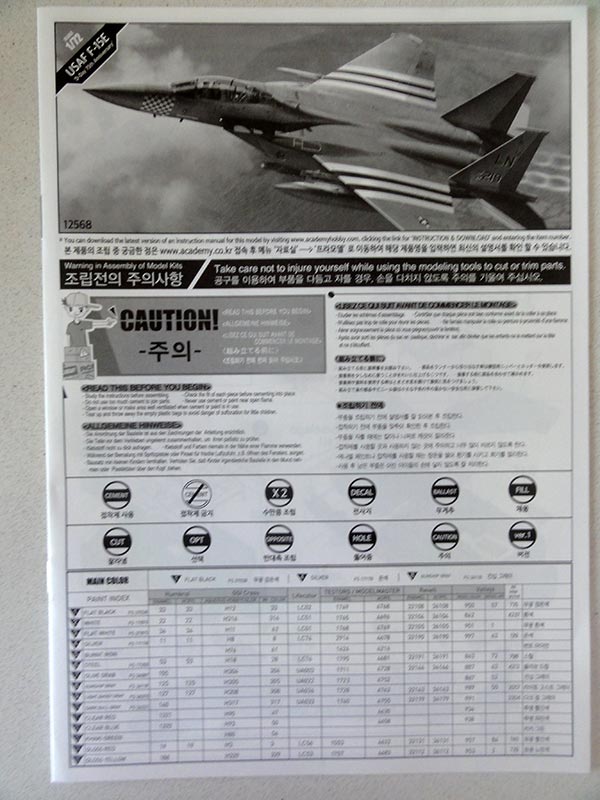
Academy kit #12568 has the same parts as kit #12550 but was released in 2020 but now with decals for quite attractive schemes for USAF Strike Eagles based at Lakenheath in United Kingdom flown around 2019:
[1] F-15E USAF, red rudder coded LN 219 with D-day stripes
[2] F-15E USAF, yellow rudder coded NL 603 with D-day stripes.
The schemes are shown on a colourful separate glossy paper.
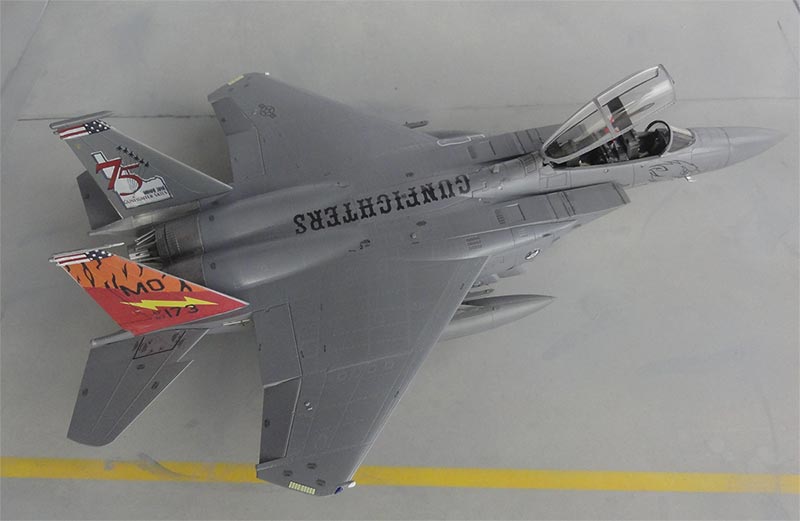
Another 1/72 Academy F-15E kit in a USAF F-15E Strike Eagle scheme with my own custom designed and made decals. These are for an F-15E of the 389 FS GUNFIGHTERS of the 366th FW based at Mountain Home AFB, Idaho, USA with an attractive scheme. This is the drawing I made:

These are set on sheet AIPD-64 that also has another option for the Tiger seen at right as set on the model described on page 6 here...

Some areas need to be painted in a light colour to get the decals.
The smaller stencillings are to be used from the mother kit decals like NO STEPS and honeycomb warnings.
If you are interested in a decal print for your model, let me know and look at decal page here.... (can also be printed in another scale).
Academy kit assembly was now done.
The deep inner fuselage air ducts are nicely provided and set with the correct engine fan: for the P&W F100 parts #H2 and for the GE F110 parts #H1.
The upper air brake was set closed, snug off a bit the hinge pins for a better fit.
The metal areas at the rear fuselage are separate parts and will fit quite well. It is possible to airbrush these prior to installing metallic as I did with Vallejo 77.701 aluminium acrylic. But first.... I recommend removing the rear fit rings of parts #H3 and #H4 for better exhaust installation later on.
When joining the bulbous Strike Eagle fuselage #N1 with the wing-fuselage part you need to set the horizontal stabilizers. It is better to reduce the locator pins a bit in length. Than just a bit pressure is needed as these will fit and use thin fluid cement. Sharp engineering!
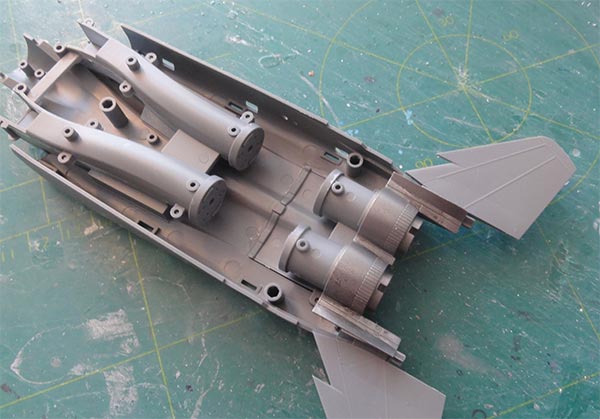
Snug fit in place after metal colours had been applied.
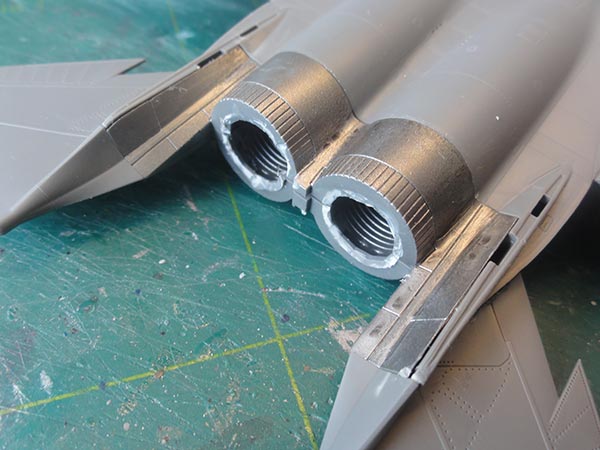
The rear edges were sanded flat to get a better installment of the exhausts later on.
Than to the cockpit....
The ACES ejection seats basic but adequate for this scale and were painted tyre black, seat cushions olive drab green with some seat straps made from tape. I removed the lower seat location tabs for easier "snap fit" installment.
Do not fit the nose gear strut #G3 at this stage to avoid breaking it.
Before installing the radar nose #B18 add about 7 grams of nose weight to avoid a "tail sitter". Some nose edge sanding was needed for a smooth fit.
The forward nose gear door is to be set closed as seen on most parked Strike Eagles.
The wing and inside panels and intakes will fit OK without any issue.
When setting the forward fuselage section and than the rear lower large fuselage assembly I had a small step below the intakes at the forward fuselage. So try to align and glue carefully. (I needed a bit putty and sanding here).
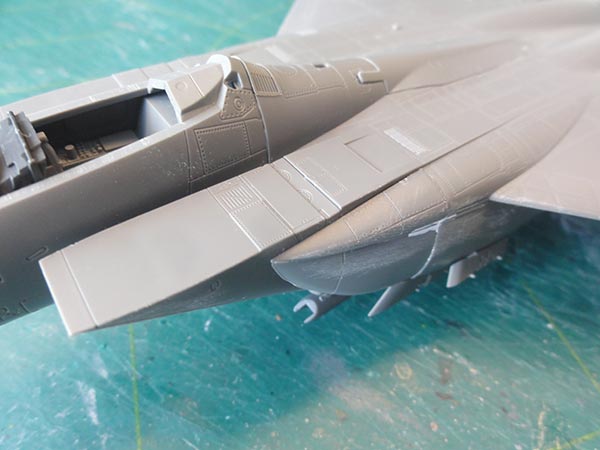
The intake side bulges #B5 and#B6 will also snug in place. I needed a bit putty and sanding here. I was not sure if the gun barrel nozzle is missing.. can be added later on.
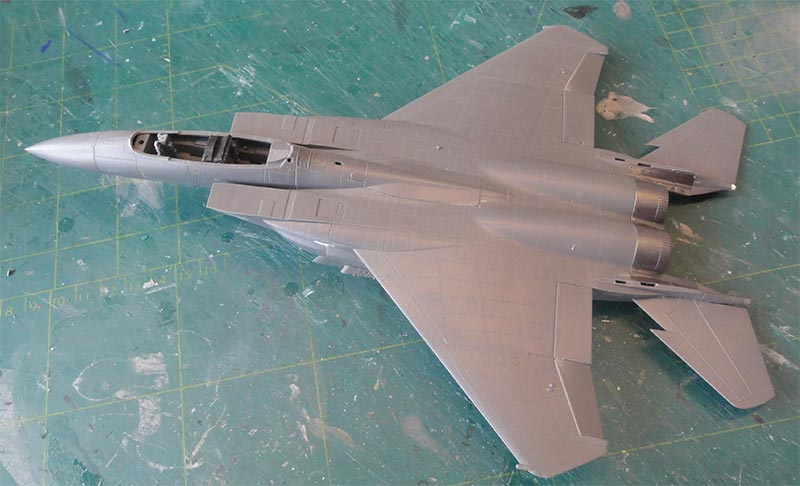
Do not yet install the landing gears at this stage. Same with the vertical tails and jet exhausts, leave for later.
The various F-15E pylons on the lower fuselage sides were set though. These are to be snug fitted and do all fit. I removed the pins to fix the small bombs though as my model wil be kept "unarmed".
The forward fuselage joints needed a bit putty and sanding but I think it was my fault to get a perfect joint.
After this general assembly, base paint work would start. Mask off the metal areas.
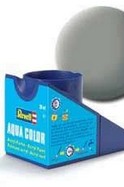
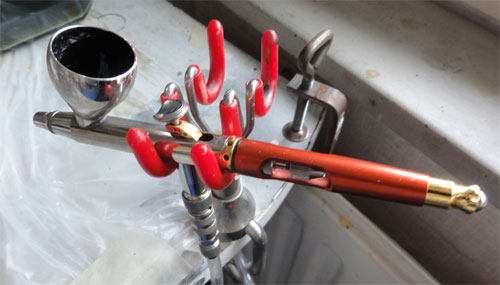
For the base grey airbrushed was thinned Revell Aqua 75 steingrau acrylic paint to check for any flaws. It looked OK.
The wing fuel tanks and pylons were also made and airbrushed. Only a bit sanding is needed. Reduce the pylon pins a bit in length to set on the lower wing. Same with the various LANTIRN pods provided with a choice of these provided in the kit.
Note that the outside vertical tails need a light "white colour" before any tail decals are to be set later on. Airbrush the outside vertical tail areas.
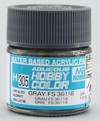
The smaller parts while still in their sprues like gear door outsides', wing pylons and launch rails were not forgotten as were the wing fuel tanks. The gear door insides' were airbrushed white as were the landing gear legs and struts still in their sprues.
The P&W F100 engine exhausts were needed (unshrouded so without turkey feathers) and these are quite crude. I did not have spare parts so modified the kit parts # F16 and #F17. I cut off the moulded actuators and suggested these pedals with rods.
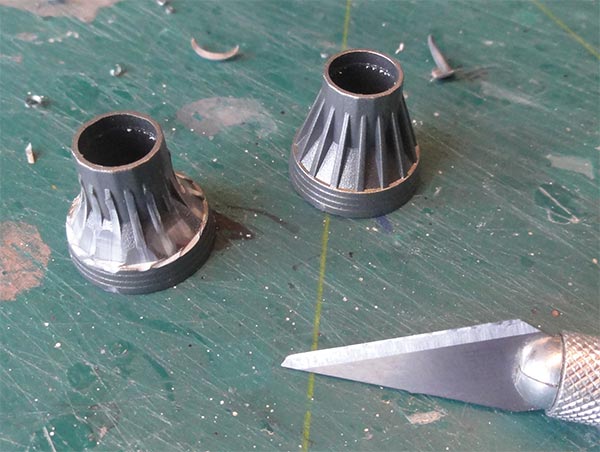
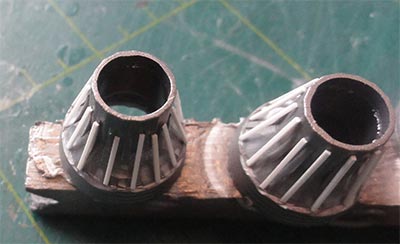
The F100 exhausts got a mix of acrylic Vallejo metal paints including burned metal 77.703. The insides of the exhausts were painted dull white to suggest hot burned areas.
The model had been airbrushed glossy FS36118 (as to avoid "silvering") and was now ready to get the decals. Note that the vertical tails had not yet been set and this helps here to set the custom made decals. The smaller stencilling as per kit were also set.

All custom printed decals need to be cut out separately with fine scissors as the carrier film is continous. Note the outside vertical tails light "white colour" before any tail decals are to be set.
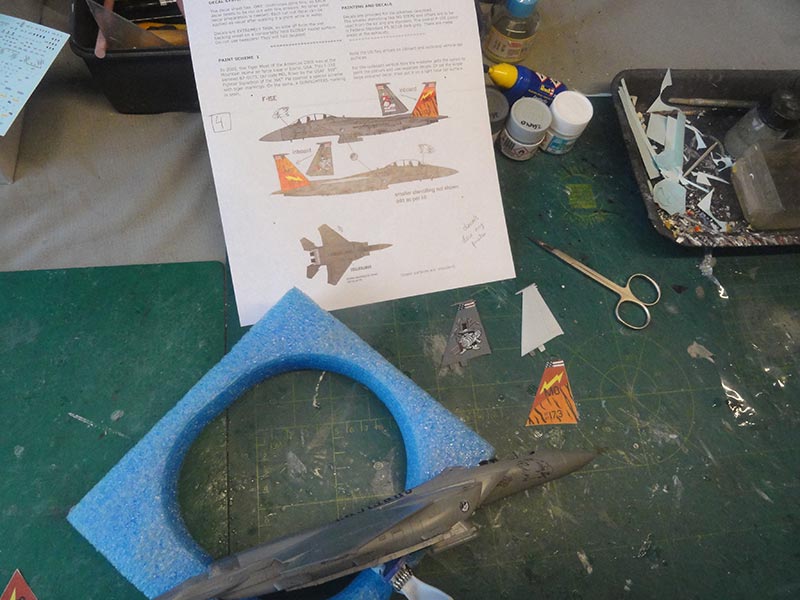
The decalled vertical tails have 2 outside decal bits and were snugged in place.
The large air brake was set closed. The GUNFIGHTERS decals will fit.
The custom made decals need some white base decals that are on the decals sheet. Set these first, some careful alignment is needed. Than set the coloured decal part.
NOTE: if you are interested in a AIPD-64 decal print for your model, sur...let me know and look at decal page here.... (can also be printed in another scale such as 1/48 and even 1/32).
After decalling was done, the good landing gear is next. Again, this is a good kit. The gear bays were hand painted white on their insides. The gear struts are white and I painted the oleos and landing lights Vallejo Chrome 77.7097. The wheel tyres were airbrushed tyre black previously and the hubs dirty white. All was installed without any issues though I had to remove to squeeze in a bit from the forward nose gear stress bar #G3.
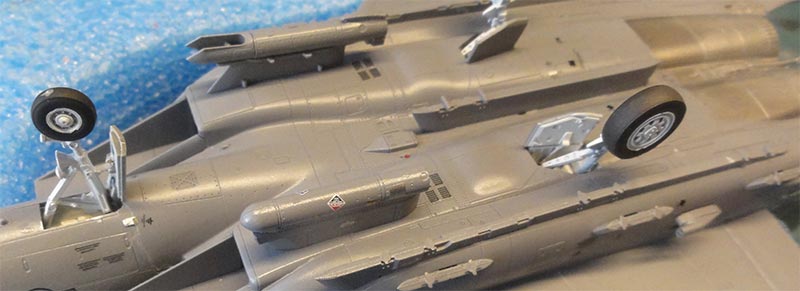
The main gear struts and wheels for the Strike Eagle were set at about 85 degrees. Note that the kit has the correct thicker Strike Eagle main wheels and bulbous gear doors.
The anti-collision lights at wing tips and tails were painted (red port and blue starboard). The wing tip low vis lights are decals but can also be painted light yellow.
The smaller antennas and nose side pitots were installed and are fine in the kit. No weapon stores like bombs were set, just 2 LANTIRN pods.
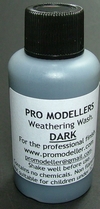
A bit PROMODELLER wash was added in the gaps of ailerons and flaps with a fine brush. Remove any surplus wash with a cloth.
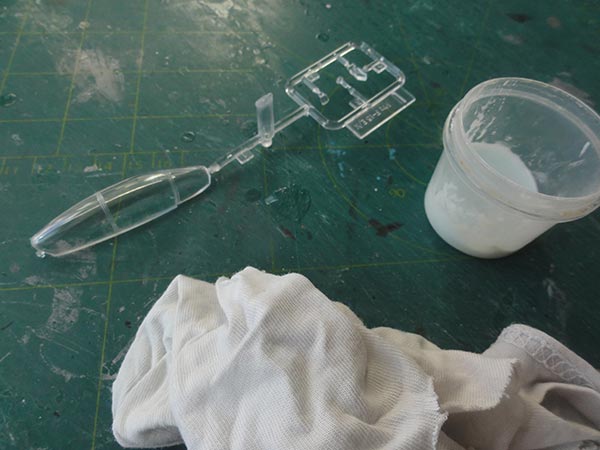
The kit has a one piece canopy+windscreen part has a very light mid seam ridge, this was polished off using paste (no prior paper sanding/ smoothing is even needed).
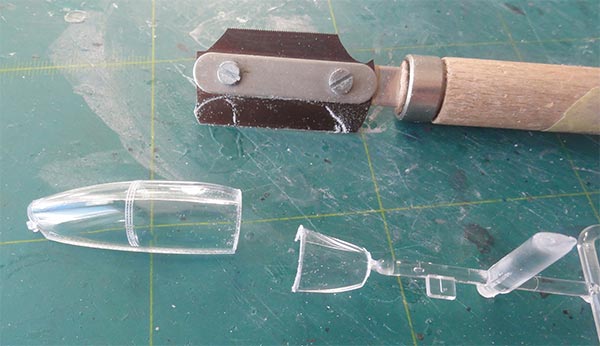
I opted to set the canopy open on this model, so a razor saw was used to seperate the windscreen. A frame plate was set inside the middle and rear from plastic card.
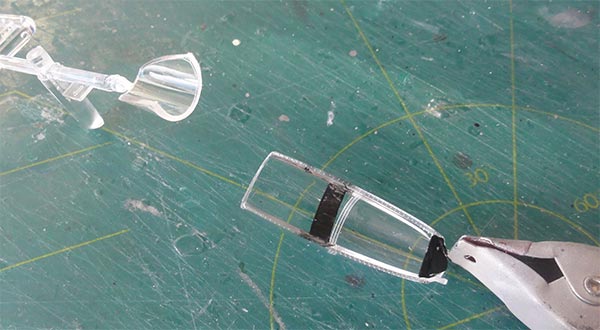
The canopy frames were hand painted FS36188 and black inside. A permanent marker is another way to do this. Inside the canopy, 2 mirrors were set in the front frame and 1 mirror in the mid frame (not yet seen).
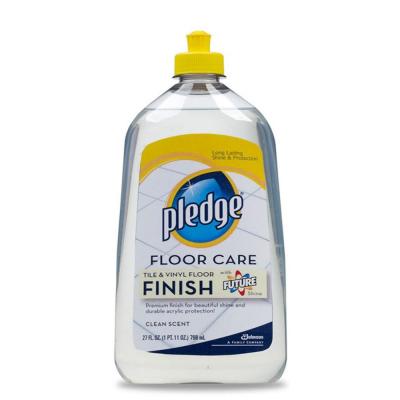
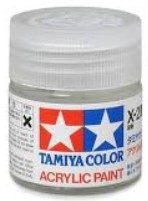
Decalling was done. The model got airbrushed a semi-matt varnish coat to get an even sheen and protect the decals. In this case a coat of my favourite water based Johnson Future/ Pledge with 5% X-21 "flat base" with the usual technique. (mask a bit the metallic exhaust areas and obviously any clear areas).
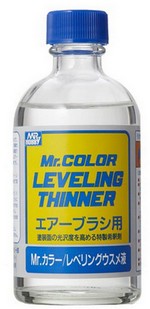
It is a good idea to add as well some 10% Gunze Mr.Hobby Levelling Thinner in the varnish mix. This really helps airbrushing a nice varnish Johnson Future/ Pledge layer.
The canopy was positioned (without glue) open and a red painted long fixation bar was set and rear raising actuator made from rod.
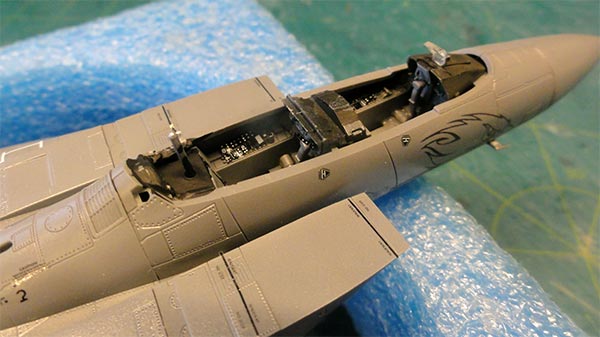
That's it! This model took just 15 hours to complete (excl. decal design).


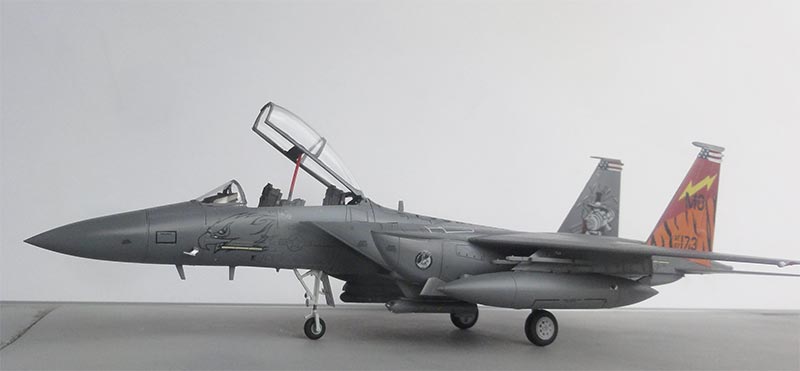
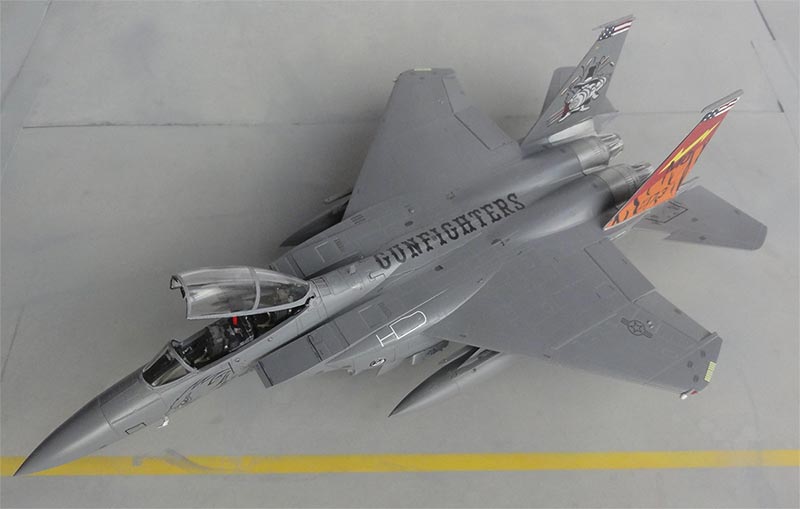
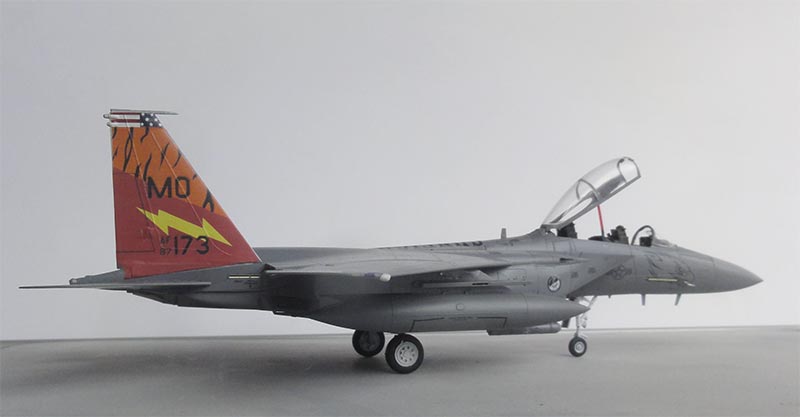
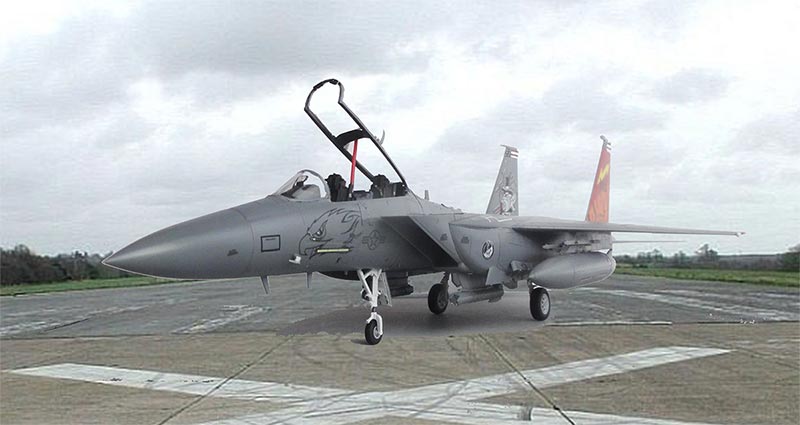
F-15E of the USAF 389 FS GUNFIGHTERS of the 366th FW based at Mountain Home AFB, Idaho, USA
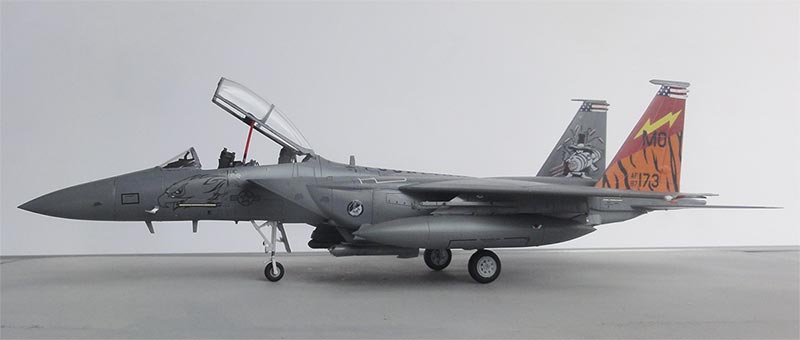
... in a scenery...
Another 1/72 Academy F-15E Strike Eagle kit (now #12658) was made, again in an USAF scheme with custom designed and made decals.

On the occasion of the Celebrations of the United States Air Force 75th year, the USAF (Europe) 80th year and the 48th Fighter Wing 70th “Liberty Wings” year, an F-15E Strike Eagle got a remarkable heritage paint scheme unveiled July 2022 at RAF Lakenheath, United Kingdom. This USAFE scheme was picked.
These are included in my own custom made decal set AIPD-65 F-15E USAF "Liberty Wings". The 1/72 set has 2 sheets: a clear sheet and a white sheet. The white sheet requires slightly "inside" cutting with fine scissors and has mostly the tip and tail base markings. (the smaller stencilling is to be used from the kit).
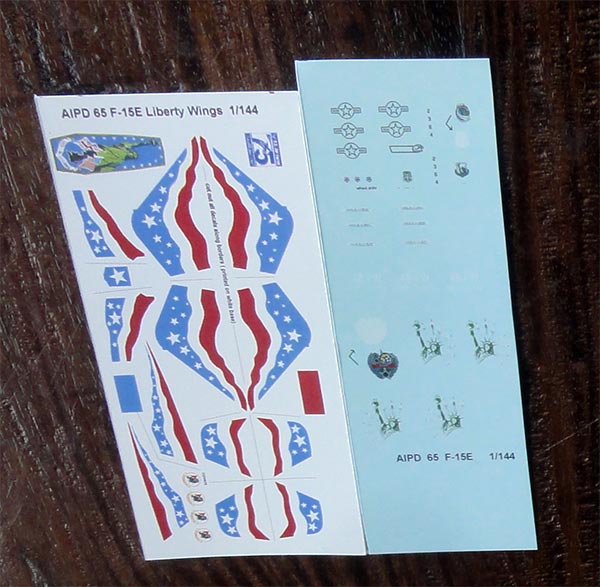

If you are interested in a decal laser print for your model, let my know and look at decal page here.... (can also be printed in another scale such as 1/48 and even 1/32).
For this model the general F-15E Academy kit assembly was the same as described on the earlier made kit. It all fits very well. The unshrouded P&W F100 engine exhausts were required and refined as described earlier.
Set the tails first before decalling.
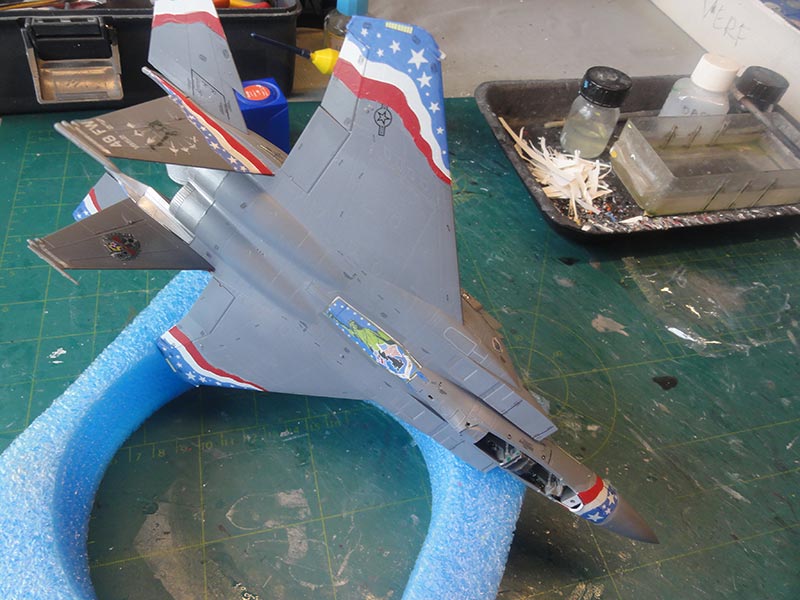
And decalling needed some careful cutting first for each decal.
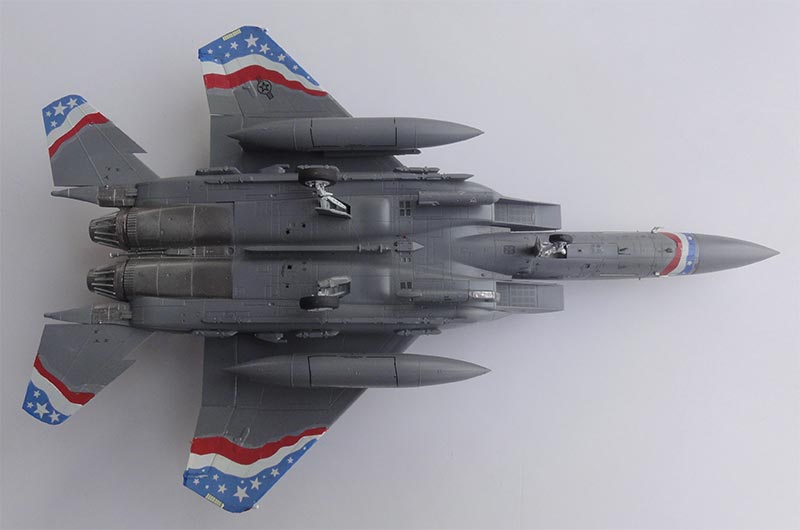
The gears, fuel tanks were installed and LANTIRN pods. Some wash was applied in the recesses and inscribed panellines.
A semi-mat varnish was airbrushed the usual way.
The canopy was set closed thus as per kit. It fits OK after the vertical rear pins had been removed. White glue was used to close the tiny gaps and hand painted with a brush FS 36118 when dried.
That completed the model.
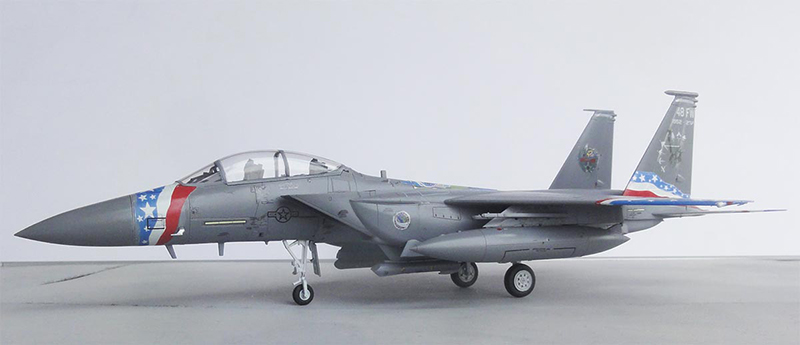
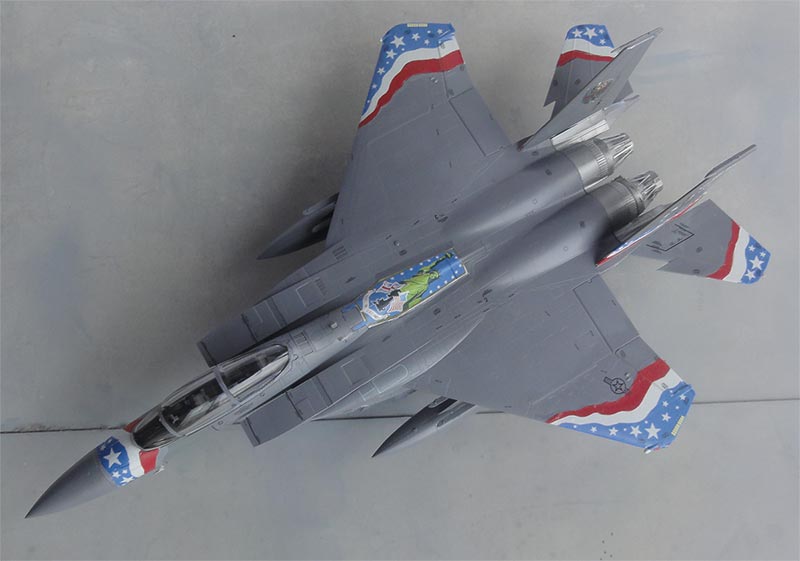
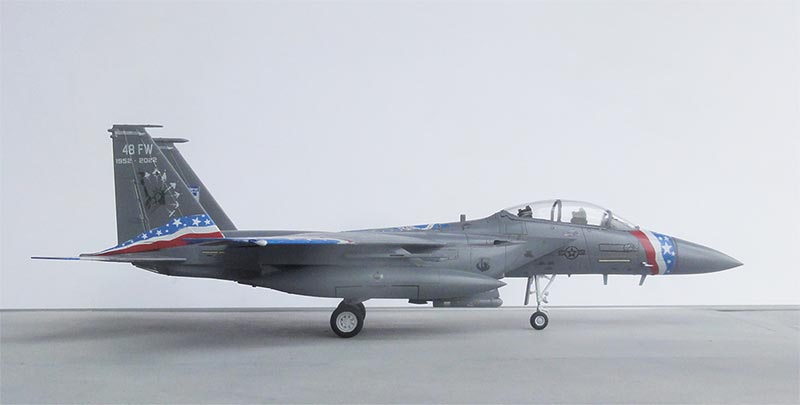
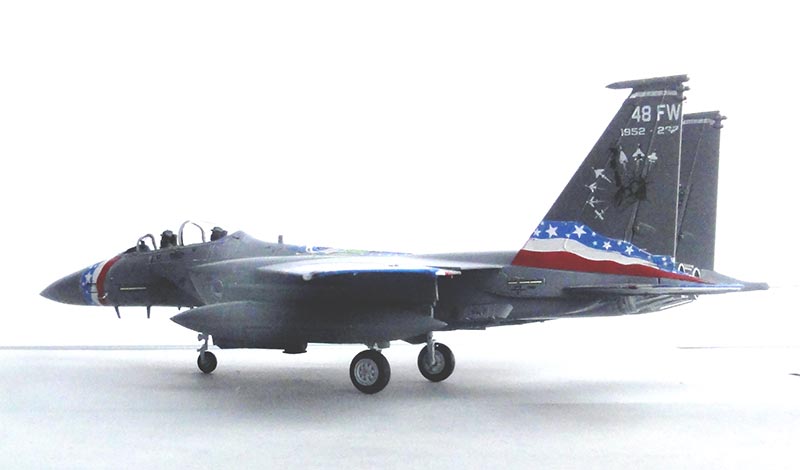
.... set in a scenery....
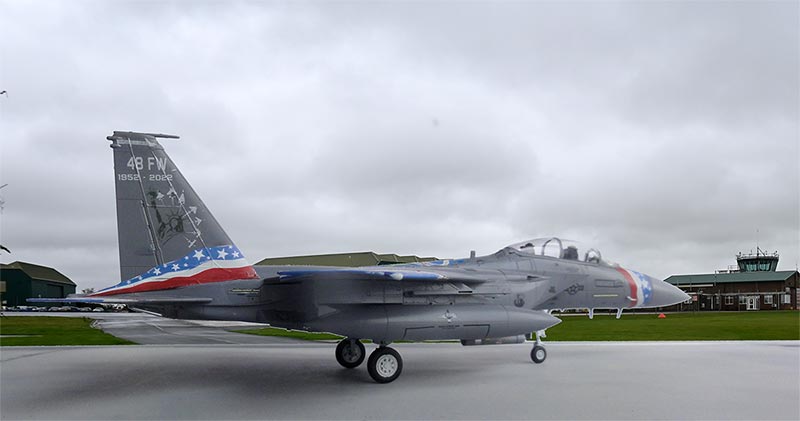
On to next [ Page 9...]
(c) Copyright "designer"/ All rights reserved. Your comments are welcomed by webmaster
Created this page November 21, 2024