[ page 1 ]
Soviet BlackJack bomber in 1/72 scale: modelling report using the AModel Tupolev Tu-160
page 2
page 3
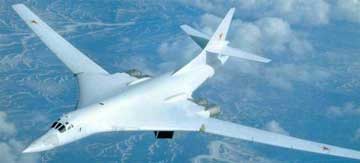
Short history
Tupolev Tu-160 'Blackjack' is a supersonic intercontinental bomber of the former Soviet Union. It is now operated by Russia and the Ukraine. First flown in 1982, the Tupolev Tu-160 'Blackjack' is a counterpart to the American B-1B. NATO codename is "Black Jack". The Tu-160 is capable of maximum speed of Mach 2.05 or 2200 km/h and has a maximum range of 14000 km. The aircraft has a long blended wing-body design and a variable-geometry wing. It has 4 NK-32 afterburning engines in two fairings below the blended fuselage.
The Black Jack has four man crew that enters the cabin through the front gear bay. The cabin has K-36LM ejection seats. The Tu-160 has a conventional flight deck with 2 pilots and in the back there is the navigator/offensive weapons operator (left) and the navigator/electronic warfare and communications operator (right). Behind in the cabine there is also a galley and a toilet. The weapons are carried in lower central fuselage weapon bays and can comprise of six cruise missiles, or also 24 short-range attack missiles (SRAM) and bombs.
In front of
the windscreen a the retractable inflight refuelling probe is fitted.
Under the front
fuselage is a forward looking OPB-15T optical bombing sight and video.
The variable-geometry
wing has three positions: 20 degree sweep for landing, 35 degree for cruise
and 65 degree sweep for high speed flight. A rotatable wing portion/section
is fitted inboard, that forms a vertical plane adding some directional
stability when the wings are fully swept backwards. When the wing is swept
forwards this section is flat and closes the gap to ensure maximum aerodynamic
lift capabilities.
In service,
only 1 variant of the Tu-160 entered production. The number of aircraft
is very limited as it is very expensive and Russia suffered many economic
crises. The number of active planes is in the range of 20-30. The Tu-160
will probably remain in service until 2020-2025.
DATA:
span 55.70
m / length 51.40 m / height 13.10 m /Weight:
empty 118,000 kg, max. take-off 275,000 kg
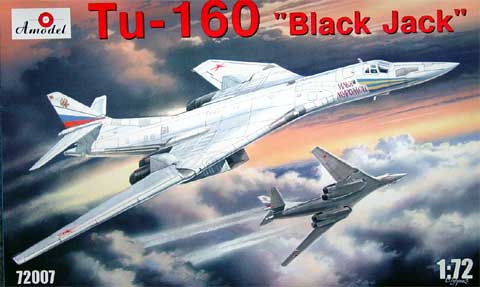
AModel kit
The Amodel kit number 72007
in 1/72 scale was released in 2003. It has a glassfibre fuselage and 2
wing halves, the remainder being supplied with hundreds white plastic parts.
The kit comes in a big box measuring 40x70 cm.
There are 30 racks with about 250 parts, decals and instructions, all bagged. The kit has many details including a nice cabin section and nice undercarriages. However, no missile/bombbay is supplied as this area is needed for plastic parts to enabling the wings halves to swivel.
Amodel has obtained more experience now with making clean mouldings and the connecting gages are not so thick as with their older kits. The kit is not "short run" but also not a normal kit as the plastic is soft and needs cleaning up and sanding to get things to fit right. This makes the kit suitable for experienced modellers only.
NOTE: well, just as I had finished the model.... Trumpeter released a good injection kit in 2005!
Looking at various real photos (see references ) , it can be seen that AModel did their homework, The many parts look like the real ones and the model certainly like a Black Jack. It is not a big surprise as AModel comes from Kiev in the Ukraine. With Russia, these countries only operate the Black jack. AModel had thus access to enough information. I rate the accuracy good.
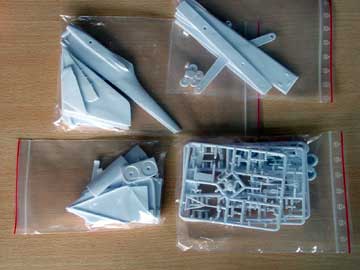
Parts are packed
in bags. I removed some connecting sprues of them already as seen...
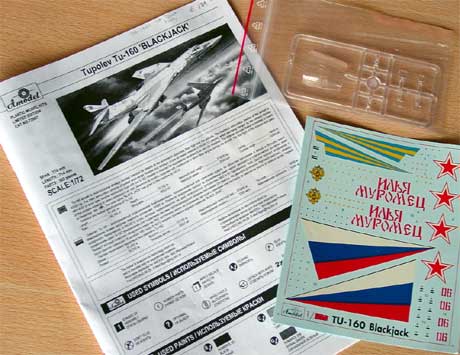
As with many AModel kits the instuction
steps are not in a logical correct order. I used the a different order
as indicated in the modelling report.
OK, Lets start now!
How to tackle
this kit?
First, on a couple of evenings I
cleaned up the many smaller parts of white plastic.
Next steps?
Wheels
Step 13;
I started with making all those wheels.
They have a bad fit and I needed to open up each and every hubhole. All
wheels need sanding and it is not a very nice task.
Forward fuselage section
Steps 1 , 2 , 3 ;
The forward fuselage is of white
plastic. First you need to open the 2 windows for the rear crew members.
Also, I added some detail in the camera opening in the lower nose part.
The kit comes with a nice interior
with adequate and correct details. Not much of it is to be seen as
the cockpit glazing is fixed and the crew enters through a hatch in the
nose wheel bay. The fit of the interior gave me some troubles as the bulkheads
are a bit too large and the nose halves are a bit warped. After some sanding
a cutting, you get a good result. The cockpitglazing is OK and clear
and needs only some minor sanding on the edges to fit.
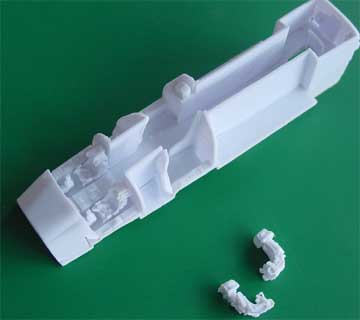
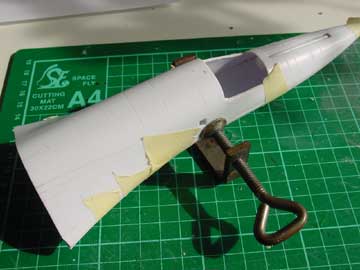
Step 4 was finished without the nose
gear and noze glazing. You need some clamps here to minimize the sanding
later on.
 ..
..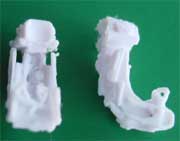
The seats are
also OK and look like the real ones; replacing them is not needed as not
a lot of them can be seen later on anyway...
Bays
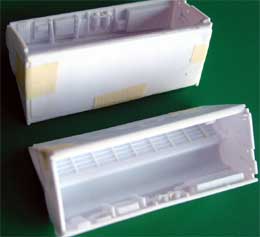
Steps 14-15; Steps 17-18; Assemble
and set to dry.
Wing prep.
The wing halves are OK and are made
of glass fibre. Only some cleaing up on the leading and trailing edges
was needed. I also made some cuts are the rear surfaces of aileron and
flaps. The wing swivelling points were cleaned up as well.
Exhausts
Next was basic assembly of parts
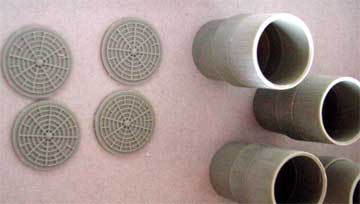
in Step 20 to check engine exhaust fit . This was done in order to check
their fit first! As expected, I had some troubles with nice fit of the
engine exhaust pipes. The glass fibre edges of the large fuselage part
# 1 were a bit thick and warped. So I had to adjust here and there.
I also damaged the edge of one engine fairing, which needed repair.
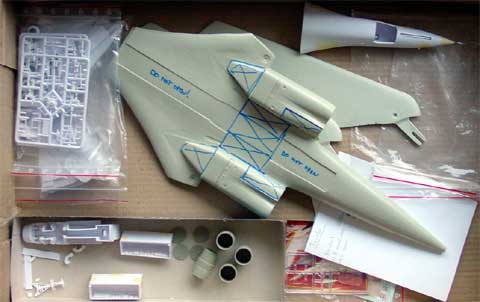
Some assemblies are seen below in
the box...
Major fuselage prep.
Step 7
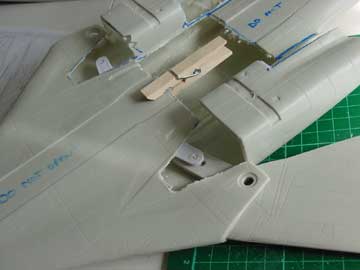
Next was preparing the major part like the glassfibre fuselage. It needs cutting and sawing out various lower sections to get wheel bays and the engine pods in place. This is quite a complicated and difficult task. I had to use a household drill to make holes to get a start. After that, a thick saw was needed.
Use a mask to protect your health here!
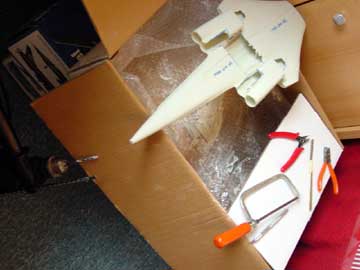
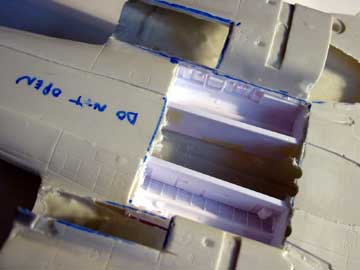
The wheel bays were cut open and also PART of the centre lower fuselage section. I did NOT cut open the entire length as suggested with the instructions. If you do so, you will loose a lot of strength here.
Only the crossed areas seen in the picture were opened.
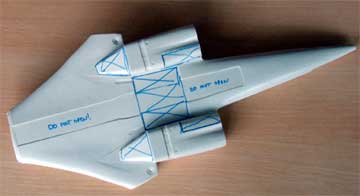
The larger opening is only needed in order to fit the wing swivel mechanism, see Step [6].
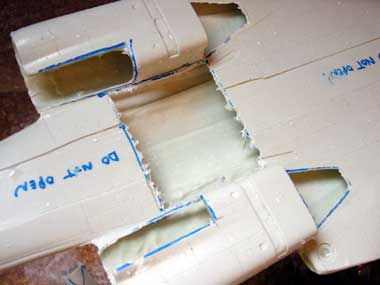
Also cut open the engine intakes,
the fibre "triangles" should be removed. I did however NOT cut open the
engine fan slots as these can be fitted in from the rear. Also, the inner
rear engine fairing panels were opened for which parts #73+74 are supplied.
Also open up the wing rotating points.
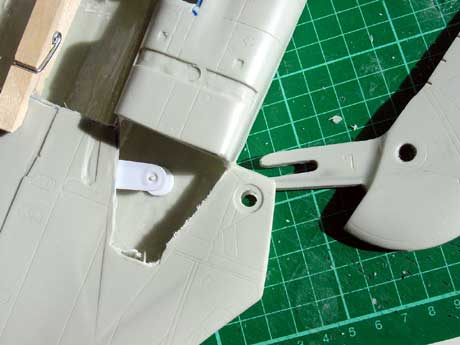
Quite some rough work is needed!
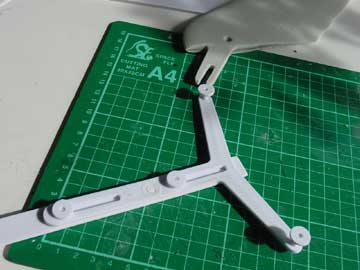
In Step 6, I did not use part #130
and was able to get the swivel mechanism inside from the rear main gear
holes. It was fixed after assuring a correct position.
Fit the swivelling mechanism inside.
After drying time, the main wheel
bays were fitted inside the fuselage.
Fuselage main joint
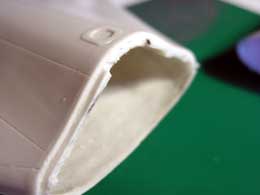
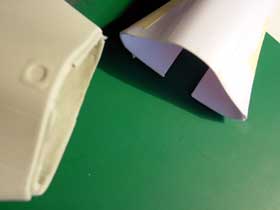
The Main joint needs quite some work.
I need to adjust and cut some material of the connecting "lip". But fit
nose part (see step 26 ) without the gears. You need some adjusting on
the glue edges, sanding and cutting in order to get a smooth joint here.
 ..
.. 
Two component glue was used here
as you need a lot of strength!
Set aside to dry for 24 hours.
..
Sand, and check all edges and gaps.
Fill and sand as required. Several passes were needed to get the nose section
to fit the rear section.
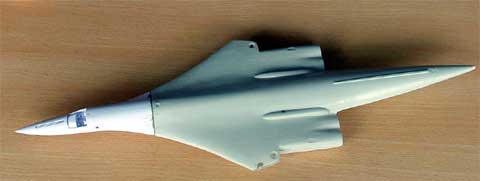
But this beast is huge! It measures
here about 72 cm in length, being quite accurate in scale.
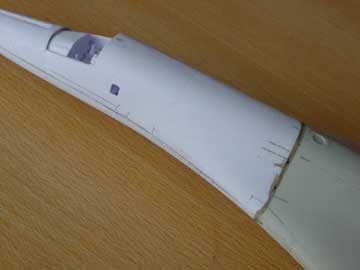
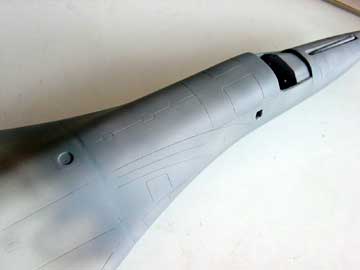
Spray on a light grey coat to check
for irregularities...
to next
Page
[2]...
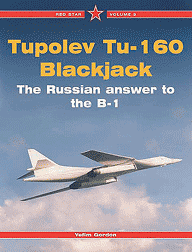
RedStar, Tu-160, Gordon.
Internet:
http://www.milavia.net/aircraft/tu-160/tu-160.htm

(c) Copyright Meindert "designer"/ All rights reserved. Your comments are welcomed by webmaster
Created this page : April 4, 2005