[ page 3 ]
Soviet BlackJack bomber in 1/72 scale making the AModel Tupolev Tu-160
The AModel
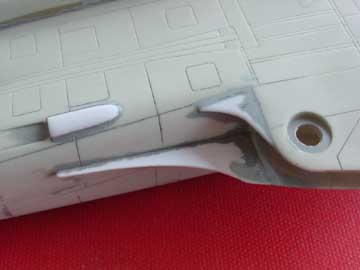
The wing pivot area needs some special attention.
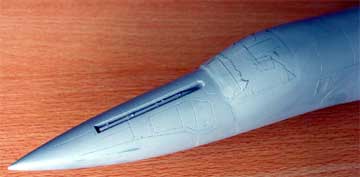
Next step was spraying the model
gray and checking for any flaws. There are some tiny holes in the resin/fiberglass
parts that need some filling.
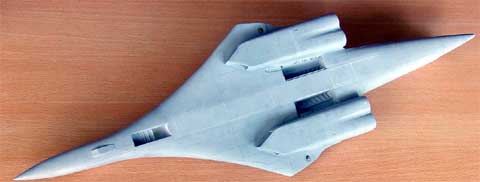
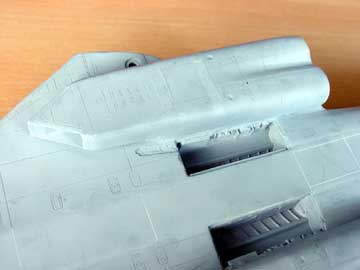
The engine pods need a lot of filling and sanding to get a smooth result. I discovered that the engine pods are not perfectly symmetrical. There is not a lot that can be done about this as the fiberglass basic fuselage/engine shapes can not be altered as they are very very stiff.
After sanding , priming and checking the "missing" panellines were re-scribed with an Olfa P-cutter tool.
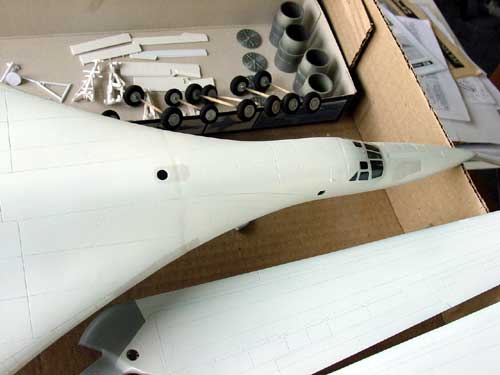
Next step as to apply a white overall
coat. Also the many wheels can be seen here. These need a lot of work!
Some panels were given an "off white
finish" and metal finish as the real Black Jack.
Next, all the landing gears were added. This was not an easy task as you need to get a clearly aligned gear with all wheels touching the "ground".
First the legs were fitted and aligned. To get some strength, some extra plastic rod and metal rod was used at the connecting areas with the lower fuselage wheel bays.
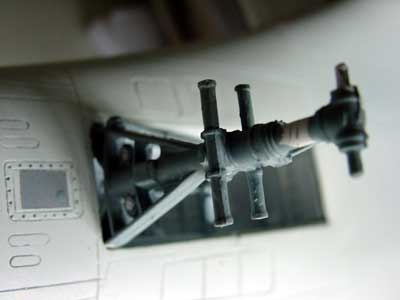
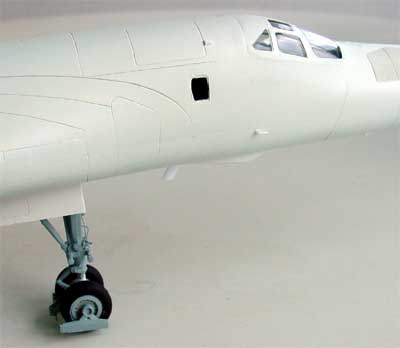
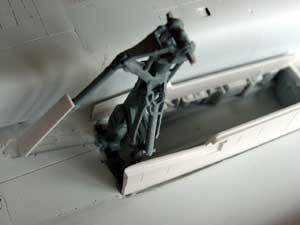 nose gear
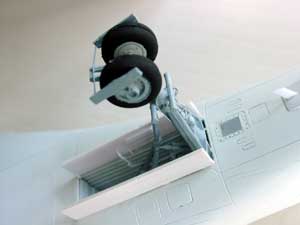
nose gear with "anti debris skid" attached; this was refined with thin metal wire
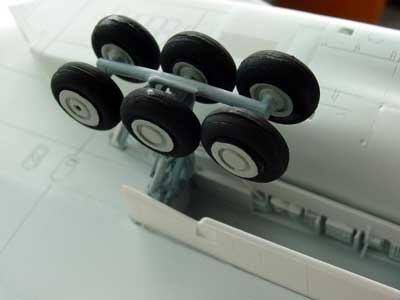 Main Gear
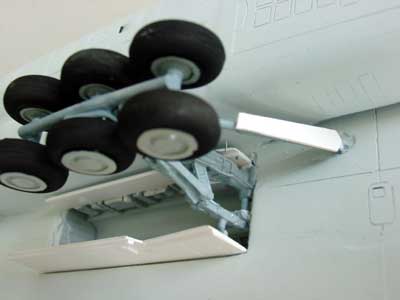
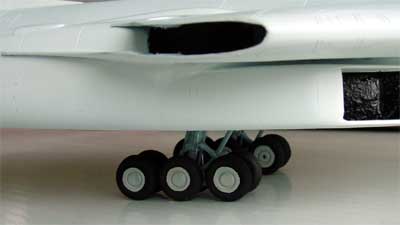
As described, I will utilize a "pogo
stock" to keep the model properly horizontal. getting all the wheels "touching
the ground at the same time" is a very nice challenge. Be patient, it can
be done.
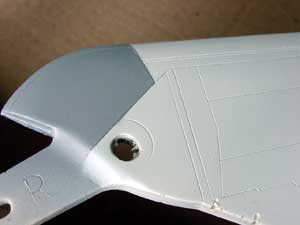
The wing pivots can be used. First,
I made sure the round gaps were large enough. The pin parts #142 were to
thick and large. I concentrated on using the parts #145 and 146. The are
tapered and do not mix them up. The surfaces were thinned with sandpaper
in order to make the pivot plates flush with the bordering wing glove.
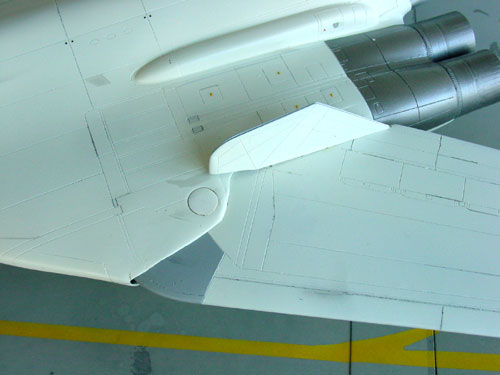
No problems were encountered. The only problem was that I found the dihedral angles different between the outher wings. I inserted some plastic strip in the wing gloves to get a symmetrical dihedral.
The wings were not glued in place,
they can still swivel. The hinged inboard gap cover plates (seen here left
in the picture) were added. As these had obtained hinges made of
thin wire, they are still flexible.
Parked real BlackJacks can be seen
with various wing configurations, forward, mid or aft swept. Basically
I will display the BlackJack with swept wings as otherwise it takes far
too much space in the show cabinet.
Final Painting
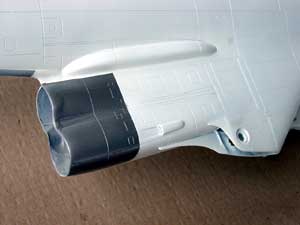
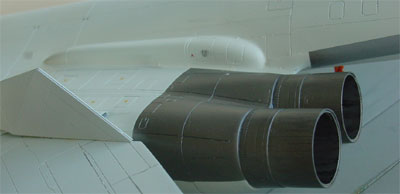
The four engine exhausts got some
extra layers of dfferent metal paints and the inner areas got some jet
fume striping through drybrushing.
Markings and
decals
The model was ready to receive its
decals. I decided to do this first before fixing the wings.
The kit decals are quite OK and thin.
I decided to use these as the scheme is very colourful and nice to see.
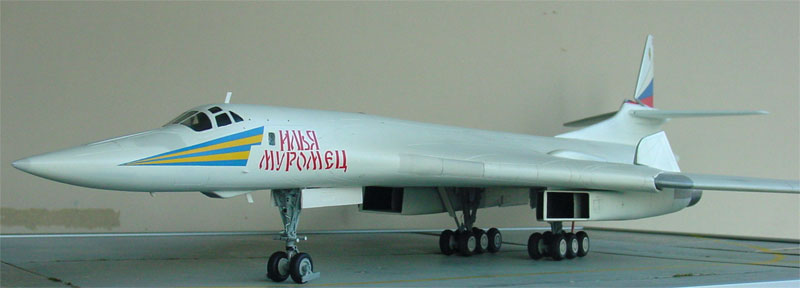
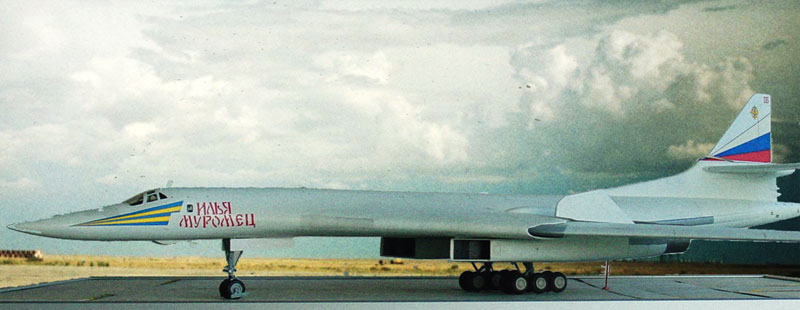
The title means "Ilja Muromets".
Even small marking stencils are provided,
a few of which are extra provided just in case you loose one (well done
Amodel!).
After soaking a decal, I made sure
to remove any glue on the decal backing. Before putting the decal on the
model, I applied some Johnson Future on the surface with a brush. The decals
was set into position and the brushed used to conform and press it on the
surface. This will remove any tiny air bubbles and will avoid any silvering.
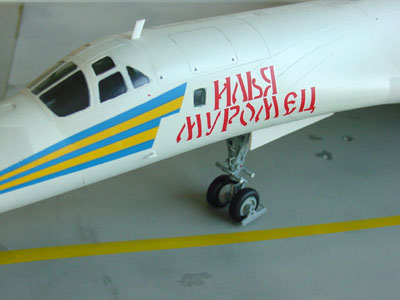
Finally, the model got a very thin
coat of Johnson Future with some added Tamiya
matting agent to get a semi mat finish. This will also protect the decals.
And that's it !!!!
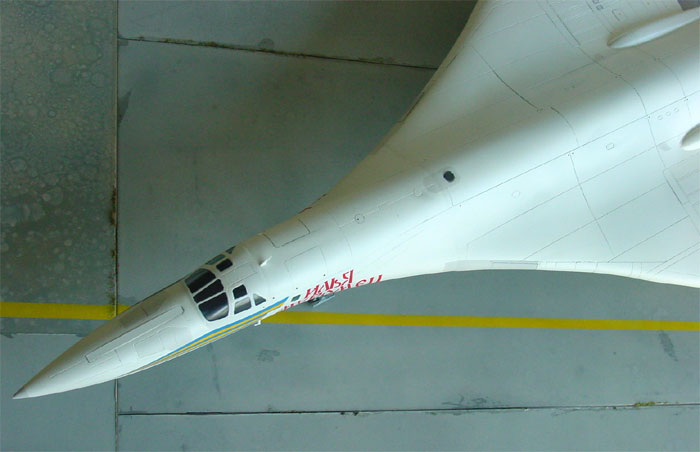
Upper View, note the closed air refuelling
panel doors.
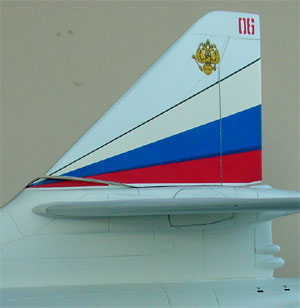 the movable tail stabilizers
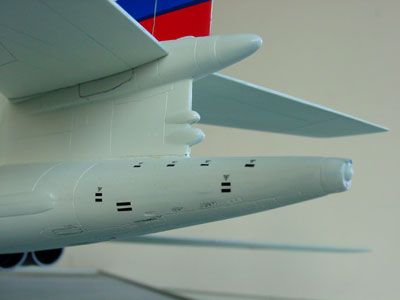

The model, its "pogo stick"
can be seen painted orange.
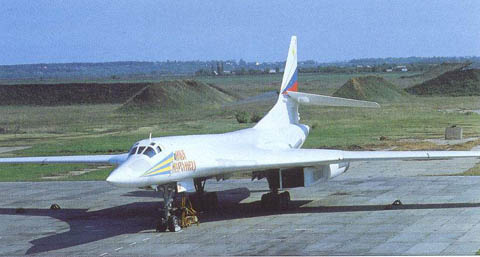
A picture of
this real plane is seen below here (courtesy Aviapress) :
And there
it is... a very large and impressive model of the Tu-160 BlackJack.
Back to 1/72 jet models

(c) Copyright Meindert "designer"/ All rights reserved. Your comments are welcomed by webmaster
Created this page:
May 12, 2005