1/32 scale conversion
[ page 5 ]
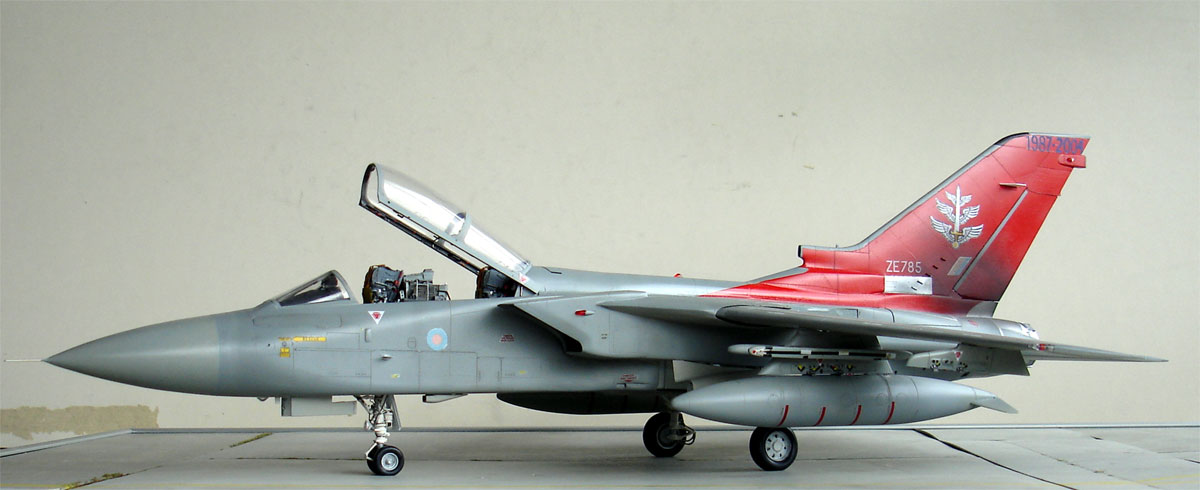
Tornado ADV model in 1/32 scale
...... continued from page 4....
Final Finishing
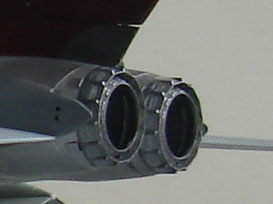
KIT STEP 25
I found small shrinkages on the exhausts
so fill these first with putty.
The jet pipe assembly was completed as
indicated in the instructions. Note that the starboard engine #62 is wrongly
at the same angle as the port engine; remove the tiny locator and it will
fit.
KIT STEPS 31-51 (RAF kit 04705 steps
30-50)
Assemble the airbrakes, gears, doors
and wheels. Some extra scratch details in the gear bays were added,
such as tubing from thin metal wire on the gear legs.
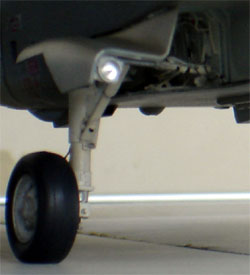
Below left you see my original nose leg and gear as initially modelled. With Michel I discovered that it seems that this has changed on the Tornado; so the gear leg was too long and aft there is no anti torque strut. The nose gear leg was shorted in length 4 mm and changed.
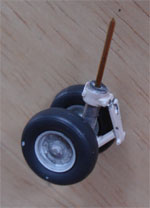
Also, a metal pin was used to connect the two nose wheels with a metal core pin to add strength to the model nose gear.
 ..
..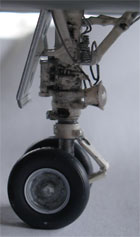
... uncorrected... .... corrected leg
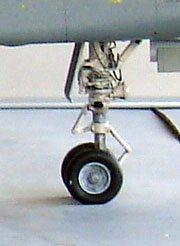
KIT STEP 52 (RAF kit 04705 step 51)
In most cases, the air intake scoop
is not seen on aircraft, but on some ADV aircraft it is seen far left on
the underside.
I replaced the kit pitot tube #102
with a needle and fitted it to the resin nose.
KIT STEPS 55 - 56 (RAF kit 04705 steps
54-55)
Assembled as shown. (In the RAF kit
the lights #163 are slightly different in the kit). In the light transparant parts, small
holes were drilled to suggest a bulb as the hole "light bulb" was painted
red, and on the right side blue.
![]()
KIT STEPS 60 - 61 (RAF kit 04705 steps
59-60)
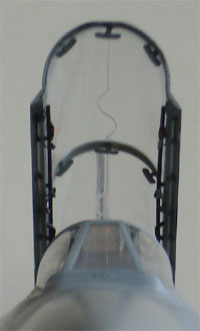
Additional internal canopy details
were added from scratch like mirrors and de-misting ducts. I used some
parts from an EDUARD Tornado etched metal set.
The nicely engraved "detonating chord" in
the Revell canopy was left as is.
Fit the canopy as indicated. At the
hinge area, small cylinders can be seen for raising and lowering the canopy;
these were made of metal pins 4 mm long.
 .
.

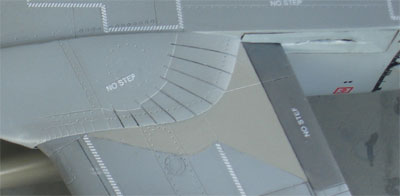
The root seals behind the trailing
edge of the inner wing were made from thin metal foil from a wine bottle.
It was inscribed, cut and bend a bit to suggest the inflating rubber bags
as on a real Tornado. The seals were fitted with superglue and painted
grey.
 .
.
The area at the trailing edge had
various colours, depending on the particular plane. So study photos.
Here, the inner flap has a dark grey
finish and the swivelling area light grey.
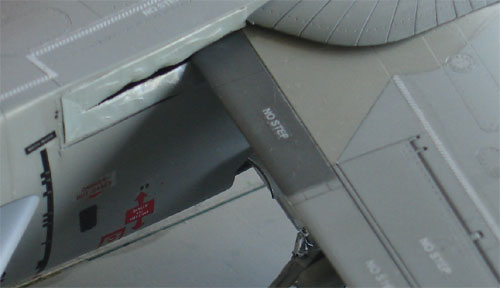
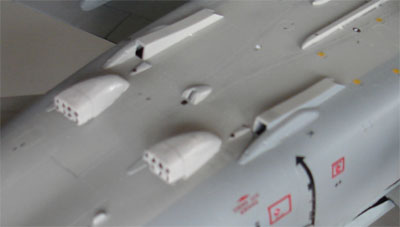
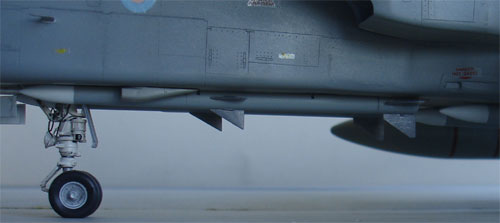
Resin parts for the two home made
Vinten
Vicon resin chaff/flare dispensers on the lower rear fuselage were
added. Note that these are optional as they are not always fitted on Tornado
ADV F3 planes.
I sanded away their moulded
stubs from my casted parts and installed them. They are aft of the heat
exchange ducts, on the engine bay
doors and slightly offset.
![]()
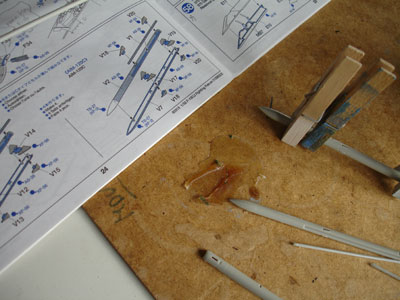
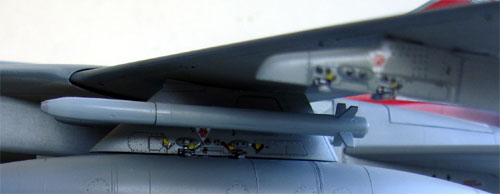
Now on to the pylons. Fitting these
is obviously optional as often Tornado's also fly in "clean configuration".
For the model, the kit pylons were detailed and a hole drilled on top of each pylon to accept a piece of rod. This will match the corresponding hole on the lower wing surfaces and improve adjustment and add strength one glued in place.
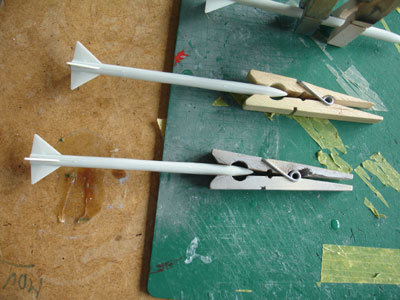
Here you see also the additional outboard
home made resin Air to Air missile rails. These are typical on the Tornado
ADV.
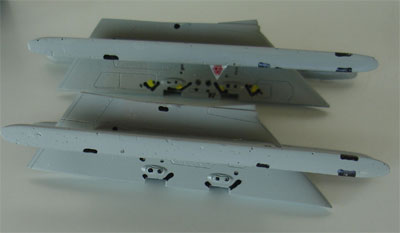
The normal size kit Tornado fuel tanks
were also finished and detailed with the kit stripes and stencilling. (if
you want large Hindenburg tanks, find these elsewhere).
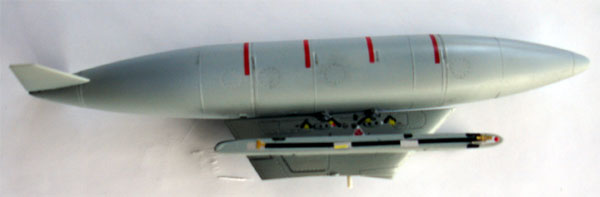
For all the missile rails, decals
were used with tiny pieces of card and metal:
(Pylons loosely set in place, will
be fixed later after armament fitting). Pylons do not fit perfectly, you
will have to sand a bit and fill tiny gaps with white glue painted light
grey.
![]()
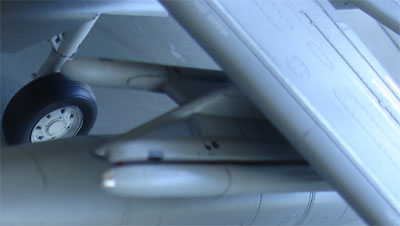
Fit the probes as indicated.
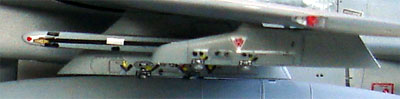
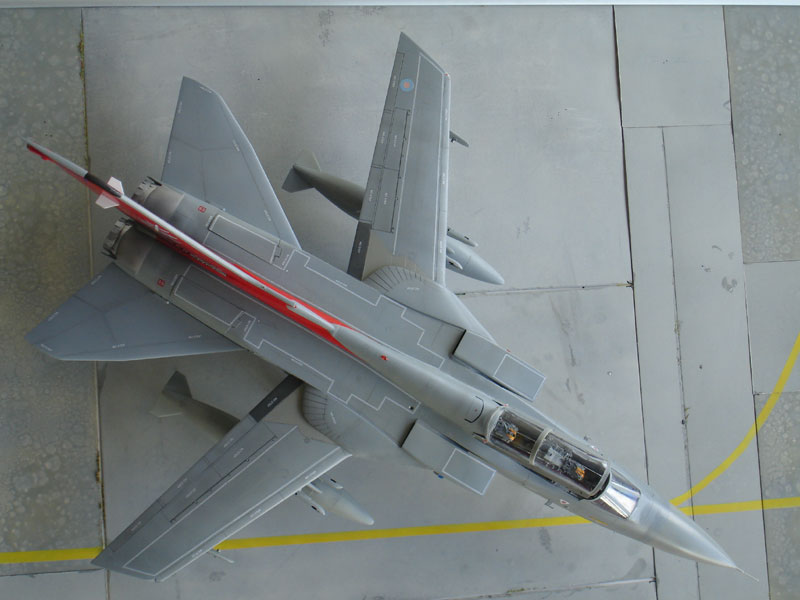
Views of the completed model but still without armament....
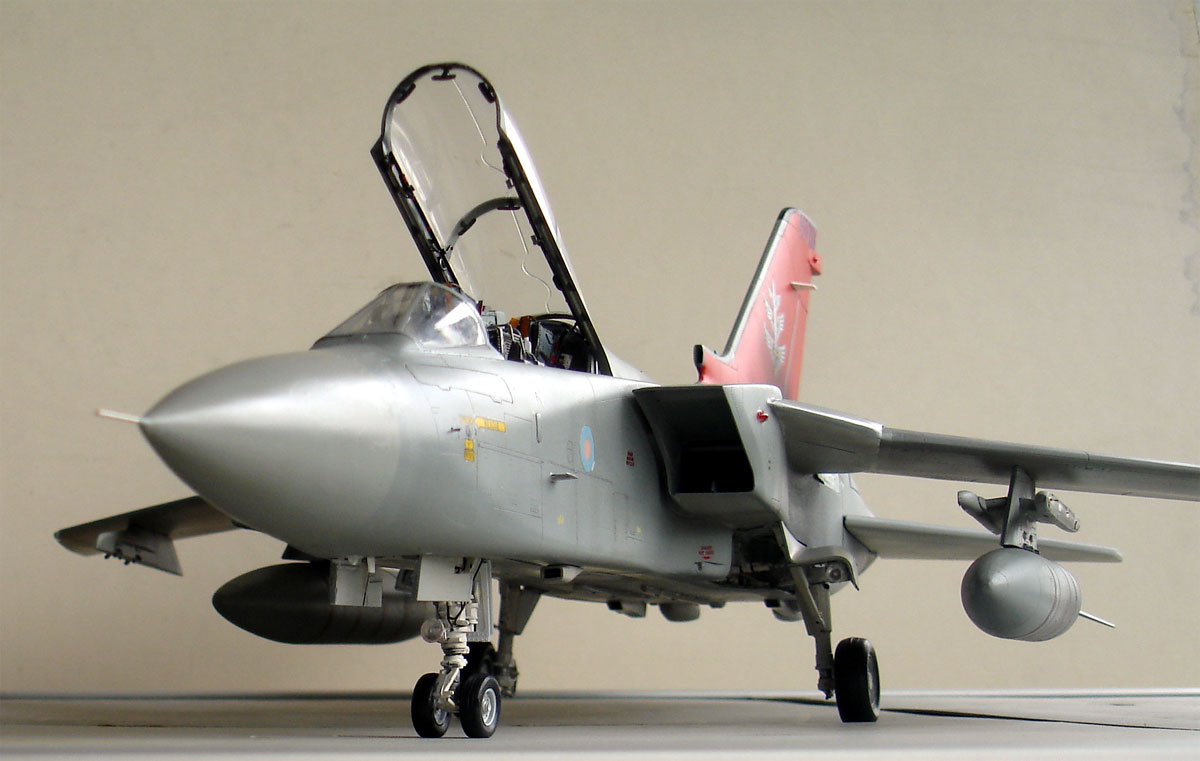
Inside the intake a flow guiding plate is located (is in the Revell kit), also note the canopy details.
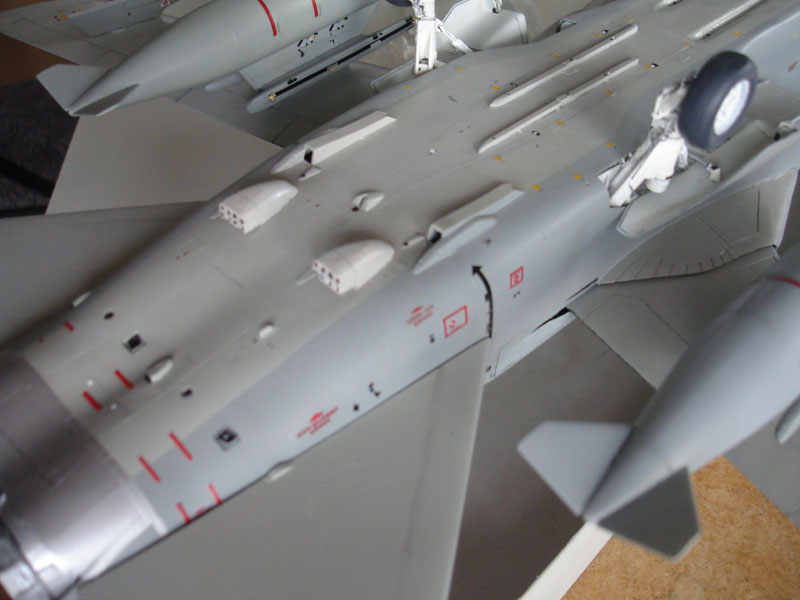
Details on the lower aft fuselage with the Vicon chaff dispensers fitted
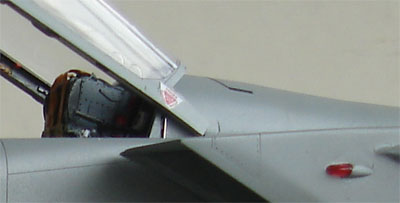
Here the small raising / lowering
jack can be seen at the canopy hinge area.
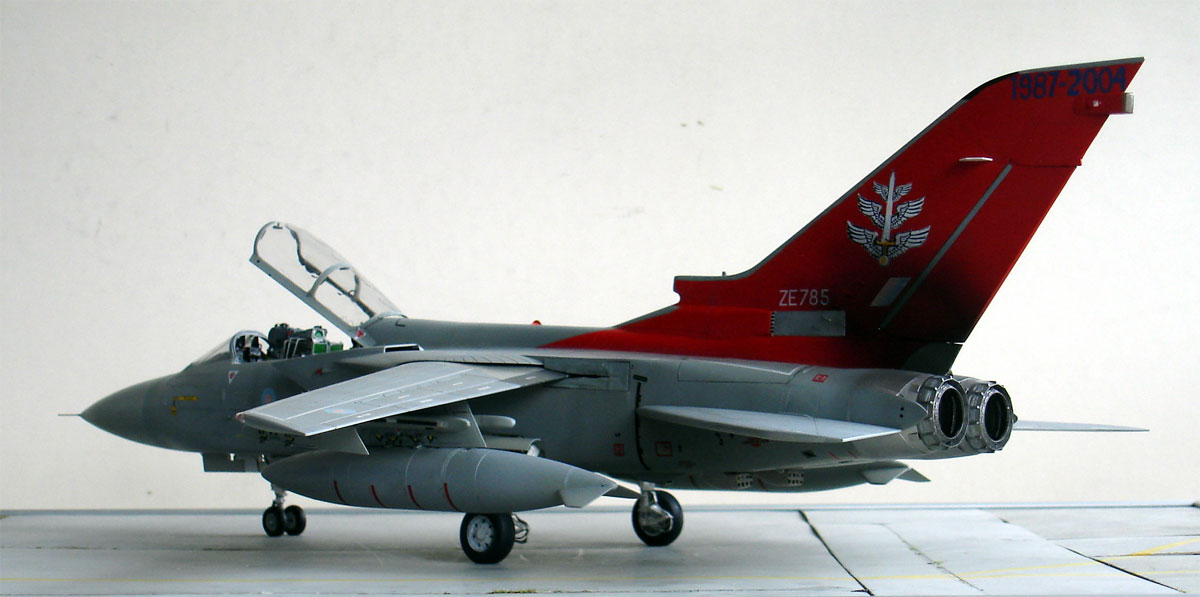
The fin area was given a spray
of black with the airbrush as often seen on Tornado's because of the thrust
reversers fitted.
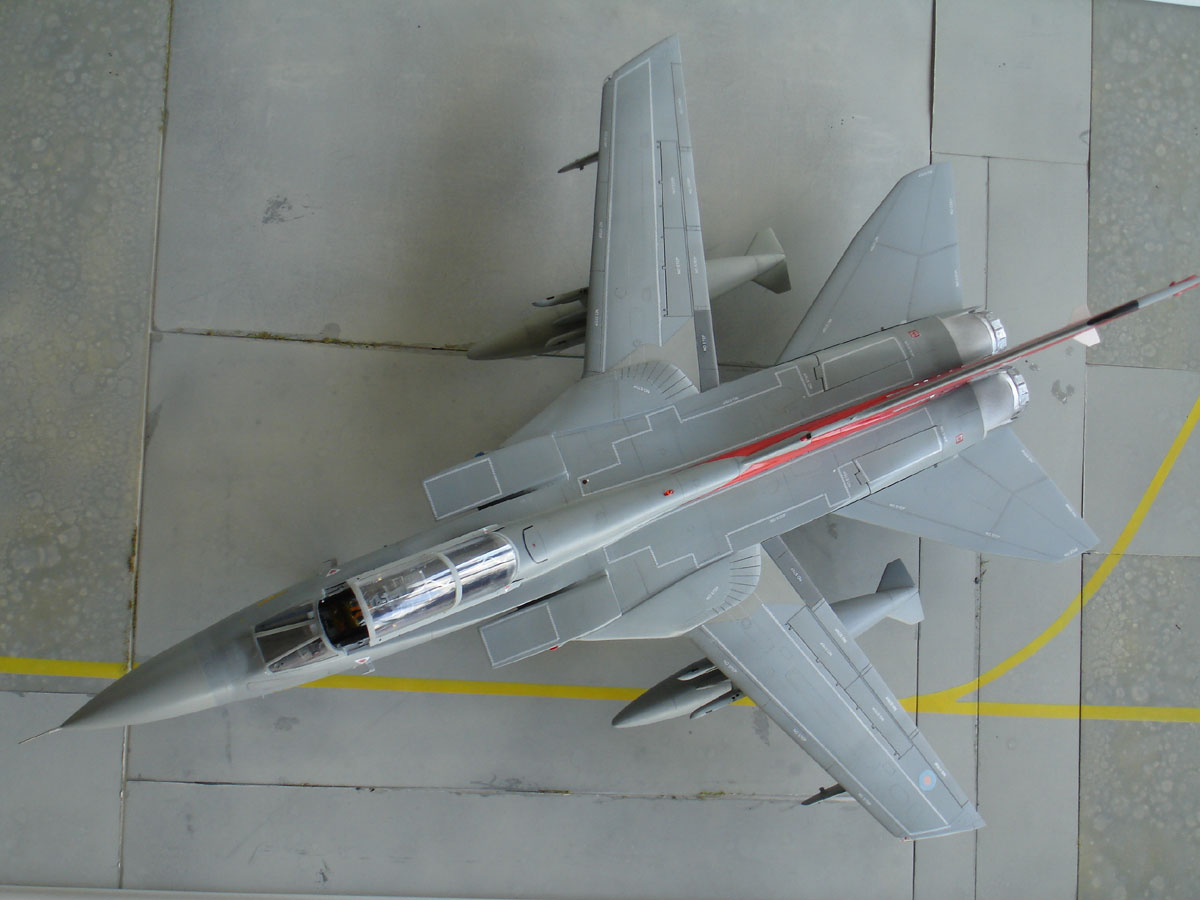
Upper view with the peculiar white dotted striped walkways.


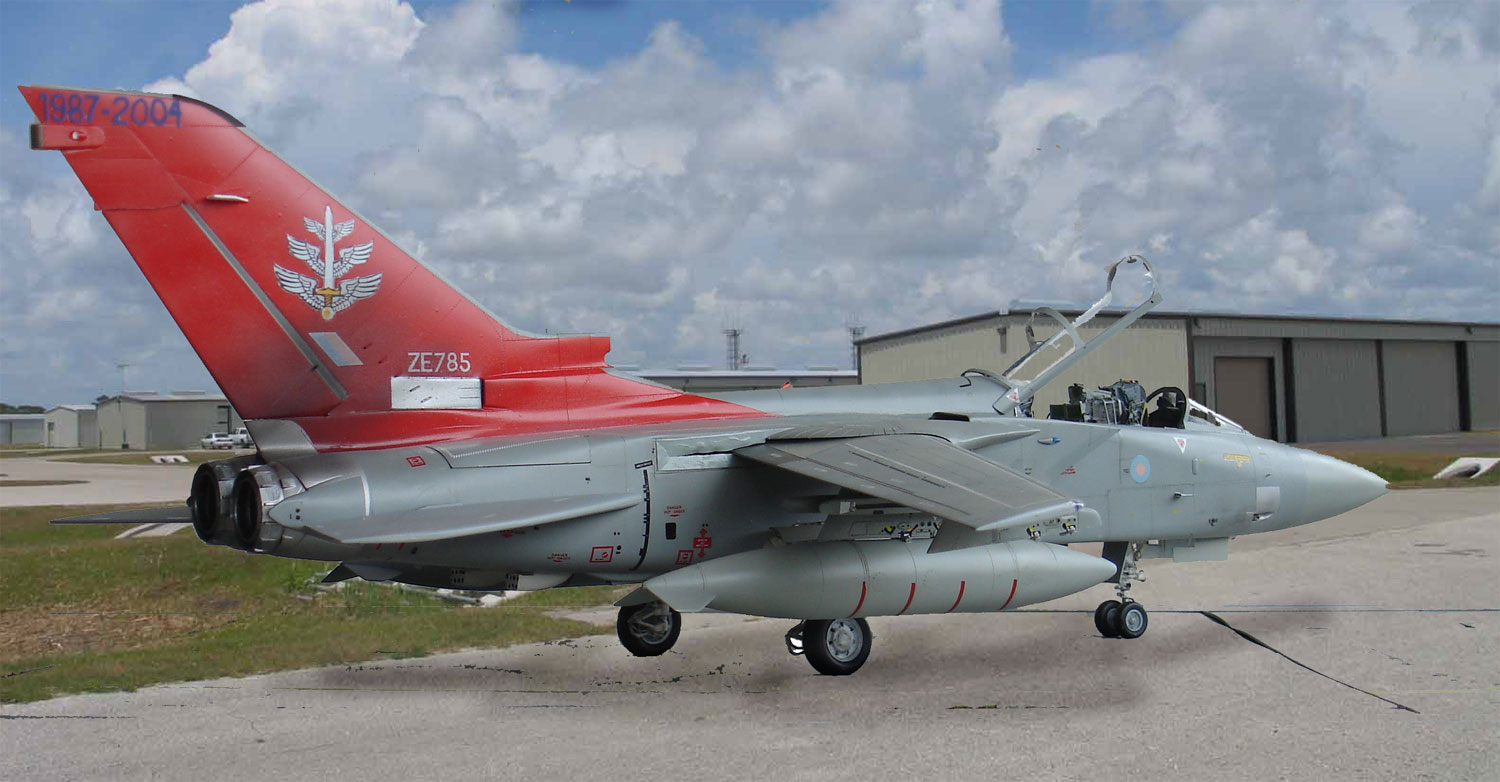
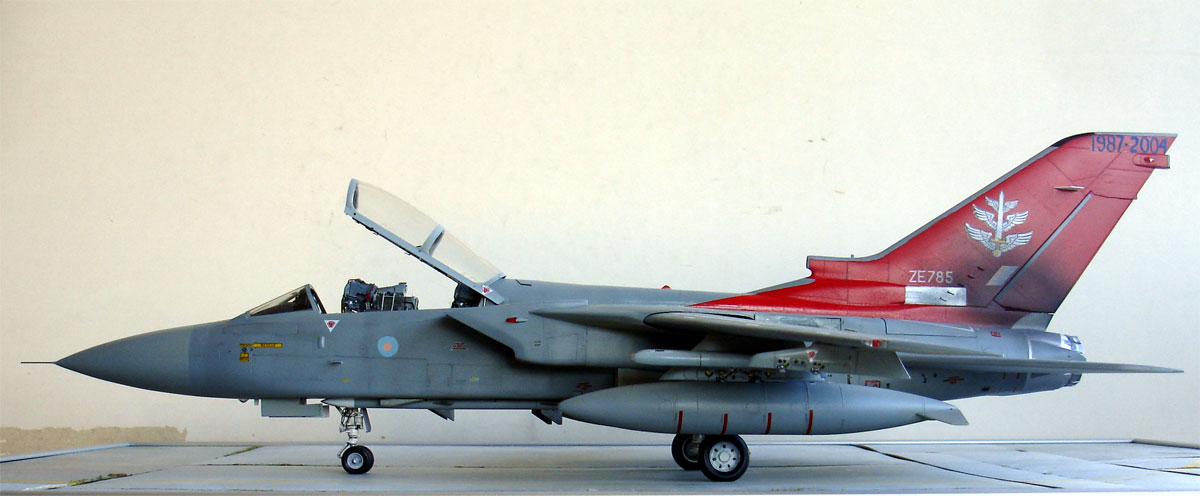
So there it is: a RAF 1/32 scale
model of a Tornado ADV F3 based at Waddington
2004 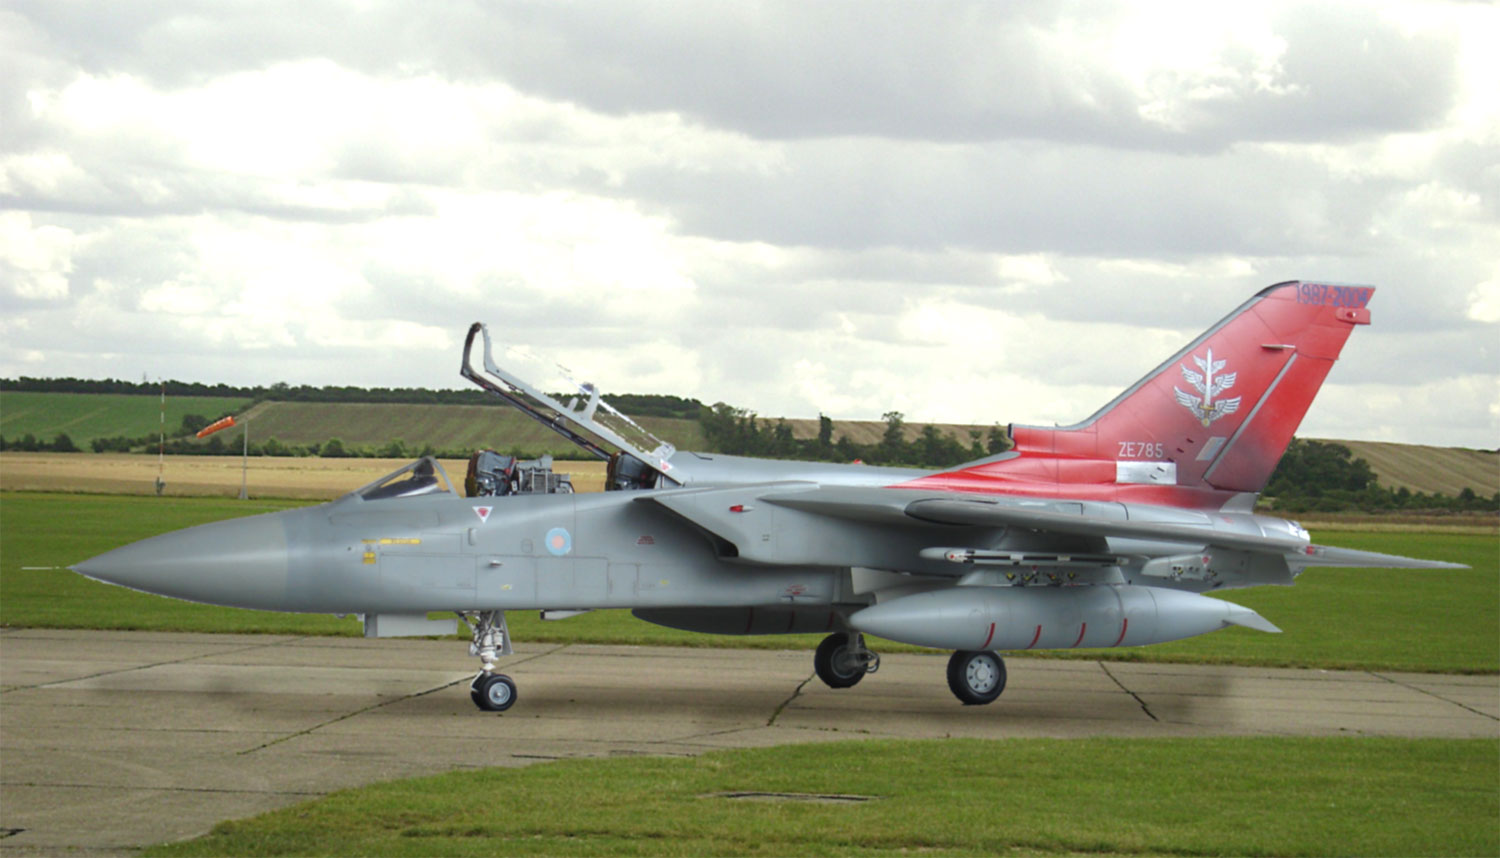
Some armament was added....
ARMAMENT
(optional)
Fit the stores that are applicable
and desired. For Tornado ADV model, note the following:
- Do not use the strike variant bomb pylons on the Tornado ADV.
- The special pods ECM and BOZ may be used and fitted on the Tornado ADV. You may slightly modify the BOZ pod to get the Ariel Towed Radar decoy fitted on operational F.mk.3 planes.
- The Harm missile is not used on the Tornado ADV.
- The Sidewinder missiles were usually seen on Tornado ADV in their older days when put into service, these are in the kit.
Skyflash Air to Air missiles are also used on ADV's but are not in the kit. They look like Sparrow missiles deployed on F-4 Phantoms and F-15 Eagles. So look for some spare 1/32 missiles in other kits or your spares' box. Remove their upper fins and fit two flat sanded missiles below the forward fuselage to fit them in the forward recesses. The two rear missiles can be put simply in place within upper fins.
After 2005, all ADV F-3 aircraft had an systems upgrade that enabled the armament with AIM-120B AMRAAM and after mid 2005 AIM-132 ASRAAM missiles. The AMRAAM was to replace the Skyflash and the ASRAAM the Sidewinder missiles.
In 1/32 scale, the Tamiya
F-16 has AMRAAM missiles; I have a few left, so will use these, leaving
off the (recessed) fins to fit below the fuselage.
.
The missiles for the forward under
fuselage recessed areas were sanded flat on top before putting them on
the model. The rear missiles were added as is (but without their top fins).
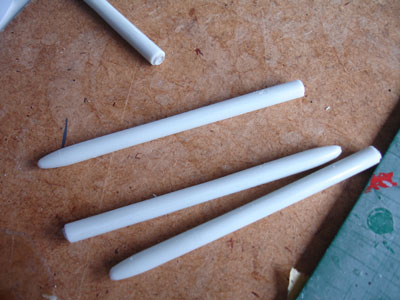
ASRAAM missile bodies, small fins to be added from card
Views of the completed model. 
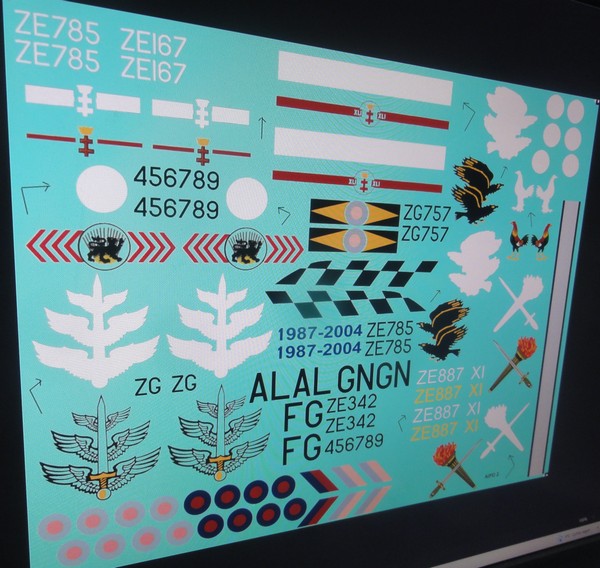
LOOK ALSO AT MY CUSTOM DECAL PAGE HERE...
Back to 1/32 Models.......

(c) Copyright Meindert "designer"/ All rights reserved. Your comments are welcomed by webmaster
Created this page:
August 23, 2008