[Page 3]
Avro Shackleton AEW Revell model in 1/72 scale
... continued from page 2....
page 1
page 2
page 3
page 4
page 5
The result is a dark sea grey Shackleton model with an even coat. Still, keep the masking tapes in place as I decided to apply 2 additional techniques:
(1) Lighter coloured panels were airbrushed in some areas: I added some white paint Gunze Sangyo H1 to the base Gunze Sangyo H331 dark sea grey and some panels were airbrushed "loosely". This was done with some simple masks with carton with cut out paper squares. Simply hold above the model surface and airbrush through it. Do not over do it though. This gives a more "living model".
(2) After drying for at least 24 hours,..... next, some wash was applied into the recessed panellines with a very simple technique as follows:
The base coat of Gunze Sangyo is gloss acrylic, so this is not sensitive for an enamel paint with its thinner. And the model has recessed panellines and even tiny rivets....
So, now with a hand brush, some enamel black paint was applied onto the panellines and engraved rivets. Do one area at the time. Let dry for 10 minutes. Get an old T-shirt and wipe off in the "direction of the airflow, so to the rear" the applied black enamel paint. This will leave some black paint inside the recessed details. The differences are very small but noticeable. Not statisfied? Re-do again.
In this way, the overall model got this treatment. And the grey surfaces now shows variations and more detail in the panels. ( Sorry, but I forgot to make photos of this treatment).
![]()
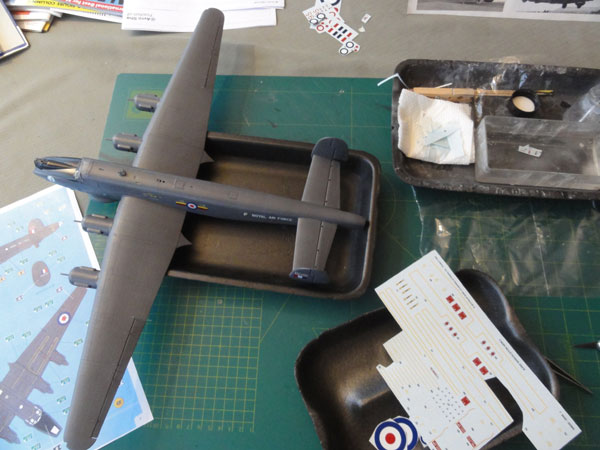
Decalling
This is better done at this building
stage as the model can be better handled without all the tiny bits installed
yet. The paint is gloss, so the model could get the decals (which always
to prevent "silvering" need a gloss
under surface).
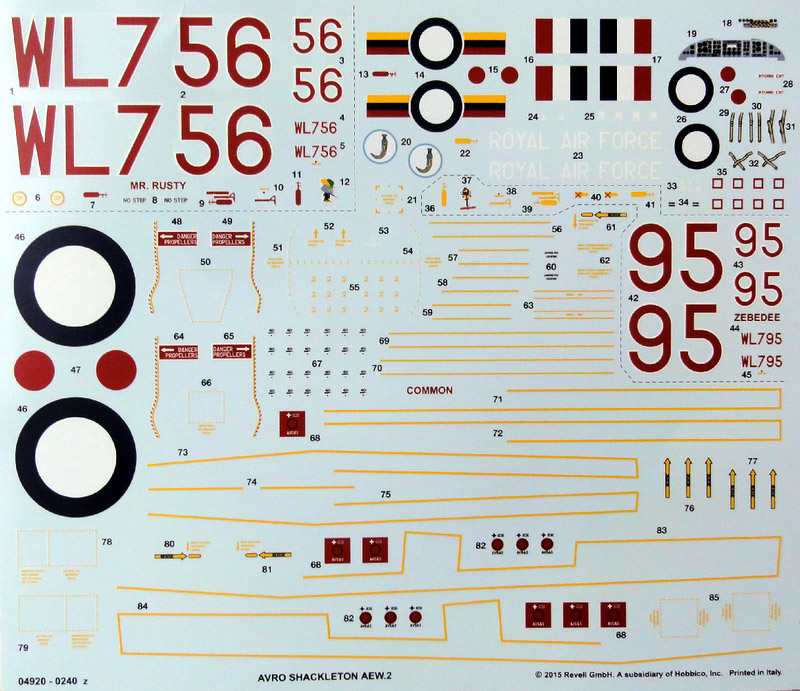
The Revell decals are fine and look
really good and yellow walkways are all there.
But unfortunately the RAF roundels
and flag decals blue areas are much
TOO dark in my test shot decals. (Hopefully this will be corrected in the
production run).
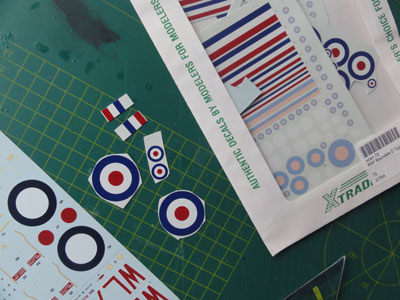
So, I used replacement RAF roundels
and "flags" from an Xtradecal set #41-72. Each roundel
diameter is about 30 mm on the upper wing, 11 mm on the lower wing and
13 mm at the fuselage sides.
 . . . .
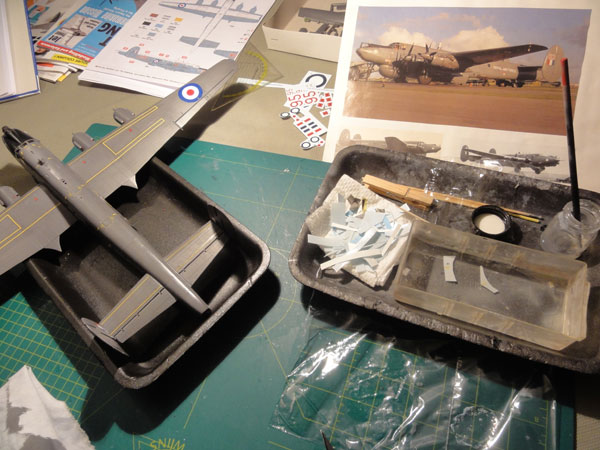
The decal scheme of aircraft "Mr.
Rusty" was applied, this went on fine. Even the yellow AEW bulge
decals are curved and they fit perfectly!
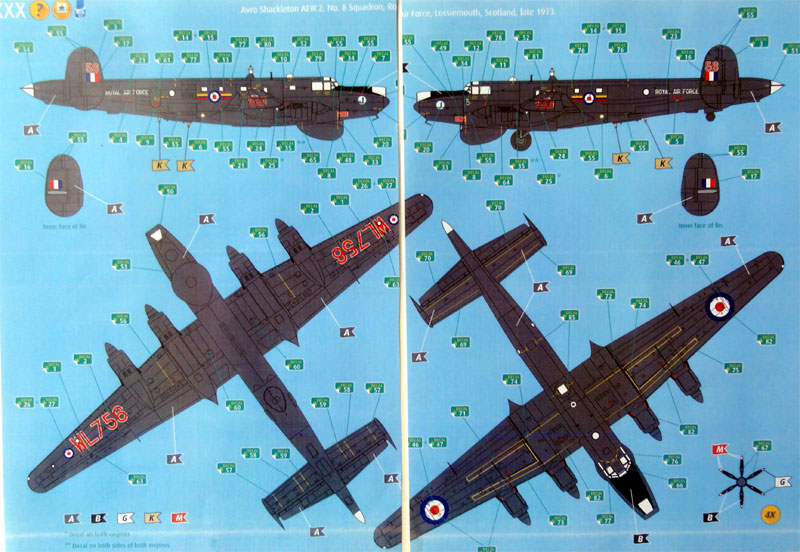
(note that
these are test shot drawings)
Decalling took a whole afternoon and lots of smaller stencils are also there. Despite the gloss surface, I am always a bit afraid for "slivering". So when in doubt, a thin layer of Johnson Future/Pledge gloss varnish was used by dragging the back of a decal through this varnish before setting the decal onto the model.
The upper fuselage roof top joint also got some panels made from the previously airbrushed "dark sea grey" decals. These were cut in some rectangular panels and put on top. This looks very convincing.
.
 .
.
.
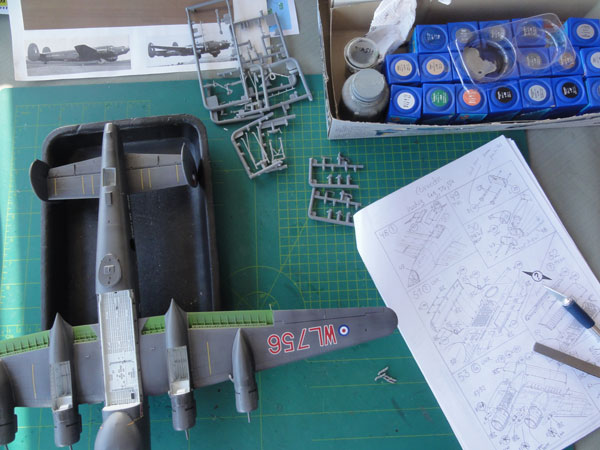
(3) "Blending technique": after the decals dried for at least 24 hours, I cleaned up the model. The next step was to "blend in" the markings on the model: again some tiny mists of the same Dark Sea Grey H331 was airbrushed lightly over the markings. The decals now look "painted" onto the model. (note that the masking tapes were still there on the windows). This thin paint layer also protect the decals for the coming years. The model finish looks great.
![]()
Completing the model....
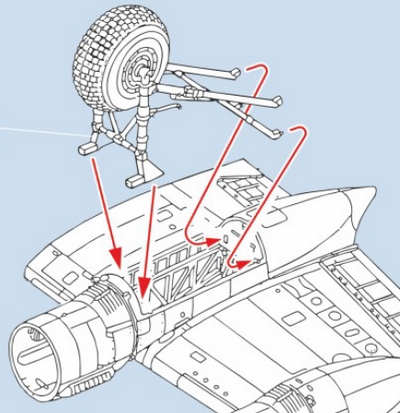
The undercarriage of the kit looks
fine. I only added a few hydraulics lines from thin metal wire. The wheel
hubs were painted dark metal with some black wash and the rear tail wheels
were not forgotten. The large tyres kit parts have a bit deep pattern but
I kept them. The tyres were glued fixed in the strut aisles.
 ..
.. .
.
. ....
....
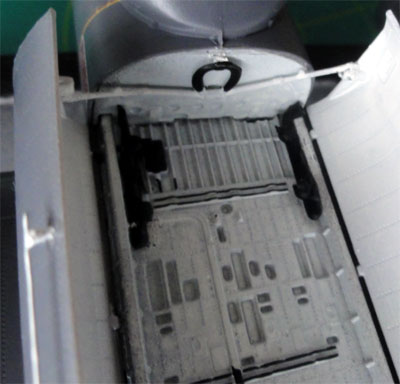
Inside the bomb bay I added a few
bit to look what seems to be AEW radar cooling duct piping in both sides
at the front of the bomb bay from scrap. The bomb bay doors have wire antennas
on the outside. I replaced the kit parts #190 and #200 which are a bit
thick with scrap antennas made from metal wire..
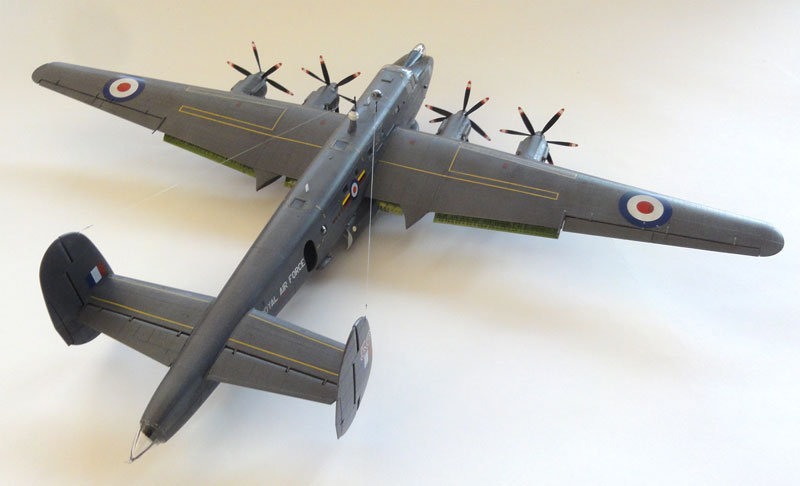
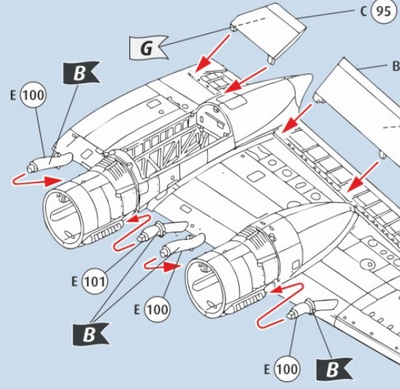
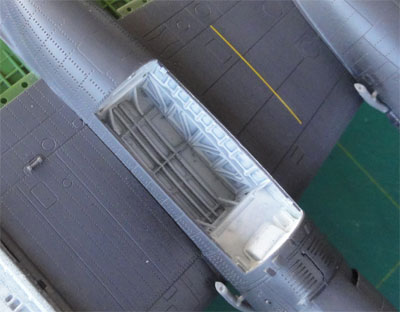
The wing trailing edge flaps are very
nice in the kit and were set open (their inside areas are interior green).
The nacelle exhaust pipes #100, 101 were drilled a bit open at each end
and were set in place, ensure they are well aligned. They were painted
dark metallic.
 .
....
.
....
Note that the model got NO extra
coat of matt varnish, the real aircraft looks rather gloss and the decals
were already "over" airbrushed with paint. (But if you want an extra coat,
do that at this stage).
The kit clear anti-collision lights at the wing tips are nicely provided in the kit. They look very nice and set in place with a dot of red on the port wing and I believe blue at the right starboard wing tip. Close any tiny gaps with Micro Kristal Kleer or household white glue.
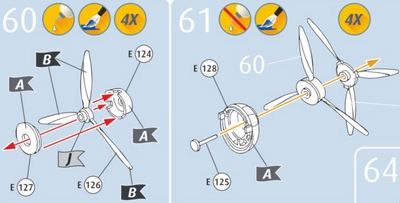
4 x counter-rotating Propeller
handling was next. The Shackleton had De Havilland propellers when an overall
diameter of 13 FT. But during testing a persistent vibration problem occurred
with the props. The rear propeller diameter was reduced by 6 inch , by
cropping of the rear blades that proved to be successful. The rear propeller
diameter is 6 inch less (2 mm in scale, so 2 x 1 mm ). The Revell rear
props #126 have a too large diameter so the REAR propellers should
be corrected by removing 1 mm at each tip and sanding the tip in a curved
shape again.
(NOTE:
I found out too late and did NOT correct the propellers, but I recommend
to do this small correction).
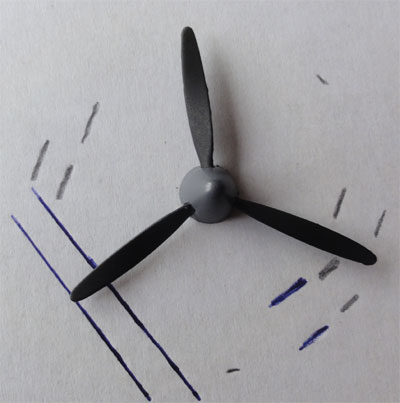
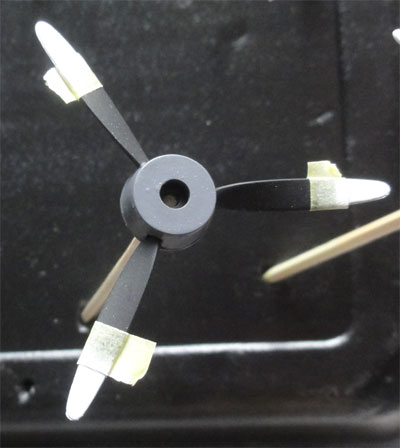
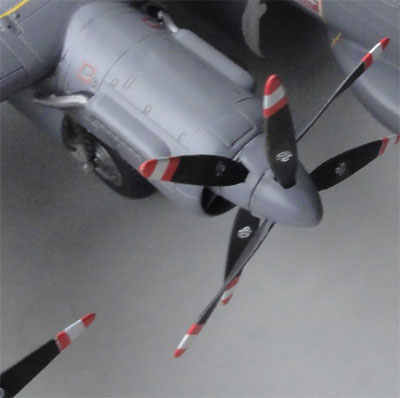
Kit prop assembly gave no problems. But painting is a lot of effort but the props are characteristic for the Avro Shackleton. The 4x2 prop black painting and masking with the red-white-red tips and the end result is worth the effort. (Revell provides decals for the prop tips, but painting looks better). I made a small alignment "Y" aid where you can turn the prop. This is a way to ensure the striping is the same location on all blades. The white tips were airbrushed matt white first using Revell Aqua 05 acrylic paint , and after drying, the white masked off. Next came the red bands using now Revell Aqua 330. The spinners had a few tiny gaps, but these are also there at the real aircraft.
The propellers were set in place on
their (rotating) aisles parts #125 with a drop of white glue.
 ....
.... . .
. .
 ...
...
Each real particular Shackleton aircraft showed slight variations in external antenna lay-out, systems being updated during their lifetimes at larger maintenance intervals. I added not all the kit antenna's as per instructions but a few other small antennas on top as seen on an actual photo of the aircraft "Mr. Rusty".
The forward nose antenna #132 was made a bit finer with thin metal wire. Aft of the bomb bay, the lower fuselage cooling fairings (parts #164, #194) were also installed as per kit. The kit's pair of wing pitot tubes were also set in place.
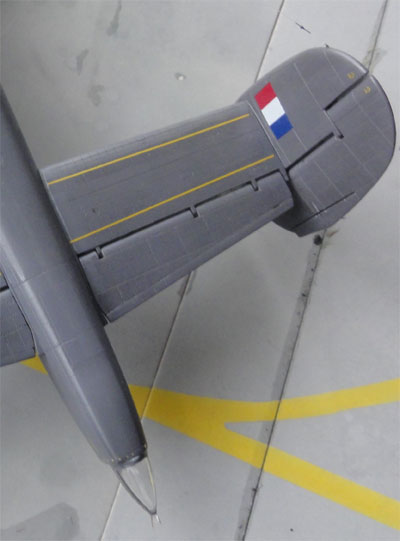
I now wanted to install the clear rear fuselage "outlook" dome part #50. But mine was missing from the test shot parts, but I am sure it will be in the production kit. I simply got hold of an old FROG kit glass dome and this was set in place. Gaps were closed with white glue and painted. (when the model is in production, I will ask Revell Service "Abteilung X" the missing part and re-install it).
 .
.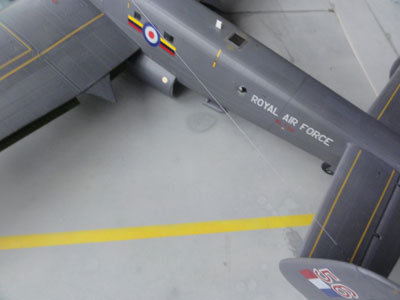
Also were added a few static discharger
strips from stretched sprue and the outlook cone's end.
The 2 longer wire antennas were set
in place made from thin fishing line. (This is not indicated by Revell).
And finally, I added 3 tiny but visible
windscreen wipers made from thin metal wire: 2 at the cockpit windscreen
and one at the observer station front window.
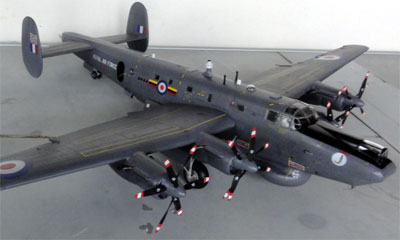
A very nice
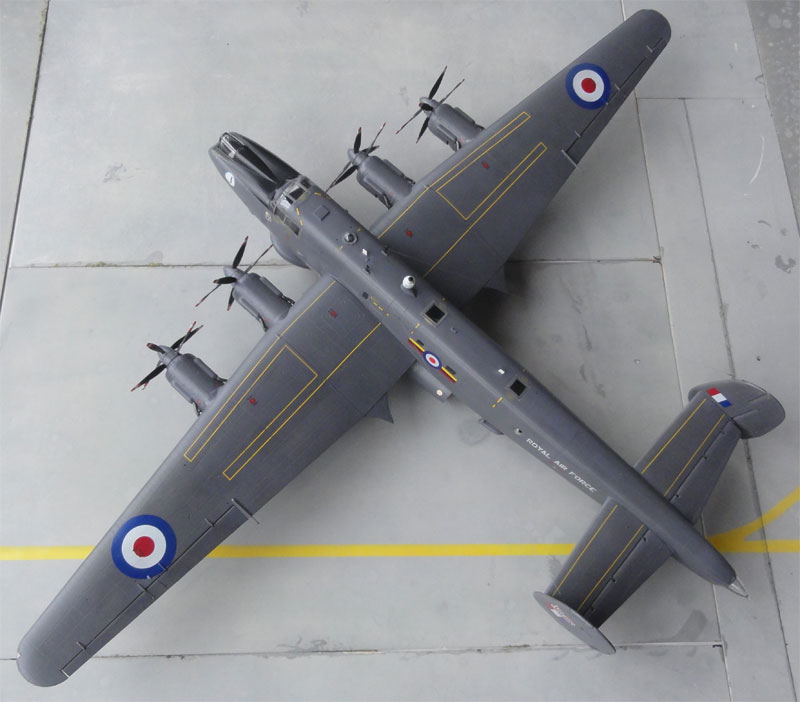
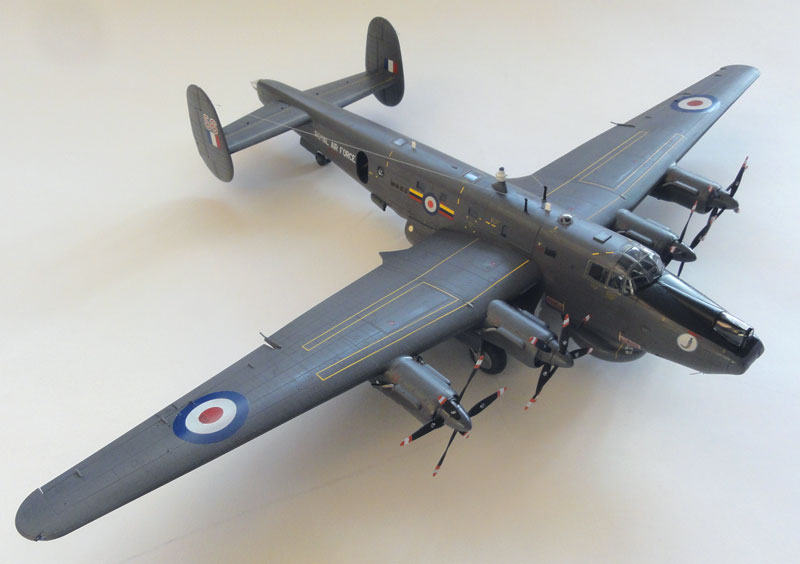
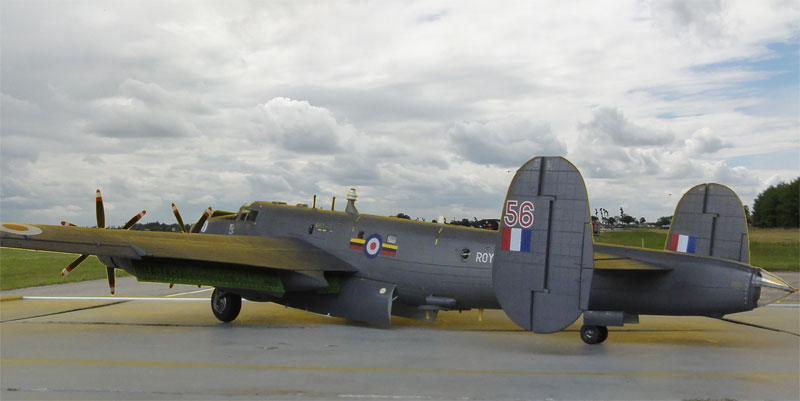
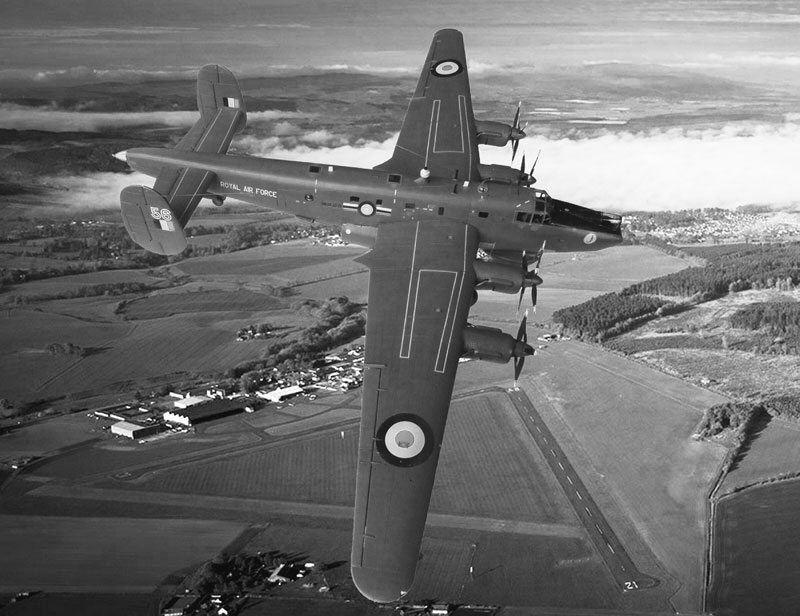
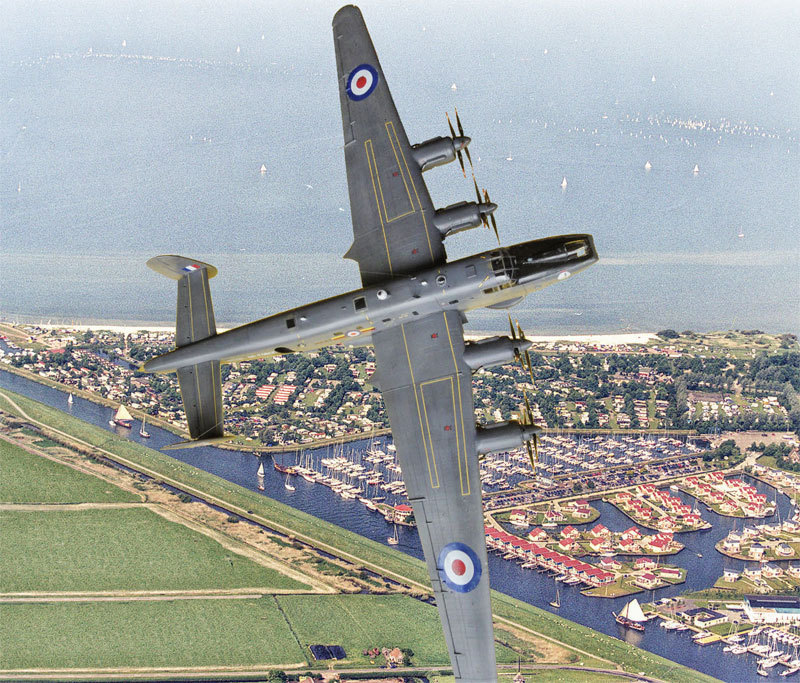
Shackleton AEW model in 1/72 scale is now in the collection and overall
it only took 30 hours to complete. A great kit and the best Shackleton
in 1/72 scale.
 .....
.....
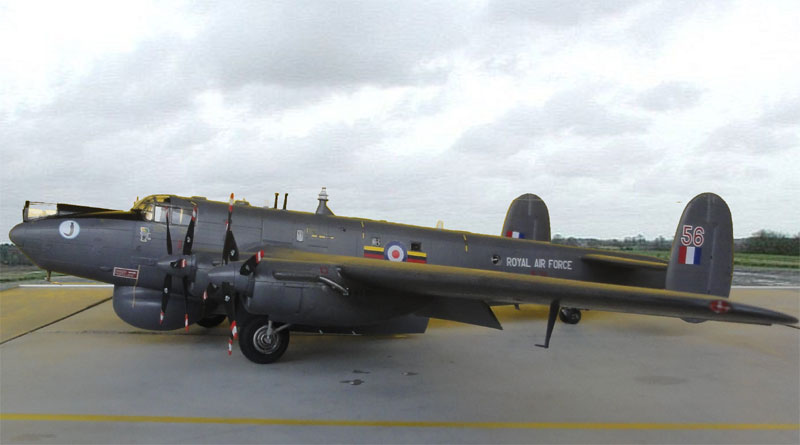

......Shackleton
AEW nickname "Mr. Rusty", Royal Air Force no.8 Squadron as based
at Lossiemouth, Scotland
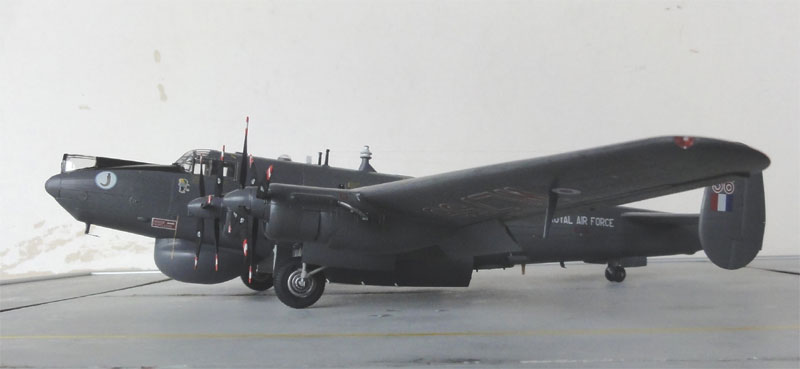
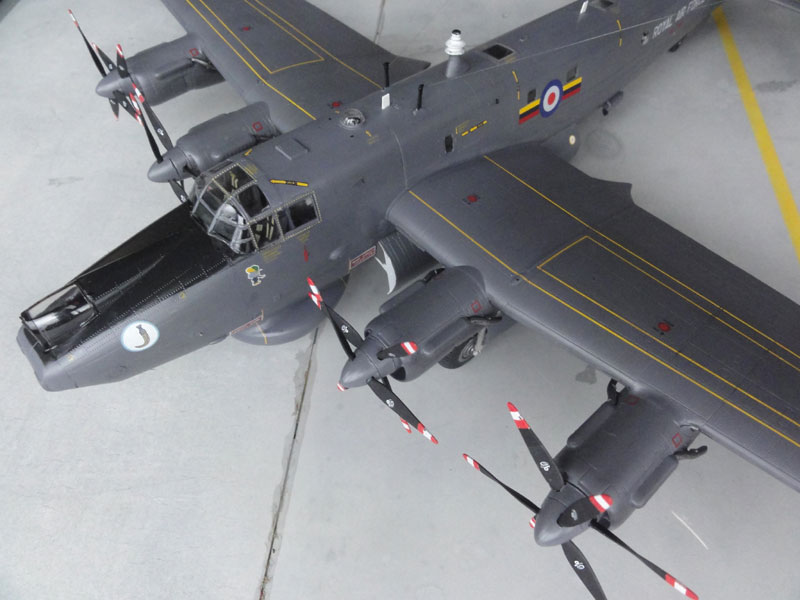
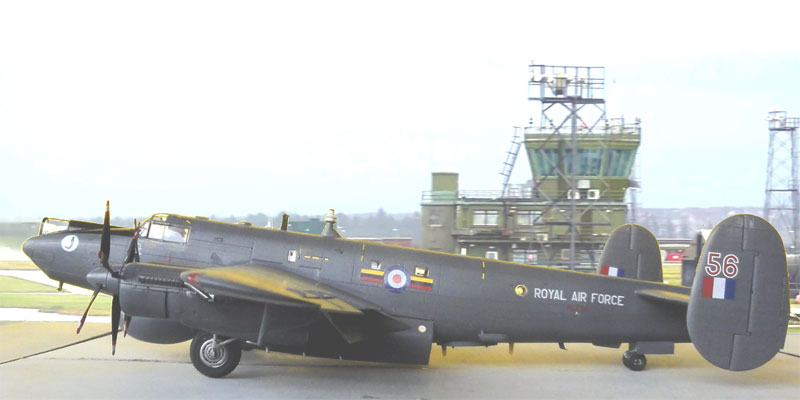
.... at Lossiemouth, Scotland.
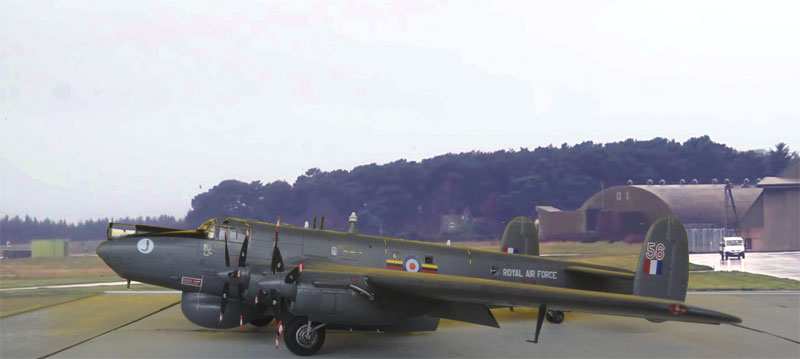
Flying over Scottish mountain and
fields....
 .
.
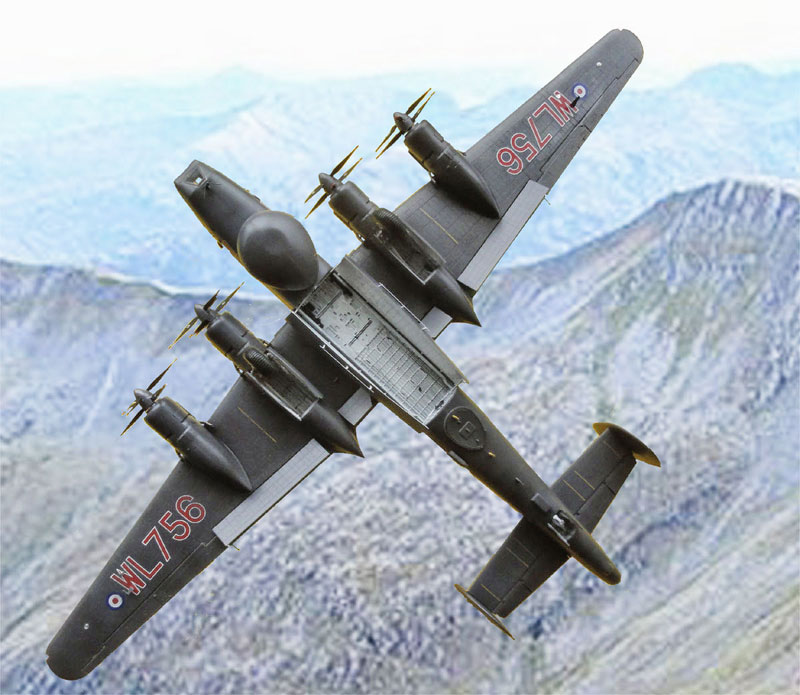
near Nevis
 .
.
..and over Holland during a visit..
A nice Royal Air Force Shackleton AEW in the model collection!
On to next [ Page 4... ]
Back to 1/72 models
..
(c) Copyright Meindert "designer"/ All rights reserved/ Amsterdam The Netherlands. Your comments are welcomed by webmaster
Created this page
March 1 , 2016
