[Page 2]
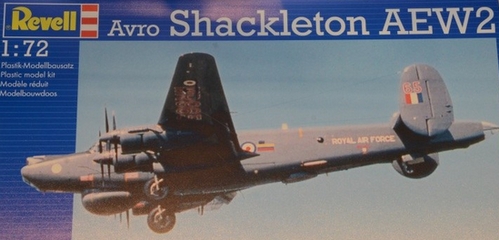
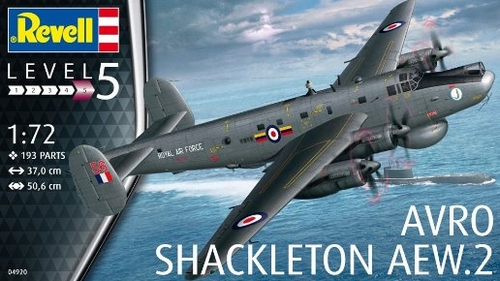
Avro Shackleton AEW Revell model in 1/72 scale
... continued from page 1...
page 1
page 2
page 3
page 4
page 5
The various 1/72 Shackleton kits were compared on page 1. Now, the newest Revell Shackleton AEW 1/72 test shot model received will be build.
The first box top.... that never was
released....
 ..
..![]()
but now the
actual one, in latest updated Revell house style...
The rivets are very finely engraved and really look good. The advantage is that any sanding that may be needed will not remove them.
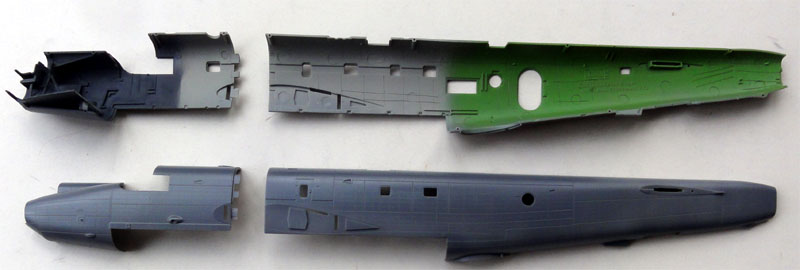
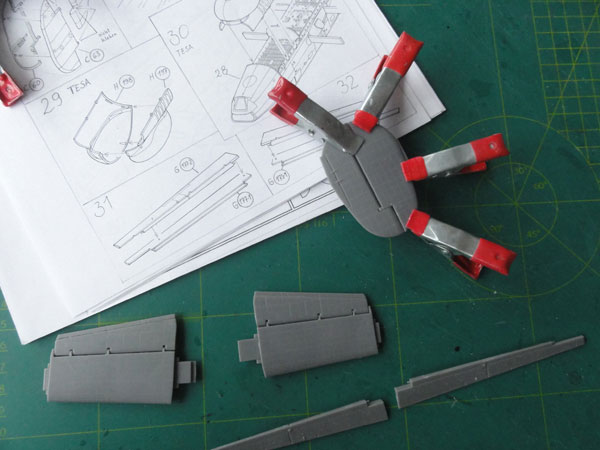
I wanted to airbrush many small parts while still in their sprues, this is much easier than doing that later as separate parts. First I removed as many attachment gates from the parts but always kept a part still in its sprue using a razor saw. Note that some kit sprue gates and attachments are rather thick, a trend seen in modern kits. Probably this has to do with the finer slide mouldings made nowadays. So a razor saw is a rather essential tool to separate the parts without damage.
The various parts now got different colours and colours (to be) used were:
- general cockpit: black (dark grey looks better)
- seat frames, pilot seat cushions: black
- crew seat cushions: leather
- floors: very dark grey
- interior side walls: mid stations light grey, forward areas dark grey and aft area interior green ;
- main instrument panel: black
- bulkhead interiors: grey
- bomb bay, gear bays : gloss white
- gear struts: light grey
- wheels: tyre black/ dark grey with dark metal wheel hubs
- propellers: black with red-white-red tips
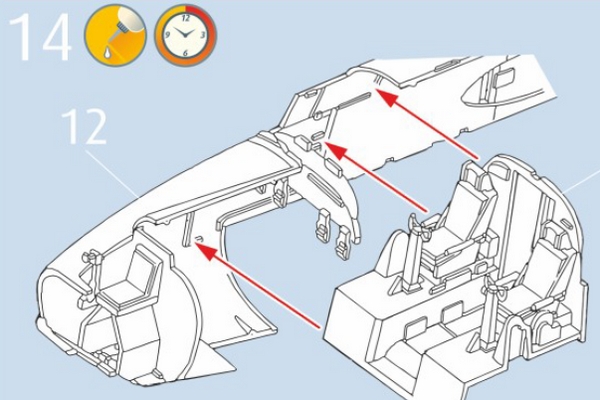
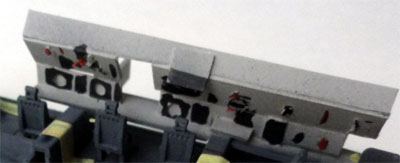
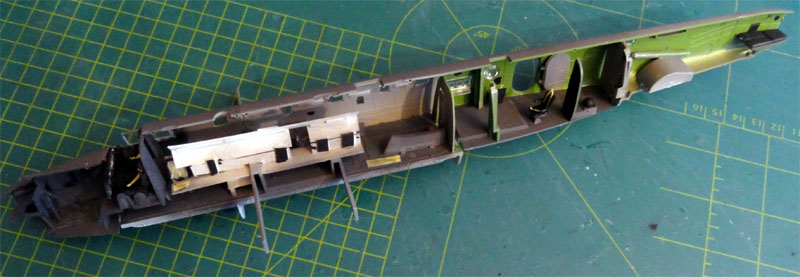
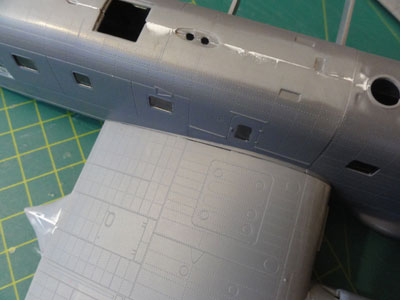
First assembly step of the kit was the fuselage and interior. The kit does have a nice cockpit, front station and some details in the rear at the entry door.
 ...
...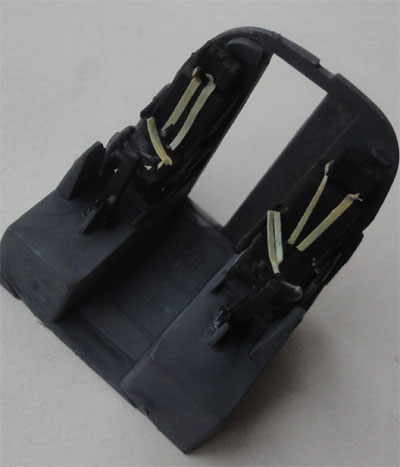
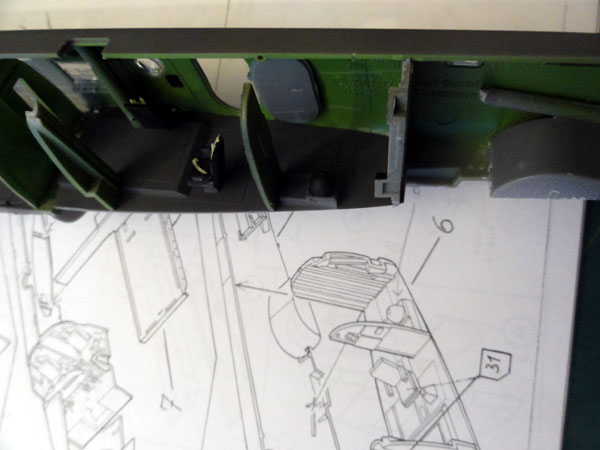
The kit's flight deck instrument panel has some engraved instruments and nice seats. But the cockpit window with its frames will hide a lot so I did not add a lot of extra detail, only some pilot seat straps from brown tape slices. The main cockpit colour applied here is very dark grey (as black is very dark).
There are many windows but they are
small, so Revell saved some moulding expenses and did not include a full
interior.
Although not a lot can been seen
of the interior, but nevertheless I made a bit of interior amid ship
with some parts from scratch using the spares box and plastic cart.
I know now that in my model the interior is there with some AEW stations
for the crew and the tactical coordinator.

and painted a bit...
The forward observer station in the kit is a bit inaccurate, the observer seat sits on a tube structure in the real Shackleton and not on the bulkhead part #153. (see page 1 for more detail). I simply cut off the seat and "tunnel" and made with some rod and cart a new one. Later, it turned out that almost nothing is seen of this work, so you can also built it as per kit.
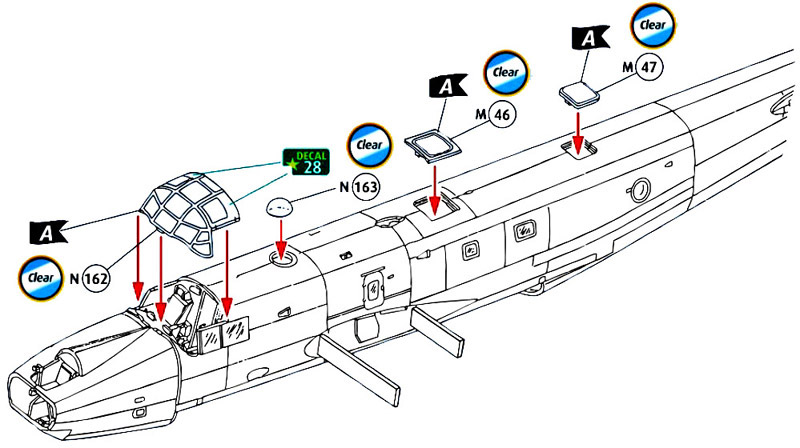
The aft roof top window #47 should
probably not be in the centre but a bit off set to starboard, about 1mm.
I left it as per kit.
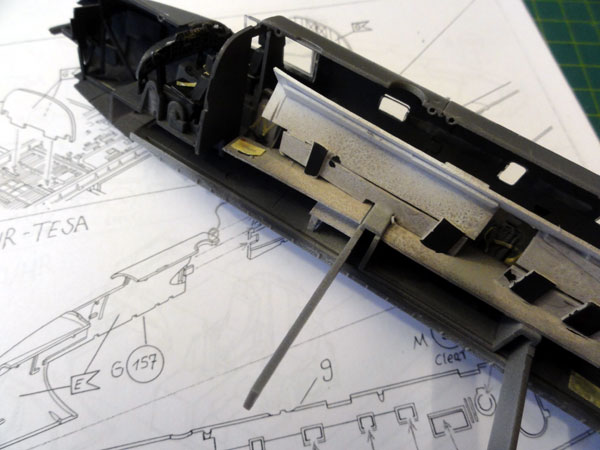
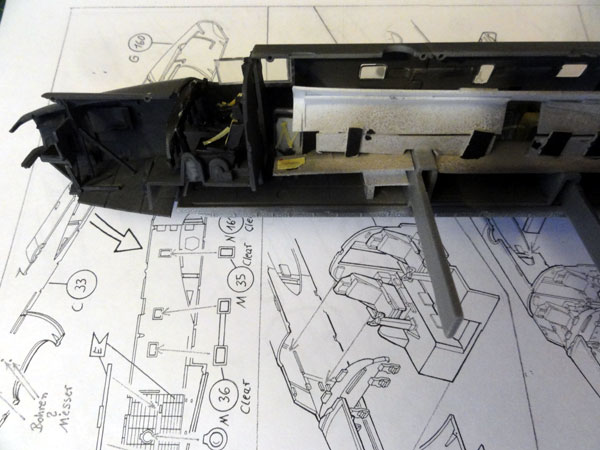
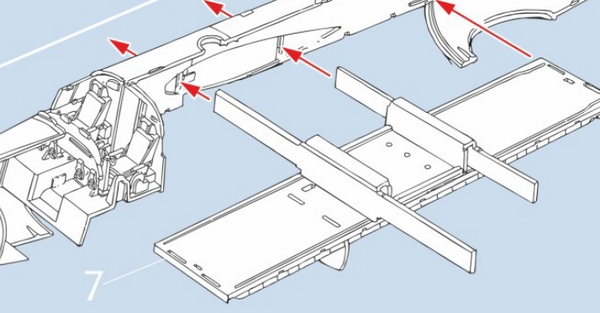
Each fuselage halve has a forward and rear section, these must be joined. Also the AEW bulge section is separate assembly. (this suggests that Revell has the option to release other Shackleton versions like the MR.2 and even MR.3).
The right fuselage halve was assembled
on a flat table surface, but NOT yet the left section. The left fuselage
section parts will be glued on later to get a symmetrical fuselage. The
inside walls were all airbrushed in different colours: mid stations light
grey, forward areas dark grey and aft area interior green.

I used Gunze Sangyo H331 "dark
sea grey" acrylic (reference BS381C/638 ) and this was airbrushed
in several layers.
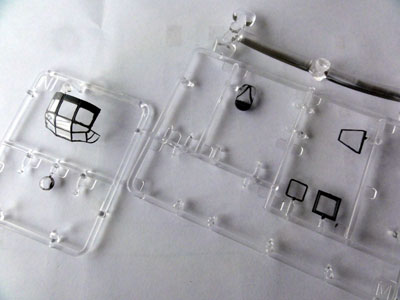
Many of the nice clear fuselage windows
should be fitted from the inside, so I pre-painted the outside window areas
in the envisaged camo colour of "dark sea grey". This will make masking
the many windows later on much easier.
The same was done on the outsides
of the nacelles and bomb bay, this will masking later on much less critical
while still in their frames. I also airbrushed at some spare decals areas
this colour for later "touch up" work.
After the paint dried, the windows
were fitted from the inside, they are in strips (parts #24, #26) so very
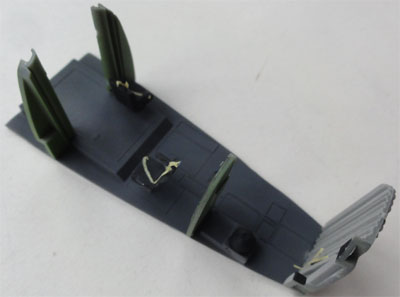
easy work. The fuselage was now finished with all bits and pieces. I decided
to keep the inside opening rear crew door #29 open so some of the rear
interior can be seen.
 .
.
 .
.
The inside opening rear door can
be seen here and also the scrap mid ship interior.
The fuselage was now "closed" and
although the fit is very good, I always have a sort of seam in the middle
of the roof top no matter how good a kit is, more on that later. The bomb
bay has bomb doors and can be set open. The bay was set in place and this
went well.
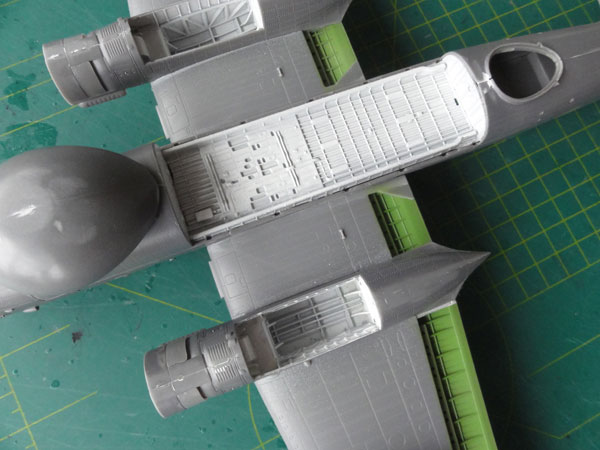
Nice is that Revell provides a wing
attachment spar part#20 just like the real aircraft on top of the
bomb bay. This will strengthen the wing-fuselage joint later on. At this
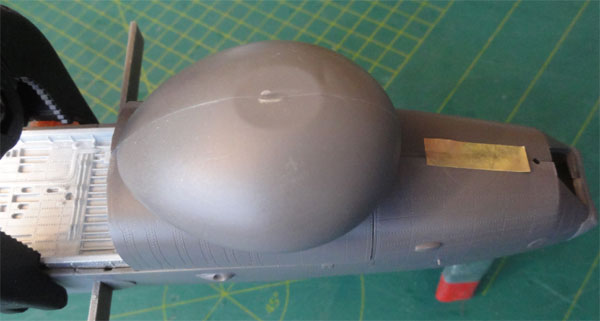
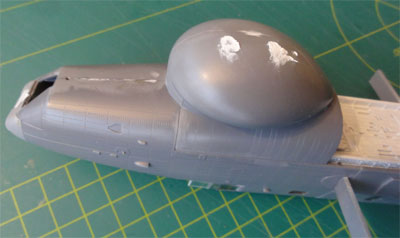
stage, also I added the forward lower fuselage AEW radar bulge to the fuselage
assembly. There is a step at the panel and gap, but only a little putty
is needed. On the real aircraft this panel is well seen.
 .
.
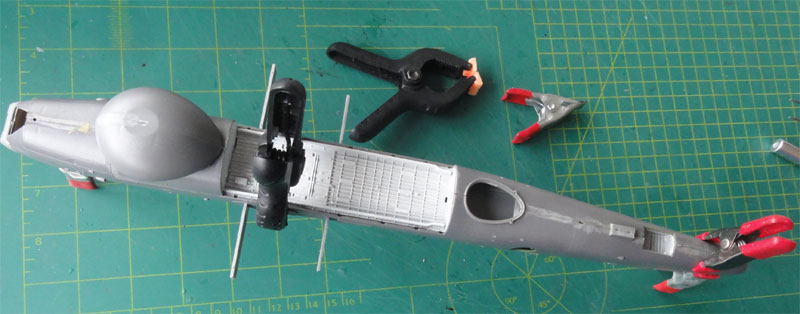
The smaller gaps of the fuselage outsides
were filled with putty, not a lot is needed and set to dry. ( Note that
all other upper roof windows like parts #46, 47, 28 were not yet installed
).
Some sanding was needed and some
work with filler/putty.
 ..
..
 ..
..

The puttied edges are small but noticeable.
 .
.
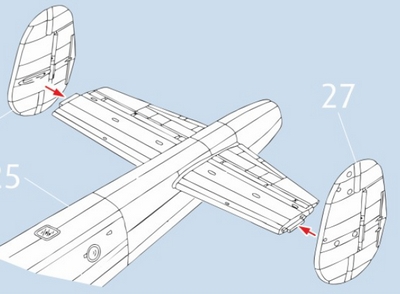
The wing was next. Revell provides a nice detailed wing with separate ailerons and trailing edge flaps. The wing parts were simply assembled as per instructions just like the tail parts with rudders and stabilizers. The wing panellines looked good to me, I did not bother to correct any small inner panel inaccuracies with Mr.Surfacer (see page 1 for more info). The wing halves were glued together along with the ailerons but not yet joined with the fuselage.
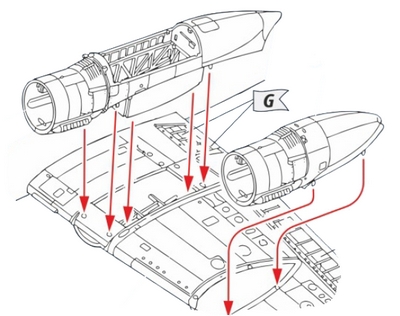
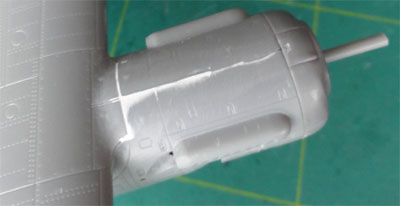
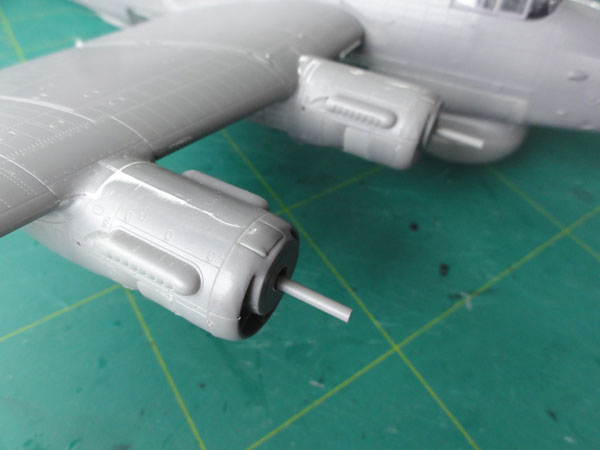
Next were the four engine nacelles, these gave no problem at all. The main landing gear struts were NOT yet set in place, this can be done later without any problem. This will limit possible damage at this earlier stage. The insides of the gear bays is mostly white and the kit has nice detail here. The landing gear struts themselves are light grey. The what I think are nacelle cooling doors (parts #102, 103) were set closed and the exhaust pipes are all separate parts. The instructions are a bit vague here.
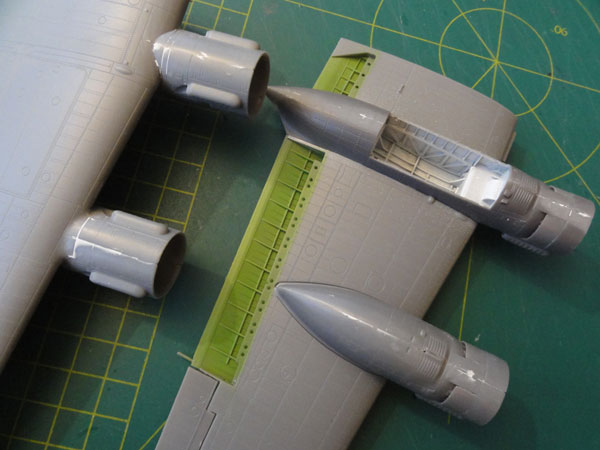
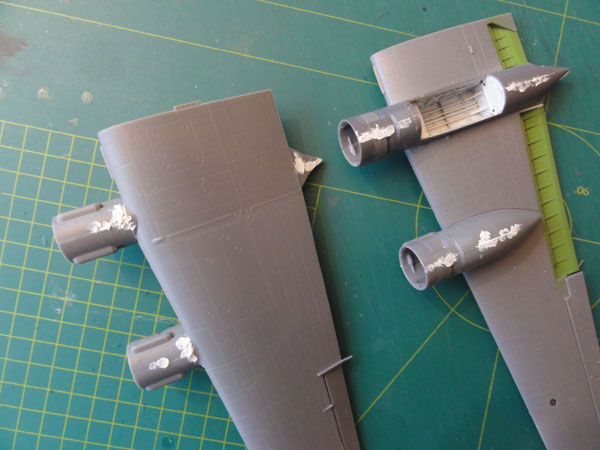
Also, the forward nacelle intake parts #128 were set in place but WITHOUT the propellers installed, this can better be done later. The completed nacelles were now set onto the wing leading edge and although these went on fine, still some tiny filler and sanding was required.
 ..
..
..
When all looked good, the next step
was to joint each wing halve to the fuselage. The joint is very good and
the spars strengthen the joint but a little amount of filler is still needed.
 ..
..
 ..
..
The rear tail and separate stabilizers were assembled as per instructions. I needed a bit filler at the trailing edge to close the gap.
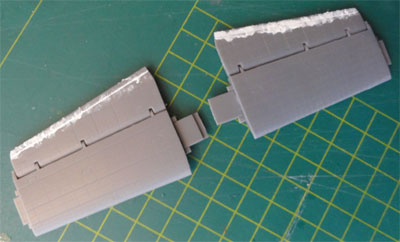 .
.
The rear stabilizer has no dihedral
and is perfectly horizontal as on the real Shackleton but the attachment
lip needs a bit work with an X-acto knife to clean up the mating surfaces.
The vertical tail stabilizers look great as well.
 .
.
 .
.
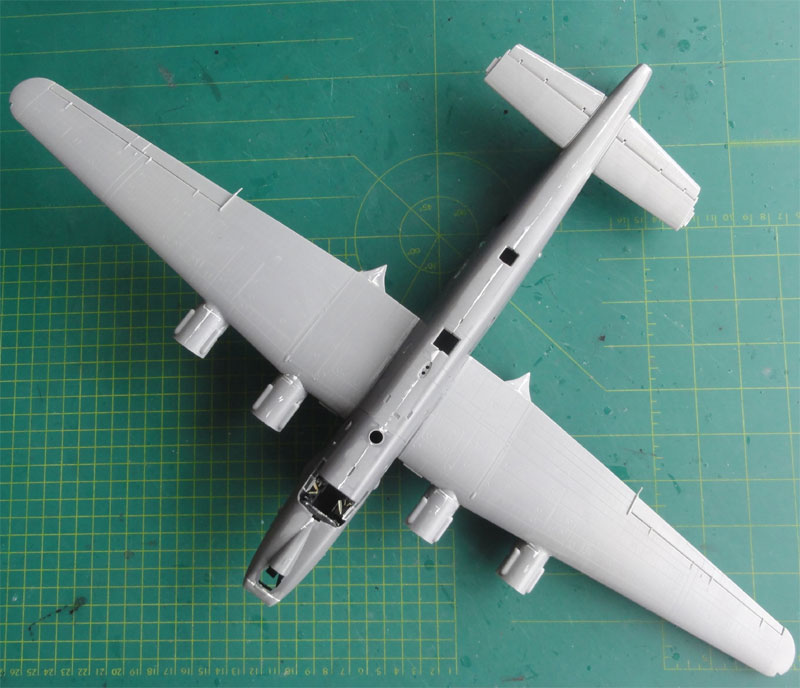
The vertical tails were fitted. As the fit is so good, I did not apply large coats of light grey to check for any flaws, only on some limited spots like the nacelle-wing leading edge joints and so on. Some tiny filler work was needed at some spots using putty.
Time for painting into the final colour scheme before fixing the detail parts on the outside as well as the landing gear.
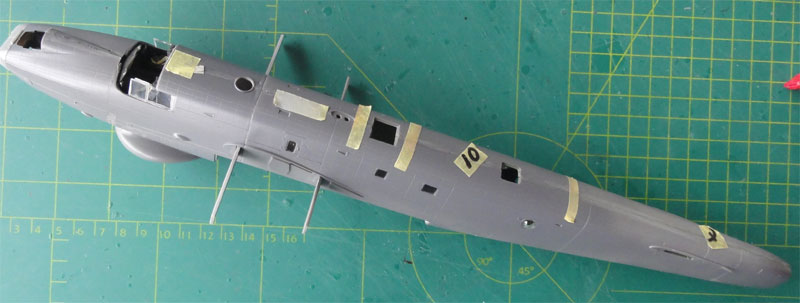
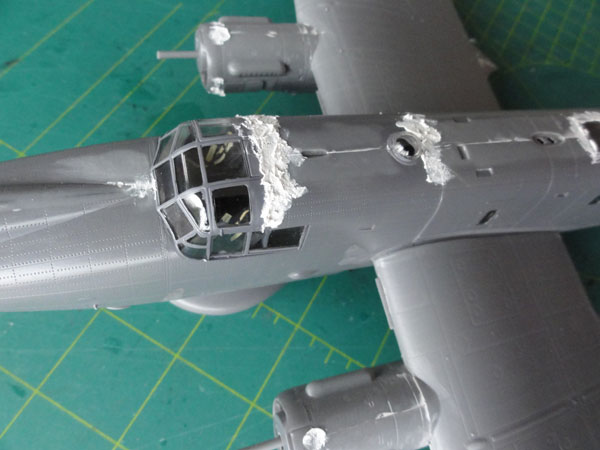
The scheme as per kit and as provided with decals are for two slightly different RAF Shackletons of no. 8 squadron at Lossiemouth with a similar colour scheme of overall "Dark Sea Grey". But before applying the colour, the remainder of the windows were to be installed from the outside.
Some window and cockpit window painting
was done first with a paint brush, this will prevent later "see through"
at the edges. Revell nicely provides the yellow dotted lines for "breaking
glass" rescuing as decals.
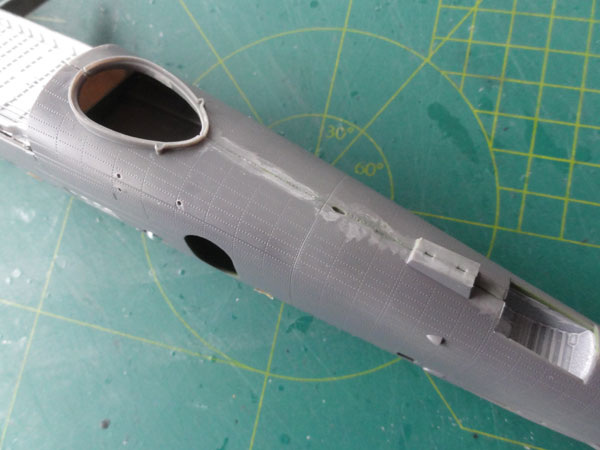
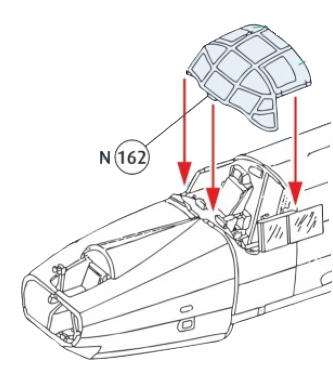
The main cockpit window #162 went
on fine, but still some sanding and some filler putty was needed on top.
Do this sanding BEFORE installing the top part #134 at the cockpit roof.
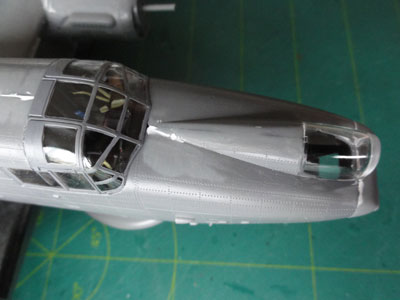
The cockpit side window was set in place, followed by the main window.
 .
.
The observer top window was also set
in place.
 .
.

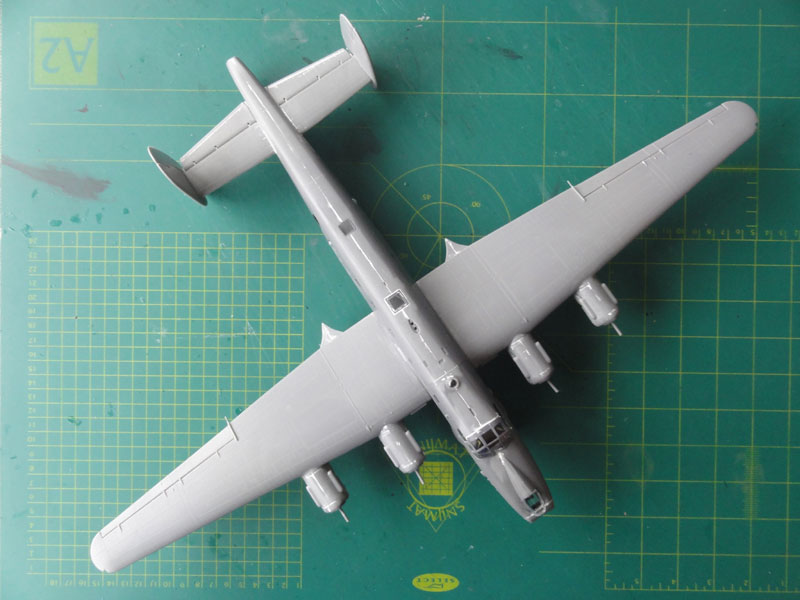
The overall model main assemblies
now complete.
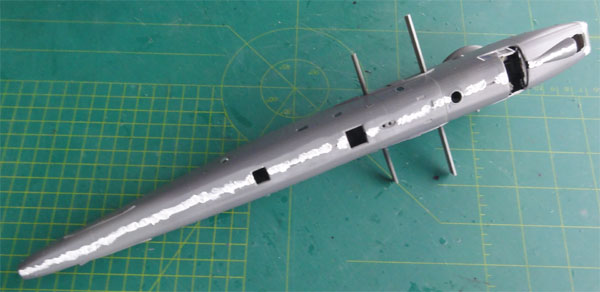
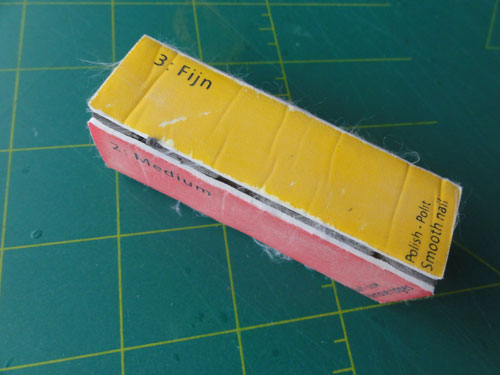
(0) The overall Shackleton model would
get the dark sea Grey scheme. But first remove al sanding scratches with
a fine nail polishing block. Work all over the model to ensure all scratches
are gone. This is essential!
Small gaps were closed with Micro
Scale Kristal Kleer and then windows masked with masking tape (or use masking
fluid). As some pre-painting was done with the Dark Sea Grey at much earlier
stages, the masking of the rows of fuselage windows, gear bays and bomb
bay is very simple as you only need rough areas of masking tape.
....
Back to 1/72 models
(c) Copyright "designer"/ All rights reserved/ Amsterdam The Netherlands. Your comments are welcomed by webmaster
Created this page
March 1, 2016.