[ page 2 ]
MiG-29 Fulcrum models in 1/72 scale...
.. continued from page 1....
page 1
page 2
page 3
page 4
page 5
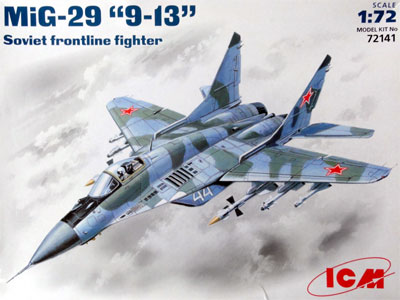
The ICM kit no. 72141 in 1/72 scale was released in 2007 and depicts a "9.13" version with the fatter spine/ hump. (Note that ICM also released a kitno. 72142 with Swifts demo team markings but that seems to based on a different mold).
The decal sheet is small but OK and includes stencils.
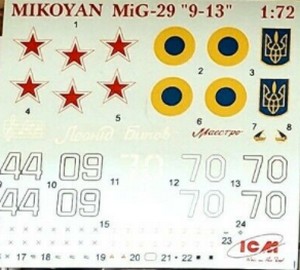
Markings are for:
(1) Ukraine AF coded white 70 (about year 2000)
(2) Russian AF coded white 09 (about 1994)
(3) Russian AF coded white 44 (about 1994)
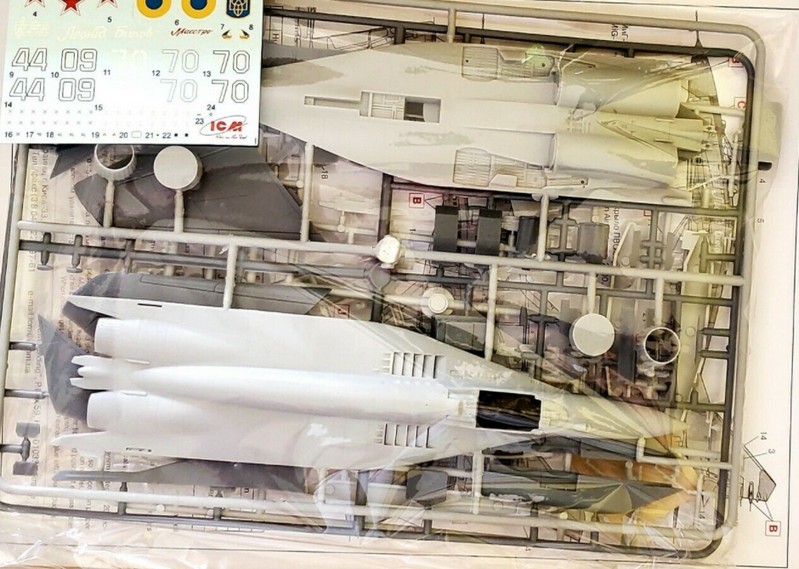
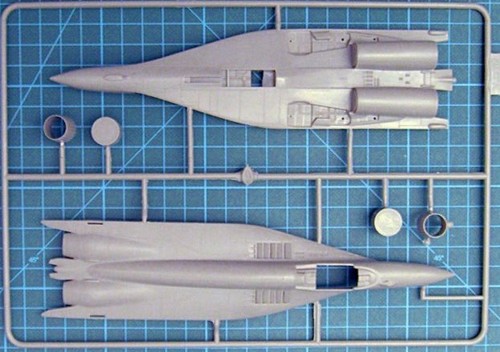
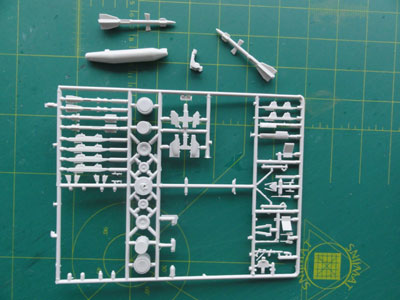
The about 75 ICM kit parts in my kit look a bit crude but the panellines are finely engraved. Sprue gates are a bit thick and a lot of them at the smaller parts. A razor saw is needed to remove the smaller parts without damaging them.
The instructions are a bit small to see all the detail.
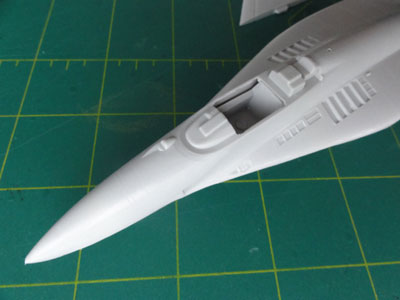
The general shape and kit dimensions for a "9.13" looks OK but the intakes look a bit odd in shape and are inaccurate. I will hide these by adding intake covers later on.
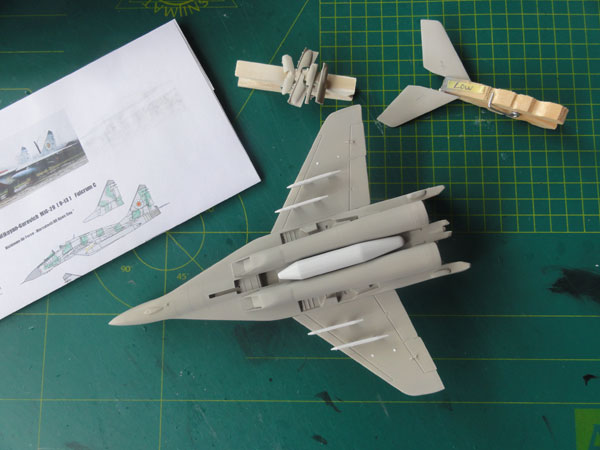
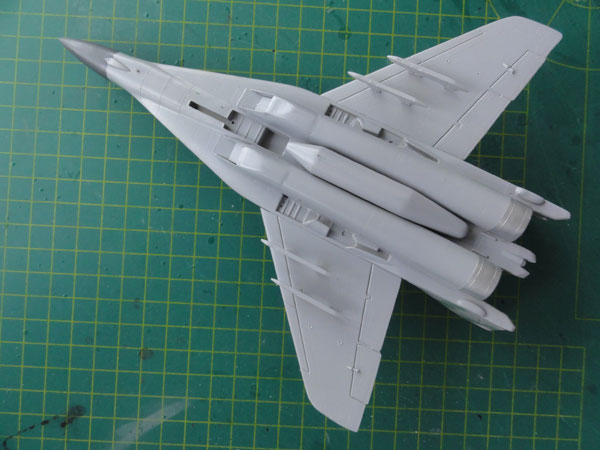
The cockpit has a tub, stick and a simple ejection seat. There are R-27, R-73 and R-60 missiles and pylons in the kit including the central fuel tank. The missiles however are rather crude with thick fins and better replaced. (Also, I did not find all pylons provided but may be I lost a few during construction).
The wing halves are separate parts with an upper and lower fuselage half with integrated nose. There is a nice option for showing a deployed refuelling probe.
The transparant parts are a little bit opaque with some scratches. I will add a coat of FUTURE to hide the scratches. The FLIR transparant part was missing in my kit.
The upper doors on top of the intakes in the kit are molded open so only applicable for an engine running situation. So if you want a parked MiG, some covers or filling the open doors is needed. I will install separate covers on top and on the large intakes themselves.
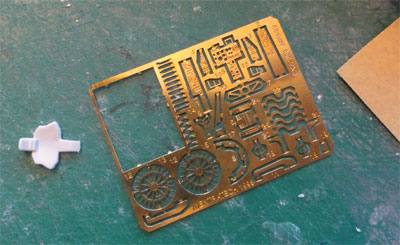
I also had a etched metal fret from EXTRATECH, no. 72-058 for a MiG-29 that I had bought at a modelling show in the past. Some etched parts will be used on this ICM kit.
ASSEMBLY
The ICM kit assembly required some filling and sanding. Start with the main fuselage and body and add some mass weight in the nose. Some flash was removed particularly on the intakes (parts #25, 26) that also needed filler and sanding.
 .
. 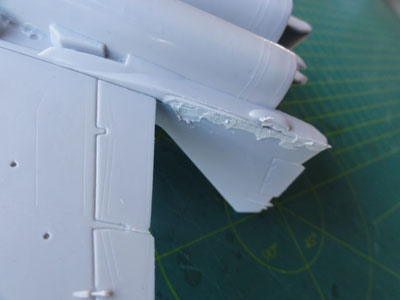
Also at the rear and nose filler and sanding was needed. Inside at the cockpit tub, the open gaps were filled with white glue.
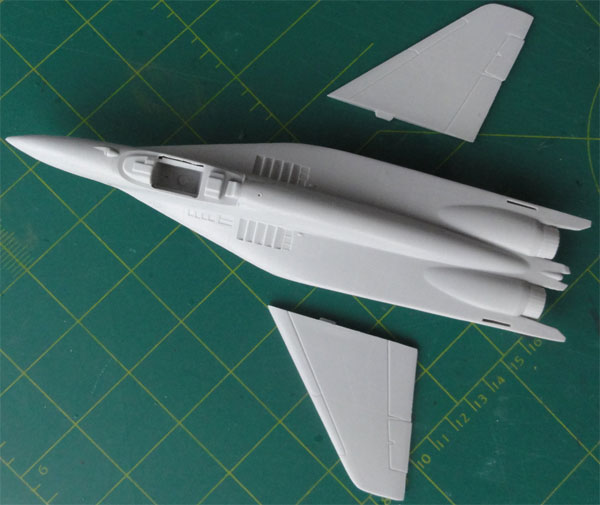
The wing halves were set next and some putty and sanding was done. Vertical tails were also set in place.
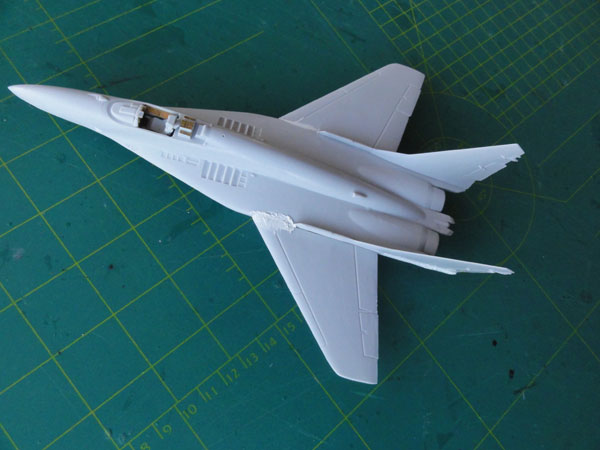
After the main assembly, a base grey coat was applied to the main parts with the airbrush to check for any flaws. Some sanding was again done.
I turned to the intakes. Some etched metal parts from the bought set were used but that did not really improve on the outside how the intakes look. Looking at them showed that this was a waste of time, I decided to install covers later on.
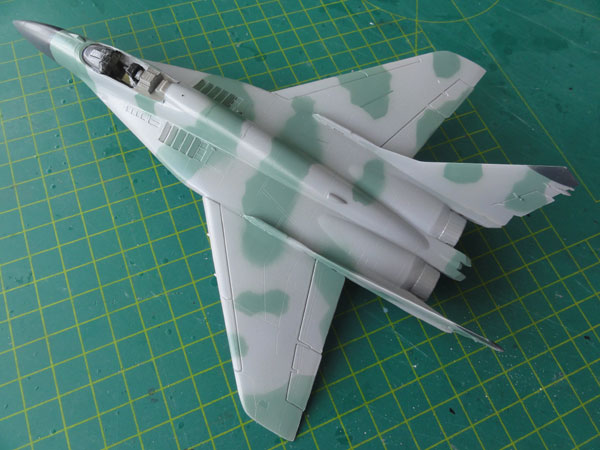
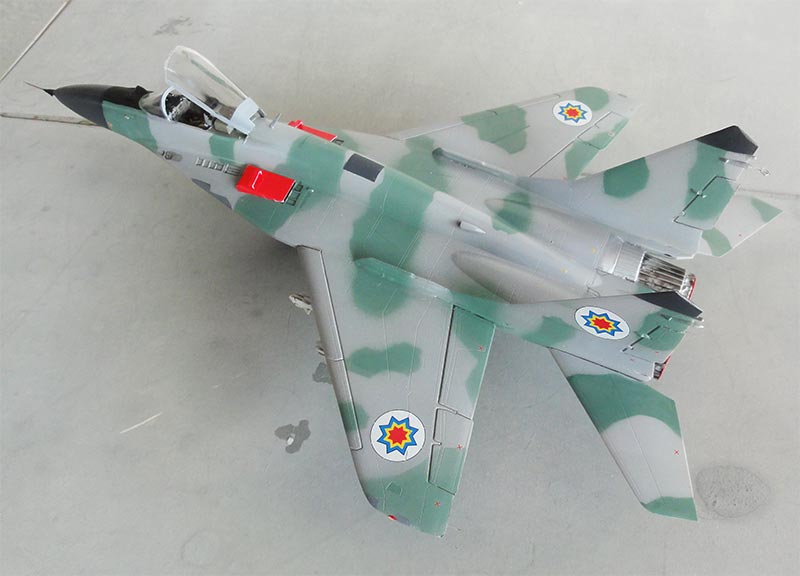
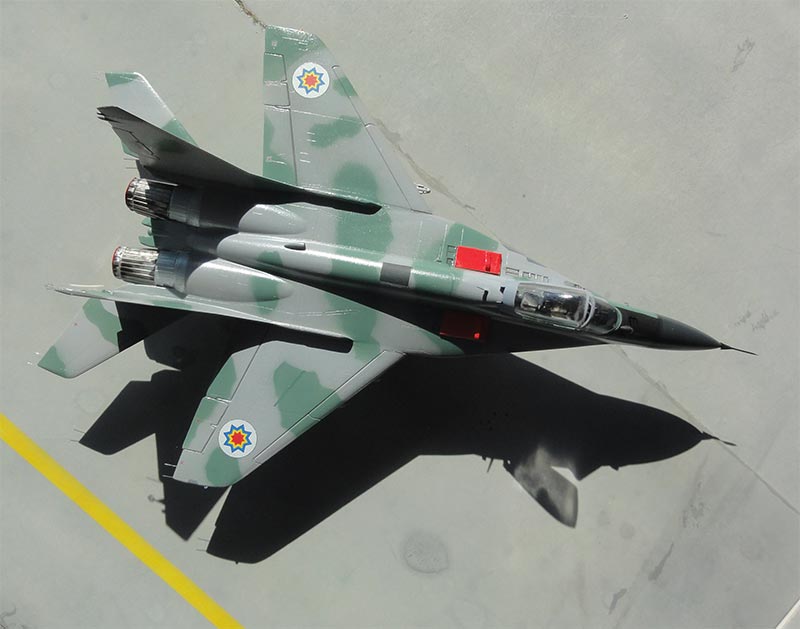
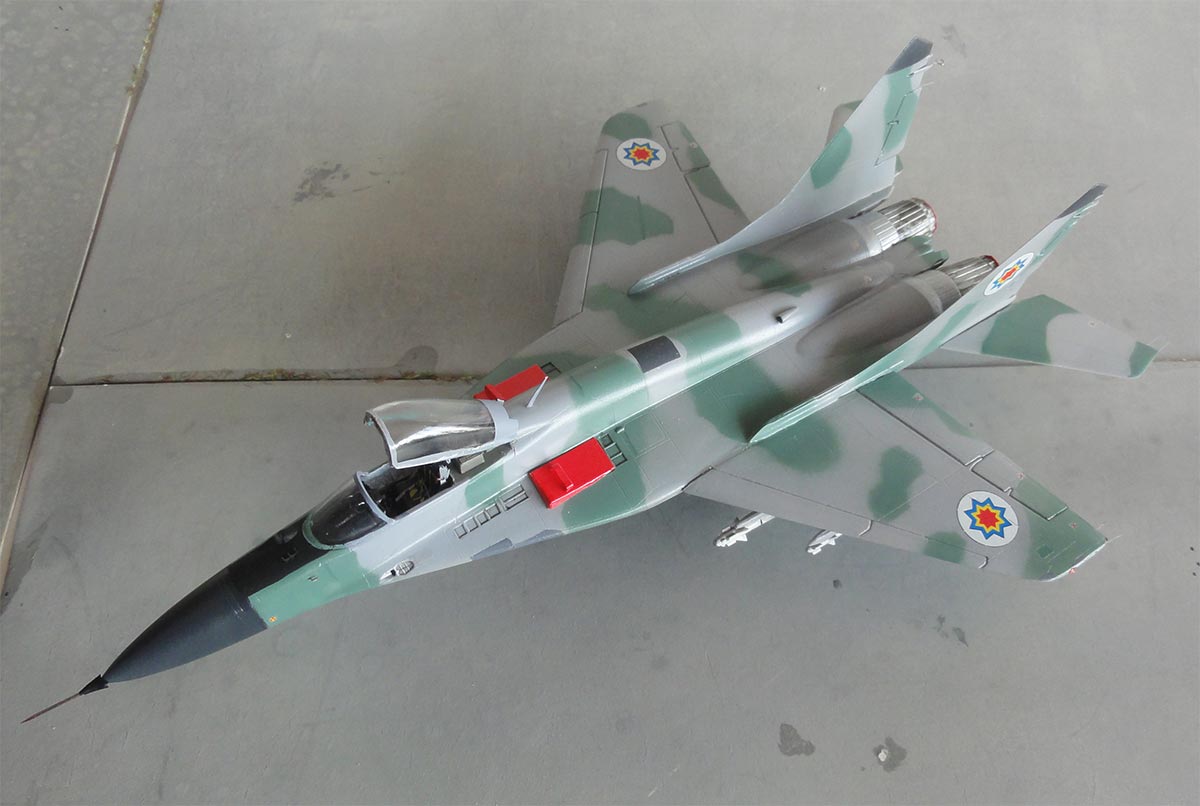
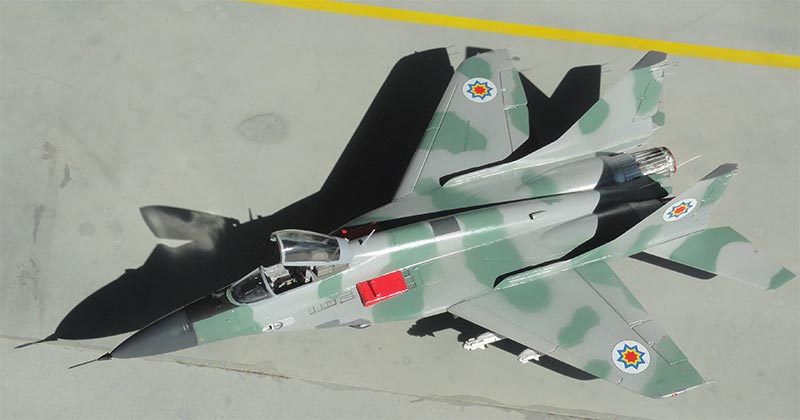
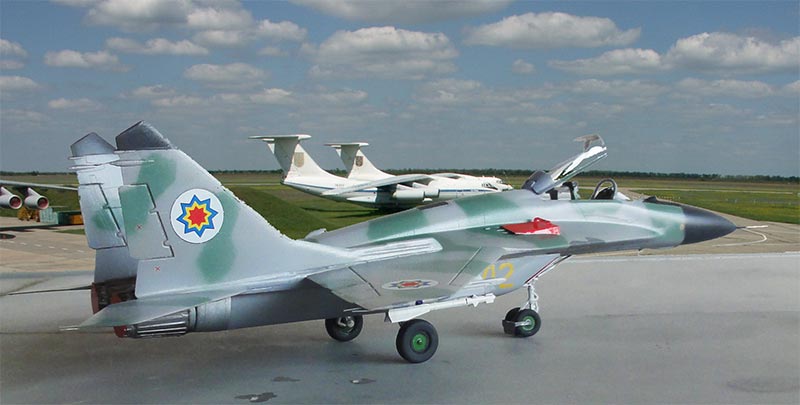
I decided to make the MiG-29 model for a MOLDOVA AIR FORCE aircraft. I had the great BEGEMOT MiG-29 set 72-032 and decal option 29 looks great with a special camouflage.
Colours indicated are US Fed.Std referenced "FS36373" grey and "FS24233" for the upper grey-green dots. On photos it was seen that the green dots are a bit translucent so you will not need a solid colour applied.
I settled for the grey with Gunze Sangyo H308 with a bit white mixed in. For the dots I used a mix of 70% Revell Aqua acrylic 57 grey with 30% Revell acrylic 364 green. These were applied with the Harder Steenbeck airbrush and for the dots I used a piece of paper with some differently shapes holes as mask. The pylons were also not forgotten as well as the undercarriage doors etc.
The nose was airbrushed dark grey after it was also masked. The anti-glare panel was also painted black.
The instrument coaming was also painted dark grey and behind the seat the avionics box medium grey.
Decalling was to be done with the very good BEGEMOT decals. I ensured first that the overall model was "glossy" to prevent decal "silvering". This was done airbrushing first a few coats of Johnson Future/ Pledge floor coat.
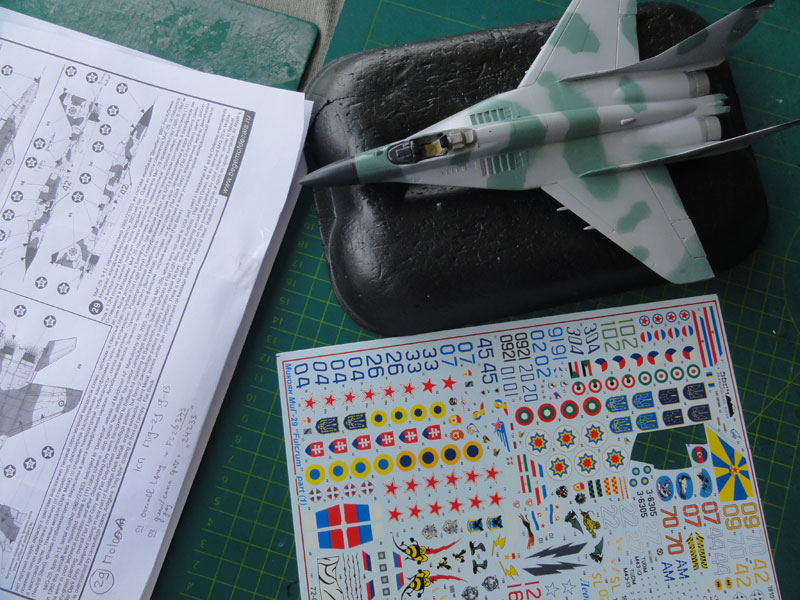
A few of the smaller stencils were also applied such as the "no walk" red crosses etc.
Final construction was now done such as the undercarriage, antennas and more. The dark gray antennas were on the blended fuselage edges and vertical tails were hand painted and the gun blast panel was painted aluminium
The wheel hubs were painted bright green using color Revell Aqua 364 "laubgrun". Small red and green anti-collision lights were painted on wing tips and vertical tail.
The nose wheel mud guard in the kit is too crude. I made a new one from very thin aluminium foil.
The nose pitot was made from a metal needle.
A large number of "static dischargers" were also made as seen on a real MiG-29. These are the “brushes” which discharge static electricity. They were made from very thin fishing line of 3 mm in length: 2 on each wing tip, 2 on each tail-end and two above each rudder.
A semi-mat coat of varnish was airbrushed over the model using my standard approach of Johnson Future/Pledge with about 5% mixed in Tamiya X21 FLAT BASE.
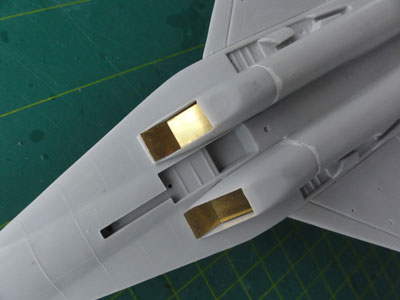
Red covers were made from plastic card and set onto the upper intake doors, the large intakes themselves and the exhaust pipes. This suggests a parked MiG and hides the kit inaccuraties.
A few small R-73 and R-60 missiles were installed obtained from a recent Trumpeter MiG-29 kit (to be made later on). These had a white colour and some stencilling as well. The central fuel tanks was also installed.
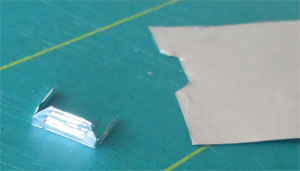
The canopy got 3 rear view mirrors from a etched metal set from REHEAT.
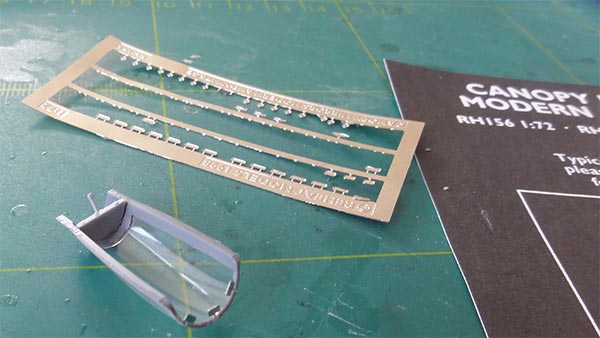
The canopy frames inside and outside were also painted. The ejection seat of the kit was painted and got some harness details made from painted tape and that was installed. The canopy set open and wind screen set in place.
That completed this special MiG-29 model of the small country of Moldova.
MOLDOVA
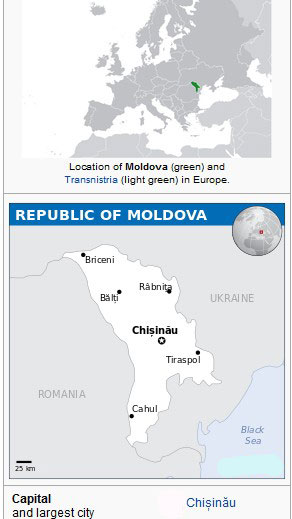

[area: 33,800 km2 | population: 2,6 million | capital: Chisinau | GDP USD 4,000 per capita nominal]
Moldova declared independency as country in 1991 as many other regions after the collapse of the Soviet Union. It is between Romania and the Ukraine. The country is poltically divided and from the beginning a part of the country on the east bank of the Dniester river remained unattached as "Transnistria" under Russian protection. This region is not recognized however. Large crises are still part of life and a large part of the population has moved away.
Moldova set up some armed forces including a small Air Force with equipment from the old Soviet Union. The Moldova Air Force got about 34 MiG-29 in 1991. Six MiG-29 "9.13" were apparantly operated from Dechebal / Markuleshty Air Base. The aircraft beared a typical low altitude camouflage scheme. As it was believed that many of these MiGs with weapons would possibly be sold to various unfriendly regimes, in 1997 the USA decided to buy the aircraft, missiles and equipment. The exact nature of the deal led to controversy and is still unclear and later the minister was arrested. The aircraft, weapons and equipment were transported with several C-17 flights to the USA and some MiG-29 aircraft can be seen on display in the USA.
Currently the Moldova air force is rather small with mostly Mil helicopters and transport aircraft like the AN-26. There is a sort of cooperation now established with Romania.
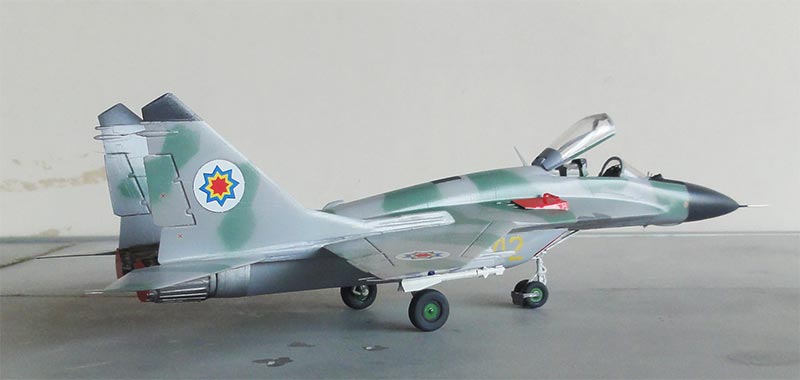
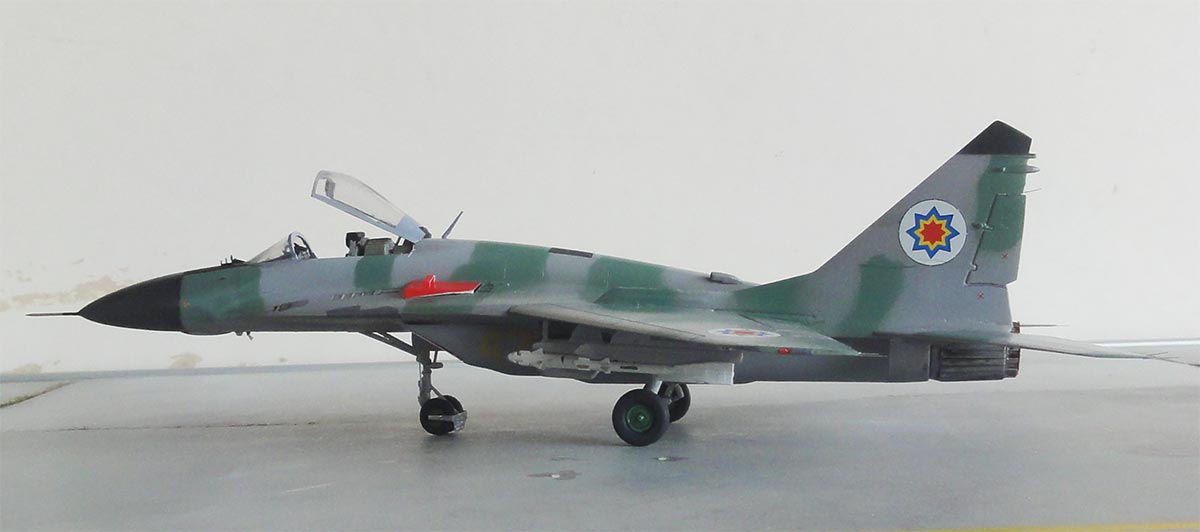
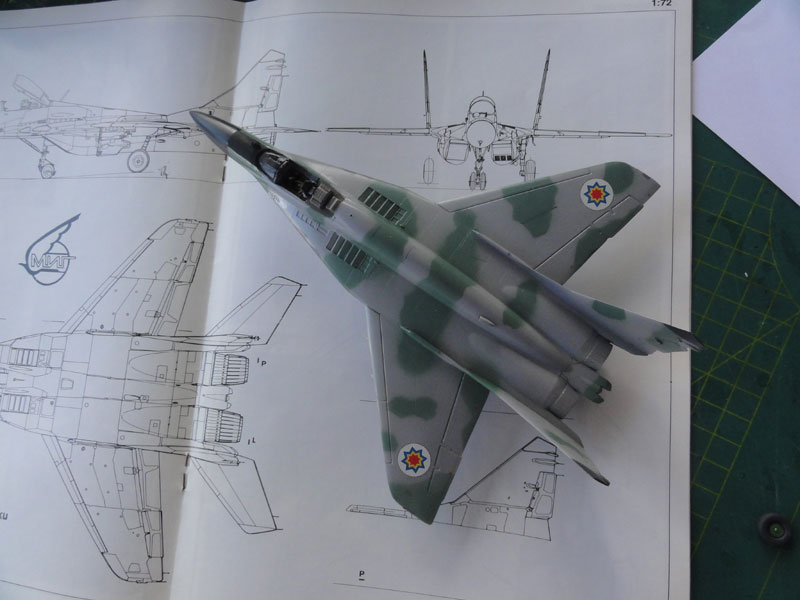
The fatter hump / spine is well seen here of the "9.13" version. Note also the added covers.
MOLDOVA MiG-29 "9.13" apparantly operated from Dechebal / Markuleshty Air Base
On to next [ Page 3... ]

(c) Copyright Meindert "designer"/ All rights reserved. Your comments are welcomed by webmaster
Created this page April 8, 2017