Trumpeter conversion
[ page 2 ]
Lightnings in 1/32 scale by Meindert de Vreeze
... continued from page 1....
The Trumpeter 1/32 kit #02280 for a Lightning F1A/ F kit will be converted into a two seat Lightning trainer with the Whirlybird conversion set as noted on page 1....
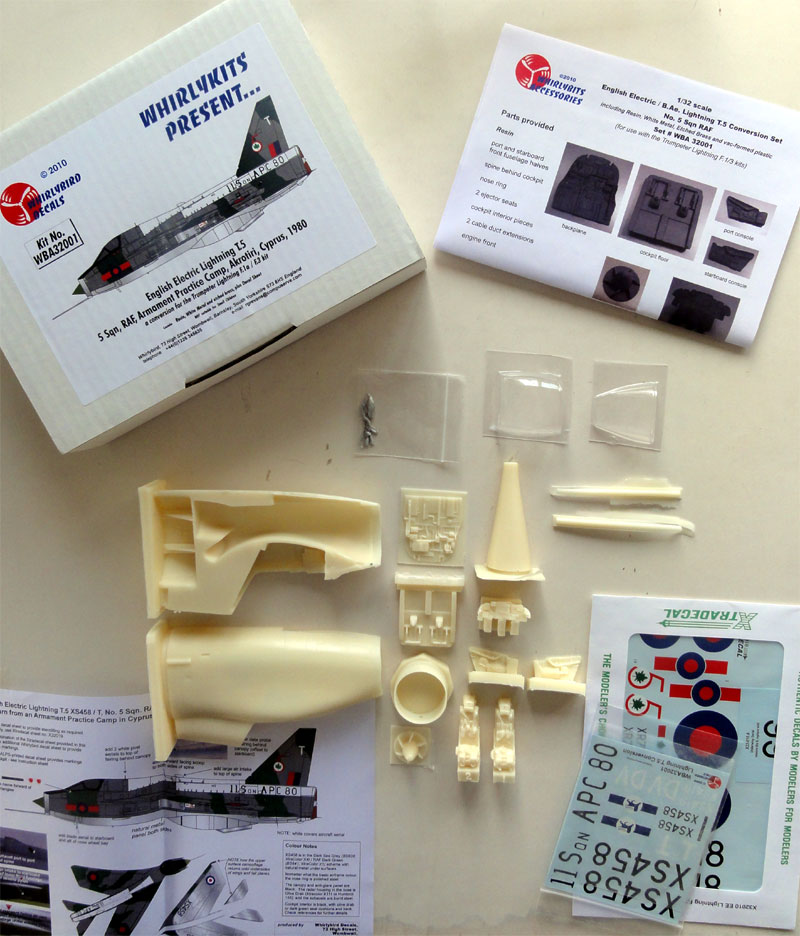
It was decided to make this 1/32 trainer as a T.4 mk.54 in a Saudi Arabia Air Force metal paint scheme. Many parts of the Whirlybird T.5 set can be used. The T.4 mk.54 has many characteristics of the F1A with the "rounded" vertical tail. This is provided in the Trumpeter kit. The required markings will be home designed and custom printed, more about that later on.
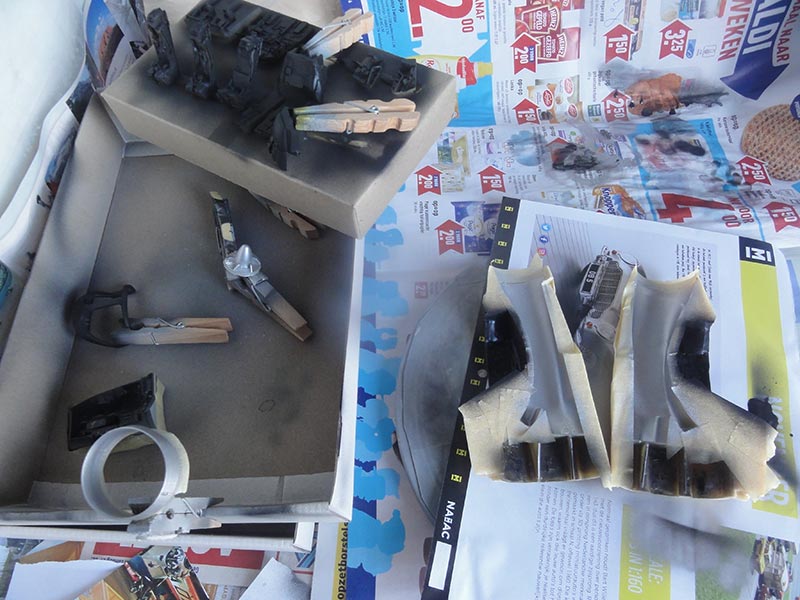
First, the Whirlybird resin parts were cleaned up. Some mould blocks need sawing and sanding.


WARNING: resin dust is harmful and may cause allergic reactions! Wear vinyl gloves, face mask and do all cutting and sanding under a running water tap. Clean all up.

The mould quality is very good with no pooring air holes.
![spine]](t4-40.jpg)
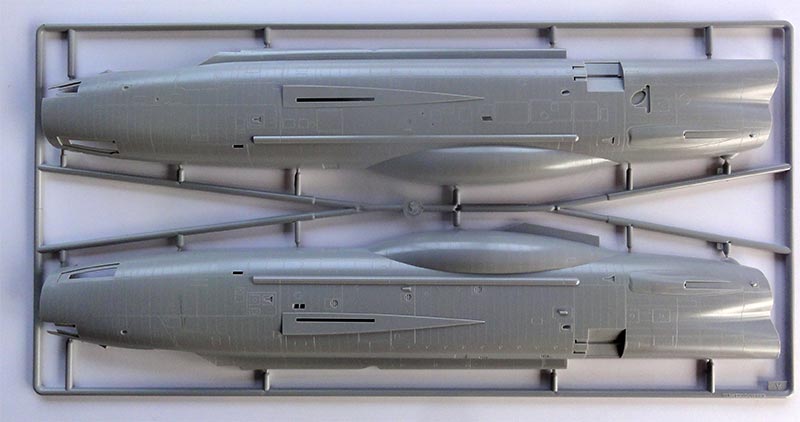
Obviously, the Trumpeter kit front nose sections need to be removed with a razor saw. As the Trumpeter seems to be some 3 mm too short "somewhere in the mid fuselage" I set the cutting sawing line (aft of the cockpit and in front of the wing) some 3 millimeter more aft than suggested in the Whirlybird instructions.
Make sure to saw at 90 degrees angles.
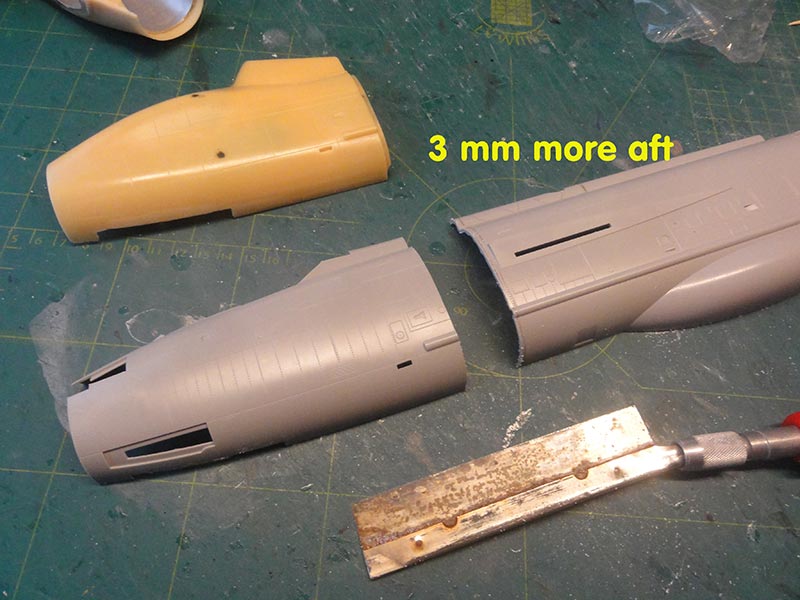
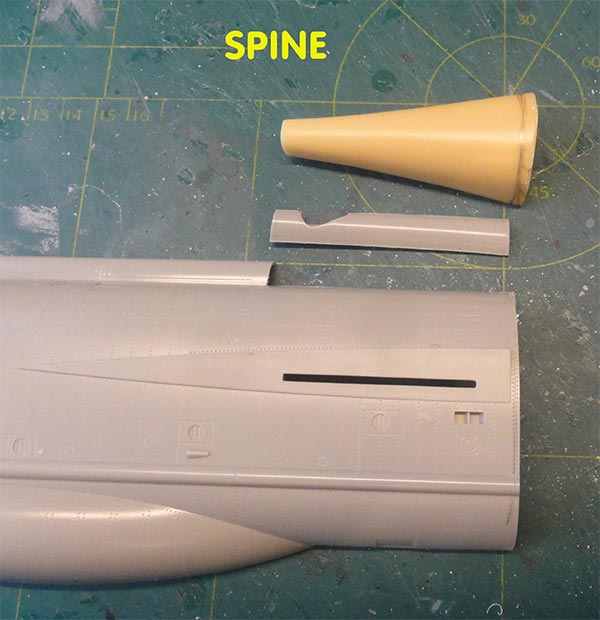
The fatter spine also needs that a section of the Trumpeter kit spine is removed from both fuselage parts.

As
the model wil get a new front fuselage nose section of the trainer, the
big inaccuracy of the Trumpeter Lightning front fuselage nose is not an
issue anymore!
![]()
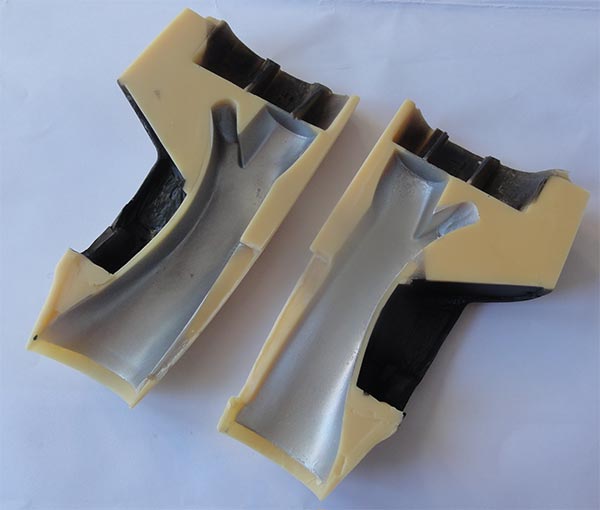
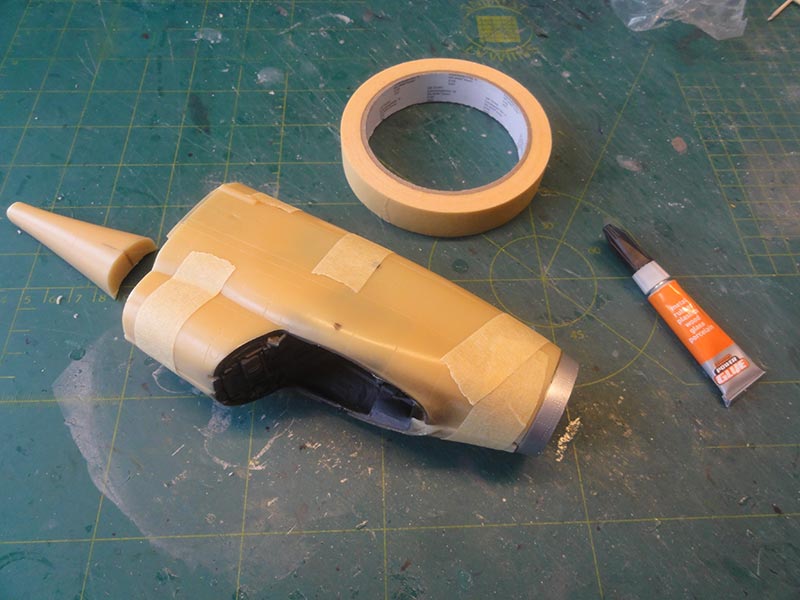
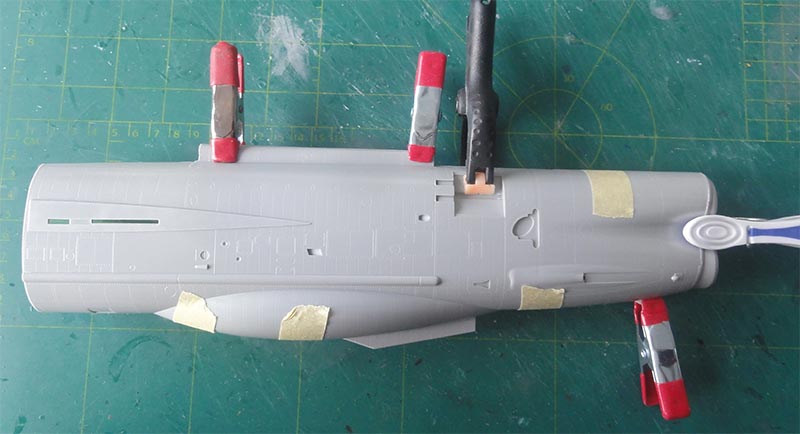
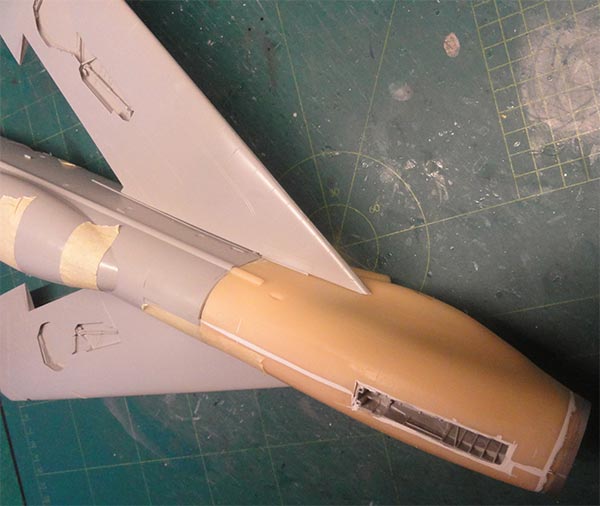
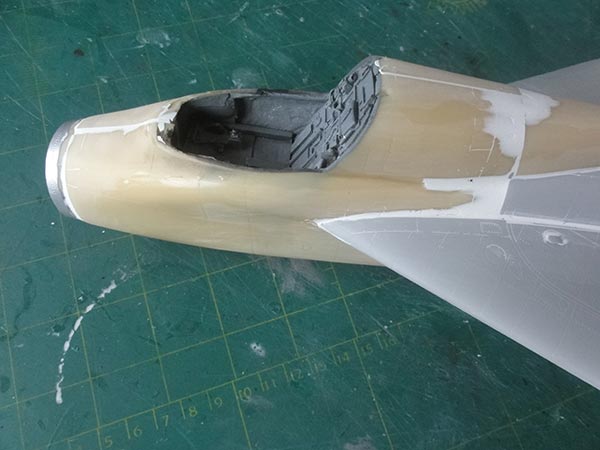
Some of the interior areas were airbrushed aluminium like the intake trunks and the cockpit bits were airbrushed tyre black". The pair of resin seats looks good.
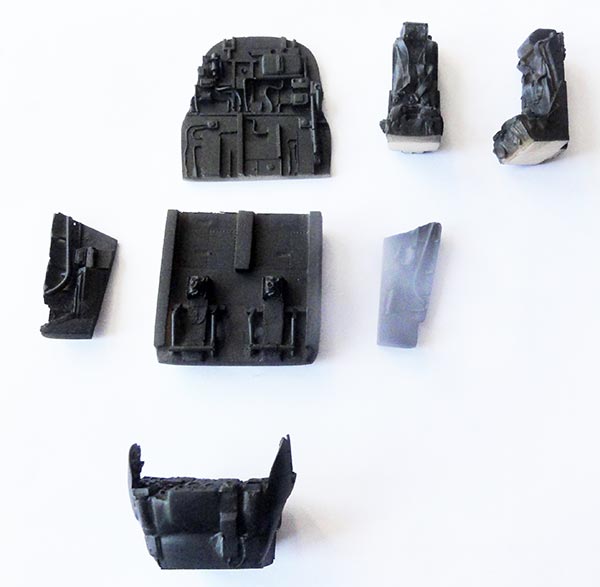
For the canopy frames, a separate resin parts is provided that was also airbrushed black.
The
bullet structure and nose gear bay of the Trumpeter kit were
installed. These are shown in Trumpeter instructions STEP 2 with parts
#G16, #G35, #G36. Do not yet fit the radar bullet itself. 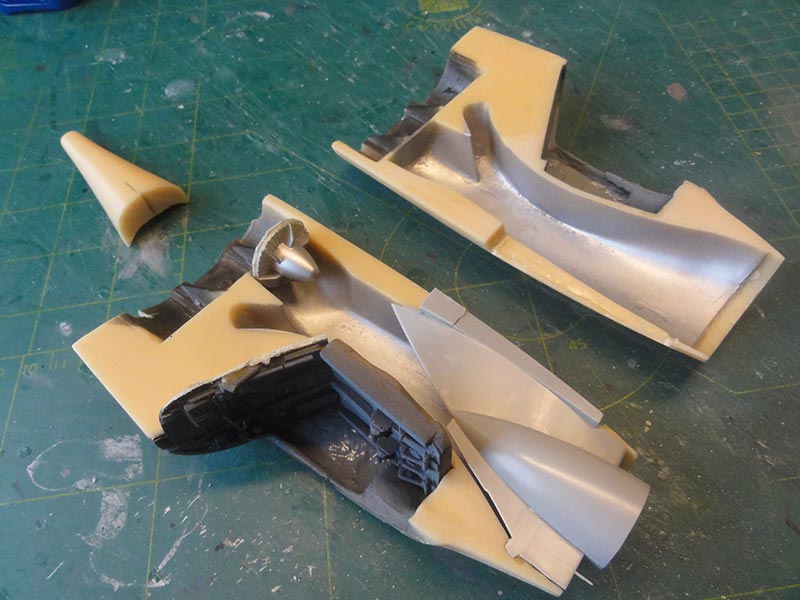
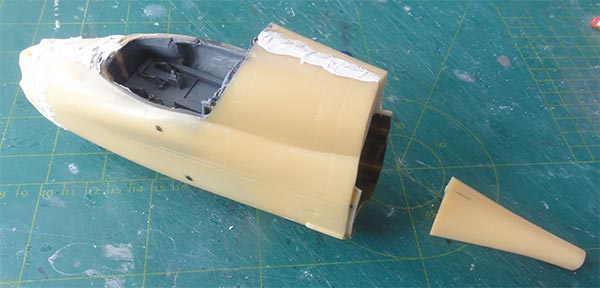
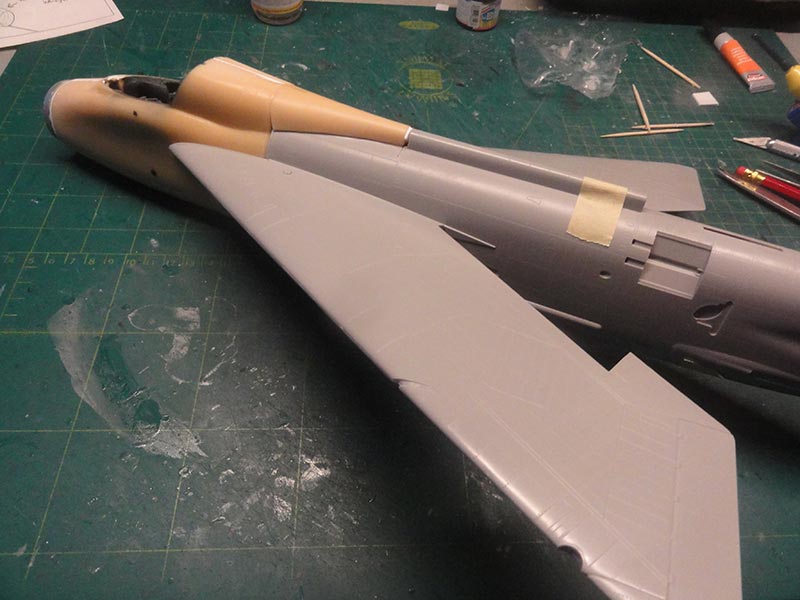
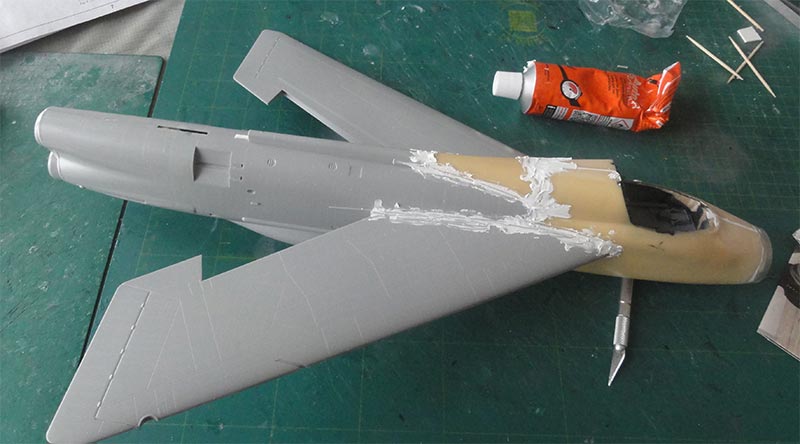
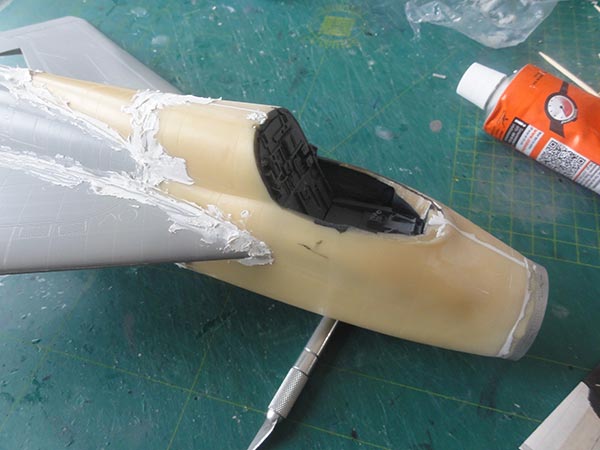
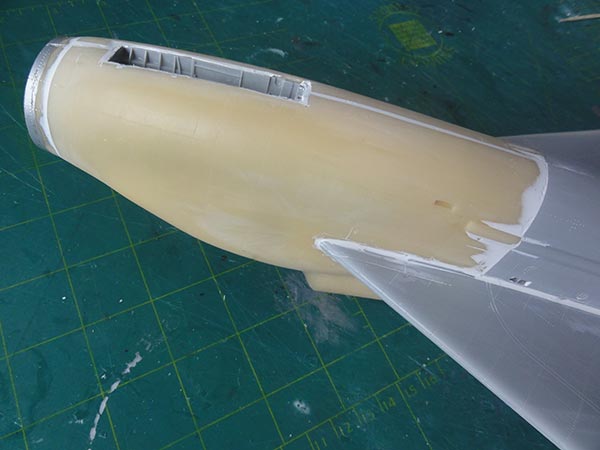
The trainer front cockpit resin parts were set. Than the huge heavy resin nose halves were joined with thick super glue with also the cockpit floor. Fix with tape and let dry.
Some putty is needed obviously at the joints.
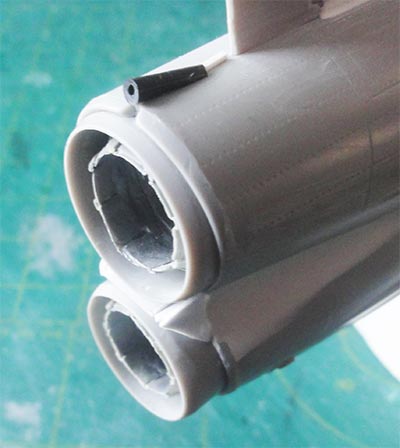
The rear fuselage was now further tackled. The Trumpeter jet exhausts are not acccurate so I will use an after market set from Mastercaster.
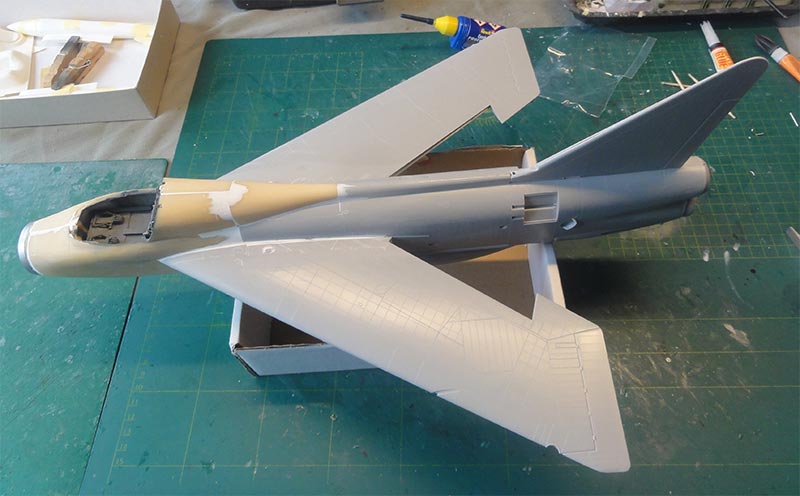
It was decided to install a connection metal rod to get more strength between the wing halves and the fuselage. Holes were drilled.
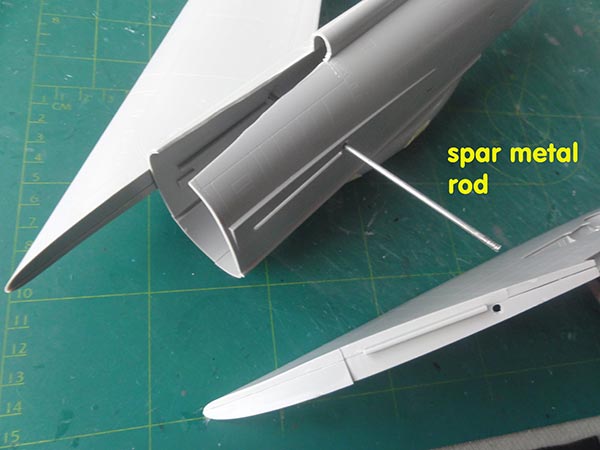
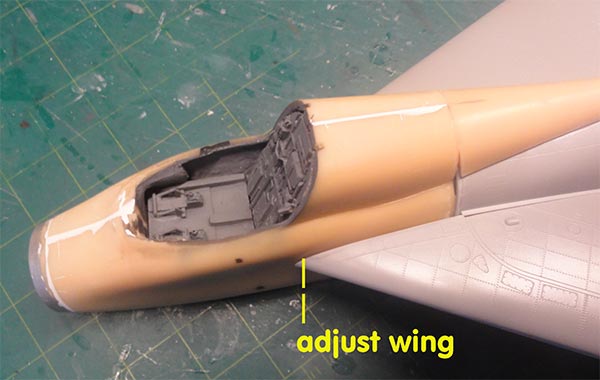
Here all is seen provisionally joined. The alignment of the trainer nose needs careful trimming and ensuring all is vertical.
The wing shows a significant gap, card and putty will solve this.

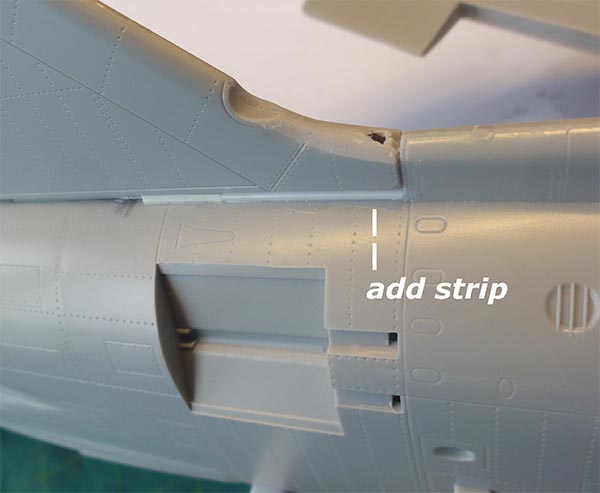
At the lower areas it is obvious that also some strip and putty is needed but overall the fit is not bad.
The fuselage was puttied and sanded.
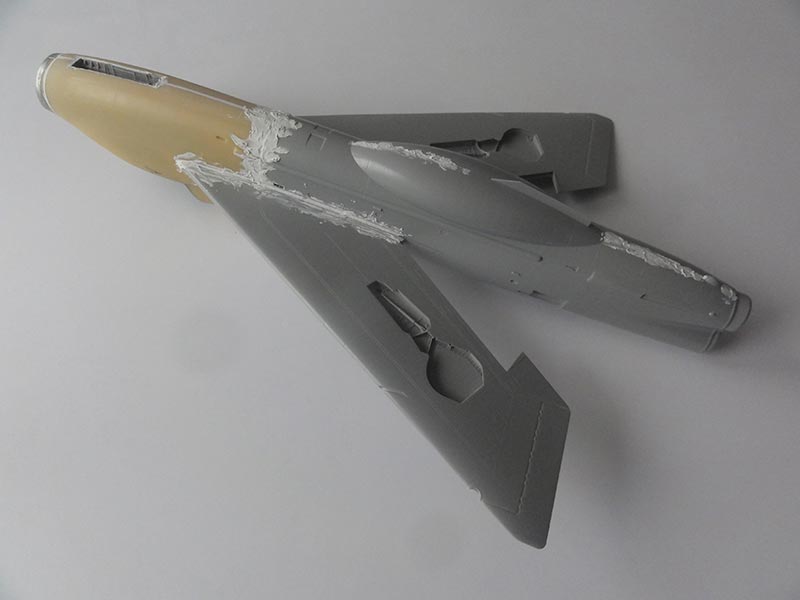
The longer joints also needed putty and sanding....
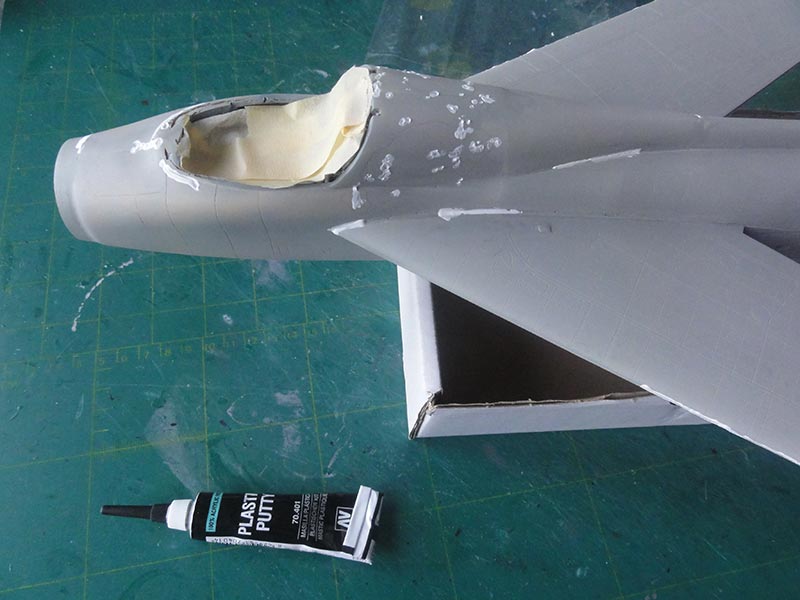
The vertical tail was set of the Trumpeter kit (parts #J1+J2) but at a slight more tilted angle to be more accurate. An plastic card insert was made at the base that is 3mm high at the front and zero at the rear, tilting the tail backwards. All was puttied and sanded.
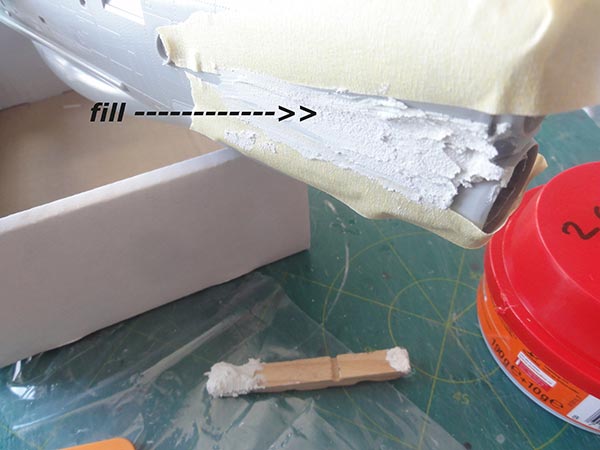
The external shape at the rear Trumpeter fuselage at the exhaust pipes needs improving as the "8" shaped cross section is to deep/ curved. This can be improved with some filler.
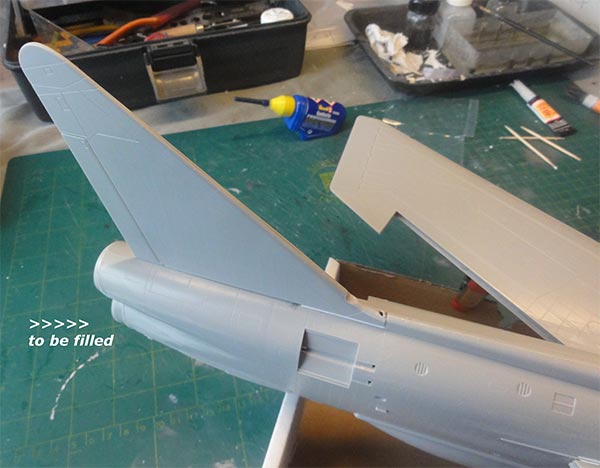
Plastic card and two component "less shrinking" putty was used to get a better looking shape.
Also the missing fairing was added on top of the rear fuselage from a plastic bit.
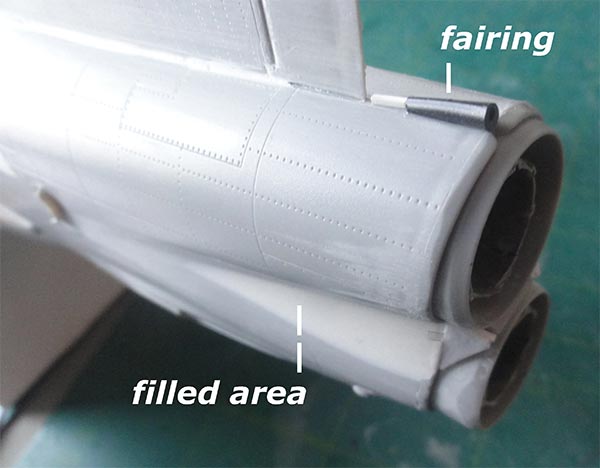
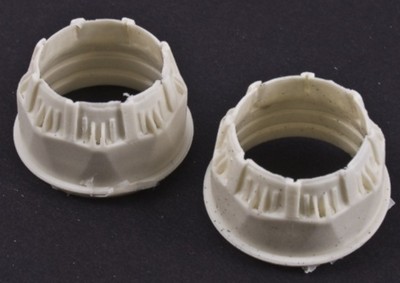
The Trumpeter exhaust parts #F42 are inaccurate. I installed better looking resin parts from a Master Cast set MST32040.
The whole lot will be airbrushed after masking ALCLAD ALC-113 jet exhaust metalizer.
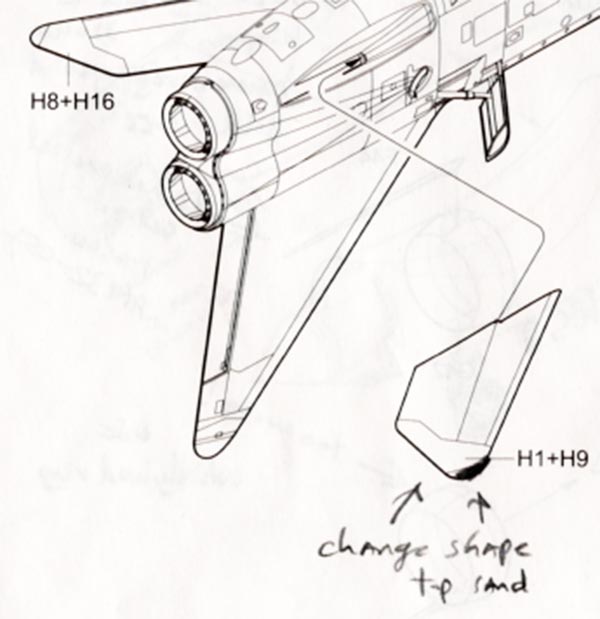
The Trumpeter horizontal stabilizers have inaccurate tip outlines. These can be corrected with sanding in a curve and removing 2 mm from their ends.
Some smaller Trumpeter kit parts showed shrinkage/ wrinkles like on the gear doors. These were filled with putty and sanded smooth.
![]()

A base grey coat was airbrushing to check for any flaws. I airbrushed my favourite Revell Aqua 75 steingrau thinned with IsoPropylAlkohol.
Any small repairs were made, the smaller gaps were repaired with Vallejo 70.401 "plastic putty".
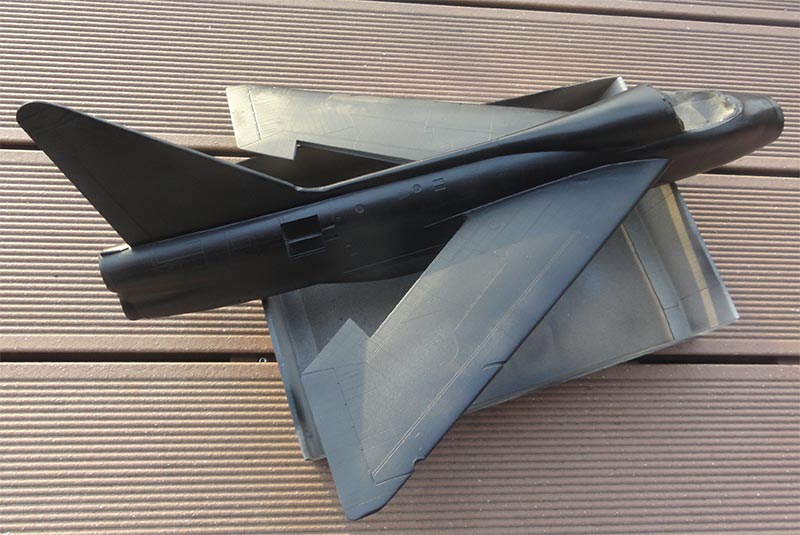
When all seemed OK, the model got a gloss black paint coat. Normally I use acrylic paints but this time was advised to use AK black primer and microfiller paint #AK757. This is supposed to give a good undercoat for a deep natural metal finish using AK metallic paints.
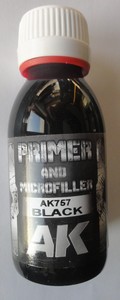
But this was a big disappointment! The
base black
paint would NOT DRY. I left the model alone to dry over 4 weeks and
still the base primer was not dry. I will not use this base paint
again and threw away the bottle. The model was put back to dry even
longer...

On to next [ trainer Page... ]
Lightning
trainer:
Page 1
Page 2
=====
Echelon
Lightning:
Page 1
Page 2
Page 3
Back to 1/32 Scale models....

(c) Copyright Meindert "designer"/ All rights reserved. Your comments are welcomed by webmaster
Created this page
June 27, 2023