ECHELON
[ Page 2 ]

... continued from old page 1...
A second 1/32 Echelon vacuform kit (described on page 1) I got from my modelling friend Bas in 2010. We purchased both our kit directly from mr. Frank Brown of ECHELON at the IPMS U.K. Nationals in Donington in 1992. An excellent kit. Thank you Bas for giving me your kit!
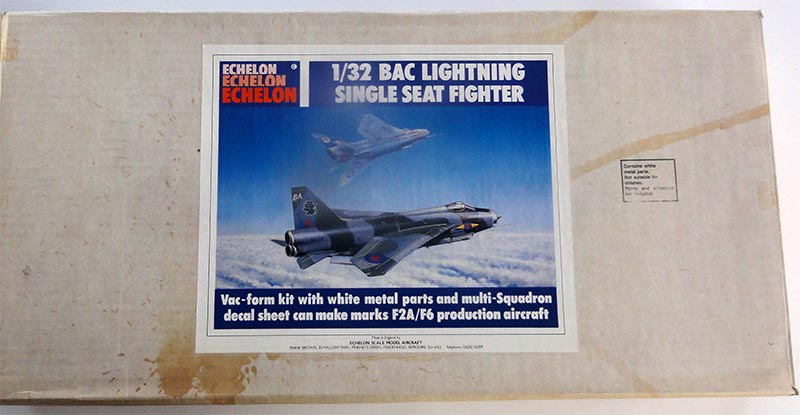
My first Echelon kit was made more than 25 years ago as F2A was seen on page 1.... The vacuform and other parts are seen on that page. It was concluded that the indeed Echelon had made a fine 1/32 Lightning vacuform kit.
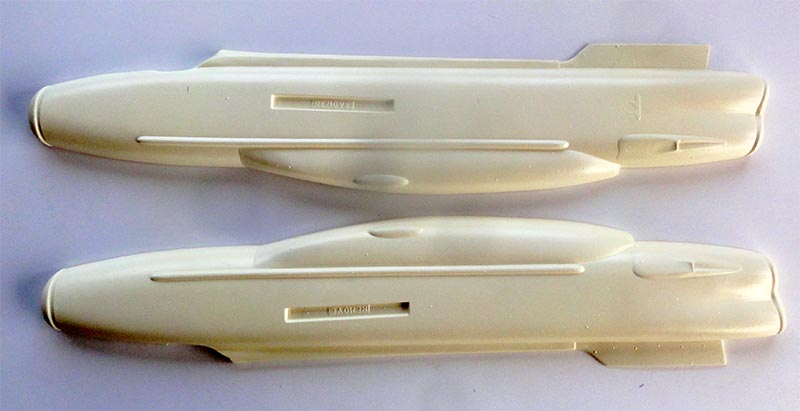
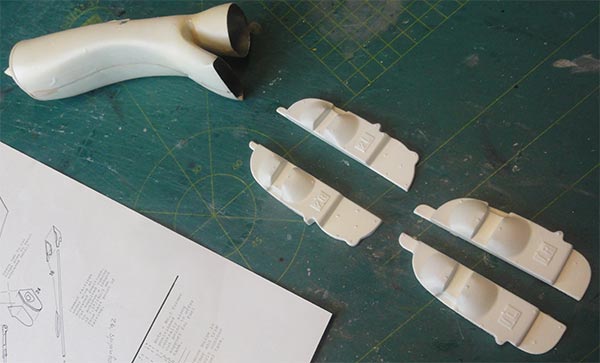
Bas had already sanded from the white plastic sheets the main vacu components, that saved me a lot of effort!
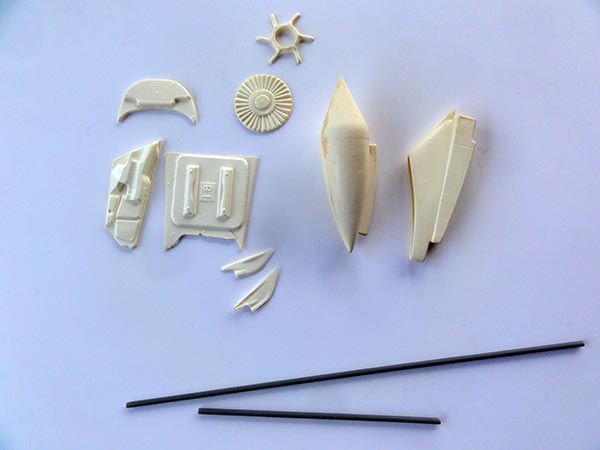
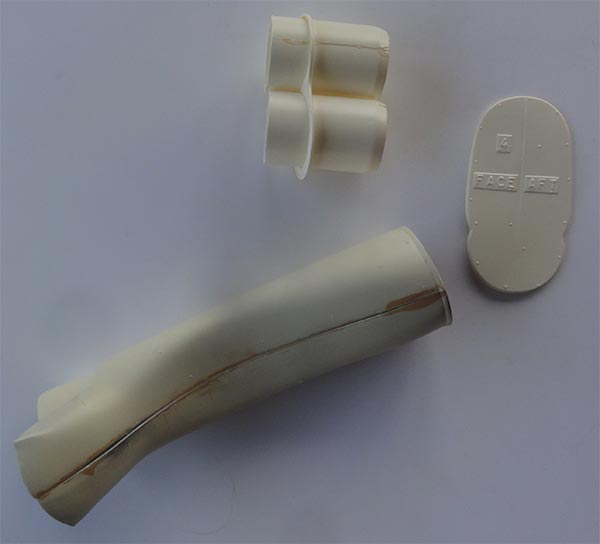
Some other parts like intake bullet and exhaust pipes.
Intake duct
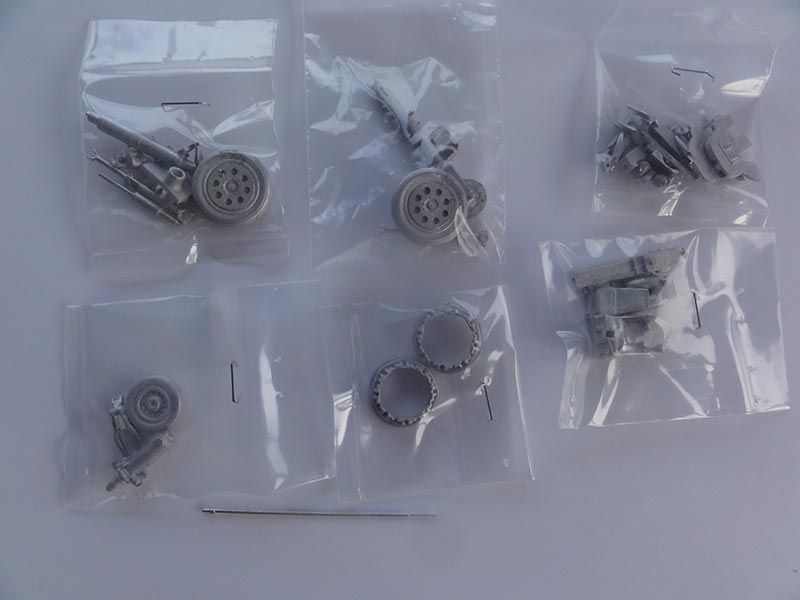
Very nice ECHELON casted metal parts, mostly for the undercarriage.
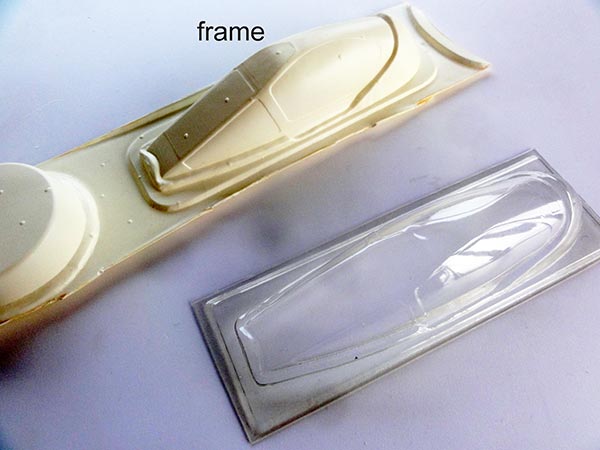
Canopy and wind screen look to be (still clear) acetate plastic and an internal frame is provided.
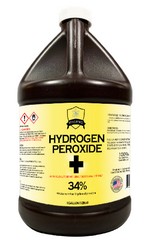
TIP: many vacuform canopies will become "yellowed" over the years; a way to reduce the yellow sheen is to keep the part in a clear jar filled with Water Hydrogen peroxide fluid. (* buy at a drugstore / pharmacy). Set the clear jar at a light place in sunlight for a long time.... after say a month the yellow sheen in the plastic will be less obvious.
NOTE: AEROCRAFT released Summer 2023 a new resin canopy replacement set specially for the ECHELON kit. This is also an option.
The model will be made as F6 Mk.53K of the KUWAIT AIR FORCE with a bare metal scheme.
ECHELON
Lightning:
Page 1
Page 2
Page 3
=====
Lightning trainer:
Page 1
Page 2
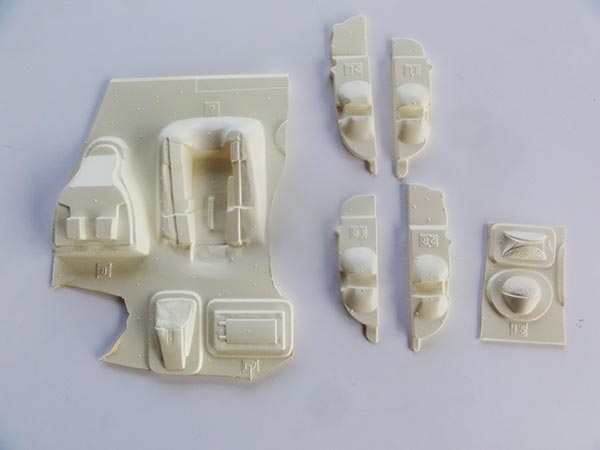
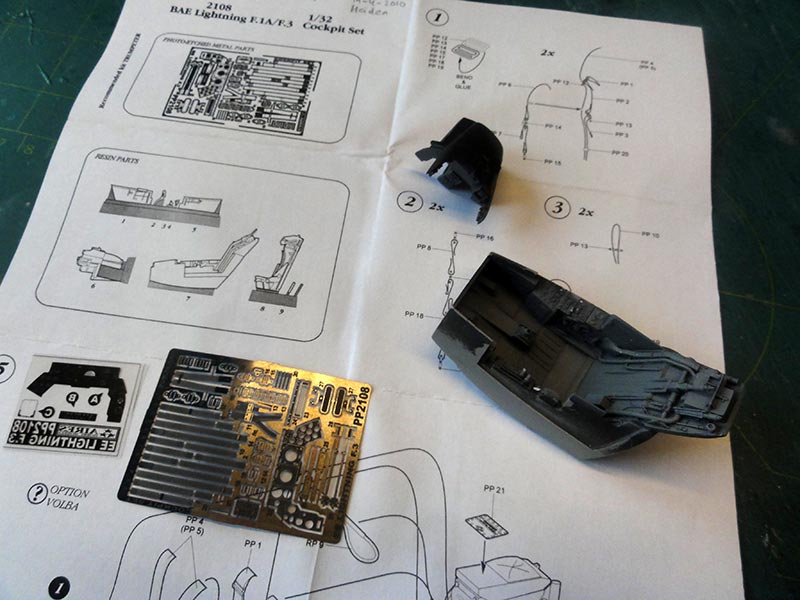
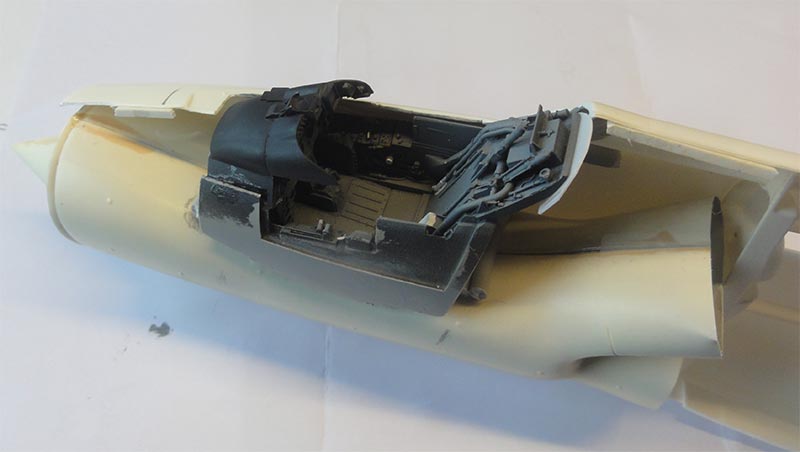
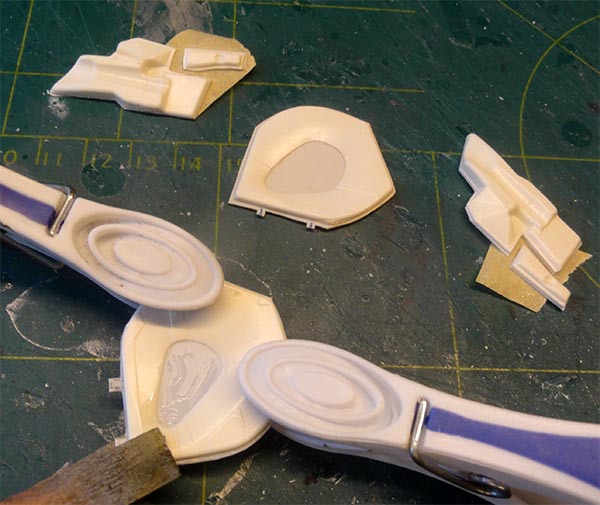
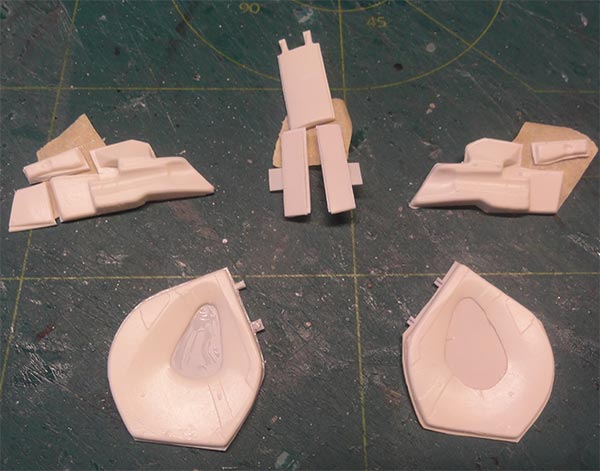
The Echelon kit has a cockpit tub, with casted metal seat parts and instrument panel. It was decided though to use an Aires resin cockpit detail set #2108 with more detail. This set is for the Trumpeter Lightning kit and is for a F3 but it was decided to check only the main instrument panel.
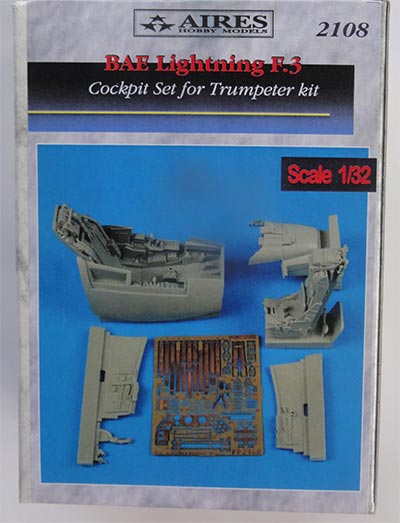
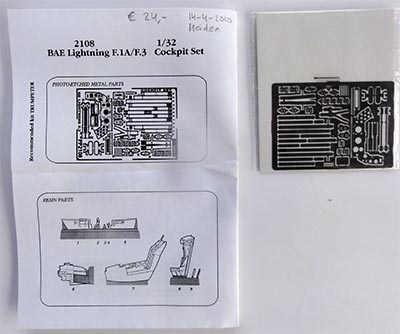
The set has a nice ejection seat, detailed tub, side walls and an etched metal fret and film for instruments. The coaming looks good. The instructions do not include cockpit colour information.
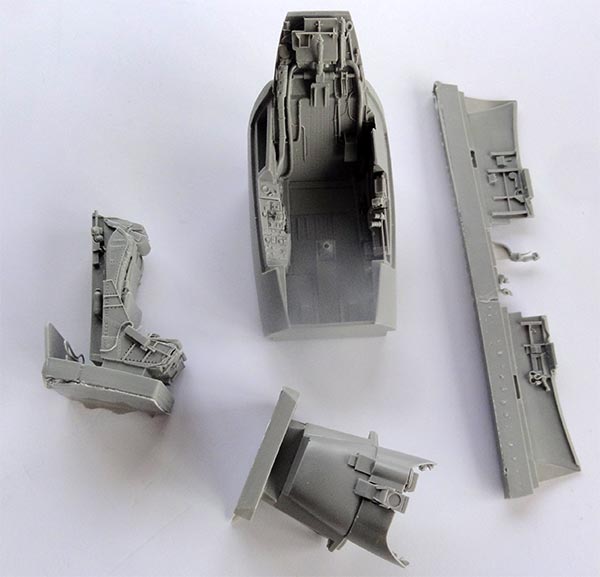


A lot of the casting block had to to be sawed off. Take care, resin dust is harmfull. Wear nitrile gloves, face mask and saw under a running water tab.
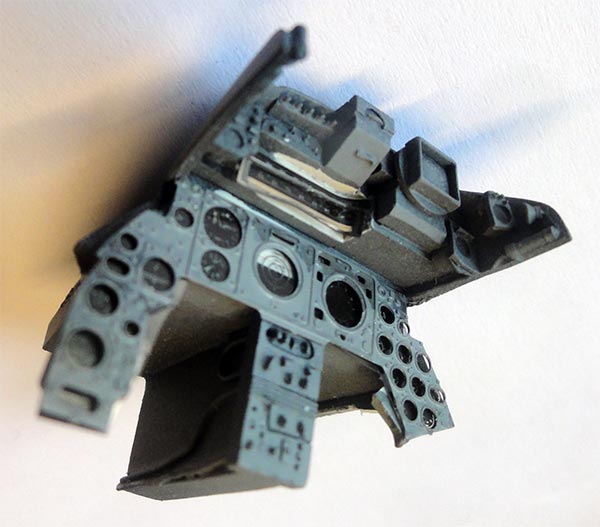
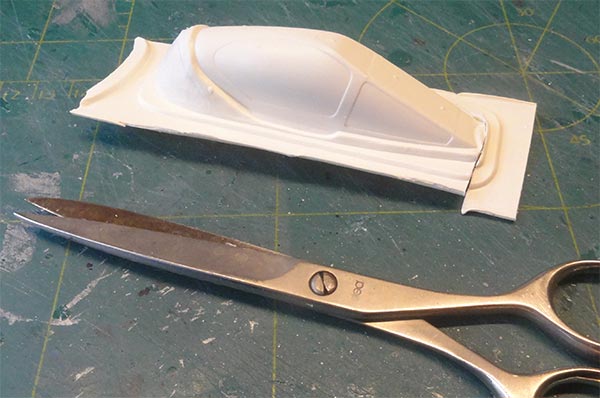
The cockpit instrument panel was detailed as per Aires instructions. First the main sections were airbrushed medium sea grey. The rear backing of the panel was painted white, the acetate film added and the etched metal faces added.
To be installed later on.
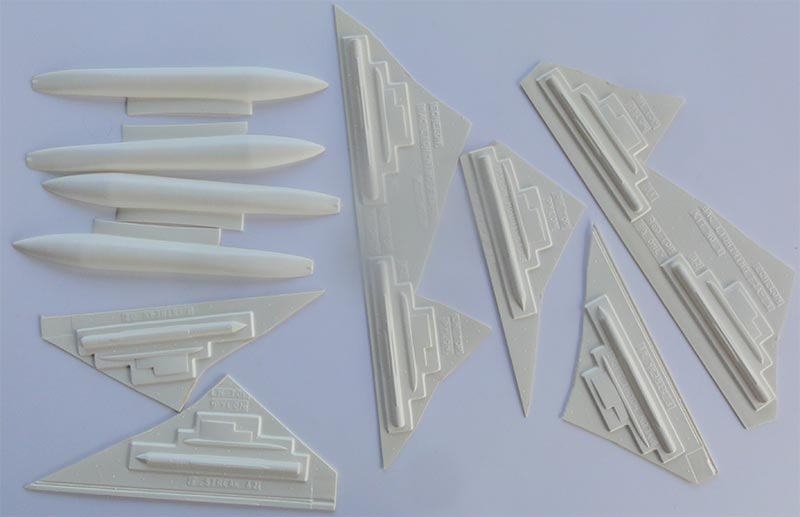
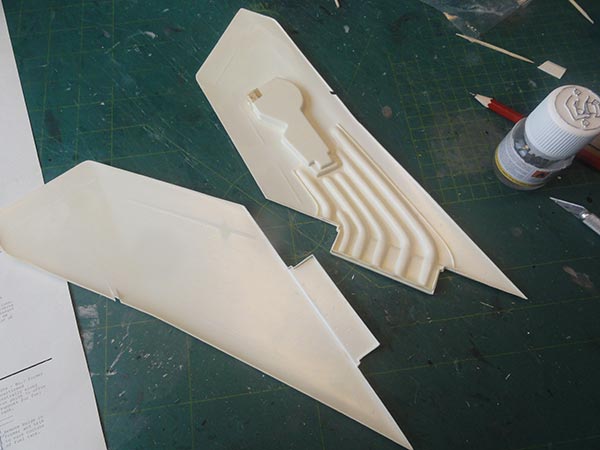
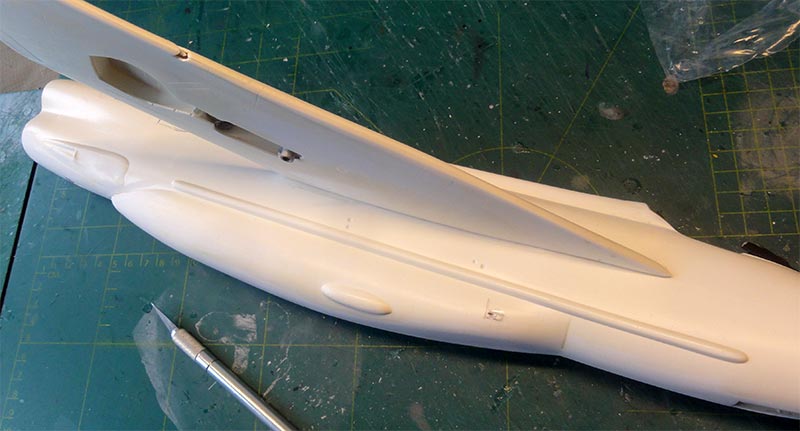
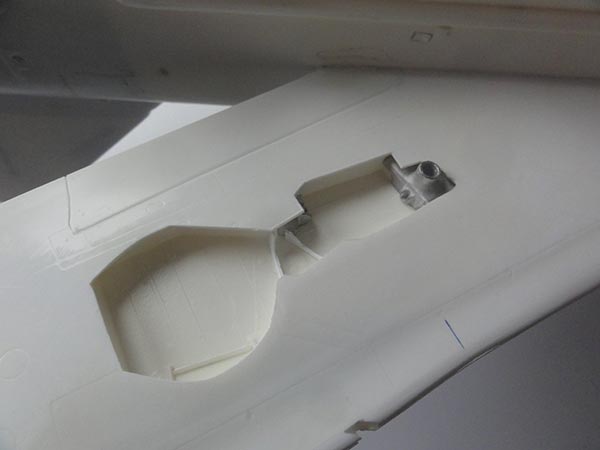
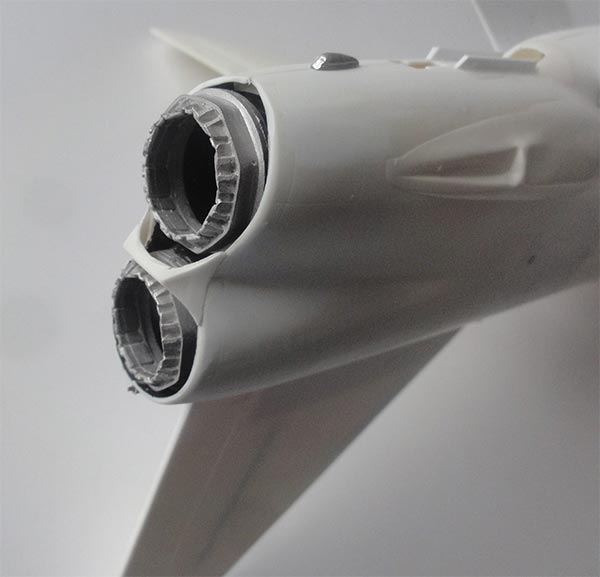
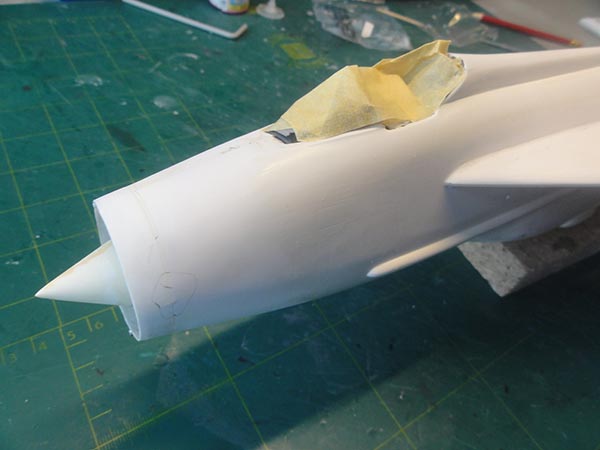
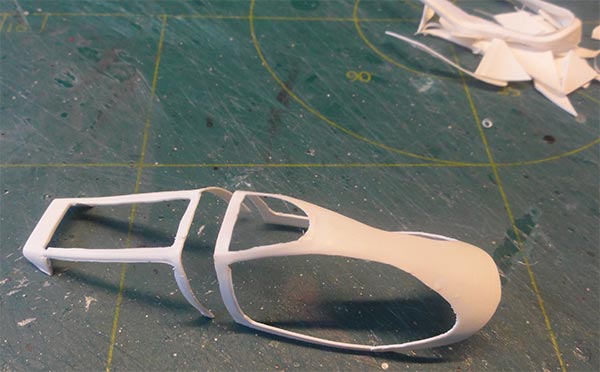
The intake duct and bullet vacu parts are seen.
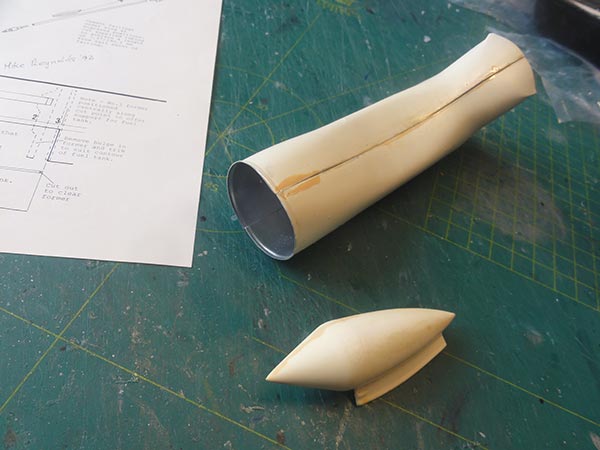
On the duct, tape will be set for added strength. The nose gear bay parts needed some trimming and it took quite some time to install the parts symmetrical and central in the open nose.
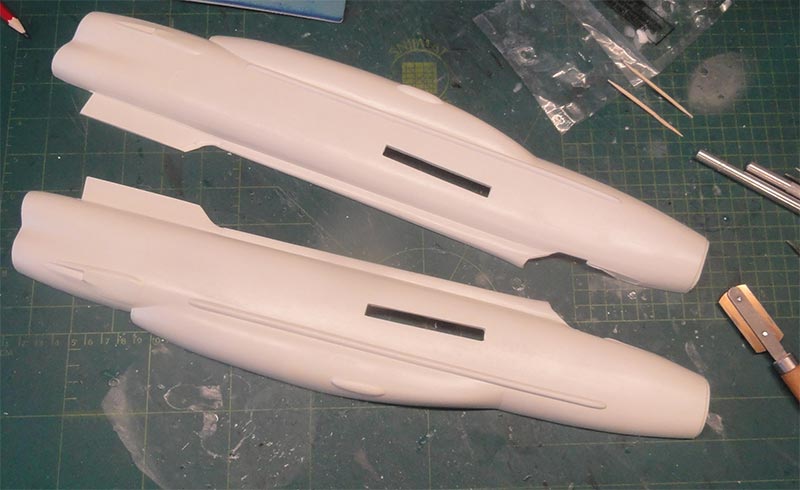
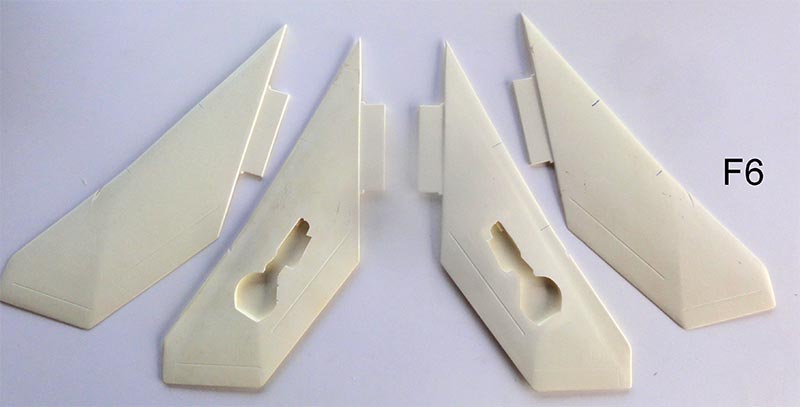
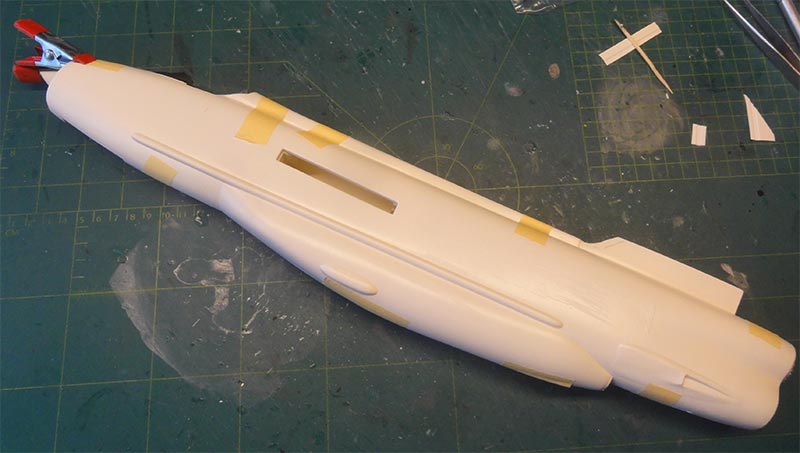
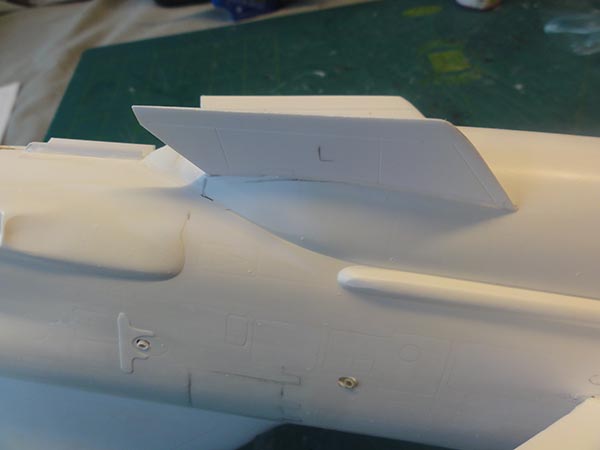
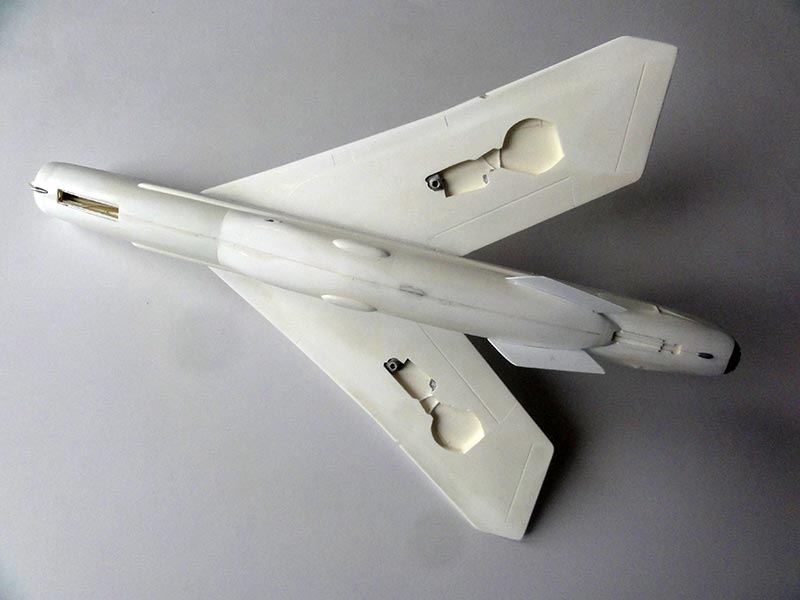
The wing halves fit in slots and have thick lugs for a strong joint. The fuselage slots were opened up. The arrestor hook recess as seen on the F6 will be cut out as well.
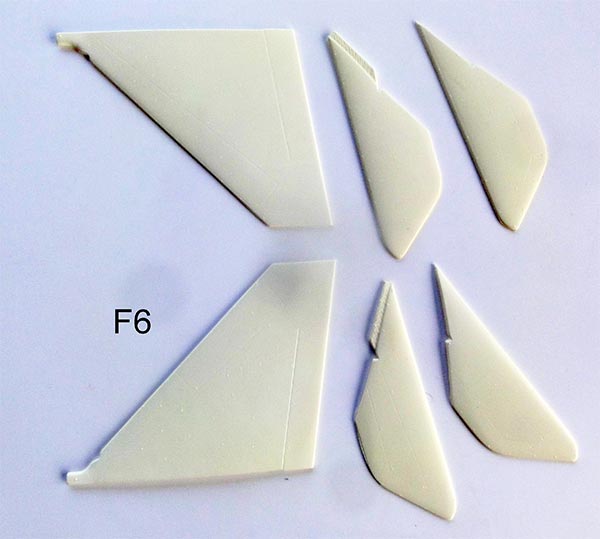
You also get bulk head formers for extra strength.
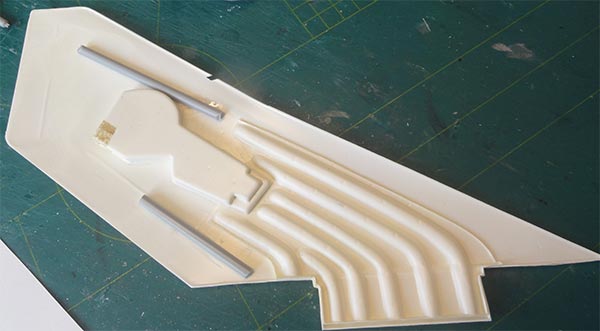
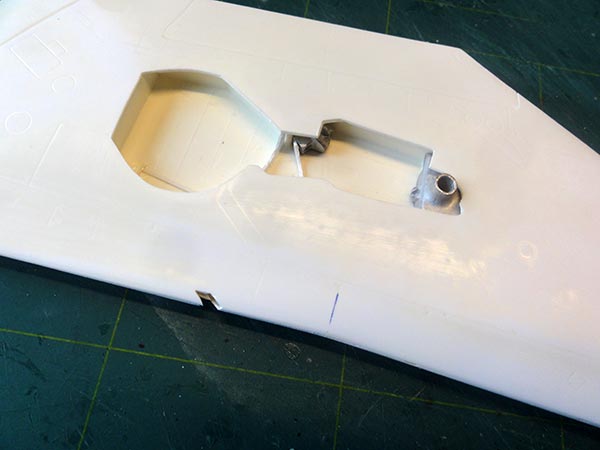
Inside the wings are extra vacu parts to get a strong wing with gear bays. These were glued with thin glue, avoid tube plastic cement on vacuform kits.
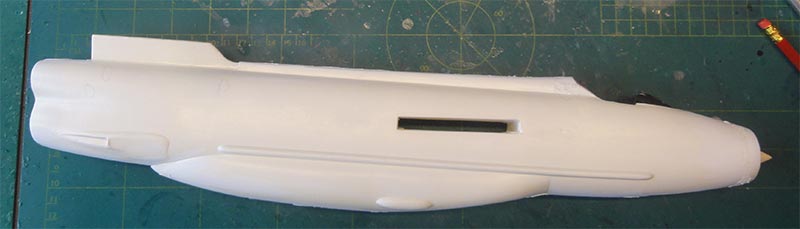
For joining the wing shells, clamps were used.
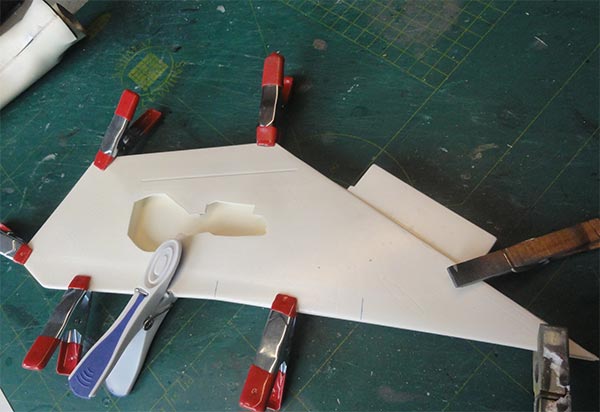
Some putty was needed at the edges with sanding.
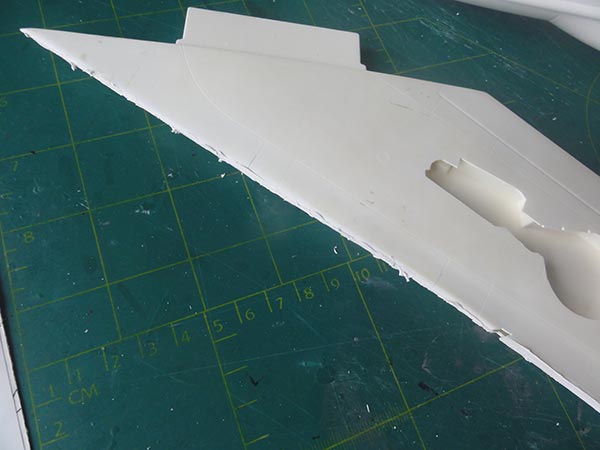
Some scrap details were added as suggested in the instructions. Some riveting was done as well.
Back to the fuselage. The tail jet pipes were made but this is not so easy. Sheet was winded around a circular wooden handle. Glue and let dry.
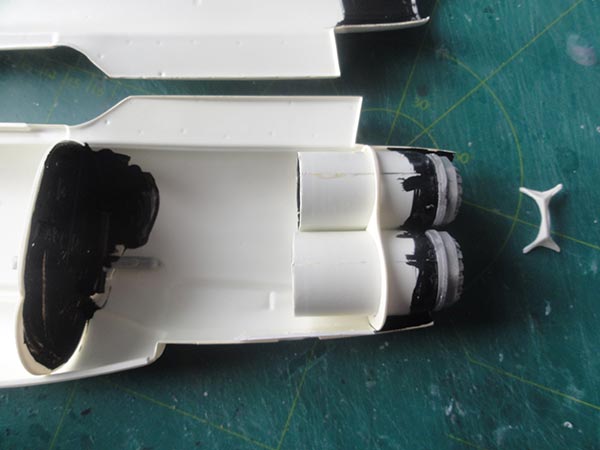
The rear bulkhead was painted black, this will suggest deep pipes.

The casted metal exhaust rings and pipes were not yet fixed and will be adjusted later.
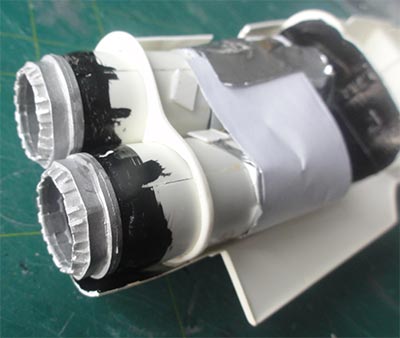
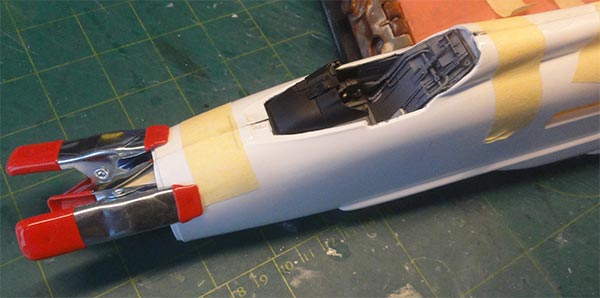
The intake duct and cockpit installment was checked and with the nose gear bay set. Note there is not a lot of margin.
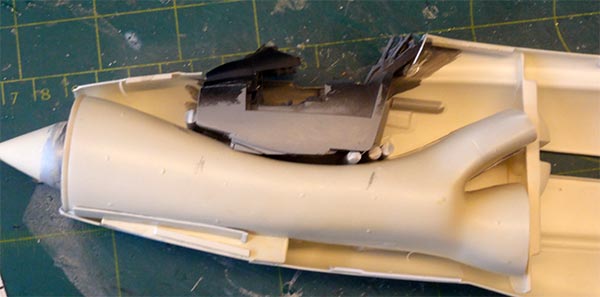
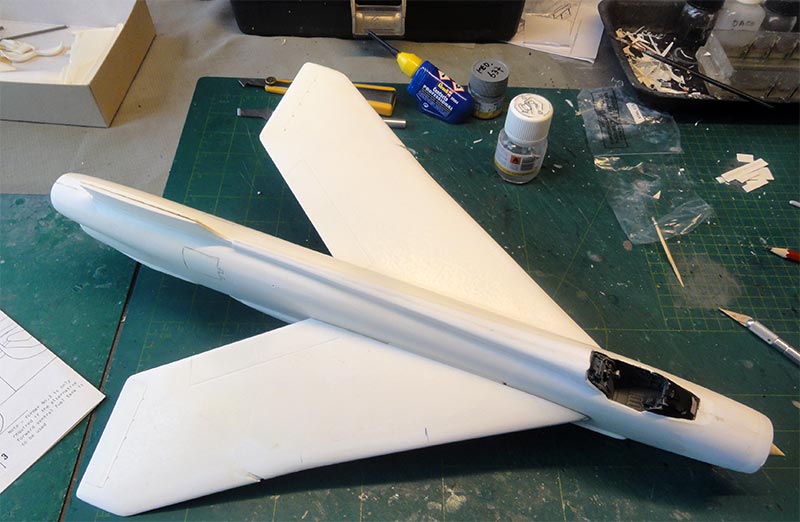
The cockpit and its instrument panel had been detailed earlier as per Aires instructions and installed.
The intake duct front is not yet glued to the fuselage nose for further alignment. The fuselage halves were joined after strips were set inside for stronger joints. Use tape and let dry.
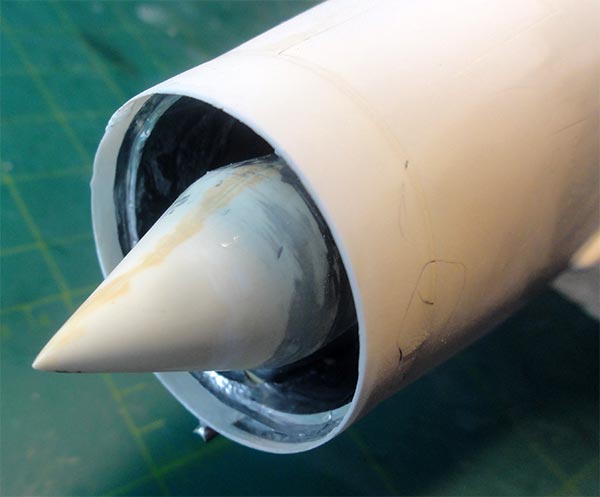
Than the intake duct front was set. Note that Echelon has a separate plastic part for the nose intake ring which is essential to get a good looking intake ring.
The intake ring was seperated from the vacu sheet, it is a bit tapered vertically. After installment, putty will be needed. The nose radar cone bullet was also set. It is impossible to do a lot of sanding as the plastic is very thin and vulnerable. I used metal tape to close inside gaps.
The fuselage got putty at the edges like spine as well. Sanding was done.
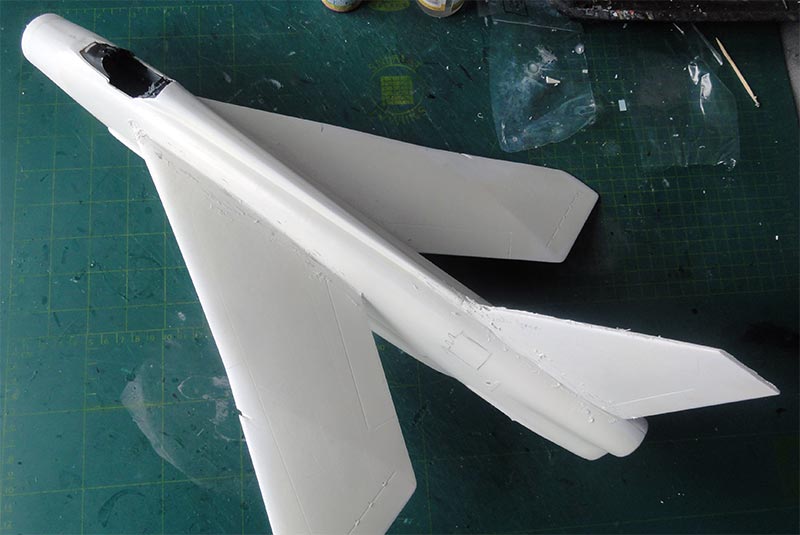
The big wing halves were joined with the fuselage.
There is a slight wing dihedral, check with the instruction drawings. Fit was surpringly good with the thick lugs. Let dry 24 hours.
Meanwhile...

The F6 vertical tail was glued but not at the lower joints as these will be done when setting on the rear fuselage top. This is seen here ensuring a pure vertical installment.

Putty was again needed with sanding. This still is a vacuform!
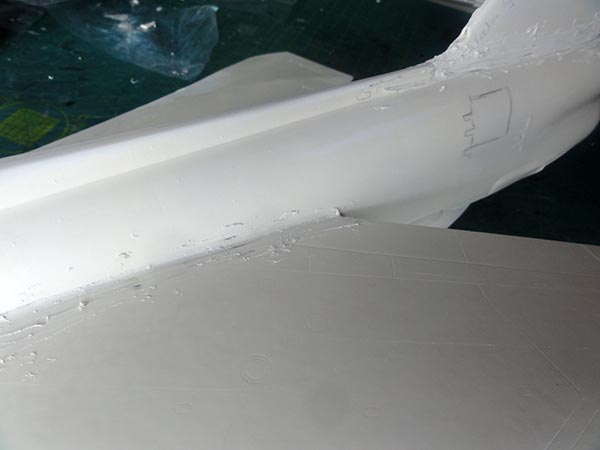
At the lower joints, putty is needed as well also on the belly.
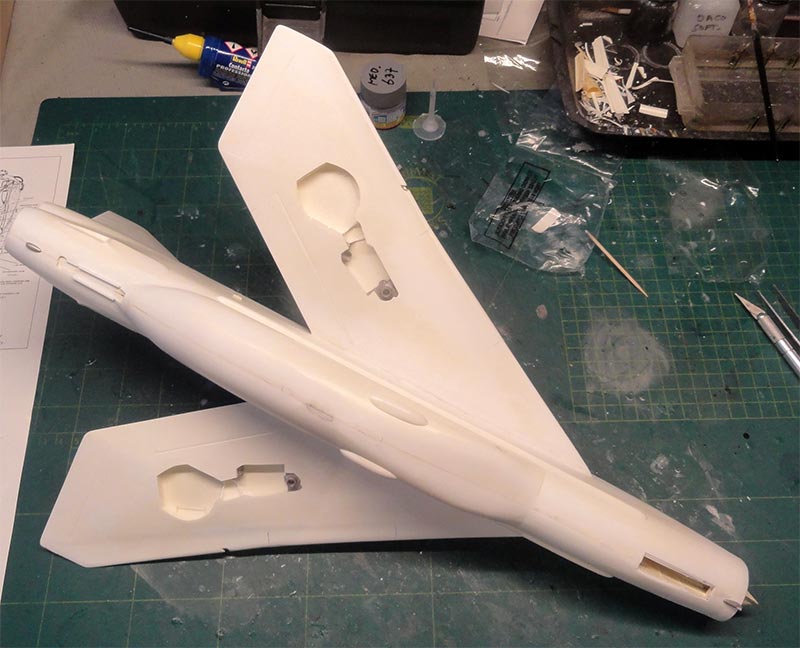
Some small metal bits were set as well and the arrestor recess plates.
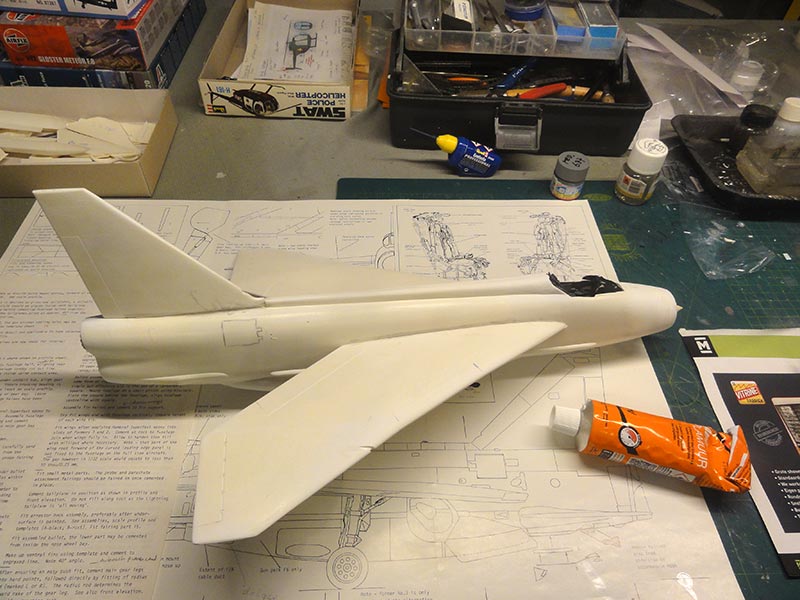
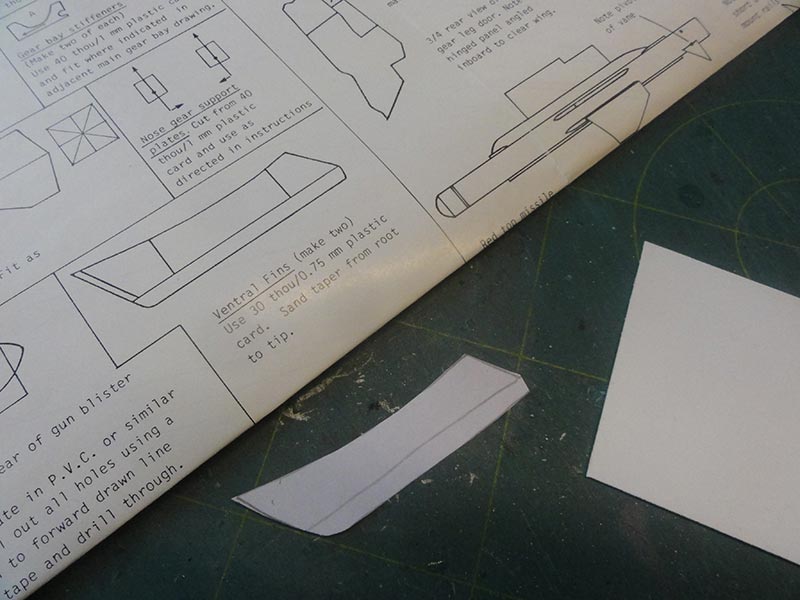
The main model assembly was now done. The 2 ventral fins were made from thick plastic card using the instructions' templates. Sand sharp edges.
These were installed on the rear belly section, some putty and strip was needed.
A small raised plate will be added at the left rear outlet later. The fairing between the exhausts was also set. The metal rear exhaust ends are still to be positioned in exact position, they are not yet fixed with glue as outside pipes are still to be installed.
The 2 gun openings were drilled open and an open tube from Evergreen set inside and faired.
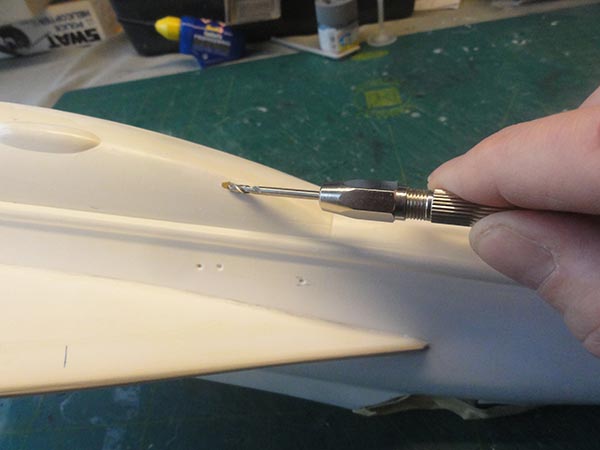
Some smaller vents were also drilled open.
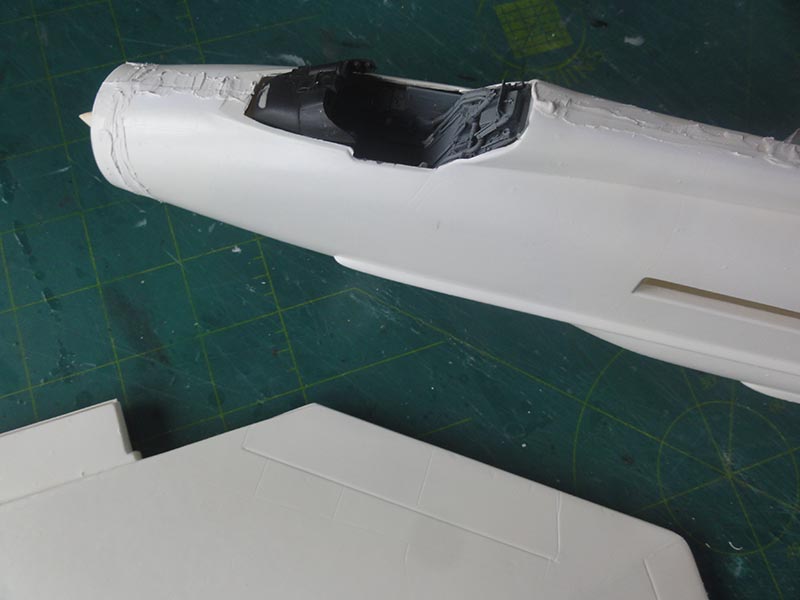
The nose gear bay still needs some putty and strip. The cockpit opening got protecting tape. Some spots needed again some putty and sanding.
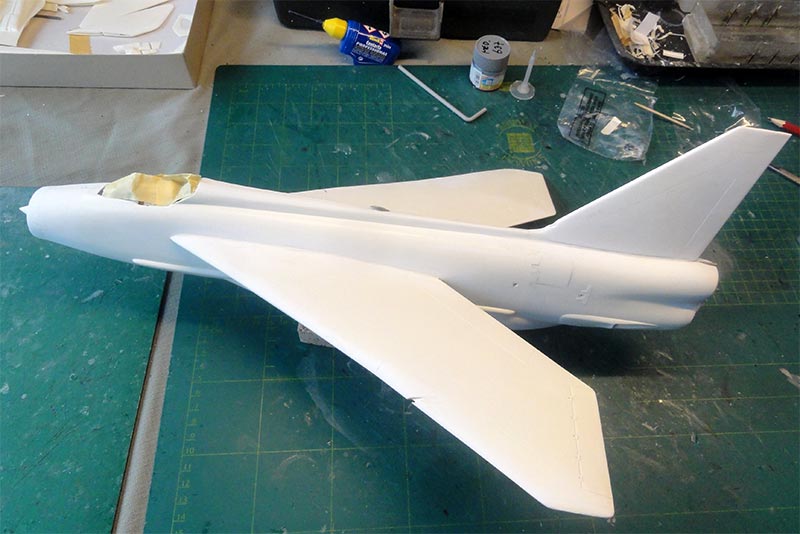
The stabilizers were made as well. (NOTE: I should have checked their alignment with the fuselage tail that would reveal a few strips were needed to make the gaps smaller).
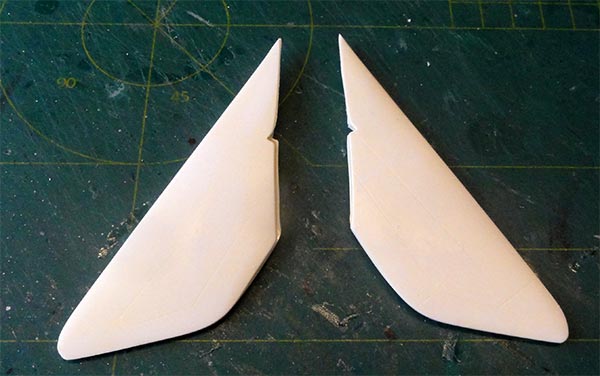
Will be installed at a very late stage after painting.
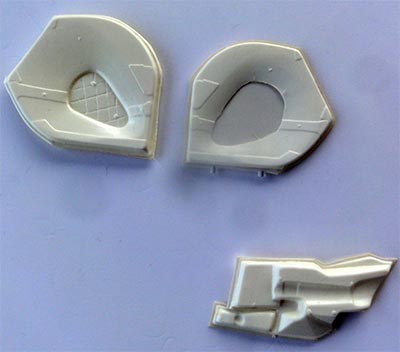
Landing gear doors were prepared.
The canopy is acetate sheet, this needs VERY careful cutting out. Unfortunately there was a dent in the upper area in my kit.
The inside canopy frame was also prepared as it would get paint. A sharp X-acto knife was needed.
All main parts for this Echelon Lightning F6 model were now ready to get the first primer paint coats. The model would get a bare metal finish so smooth surfaces are essential. Repair any small gaps and remove any scratches through polishing.
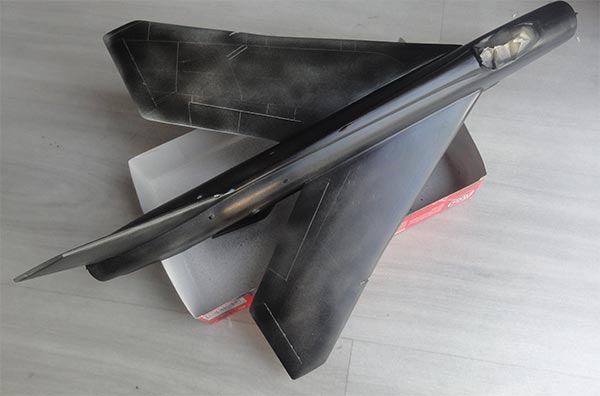
The model now got a base grey coat by airbrushing Revell Aqua 75 steingray acrylic but obviously any grey will do. It revealed a few areas that needed some more putty and sanding.
To get deep metallic finishes, the model was now airbrushed....
... with "AK black primer and microfiller paint #AK757".
BUT THAT PAINT NOT dried even after 6 weeks... it nearly spoilt my model so I will NOT USE this paint ever again.

I turned back to my usual gloss black with Revell Aqua Schwartz acrylic as black base coat.
Back to 1/32 Scale models....

(c) Copyright Meindert "designer"/ All rights reserved. Your comments are welcomed by webmaster
Created this page
July 5, 2023