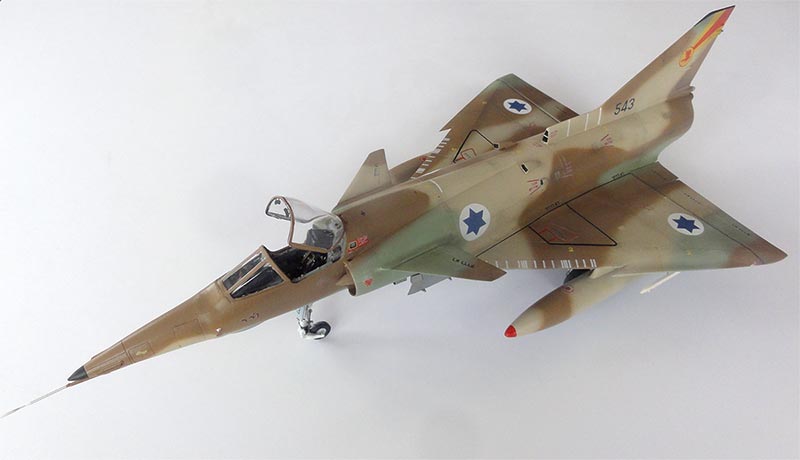
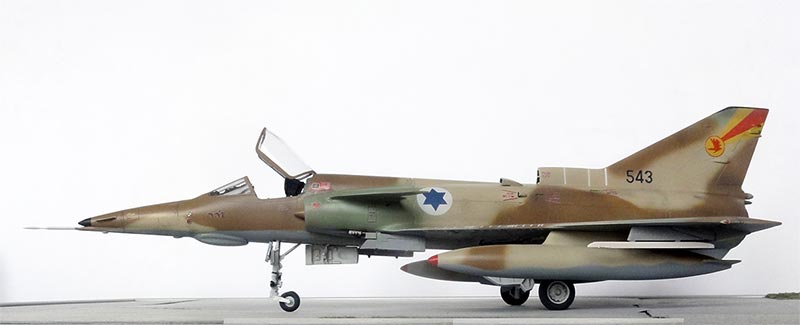
old Revell Mirage III conversion
[ Page 2 ]
Page 1
Page 2
... continued from page 1....
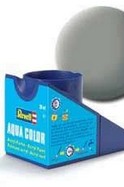
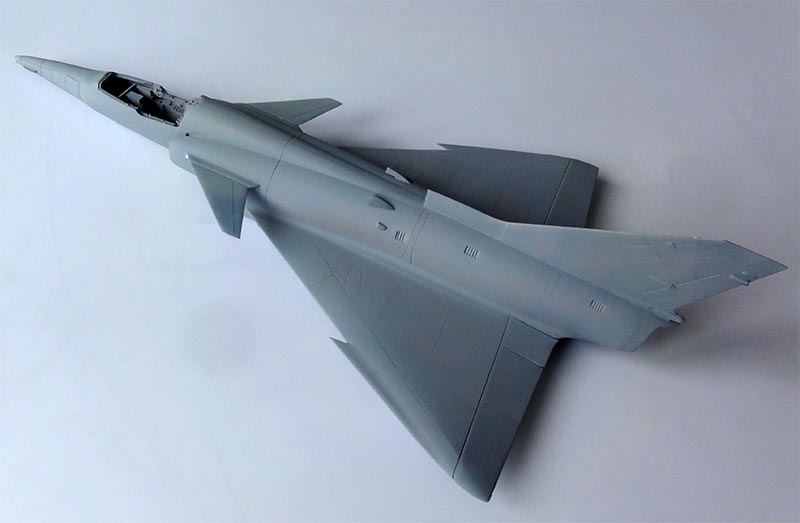
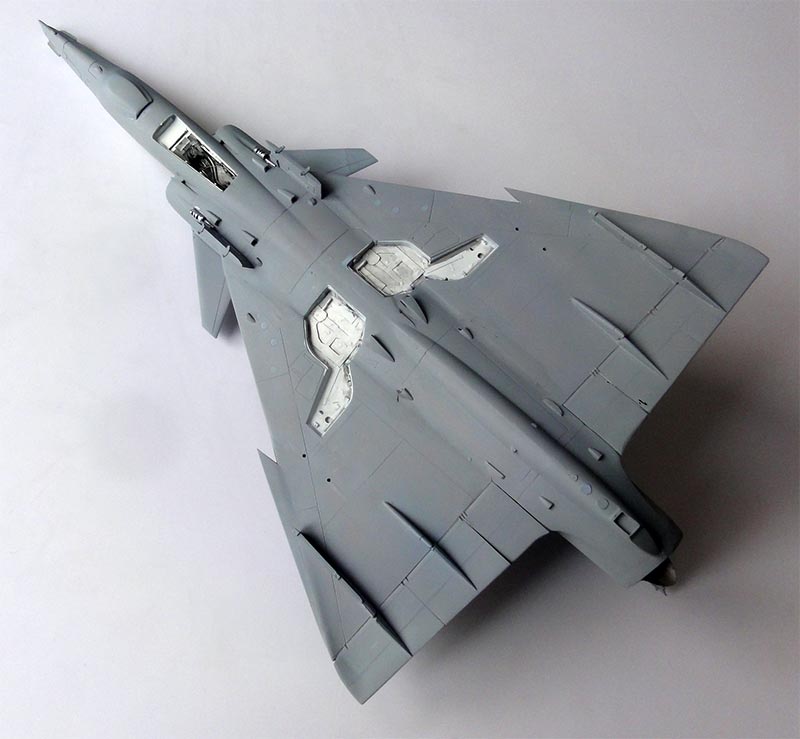
The main assembly had
been done. The model now got a base grey primer coat airbrushing my
favourite Revell 75 steingrau acrylic paint. Any discovered flaws were repaired with putty.
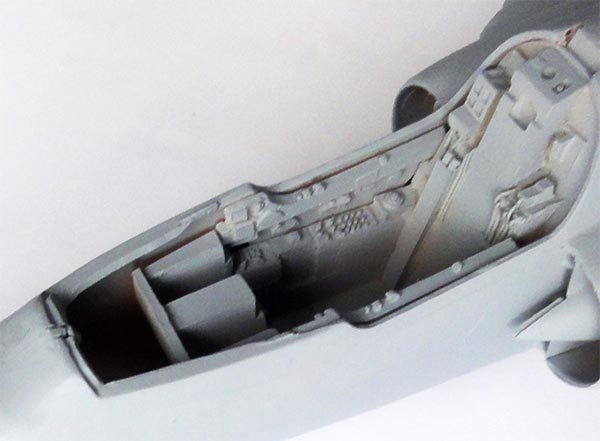
This Kfir C.7 model would get a camouflage paint scheme and markings for the IAI Arava Guardians squadron.
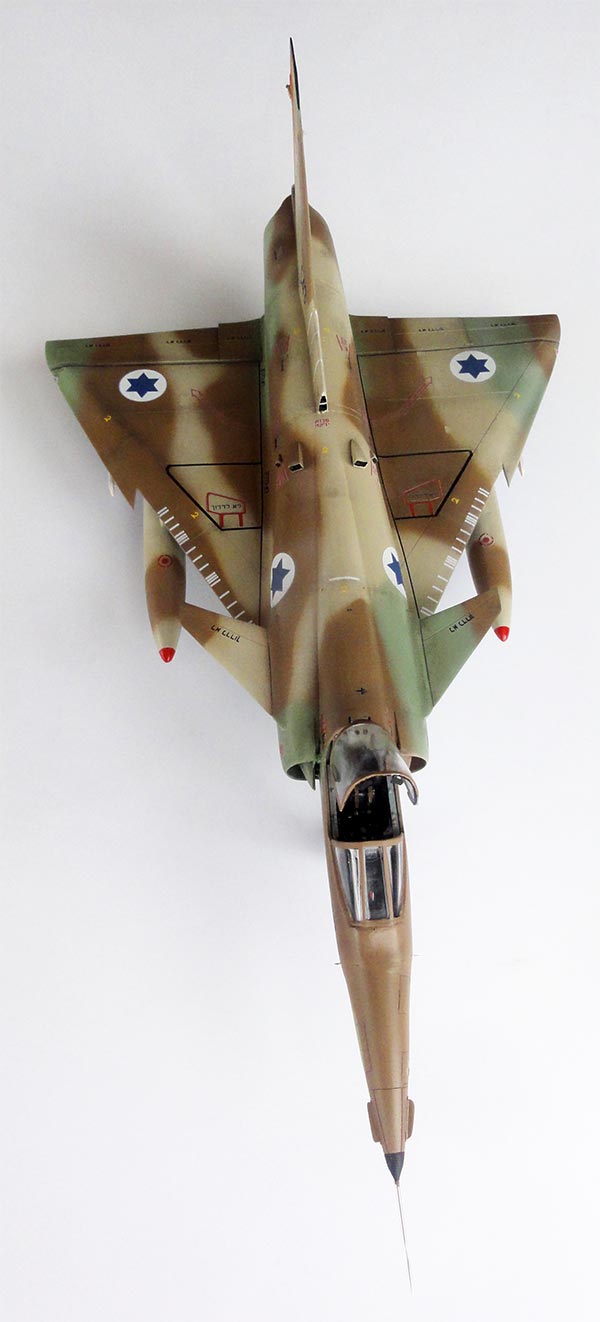
The lower surfaces were FS36375. The upper camouflage was FS33531 brown and FS30219 darker brown. The Isradecal book from Israel suggests that these Kfirs had slightly lighter blue IAI roundels. Also they had not the IAI FS34227 lighter green but a slightly different lighter green FS34424 camouflage; this looks like "Sky type S". I used my favourite Gunze Sangyo Mr.Hobby acrylic paints with the Gunze Sangyo Mr Hobby acrylic thinner.
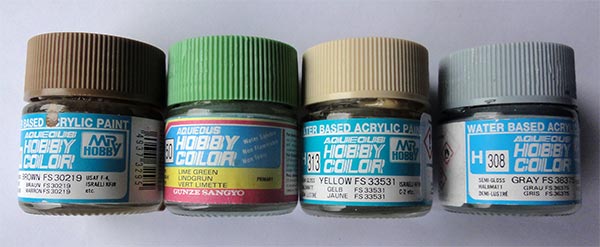
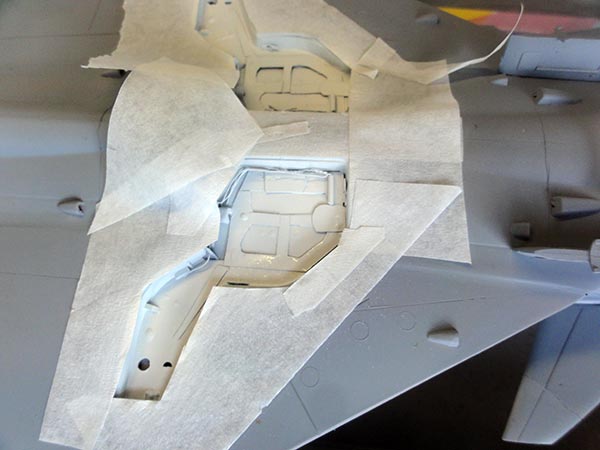
The lower surfaces were airbrushed FS36375 gray with Gunze Sangyo Mr.Hobby H308 acrylic. Masking was done. The gear bays were masked and airbrushed white.
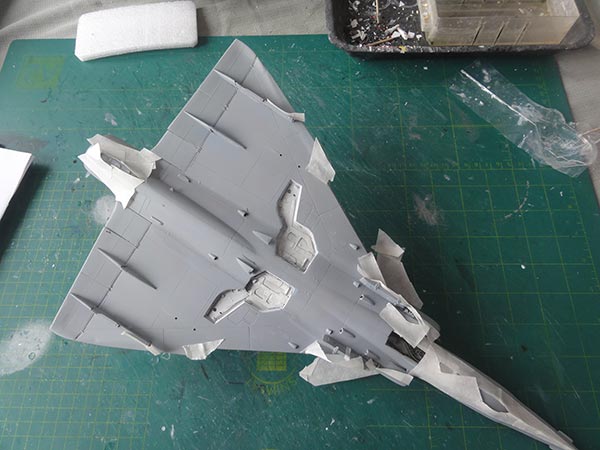
Than followed "free hand" airbrushing the upper colours: FS33531 with Gunze H313 and darker brown Gunze H310. For the lighter green FS34424 a mix was made of 50% FS34227 Gunze H312 and 50% Gunze H50 lime green.
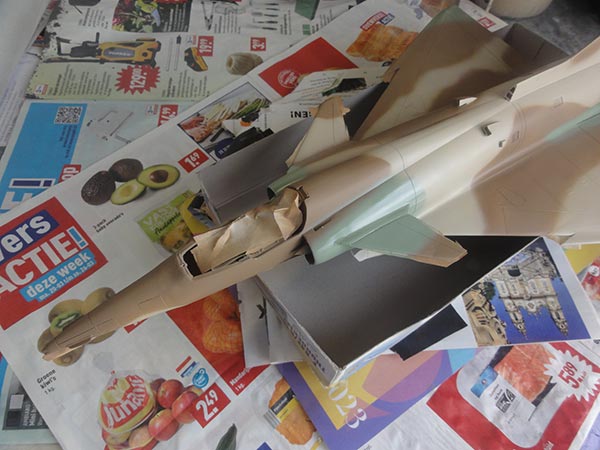
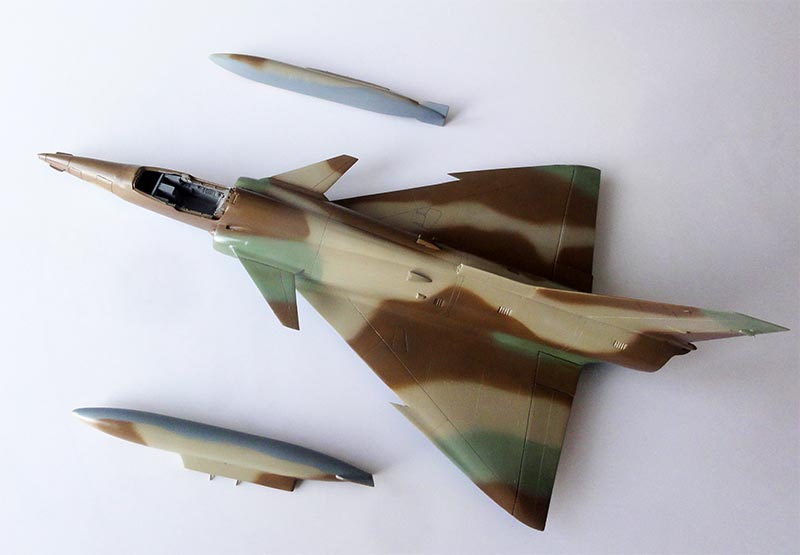
Airbrushing the fuel tanks as well was not forgotten. The cockpit interior was airbrushed medium grey FS36231 but will be detailed later on.
It
was seen now that the structural intake cross bar to the fuselage side
was a bit too prominent. It was reduced in length size with a
X-acto knife so it is better to do that prior to installing.

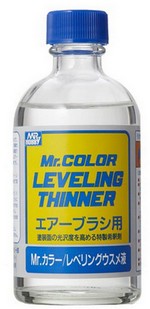
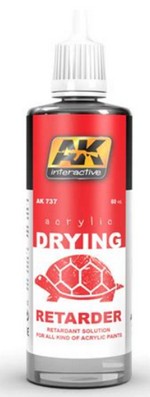
The model got a few coats of varnish. I airbrushed a mix of acrylic Johnson Future / Pledge 80% with 20% Gunze Mr. Hobby levellling thinner and a few drops of AK acrylic AK 737 drying retarder. This works out fine.
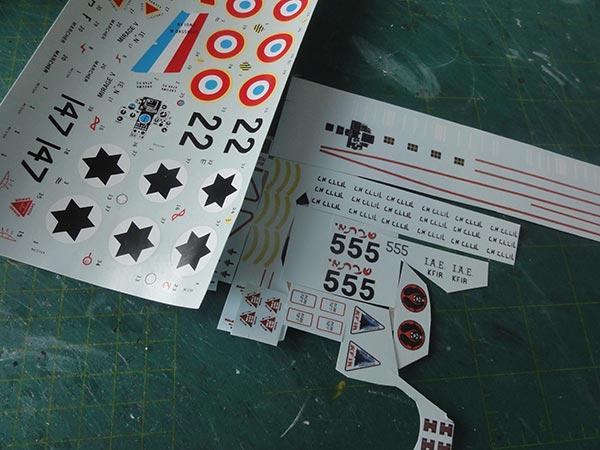
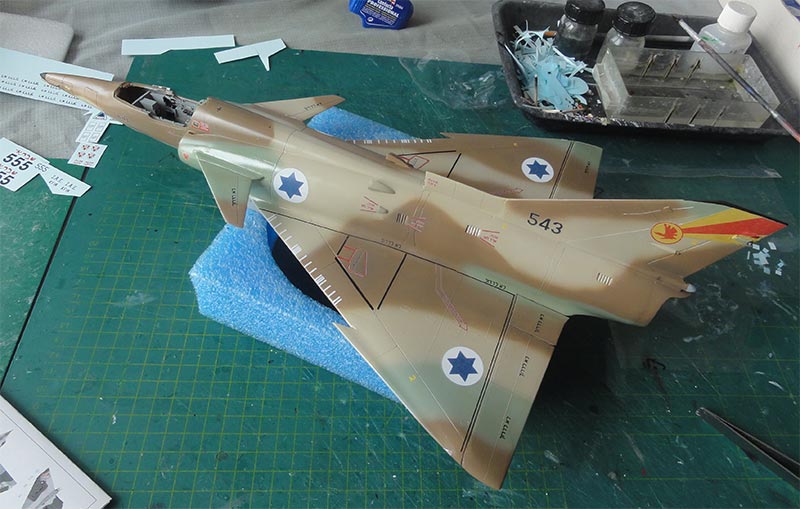
This Kfir C.7 model would get markings for the IAF Arava Guardians. The CAM resin set had no decals and the decals were home designed and laser printed by a Third Party. (there are also other aftermarket decals).
It is worth noting that the Kfir C.7 variant featured lighter IAI roundels than other IAF jets, prompting a slight color adjustment in the home-designed decals to accurately reflect this detail. 
Decals were also used from the old 1/32 Revell Mirage 5 kit and the new Revell Mirage III kit.
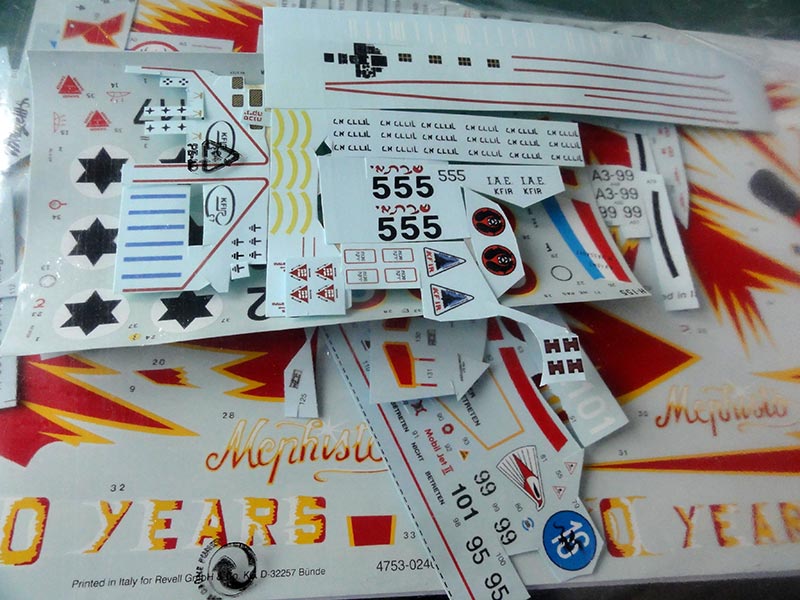
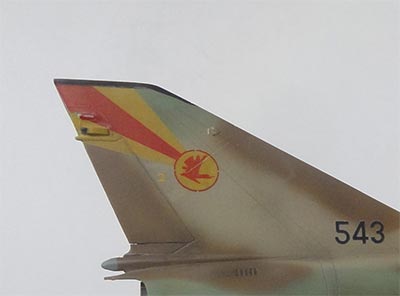
Decalling was done. The long walk way stripes on the wing came from the spares box. It took a whole day to add the many decals. I also had to patch up with paint with a brush some raised decal detail at the Guardians fin markings. Let dry.
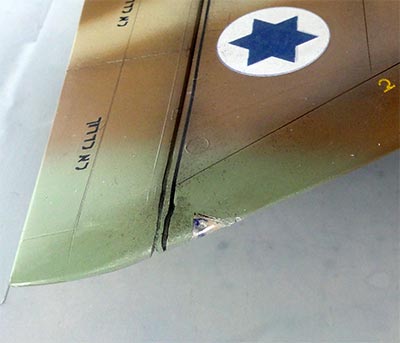
The wing tip anti-collision lights are at slightly different wing location on the Kfir. The Revell light parts were filed a bit smaller, notches cut out of the wing leading edge. The right notch got a green dot, the left a red dot. The transparant lights were fixed with Micro Kristal Kleer.

Installing the remaining bits of the 1/32 Kfir C.7 model was now done.
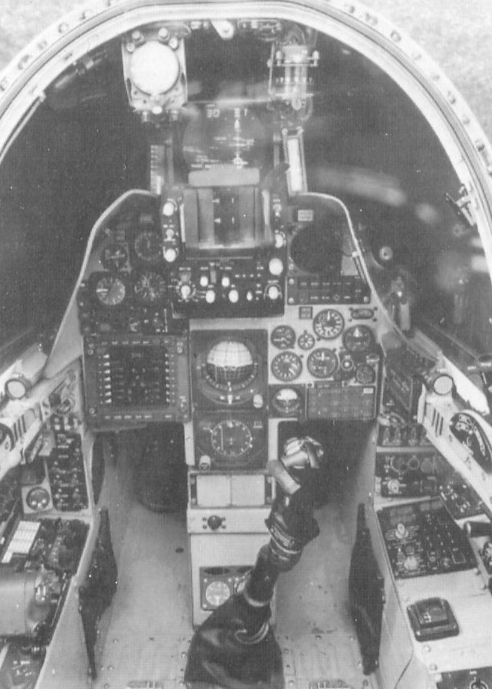
The C.7 cockpit interior had been airbrushed medium grey FS36231 earlier. Instrument panels and consoles are in the CAM set and now got black details, white gray knobs and switches with brush painting. Reference photos were studied like the black-white photos in the Isradecal book and cockpit colour photos in the International Air Power Review Volume 15 book page 144. There are large CFD HOTAS displays and some spare decals were used for the smaller instrument clocks.

![]()
It was now time to install the big landing gears. The CAM set has the gears in casted metal and I also had a Scale Aircraft Conversion #32030 casted metal gear set for the Mirage III. The SAC gear legs are slightly thicker so I used these with the metal wheels and these wheels have flatted tyres. I hope that the metal parts will hold in time because of the kit weight.
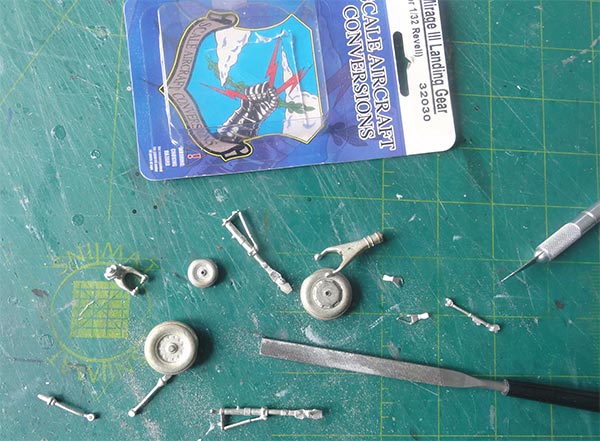
The metal gear legs fit fine and are slightly at an angle with the wheels at 90 degrees. Thick superglue was needed here.
The gear legs and wheel hub were painted "dirty" white as had been the detailed gear bays earlier. A lot of tiny bits were added onto the gear legs and inside the gear bays, like hydraulic wires/ lines from fine lead wire from JMC Hobby. I used throughout the fine Isradecal book that has good photos.
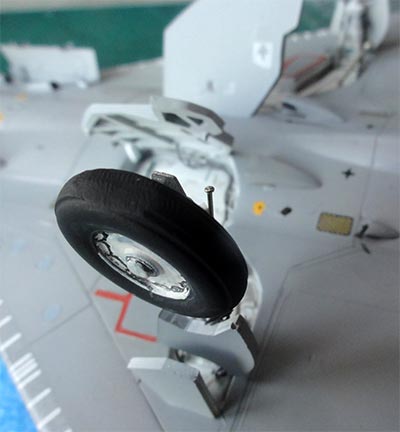
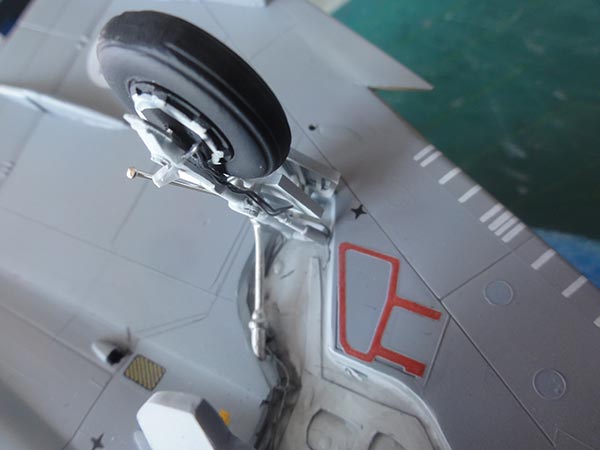
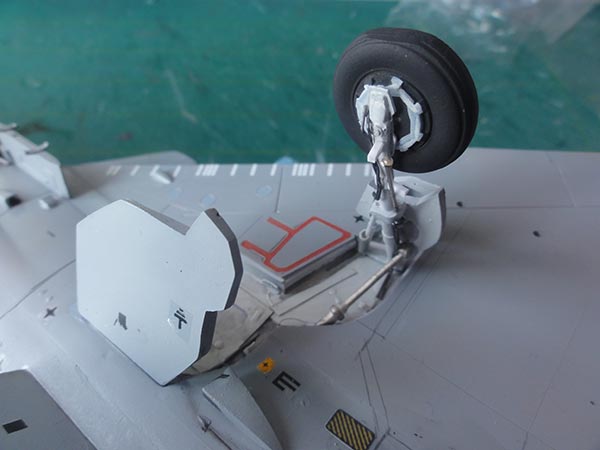
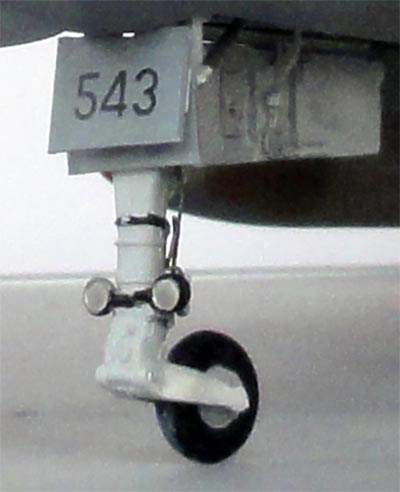
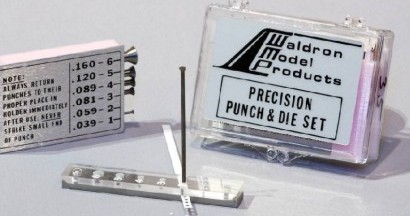
The CAM set had Kfir main gear doors in resin but I did not find 2 nose gear doors in my set. So the 2 nose doors were made from plastic card. The various retraction rods were also made from scrap. The nose landing lights are in the CAM set and got discs made of blinking foil punched out with a Waldron punch and die set.
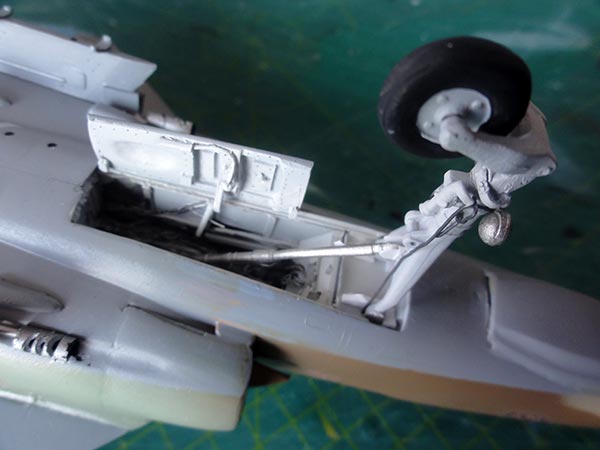
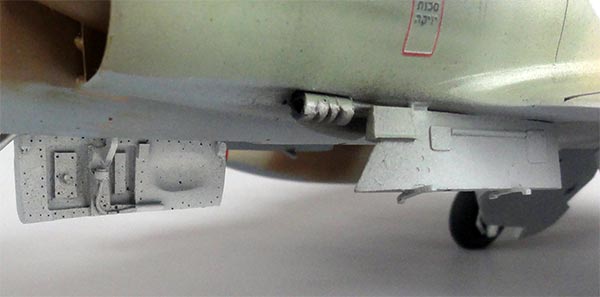
The DEFA gun nozzle is seen here and a barrel was added on both sides. The inboard pylon is the latest type with a additional fairing at the edge.
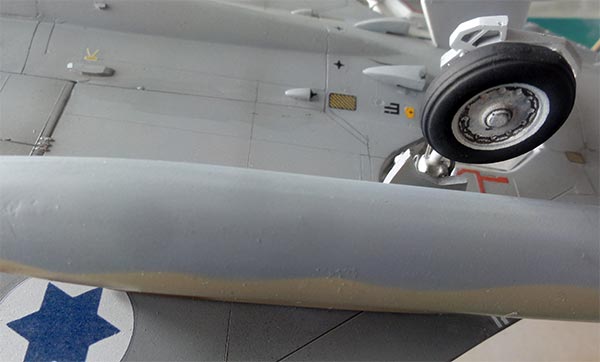
The prepared large wing fuel tanks with different rear fin layout were installed on their pylons. At the rear of each tank is a connecting support rod towards the wing; this made from strip and painted FS36375 (not seen in the photo).
![]()
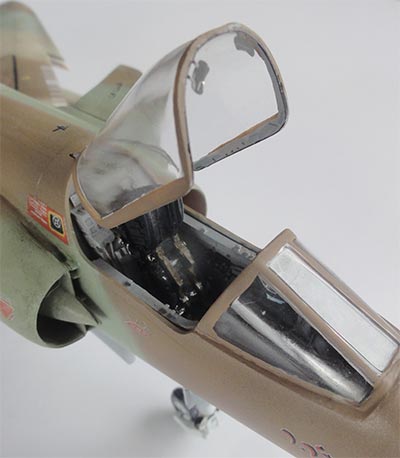
The Revell kit canopy and wind screen parts were used for the Kfir model. Two small holes were drilled at the rear of the fuselage edge at the cockpit opening to accept two tiny wires fixed to the canopy to keep the canopy detachable.
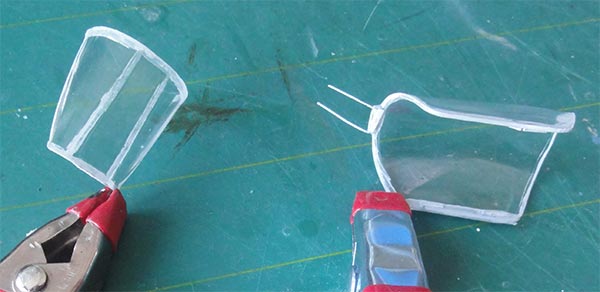
The outside canopy frame colour is the camouflage tan brown. The inner canopy frames got some scrap details and
were painted light grey. Two mirrors were installed from a 1/32 Reheat Models set.
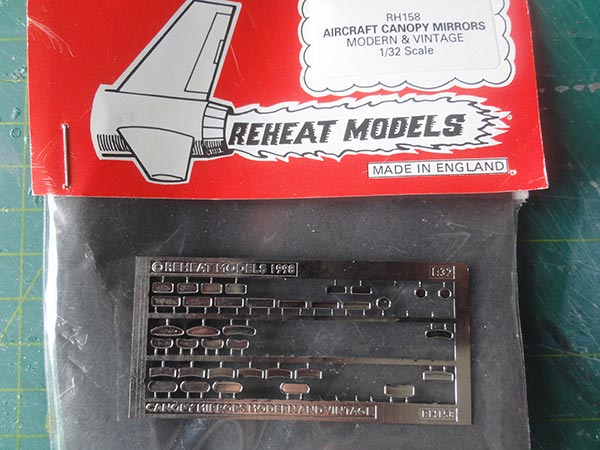
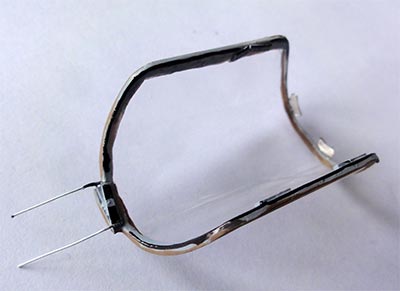
The wind screen as per kit was fixed with white glue and the gaps closed with white glue as well. Let now dry for at least 48 hours.
![]()
I now patched up the painted surfaces over the decals and the panels by airbrushing very tiny amounts of a mix of black and dark brown FS36118 Gunze Sangyo H310 acrylic paint. At very low pressure with the airbrush a few strakes were added following some panel lines and flap edges, do not overdo this.
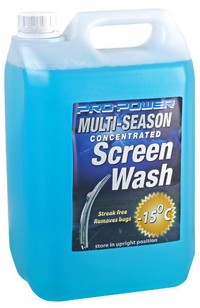
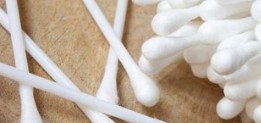
Than with cotton swabs, dipped in car wind screen wash (any brand will do), the airbrushed patterns were rubbed on the model surfaces and made less obvious. This patching work give a nice slightly worn effect to this Kfir model. Let dry.
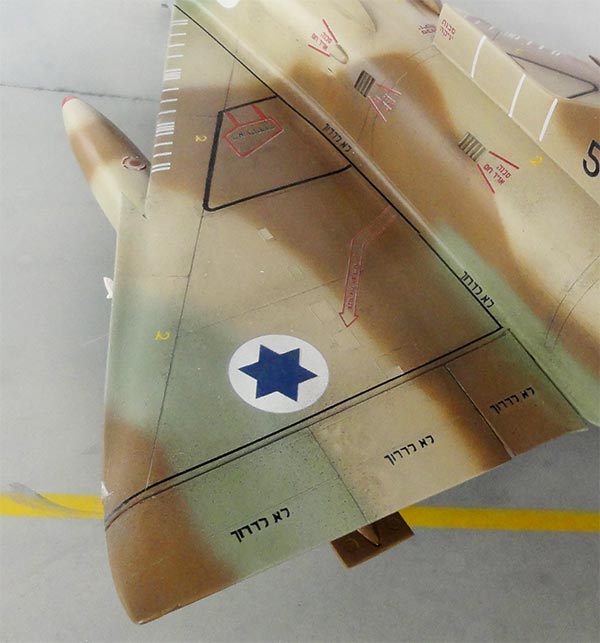
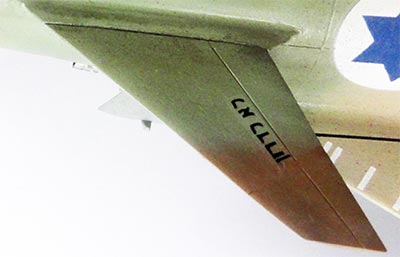

A pencil was used to suggest some gaps at flaps and panels.
![]()
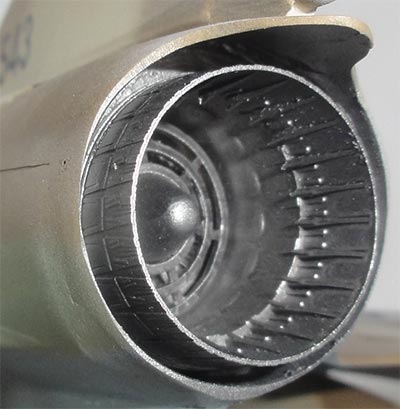
The
CAM detailed resin J79 exhaust ring was set inside the Kfir rear
empennage with super glue. The exhaust insides and flame holder had
been airbrushed earlier metal and black.
![]()
The
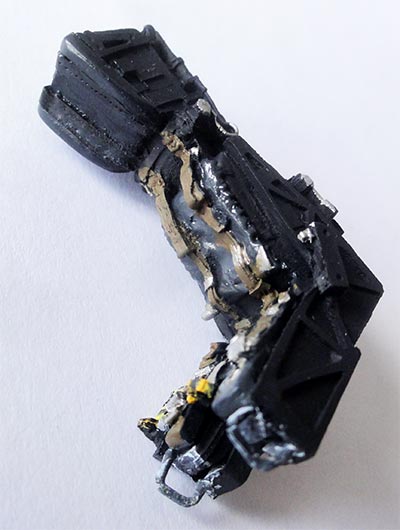
Kfir C.7 Martin Baker mk.10 seat is in resin provided in the CAM set and looks good.
(There are also other aftermarket sets available for this seat). The
main mk.10 seat colour is FS36118 with black details. The moulded seat straps
were painted brown and some buckles added from the spares box. (NOTE: there are NO head rest pull chords on the mk.10).
![]()
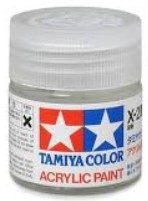
The model finally got a semi-mat varnish to get an even sheen. The mix described above was used but with an extra 10% Tamiya Flat base X-21 matting agent mixed in.
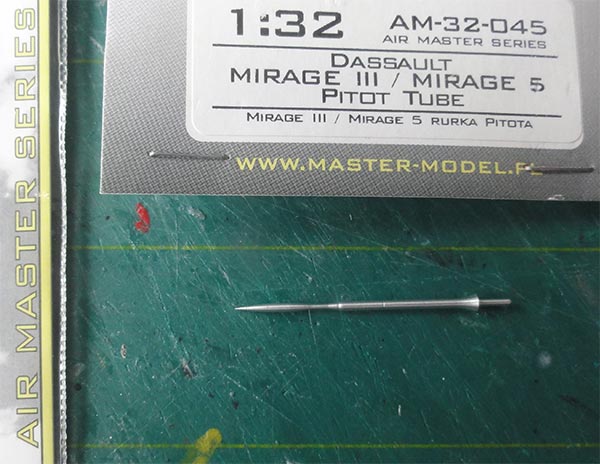
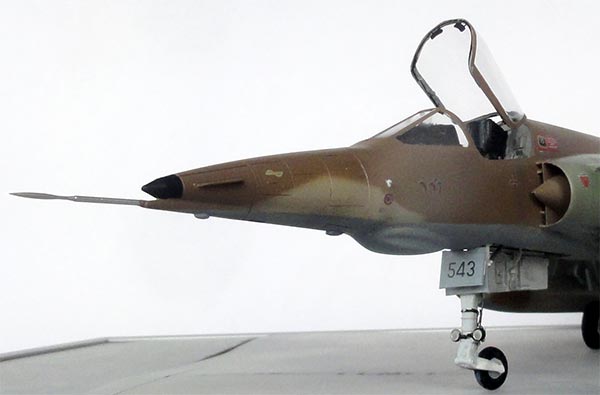
For the pitot tube I used an aftermarket Mirage III metal pitot from Master Models #AM-32-045; its small base was sawed off and the pitot set on the special Kfir nose with superglue.
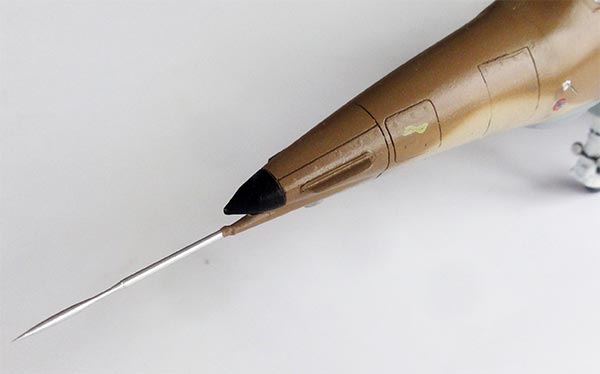
At the fuselage sides 2 tiny temperature probes were installed made from metal needles. On the tail fin, some very tiny antennas were added as well.
The canopy was set in place and is detachable.
![]()
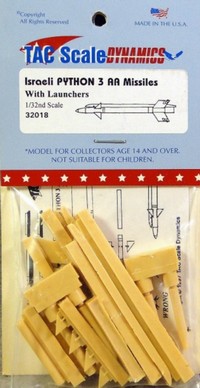
I had a nice TAC Scale Dynamics Israeli Python 3 set #32018 for these air-to-air missiles and their launchers. The resin missile parts have commendable thin fins and the missiles were assembled. Colours vary, many photos show training missiles with blue bodies. I suggested live missiles with gloss white with some stripes from the spares box added. The missile launch rails are painted gloss white as well. All was set on the CAM casted metal outboard pylons (that had been installed earlier).
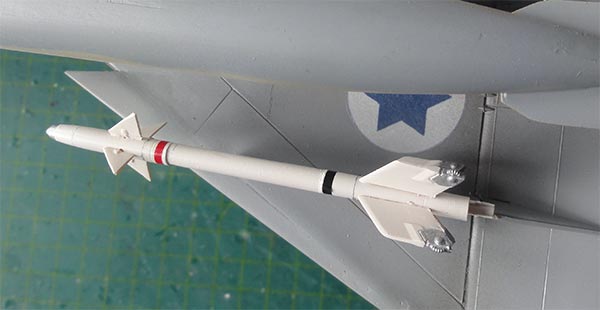
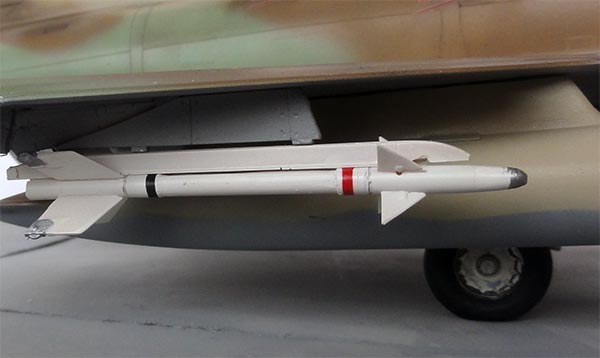
Note that the Kfir C.7 was also capable of dropping smart bombs and than had a Pave Penny pod installed under the nose.
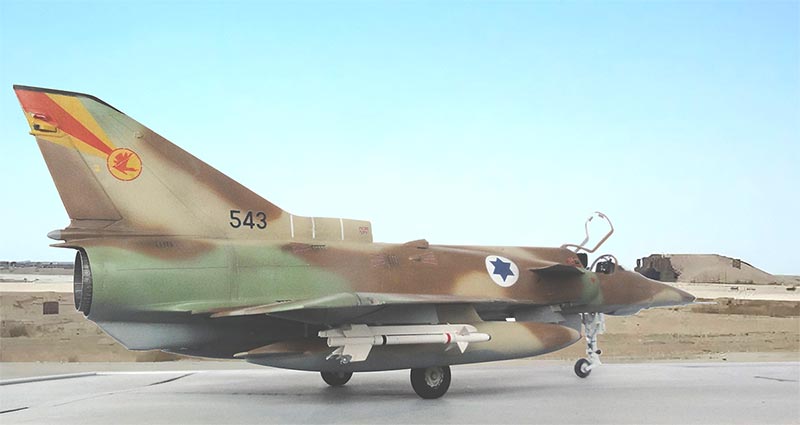
A nice looking 1/32 IAI Kfir C.7 is now in the collection. It took about 10 hours research, 20 hours doing the basic conversion, 10 hours adding the camouflage, 10 hours decalling and 20 hours completing the model, so about 70 hours in total.
![]()
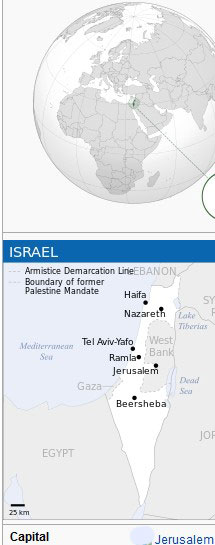

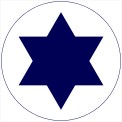
[ area: 21,000 sq.km | population: 9,7 million | capital: Jerusalem | GDP 55,000 USD nominal ]
The Israeli Aircraft Industry (IAI) started to develop in the 1960s jets in secrecy. The Kfir was based on a copy of the Mirage III and the Nesher based on the Mirage V. The Yom Kuppur War on October 1973 a new big war emerged but Israel was capable of to hold. The IAI Kfir made its first flight in 1973 and from 1976 came into service with over 200 deliveries. Some 50 Neshers were also in service.
For more information about the Israeli Air Force, look at the Ouragan page here...
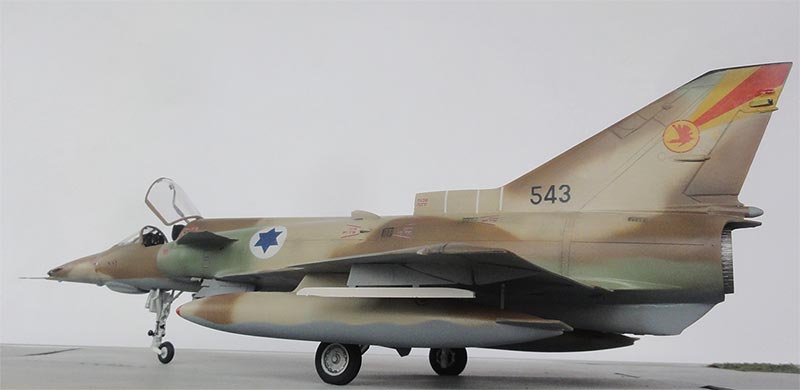
IAF Kfir C.7, code 543 Zohar of the Arava Guardians, 1990
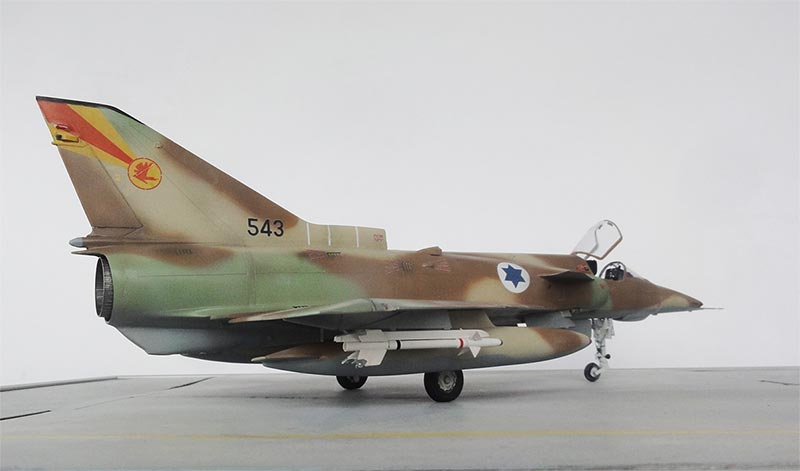
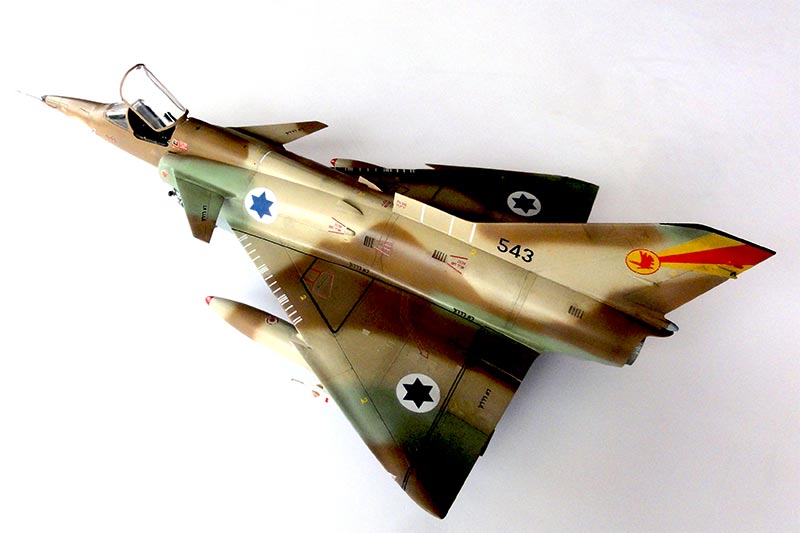
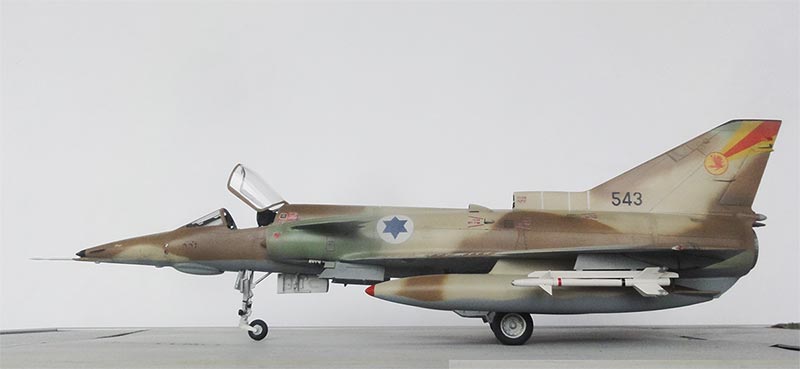
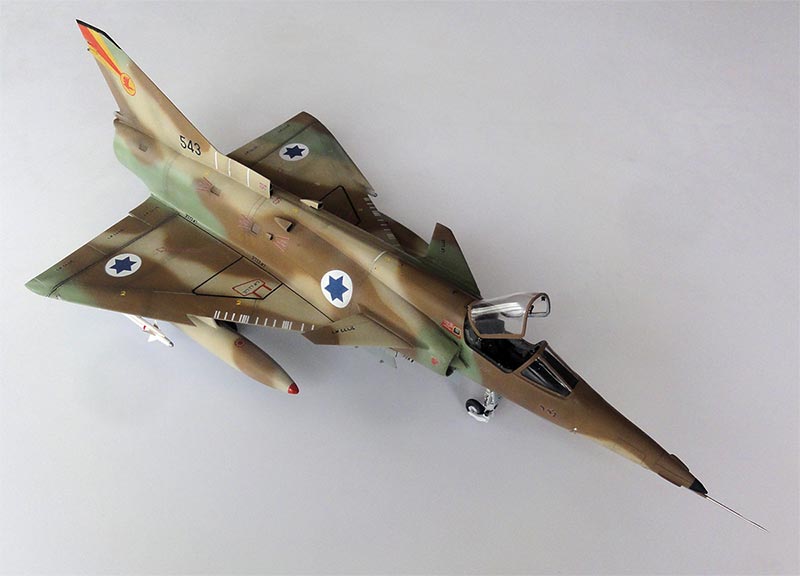
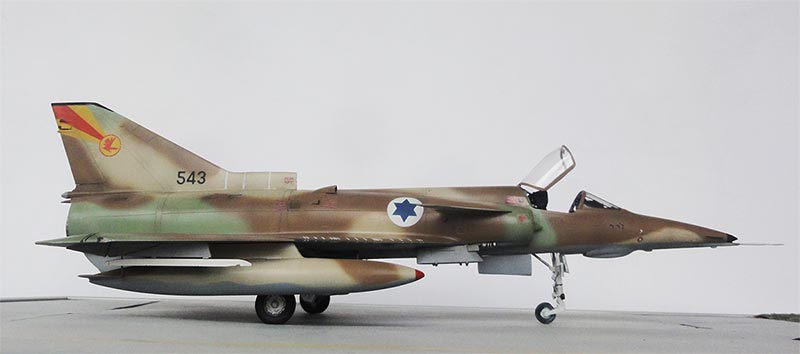
... in a scenery...at an undisclosed base in Israel!
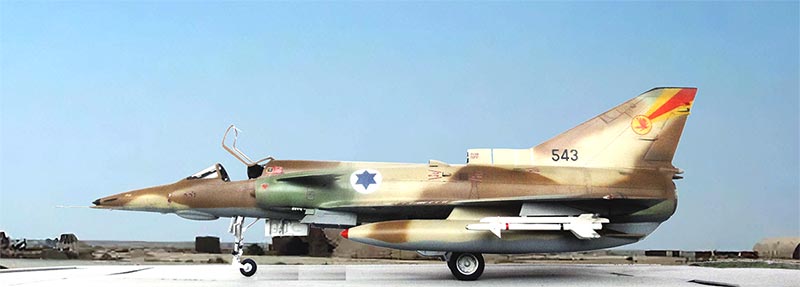


(c) Copyright Meindert "designer"/ All rights reserved. Your comments are welcomed by webmaster
Created this page June 22, 2023
