[ conversion page 5 ]
1/32 conversion to build a T-45 Goshawk US NAVY jet trainer
..... back to page
4...
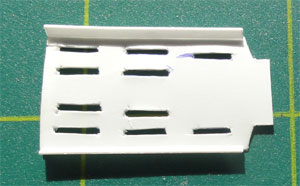
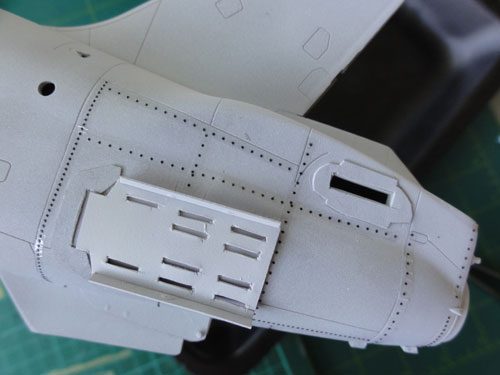
Seen above here is also a small plate on the rear fuselage area to accommate the specific T-45 side air brakes. These were made from card. Some sanding with a file still needed.
Raised rivets on the rear fuselage
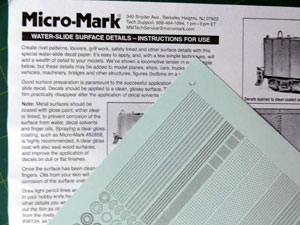
end are also well visible on the T-45 (just like on the Hawk). With MICRO
MARK rivet decals, the rivets were added in several rows. The rivet
pattern is different as compared to the Hawk.
 .
.
![]()
STEP 22
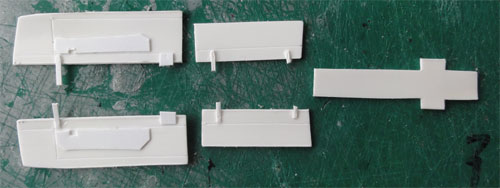
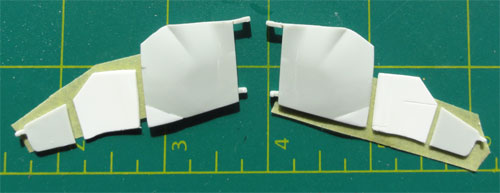
The nose wheel doors are completely
different on a T-45. These were made from plastic card. Note that the forward
nose gear doors are here opened, but on many parked T-45's these are also
often seen closed. So it's up to the modeller what to choose.
STEPs 25-26
D- twin nose wheel gear with catapult
launch bar (and larger nose wheel diameter)
The T-45 has a completely different
nose gear with twin wheels. Wheels were found in the spares box, they have
a diameter of mm in 1/32 scale. (I don't know their origine). The nose
leg was made from plastic rod and sprue. It was painted white.
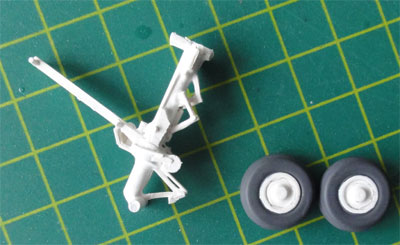
Additional painted detail to be added
later.
![]()
STEPs 29-30 and STEPs 36-40
The T-45 has...
F- stronger undercarriage with
larger main gear (bulged) bays (and bumped fairings on the wingtop root
area)
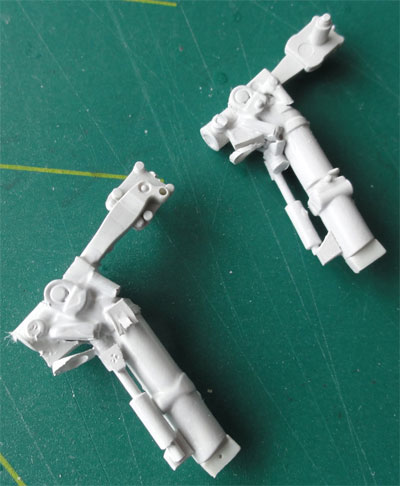
The main undercarriage legs are more
thicker and different in shape though. The kit parts were used but severely
adapted and new bit and pieces of rod, card and sprue were used here. White
glue was used to get smooth shapes. Photographes were carefully looked
at of the real T-45.
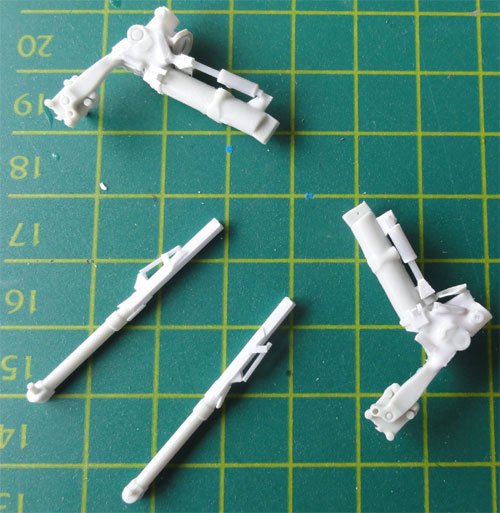 .
.
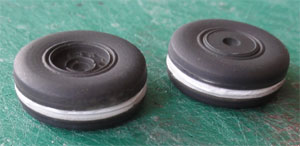
G- thicker main wheels with larger
wheel-hub
It was not 100% clear if the
T-45 main wheels are thicker than on a normal land based Hawk, but they
looked thicker. It was decided to add two round plastic disks between the
2 wheel halves of 0,5 mm thickness each. Made from card, these were glued
and gaps filled. Sand smooth and paint black.
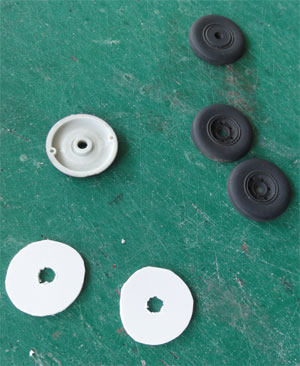 .
.
STEP 33 with the antennas was skipped
as well as STEP 35 for the nose gear.
![]()
STEPs 41,42,43
The main gear doors are a bit different
as well. The inner doors (section of kit part #100 and 107) is more bulged
and has a slightly different shape. Some new doors were made from plastic
card. There is also a movable bulge fairing on the outsides of the main
gear bay. These will be made of 2 spare fuel tank halves.
STEPs 42-43
Inside the main gear bays, some additional
details like hydraulic pipes and wiring was added made from stretched sprue
and rod. The gear doors were not yet fixed, will be done as a last stape
when they have been painted.
STEPs 44-45: not needed for the T-45, a different ventral fin was already made.
STEPs 46-53 Armament: were skipped for this T-45 model.
STEP 54
The kit nose pitot tube #120 was
added. The nose glass was added previously and sanded and puttied.
PREPARATIONS for further painting
The T-45 has a lot of vortex generators (19) on each top wing halve. So, 12 more than the Hawk. These tiny generators were added made from pieces of strip.
Inside the cockpit, large areas are black/very dark grey. The floor panel of the cockpit is light grey on a T-45. So masking was done inside the cockpit and the darker areas airbrushed.
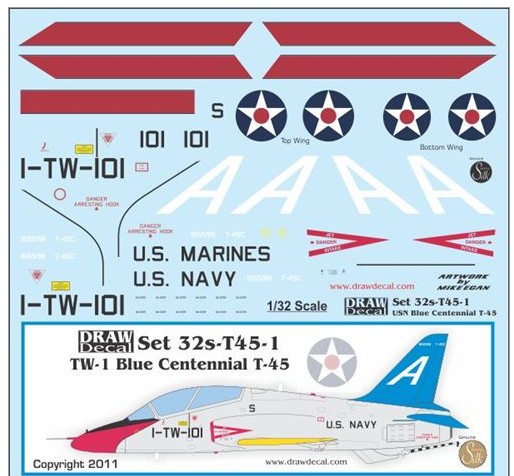
The T-45 would be finished in a special Centennial US NAVY/ US MARINES CORPS scheme using DRAW DECALS, a silk decalset 32s-T45-1
In celebration of 100 years of Naval
Aviation, the U.S. Navy painted numerous aircraft in "retro " color
schemes that honor the past. Two of the first aircraft to receive these
special paint schemes are McDonnell-Douglas T-45Cs assigned to Training
Wing 1 (NAS Meridian) and Training Wing 2 (NAS Kingsville), USA. The aircraft
have been painted in 1930's "Yellow Wing " colors. This decal provides
the markings for the TW-1 aircraft.
So it was time to add the basic paint
coats to the Goshawk T-45. This was done with the Harder-Steinbeck
airbrush.
After applying a base grey coat,
these other colours were added. This required considerable masking work
with low tack tape and paper towels.
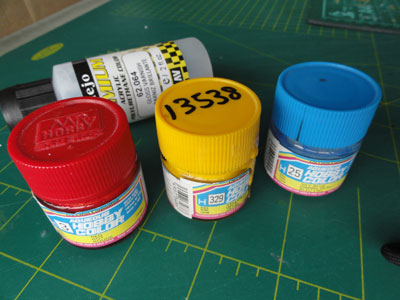
The acrylic colours used were from
GUNZE
SANYO:
H3 red
(for FS11136)
H329 FS13538 yellow
H25 blue for the tail
areas. (for FS15102)
This brand has fine colours to apply,
thinning them with the special GUNZE acrylic Mr.Thinner #110.
I started with the blue.
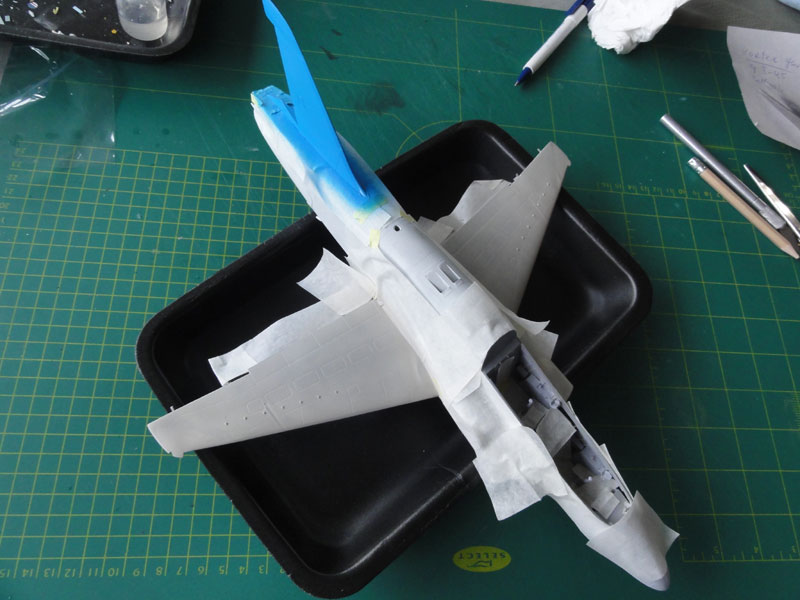
.
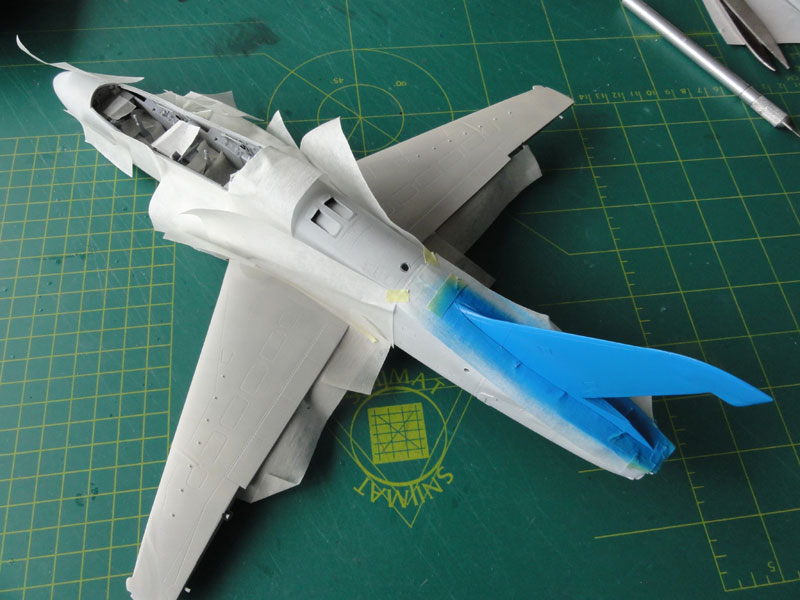
Now the many many additional vortex generators on the wing were added. These were made of cart.
When dry, mask and get to the next
colour, being the yellow colour on the wing. Next, the fuselage and lower
wing colour was to follow. The T-45 Centennial has a sort of very light
white-silver
finish. I used Revell acrylic white #04 with a few drops of Revell acrylic
silver #90 mixed in. This gives a very subtle silver shine to the white.
I kept some extra paint in a jar for later "retouching" work just in case.
![]()
The result is seen here:
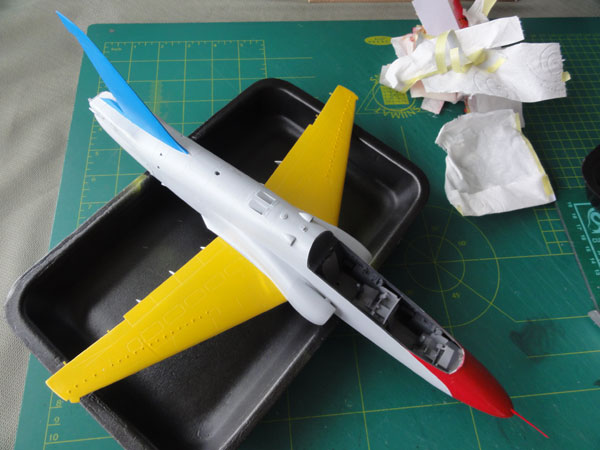
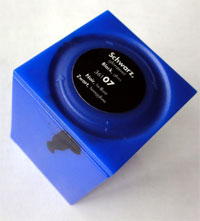
Next the leading edge wing-slat recesses
are suggested as a red area, masking and spraying. The black anti-glare
panel was also airbrushed using Revell acrylic #07 black
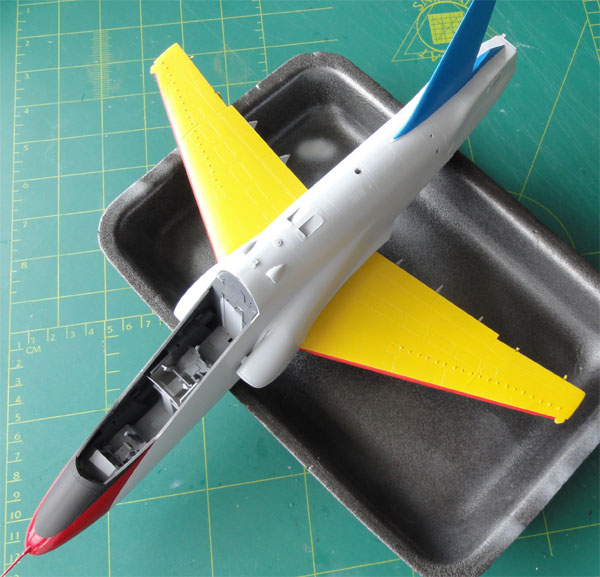
Also, the T-45 canopy frame was masked
and airbrushed "silverish" white.
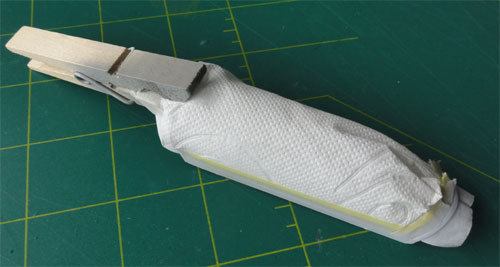
.... as well as the changed undercarriage
doors....
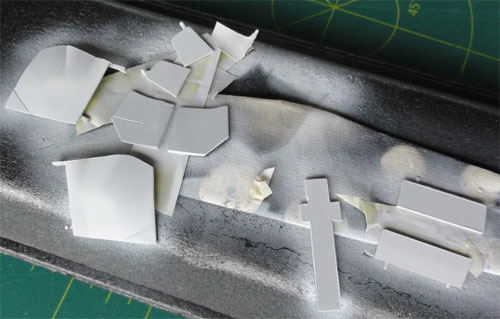 ..
..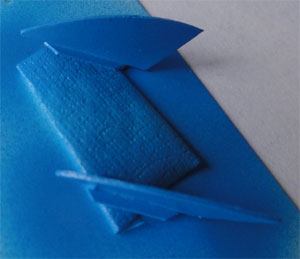
... and the flaps and tailplanes....
and small rear vanes...
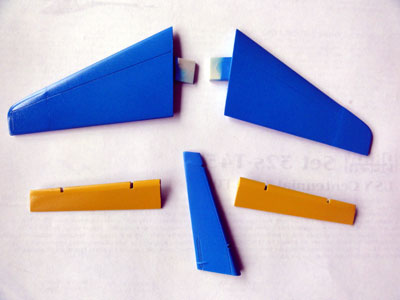
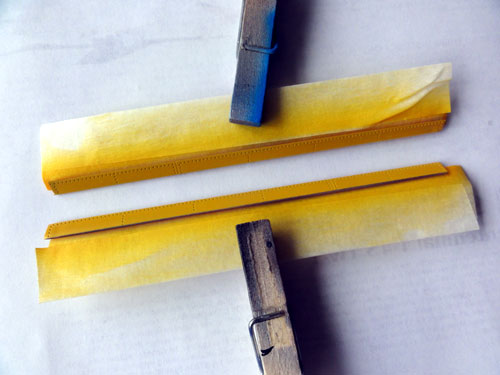
When all paints were on the model,
a gloss coat was set on in several layers using VALLEJO #62.064 acrylic
gloss varnish. (you can also use Johnson FUTURE/PLEDGE).
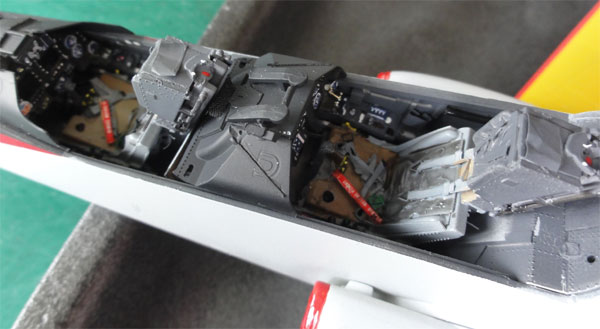
The T-45 cockpit details were now addressed.
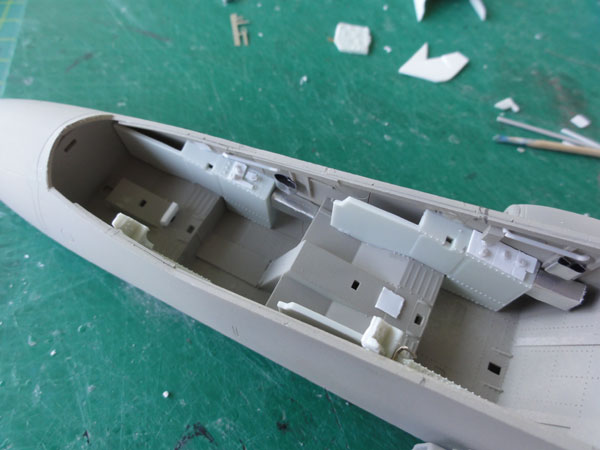
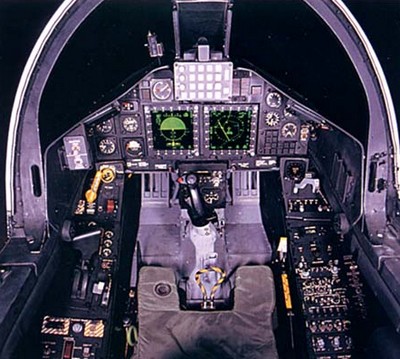
Scratch instrument panels were already
made as noted on page 4
Now detailling was done with strip,
rod and stretched sprue. The central coaming was also adapted, but the
kit part used as starting point.
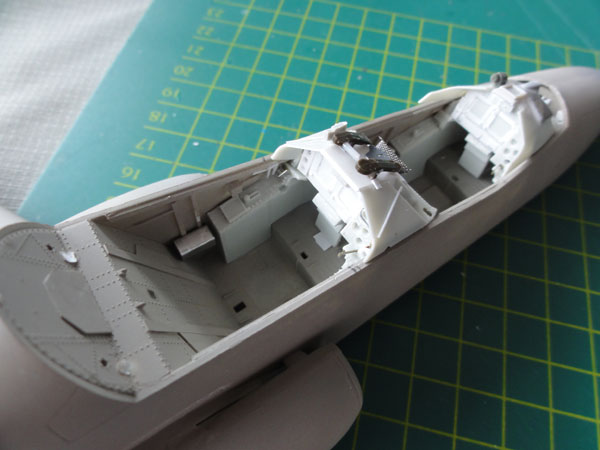
These required quite some modelling
effort.
NOTE: The forward cockpit cover/coaming
was NOT glued in place. This will be set when the windshield will be set.
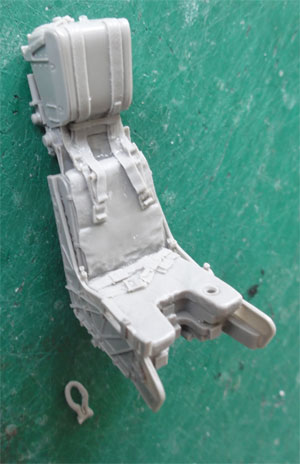 .
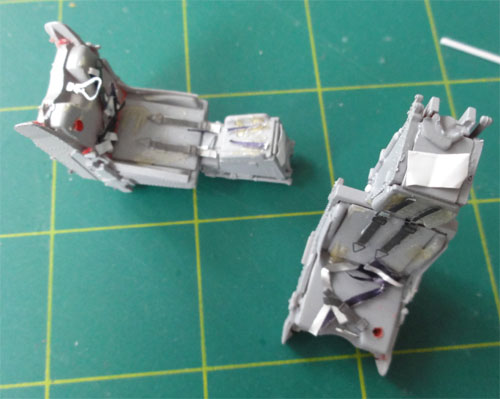
. 
AIRES NACES seat in resin
The NACES ejection seats were made
using the kit seats as starting point. I had a resin NACES seat for a 1/32
F-18 from AIRES (seen above).
This one was used as an example and
detailling guide. I found however differences as compared to real NACES
seat photos, so these were used as well. The seat back cushion was suggested
by adding masking fluid to the plastic, when dry it was painted grey and
gives "cushion" effect. Various other colours were added with a paint brush,
like the yellow-black stripe ejection handles and the harnesses made from
wine bottle kork covering. From spare etched metal brass, seat buckles
were added as well.
The instrument panels got a mix of
kit decals for the clocks and displays as well as hand painted detail.
The glass instrument faces were covered with MicroScale Kristal Kleer.
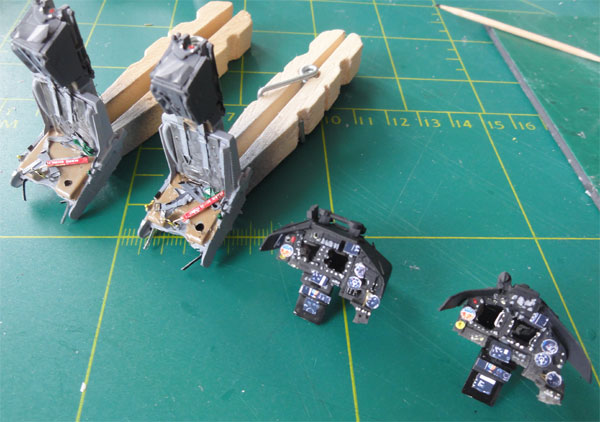
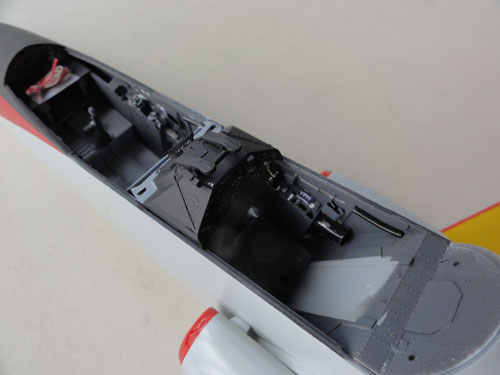
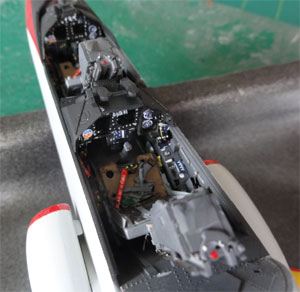
The result is seen here. (The seats
are not yet glued in place)
 .
.
Next step.. adding the DRAW decals
of the colour scheme.
On to next final [ page T6... ]
Back to 1/32 Models.......

(c) Copyright Meindert "designer"/ All rights reserved. Your comments are welcomed by webmaster
Created this page
July 20, 2013