Royal Netherlands Air Force "Kaasjager"
[ page 3 ]
F-86K (called Kaasjager in Dutch) Sabre in 1/32 scale
... back to F-86K page 2....
The AEROPOXY
F-86K model will be finished as a "later" F-86K
Kaasjager of the Royal Netherlands Air Force
that got RETROFITTED beginning nineteen sixties with a "F-40 Sabre type"
wing. This F-40 wing has a larger chord and extended wingtip and again
is fitted with slats. It is recognizable as it has a straight pitot tube.
Of the HASEGAWA F-86F the wing (part #C1) is perfect and the also other
parts of such a Hasegawa F-86F kit JS-084 will be used.
AGAIN AN
UPDATE: Kitty Hawk released an injection
F-86K kit 3rd quarter 2015.
It was decided
to continue modelling the AEROPOXY 1/32 resin conversion, otherwise it will
end its life at the rear bottom shelf of the model kits stash forever....
Handling resin parts may be harmful, so read my resin handling tips here...
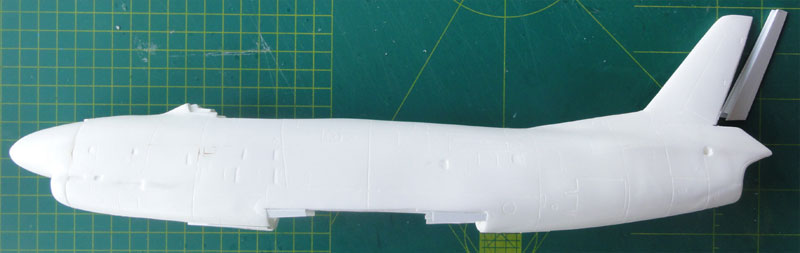
The resin parts
are thick and of very hard resin. Walls are thick as well.
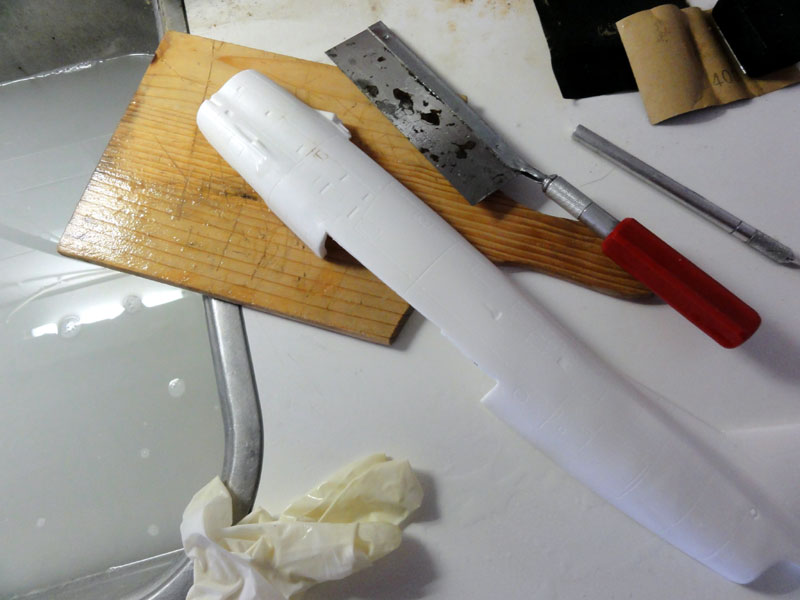
The main parts
are seen here and the vertical tail is rather thick.
It was decided
to remove the rudder and to refine the leading edge of the tailfin. So,
a new rudder was made of plastic card and ot a nice thin trailing edge.
 .......
 .....
.....
There is a
large gap at the lower wing position in the fuselage so I could fit inside
a cockpit tub later on. It was also decided not to make an air tunnel inside,
covers will be set in place and these are provided in the AEROPOXY set.
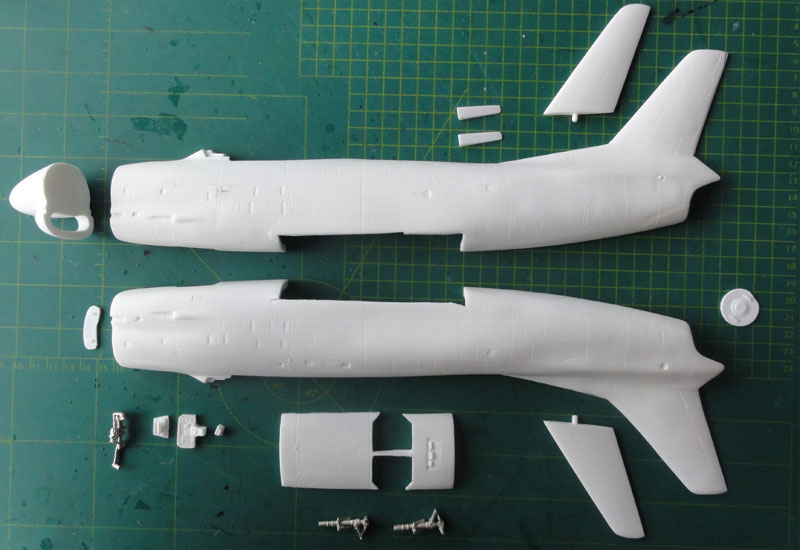
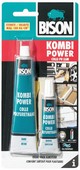
So the large fuselage halves and nose could be set together. Two component
Epoxy BISON KOMBI glue with a harder was used and this gives strong
joints.
The nose fits
not too bad either. With clamps all components were fixed and let to dry
24 hours.
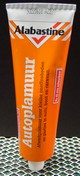
The pretty large
gaps were filled with white car filler (Dutch brand "Alabastine Autoplamuur")
and when dried up, sanded and smoothened. This required some repeatment
to get a good first result.
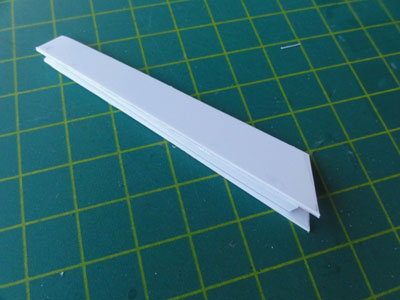
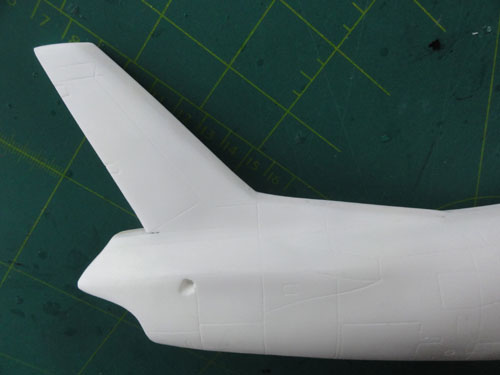
The leading
edge of the vertical tail got a strip glued on and lots of putty applied.
This was sanded to get a sharp result with a much better appearance. The
tailplane holes were also drilled out.
The lower AEROPOXY
wing root plate was not used.
F-86K aircraft
often later during their career got a wing modification with the larger
"F-40" wing. These also could fire Sidewinder missiles. So this model was
made as later F-86K and got the one piece HASEGAWA F-86F "F-40" wing.
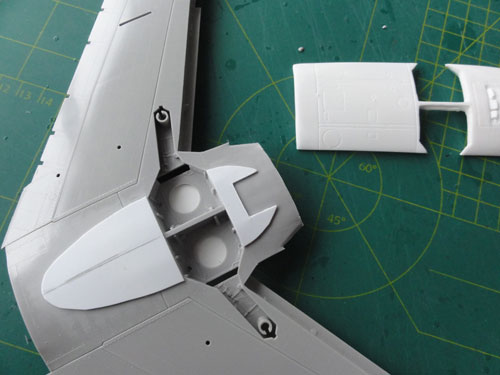
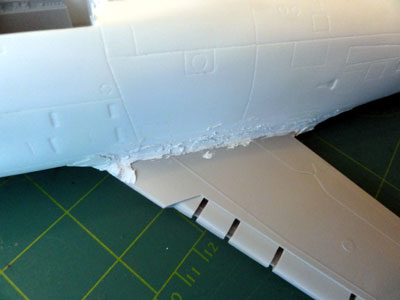
As compared
to the F-86D Sabredog the F-86K has a slightly thicker belly, so a piece
of card was set in place and the edges will be puttied. At the rear some
some exhaust and details are seen. These will be added as well. The holes
in the main gear bays were closed with card as well.
 .
.
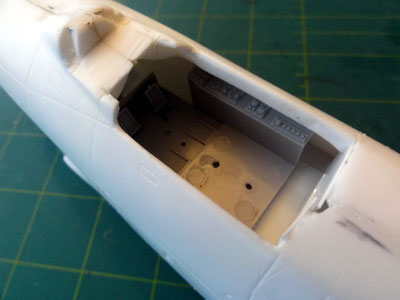
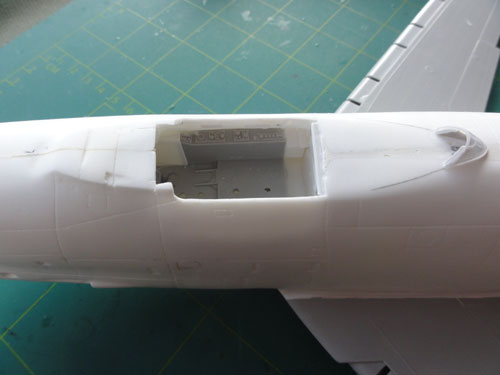
Inside the fuselage simply the cockpit
tub #D21 of the Hasegawa kit was set in place. Detailling can be done later
through the cockpit opening. A simple rear bulkhead was made from plastic
card to close the gap.
After that,
the wing could be set in place.
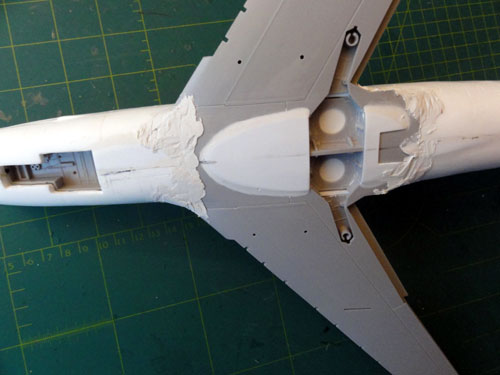
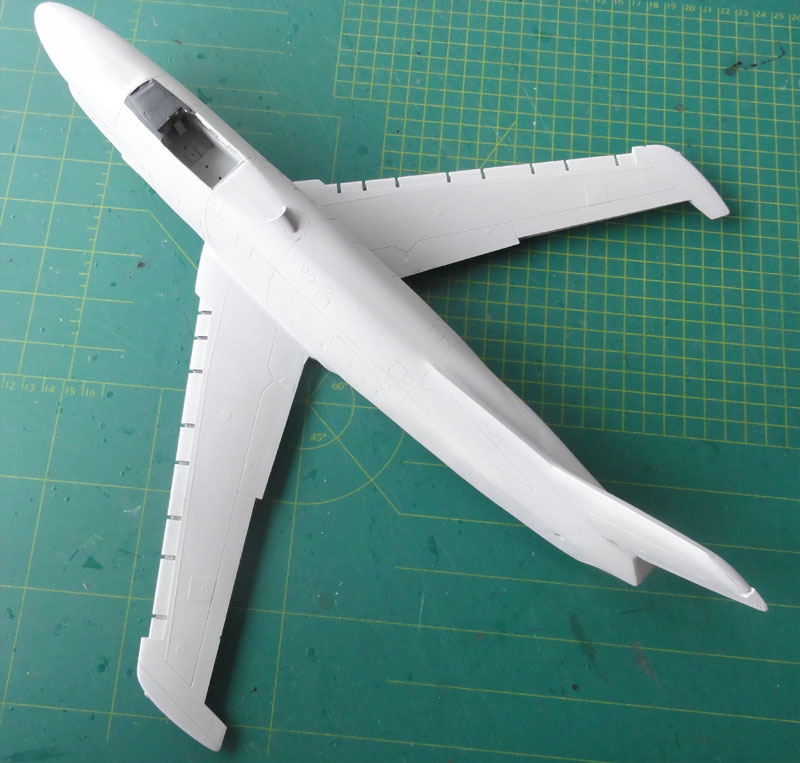
The grey wing
(Part #C1) of the Hasegawa kit is seen here with the "belly" add on.
The gaps between the fuselage and wing needed loads of card and filler
to close the gaps and sanded to get smooth results.
The result
is seen here and some refilling and sanding is needed.
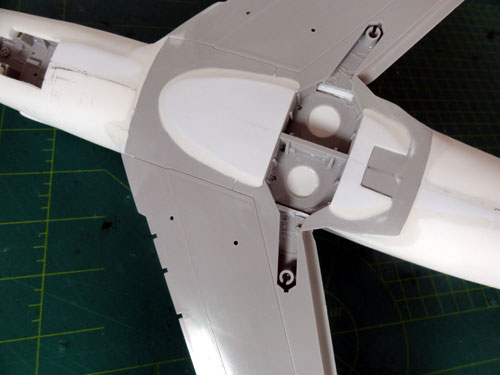
The upper wing
root junctions also need some filling. Nice is that the Hasegawa kit have
separate slats and flaps and on a real Sabre these droop down when an aircraft
is parked at the tarmac.
 .
.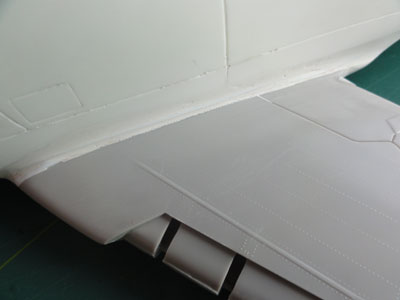
NOTE: the wing is bigger as
the trailing edge flaps and ailerons are not seen below...
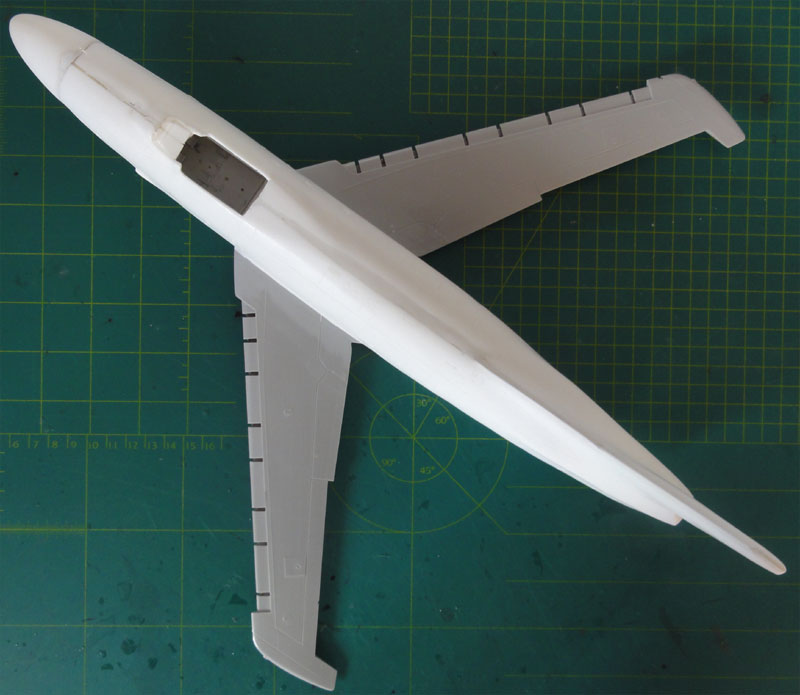
The assembly
got a first coat of light grey base paint to check for any areas that need
more filling and sanding. Any base coat will do, I used Revell Aqua 371
"Hellgrau" acrylic paint applied with the airbrush.
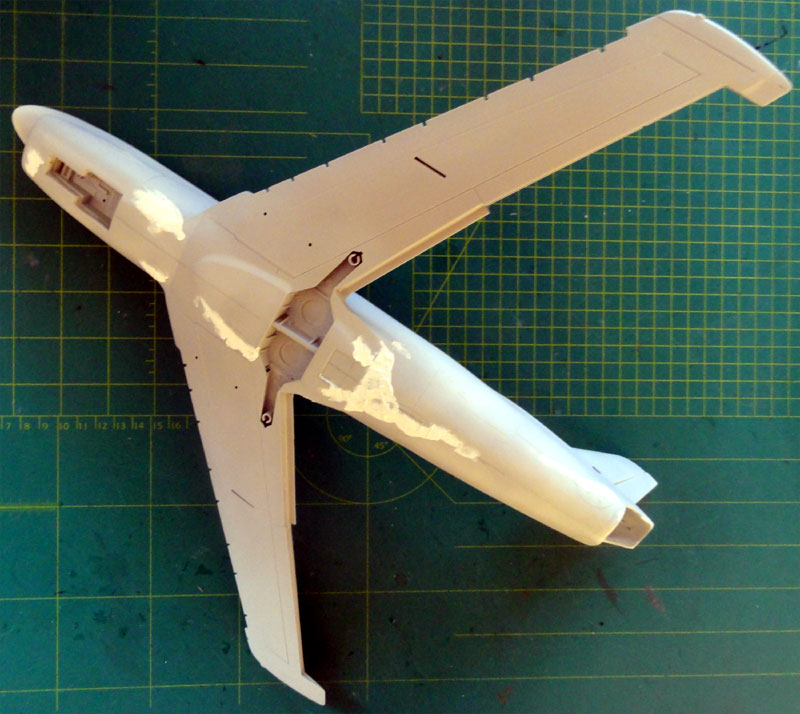
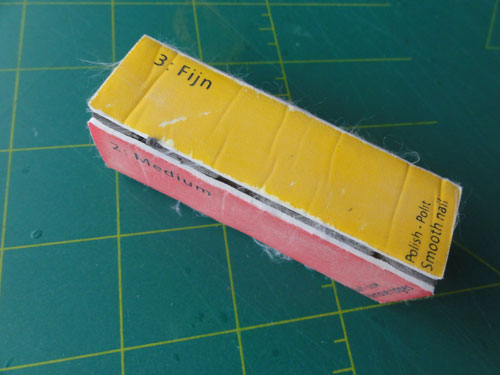
Some areas
needed again some filler and sanding. I used a polishing block to remove
any scratches as well. And another grey coat was airbrushed....
Various other
parts needed were retrieved from the Hasegawa kit, like the slats, flaps,
smaller wing tanks, wheel doors and so on.
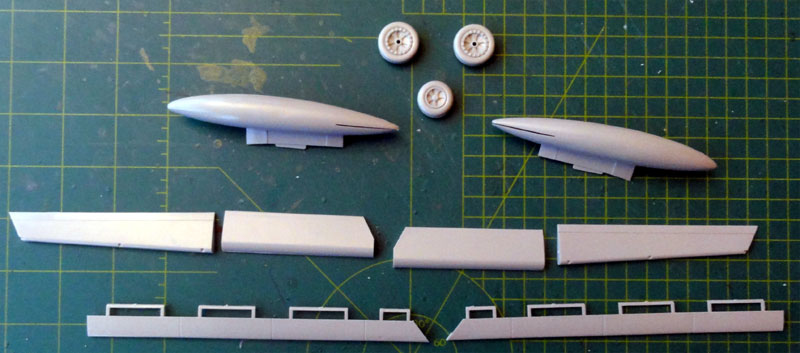
The large horizontal tailplanes are in the AEROPOXY set and these needed filler to clear the small resin holes. (not seen here)
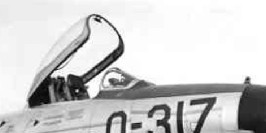
The F-86D and F-86K have an upwards tilting "clamshell type" cockpit canopy.
As expected the canopy on a short
run kit is always a challenge. Here a comparison is seen of three sets:
Hasegawa F-86F, TIGGER F-86D vacuform and AEROPOXY F-86K thin vacu.
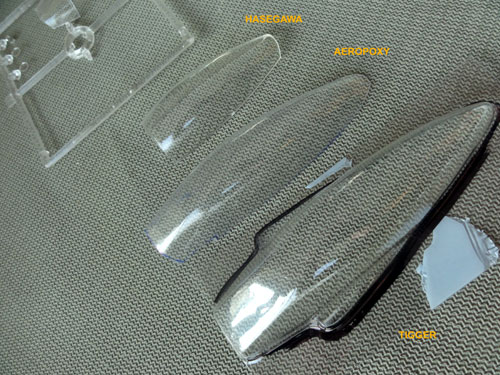
(note: the Hasegawa F-86F canopy
and windscreen have an different smaller shape as on early Sabres and are
not further of use here; probably I will use it on the KINETIC F-86E kit
as its canopy looks a bit odd..).
The AEROPOXY canopy is very thin and
a bit flumsy. The TIGGER F-86D canopy is good to use but the AEROPOXY windscreen
looks better. And it was decided to used the base part #A6 of the Hasegawa
kit as a reference. This was also confirmed by drawings I had. The canopy
width of the TIGGER canopy has to be kept restrained, so a metal strip
was superglued on top to strengthen the base part and keep it in shape.
The vacu canopy will be glued outside the frame on the edges.
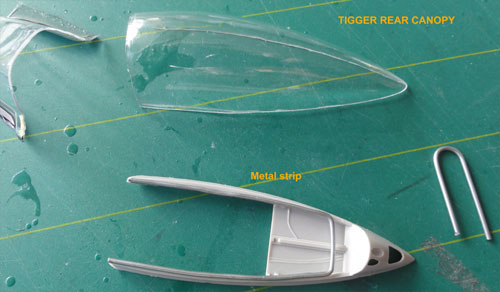
So for this F-86K, the canopy itself
is a combination of the TIGGER models vacuform F-86D rear canopy and the
AEROPOXY windscreen.
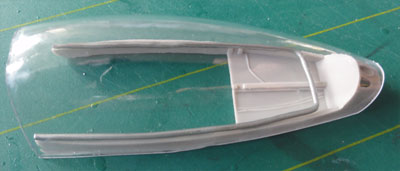
First, the internal details will
be painted and the outside of the canopy masked off. Final painting will
be done later.
Back to the
fuselage. Seen here is a small fairing at the rear and this was cut off
the TIGGER canopy.
 ..
..
After painting the lower instrument
base coaming, the AEROPOXY windscreen was set in place. Putty was needed.
Carefully mask the clear areas!
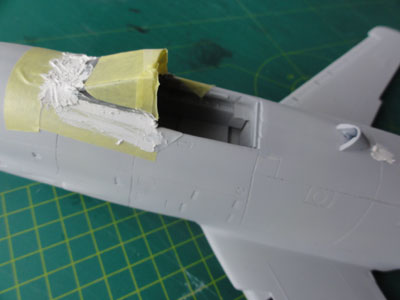
Again, some
base grey coat was applied. It seemed OK now.
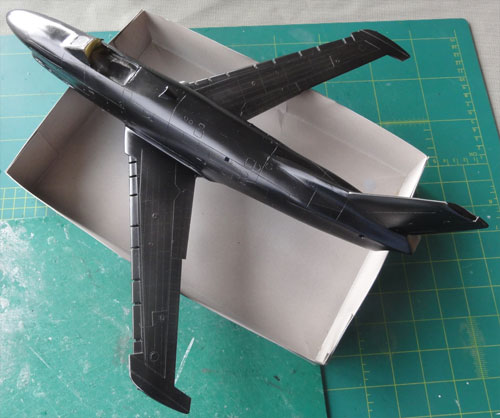
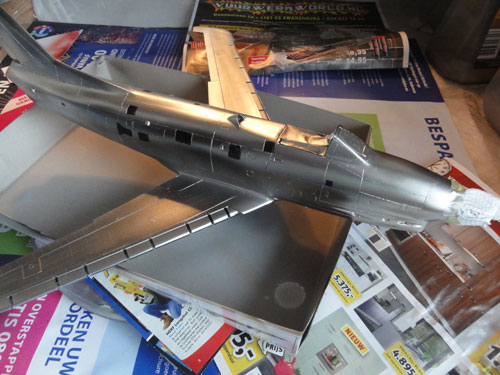
The model was be given a natural metal finish of the Royal Netherlands Air Force "Kaasjager" F-86K, and several sheens are seen.
The ALCLAD II metal system will be used that requires a GLOSS BLACK undercoat so the model surfaces really need to be smooth.
(1) For the
undercoat Revell Aqua "Schwartz 07" acrylic Gloss Black was airbrushed
, thinned 40% with the Revell Aqua Color Mix thinner and 10% alkohol. Airbush
pressure was set at 1,1 PSI.
Ensure the
paint is really gloss. The other parts, like slats, flaps etc were not
forgotten.
 ..
..
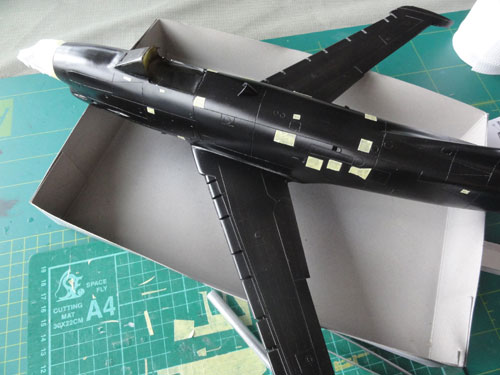
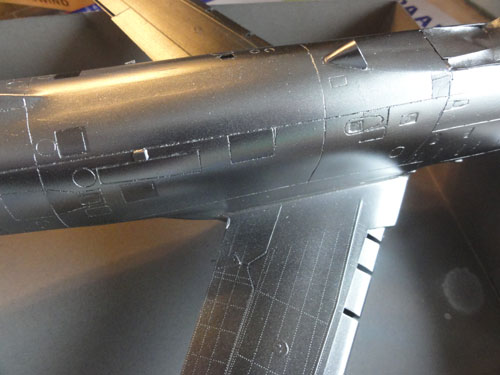
(2) When dry,
some panels were masked with low tack tape (from Tesa). This to get very
simply some different sheens, see below how...
Also the big
black radar nose was masked off.
(3) ALCLAD
II ALC-105 Polished Aluminium was airbrushed. No thinning is needed
but were gloves and a face mask and plenty of ventilation! This ALCLAD
stuff is not good for your health.
(4) At mid way
airbrushing, the low tack tapes were removed. These areas now also got
the ALCLAD coat. This gives a different "panel" effect as the paint is
less thick.
and the result....
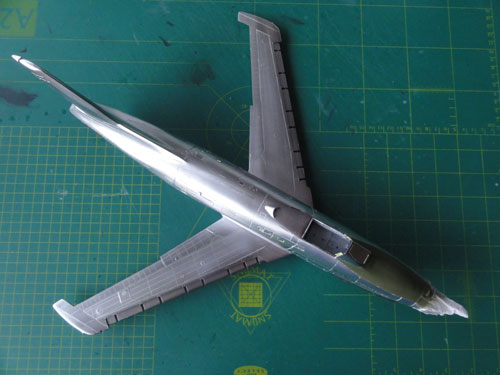
(5) After 24
hrs drying, some additional panels were masked with the low tack tape.
Particularly the large center wing panels have a different colour. This
was airbrushed ALCLAD II ALC-119 Airframe Aluminium. The areas at the exhaust
were given a coat of ALCLAD II ALC-113 Exhaust.

(6) Now the
green anti glare panel was , after masking, airbrushed olive green Revell
Aqua 361 "Olivgrun".
 ...
...
(7) The main
gear wheel bays and nose gear bay got a coat of Interior Green using WHITE
ENSIGN MODELS ACUS09 "interior green" enamel with the airbrush. Masking
was done with transparant food conservation foil and tape.
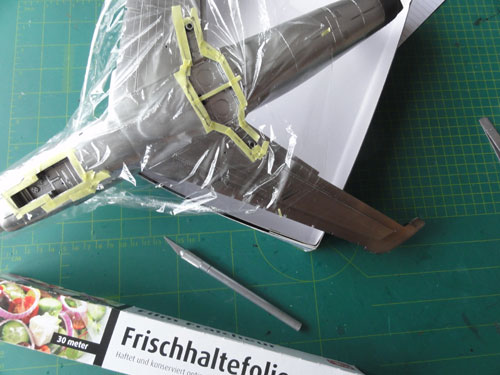
(8) The model
now had all main coats applied. Some small panels were painted light grey
at the vertical tail tip.
Back to 1/32 Models

(c) Copyright "designer"/ All rights reserved. Your comments are welcomed by webmaster
Created this page
Sept 18, 2013;
UPDATED October 15, 2015