F-4EJ Phantom II
[ page 4 ]
Tamiya F-4EJ model kit in 1/32 scale
JASDF Japan
..continued from page 3 now with...
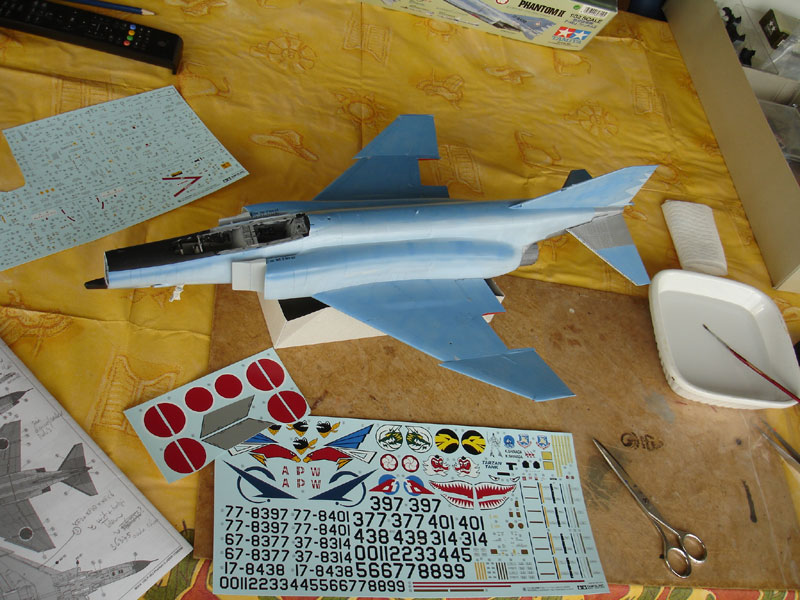
I picked the kit scheme of the JASDF no.305 squadron plane at Hyakuri Air Base.
OK, decalling started on this huge
model. Tamiya provides loads of decals and smaller stencils for this plane.
Although the decals are a bit thick,
they respond after some time to decalling softening fluid of DACO. This
was needed in some areas.
 ..
..
I always use the following sequence
when decalling:
1. start a one side at work from there
(so upper, lower etc)
2. cut out each decal or a couple
of them, but no more than 5 at a time
3. put them in water; for the Tamiya
decals soaking them takes quite some time so you will need to keep them
in the water
4. pull out when there are (almost)
loose
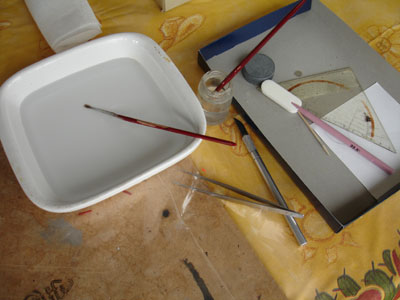
5. have on a piece of plastic bag
some Johnson Future/Pledge
available set there with a brush. Keep that surface wet.
6. with tweezers take a decals, pull
"through the wetted Future so the decal's rear side is wetted with Future
NOTE: when the decal is to complex
or big, you can not pull it off its paper backing with a tweezer. In that
case wet the model spot/surface with Future prior to applying the decal,
sliding it off its backing paper above the appropriate model spot.
7. position decal on the model
8. move exactly in correct position
9. dep dry with a old piece of a
T-shirt
10. let dry, done!
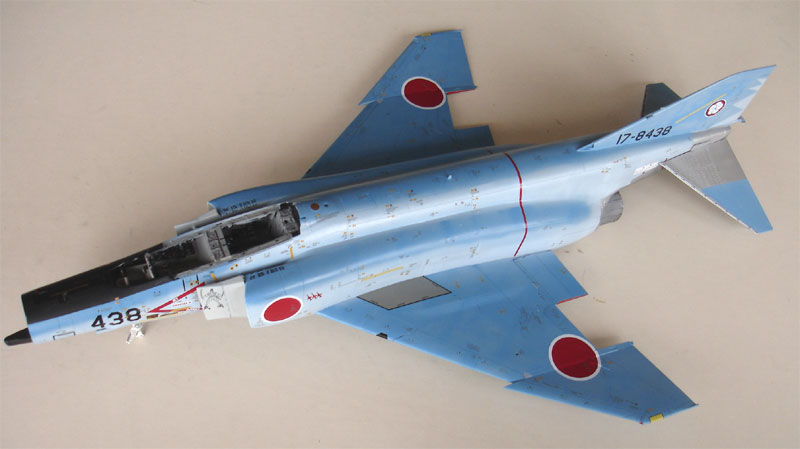
All decals were set to this model, it took 3 evenings and afternoons of time.
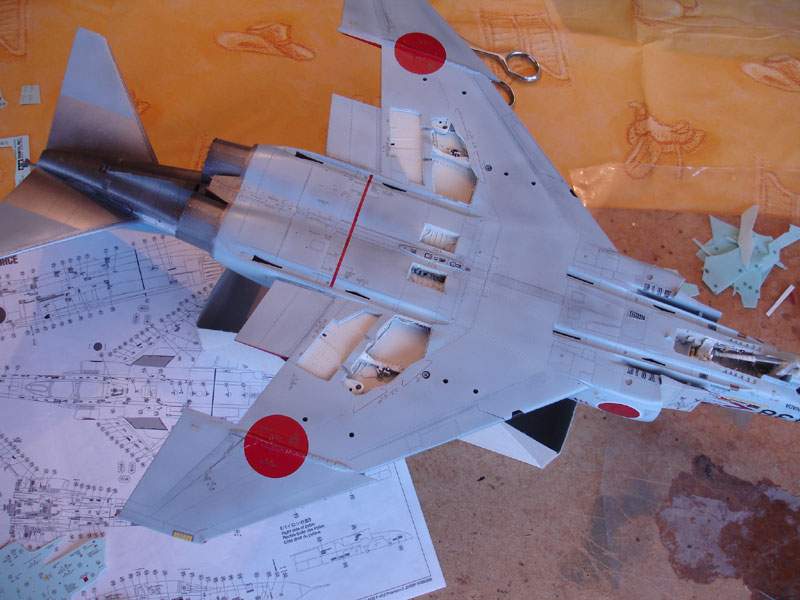
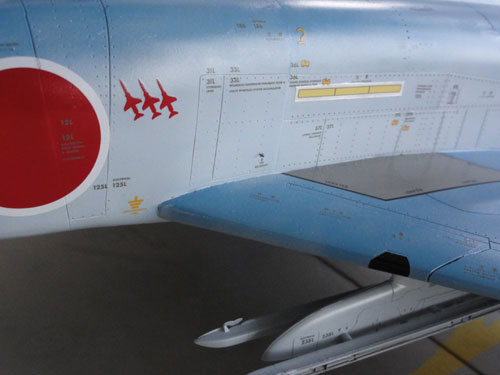
You see all stencilling here, but
note that some will be oversprayed later on using the sanme surface colour.
This will blend in many decals into the model.
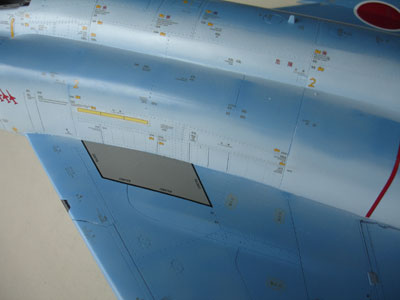
stencils... stencils....
 .
.
grey panel will receive some grey
weathering later on.
 .
.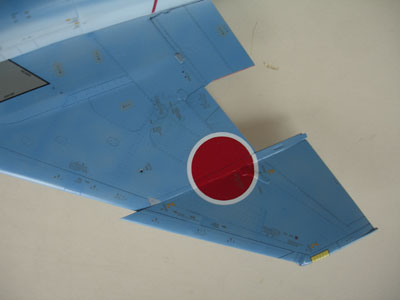
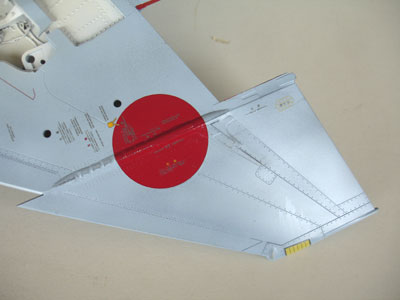
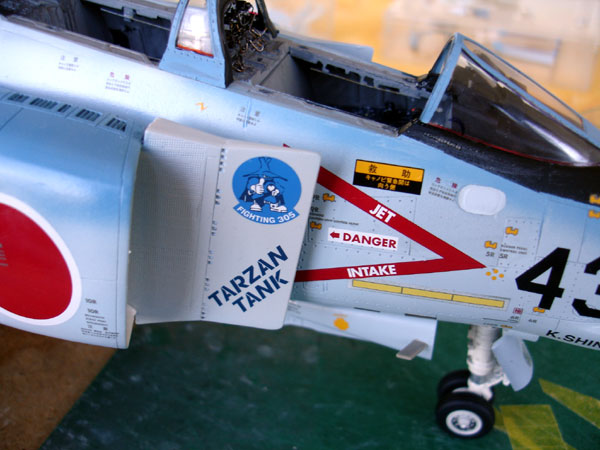
red roundels required some DACO softening
fluid to get a perfect fit

the Samurai figure on the splitter
plate
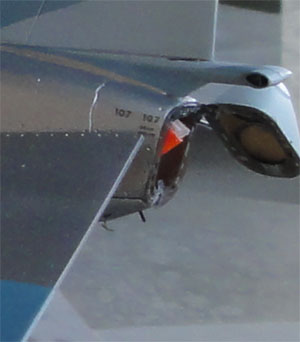
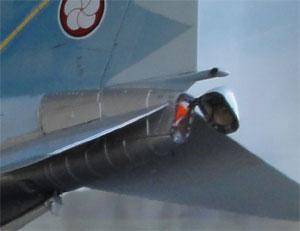
note the red line at the rear, this
was cut in 4 pieces to get it straight
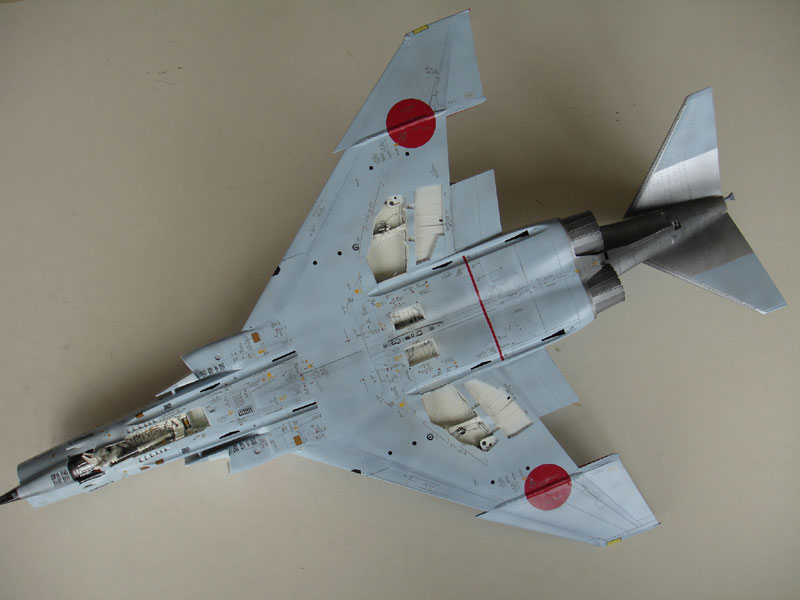
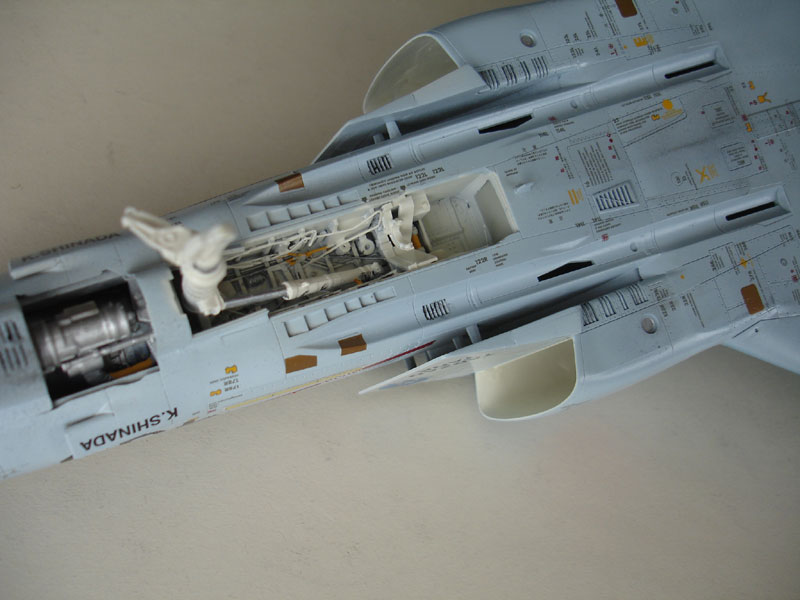
the lower surfaces
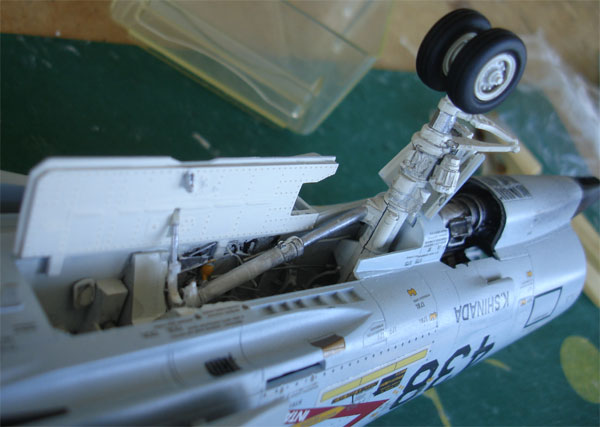
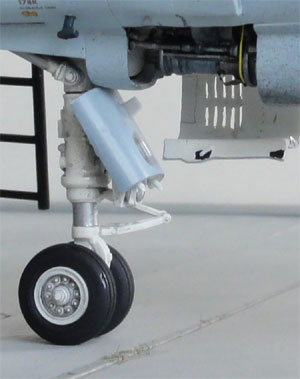
The various completed parts like undercarriages, flaps, antenna's and so on were now added.
Some piping will be added also in
the gun bay area
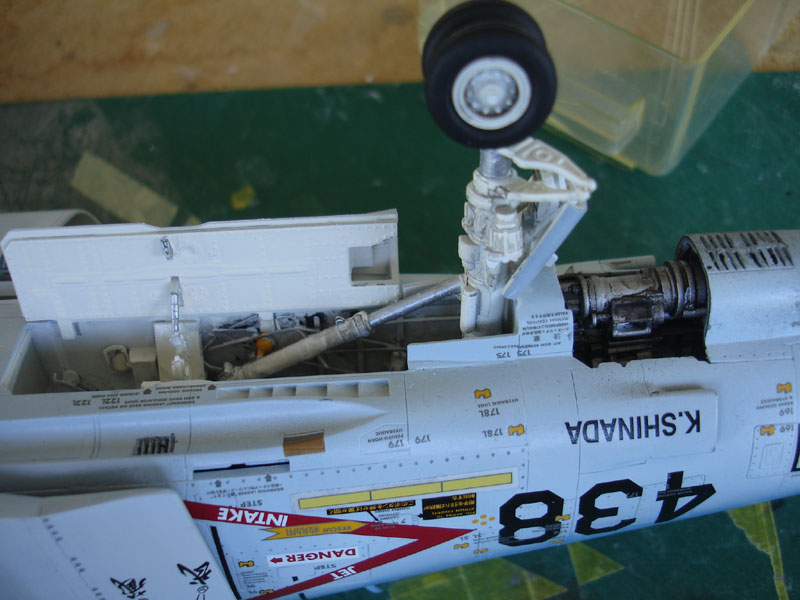
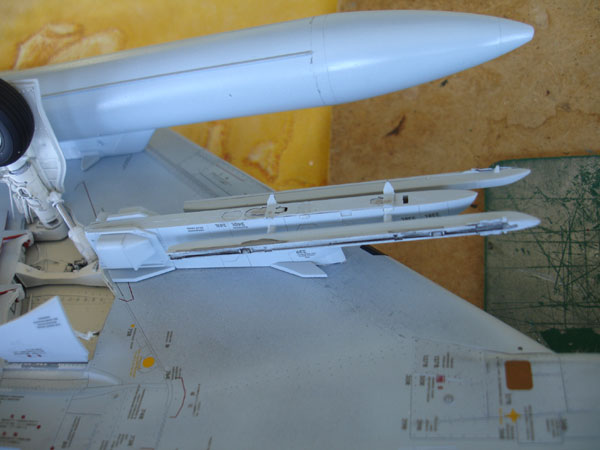
the pylon can be seen as well here,
with Eduard details from etched metal added
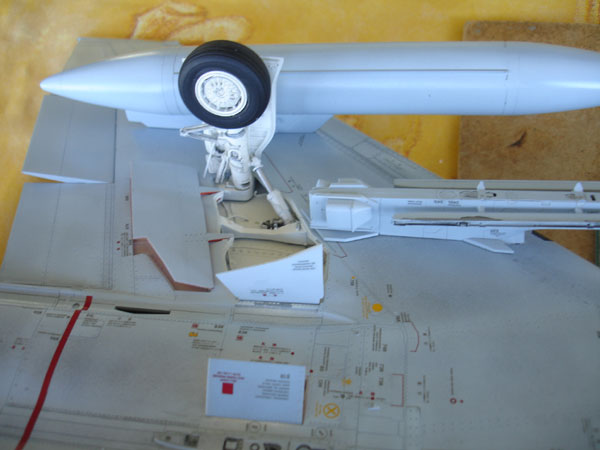
The undercarriage installed, with
some weathering still to be done.

 .
.
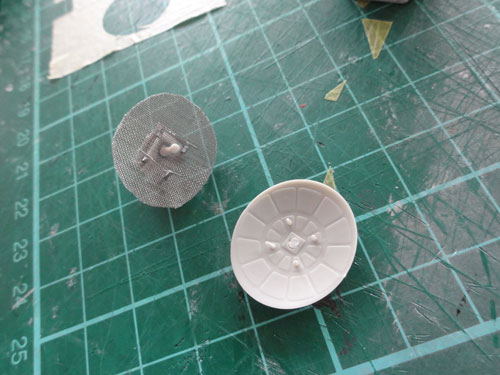
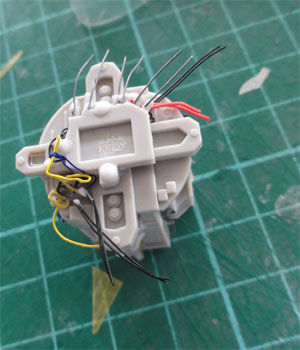
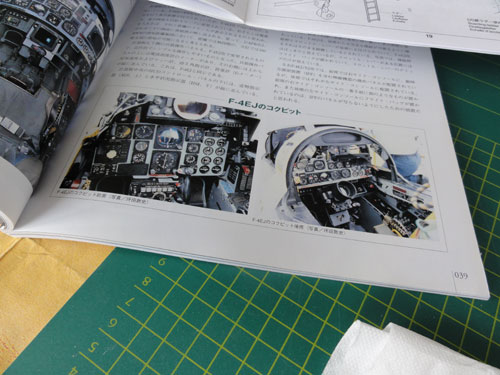
The kit has the option to show the
radar, although the cone needs some work and the radar cries for more details.
This radar was detailed now, with
wire and sprue. The kit radar disk was replaced with thin mesh, cut in
size, and bended in a curved shape.
 .
.
 .
.
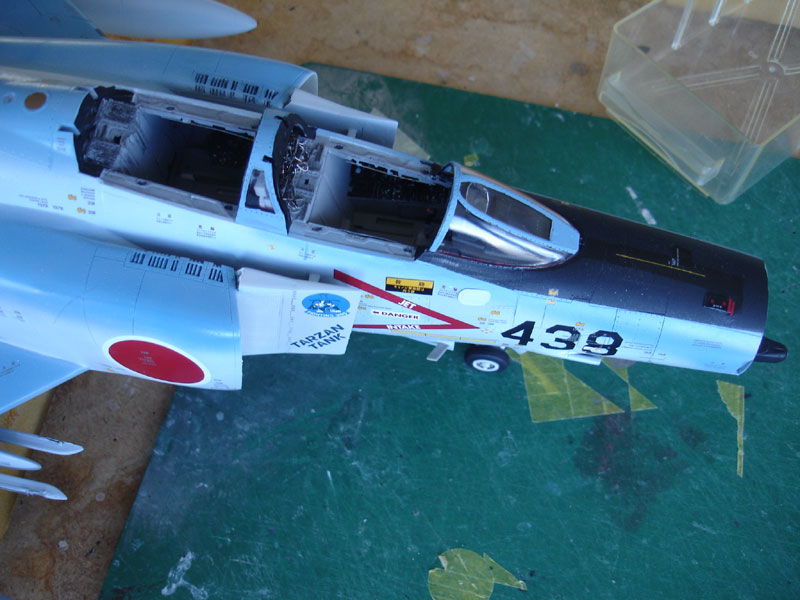
The various details were painted,
the result is seen here.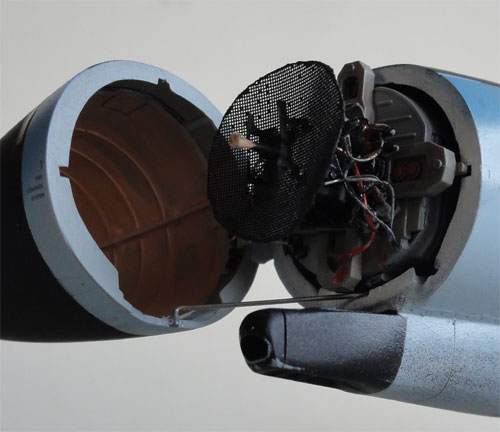
The seats, obtained from True Details were detailed and the straps, harnasses painted green, dark grey and detail black with silver drybrushing. Seat buckles were added from metal (Reheat). The ejection activation chord on top were replaced made from yellow wire, with black stripes added with a black marker.
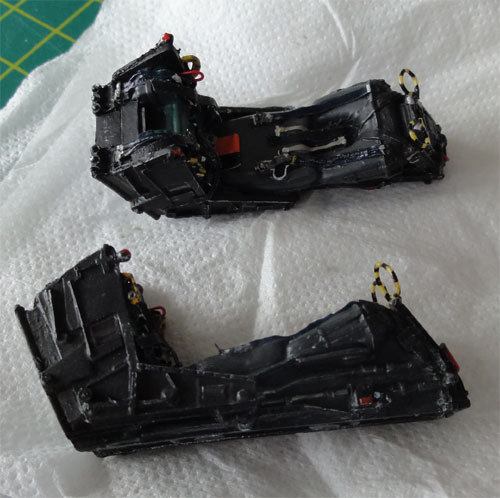
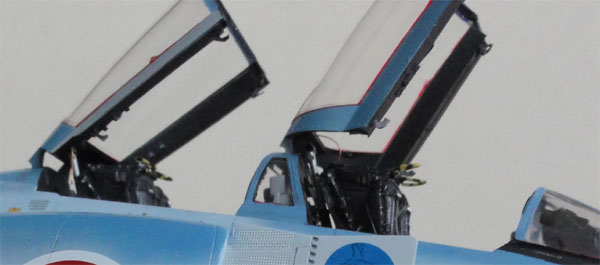
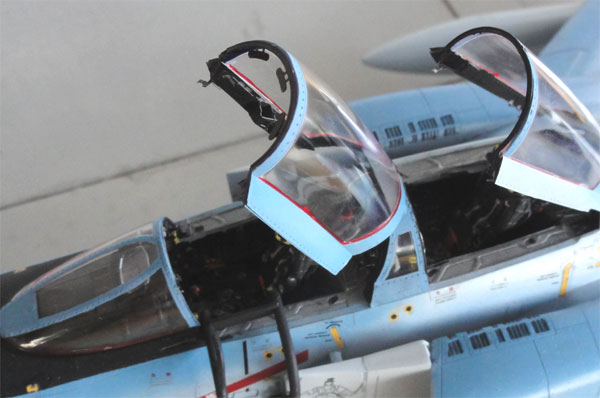
The cockpit now needed the final completion. Inside the cockpit various details were added like:
- the canopy raising swithesfrom the kit
- various lines
- instruments inside the canopy and windscreen.
- new mirrors
- actuators from the kit and some wiring
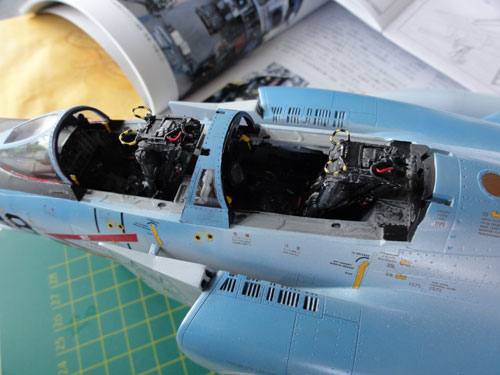
The various instruments are also
seen inside the windscreen upper edge; these were made from sprue and wire.
The Eduard set has for the
rear canopy mirrors inside the canopy, but for the F-4EJ these are fixed
in the windscreen between the 2 cockpits. The rear mirrors were obtained
from the spares box and these are blinking metal. These were installed
in stead.
Around the airframe, various smaller
probes were added from metal as indicated in the Eduard set instructions.
The radar cone was set open and was
installed with metal pins and were for strength.
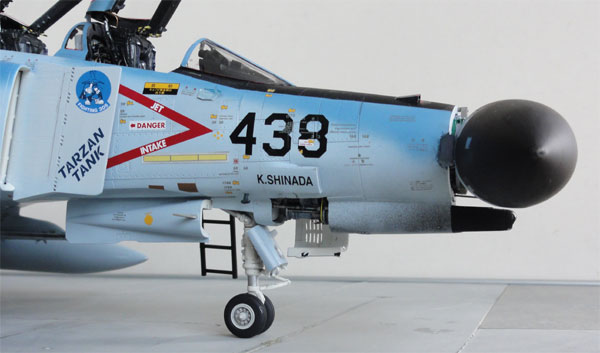
The hinged door at the canon bay
was also installed, note the opened up grills. The radarcone set open.
 .
.
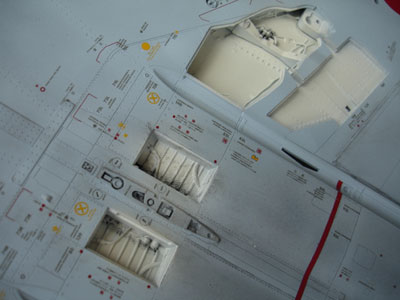
The parapack door was set open, with Eduard details added. From a red/white plastic bag a section was cut as inserted as parachute....
(c) Copyright "designer"/ All rights reserved.
Created this page Saturday
March 13, 2010