LiftHere
Dornier Do-28A-1 in 1/72 scale: modelling report

Post War 1945 aircraft production was forbidden by the Allies in Germany. The German aircraft designer Dornier re-started after the war in Spain with his company OTEDO. In Germany production was again allowed from 1955. The Do 28 was based on the single engined Do-27 of the 1950s. The Do-28 got two 250 hp Lycoming engines that were fitted on side stubs on the fuselage as well as the landing gear. The type was envisaged for STOL short take-off and landing on very short runways. It could seat 6. Several versions were developed with the Do-28A first flight in 1960 and some 60 were manufactured. (The type later on evolved towards the Do-28D Skyservant which was a quite different STOL aircraft with new box like fuselage, larger wing, different tail and 380 hp engines).
This particular project is for a Do-28A-1 model as used by Windward Islands Airways in the Dutch Northern Caribbean flying to and from the small "sleeping volcano" island of Saba of only 13 sq.km. Saba has one of the smallest airfields in the world with a short air strip of just 400 meters sitting on top of man made peninsula in the deep sea called "flat point". Here the small "Juancho E. Yrausquin" airfield was established in 1963. Only special trained and approved pilots may fly from and to this field.
Aviation specialist and historian Gerard Casius worked as head of the Windward Islands Airways (WIA) technical services department at St.Maarten in the sixties and seventies and asked if I could make a model.

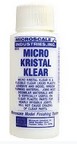
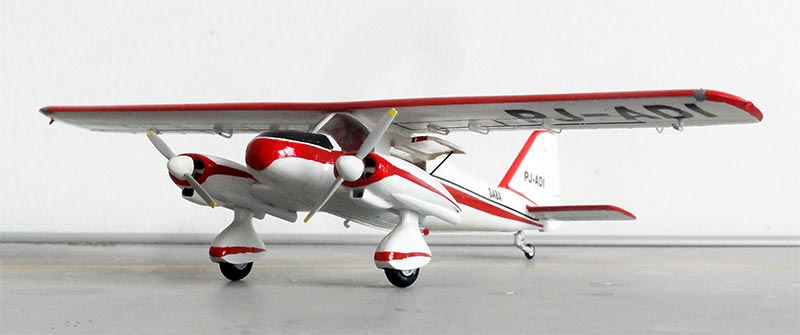
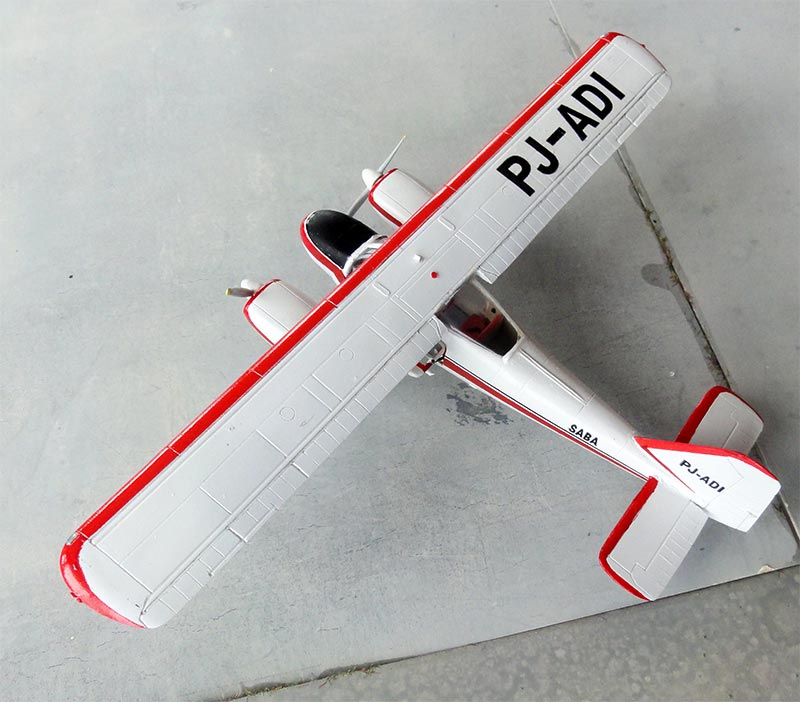
A single Do-28A-1 aircraft with registration "PJ-ADI" was operated in the 1960s and had a white livery with red trim. (nowadays WinAir with home base at St.Maarten flies e.g. Twin Otters to and from Saba).
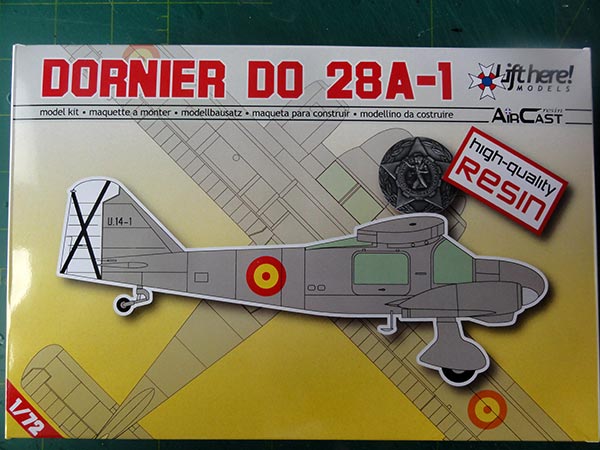
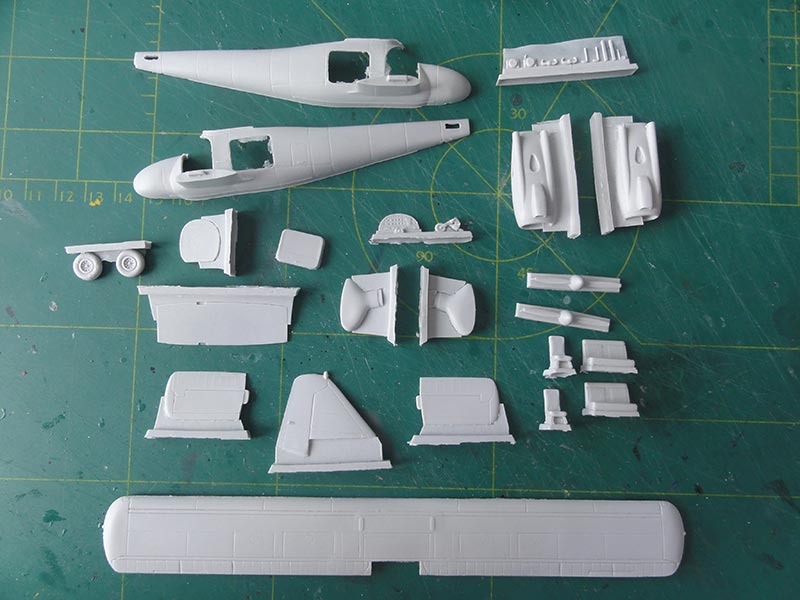
LiftHere models from Serbia has released a little resin 1/72 kit for the Do-28A-1. It is pretty expensive but the parts are nicely casted with no disturbing air bubbles. There are about 35 parts in very light grey resin and the transparancies are thin vacuformed shaped.
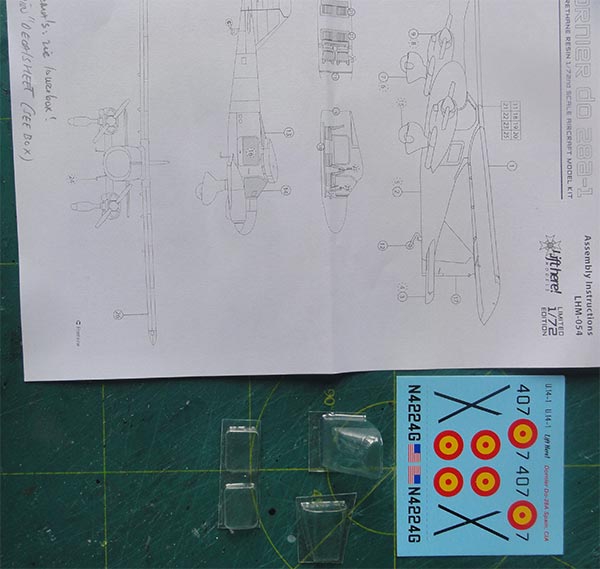
A small decal sheet has a few decals for (1) a Spanish air force aircraft coded U.14-1 and (2) a American civilian "Air America" plane with registration N4224G.
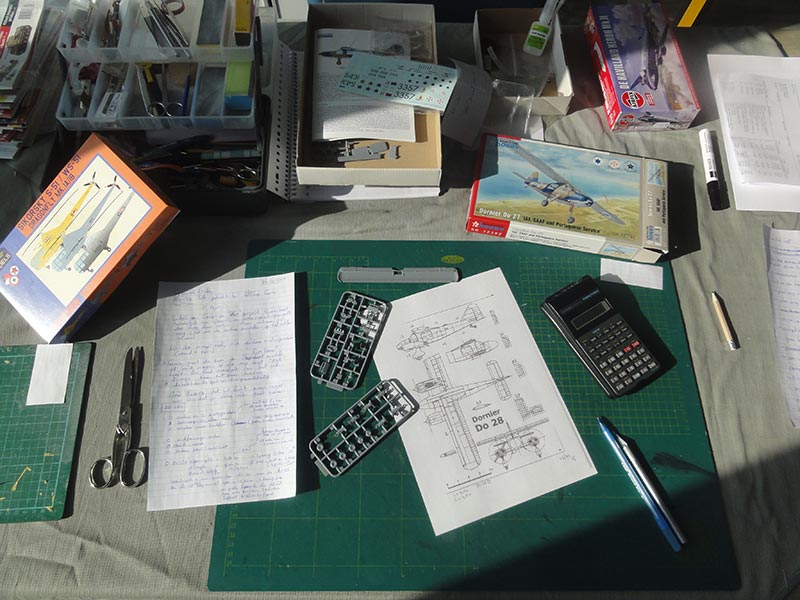
A check up with various information sources showed that the kit is accurate in dimensions and shape. There were many Dornier Do-27/28/228 versions. I also had a Do-27 kit form Special Hobby, so could see also these differences. The Do-28A-1 was a small aircraft that inherited much of the Do-27 but got 2 engines mounted in nacelles with stubs on the sides.
Back to the LiftHere kit of the Do-28A-1:
The casting blocks are easy to remove, a little razorsaw was used and some sand paper blocks. Resin dust is not good for your health, so always saw and sand with the parts being doped with water or handle them "under water" in a bowl. The clean up and preparation of parts only took a half hour. Take care not to loose the smaller parts.
The overall model parts were put together using superglue.
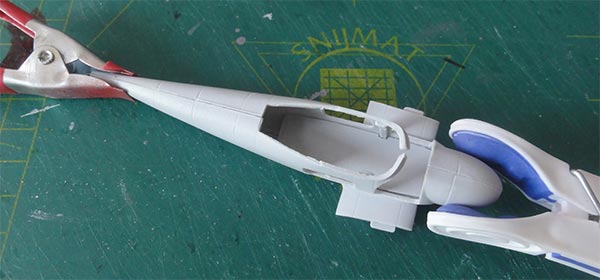
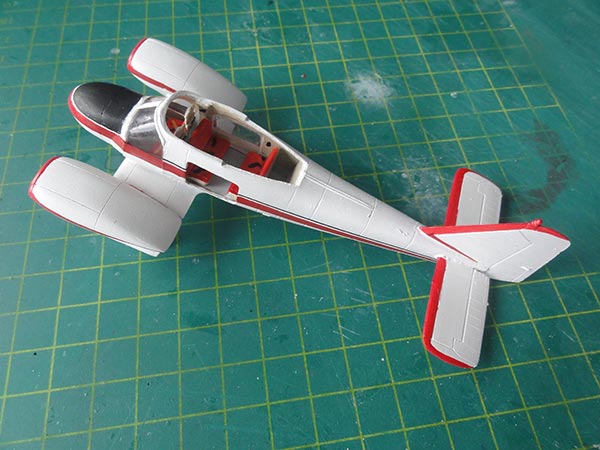
The assembly is easy with good fit. I did not install the large wing untill at a later stage after painting and airbrushing. This gives a better reach to corners and transparancies.
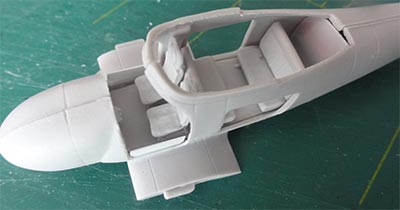
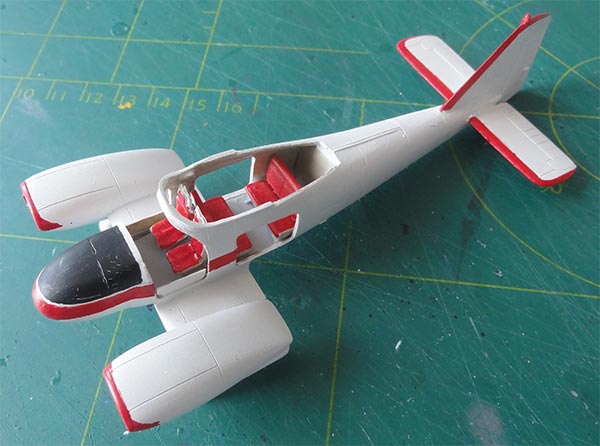
The model interior is nicely done but this is a small model! There are 2 benches and 2 forward seat in the cockpit. The 2 entry doors are moulded open in this kit and the curved transparant forward windows are one bit. These included the upward opening crew doors but it is more than challenging to set these closed. I wanted them closed, so installed a piece of card to have a bigger surface from setting the glue.
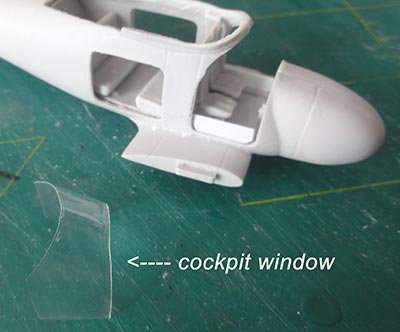
The fitting of the transparant parts is in fact the most difficult part of the assembly. You only get one chance to cut with fine scissors, so make sure you have the correct cutting lines.
The transparancies will be fitted later.
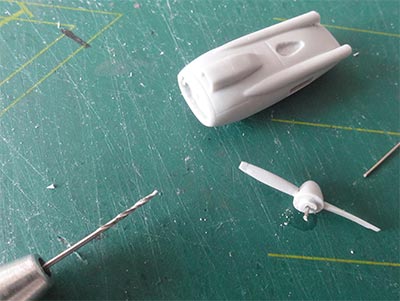
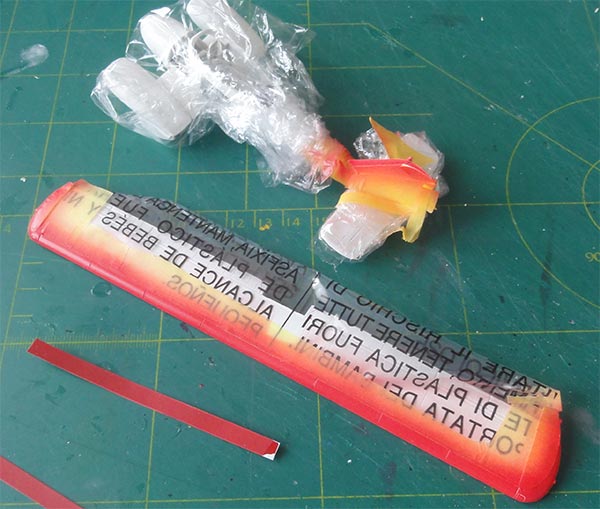
The tiny propellers got a piece of metal pin after drilling holes to fix them as well as the nacelles. The nacelle gap is moulded mostly closed. I suggested some grills and structure with plastic strip and black paint.
It seemed just a few tiny dots of putty in the overall model assembly were needed. After sanding, the model now got an overall light grey base colour airbrushed with Revell Aqua 75 steingrau. A small long gap at the lower fuselage joint needed some white glue to fill.
Colours:
The "PJ-ADI" paint scheme is white with "orient" red (about RAL 3031) trim and cheat lines.
So the model and still separate large wing got now a gloss white colour.
In this case Gunze Sangyo H1 white acrylic.
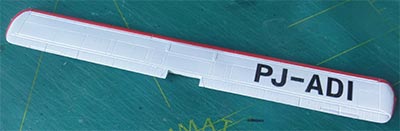
The "orient red" red trim was made by fine hand painting, airbrushing the leading edges of wing and tail after masking and in combination with "orient red" airbrushed decal. I used for the "orient red" here Revell 330 Aqua red acrylic with a drop of black Aqua paint.
As noted, a home spare decal sheet was also airbrushed in this colour for making the straight cheat lines.
Painting the trim is now done as the model can be handled better at this stage:
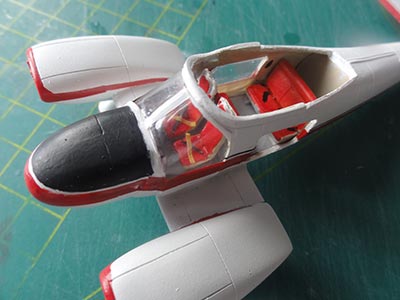
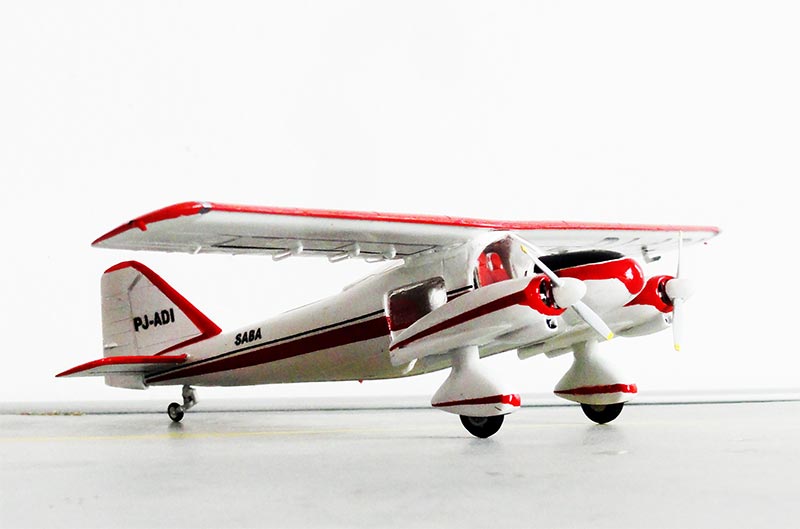
The black anti-glare panel was hand painted as well as the red nose trim. The smaller red cheatlines of nacelles and wheel hubs were hand painted. The longer cheat lines were made of the airbrushed "orient" red decals cut in stripes. The upper fuselage cheatline was apparently black and made from a black decal stripe sheet of Xtradecal.
After main colours were applied, the interior was painted. The basic interior colours vary as per customer wish. On the aircraft white/cream with red seat cushions. Some seat belts were added from tape. This is quite a tiny cabin but still about 5 passengers could be carried.
Markings:
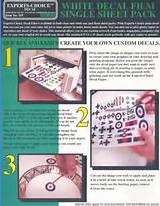
This model needed some home printed markings for the "PJ-ADI". These were designed on the computer and printed in high density with the inkjet printer on white decal paper. I used Bare Metal white decal paper for "inkjet" in this case. As the model has large white surfaces, this is easily done, no precise cutting is needed.
After printing, I applied 10 subsequent layers with the airbrush of varnish to protect the print ink.
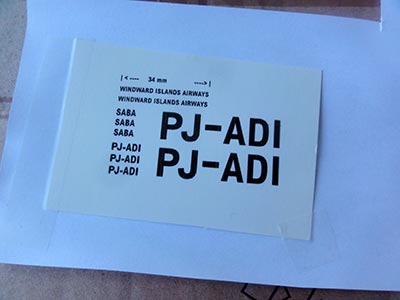
The larger registration is on- and below the large wing.
The prepared transparancies were set in place. Microscale Kristal Kleer was needed to close any tiny gaps. One cabin door was set open, one closed. This also needed Kristal Kleer. After drying, some white paint was set with a tiny paint brush.
Now the large wing was set in place, making sure it was fitted symmetrical by measuring the wing tips.
The model got an overall gloss varnish. I used Johnson Future / Pledge that was airbrushed.
After that, the 2 small wheels were installed. Some tiny plastic strips were needed on both sides to fix them in the middle of each stub.
The propellers were painted very light grey with yellow tips, a white hub and installed.
Final details:
The cabin entry steps have a slightly different shape as per kit, so made from scrap. Under the wing, a few flap hinges were made from white sprue.
On the wing tips, 2 small anti-blind plates were set and the anti-collision lights painted. I discovered that the anti-collision light at the tail was not present on the "PJ-ADI", it now sat on top of the wing. So it was cut off from the tail and a small bit from the spares box was set in place on the wing. Also antennas vary between individual aircraft, here a small antenna was set on top of the wing.
The cabin door was set open upwards and a bar set. And that completed the very small model!
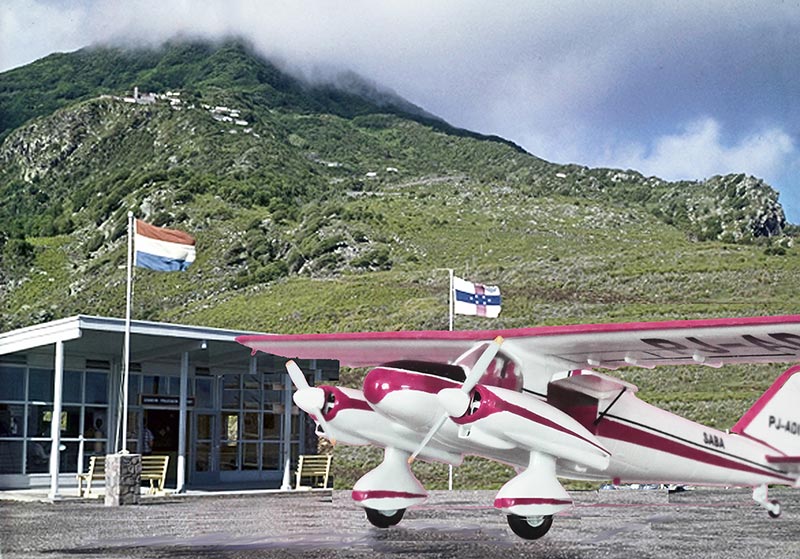
Dornier Do-28A-1, Windward Islands Airways, 1965


... set in scenery at Saba air field at "Flat Point"...
Also check out the Antillean Twin Otters flown in the Caribbean.
References:
- information provided by Gerard Casius (former Head technical services Windward Islands Airways)
Web:
Dornier: https://en.wikipedia.org/wiki/Dornier_Do_28
Production list: https://www.siai-marchetti.nl/do28.html
SABA airport Wiki: https://nl.wikipedia.org/wiki/Juancho_E._Yrausquin_Airport
Back to 1/72 prop models
(c) Copyright "designer"/ All rights reserved. Your comments are welcomed by webmaster
Created this page October 19, 2021