[ Page 3 ]
... continued from page 2...
Detail photos on the Dutch IPMS NL Walkaround show and that the kit surfaces need some rivets! These are well visible in 1/32 scale !
PRE-PAINTING
Therefor, it was decided to at this very early stage apply an overall pre-paint white. I find white a difficult colour and it usually needs several coats and lots of handling and polishing between coats. Polishing is impossible with rivets already there. And I also wanted to minimize model handling later on because of the to be added rivets, see next STEPS.
So for now, first a base coat was
applied with a spray rattle-can with white acrylic paint from PRAXIS (this
is similar to the well known Halfords). This would speed up when the final
white-red coats are to applied. I started with the fuselage halves, the
assembled winghalves, wing tips tanks, flaps and tailplane. Also, the many
other parts were pre-painted with while still in their sprues.
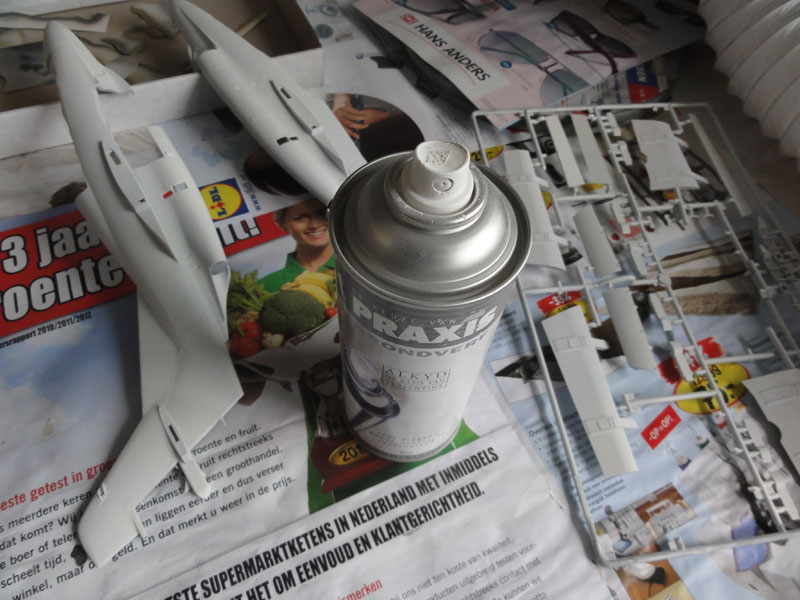
Not only several white coats were
applied, but also followed by the RED panels were airbrushed after masking.
For the "signal red" FS12197, REVELL aqua acrylic 330 was used.
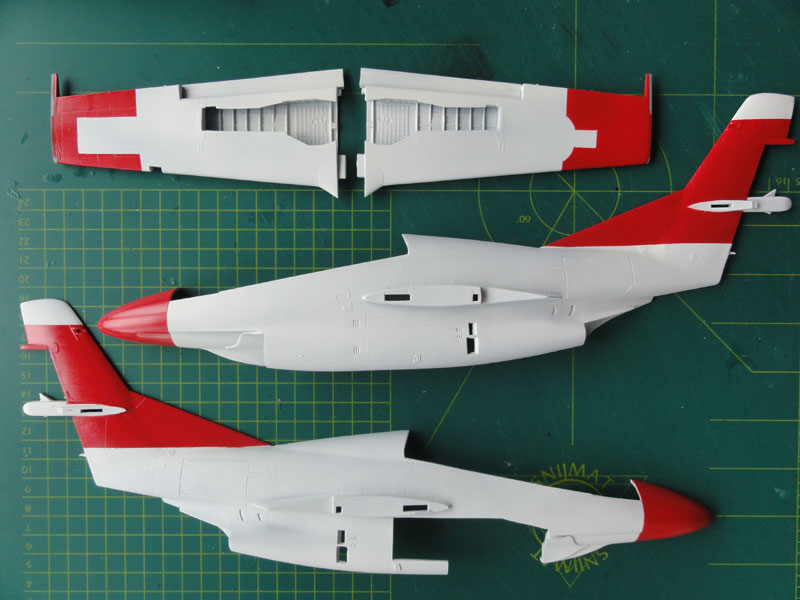
NOTE: a small section at the tail end should still be painted Red as well....
Rivets not yet applied at this stage.
Raised rivet decals came from MICROMARK. All "strips" had to be cut from the single decalfilm sheet. They were applied now, the reason being that a protective number of paint coats could be added after their application. This would make again masking easier at this stage.
I nowadays use
an electronic tablet with internet link to study photos or use a computer
or photoframe with USB stick.
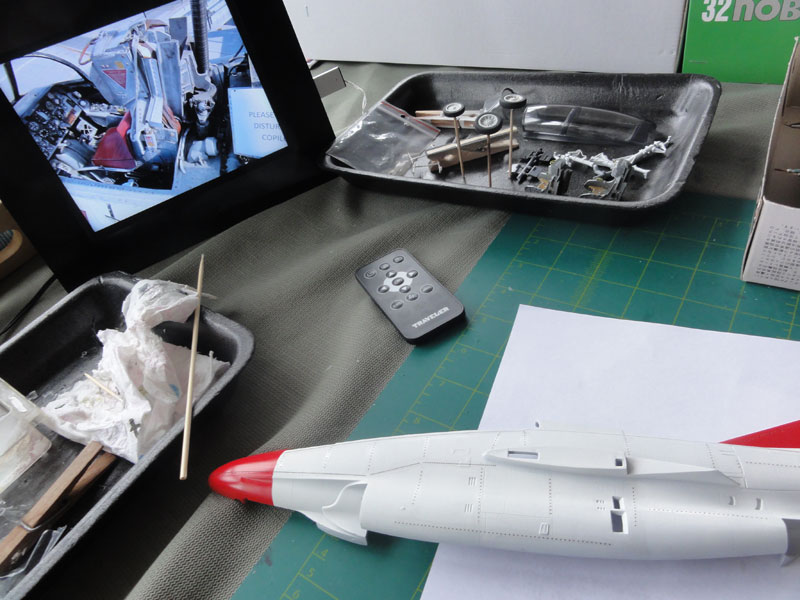
MICROMARK rivets decals were applied as usual. But they are very vulnerable for handling and very thin. That was the reason I did a lot of pre-painting before adding the rivets.
Some of the main sub-assemblies like the wing halves and horizontal stabilizer, doors and hatches were also covered with rivets. It is a bit overdone to apply all thousands of visible rivets, so on the model only some rivets strips were applied.
 rivet decals paper left overs...
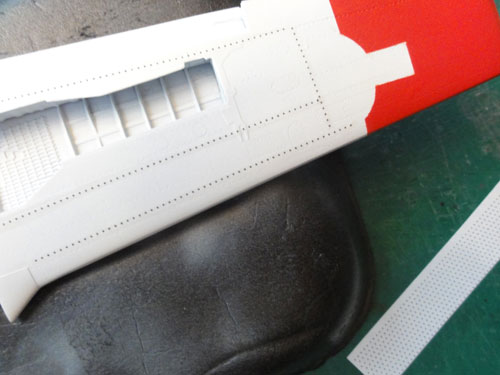
lower wing
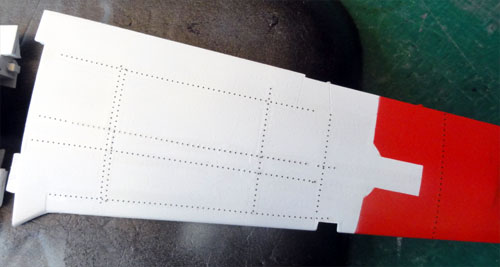
upper wing
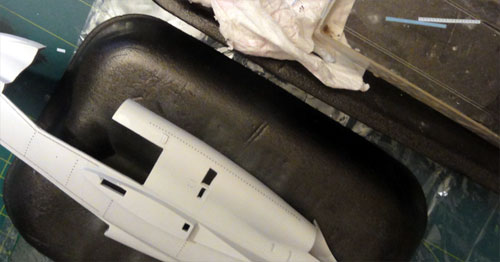
After the decals
were applied, a few days later again white and red coats with the airbrush
are needed. It requires again masking, a lot of work with thin strips
of low tack tape. Be carefull not to damage the added raised rivets decals.
As previously for "signal red" FS12197,
REVELL aqua acrylic 330 was used.
The white colour was used from "Gunze
Sangyo Mr.Color H1 gloss white" over the white base colour. It was thinned
with the Mr.Hobby acrylic thinner from the light blue marked bottle.
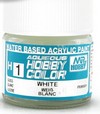
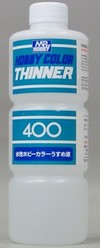
The paint covering
takes quite some layers as the rivet heads are black. When this was done
a couple of Johnson Future/ Pledge
clear varnish coats were applied with the airbrush to protect even more
the raised rivet details.
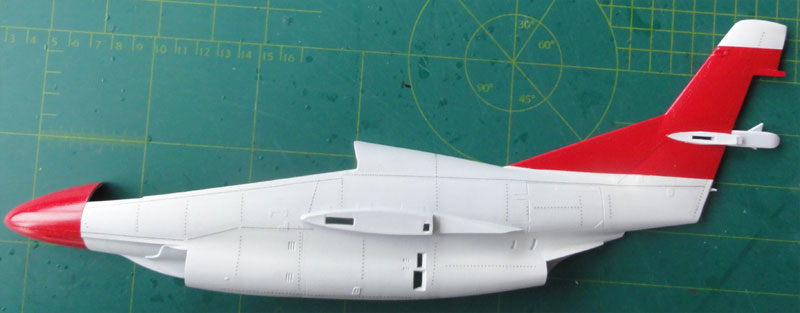
NOTE: rivets applied. I discovered later that a small section at the tail
end should be painted Red as well for a FAV aircraft....
Also, the wing
tip tanks were masked and airbrush with black anti-glare inside using
Revell Aqua 08 "Schwartz" acrylic.
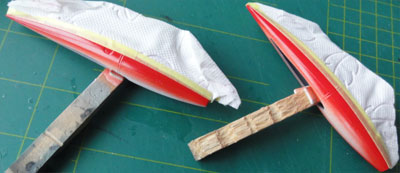
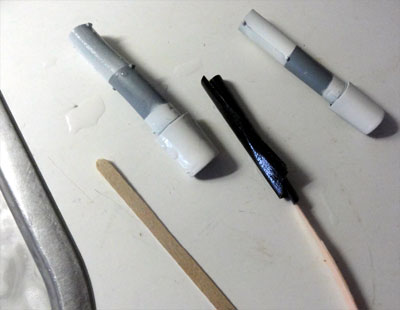
The intakes
required filler to hide the seams and sanding sticks were used. Once dried,
the black outside edges of the intakes were allready airbrush at this stage.
It is easier now.
The cockpit
tub was already painted. I will check the position of the seats later.

The tub was
set inside the fuselage but the forward instrument panel not yet fitted.
Extra nose weight was added as well before closing up the fuselage.
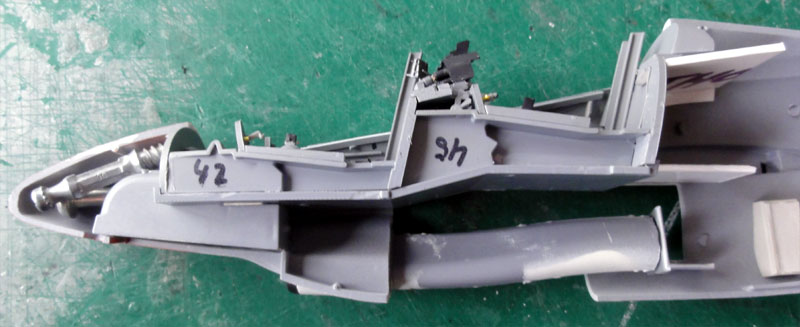
The intakes fit inside but a section
of the aft bulkhead was removed and it was cut in two.
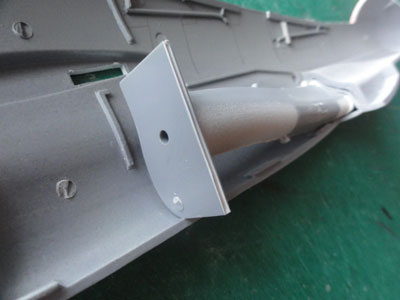 ..
..
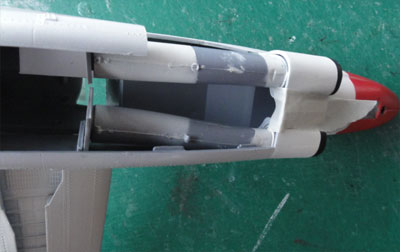
Now the model
could be assembled with the internal cockpit tub and intakes. The fit of
the wing halves is very tight . Looking at the wing assemblies, I thought
that maybe I mixed up the spars numbered F3 and F4 during assembly (instructions
STEP 15) leaving very tiny gaps inside the bays. It is maybe the reason
that the 0.1 mm difference gives that tight fit.
In order to
avoid too much pressure fitting the left wing half was done at this stage
on the left fuselage half.
The fit of the bottom fuselage panel
requires removal of some edges inside and on the small lips. This will
reduced the sanding needed. So fitting the bottom panel requires careful
work. Clamps were needed and the glued fuselage set aside to dry.
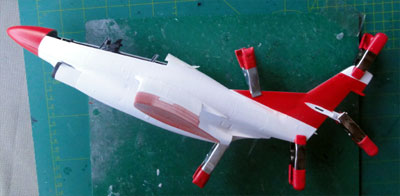
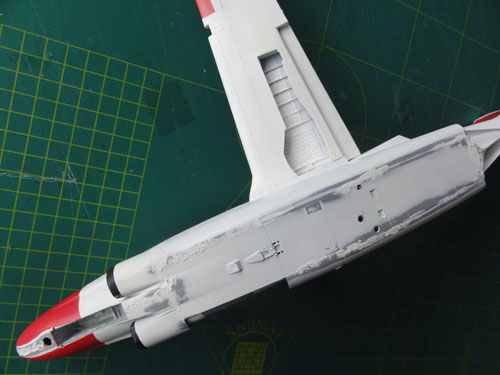
On the upper spine some filler and
sanding is also needed. Also at the wing root.
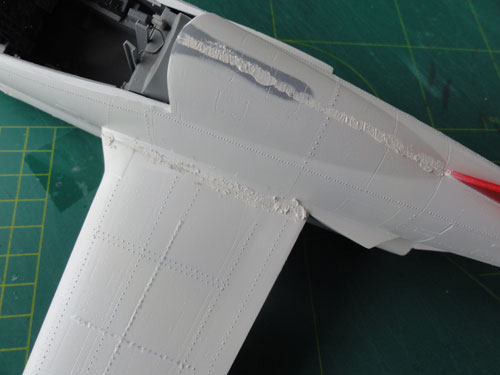
After that, the right wing half was
also set in place. There is a small gap at the wing root and upper spine.
Small amounts of filler were needed and the sanding spoils the prepared
paint finish but nothing can be done about that.
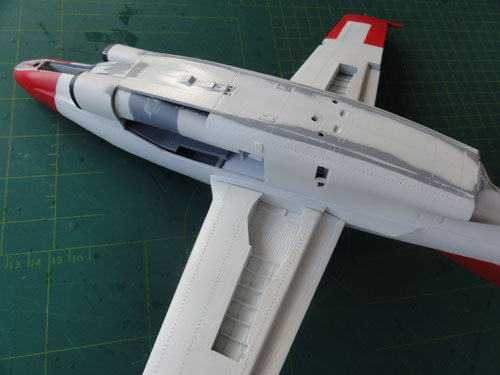
Note
the opened up right equipment bay, still to be detailed
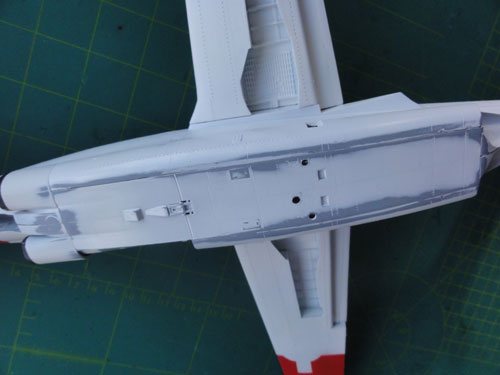
As noted before, this kit will be made as a T-2D of the FUERZA AEREA VENEZOLANA as when it was first used after delivery with the FAV roundels and flag. I was lucky to find the very rare AZTEC decalset G-004 / 48022 with various markings and titles for the FAV.
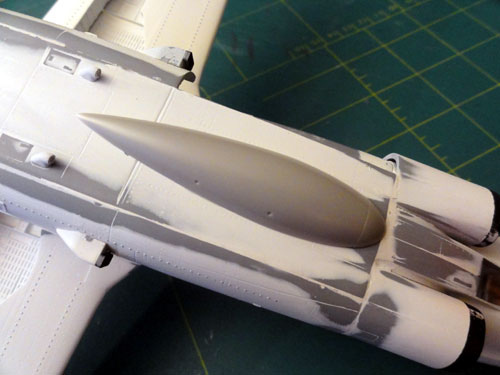
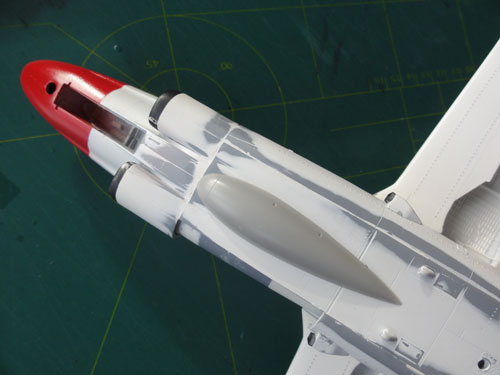
The T-2D of the Venezuela Air Force
shows
a big fairing below the forward fuselage aft of the intakes with a large
antenna. From the spares box a half of a tank was found that could be set
in place. Small gaps were filled with white glue.
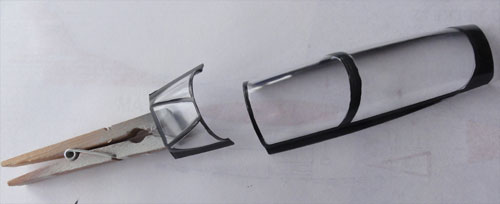
Masking the outside canopy and windscreen frames was done.
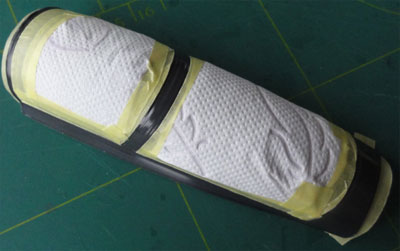
The frames will get a white finish
with the airbrush. Several layers are needed as for the overall model.
Any mishaps on the canopy and windscreen can be corrected by scraping of
any spills of paint with a wooden toothpick.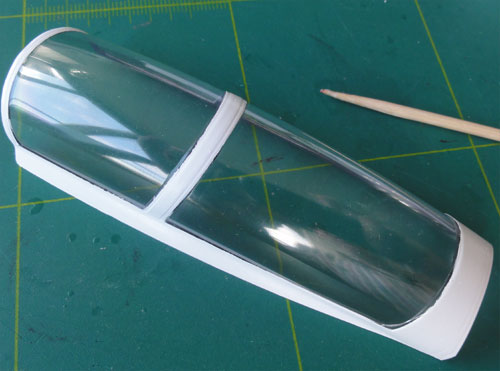
Still
some touch up work to be done...
The windscreen is now to be fitted
(Part CP1). On the real T-2 Buckeye there is a pronounced "step" between
the windscreen and the anti-glare panel but on the model I feel it is a
bit too distinct. With card and filler this "step" is reduced a bit but
not completely faired in.
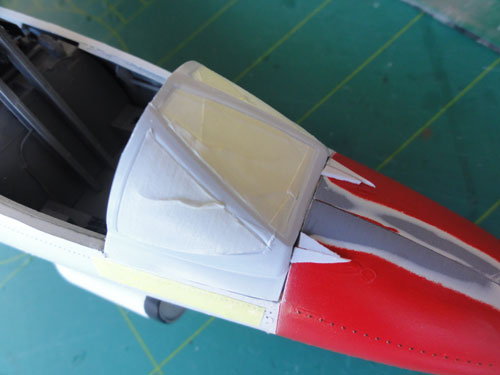
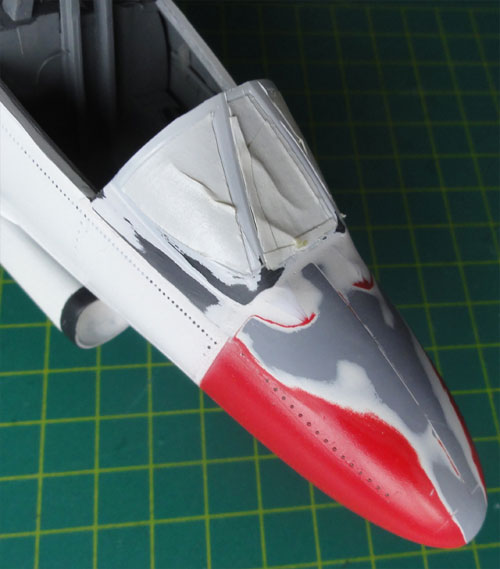
Ready for putting on another
layers of paint coats with the airbrush....
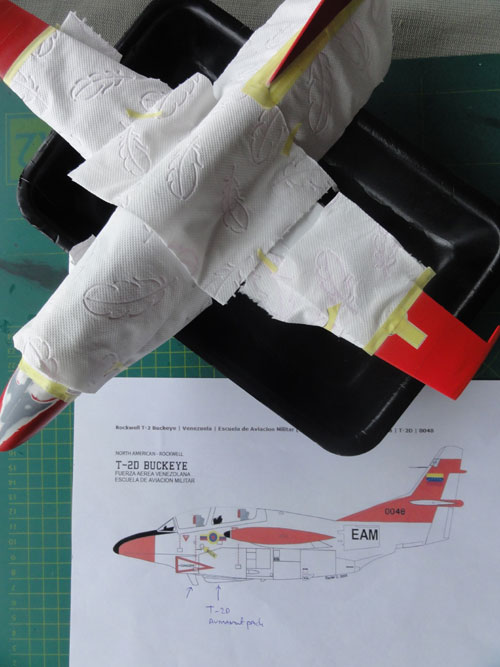
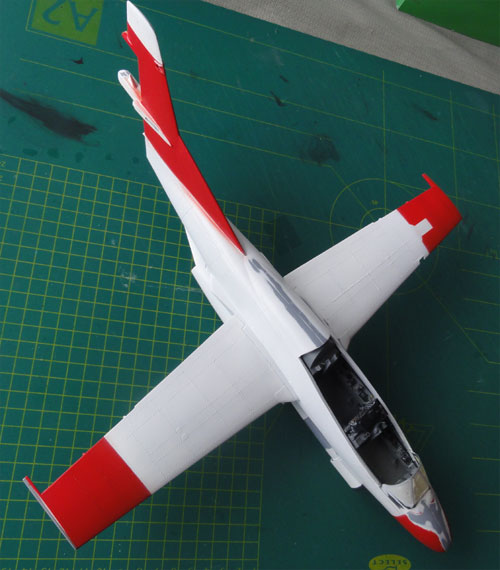 .
.
Ready to apply
next coats of gloss white H1..... and still, a small section at the tail
end should be painted Red as well....
As most of
the airframe is pre-painted with "protected" layers over the rivets, handling
is limited with airbrush only the remaining edges and areas are to be airbrushed
white.
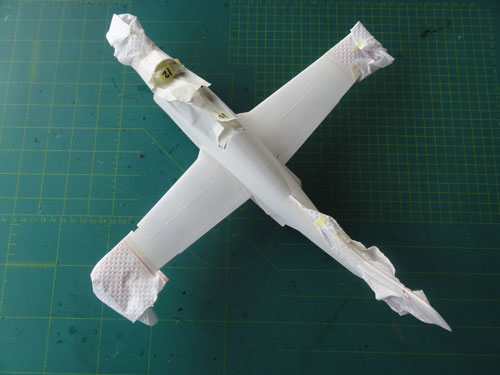
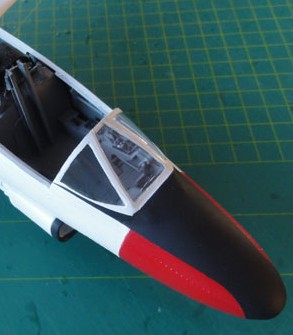
The black anti-glare panel was masked
and airbrush with mat black using Revell Aqua 08 "Schwartz". The
black intake lips insides were brush painted.
The prepared tip tanks were added.
The model now awaits further detailling
(e.g of cockpit and opened up systems bay), adding the stabilizer, rudder,
flaps, ailerons and finishing with gears, decals etc.
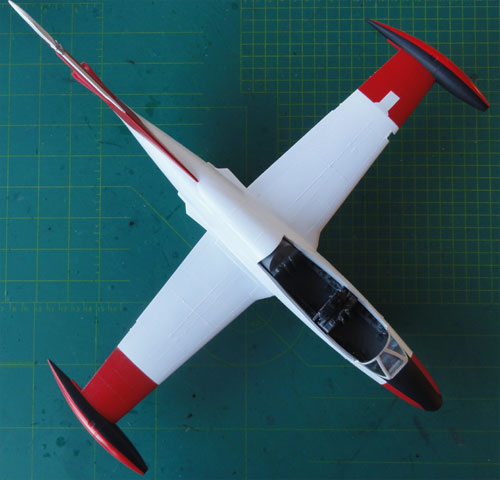
On to next [ Page 4... ]
..
(c) Copyright "designer"/ All rights reserved. Your comments are welcomed by webmaster
January 26, 2015