[ Page 2 ]
... continued from page 1...
STEPs 11-13
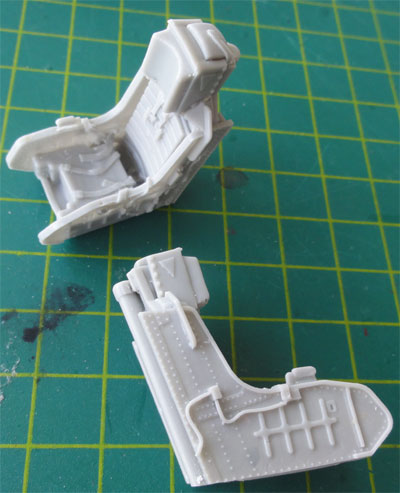
Assemble as shown with the rudder and the nice resin seats. They represent probably the LS-1A seat for the Buckeye. Some little extra detail is only required. Do not install these seats yet.
STEP 14
Wait with the basic fuselage assembly......
As the model was to be finished in the kit scheme of white and red, it was decided to take a somewhat different approach as to painting. See later on...
STEPs 15-23
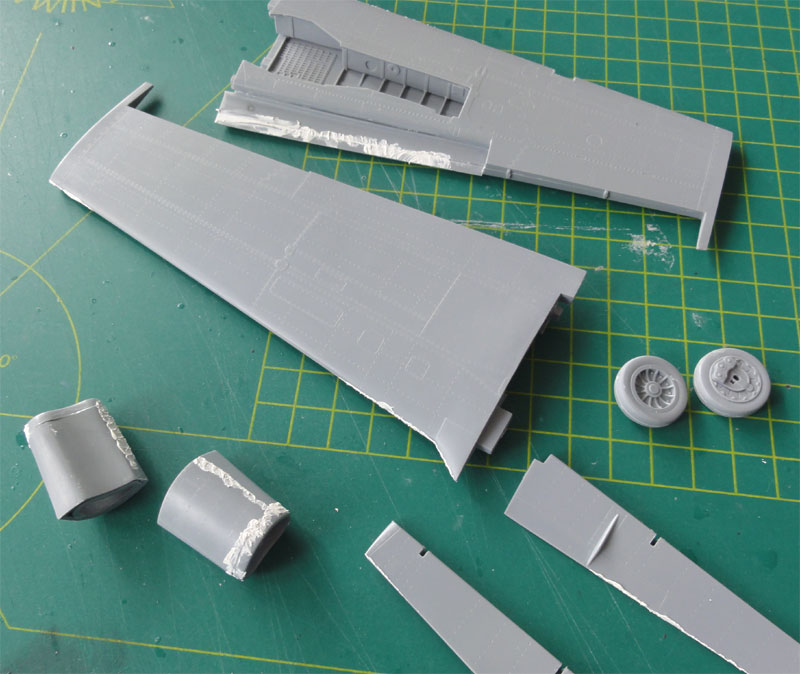
The wing and tailplane was sub-assembled
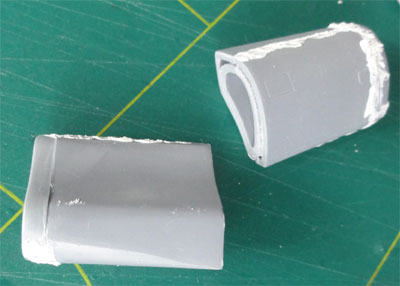
as they also would get a pre-painted white base coat. The same was done
for the separate flaps and the intake parts from STEPs 25-26.
Some filler was needed, such as on
the leading edge and the wheels (from STEPs 29-30).
EXTRA detail?
It was also decided to add a little
more detail to the model through a detailed avionics and equipment bay.
From walkaround photos a very nice opened up bay was seen. A bay will
will be displayed on the lower right fuselage side. With a TIGER razor
saw, the panels were cut away from the fuselage half (part #A2).
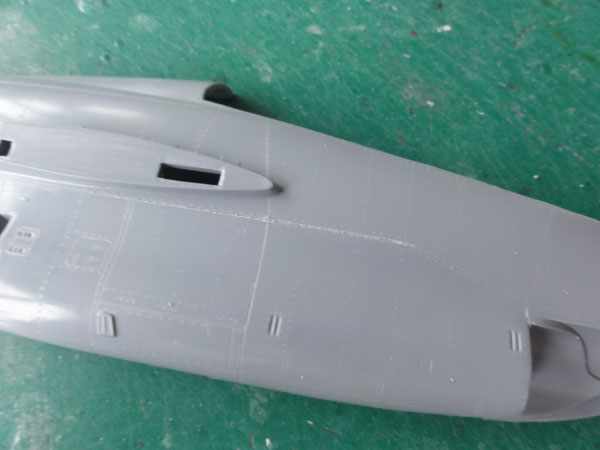
Work in progress above....
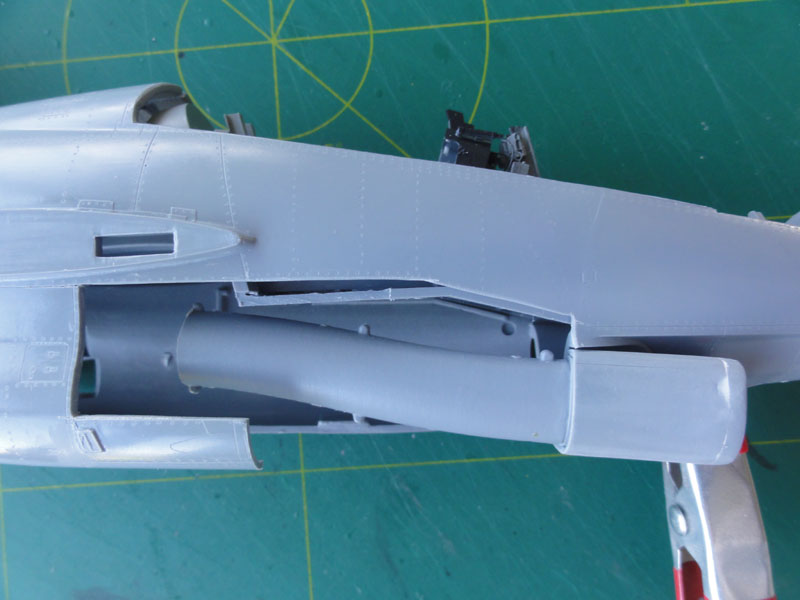
A dry-fit check was done if all would
fit...
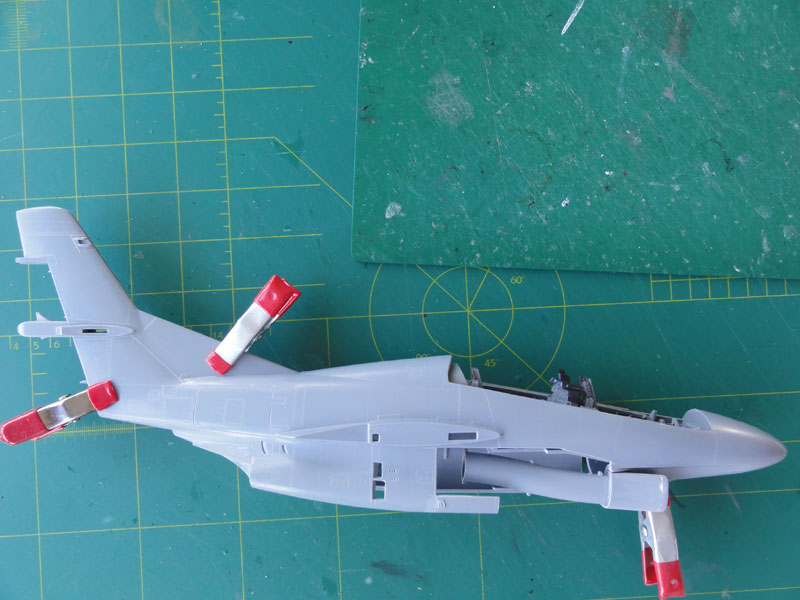
STEP 27
The open gaps on the lower fuselage
part #F1 are OK, but inside some card was added to prevent see through
inside too much.
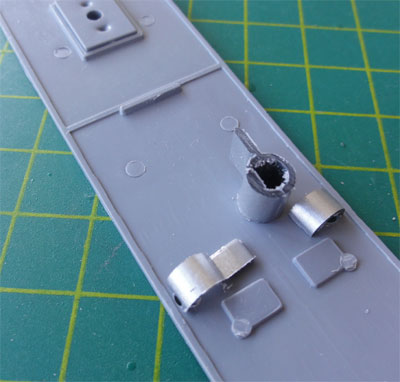
All smaller intake scoops were added
to each fuselage half. Fitting the exhaust fairing parts #C1 and #C19 required
a bit filler and sanding.
One of the intakes from STEP 9 was fitted as well to the left fuselage half.
STEPs 33-34
The wing tips tank were also assembled.
Do NOT yet fit to the wing tips though.
.
(c) Copyright "designer"/ All rights reserved. Your comments are welcomed by webmaster
June 10, 2014