Dutch naval air service
[ page 5 ]
Conversion of Lynx model in 1/32 scale of Revell
It was decided to do some rivetting and painting work now.
![]()
To check for any surface irregularities,
the nose and fuselage are given a light grey coat of grey. I used MR.HOBBY
GUNZE SANGYO acrylic #306 acrylic. The interior was masked to protect the
already painted interior.
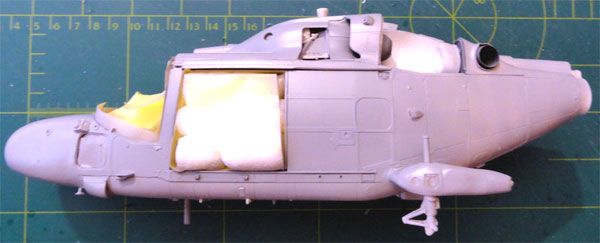
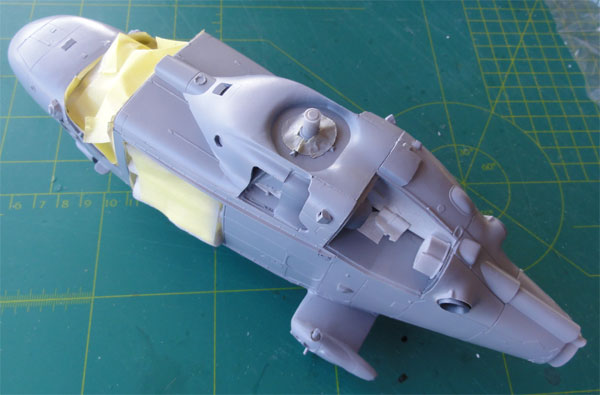
The next step is to apply rivet details as the Revell model is far to clean. On a real Lynx various rivets are clearly seen. Typical for most helicopters.
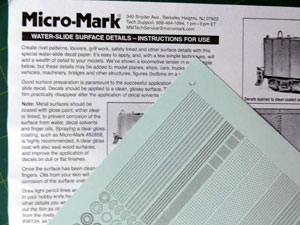
For the raised rivets, a new type
of after market set was used. MICRO-MARK
USA has, for railway modelling, decals set #84985 with resin
raised rivets! This is new to me, I think these type of rivets have only
recently become available.
The rivets are printed in rows on
the decal. So each line is cut with the rivets and applied to the model.
Many, many are needed on this Lynx in 1/32 scale.
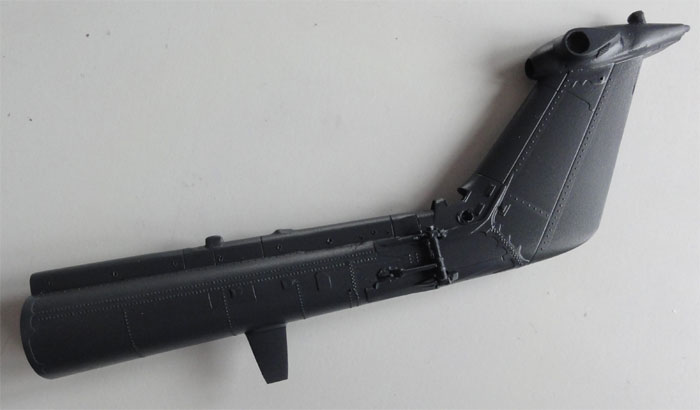
The rivets were also applied to the
rear areas like the tailboom and tailrotor fin.
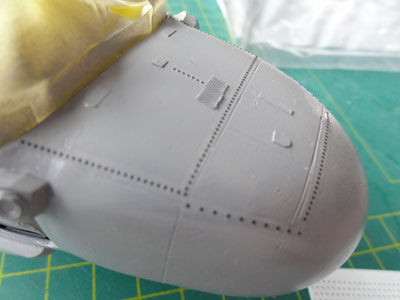
Once the rivet decals were dry, another
coat of light grey paint was airbrushed. This seals the decals and ensures
an even sheen.
The result looks great and vastly
improves the realism to this model.
PAINTING THE SH-14D MODEL
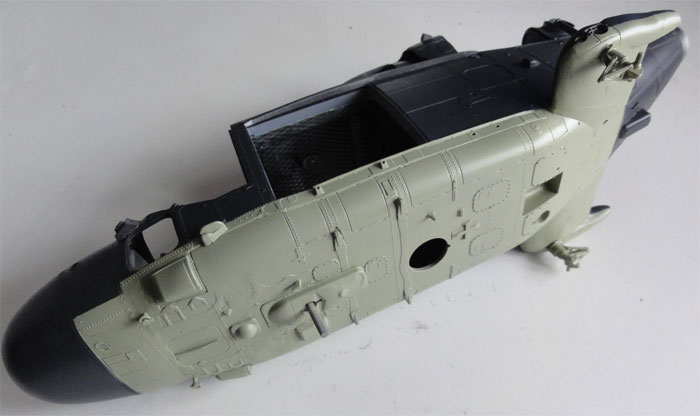
The Dutch Lynxes had a colour scheme op upper and side surfaces of "Extra Dark Sea Grey" (Dutch Sikkens paint 46504) and the lower surfaces of "Sky" (Sikkens 46510).
For the enamel paints Extra Dark Sea
Grey XTRACOLOR X-5 or X-376 of HUMBROL 123 enamel can be
used. I used acrylic from GUNZE SANGYO H333 .
 ....
....
For the Sky enamels XTRACOLOR
X-607
enamel or HUMBROL 90 enamel or White Ensign Model WEM ACRN01
Sky can be used. I used the WEM paint.
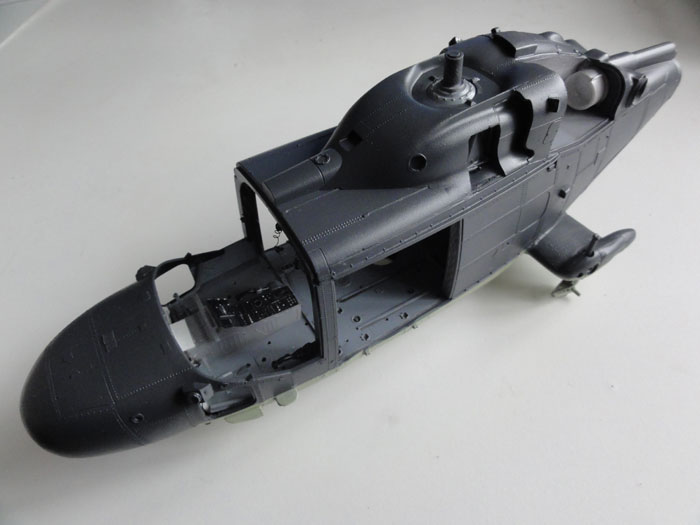
Note also the tiny raised rivets
added to the model
The tailboom with the new hinge details
and rivets added.
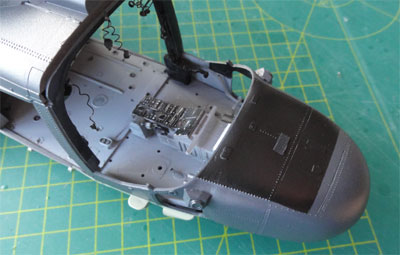
The black anti-glare panel was also
masked on the nose and airbrushed matt black.
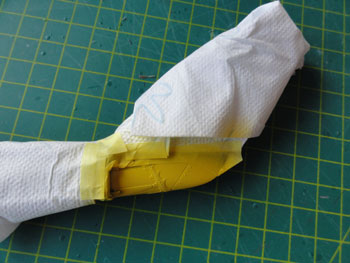
The yellow tail warning panel was
airbrushed MR.HOBBY GUNZE SANGYO Yellow H329 acrylic.
The rotorblades are dark green (Sikkens
46056), for which I used GUNZE SANGYO #340 acrylic. The new BERP
main blades also have a metal leading edges. A lot of masking was needed
here before applying REVELL Aluminium acrylic 36199 to the edge.

After drying, the overall model was ready to get its markings with the decals. This is done now as the model is easier handled at this stage.
Engine
As noted before, some extra detail was added to the model, particularly on opened up engine bay and engine and an opened access panel at the main rotor gear box.
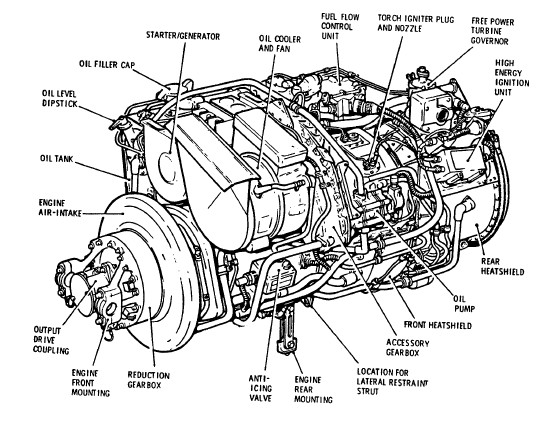
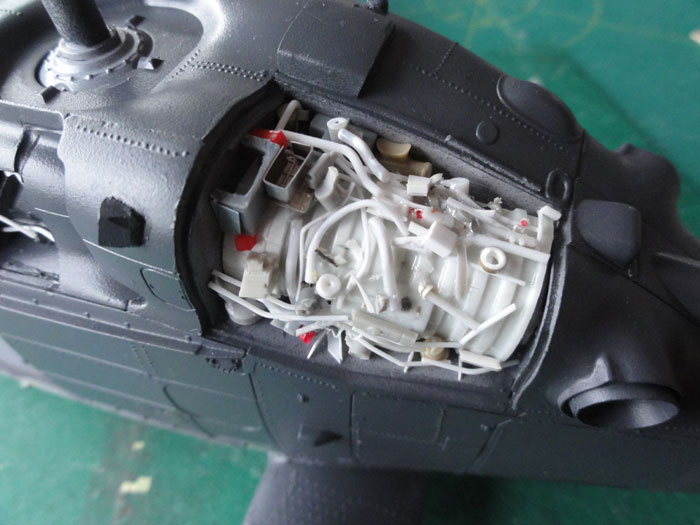
The engine was made from a tube found in the spares box, loads of stretched sprue and rod, card etc.
Checking with photographs from the IPMS NL Walkaround, engine details could be seen and made as realistic as possible.
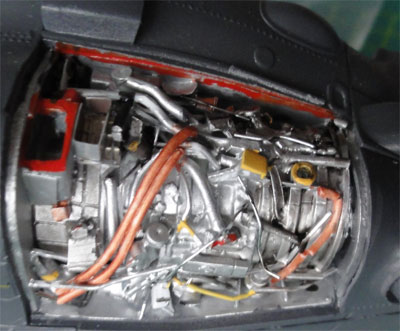
After completion, various paints of
metal, copper and aluminium were applied. The red air oil cooler fan intake
sealing is also seen.
The side hatch with walking area
was also detailled.
Next step is applying the markings.
On to next [ Page 6...]
Back to 1/32 scale Models.......
(c) Copyright Meindert "designer"/ All rights reserved. Your comments are welcomed by webmaster
Created this page December 17, 2012