[ page 3 ]

Buccaneer models in 1/72 scale
page 2
page 3
page 4
page 5
.. continued from page 2...
Another 1/72 Airfix Buccaneer S.2B kit was made as described on the previous page but....
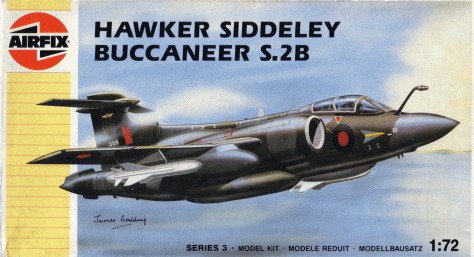
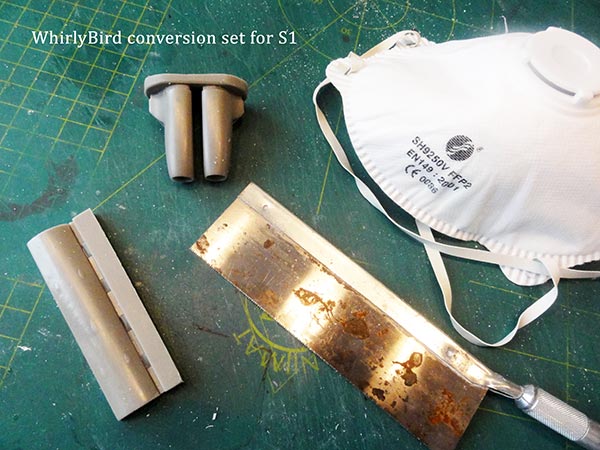
.... this kit will be converted to an earlier Buccaneer S.1 with the small intakes and other minor differences. For this conversion, the WhirlyBird conversion set #WBA72169 was used intended for use with the Airfix S.2b kit.
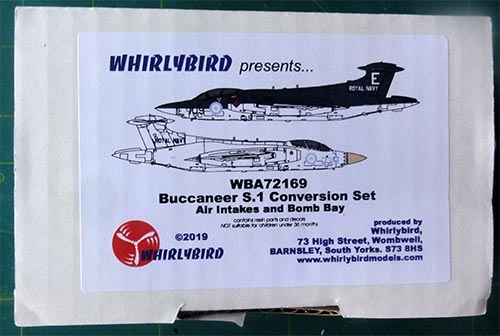
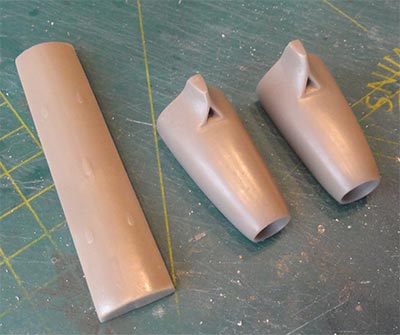
This set has 3 resin parts: a pair of small intakes, a flat bomb bay door and is completed with a nice decal set.
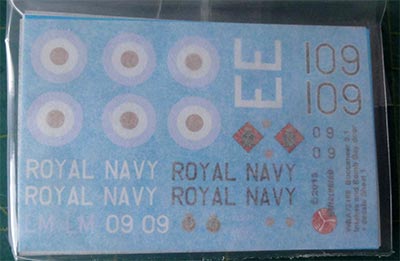
- extra dark sea grey and lower white aircraft of no.800 squadron aboard HMS Eagle, 1964 ;
- overall white aircraft of no. 809 squadron at Lossiemouth, 1964.
The "faded Type D" roundels are provided on this small sheet as typical of the 1960s.
First the few resin parts in the WhirlyBird set were separated from their casting blocks.

NOTE: resin can be harmful, take precautions when handling resin parts, look here how....
Now the Airfix plastic kit was assembled without too much detailling. The undeep cockpit tub was retained as well as the slightly undeep tail arrester hook recess.
But I removed the inboard rear flaps, these droop down on parked Buccaneers. Do this early on.
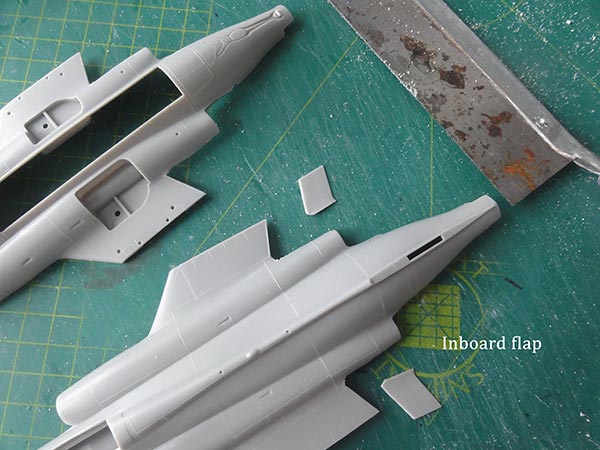
The fan faces part #9 is not required. Also, it is a good idea to fix the kit flat main rotating bomb door #11 in the lower fuselage part. (It was decided not to use the resin part). This large door was set flush and some extra plastic strips inside top retain it in place.
The next major step is now to remove and cut out the large intakes sections in the lower and upper fuselage shell; these need to be removed to install the two resin parts for the smaller S.1 intakes.
The cut needs to be made at a panel line of the kit. The Whirlybird instructions are a bit confusing here as they show a 1/48 kit!
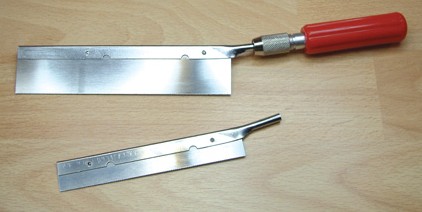
The razor saw is needed here...
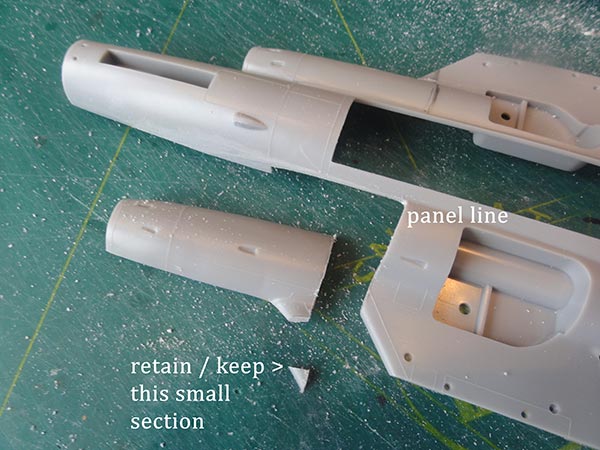
Important: the smaller triangular bits need to be retained as these shape the leading edge later on.
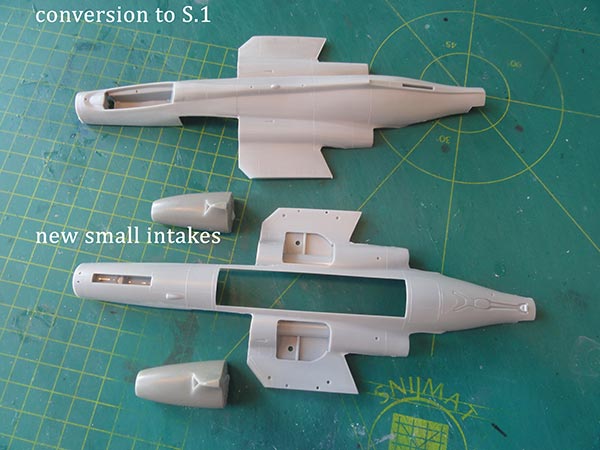
As a result, there are now large gaps at the forward sides of the fuselage. (This is strangely enough not indicated in the conversion instruction pages of the WhirlyBird set).
It is better to close these up now with plastic card as next step (so not yet fitting the resin intakes) as you get enough room for puttying and sanding.
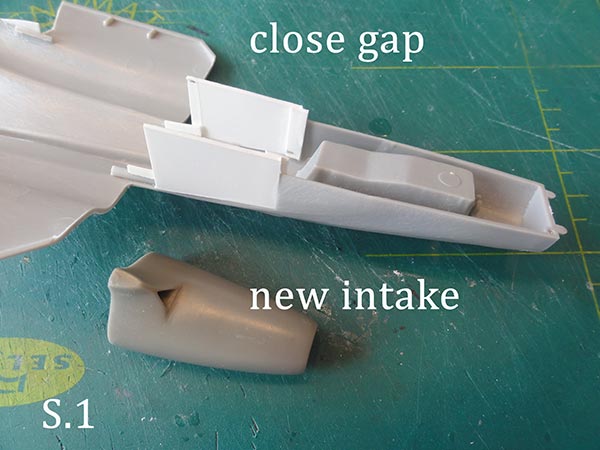
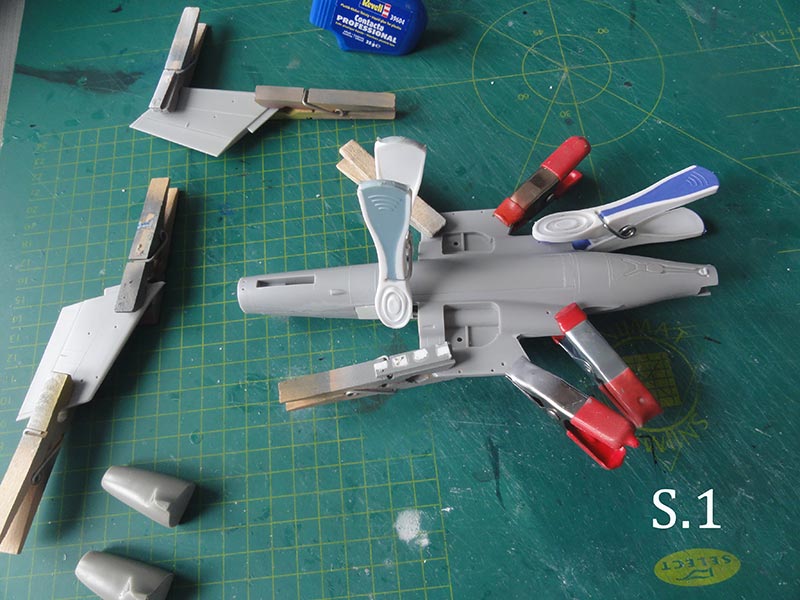
Close up the main fuselage now and use clamps while it dries..
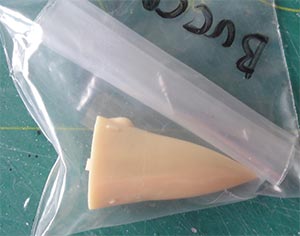
I also had a better Model Works resin nose to improve the kit (replacement for parts #16 + 17). (or use putty and sand an improved shape as described on the first kit; and add some 15 grams of weight to avoid 'tail sitting").
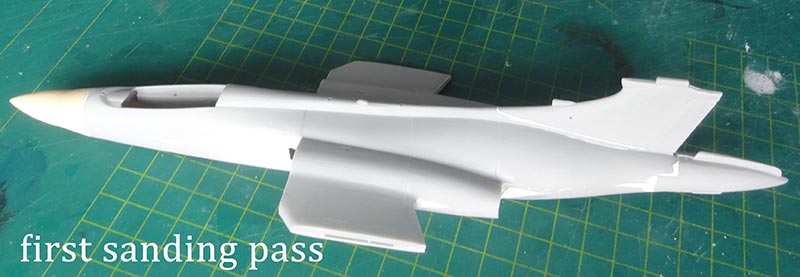
Some putty/ filler was added and the whole lot sanded flush seen here...
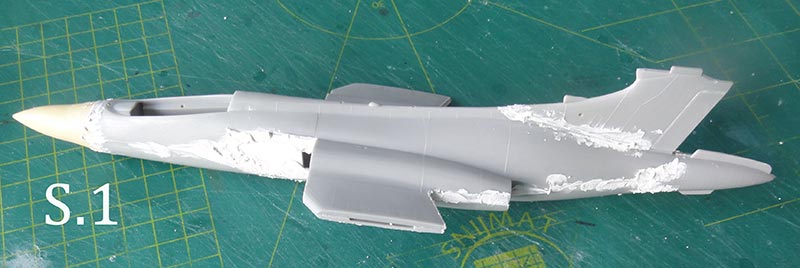
....
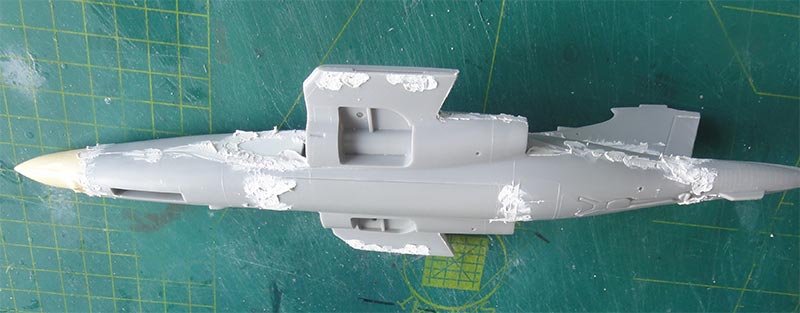
.. sanding...
The resin intakes were now set in place after careful alignment, set with super glue. There are quite some larger gaps remaining.
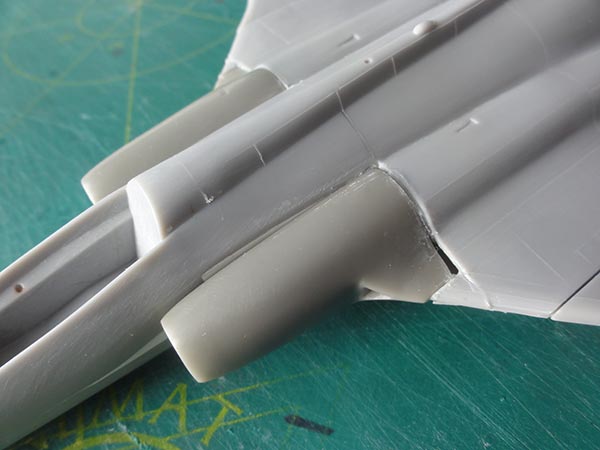
All was again filled with some strips of plastic and putty.
Next, the outboard wing sections were set in place, I opted for a straight non-folded wing. The outher wing tip section at the wing tips were sanded off on this S.1.
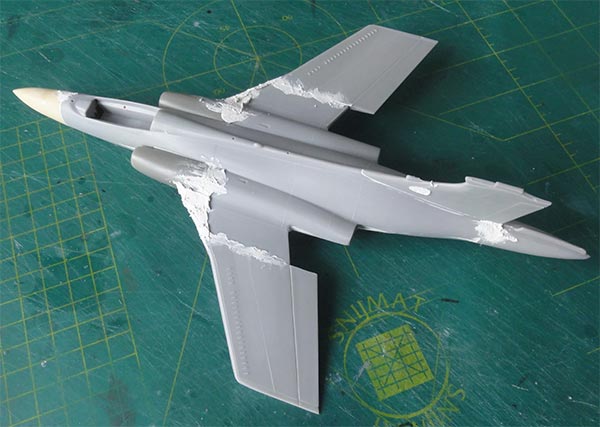
A few puttying and sanding passes were needed.
The next step was to improve the "raised kit panel lines. These were re-scribed with an OLFA scriber using the lines as guide and than the raised lines sanded off.

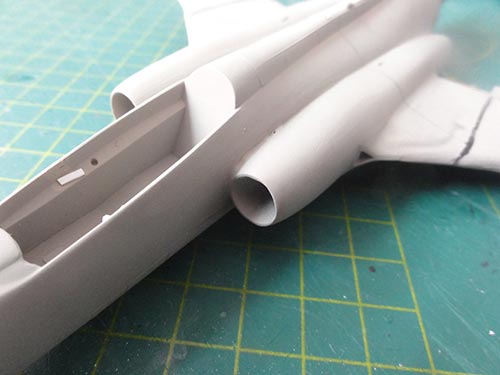
The overall model now got a first base grey coat. I apply usually Revell Aqua 75 "stein grau" acrylic with the airbrush. This base coat will show any flaws that may need another putty treatment. It looked fine.
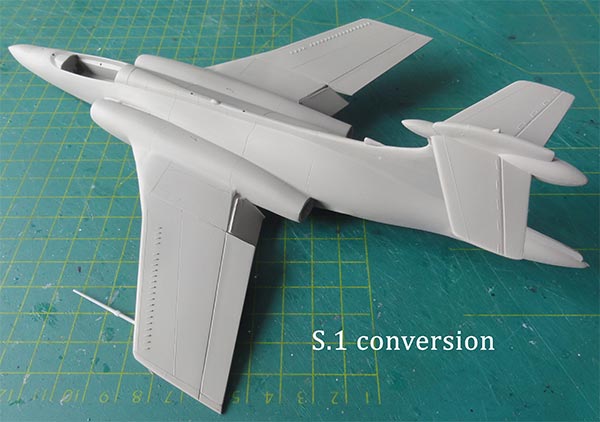
Wheel bays will benefit with adding
some details such as piping and hydraulics with plastic strips. These were set.
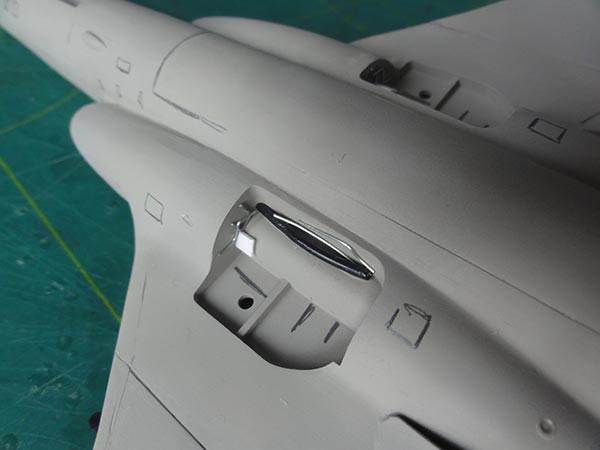
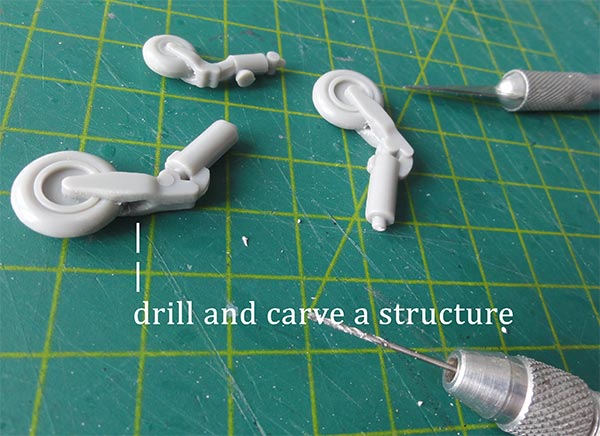
The main gear in the Airfix kit was also improved a bit. Holes were drilled above each wheel and a bit of structure carved with an X-acto knife. (Alternatively, use a metal Aeroclub MB mk.6 replacement set).
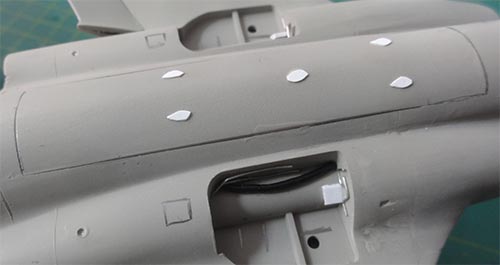
As noted earlier, I opted not to use the resin rotating bomb door but the flat kit part. At the rear of the bomb door, a panel line was inscribed about 3 mm forward of the rear edge as for the S.1. The old rear panel line was puttied and sanded. The shorter S.1 bomb bay door had some small plates, these were added from thin plastic card.
Some S.1 details were now checked:
- the small air intake ducts #32+33 were not fitted on the S.1;
- the pitots #71+72 on the vertical tail were not fitted;
- the tank boom #68 was not fitted;
- the missiles in the Airfix kit were not used;
- I did not use the inaccurate slipper tanks of the kit for the S.1.
The S.1 model was ready for a first colour coat.
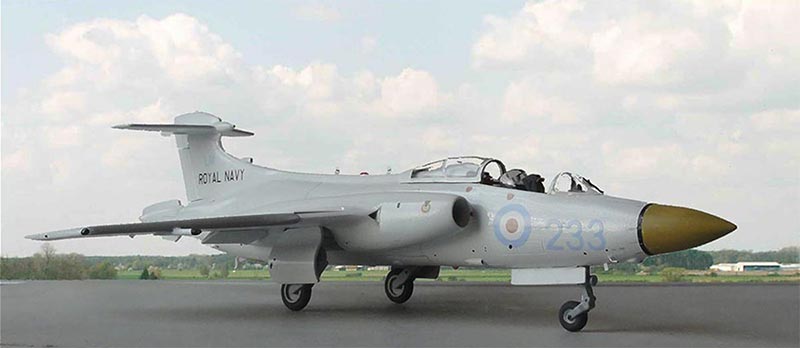
The overall white scheme of a S.1 of no. 809 squadron at Lossiemouth in Scotland was picked as provided in the WhirlyBird set decals.
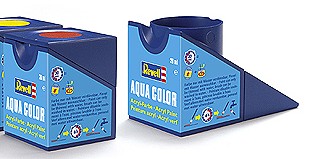
The model first got overall mat white coats airbrushed, using Revell Aqua 05 acrylic paint. This was followed by a few airbrushed gloss white coats of Gunze Sangyo H1 white. The gear doors were not forgotten.
The outboard wing has metal leading edges as well as the horizontal stabilizer. The areas were masked off and airbrushed Revell Aqua 90 silber.
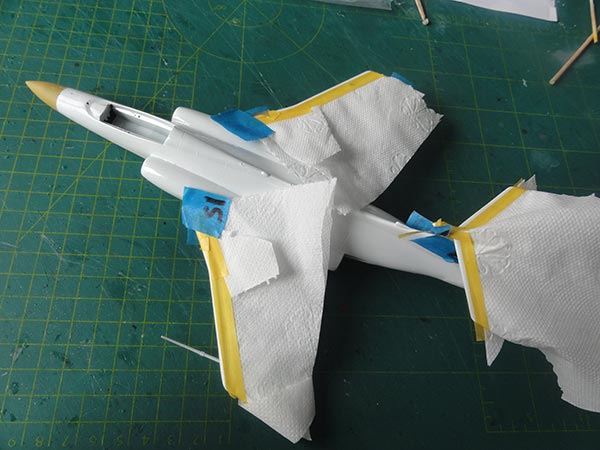
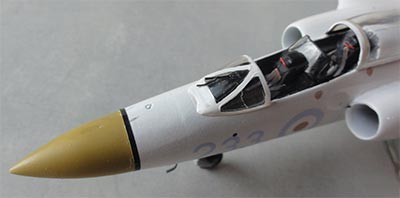
The fiberglass radar nose was masked off and airbrushed a colour of Revell Aqua 16 Sand.
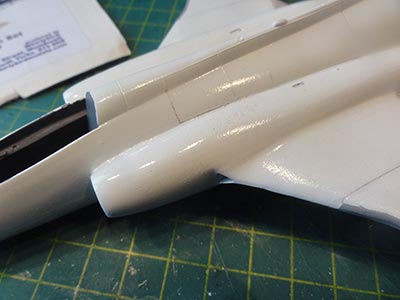
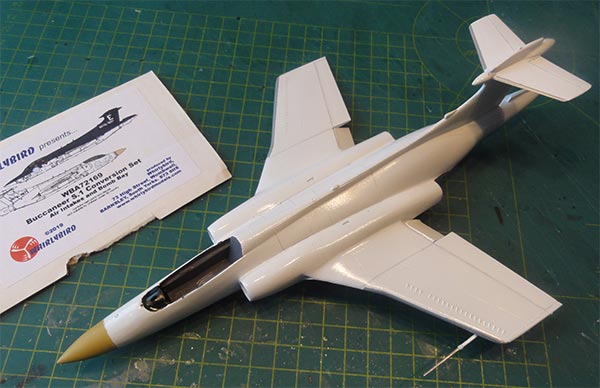
Decalling was now done on the already glossy white surfaces.
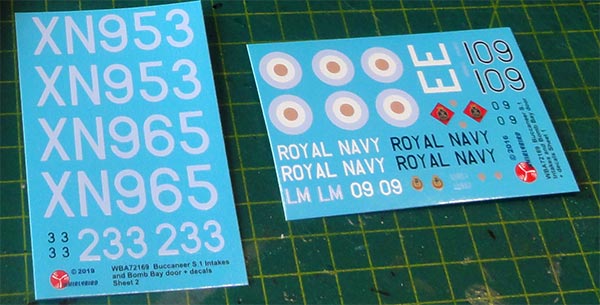
The WhirlyBird decals with the lower visibility RAF roundels are fine but unfortunately have no choice in serial numbers.
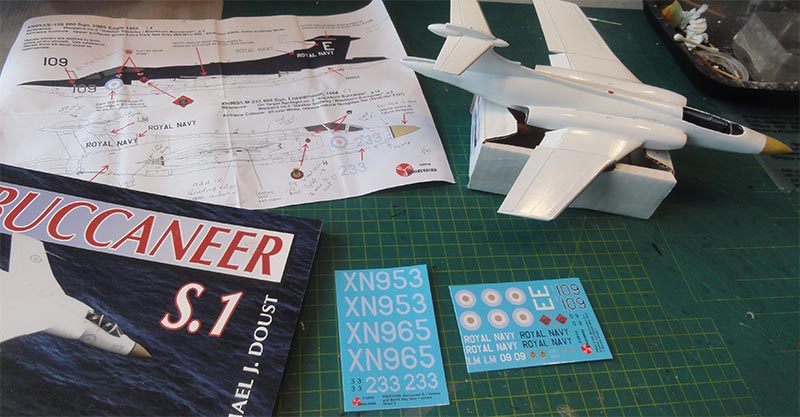
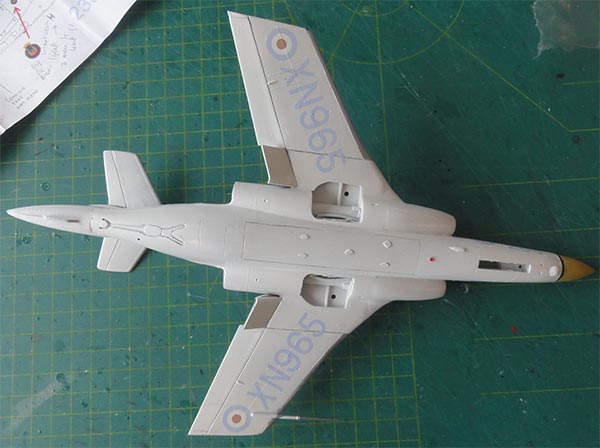
On photos, a small tail fiberglass panel below aft of the bomb bay door was seen; this should also be painted (not yet seen here). At the upper wing, just forward of the moving surfaces, a silver stripe decal was added from an Xtradecal stripe set.
The leading edge of the wing was painted aluminium and a small strip of aluminium decal stripe was added on the upper inboard wing.
Details were now added:
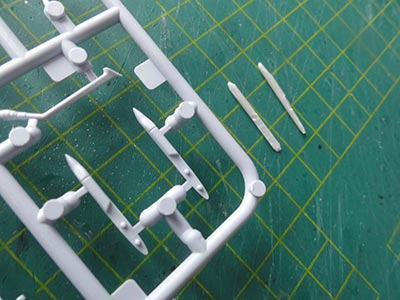
[1] as many S.1 aircraft had a pair of small ARI RWR fairing/ stubs below the outboard wing leading edge, these were carved from plastic rod (using the new Airfix kit as pattern). But these can thus also be left off.
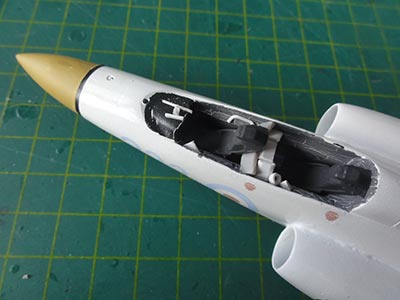
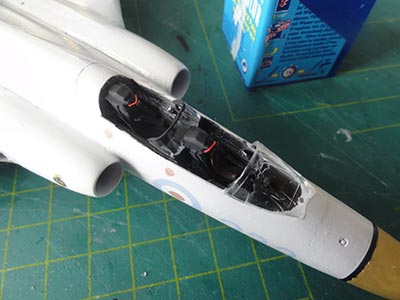
[2] the cockpit got now some details from scrap. I did not bother too much for all the details here. The kit seats were used but got some straps from painted tape. Various Martin Baker mk.6 seat versions were used; some have a face curtain pull ring on the seat top, others like the Mk.6 MSB have 2 rings. Here I used the older style seat.
The canopy frames were painted with also a tiny isolation edge in "Sand" colour. This needs a very steady hand and fine sable hair brush.
[3] the landing gear was detailed a bit as noted earlier. The bays and gear legs were painted medium grey and all was set in place. The Buccaneer has not that many details in these areas with the large main gear doors.
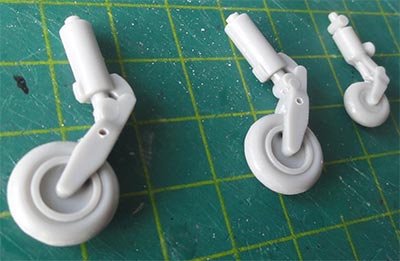
On the gear doors some hinge details were added on their inside though. The nose gear leg got some extra detail and with an extra retraction strut in the bay set.
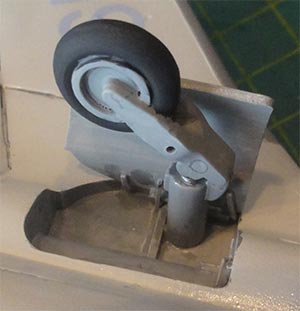 .
. 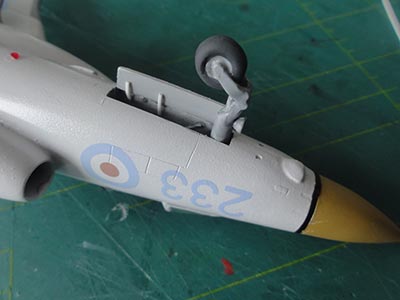
[4] on the nose, a pair of tiny pitot tubes were set made from rod situated near the nose gear as well as a apir of antennas #74+75.
[5] at the tail hook, the small bumper is seen extended on parked aircraft. The bumper "fork" was made from card. Also the fiberglass panel can be seen here now painted.
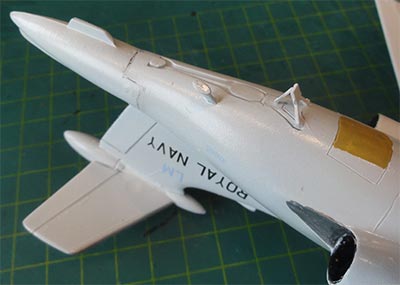
[6] on the fuselage spine two small UHF antennes were added; I did make these from thin card (and thus not kit parts #69+70); on the spine an red anti-collision light was painted as well as on the lower fuselage in front of the bomb bay. On the wing tips red and green lights.
[7] the various smaller vents and holes were suggested with tiny dots of gloss black paint looking at photos added with a tooth pick.
[8] a small aileron hinge rod was added on the smaller present stub in front of each lower aileron.
 ....
....[9] various panel lines are seen around the air frame. Some were already re-scribed earlier but additional lines were suggested with a pencilled thin line.
Almost there. The model got a final gloss varnish Johnson Future/ Pledge coat to protect the decals and get an even shine.
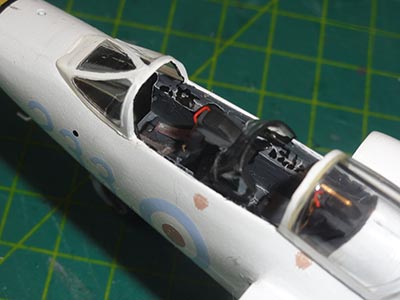
The canopy was set slided open to the rear and that completed this nice Bucanneer S.1 conversion. A small windscreen wiper was also added from thin black stretched sprue. That completed this model.
![]()
FAA



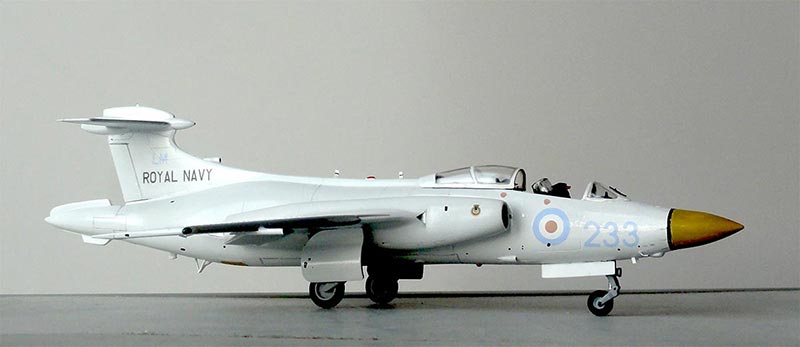
Buccaneer S.1 of no. 809 squadron at Lossiemouth, 1964.
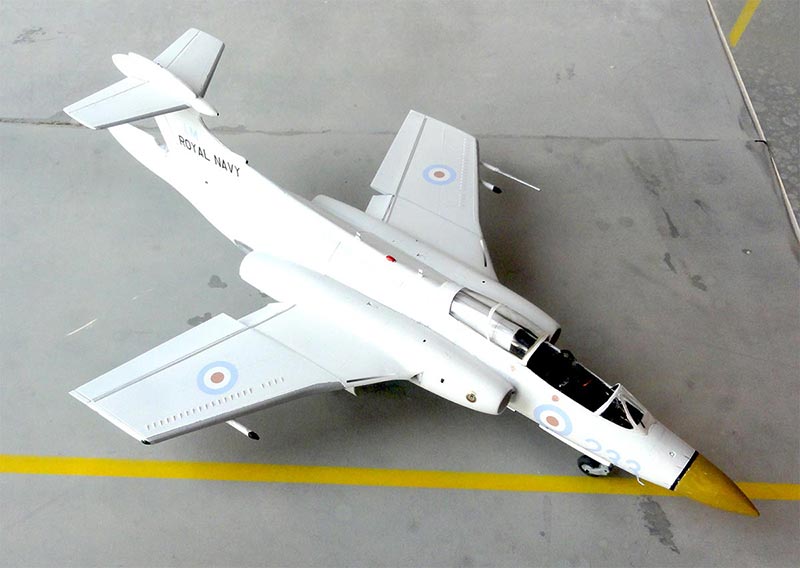
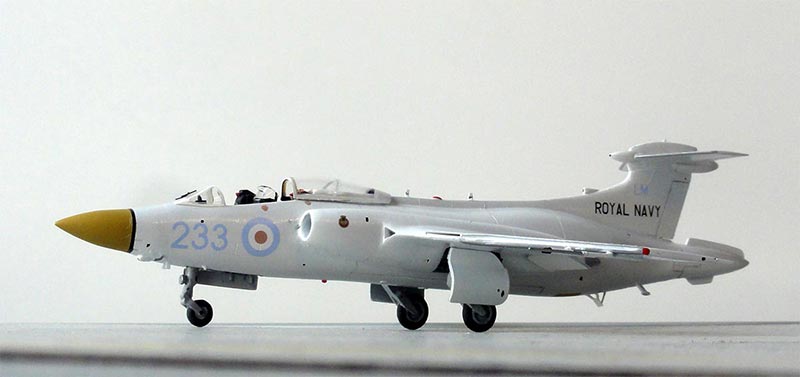
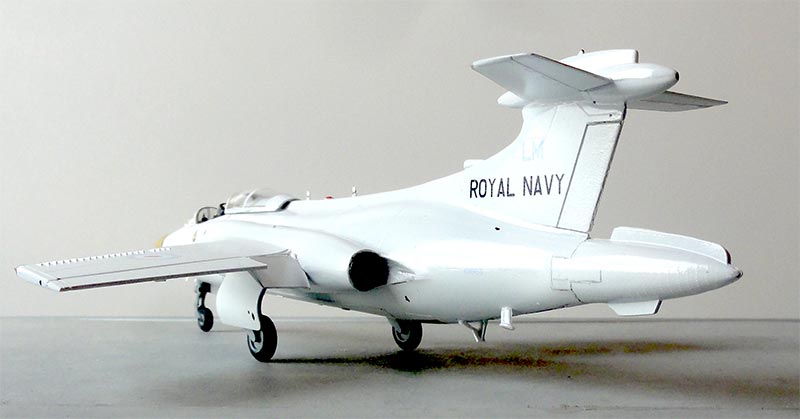
.. in a landscape....
On to next [ Page 4... ]

(c) Copyright Meindert "designer"/ All rights reserved. Your comments are welcomed by webmaster
Created this page
November 10, 2020