[ page 4 ]
Buccaneer models in 1/72 scale
page 2
page 3
page 4
page 5
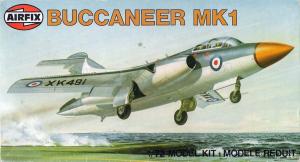
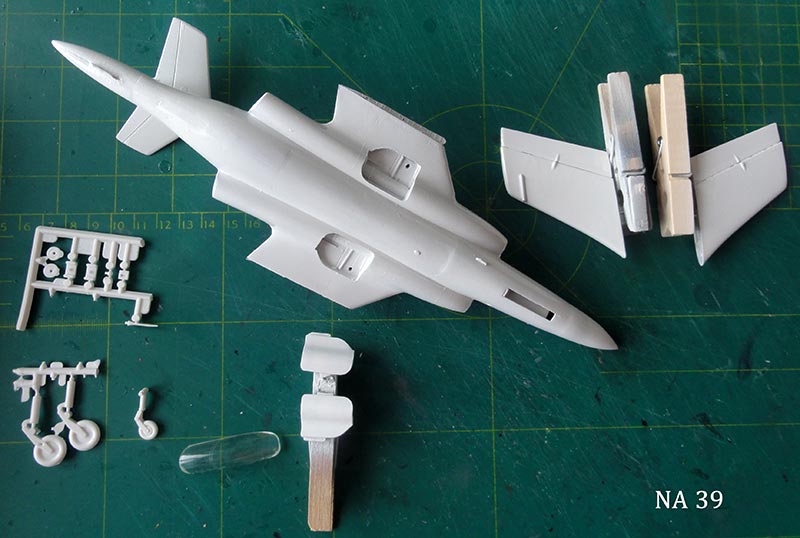
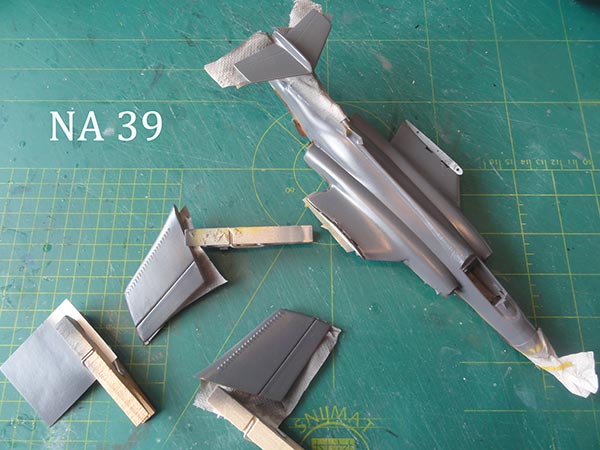
A pre-production NA 39 model was made using the old very first Airfix kit #384 of the Buccaneer that was released in the shops in 1960. The Buccaneer was still highly secret at the time so it was quite remarkable that Airfix released that kit.

I managed to acquire a kit "second hand" with some parts already glued together and painted as well. But the main parts were there.
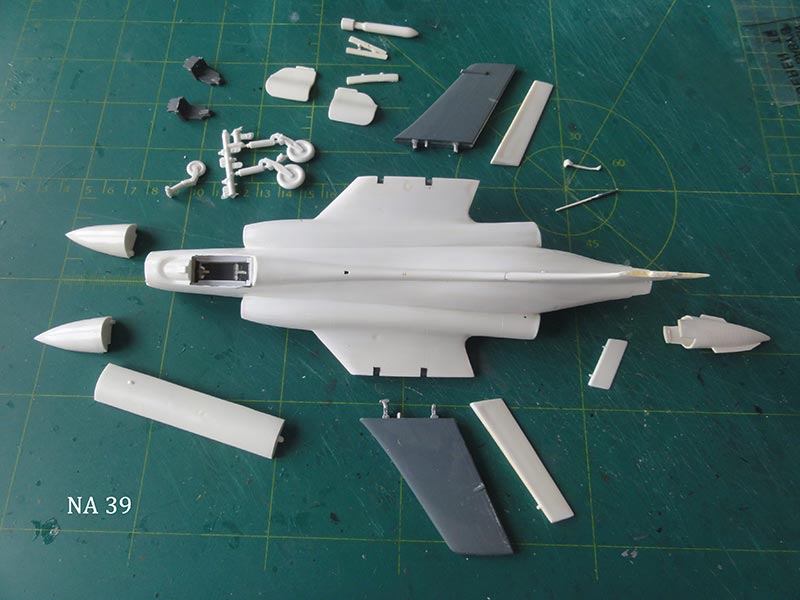
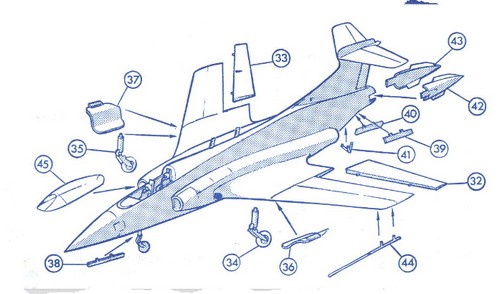
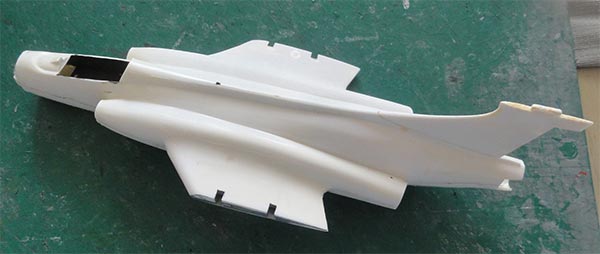
The kit parts in white plastic are simple. There are no enclosed gear bays and the outboard wing sections could be folded. Some gear parts can be rotated. Remarkably, some control surfaces are separate parts as well as the airbrakes. The kit has only rudimentary L-shaped "seats" for the cockpit but absolutely no detail here. The canopy will be set closed as the rear canopy section is moulded in the spine.
Decals are simple and not anymore in my second hand kit.
Well, no problem, with bits, plastic card and spare parts the model was made.
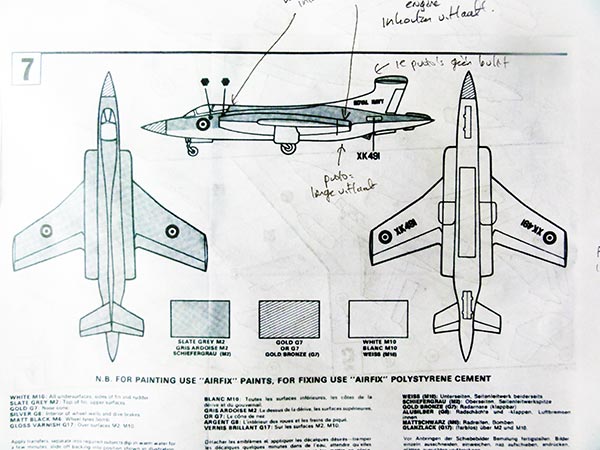
Real NA 39 pre-production aircraft varied a bit. The prototype had a long nose test probe. Some aircraft got different horizontal tailplane fairings and there were variations in air brakes strakes. Note that paint schemes differed on individual NA 39 aircraft as well.
I opted to make NA 39 pre-production aircraft "XK523" with still no tail bullit fairings, a white vertical tail and early nose. "XK523" can be seen on pages 12, 13 of the "From the cockpit no.6" book.
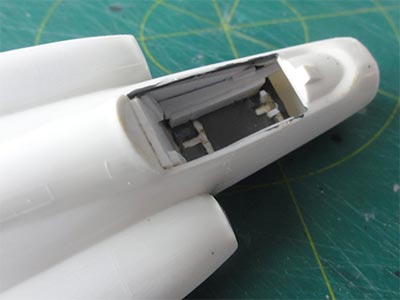
A simple cockpit tub was made with card, the canopy will be set closed. It is actually too small in length tot set open as no rear section is present and the wind shield is included.
The main gear bays and nose gear bay were enclosed with plastic card as well. The main gear bay has curved sections where the engines are located.
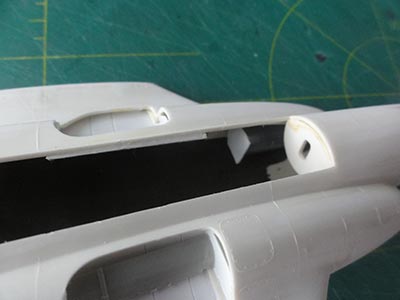
The single flat rotating bomb door was set closed and putty used for a first closure of gaps.
In the nose, add some 10 grams of weight to avoid 'tail sitting".
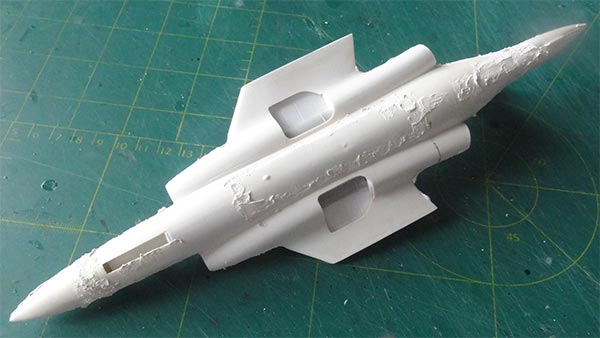
White Alabastine car filler was used, this shrinks only a little while drying.

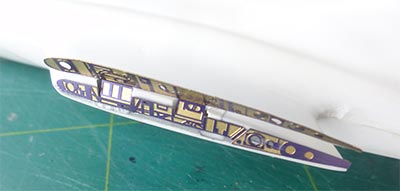
At the front of the spine probably the rear of the sliding canopy should be obvious so a bit more prominent on the kit. A thin piece of metal foil sheet was glued to suggest this. Note in the photo also the long exhaust pipe.
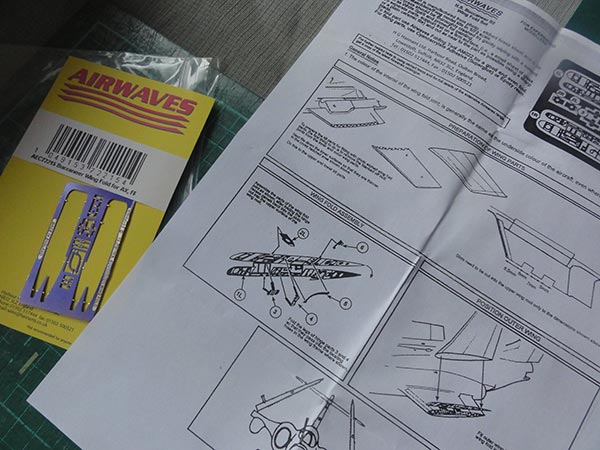
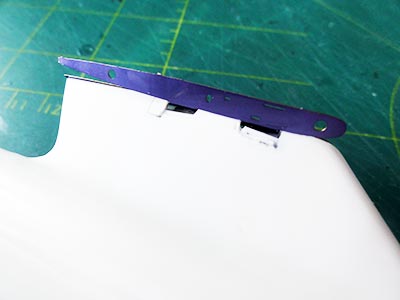
With this model it was also decided to set the outher wing sections "folded" using an aftermarket Airwaves etched set #AC72-215 that my modelling friend Bas gave me. Thank you Bas!
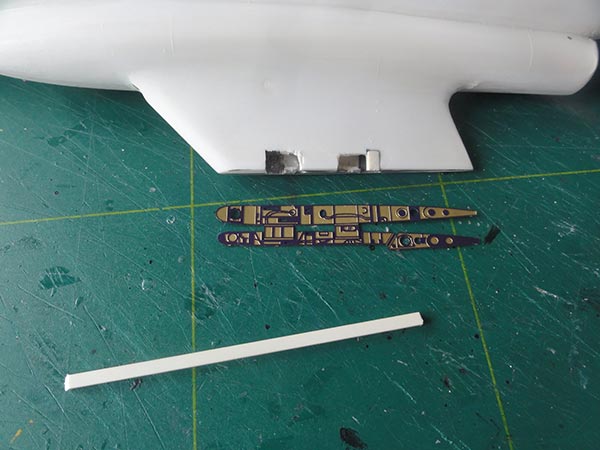
The large hinge gaps were closed with plastic strip.
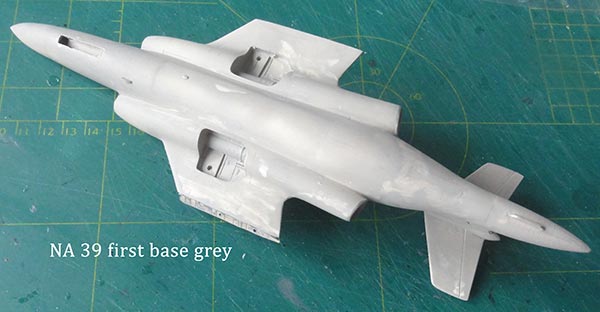
NA 39 model got a first base grey coat with the airbrush. Some more putty and sanding was needed.
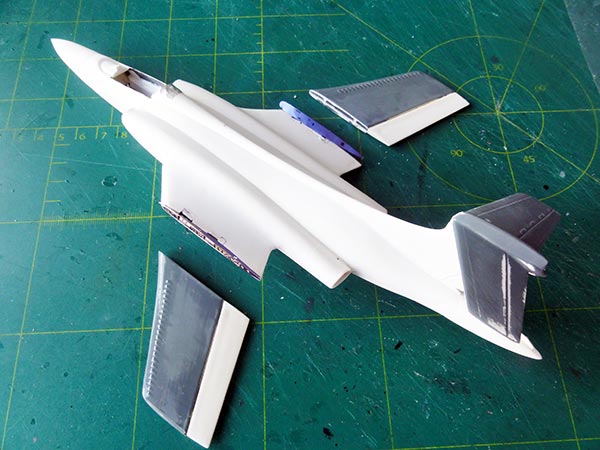
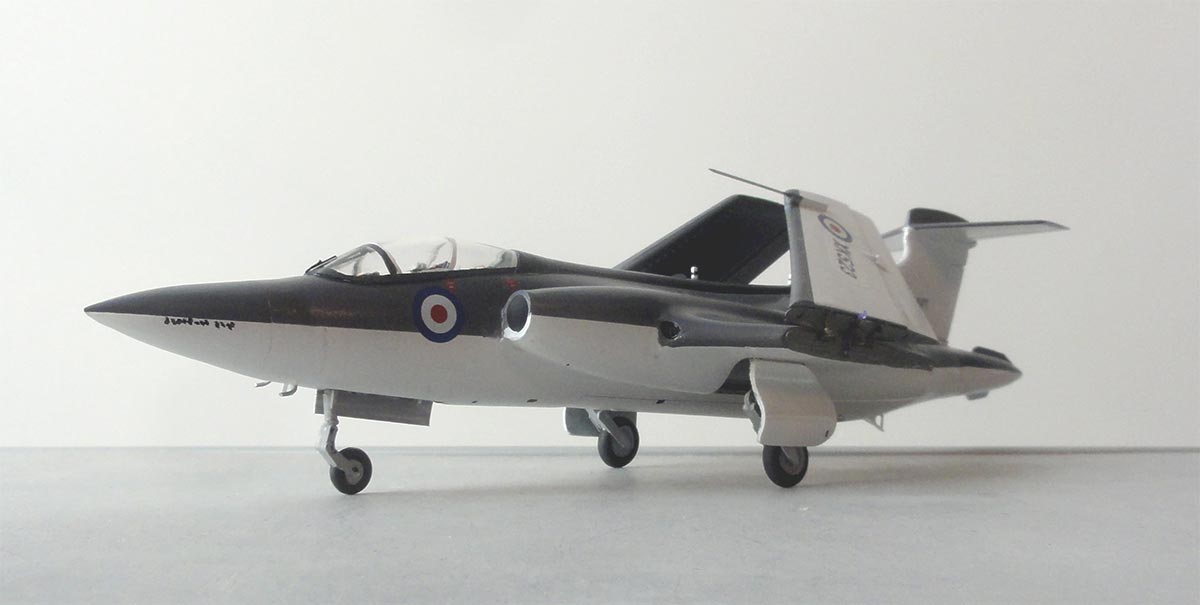
The main characteristics are seen here of the NA 39 model...
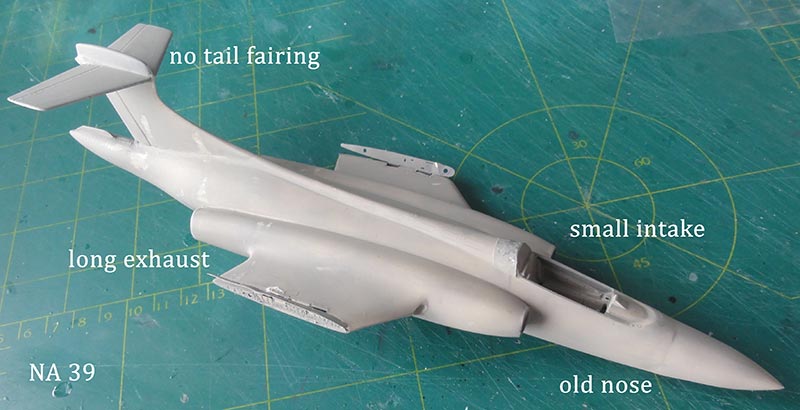
The NA 39 "XK523" had a painted nose without a notable fiberglass cone.
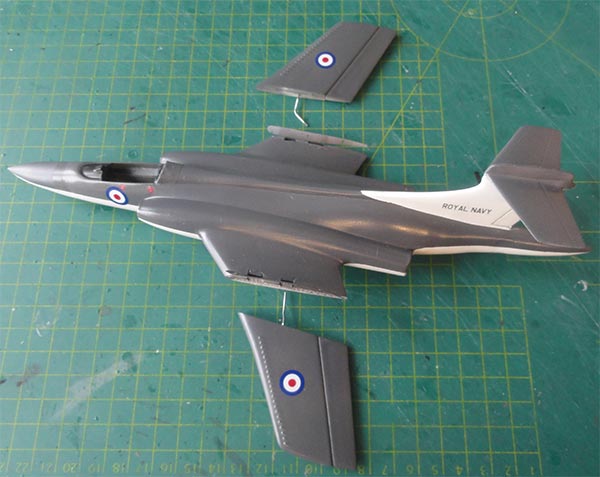
First, the white areas were airbrushed. The first coats were mat white using Revell Aqua 05 acrylic paint, followed by a few gloss white coats of Gunze Sangyo H1 white. The gear doors and the vertical tail were not forgotten.
I was not sure about the darker colour on this NA 39. The very early NA 39 aircraft seem to sport a grey-blue colour, may be it was only the first prototype. But looking at various photos, I concluded that "XK523" had probably an Extra Dark Sea grey coat for which Gunze Sangyo H333 acrylic was airbrushed.

Note that the Buccaneer also in later FAA service had an Extra Dark Sea Grey with white finish.
Airbrushing was done after the white surfaces were masked.
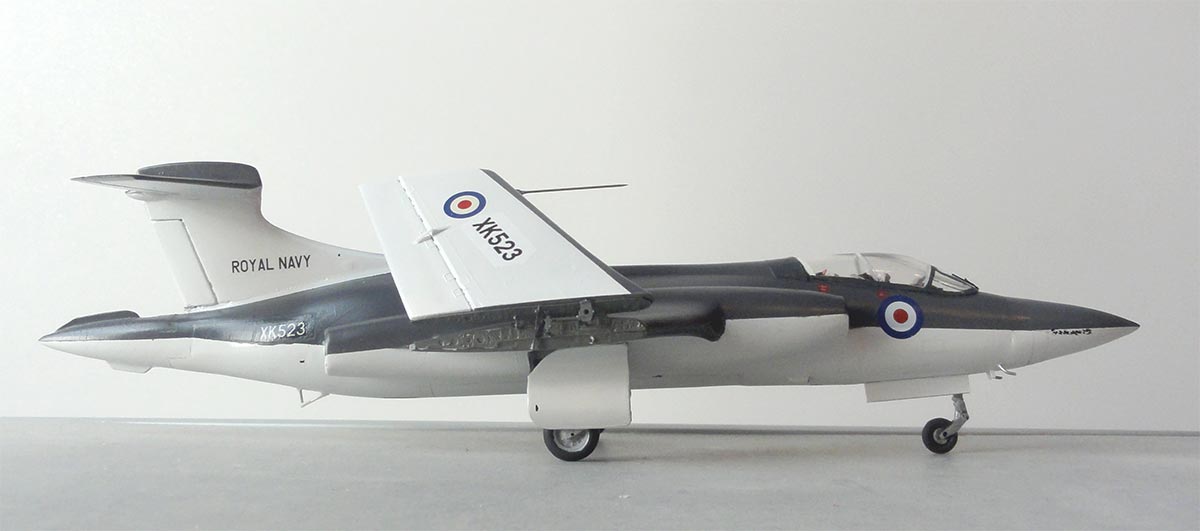
Time for some decalling on the already glossy paint surfaces. For this NA 39 scheme, only a few decals were needed. These were sourced from the spare decal box. I used an Xtradecal roundel set and the smaller "ROYAL NAVY" tail markings were found on an old Modeldecal sheet.
I had troubles to find obviously those codes of "XK523" so made a design on the computer of the serial/codes with the RAF font found on the internet in file "RAF_PW_ATH" (post war style). The small white codes on the tail were printed on a Extra Dark Sea Grey under panel.
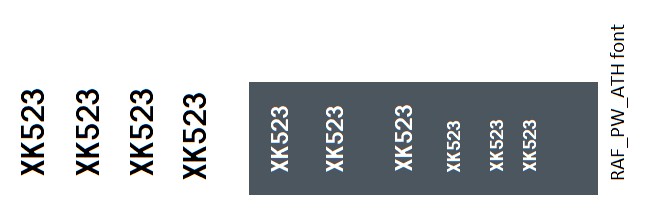
The codes situated on the lower surfaces of the NA 39 wing are smaller than usual on Buccaneers; in 1/72 about 16 mm long.
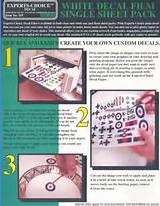
The design was printed with the ink jet printer on Bare metal foil White decal paper for ink jets. After printing, at least 6 coats of Johnson Future was airbrushed to protect the ink printed. Each code was cut out with ample space around the print.
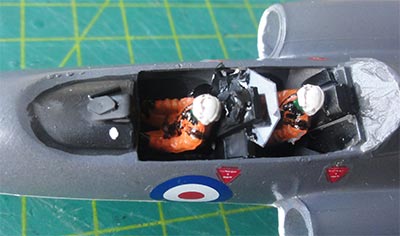
The small NA 39 cockpit had to be made from scrap. As the canopy will be set closed, a minimal effort was made here. The canopy shape is a bit suspect as it is quite curved at the wind shield section. But I left it as per kit but it may be better to replace with an aftermarket canopy.
Main colours inside are darker grey. I believe the crew were seated "staggered" to improve the rear crew member view. A few crew figures from the other Airfix S.2 kit were also placed. I painted the suites of the test crew orange with white helmets.
I also installed a small transparant blast shield between forward and aft crew station though not sure if it was already fitted on the NA 39.
The canopy frames were hand painted and the gaps with the fuselage closed with white glue.
The "mk.1 " NA 39 Airfix kit main gear parts are a pair of single legs + integral moulded wheels. Each main wheel is a bit thin and very simple. I opted to improve the gear using some wheels with same diameter from the spares box and making "forks" with plastic card.
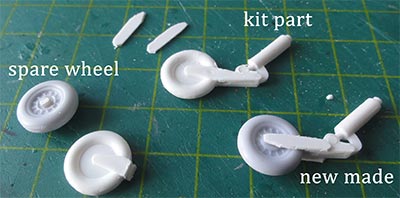
The main gear leg kit part length was reduced some 3 mm as the gear bay from card was there. The two large doors got hinge details and set in place. The nose gear leg got some extra detail and with a retraction strut set. All was installed in the earlier with card "boxed in" gear bays.
For the remainder, small details were added:
- a few antennas on the fuselage spine (in I think a bit different position as on operational S.1 aircraft);
- small tail bumper from scrap that was set extended with gear down;
- a few small pitots and small antennas near the nose gear;
- a large pitot was set on below the right wing;
- some tiny anti-collision red and green lights were painted on wing tips;
- various small vents on the airframe were suggested with dots of black paint;
- a fiberglass panel was painted in "sand colour" aft of the bomb bay.
The outher wing panels were set folded with the Airwaves etched metal set. The mechanisms were painted medium grey.
The single piece canopy had white-cream frames with also extra dark sea grey lower frames which were hand painted. The canopy has some gaps once installed. These were filled with white glue and hand painted when dried.
On this particular aircraft, "BLACKBURN NA 39" titles were seen on the nose. These are so small, I could not print these but suggested these with a permanent black marker pen.
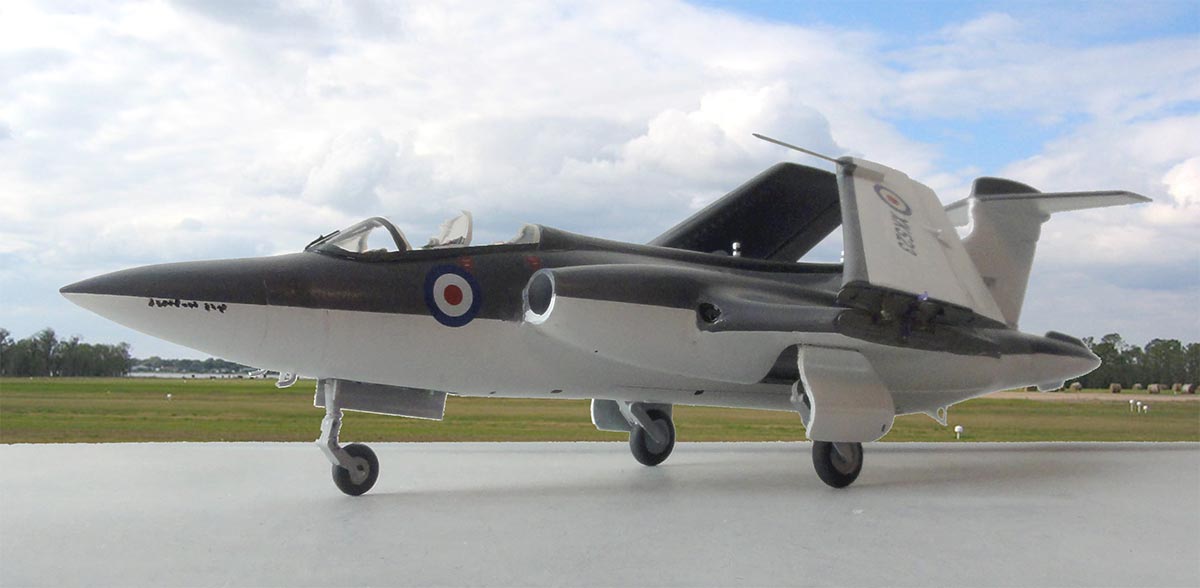
Finally, an overall gloss varnish was airbrushed with IPA thinned Johnson Future/ Pledge that completed this nice NA 39 model.
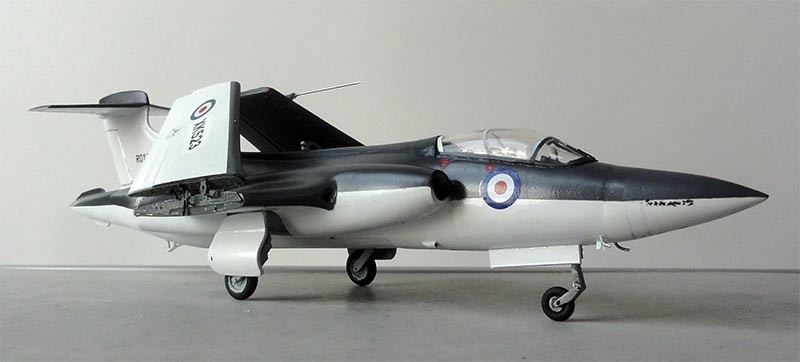
 Blackburn NA 39 XK523, 1959
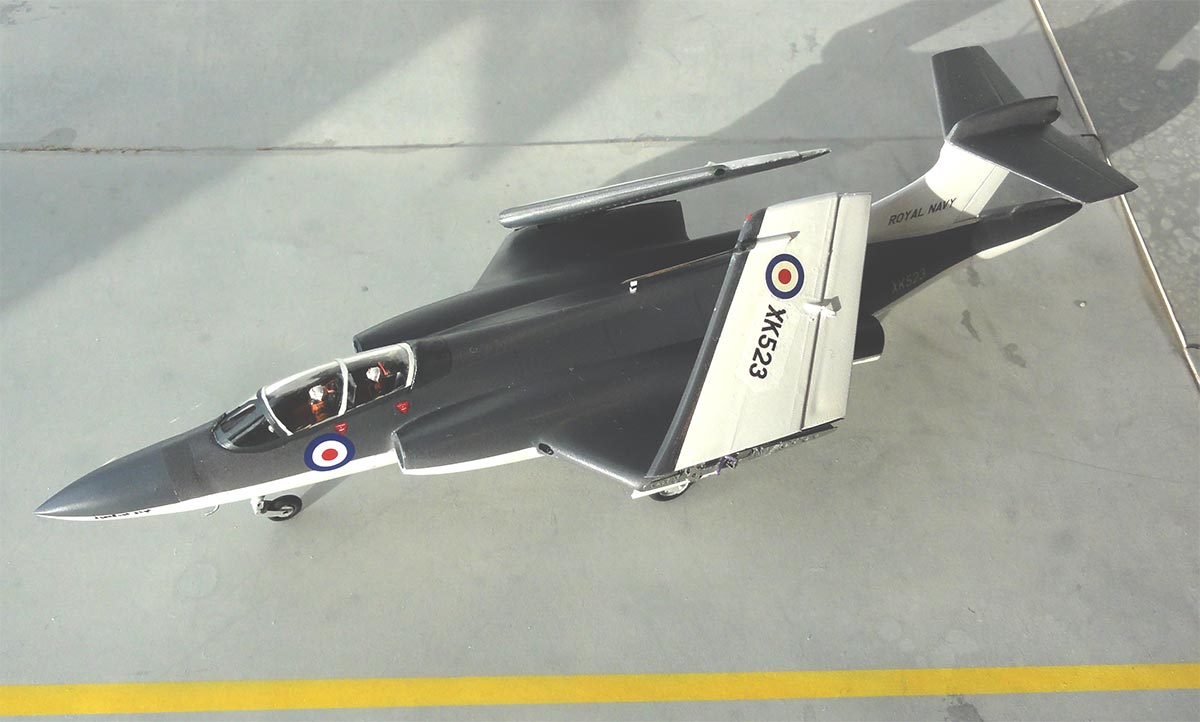
... in a landscape...
Modelling the new Airfix Buccaneer S.2 is also done....
On to next [ page 5.... ]

(c) Copyright Meindert "designer"/ All rights reserved. Your comments are welcomed by webmaster
Created this page
November 10, 2020