[ page 1 ]

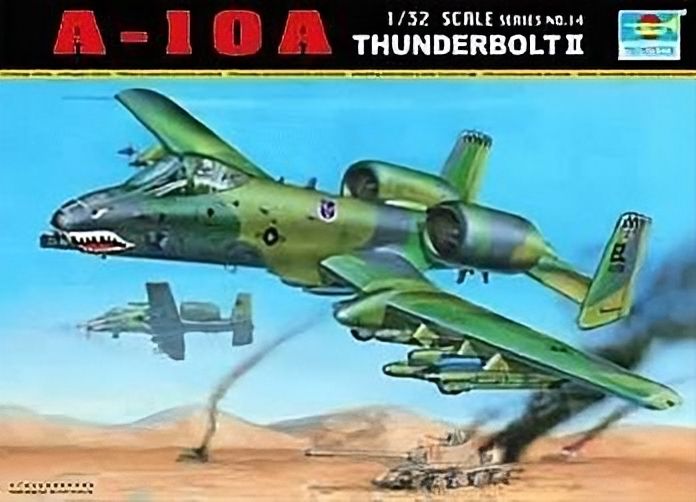
A-10 model in 1/32 scale
Trumpeter kit, modelling report by Meindert de Vreeze
to page 1 2 3 4 5
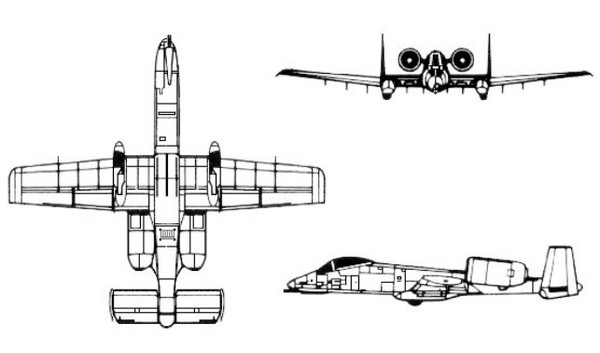
The Fairchild A-10 is a ground-attack aircraft designed for close air support (CAS) missions. The aircraft was first introduced in 1976 by Fairchild Republic Company (now part of Northrop Grumman) for the United States Air Force (USAF).
The A-10, also known as the Warthog, was designed specifically for the role of providing close air support to ground forces. It was built around the 30 mm GAU-8/A Avenger rotary cannon, which can fire 3,900 rounds per minute and is capable of destroying tanks and other armored vehicles. The aircraft also carries a variety of other weapons, including bombs, rockets, and missiles.
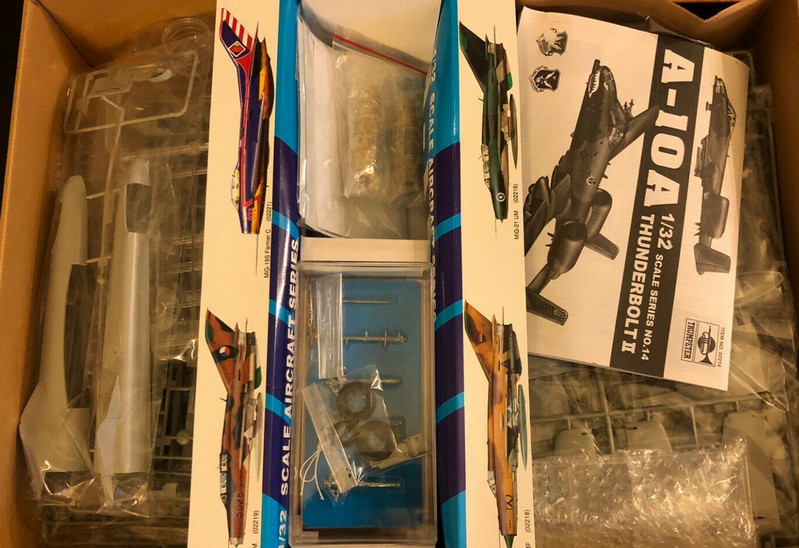
The A-10 kit in 1/32 scale is of the Chinese Trumpeter manufacturer. And it was quite exciting that this model came out at this scale. And it is huge!!!
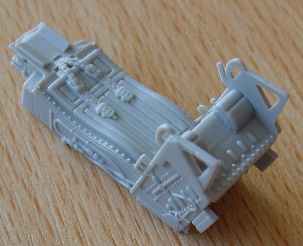
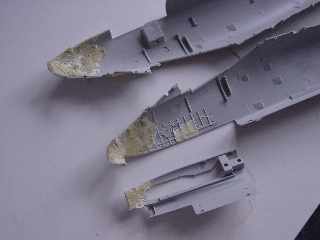
You get good basic parts,
a good seat.....
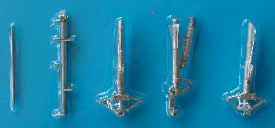
and metal undercarriage legs (quite
welcome for such a large model)...
I am not going into all details, many sources on the internet have discussed the basics on this kit, but will merely go into construction and changes I made to this kit.
Overall, the parts are OK. But, is
everything OK.
No, some corrections can be made
for the modelers as desired. But basically, the overall shape is OK.
What can be done to improve this kit?
-1- the fuselage nose is too blunt: it should be more "sharper" with a more tapered curvature in front of the windscreen. When you look at various good good pictures, you will see various issues. Although I am not saying that a model can't be made straight out of the box, looking good, I choose to adapt and correct these errors. This because the looks of the cockpit and nose areas are so important for the look and feel of a model. And it can be done.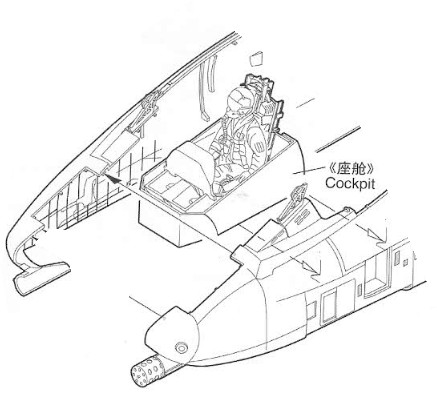
too blunt nose...
Inside the parts, set some epoxy putty such as Milliput to get some strength and material inside. Later on, you can sand to shape and correct the nose with some filler. (to be done later...)
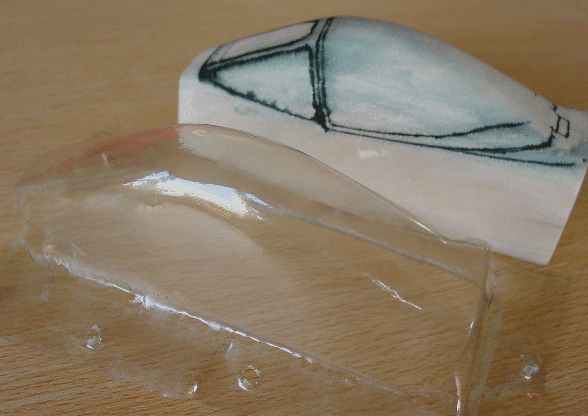
-2- the canopy is not entirely correct:
(a) the front windshield framing is too wide and the shield itself should be also a little bit less wide.
(b) the cross section of the aft canopy is to "straight", it should be more curved and also at the bottom edge where it meets the fuselage there should be a kink (in cross section).
(c) when looking from the side, where the canopy meets the forward windshield, the canopy should drop more and be more "rounded" and "lower". Also, the forward rear canopy edge/vertical frame itself should be slightly more tilted forward a couple of degrees when looking sideways.
(d) the aft canopy framing and location of the edge is slightly set too high, the transparent area being somewhat larger
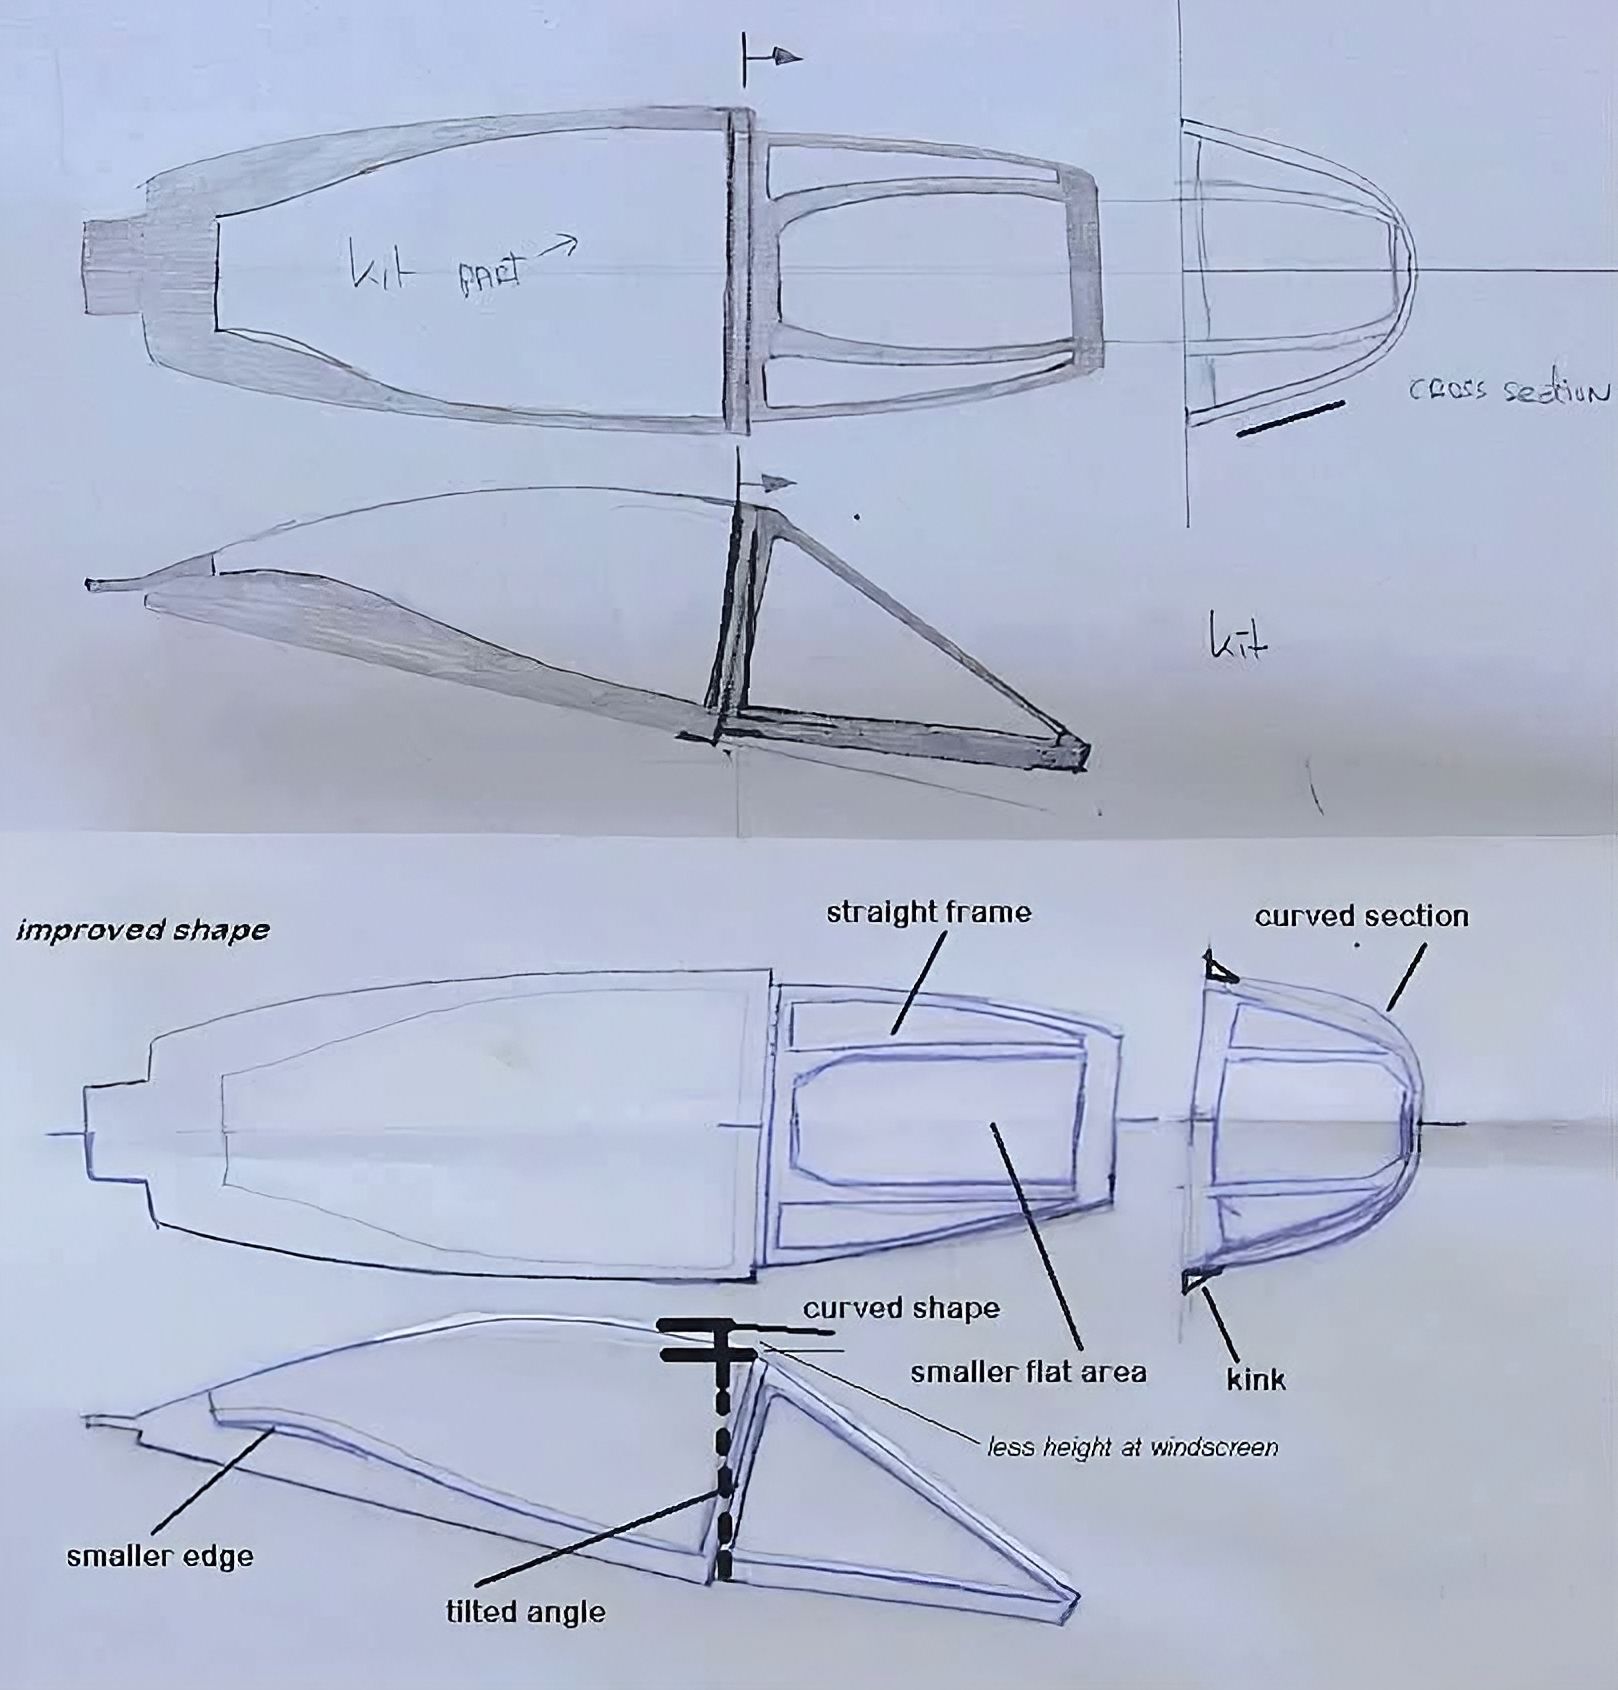
So, the overall canopy needs some more curvature and should thus be also a bit more rounded.
Correcting
the canopy...
The solution to these problems is
to make a new windshield/canopy. First
I made a couple of drawings and made a master mould / core from soft balsa
wood. Along the sanding and shaping process, continuously check through
some cut out patterns.
- From a thick carton board box, a
shape with a hole was made on top of the box to take the canopy master
/ core
;
The box was taped airtight. It made a hole to take a hoist of the vacuum cleaner ;
Some transparent sheet was attached over the hole with nails and scotch tape.;
Set everything in place and near the oven ;
In the oven, set at 200 degrees Celsius, first a sheet of transparent sheet was made warm for about 10 minutes (you will need some experimenting here).
Quickly pull out the box with the sheet and push in the master/core through the hole ;
Quickly attach vacuum cleaner hose to rounded hole in box and turn cleaner on. ;
Wait ;
The plastic will cool off controlled with air being pulled out. The plastic will be a bit more clear through this way.
So let us begin.
Trim the plastic canopy shape to size;
this will need carefully check with the drawings and the basic kit parts
of the forward fuselage and the cockpit area.
filled nose
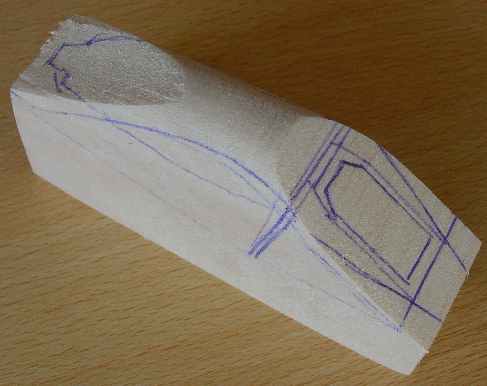
rough shape

box
and set near oven
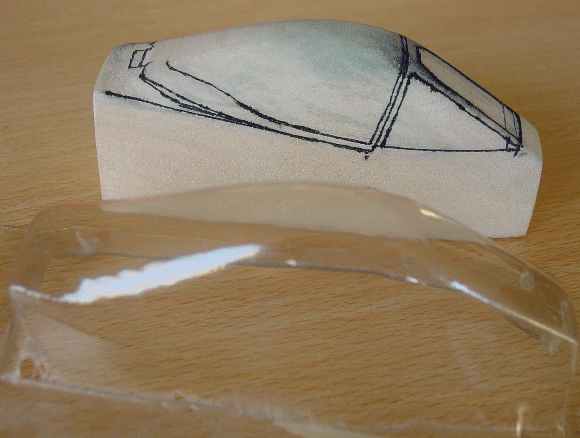
moulded canopy
I also bought some excellent ASTRA DECALS #3204 for a grey A-10, these can be seen here ....
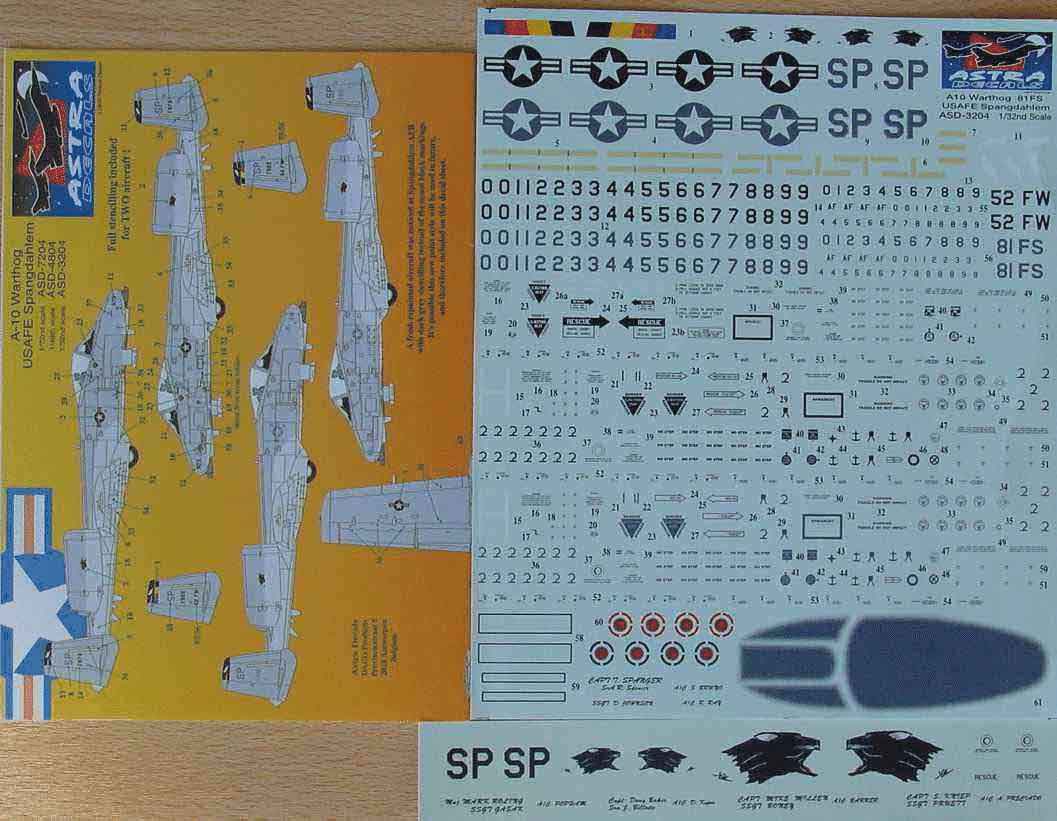
...and also the Trumpeter decals supplied...
To next
[
Page 2......]
Also check out several 1/72 scale A-10 models here...
- Air international Vol 16, page 270
- Scale aircraft modelling, 98/11 , 78/12
- A-10, Airpower Volume 16 spring 1994
- A-10 in action, squadron signal
- A-10 walk around, squadron signal
- FineScaleModeller, kitreview Sept 2001
Internet:
IPMS.NL A-10 walk around of my modelling friend Cees Hendriks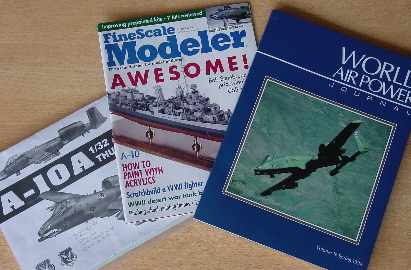

(c) Copyright Meindert "designer"/ All rights reserved. Your comments are welcomed by webmaster
Created this first page December 08, 2002