[ page 4 ]

A-10 model in 1/32 scale Trumpeter kit
... continued from page 3...
Other areas needing attention now are:
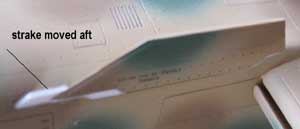
-A- the strakes (parts K27 and K28)
need to be set 4 mm more aft, they should be slightly under the wing; starkest
were trimmed to fit and gaps were filled.
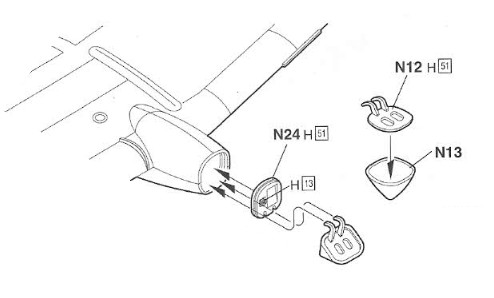
-B- the refueling panel area is not accurate; the most noticeable error is that the upper area should be at an angle. Check pictures and you see what I mean.
I wanted it opened and it can be
corrected: Cut off a section of part N13 and glue onto the wing stub (on
top of part N24). Sand and fill.
The part N12 must be trimmed and
fitted into part N13
Add some more details in this area
with strip and rod.
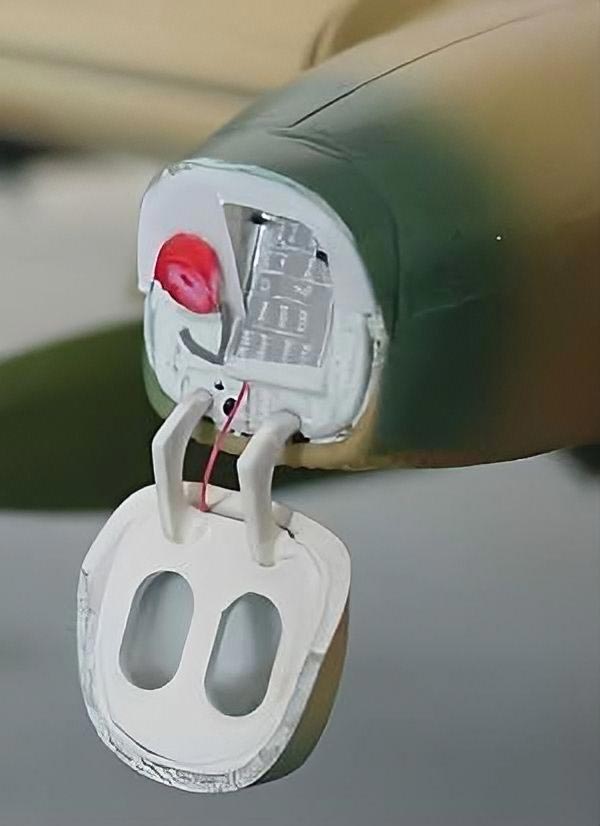
The panel Trumpeter decal #24 was
used but with an aluminum background decals from the spare decal box.
-C- parts L8 (which are in fact RWR fairings and thus need not be transparent) at the rear of the tail are not needed for an early A-10, so close the gaps
-D- cut off the angle of attack indicator "stub" slightly aft of the cockpit on part A5 and replace later on with a piece of sprue
-E- open up the smaller intakes in the forward fuselage areas (on parts A5 and A6)
-F- parts M24 and M25 are not needed on an early A-10. Close the gaps and file in shape.
-G- clean up the inner sides of doors, fill and sand all the otherwise very noticeable ejection marks!!
-H- fit the wingtip lights after giving them a green and red color from the inside with a white light on both. Glue, apply some white glue to fill small gaps and mask.
The larger parts were now assembled. The wing-fuselage joint needs some trimming and a combination of superglue and plastic weld cementing to get a strong joint. Make sure they are all in the correct, align position and let dry. The smaller gaps were now filled with thin sprue and again glued. sand and fill and you get a strong joint.
The stabilizer assembly fit is very good, also for the vertical tails. Also, glue the various pylons in place and use some white glue and smooth with your finger to close the smaller gaps etc.
Now the Warthog is really getting its shape. This beast is huge!
After cleaning up, the A-10 model
was given an overall coat of light grey at patched up areas and checked.
Ir-regularities were removed, filled etc. Also give the entrire model a
good cleaning with plenty of water and soap to get rid of all dust etc
and let dry.
Colour scheme
It took some time to figure out what paint scheme and markings to choose for this kit. I wanted to prevent the very common "grey" schemes and also the European Charcoal scheme. The A-10 has flown in various schemes and colors and there were many experiments, often involved only a few aircraft in a particular scheme.
The internet has nice references such as www.a-10.org and also various books give you some very nice ideas. When selecting a scheme and plane, check out the details such as applicability of LASTE, GPS and smaller intake fairings on the forward nose section.
A very attractive scheme is that of the JAWS II with a mottled pattern of light brown, dark brown and green. I selected for the these colors the green 34092 (Precision paint ANA 612, an old brand), Humbrol 94 light brown and Humbrol 29 dark brown. These color piants (being gloss) are a good base for the decals. .
The actual A-10 plane modelled, A-10 75-0262 , Code WA, USAF 57 TFW with black/yellow checkered tailtips was also flown in the first Gulf War in this scheme in 1990. World Air Power No. 16 page 47) show nice pictures of these planes.
Undercarriage
The undercarriage legs have screws
to fit the wheel hubs, but I did not use them as they are difficult to
tighten but superglued. Also, the nosewheel does not go far enough onto
the aisle, so make the hub part # J13 gap larger.
The rubber tires were given a coat
of very dark grey. They need to be fixed with superglue on to their hubs
to remain in the correct position and "sit".
The legs were detailed with some
tubing and rods.
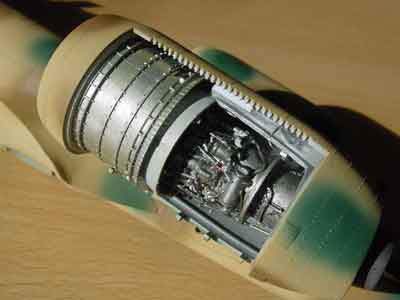
Engine
this was further detailed with piping
etc; these have a bright red/orange color.
Overall coloring
Now, the basic JAWS II paints were
sprayed on the main model. Smaller parts were NOT yet set on the model
to prevent damaging them, but were also given a required coat (such as
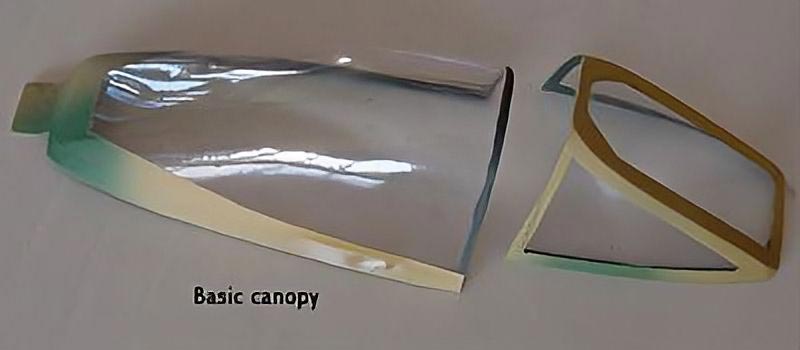
the wheel doors, canopy base, wings slats, engine cover).
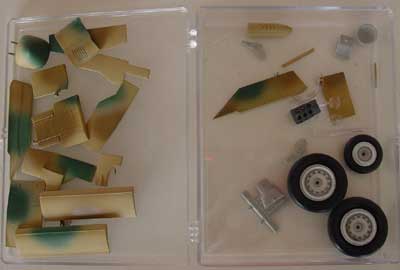
Also various smaller other parts
were sprayed with other colors, such as the wheel legs, inner doors and
panels etc. The wheel bays, inner doors and wheel legs were given
a light grey coat and the wheel hubs and Pave penny pod (parts M33 and
M34) an off white coat. Inner gun bays were give a treat of grey, metal
and the gun ammo-rounds copper with gold tipping.

(c) Copyright Meindert "designer"/ All rights reserved. Your comments are welcomed by webmaster
Created this page October 30, 2003