Lockheed Martin F-16 Fighting Falcon
[ page H1 ]
Hasegawa
kit conversions: F-16C "late Block 30" and F-16A MLU conversion made by Meindert de Vreeze ![]()
![]()
For an historical introduction to the real F-16: look here....
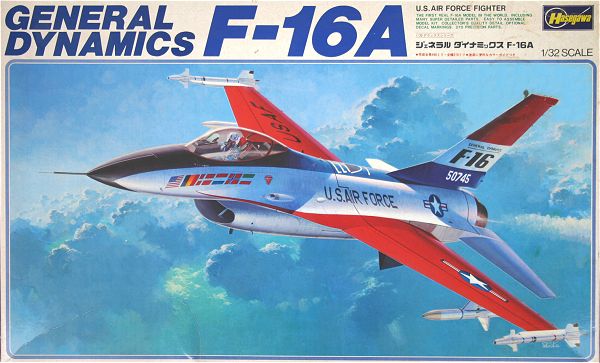
Hasegawa released the 1/32 scale kits of the F-16 years ago and in several boxes and kits. The basic model remained the same and although very good at its days, it is nowadays inferior to the newest Tamiya and Academy kits.The Hasegawa
kits have mostly raised panel lines and represent the older types of the
F-16 with the "small engine intake" for the Pratt Whitney F100 engine, thin wheels
for normal weight and old style cockpit.
The kits thus
can be used as an earlier F-16A as they appeared first as the blocks 1,
5, 10, 15 and 20 and as the F-16C/D first appeared as block 25. (look also
here on tips for the Tamiya block 32 F-16A
conversion....
Note:
the Hasegawa kits can not be used for later style F-16's with the big intake
and GE F110 engine.
I got a long time ago several 1/32 scale kits of Hasegawa way before the Tamiya and Academy kits appeared:
- Hasegawa
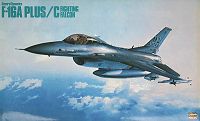
kit # S25 is for the F-16A "Plus"
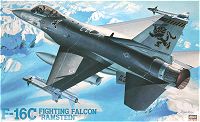
Hasegawa kit # S27 for an earlier style F-16C
Hasegawa kit for F-16A :
[H1]: using kit # S25: Conversion into an F-16A "block 15" but updated to MLU (mid-life update) as flown by many European NATO air forces including the Royal Netherlands Air Force (KLu).
It would require some updates in the black cockpit area capable of night operations with night vision goggles, slightly changed cockpit instruments, and various added antenna and ECM bumps.
To add interest even further, it was decided to open up some airframe panels and to display an open engine bay area.
(For many walk around pictures with open airframe hatches, look on the "real" F-16 page here....)
[H2]:
using kit # S27, only an early "c" with small intake can be made. In order
to make a F-16C "late block 30" with large intake, thick finbase.
higher weight capability with thicker main wheels and thicker bulged main
door, the Cutting Edge # CEC32-114 Big Mouth conversion set was used. It
has both a new intake and the required thicker wheels and main gear doors.
The later F-16C
would also require small added details in the cockpit area.
For added detail
also the Eduard etched metal set #32-052 for the F-16A will be
used.
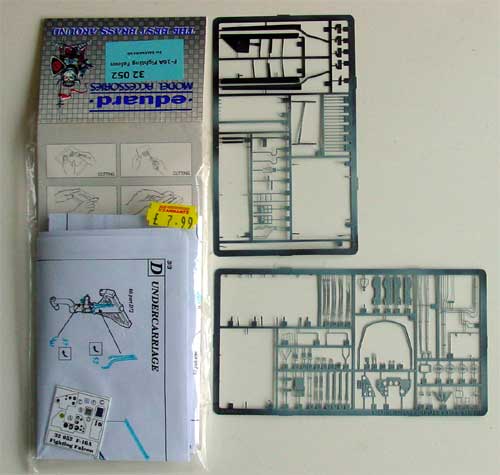
Eduard set (some items already cut out and used)
![]()
In 2013,
I got 2 additional Hasegawa kits. One is made as a USAF
F-16C USAF Thunderbirds model through a conversion and the other will
be made into a Venezuela F-16A . See page [H8]....
Step-by-step Approach
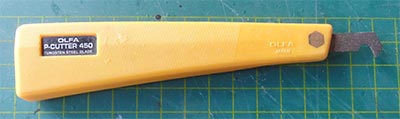
First, as the kit has some raised panel lines in areas, these were inscribed with an Olfa scriber on the main parts like wings and tails and the raised panels sanded off. Doing it now will be much easier as the parts are still not assembled.
Next, the required
major surgery to main parts is to be done:
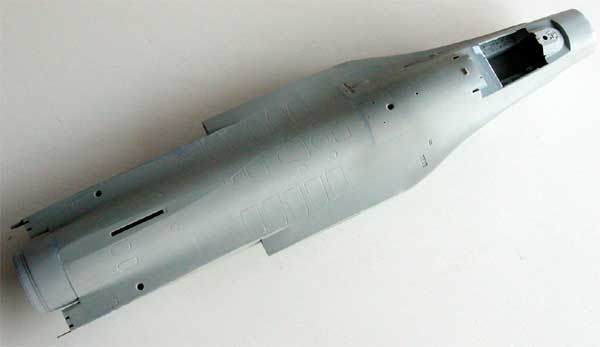
[H1] MLU :
In this case the to be opened airframe panels were shown / cut out. The
engine panels were also "removed" and separated.
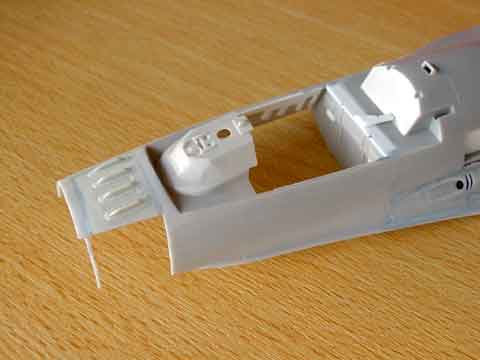
The main cockpit
opening is a bit too long. At the rear a strip was added to make it a bit
smaller, about 5 mm wide. Also it was decided to open up an additional
ammunition panel in the upper fuselage for the [H1] F-16 MLU kit.
[H2] F-16C :
no major surgery needed here.
KIT STEPS 1-2
Hasegawa
kits supply you with two instrument panels : part # J9+J4 for a F-16C and
parts # D60 + D50 for an early F-16A. (note: the instructions do not mention
them, but they can be located from the sprue chart on the last page of
the instructions).
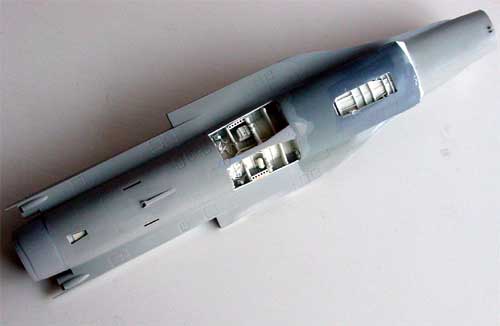
The MLU however
requires a very similar to the F-16C instrument panel.
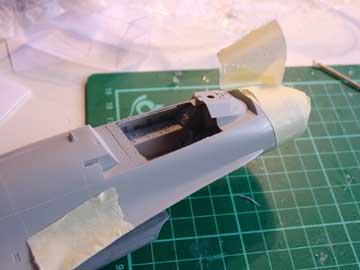
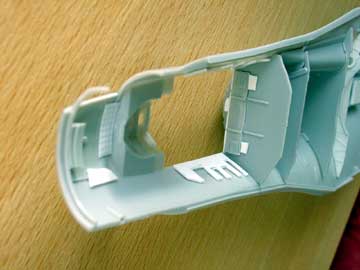
inner cockpit details; also note the smaller cockpit opening made.
 F-16
MLU
F-16
MLU
Hasegawa kits quickly came with a metal ejection seat (although the older style seat is still in the parts' sprues). The metal seat is basically good but needs some extra details of strip, rod and tape for the belts for example. The real F-16 seat however remains a "clean" type.
The MLU seat
does not require part # MB312. [ NOTE: I will replace the seats later on
]
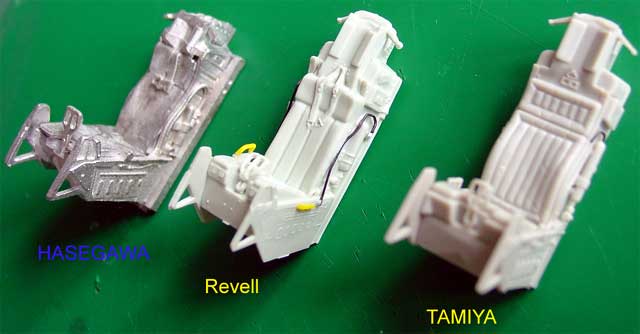
For comparison,
the seats of three 1/32 F-16 kits are seen here (I also had an old Revell
kit, the seat is seen also here)
The "instrument cover" below the HUD is not entirely correct. It should have a slightly different shape, see pictures of the real plane.
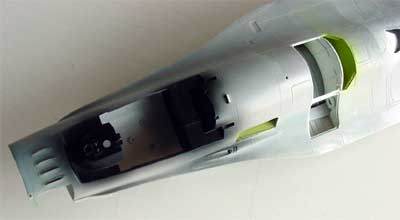
The cockpit area of both kits got scratch side walls with added detail. This was made from thin card, stretched sprue and wire. The MLU cockpit is black, the F-16C cockpit medium grey.
If you want to use a pilot, find another one than in the kit! The kit ladder/step access is not often used.
KIT STEPS 3-6
[H1] MLU :
use the standard Hasegawa intake.
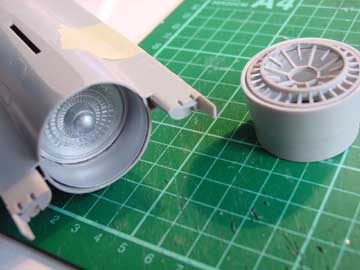
[H2]: For the
F-16C do not use the intake parts #C40, C23 and C39, but the Cutting Edge
set. The intake of the Cutting Edge set needed a lot of preparation time.
Please first measure twice where to cut and saw. I made an error here and
needed a lot of filling and sanding later on.
The Cutting
Edge parts are in the pictures dark grey ...
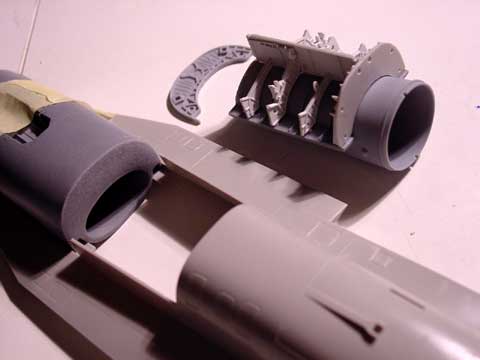
Cutting
Edge forward intake parts and main gearbay ceiling / bulkheads
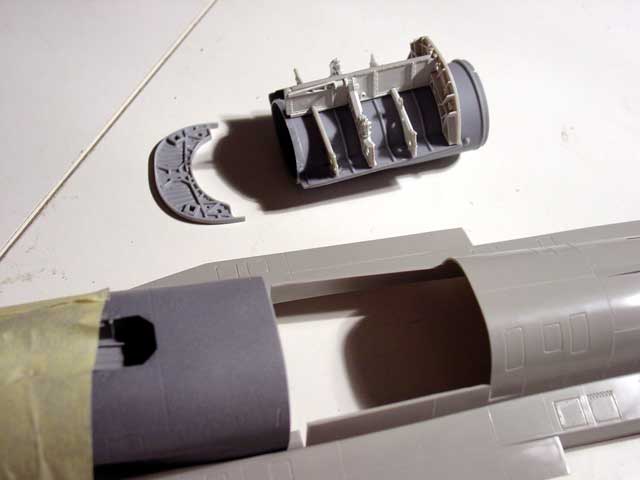
Used on F-16C late block 30
F-16C late block with " Big Mouth " from Cutting Edge after a lot of filling
and sanding
KIT STEP 7
Add details such as side walls etc. I also opened up the refueling panel at part # C21
for the [H1] MLU kit.
KIT STEP 8
Part # D61
engine intake heater probe should really be fitted here!
KIT STEP 9
Leave this
step until later on.
STEPS 10-12
use as needed,
do not fit the canopy parts yet! The canopy was not only clear on real
planes but have been seen with various hues and shades of transparent gold,
smoke and even blues. More on that later on.
[H1] MLU version
will be displayed with a detailed avionics and radar area.
STEPS 13-15
An undercarriage
in 1/32 needs some extra detailing with wires and brake tubes etc. These
kits are no exception. Some tubing was also added in the main gear bay
and a battery pack was added.
The [H2] F-16C
will use the Cutting Edge doors and main wheels so parts C1 + C2 + D64
+ D65 not needed: 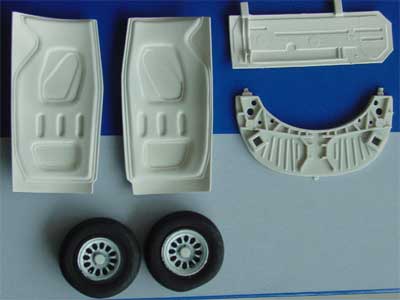
STEP 16
use parts as
desired. I use the open brakes for the [H1] MLU kit.
STEP 17
Exhaust F100
parts as supplied were used for [H1] MLU kit. [parts # C24, C8 etc]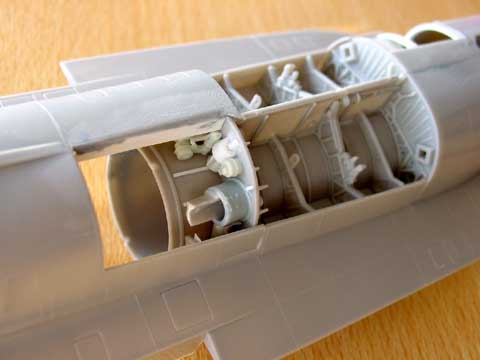
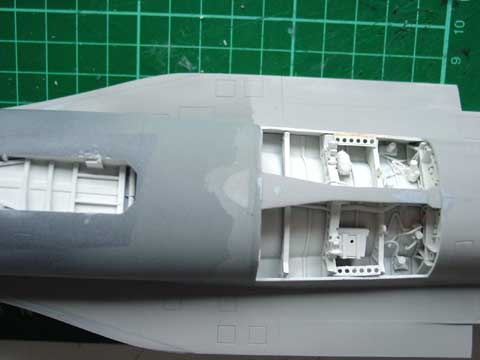
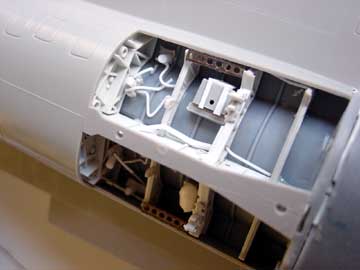
As the F-16
MLU engine bay was to be displayed with details, the panels were cut out
at before even starting with the kit. Details from scratch were added in
the engine bay area. To the right, the main gear bay is seen.
For the [H2]
F-16C, the other F110 exhaust parts were used [parts # I1, J2, J3 etc.]
STEP 18
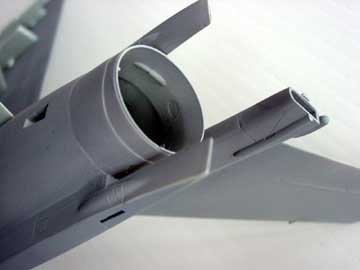
[H1] MLU kit
will required thin base tail as supplied with tail parts #B7 and B8. Because
the F-16 MLU as used by the RNethAF ![]() has in addition a longer and different parachute housing some scratch building
is needed here. Note that these para packs may differ between MLU versions
and countries.
has in addition a longer and different parachute housing some scratch building
is needed here. Note that these para packs may differ between MLU versions
and countries.
The conversion
was made using card and filler. (note: if you have the Academy kit, these
parts are supplied). Also, some side fairings and bumps are added from
card.
 F-16
MLU para tail
F-16
MLU para tail
[H2] F-16C requires the thick base vertical tail and it is supplied in the Hasegawa kit as parts #J14+J15.
STEPS 19 etc
Underlying
stores, missiles, tanks etc are to be used as desired. Replace with better
finer parts if you have them. The 1/32 stores can be obtained from various
other kits.
If you want
to use the kit's wing fuel tanks, replace the moulded on fins with thinner
card ones.
(more on stores
later....)
VARIOUS
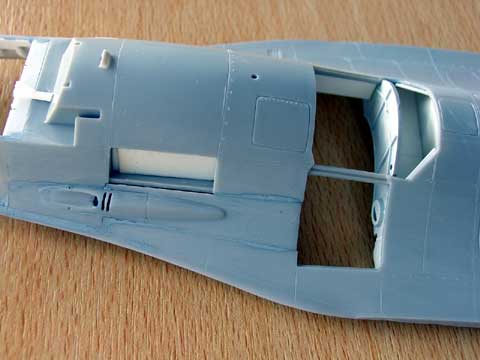
F-16C, with closed panel, filled and sanded.
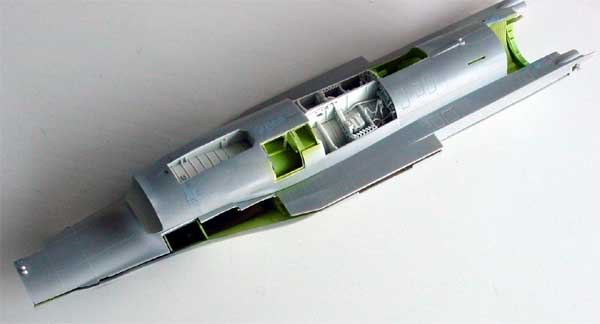
[H2] MLU kit
will be given detailed scratch avionics bays etc. A picture is seen here
of the lower fuselage.
 F-16
MLU
F-16
MLU
EXTRA's
[H2] F-16C:
on the wing leading edge two small RWAH antenna fairings should be added.
These are not supplied in any kit, so make from scratch rod.

The supplied
kit ladders require some extra detailing if you want to use them
![]()
THE JAPANESE JASDF
F-2 FIGHTER,
the F-16 LookAlike HERE...

(c) Copyright "designer"/ All rights reserved. Your comments are welcomed by webmaster
Updated Sept 2013