[ page 4 ]
McDonnell Douglas F-15 Eagle Plastic scale models in 1/72 scale
... continued from page 3....


As I have many Hasegawa F-15J or F-15DJ kits with very nice colourful decals of JAPAN SELF DEFENSE AIR FORCE (JASDF).
It's time to make a few more after so many years since I made my first Hasegawa F-15!
From 1988 Hasegawa released their completely new series of 1/72 F-15 kits with better detailing and inscribed panel lines. Various kits came with kit numbers 00022, 00031, 00090, 00176, 00194, 00282, 00368, 00636, 00644, E12, K24 (04024), K111, K123, K126, K130, K132, K138, K146 !
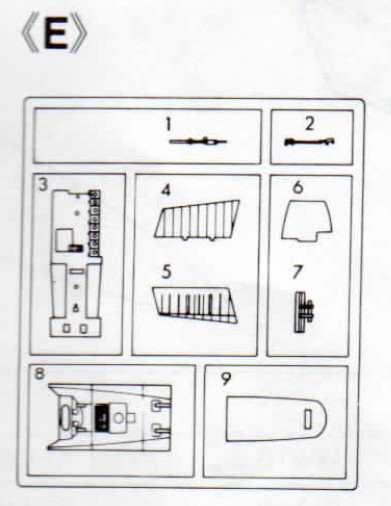
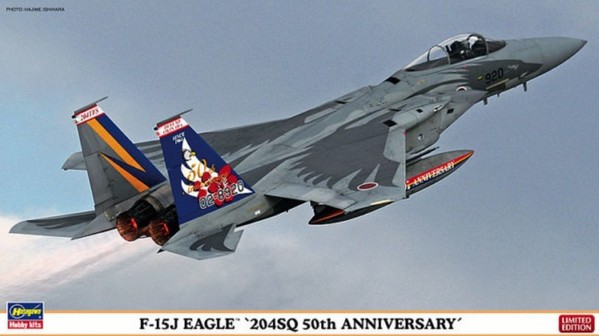
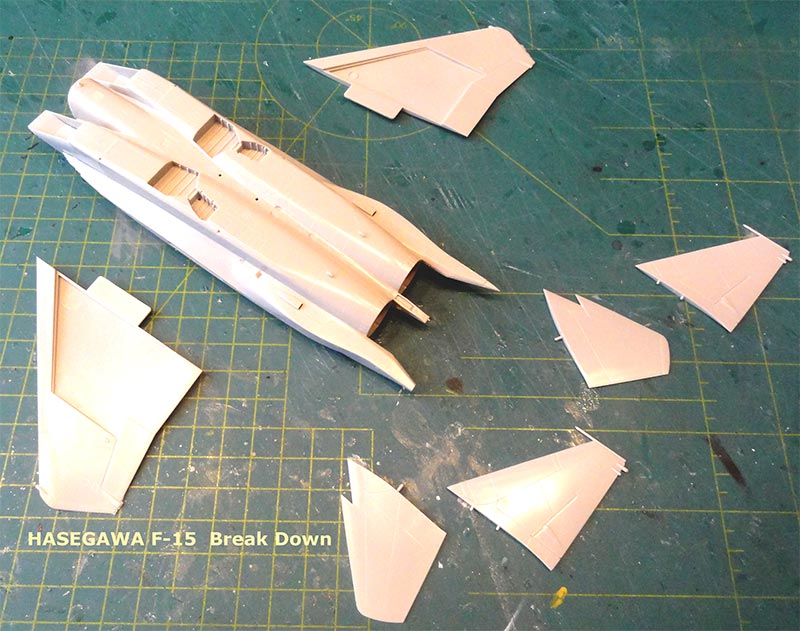
There are about 130 parts in hard grey plastic in sprues [A,B,C,D]
....
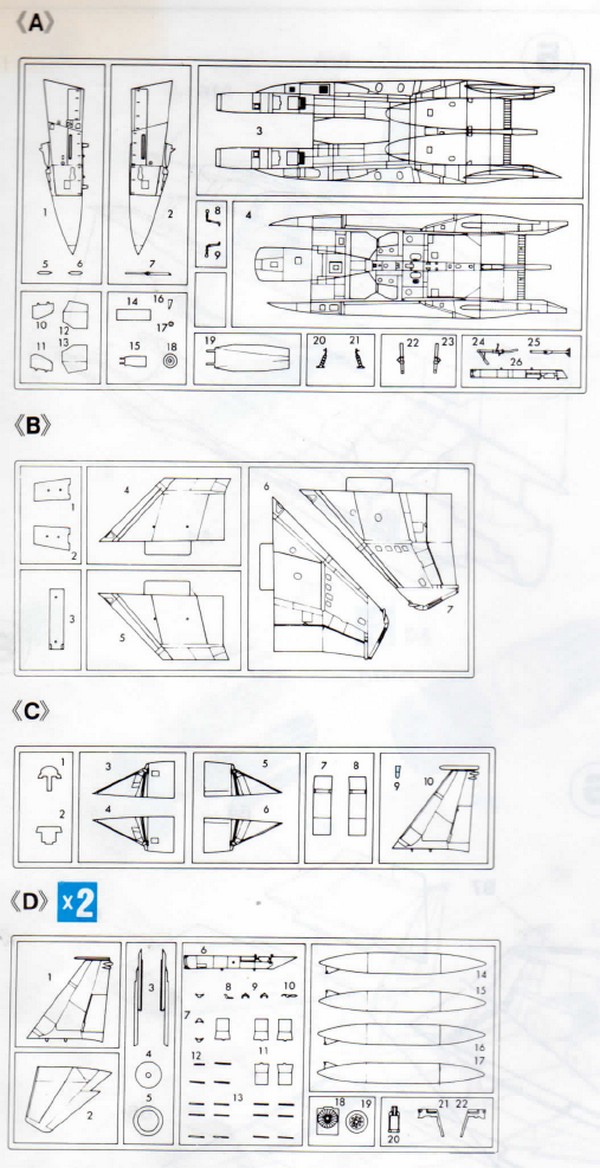
... and a single seat sprue [E] and small clear sprue for canopy and bits. The pair of vertical tails #1 are used for the JASDF F-15 (and tail #10 for USAF aircraft in other kits).

Unfortunately you do not get any weapons, only wing fuel tanks. You are get these from the separate Hasegawa "weapons sets".
In some releases, Hasegawa provides some small extra parts in a small additional sprue (like the MSIP of GE engined F-15).
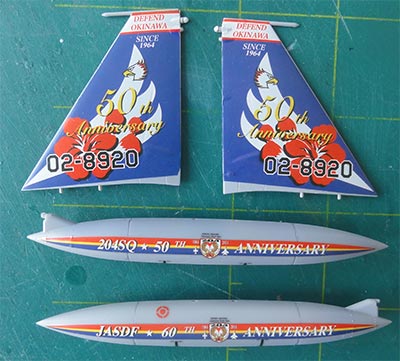
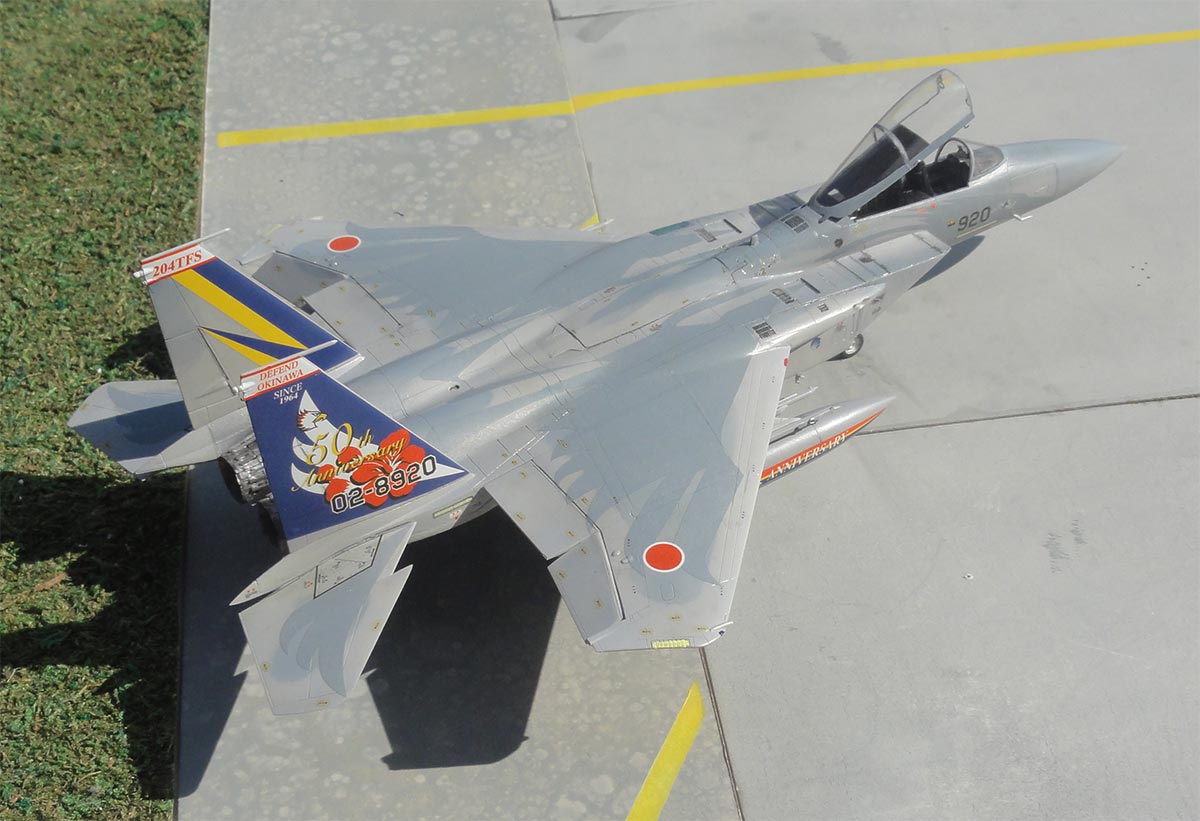
This Hasegawa kit #02153 which is basically the same mould was discussed on page 1. It has a JASDF decals for the no. 204 squadron, 83rd Air Group as of December 2014 for the 50th anniversary. This squadron is based at Naha. (kit release was 2015.04).
These Hasegawa kits can be made rather straight out of the box.
SOME GENERAL NOTES:
(1) On the intake panels #C3 - C6 some injection pin marks need to be removed. The small pitot inside each intake is missing, add from scrap when desired.
(2) The engine intake ducts are not very deep and can be extended inside with plastic card if desired fitting these at the rear edges of the parts #B1 and B2. The large air intakes can be fitted as per kit. (They only can droop down with engines running with pilot in the cockpit.)
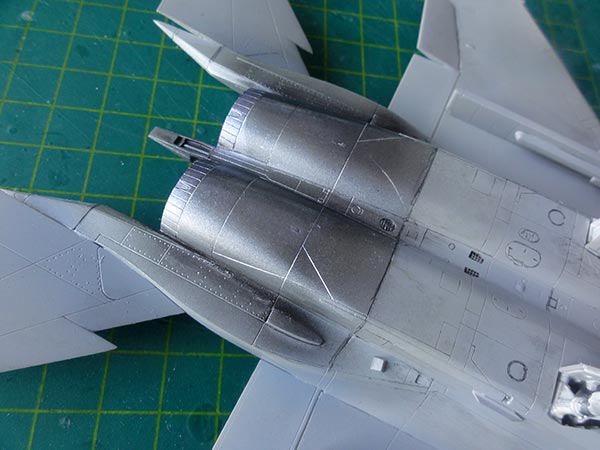
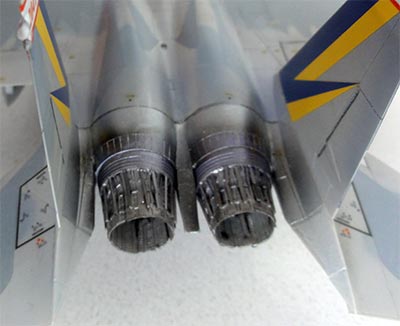
(3) Most F-15's have the Pratt and Whitney F100 engine; the exhausts are often used without "turkey feathers" installed showing the different detailed segments. The actuator rods #13 are in the kit but very vulnerable; use a razor saw to remove them from the sprue. Their assembly requires care in order to get a circular nice symmetrical exhaust. Close any gaps with white glue.
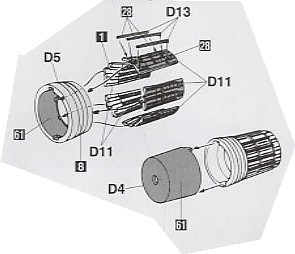
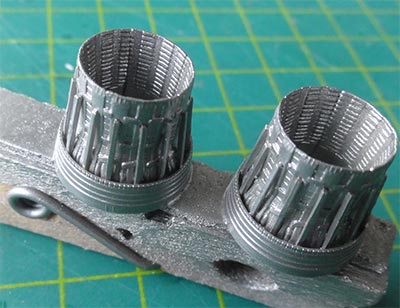
Airbrush the exhausts in a metal paint. The exhausts insides' often show burned white areas, this can be painted with a brush "burned white".
(4) On the rear fuselage separate parts are provided for the antenna/ ECM bulges #C9, C11. On real F-15's these may vary. Some upgraded F-15J also had the tail hook fairing removed situated between the exhausts; Hasegawa indicates for a particular scheme if this is needed.
(5) Antenna fairings on the upper section of the vertical tails may vary for USAF, Singapore etc. air forces. An extra tail #C10 is provided in the kit. (The Japanese JASDF F-15 have only the anti-flutter weights so use parts #D1).
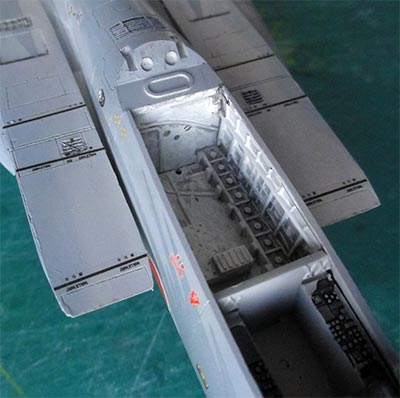
(6) Some avionics boxes are not moulded in the rear tub #E3, can be added from scrap. (note some JASDF F-15J show bay grey-blue colours, others blue-green).
Note: there are no Sparrow or Sidewinder missiles or later Japanese missiles provided in the Hasegawa kits, only the pylons and lauch rails but 2 fuel tanks are in the kit. Source any desired missiles from elsewhere. (such as F-15, F-16, Platz F-15 or Hasegawa "Weaponset IV" etc).
GENERAL ASSEMBLY
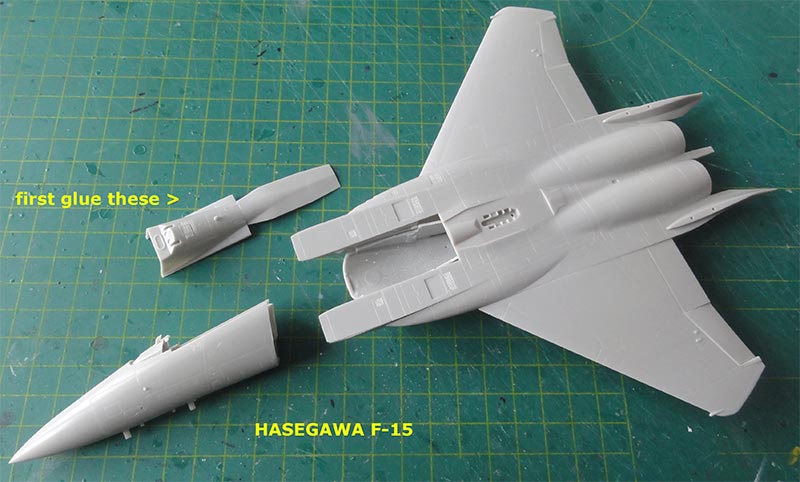
Start with nose. Add nose weight inside!
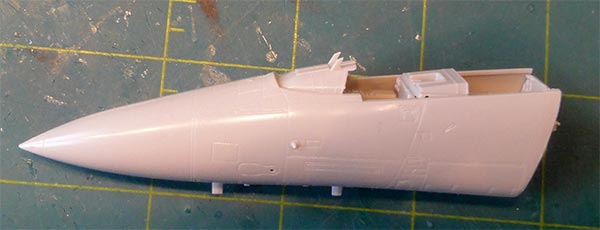
Though the instructions suggest to glue the mid spine #E8 to the forward fuselage nose section, it is better not to do so yet.
On parked F-15's the outboard flaperons often droop slightly. When desired, glue the wing parts. Cut in the edges with a TIGER razor saw and bend the flaperons a bit up and down.
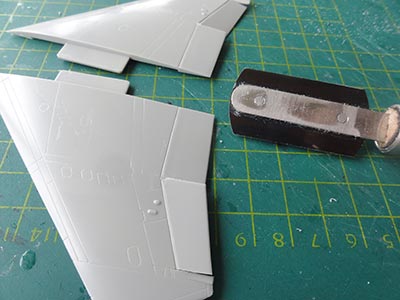
On 99% of F-15's parked the air brake is seen closed. Sand on the inside for a better fit.
First putty and sand any small gaps and sides, partcularly at the tail area of the fuselage.
Though the instructions suggest to glue the mid spine #E8 to the forward fuselage nose section, it is better not to do so. It is better glued at the rear fuselage and than align with the forward section. It is needed to ensure smooth surfaces on the insides' on the large air intakes to have it fit nicely.
Now install the forward fuselage section and align with #E8.
Then fit the big wing halves after the mating surfaces were sanded flat. Take care when aligning these, ensuring a symmetrical fit. Some putty/ filler may be needed. Do not yet fit the stabilizers.
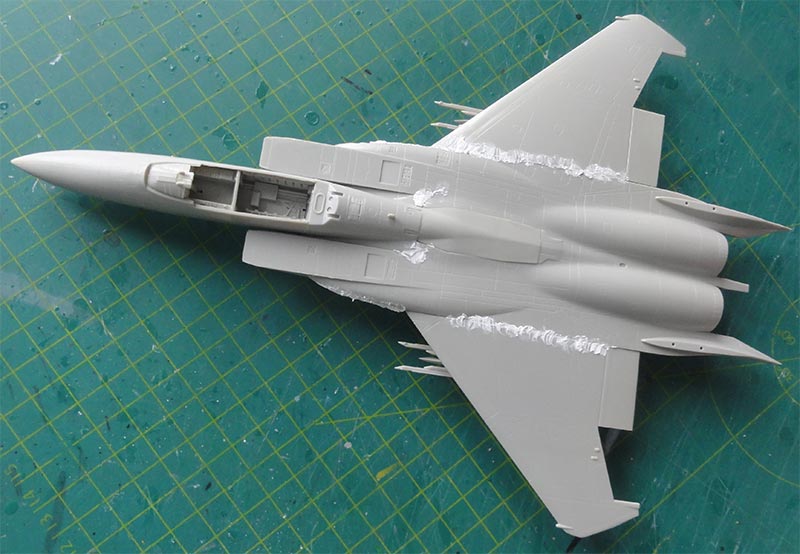
Also, do not fit the vertical tails yet! This is better done after airbrushing the desired paint scheme and decalling. The gaps at the base are very fine and can be closed later on. Some tails have small re-enforcement plates at their tops added later on in their service career; add from very thin card when desired. (see page 2 how).
All movable horizontal stabilizers can be fitted though if desired at a desired angle. But do not yet fit the exhausts/ nozzles.
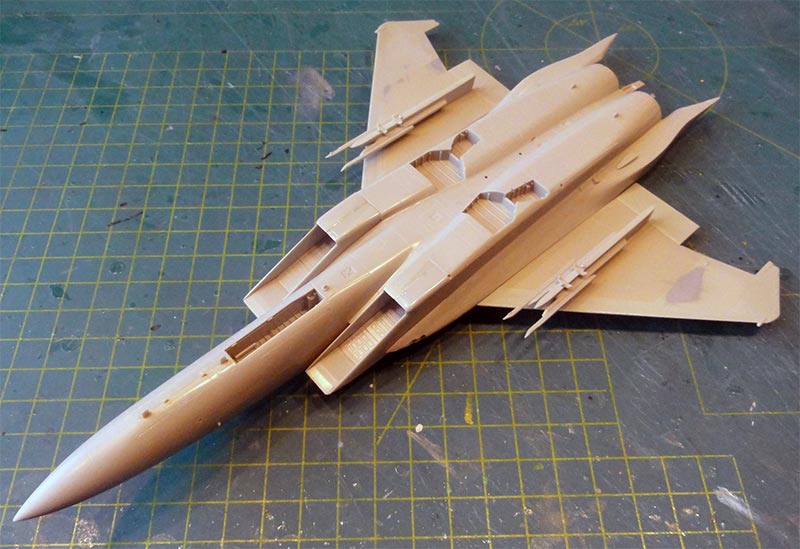
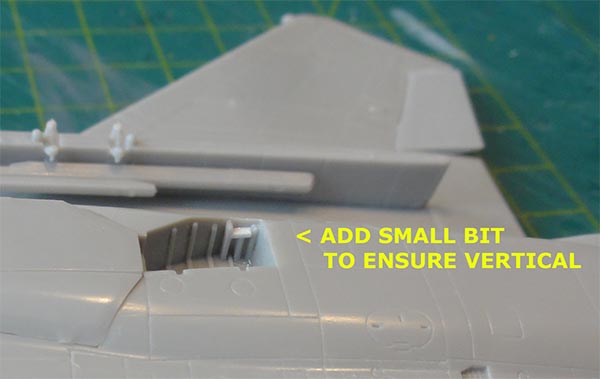
It was decided to fit the gear legs at this stage. The F-15J legs should be near vertical at about 85 degrees. (heavier F-15E Strike Eagle at about 80 degrees).
I added a small bit of plastic in the outside leg recess to ensure this. (When you fit them as per kit they tilt too much outwards).
Main gear doors are closed on most parked F-15's with only the smaller doors beside the legs set open. The bigger doors will fit.
The forward nose leg gear door can be set open but note that the nose door #A14 is mostly seen closed as well.

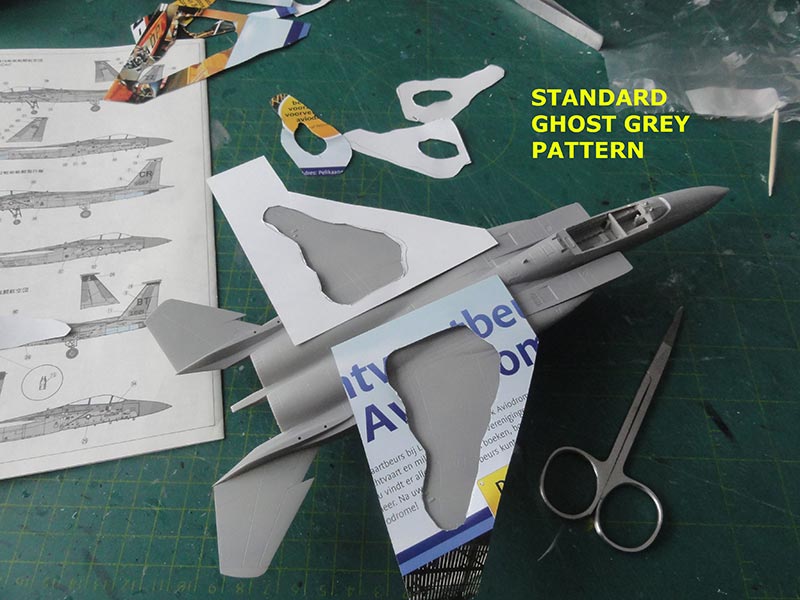
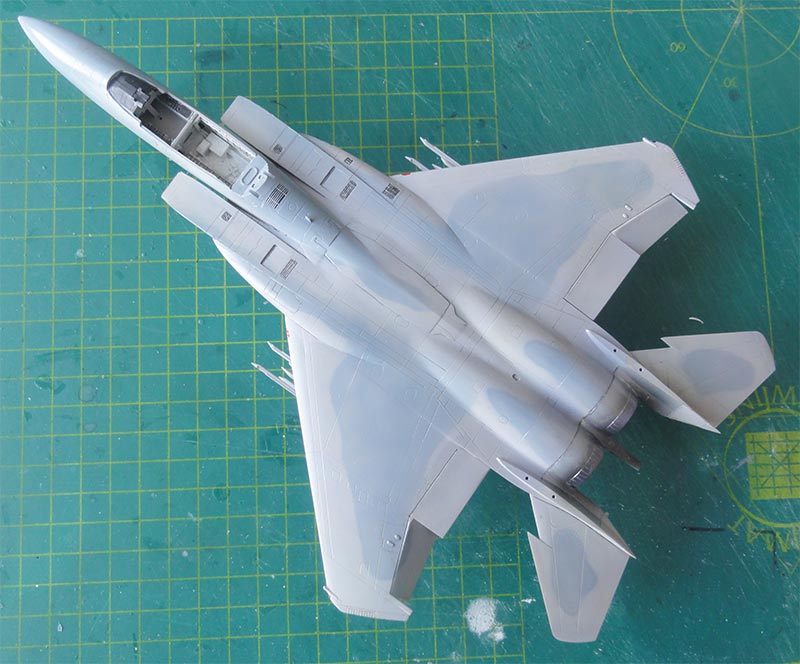
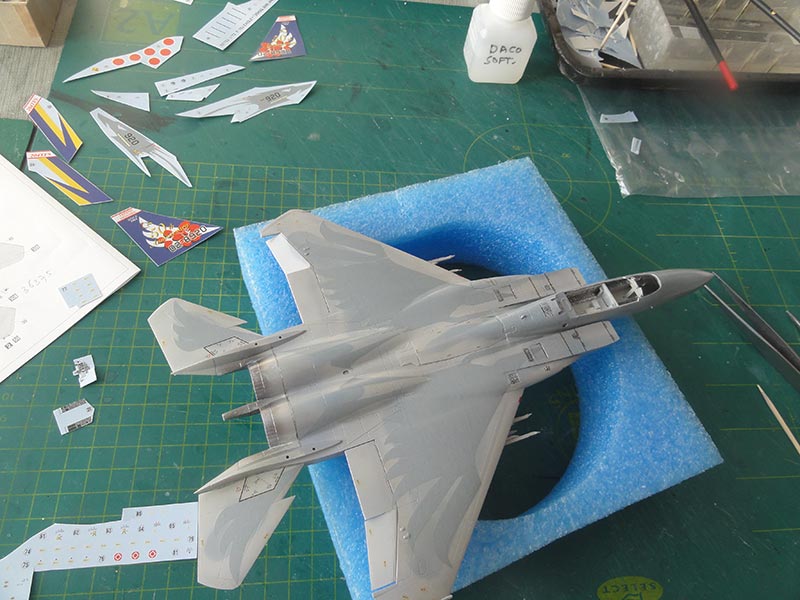
To check for any flaws and irregular surfaces, the model got an airbrushed base grey using Revell aqua 75 "Steingrau".
It all seemed OK to get first the standard "ghost grey" colour scheme.
J
The "ghost grey" scheme scheme was airbrushed as described earlier on page 3.
So first was Fed.Std FS36375 with Gunze Sangyo H308 acryllic. Then the pattern of FS36320 with Gunze Sangyo H307 "loosely" with some paper masks hand held over the surfaces. Some areas got a lighter sheen.
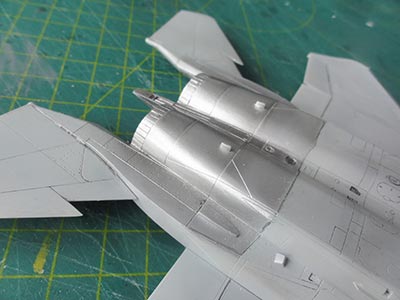
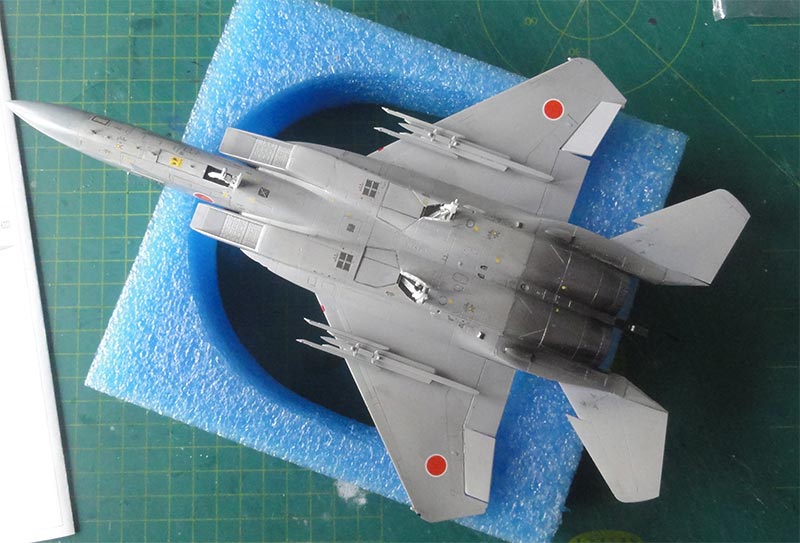
The metal rear fuselage areas were masked and I airbrushed Revell Aqua silver #90 acrylic. But also other metal paints can be used obviously. Some burned panels were airbrushed with a mix of silver and a few drops of "blue".
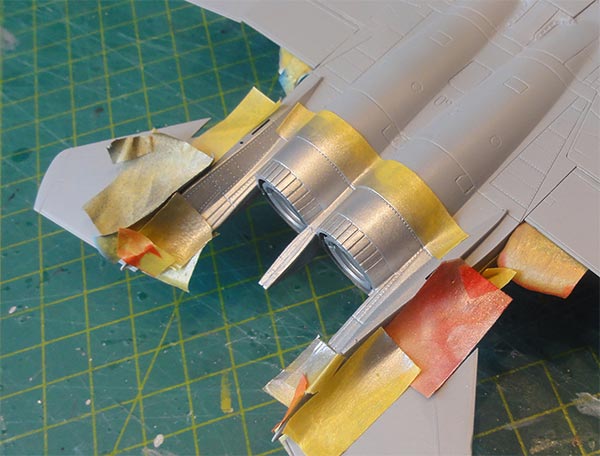
Extra shine was achieved with AK "True Metal" aluminium paste. Brush it on top and polish this with a cloth / old T-shirt.

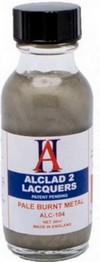
Also airbrush the still not fitted pair of exhausts. I airbrushed ALCLAD metal "burned exhaust metal". Ventilate and do not forget to wear a protection face mask! A good alternative is to airbrush acrylic Vallejo metal coats.

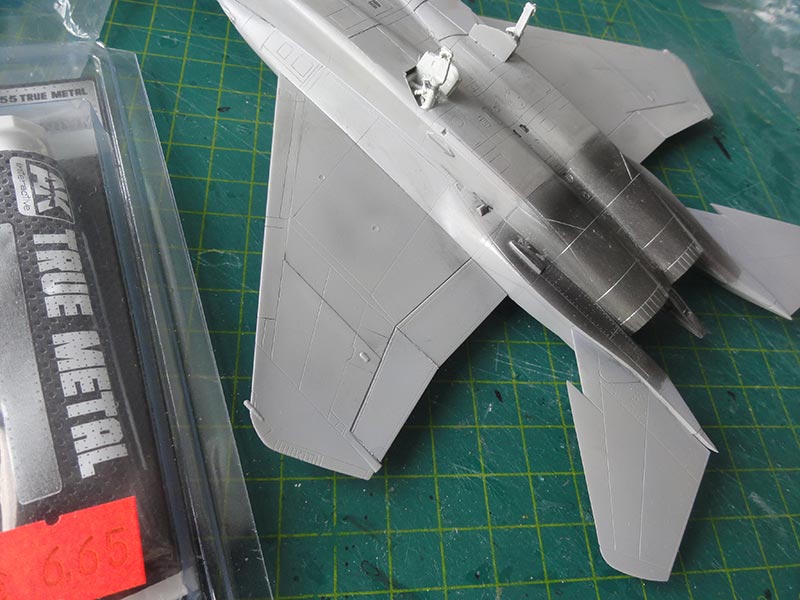
Now pre-weathering was done with the "oil technique" as described op page 3. Look at that page how.
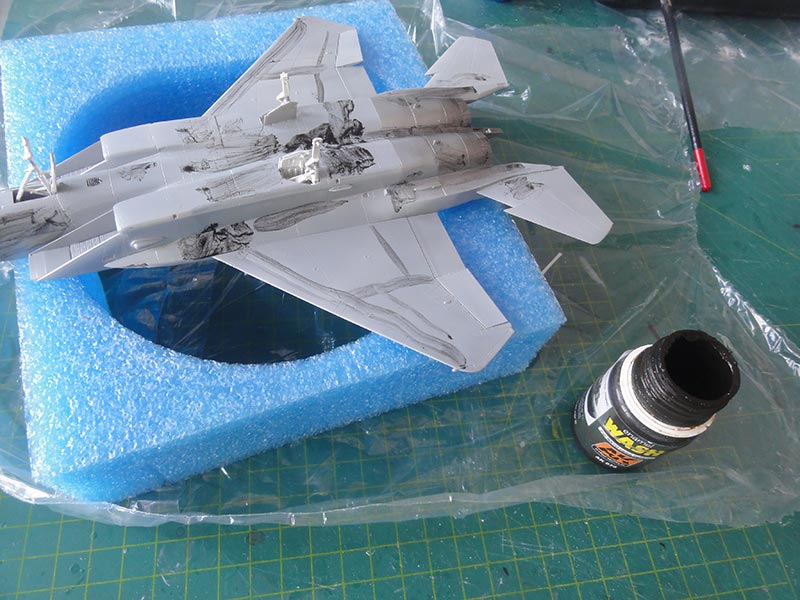
This gives a realistic finish to the model. With a soft pencil, some extra (panel) lines were drawn as well.
The ghost grey pattern with subtle pre-weathering is seen here.
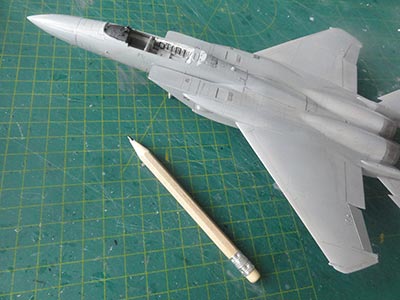
The undercarriage legs were painted white.
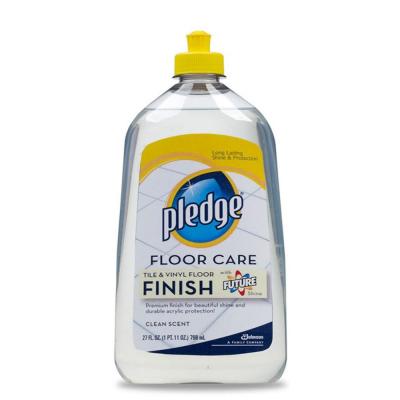
When pre-weathering was completed, before setting the many decals, airbrush a few clear varnish coats of Johnson Future/ Pledge with the usual technique.
UPDATE: it is a good idea to add some 10% Gunze Mr.Hobby Levelling Thinner in the varnish mix. This really helps airbrushing a nice varnish layer.
The coat will prevent "silvering".
(You can off course use other varnishes as well, such as Gunze Sangyo H30 clear).

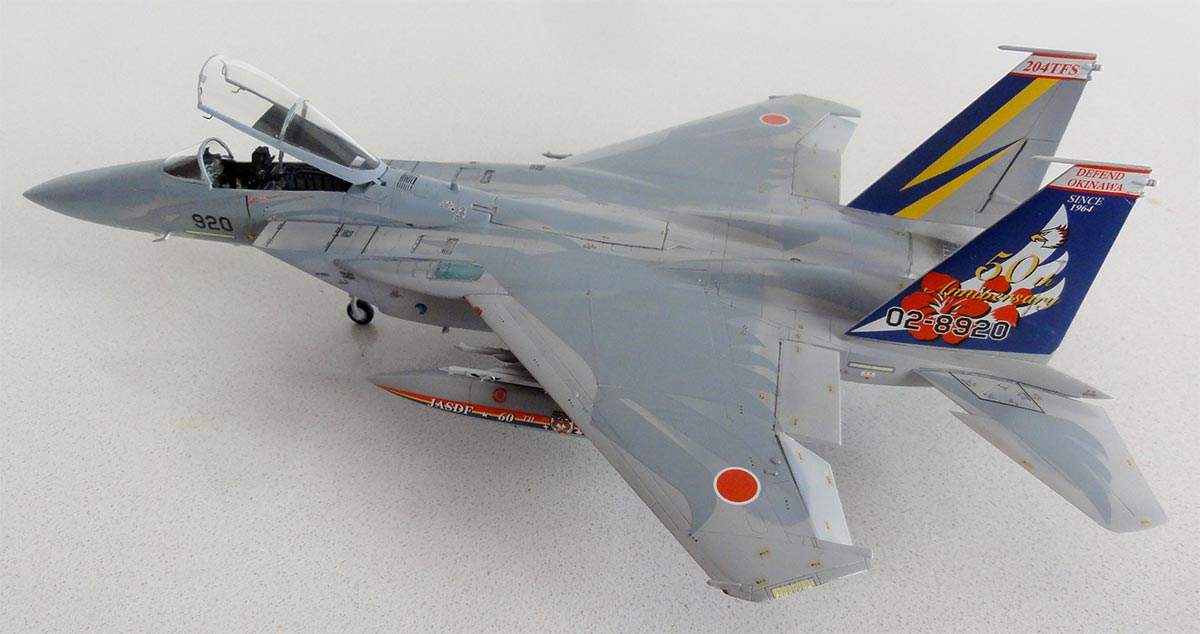
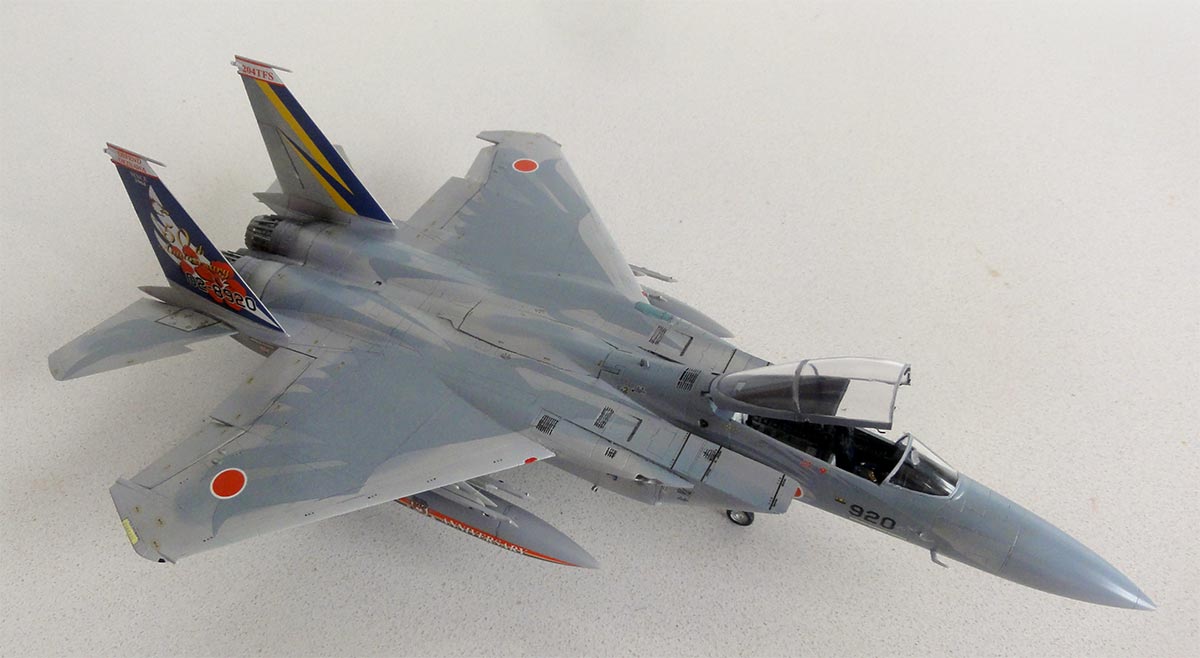
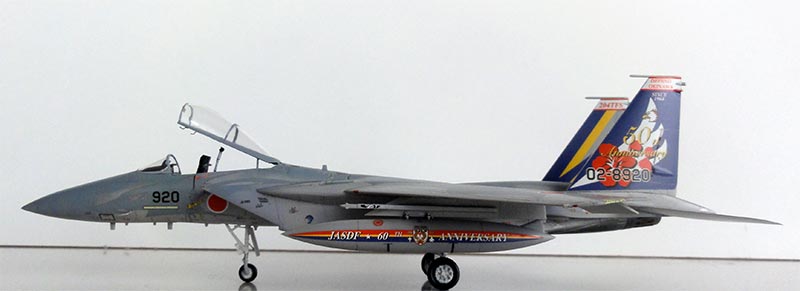
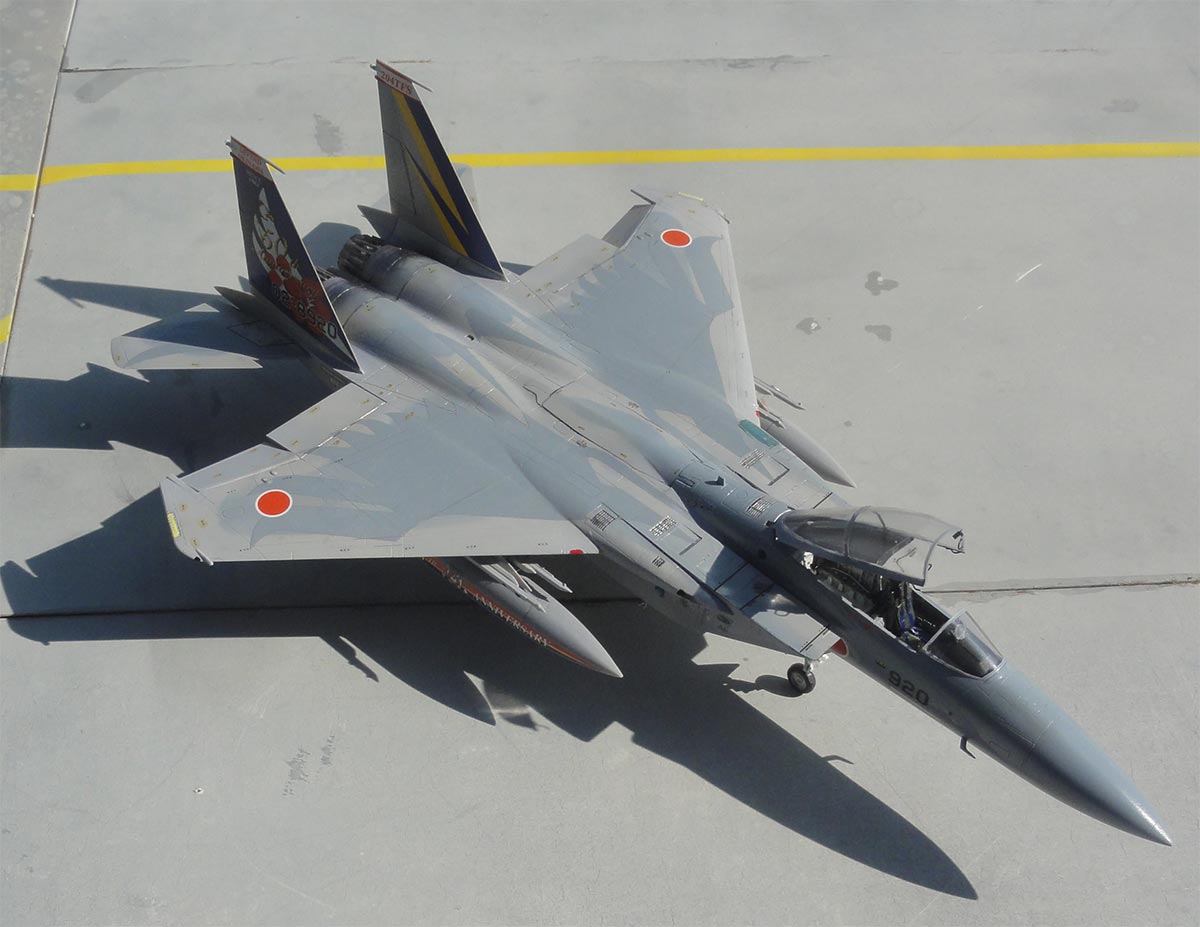
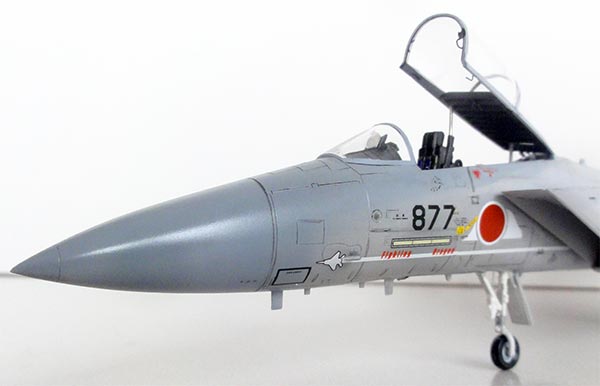
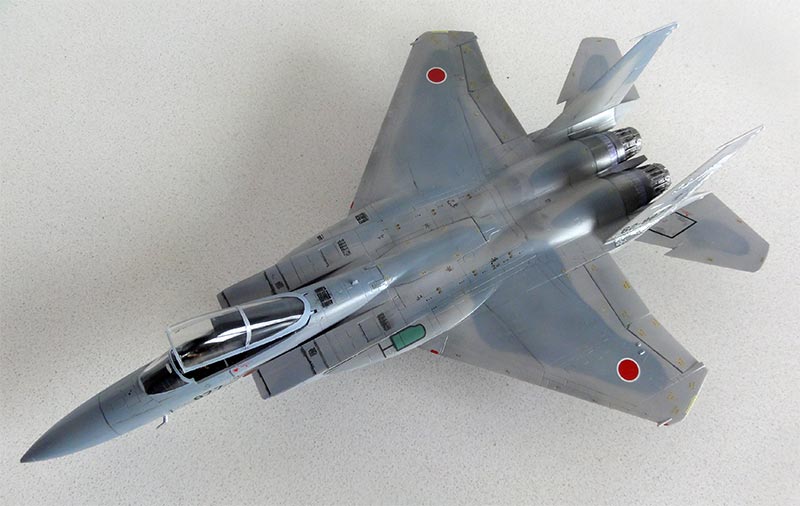
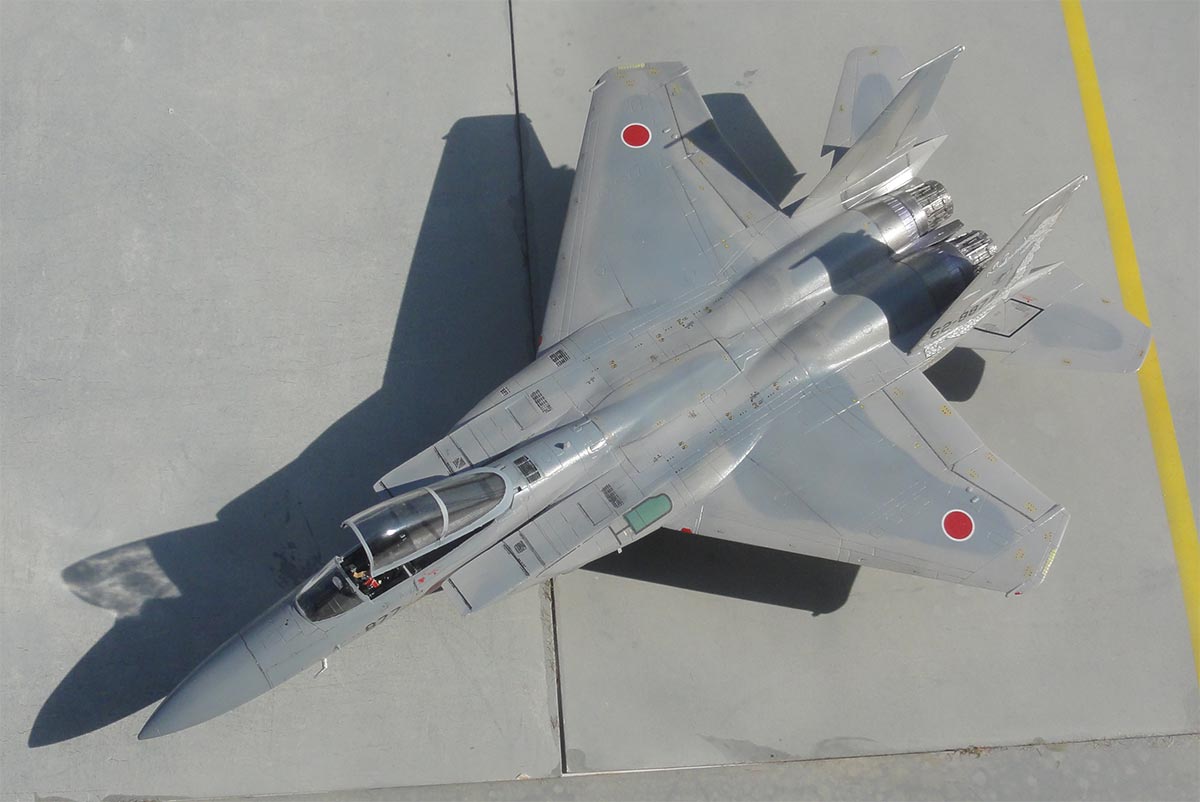
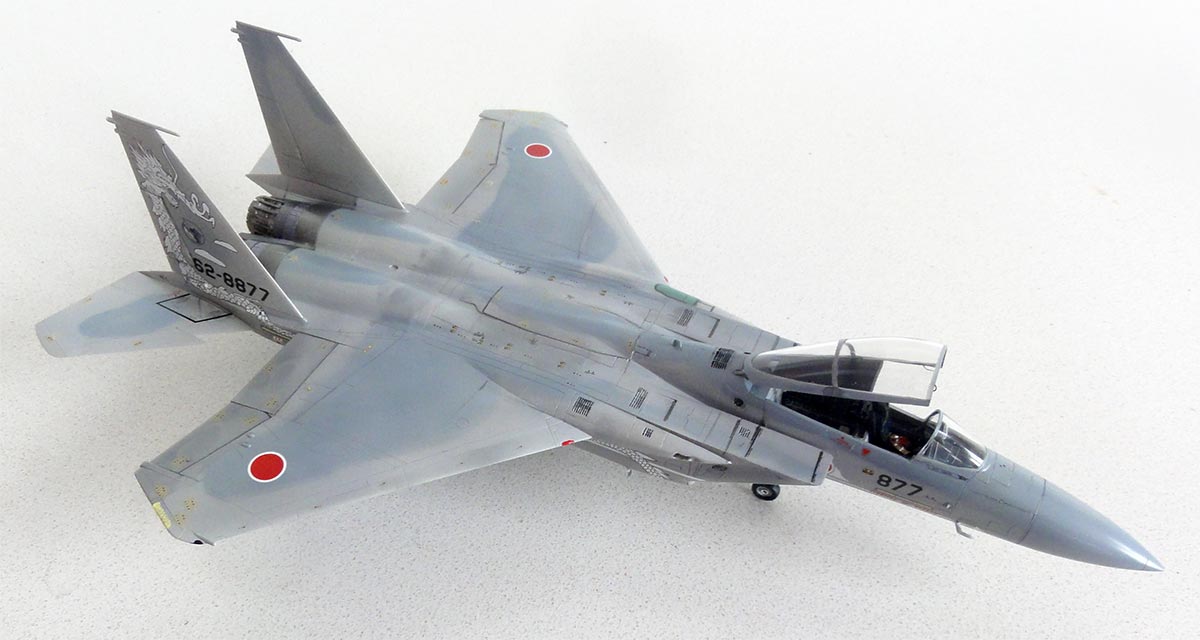
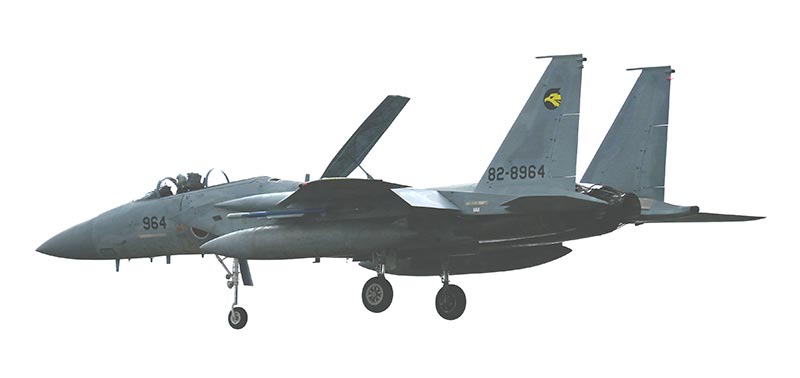
This kit is made in a scheme for a F-15J of the JASDF 204th squadron, 83rd Air Group as December 2014 for the 50th anniversary. This squadron is based at Naha, Okinawa.
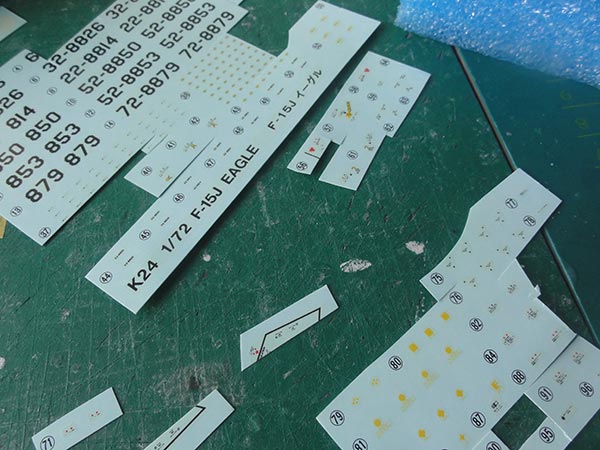
The decals in the kit are great. Apply the large "feather" decals first. All the smaller stencilling requires also a lot of time, adding up to 3 hours decalling. But it is worthwhile.

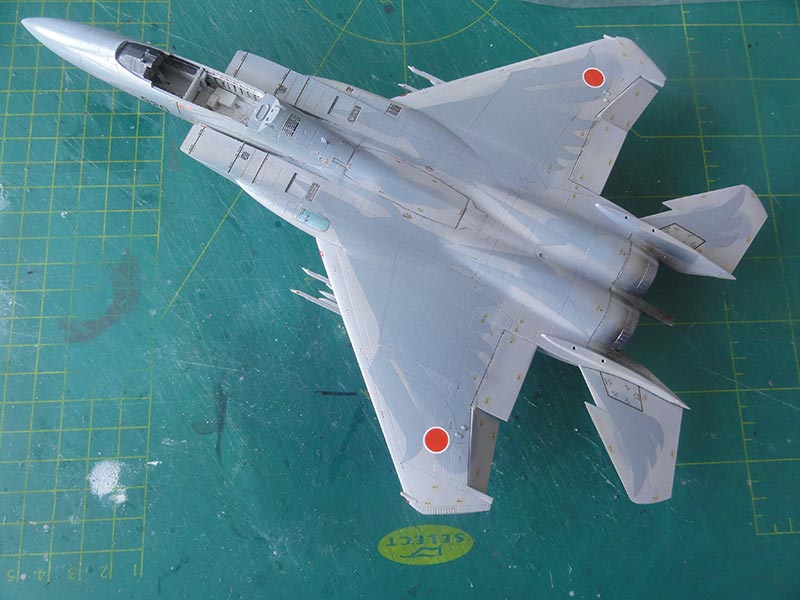
The exhausts were fitted and the (decalled) vertical tails.
The avionics bay was given some wash and the instrument panels a mix of paint and the decals. You can add some missing black avionics boxes. Note that some JASDF F-15J show grey-blue rear bay colours, others blue-green.
I added on the undercarriage gear legs a few hydraulic pipes from thin metal wire and the landing gear was completed.
Seat parts got harnesses made from painted tape as described on page 3.
The various antennas and pitot tubes were installed as per kit.
Two fuel tanks were installed but no missiles.
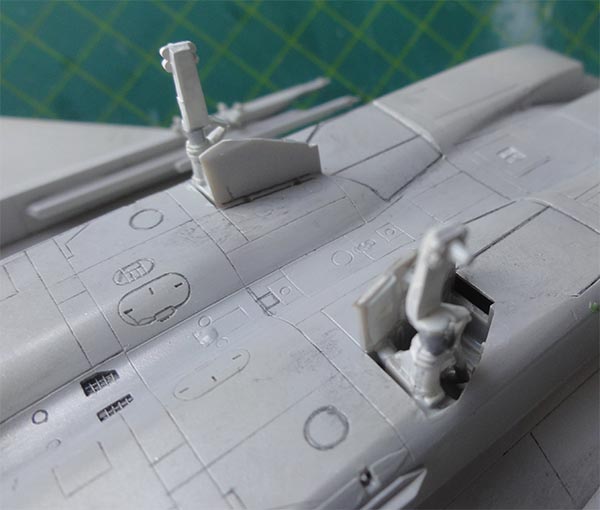
For setting the canopy (as done the made Platz kit), I drilled a small hole at the rear base into the fuselage to have a removable canopy as an added pin for the holes fixes it in position. The canopy was installed open after it got 2 mirrors and a few details inside.
Finally, an overall semi-matt varnish coat was airbrushed of Johnson Future/ Pledge with 10% X-21 "flat base" with the usual technique. This gives an even sheen and protects the decals. Again it is a good idea to add some 10% Gunze Mr.Hobby Levelling Thinner for better airbrush flow.
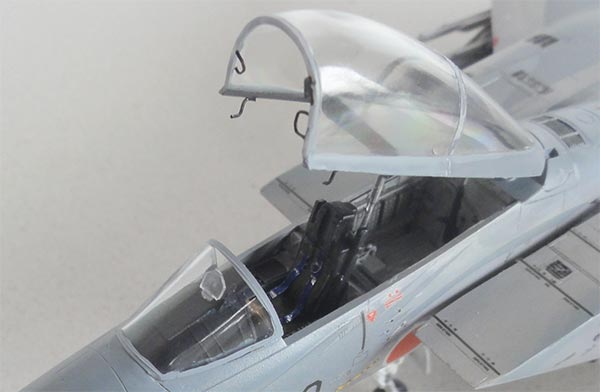
The canopy set and model was ready!
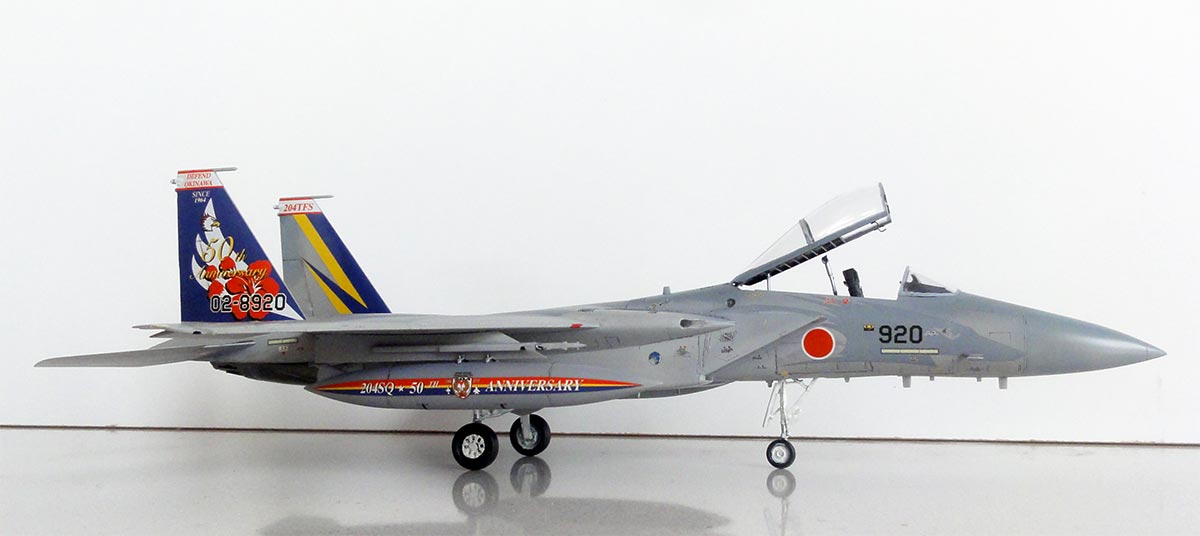
F-15J, JASDF 204th squadron, 83rd Air Group as December 2014 for the 50th anniversary.
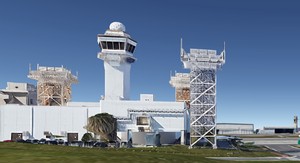
... set at Naha, Okinawa... a large base is situated on this island that lies strategically.

courtesy Google Earth views
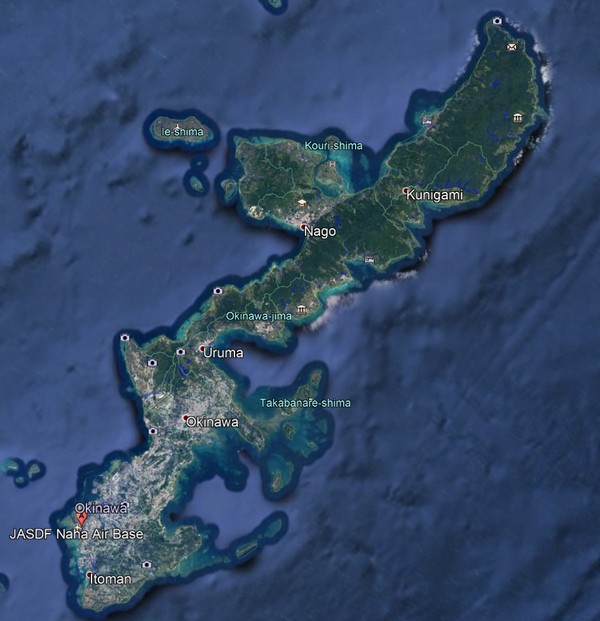
![bird ]\view naha air base](naha-okinawa-3.JPG)
.. with F-15J's of the JASDF

... and model...

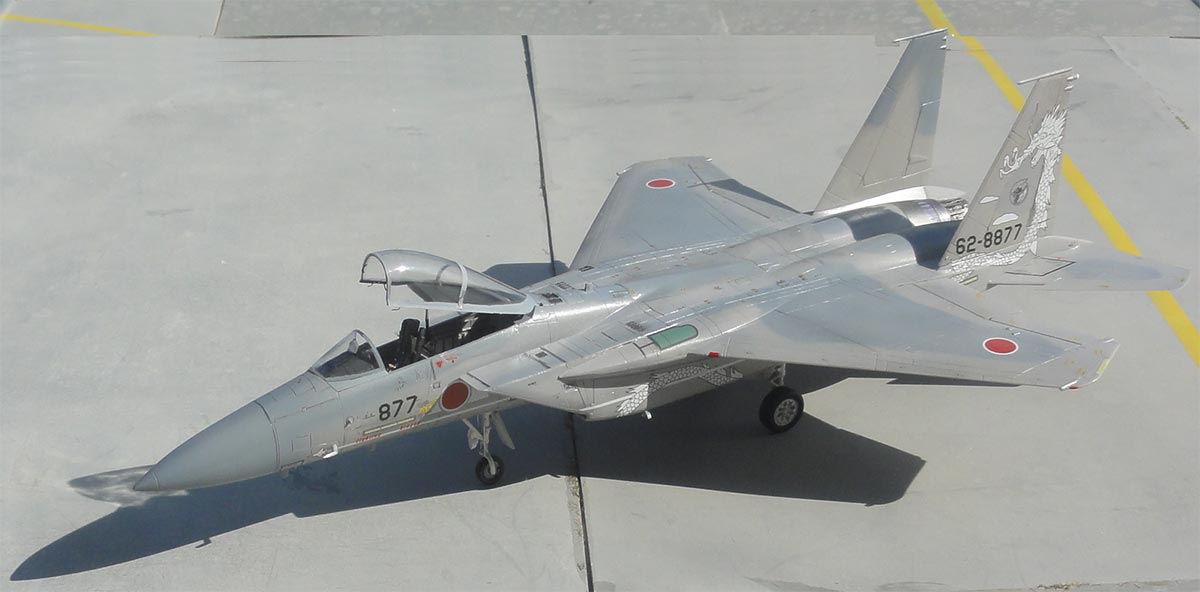
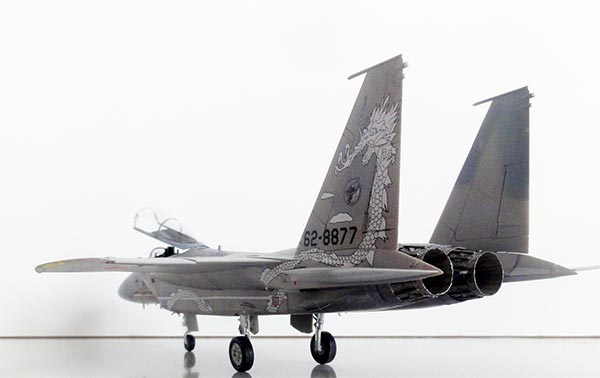
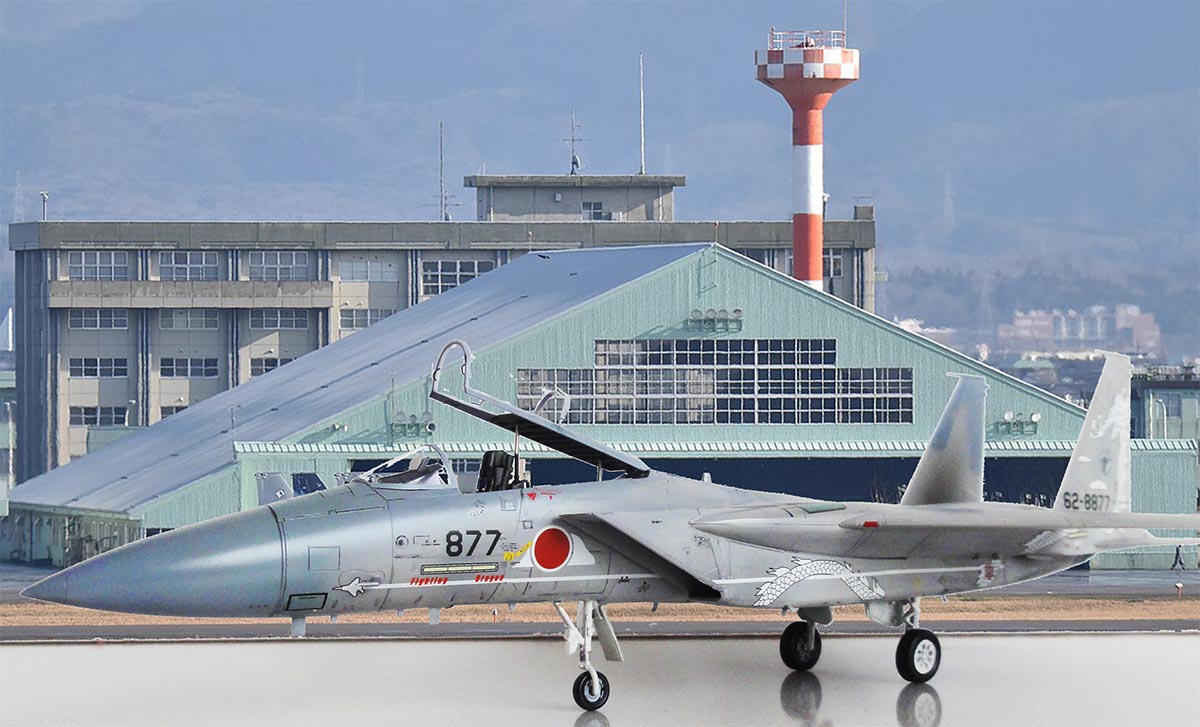
Another 1/72 Hasegawa F-15J kit was made. I had a kit of an F-15C that has the same sprues with parts and it was built similar to the kit above.
From Japan, I ordered special decals that Hasegawa sells as separate sets. Their decalset #35228 has Komatsu AB special markings as seen in 2015 on a no. 303 squadron aircraft with Dragon and a no. 306 squadron aircraft with an Eagle. They have the standard camouflage pattern but have added markings.
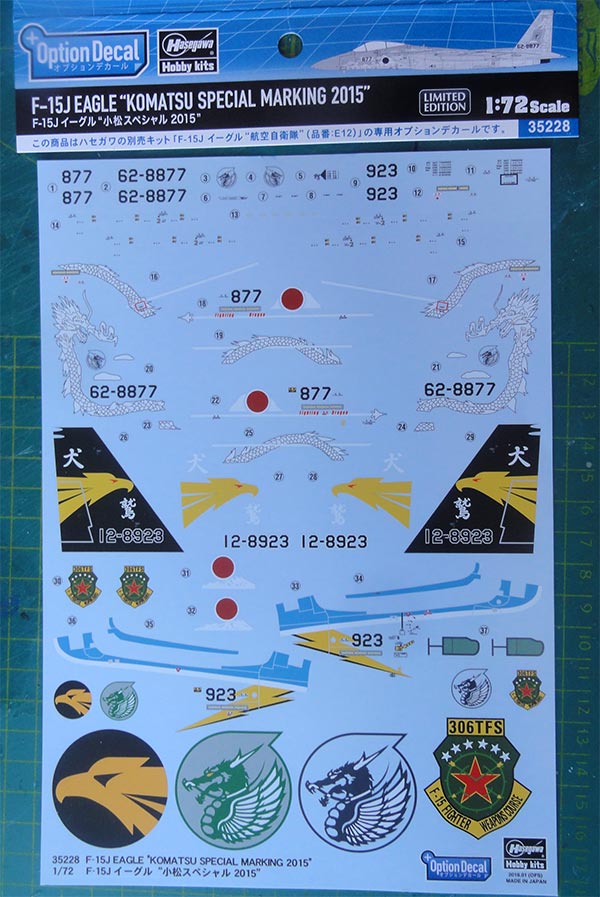
The decals for the "Dragon" of no. 303 squadron were applied. Note that you will need the stencilling and detail markings from the kit itself.

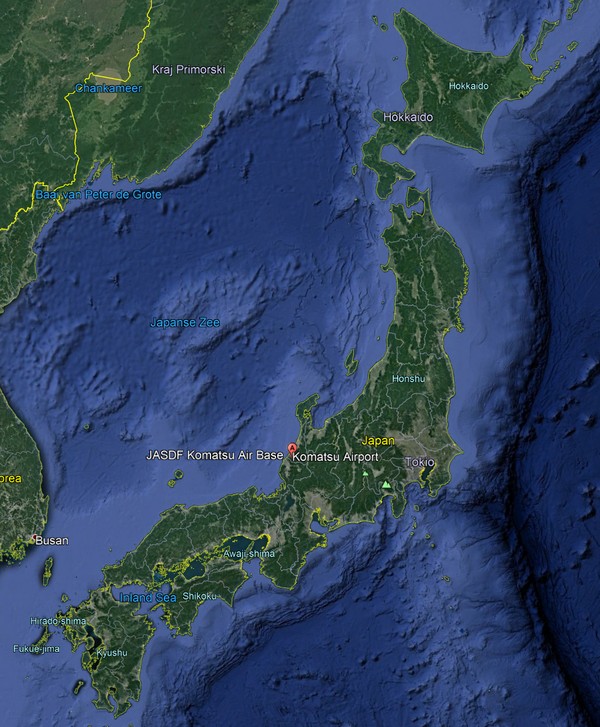
... at Komatsu air base... with global view
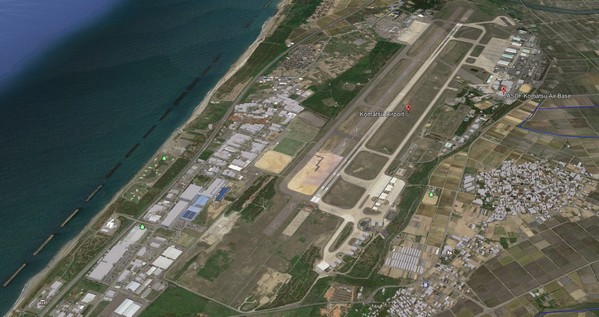
... and the model... at Komatsu with F-15 hangar
On to next [ Page 5...]
(c) Copyright "designer"/ All rights reserved. Your comments are welcomed by webmaster
Created this page April 13, 2021