F-15 Eagle
[Page 2]
F-15 plastic scale models in 1/32 scale
Revell and Tamiya
VARIANTS:
kit A= F-15J
Japan Self Defence Air Force
kit B= F-15B
USAFE
kit C= F-15I
Ra'aam Israeli Air Force
scale modelling report
page 1
page 2
page 3
page 4
page 5
page 6
page 7
![]()
OK, let us start with the two purchased Revell kits as described on page 1...
The basic Revell kits are very good
and basic assembly is straight forward. The Revell kit comes very nicely
with complete engine intake ducts, these need some filling. Otherwise,
no problems were encountered.

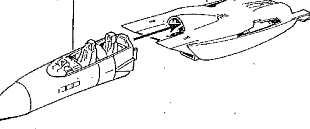
and how the nose is made up later...
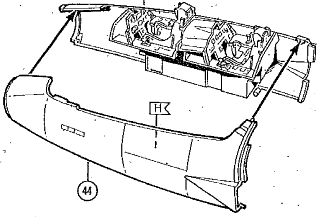
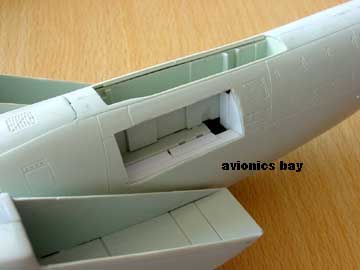
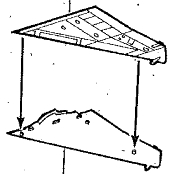
For the JASDF model to be made [A], the F-15J lower avionics bay panel was cut open.
Despite their age, Revell kits are fine with recessed good panellines. Before glueing the main parts however, all inscribed recessed panellines of the Revell kits were checked. As I had the Tamiya F-15E kit as an example with some references, some panellines were scribed on and added, others were filled ("removed").
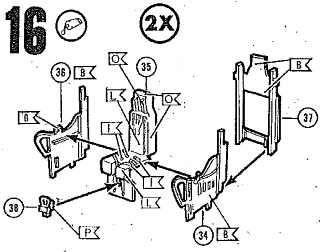
The parts of the cockpits need some detailling. This can be done after major assembly which was done first.
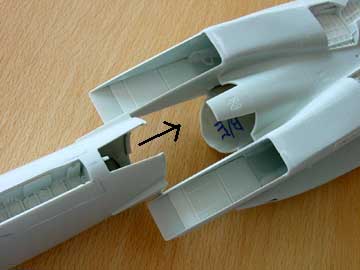
The forward to rear fuselage parts
are the biggest problem in this kit. They will need some adjusting and
fine tuning to align them, otherwise you get "a step". With some pursuation,
it can be done however. Allow enough drying time here.
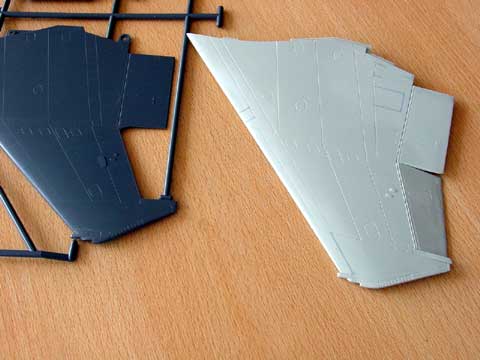
The kit parts of the single seater and double seater kits differ in that they the main parts are a bit different, the single seater has "flat" rear section.. (parts are both numbered # 12, so don't mix them up)
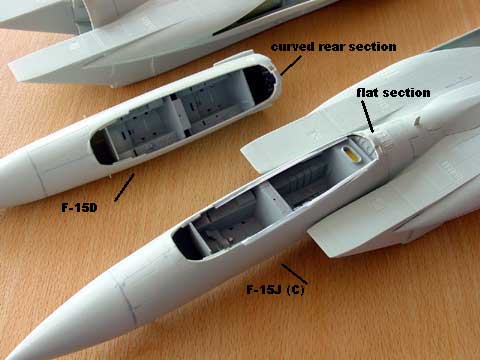
(F-15B/D =
two seater)
The canopies of the Revell kits are OK, but remove the moulding seam in the middle on top through very fine sandpaper, and polishing with a very fine nail polishing sandling stick (like that of "Trend" ) and finally polish Tamiya Rubbing Compound to remove all scratches. There is some slight distortion in the clear plastic but there is not much that can done about that...
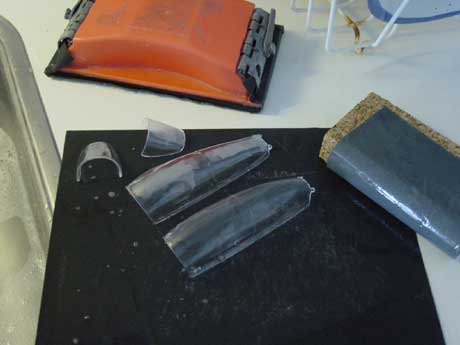
The single seater [A] from the F-15C to be converted into a F-15J was to have its canopy set open. So it was to get a highly detailed cockpit. For that reason, the lower area of the canopy covering plate Part # 118 was detailed with strips with weight saving holes and ribs. This needs some work, but is very rewarding.
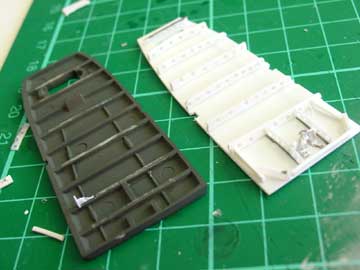
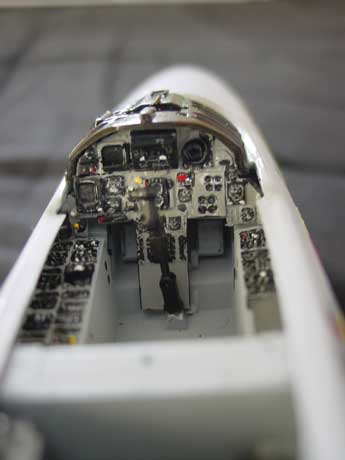
The cockpit was detailed. The kit's base provides a good starting point.
The main instrument panel of the
Revell kit of the single seater is of an F-15A (?), so for later types
such as the F-15C and F-15J some flat panel displays were missing. These
were cut out from the original kit part # 32 and made from some thin card.
The instruments were similated by painting them first white, that adding
future clear, painted black and after drying of the paint the instrument
dials and markers were scribed in. Finally, all instruments were covered
with transparant Kristal Clear.
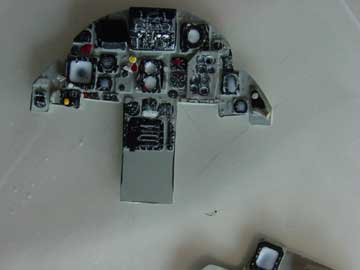
The picture below shows the instruments
of the F-15C / J [kit A] after conversion
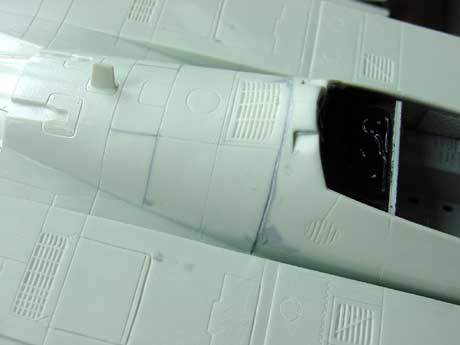
The joint between the forward and aft main fuselage sections can be seen here after carefull glueing and setting. Please note that some of the kits' panel lines are also filled as they are not on the real plane.
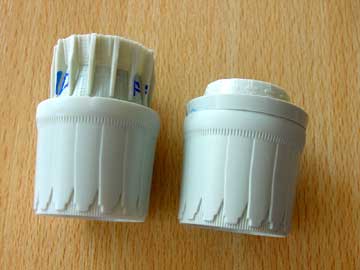
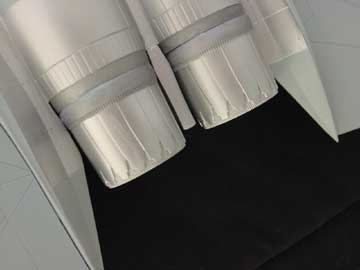
The exhausts parts of the Revell F-15C kit later came with or without covers, nicknamed "turkey feathers". There were separate parts in the kit. The parts "without" (# 130 and 131 ) are a bit crude and were not used.
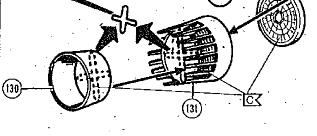
The parts with the feathers are OK,
but the engine exhaust pipe inside is a bit undeep, the flame holder should
be set more into the fuselage. The left over parts were used to deepen
the parts # 13. You can thus set the engine flame holders #14 more deeper
into the rear fuselage.
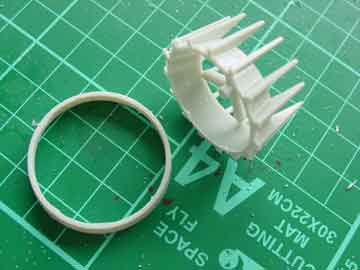
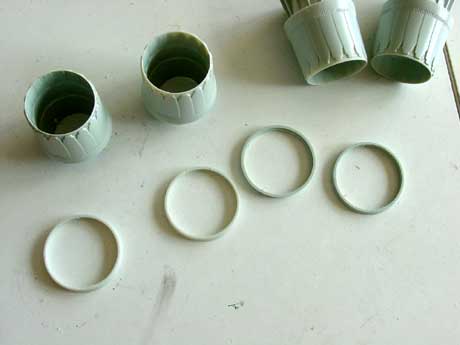
Also, I found that the Revell engine
exhaust pipes were not long enough! They are quite a bit shorter (about
1/4 inch) than they should be. I used the left over parts of the Revell
kit (without the turkey feathers parts) to lengthen the Revell enhausts with
extra outher rings. They were puttied and sanded smooth.
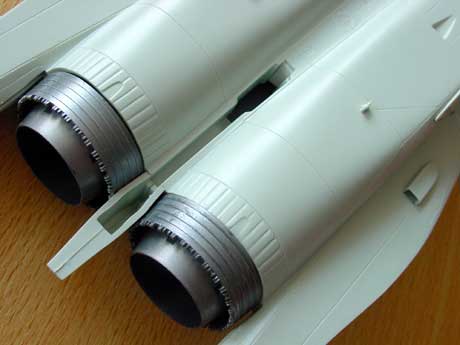
First, in order to make an Israeli F-15I (Kit [C]), two exhausts WITH turkey feathers are needed. Similarly, to make an F-15J, two exhausts WITHOUT turkey feathers are required. But fortunately.....
... the Tamiya kit of the F-15E also purchased has usable parts that are very good for detailed pipes without Turkey Feathers with lots of rods etc. I simply swopped the exhaust pipes of these kits and they were put onto the F-15J.
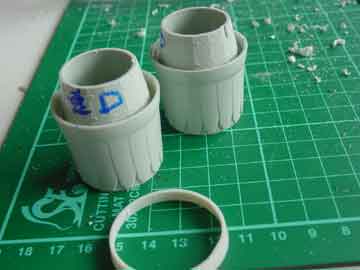
The lengthened Revell exhaust pipes
with turkey feathers are to be set onto the Tamiya rear part numbered #
E5 for the F-15I. ( more on the Tamiya kit on [page
5...]
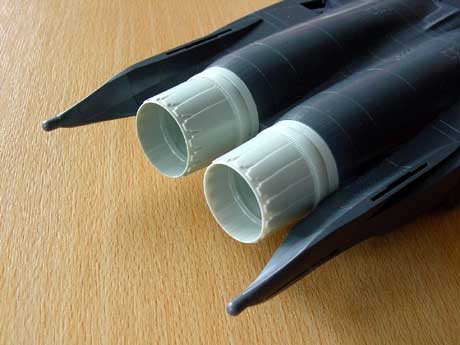
Tamiya
kit with Revell exhausts with added on "rings"
Revell
F-15 kit with the Tamiya parts .
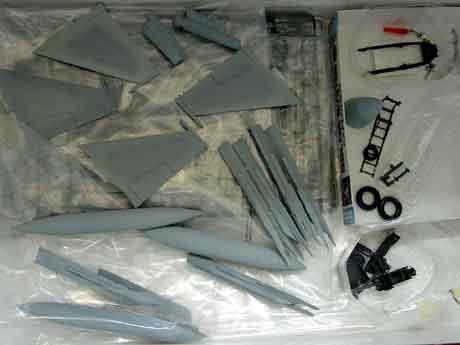
OK, let's go on with the other main assemblies like the wing.
As many real F-15's show drooped down ailerons as they are standing on the ramp, I decided it was required to cut off the aileron of the Revell wings. The Tamiya ailerons on the wing are already separate parts.
The installment of the Revell wings to
the fuselage poses no problem, only some sanding and filling/body putty
being needed. Also, on one kit (the F-15J) I set the air brake in the closed
position.

The main wheel bays can hardly be
seen as the main forward doors are always closed on the ground for a F-15,
so no real extra detailling is needed.
The engine intakes need some sanding and putty to get a good result. The cockpit tub and basic parts detailed earlier were set in place, leaving cockpit detailling until later on.
Now, we have come a long way.... Below,
the two Revell kits can be seen assembled; note that the vertical tails
are left off until later on to ease handling.
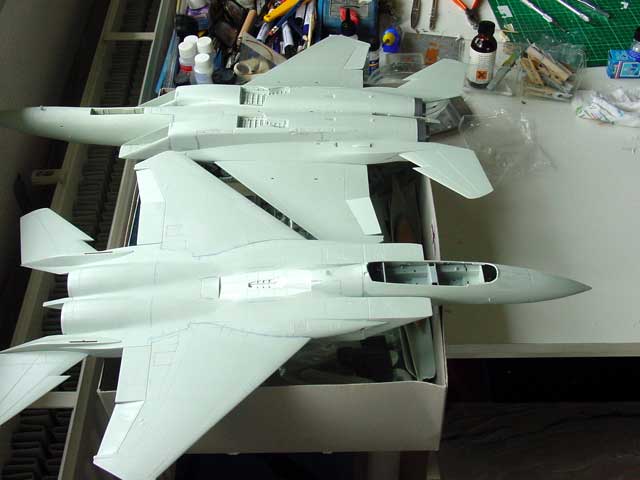
Here, you can see the F-15B model
(lower one in the picture) being sprayed with the grey colours Federal
Standard FS 36320 upper and main FS 36375 on main surfaces. I used enamels
Humbrol 128 for FS 36320 and Humbrol 127 for FS36375. (update: in the future I prefer Gunze Sangyo acrylics)
Please note that the colour
differences
are very small! When looking at a real F-15 at the air base I could
hardly
distinguish the two different greys. It also depends on photo light
conditions outside as I saw during a visit to Soesterberg air base in
the 1980s.
![]()
The original Revell kit was later
updated by Revell with the newer ACES II seats, replacing the Escapac seats
parts.
The provided parts of the seats can
be used as a basis, adding details through pieces of card, stretched sprue
etc. This is real fun to detail instead of buying resin seats. The good
Tamiya seats were also used as a pattern etc.!
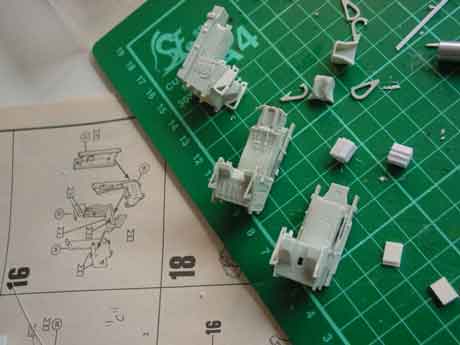
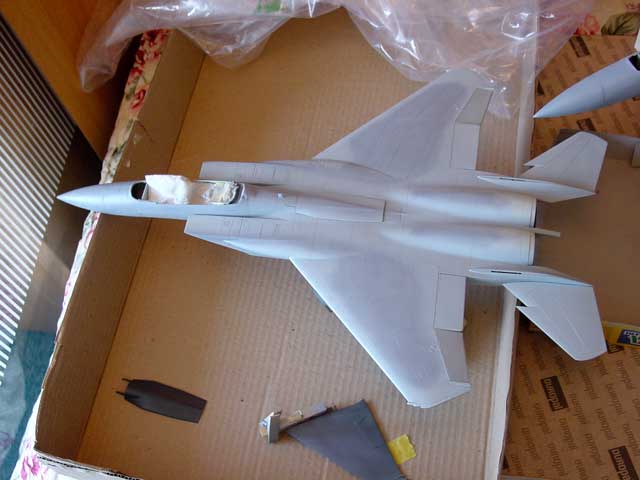
some parts of various kits are seen here, some already being painted/sprayed on.
The F-15B cockpit section got two
pilot figures from the spares box and the canopy will be closed later on.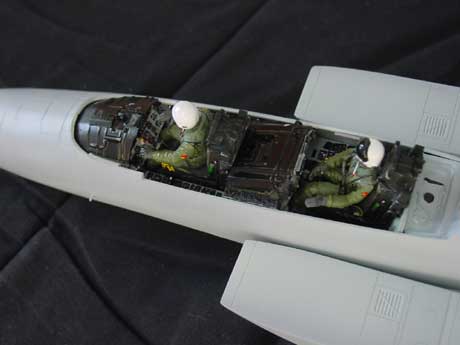
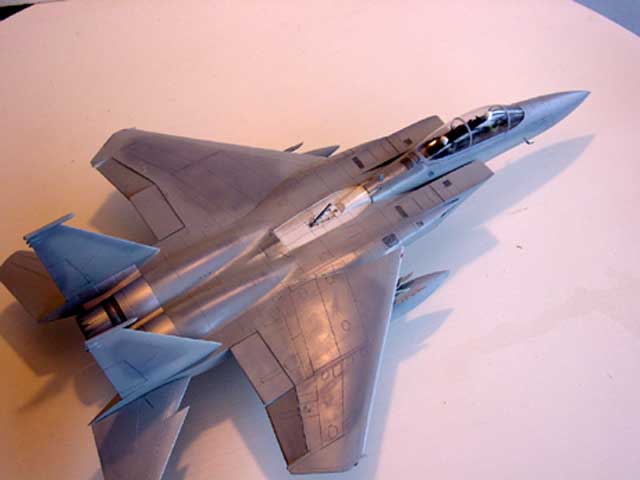
A view of the overall F-15B prior to applying the decals.
I had difficulty to get a smooth result when setting the canopy onto the fuselage as there were some gaps. These were closed with white glue and painted the grey colour. I also put on a couple of Johnson Future / Kleer gloss varnish coats before decalling to prevent "silvering" of the decals (e.g air bubbles being trapped).
Please note that the engraved panel lines are as is with only some darker shades in some places.
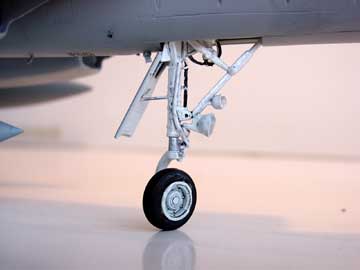
Here a detail of the nose leg, please
note the torsioned wheel, stearing to the left and adding interest to the
model.

Decalling will
be done later on... this cockpit still has no red sealing edges applied,
this will be done later
(c) Copyright "designer"/ All rights reserved. Your comments are welcomed by webmaster
Created October 17, 2004
Updated August 2018