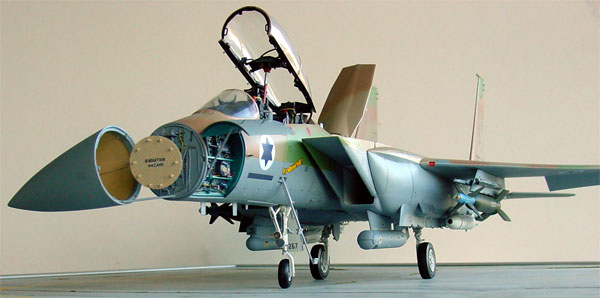
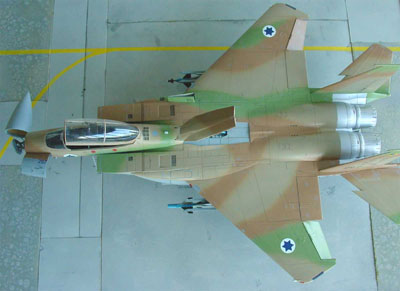
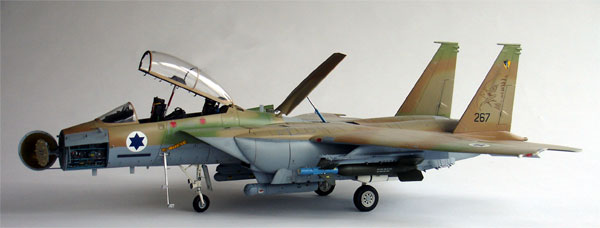
F-15I Eagle
[Page 6]
F-15 plastic scale models in 1/32 scale
F-15I Ra'aam Israeli Air Force
The basic camouflage colours were now to be applied first on the major assembly now. Detail and finishing part assemblies are added after that! First give the overall plane a light grey coat. Check any flaws, correct and fill.
After that, the model is raedy to get the main camouflage scheme.
APPLYING THE CAMO SCHEME FOR ISRAELI F-15IThe camouflage desert colours for the Israeli Airforce F-15I are:
FS 30219 "Tan brown": upper camo scheme [ Humbrol 118 ]
FS 34424 green: upper camo scheme [ Xtracolor X148 ]
FS 33531 light brown: upper camo scheme [Xtracolor X104 ]
FS 36375 light ghost grey (lower areas) [ Humbrol 127 ]
It is noted that the real planes are not very weathered, being stationed in a very dry sunny desert like climate. Some panellines were given a very little darker different camo colour with acrylic water based paint. Some panels were give a brown and others a very dark grey wash.
First the light grey was applied. Airbrushing of the upper camo schema was done using the "free hand" standard technique.
Also do not
forget to spray :
the tailplanes,
gear doors, canopy frame, pylons, airbrake etc as required.
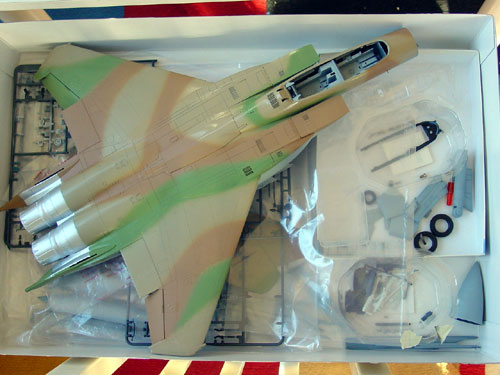
Applying the
camo scheme takes quite some time, but is very rewarding.
Also, fit the lights supplied and they were coloured with clear paints (of Tamiya green and red).
The smaller remaining parts had alreday received their base coats and appropriate paints.
STEPS 19/20/21/22 Main Tyres and gearThe wheels as in the kit are the heavier type late F-15 style (like the F-15E) , with bulged doors and thicker tyres. The Tamiya parts are fine.
The main gear legs are metal. I had some trouble to get them to fit inside the main bays. A little filing the metal legs did the trick and I did not use the screws. Some brake pipes were added made from thin metal wire.
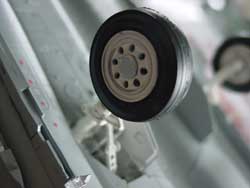
The gear legs are white but were drybrushed with some metal paint and black.
STEP 23/24/25
Assemble as shown. The main gear large wheel doors are mostly seen closed when on the ground. So step 25 (lower part) is not needed, assemble as shown in Step 25 upper section of the instructions on page 16. Fill the remaining gaps in the gear bays with white glue.
STEP 27
Pylons are fine with the kit. (see previous page for step 28)
STEPS 29/30/31 STORES
Other remaining pylons and stores are also fine. You get some very nice stores such as the LANTIRN pod.They will be fitted later on after the kit has been painted/ airbrushed.
NOTE ON THE
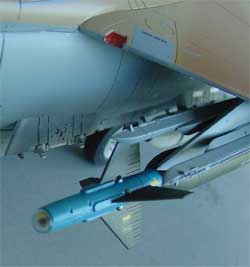
STORES : I will replace the AIM-9L Sidewinder missiles with Israeli Python
missiles later on. These missiles had to be made from scratch.
Also, the model
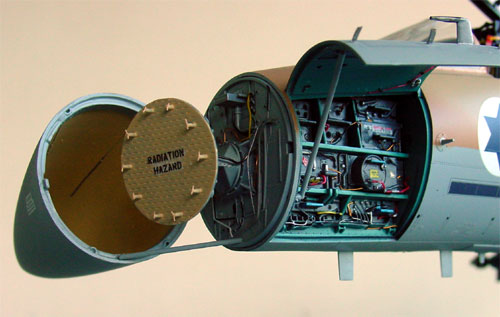
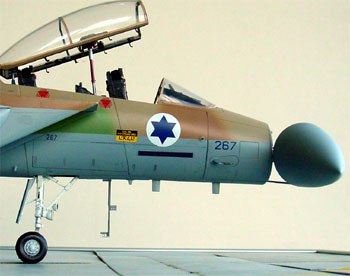
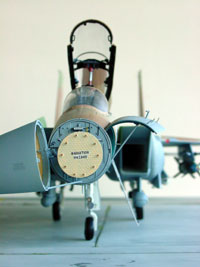
will be shown with the avionic bay hatch and radarcone open. For the stores,
special markings through the decals are provided that they are to be "used
only for loading excercises"....
So it can be
displayed with both the training stores and opened hatches in a realistic
setting.
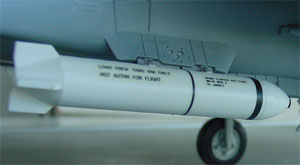
The Mk.20 Rockeyes
were only to be fitted on the CFT pylons.
On the main
wing pylons, two large guided bombs will be fitted: 1 x GBU-10 and 1x GBU
xxx from a Trumpeter A-10 kit.
The radar detail are nice. Some wires were added here. The dipole antennas were detailled with thin copper wires and a RADIATION HAZARD stencil added obtained from a Revell F-15 kit.
The front of the radar disk is to be painted brown Buff.
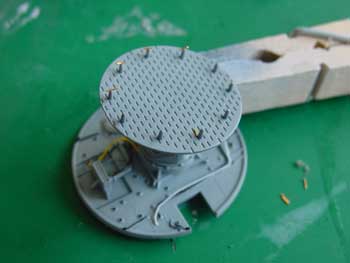
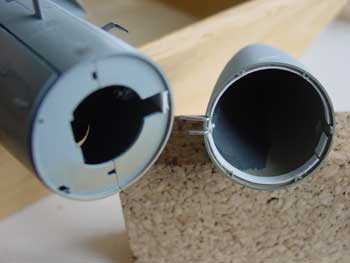
The radarcone can be kept movable on the kit, but the hinge parts #D6 and #D19 are too rough. I will set in the radarnose cone in a fixed position. A new hinge will be made from metal wire and the nose cone interior detailed. But first, the hinge area inside the cone part # A6 was removed with a scalpel; after that, a ring was made inside the radar cone from plastic strip. Please note that radar details will be fitted as one of the last items!
Part #J15 lower section was cut off, the HUD otherwise fitted fine.
STEPS 37/38 canopy
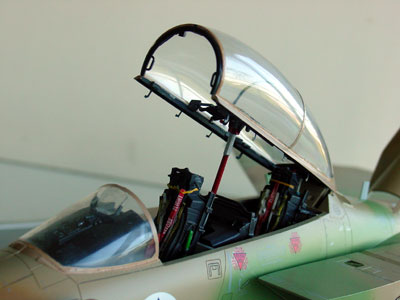
The canopy assembly gave no problems. You will have to remove the central moulding edge with very fine sanding and running using a polishing compound such as the one from Tamiya or tooth paste.
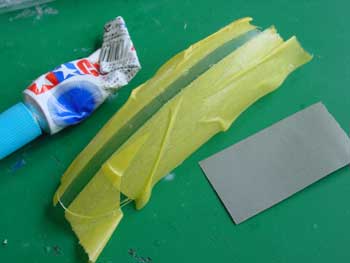
Inside the canopy frame part #G16, I only added some very tiny wiring and hooks cut from from spare photo negatives film. Otherwise, the frame is very good.
The gaps between the clear canopy and frame were filled in with white glue and painted.
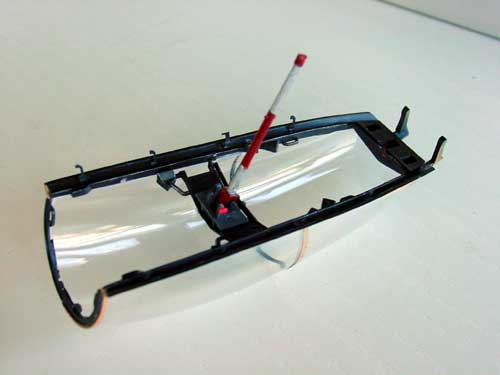
The canopy is kept loose/ detachable for transport and cleaning purposes.
STEPS 39/40/41 Accessoiries
Use and assemble the last parts as desired.
The airbrake can also be kept loose/ detachable.
Now back
on to....
The exhaust pipes without the turkey feathers were not used on the F-15I. I used 2 Revell exhaust pipes. A ring for each pipe was needed to get the correct length dimension as explained on one of the previous pages.
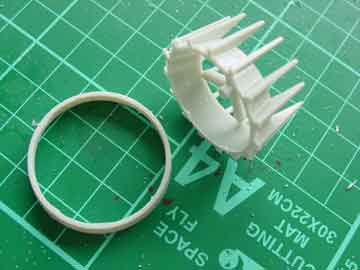
The rings were cut off from the a spare set of Revell parts (Revell part for the inner detail). (NOTE: the Tamiya exhausts were used on the made model of the F-15J of the JASDF).
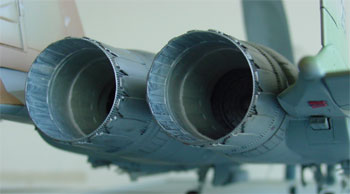
The exhaust pipes were given separately a sprayed on metal finish and inside a burned white colour. Outside, clear coating with some black smoke weathering was added.
APPLYING DECALS
The (thick) Tamiya decals were not used. IsraDecals set IAF 19 was used for an Israeli F-15I. The Tamiya decals from the kit seem a bit thick!
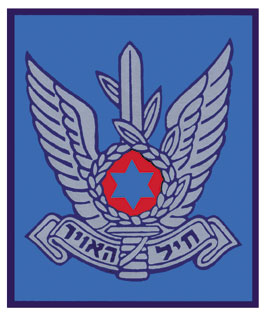
The IsraDecals are very good and thin . The decals comprise the stencilling in Hebrew, Roundels and some numbers. A few squadron emblems and 2 special tail schemes are provided. They also come with a comprehensive set of hundreds of panel numbers but no markings for any stores.
Although quite
thin, to avoid silvering some work was needed. First, two coats of Johnson
Future/ Kleer were applied to get a glosh surface ready to accept the decals.
Decals were applied, using the Micro Sol and Set system. When needed, silvering
bubbles were removed by punctioning the decal with a needle, Sol and Set
applied again. Take at least 10 hours to apply the decals.
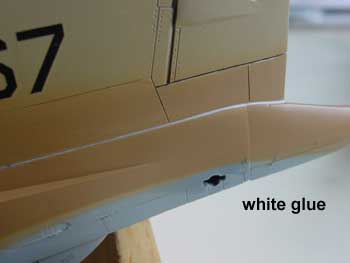
Finally, the final part assemblies
were added such as tailhook, vertical fins etc. Some painting was needed,
for example on the small antenna's and the small gaps filled with white
glue at the vertical tails.
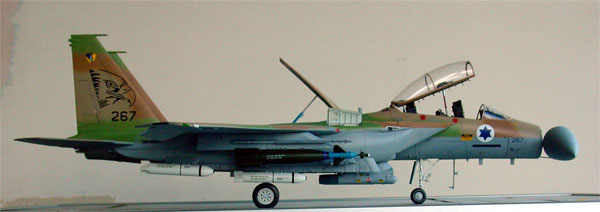
After a final check, the surfaces
were wiped and cleaned. A final matt coat was applied using Johnson Future
and a mixed of 15% Tamiya acryl matting X-21 flat base agent. This gives
a very nice end finish and protects the tiny decals.
That's it!
Enjoy the next images
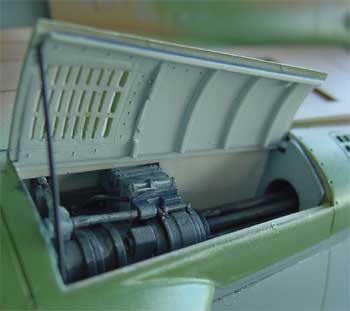 gun with opened door vents
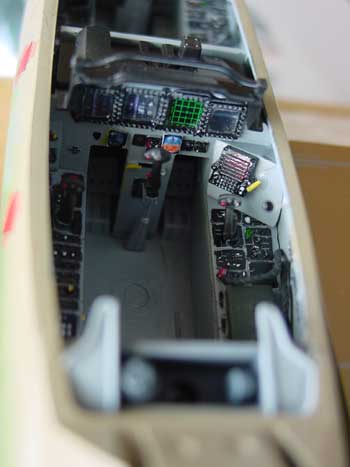
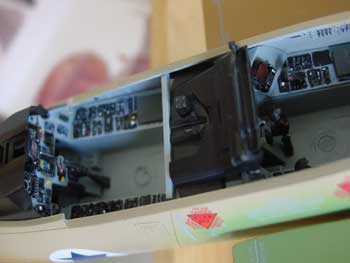 cockpit...
seats not yet fitted
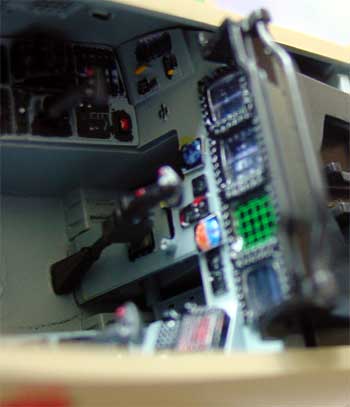
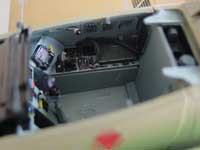
Note little knobs and handles added to side wall edges and instrument panels. The cockpit is very neat and clean... as on the real plane.
Some painting still to be done to the rear deck here.....
.
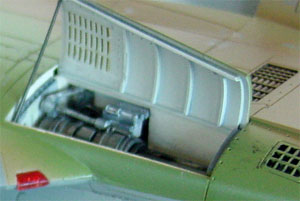 gun
bay
A special AA
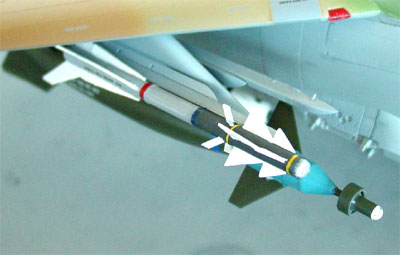
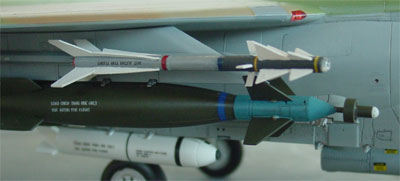
missile was made from an old US Sidewinder from the Academy F-18 kit. The
Israeli "Python" misille has a different fin layout and the new fins were
made from card. Also, a seeker was added from a piece of transparant plastic.
(NOTE: later
on, Academy issued a 1/32 F-16 SUFA kit and these missiles are included,
so may be obtained from this kit)

Conclusion: the Tamiya kit builds
into a very nice model. It is very detailled.
It takes considerable work and has
a lot of parts, so is not for the beginner. With some adjustments, a conversion
in for example a F-15I can be done.
See also the 1/72 pages...
Back to 1/32 models(c) Copyright "designer"/ All rights reserved. Your comments are welcomed by webmaster
Created August 4, 2005;
updated August 2018
