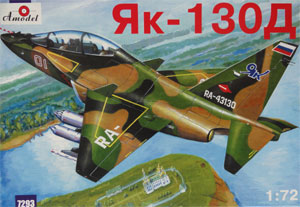
Amodel in 1/72 scale
1/72 scale kit of the Yakovlev YAK-130 advanced trainer aircraft
The Eastern block used various types of trainer aircraft, like the Tsjech designed Aero L-29 Delfin and L-39 Albatross. The Russian air force required an Advanced Trainer in the at the end of the century, the Iron Curtain gone away. The Yakovlev design bureau sought cooperation due particularly a lack of funding in Russia with a Western partner to make an advanced trainer. Italy's Aermacchi was also designed a new trainer so an agreement was made to work together in the nineteen-nineties.
This became the Yak-130 and the prototype first flew in April 1996. It is a compact design, with strakes for additional manoeuvrability and two engines.
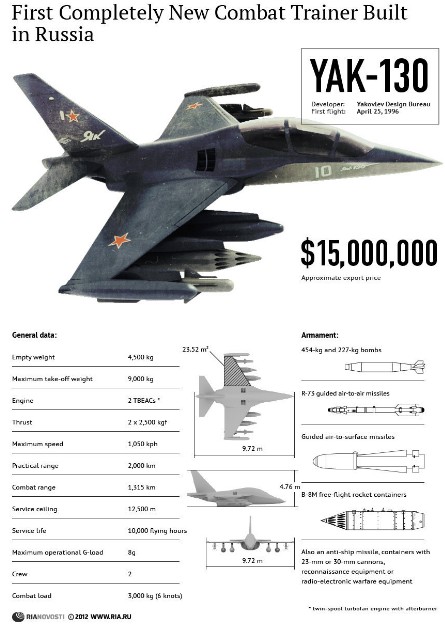
Nowadays Yakovlev offers the Yak-130 to customers and Aermachhi their M-346. The Russian Air force did get funding for a first order of 55 aircraft, and the first Yak-130 was delivered not earlier than December 2012. It is equiped with AI-222 turbofans enabling a top speed of 1060 km/hr and max take-off weight of 9000 kg.
![]()
 ..
..
Amodel
issued this kit in 1/72 scale in 2005 and it has about 90 parts (including
the stores).
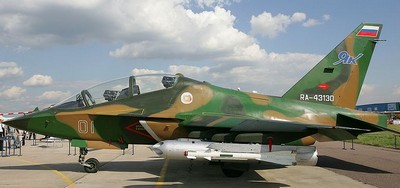
Kitno. 7293 has a camouflaged test
aircraft scheme as seen on the MAKS show in 2001. (Amodel later also issued
kit no. 7233 with other markings for blue-white finish).
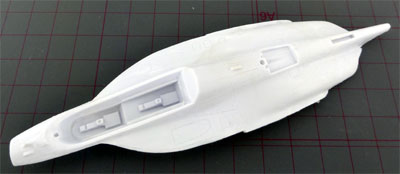
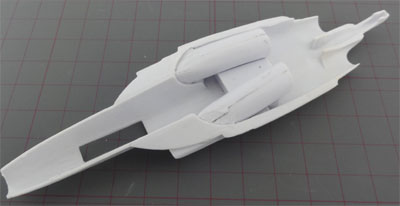
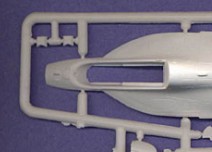
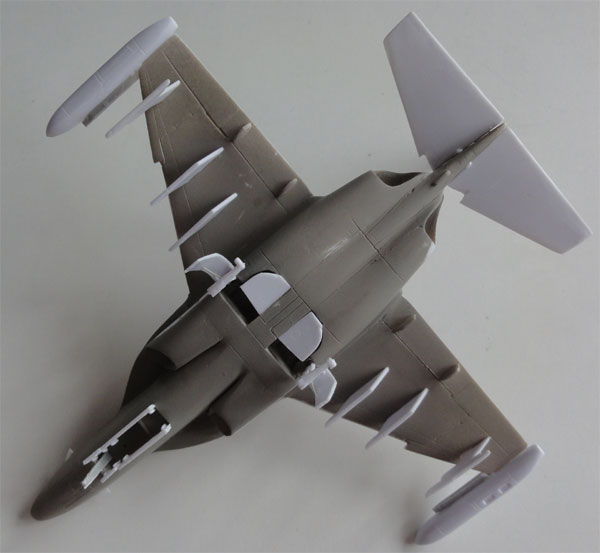
There are 5 sprues in white plastic and a transparant sprue with a single canopy, the windscreen not being a separate piece. One sprue is fully dedicated to the stores: rocketpods, bombs, fueltanks and missiles.
This is a typical Amodel short run kit and all the parts need carefull removal from their sprues. The plastic is very brittle in places on my kit, some damage "slivering" occurred while working on the plastic. I have seen better Amodel kits. But the flying surfaces leading edges are good and thin.
OK, let's build this kit.
During building, all parts need a
rub down with sand paper to get clear edges for a better fit.
In STEP 1, starting with the cockpit,
the floor fits badly. Sanding is needed. The seats are simple but usable with
also floorpedals and control sticks. There is no nose wheelbay and it
is too short. With card a bay was made.
 .
.
The air intake ducting is there but
fits badly as well.
The fuselage is split horizontally with separated outher wingsections. This gives problems to get a strong joint and an aligned symmetrical look.
This model is of the prototype. I wanted to make a slightly later type of the YAK-130, photos seen in Flight magazine Sept 2012.
The pitot tubes (parts 24, 25) are
to be set at slightly other locations in STEP 4. But unfortunately I found
out too late that the strakes next to the cockpit were modified later on.
Well, I kept it like those in the kit.
In STEP 5 , the door configuration (parts 51, 52) is also slightly different now on production aircraft, this can be adapted wth some card. The nosegear has 4 doors.
The air flow vanes (parts 56, 57) at the wing leading edges fit need sanding and filling.
Filling and sanding was needed at
various places but nothing hard and that can not be taken care off. I used
ALABASTINE
CAR FILLER, which is a white colour putty. This is a fine putty that
is cheap, does not shrink a lot and is very fine.
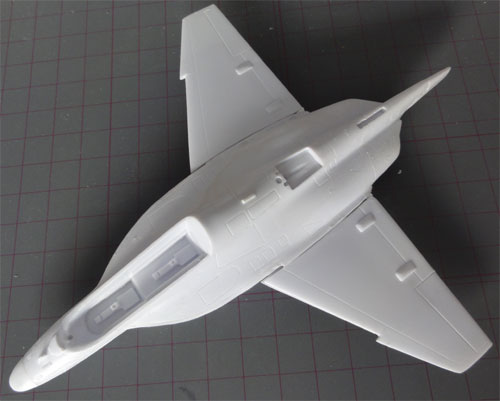
After sanding, the model got a coat
of base grey to check for any flaws. Some small work was still needed.
The horizontal stabilizer (parts 54,55) now have a leading edge tooth. Some material was removed and the tooth sanded in shape.
Also,it would be nice to show the
model with stores. There are shrink marks in the missiles. The wingtip
pylons were adapted as currently seen on production aircraft. With card
make a longer tip pylon. The wingtip pods (flare pods??) are not 100% accurate
but good enough.

![]()

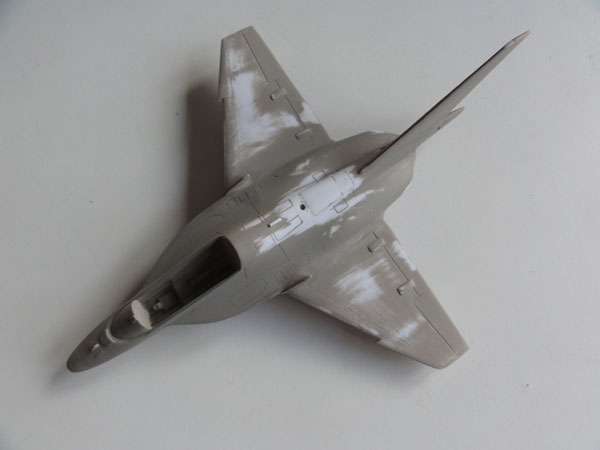
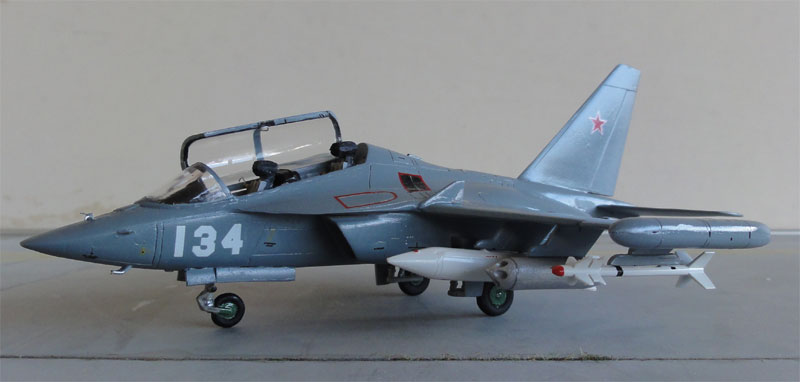
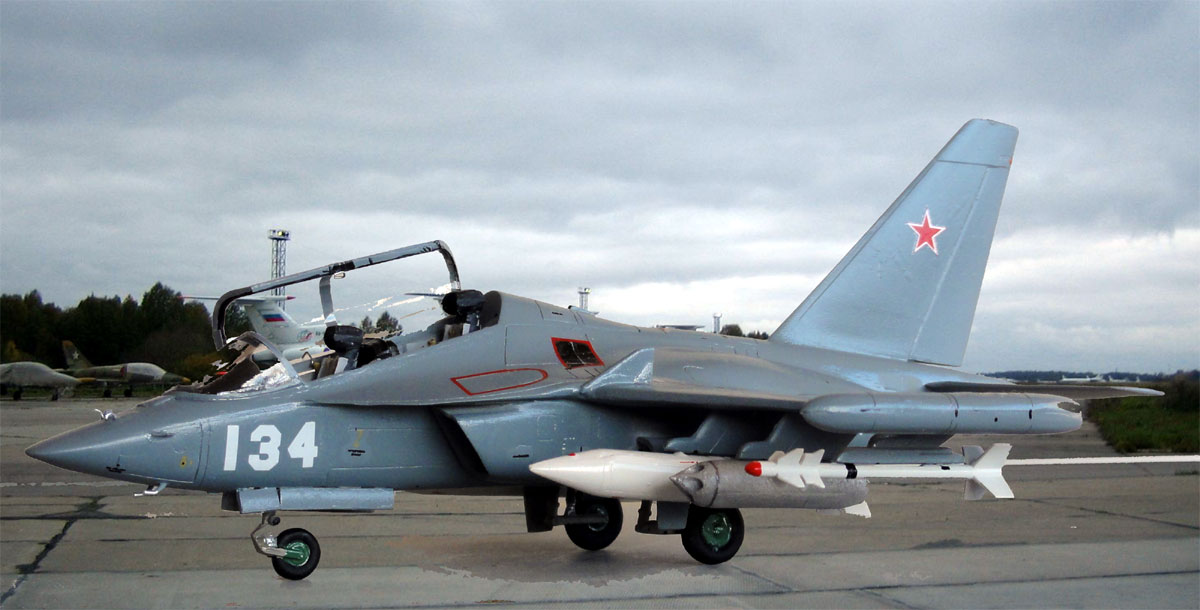
Another finish was selected as in
the kit. An overall grey YAK-130 as seen in Flight Magazine was made, seen
here....
Revell Aqua acrylic No.57 grey
was used here. So the pylons were added at this stage to spray these as
well with the Harder Steinbeck
airbrush. 
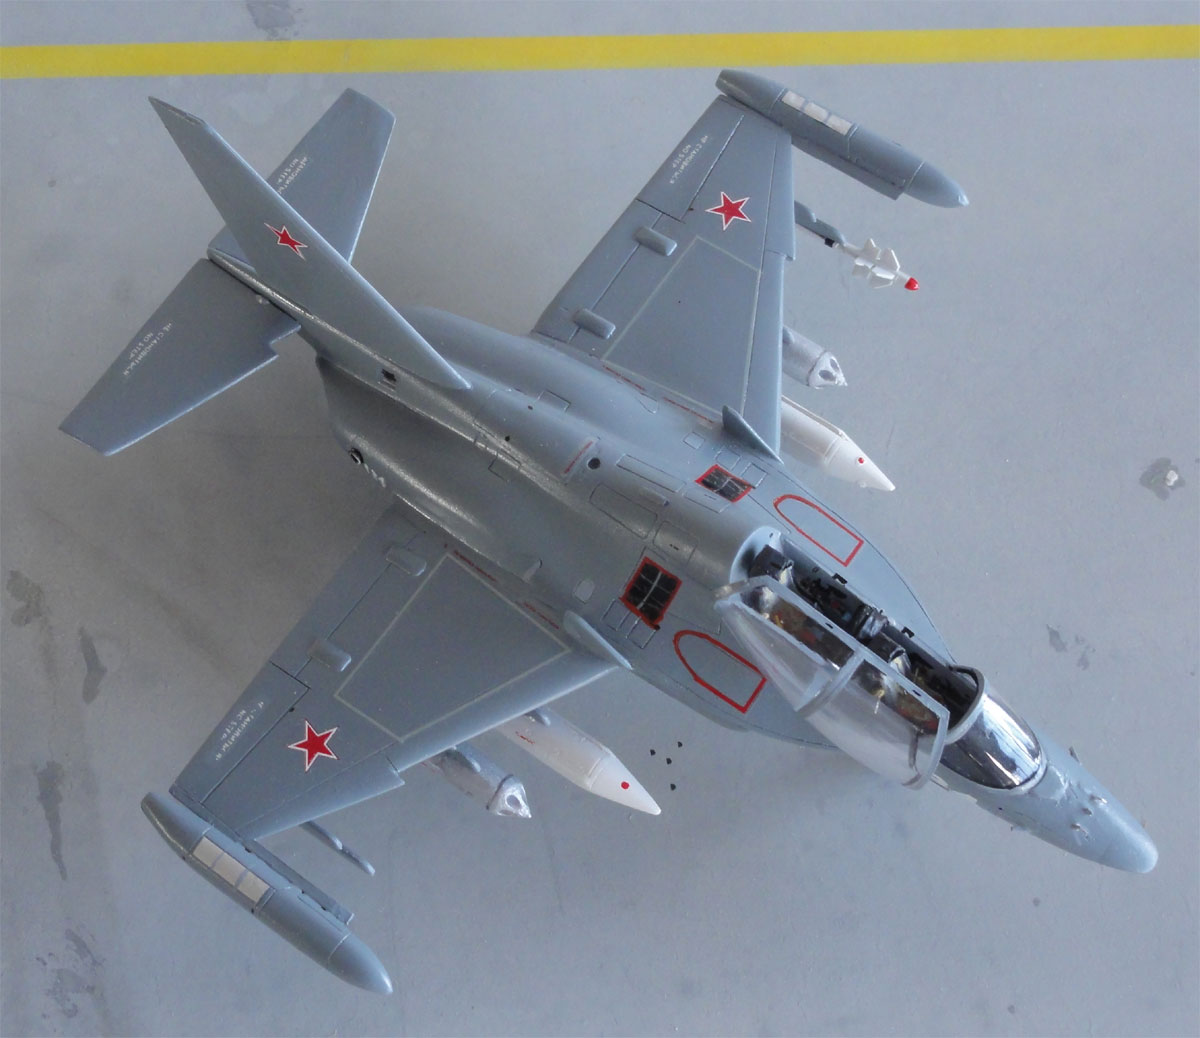
Also there is a one piece canopy,
it has scratches on it. Polishing is needed, but still some internal moulded
irregularties remain. I elected to set the canopy opened up. With a TIGER
razor saw, the windscreen was separated. Additional details were added
to the cockpit with seat straps made from tape and details of card and
stretched sprue.
![]()
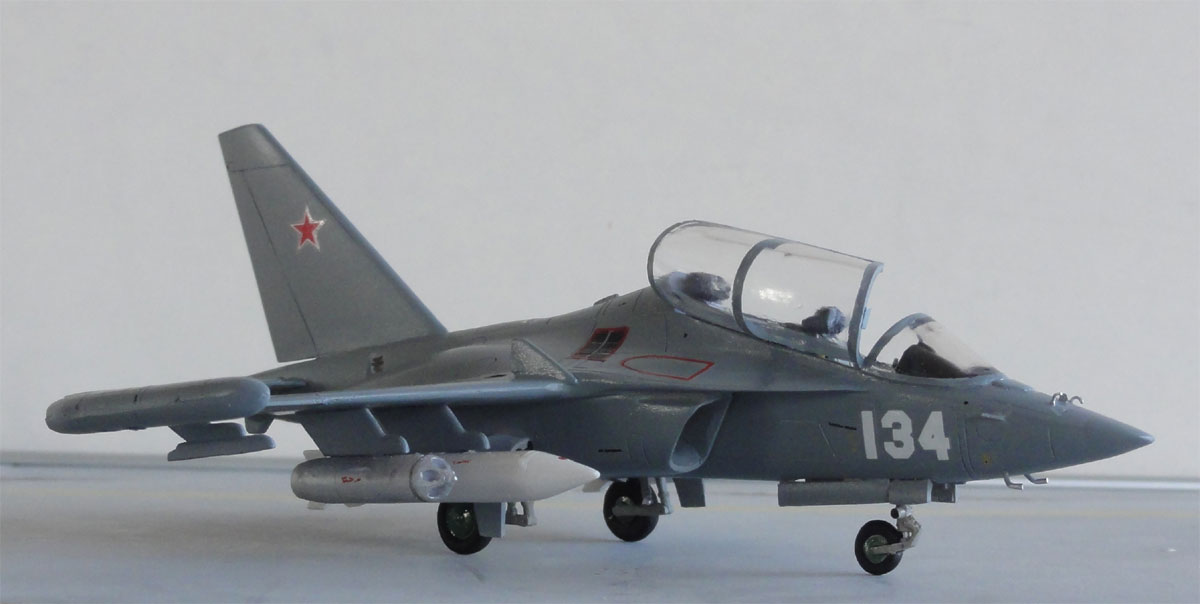
The markings had to be sourced from
kit decals but also from the spare decals box. Wing walkway lines are from
the kit decals.
The red panel outlines on the strakes
were hand painted as well as the auxiliary grills aft of the cockpit.
No large pitottube was needed on
the nose, only smaller pitots.
The buzz no "134" was added. After decal application, these were protected by adding a couple op coats of of Johnson Future
Finally, the gears were added as well
as the stores and the canopy.
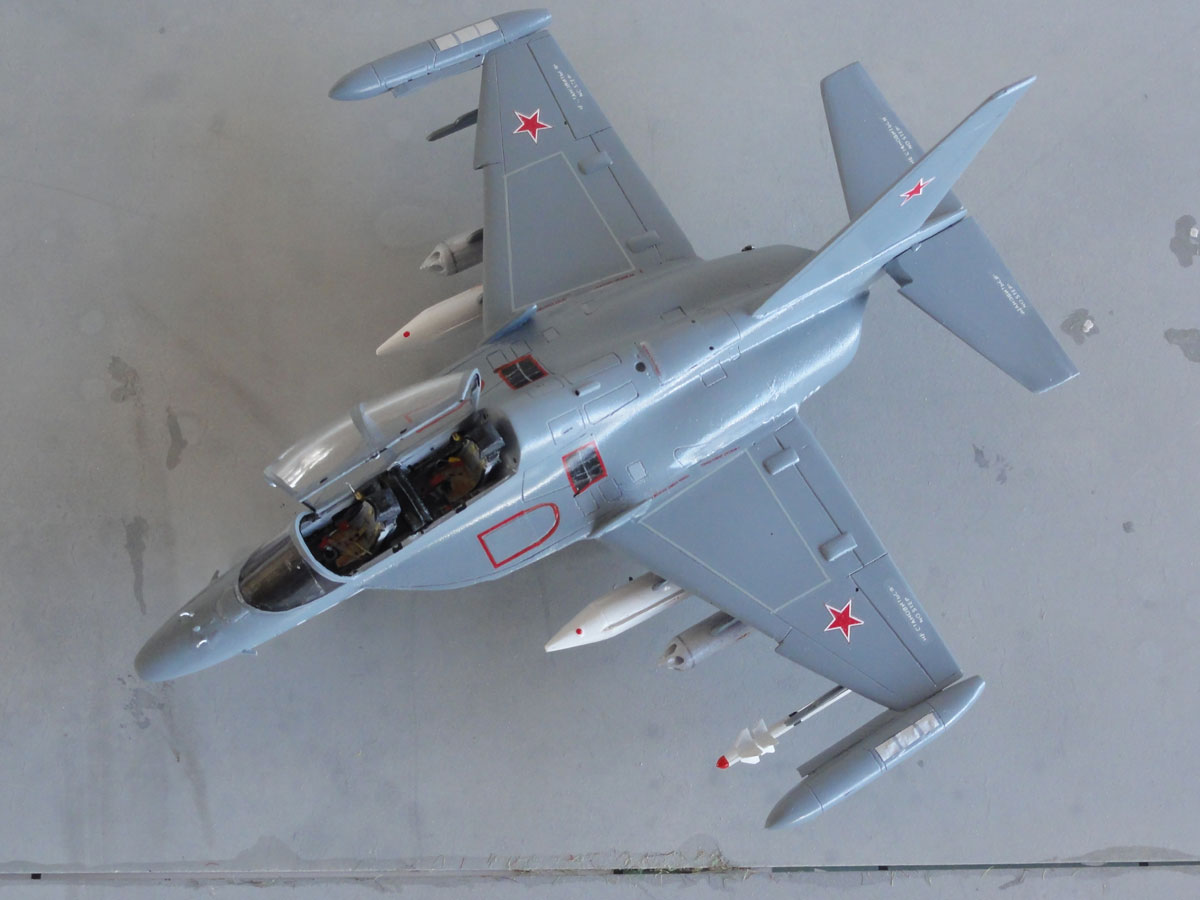
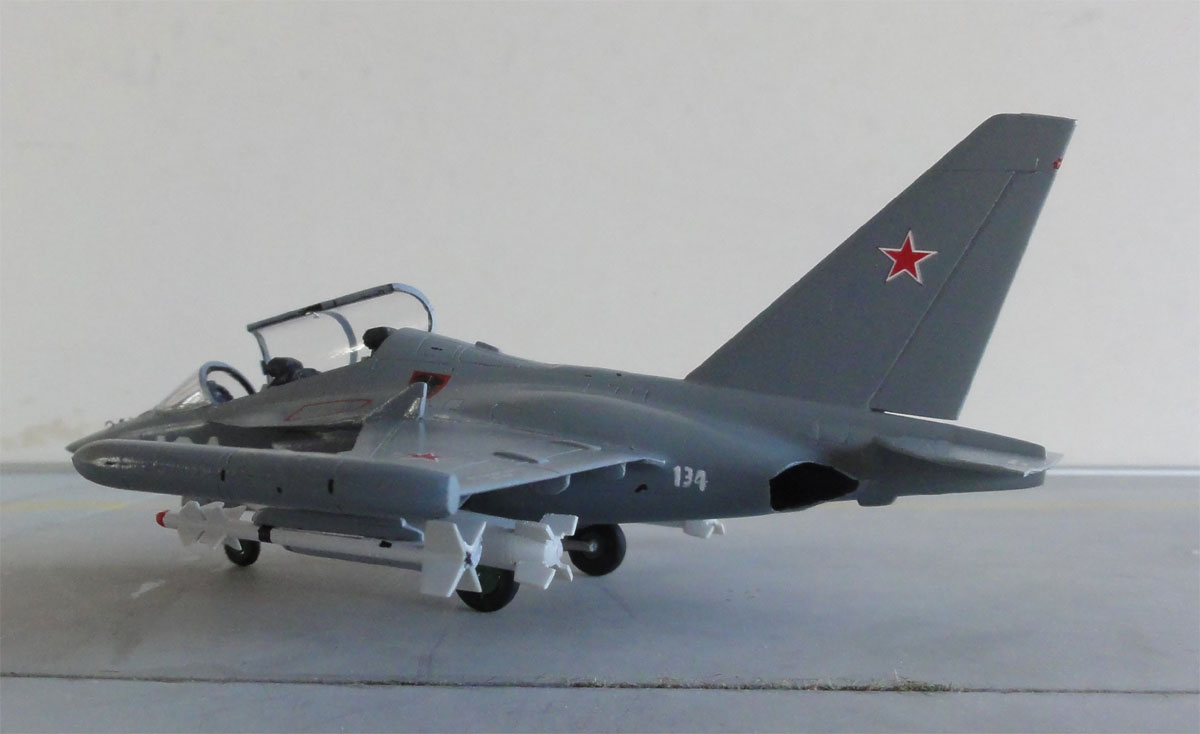
This model is not perfect but sits nicely between the other Soviet models.
![]()
On to next [ Page 2... ]
page 1
page 2
Flight International, magazine, 28 aug-3 sept 2012
Flight International, magazine, 16-22 oct 2012
Back to 1/72 Models.......

(c) Copyright Meindert "designer"/ All rights reserved. Your comments are welcomed by webmaster
Created this page January 28, 2013