[ page 1 ]
Sukhoi SU-17/20/22 "Fitter" plastic scale model in 1/32 scale
modelling report
page 1
page 2

The Soviet aircraft design buro Sukhoi OKB developed jet aircraft family of fighter-bomber in the 1960s with NATO code name "Fitter". The SU-17/22 was one of the final versions. For more information about the Fitter, look at the 1/72 page here...

A 1/32 scale SU-17/22 resin kit was found on Ebay in 2014. Viktor and Andriy from the UKRAINE with brand name LEM / Rupurator offered this special kit in full resin. It was purchased for around 200,- USD at the time and delivered in strong carton box within a few weeks. LEM Kits nowadays has a website.
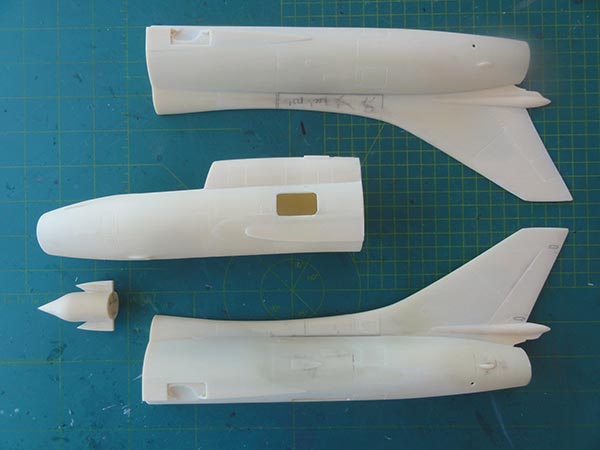
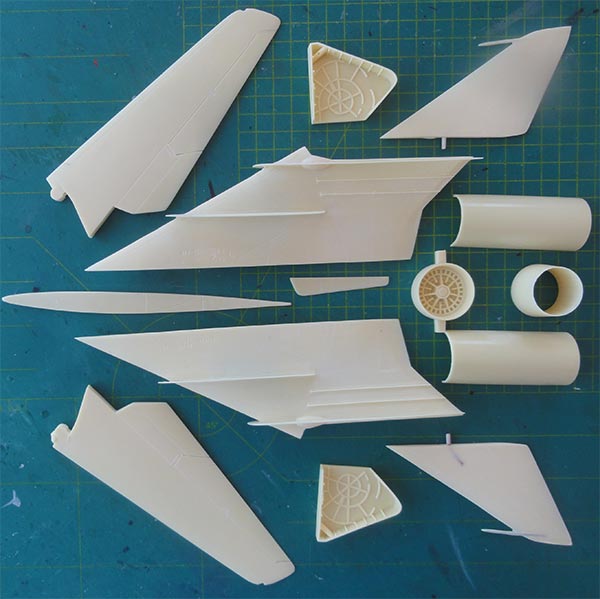
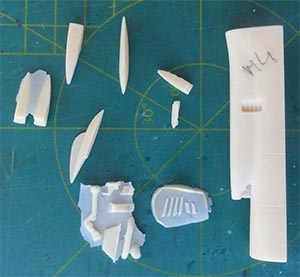
The 1/32 kit is for a SU-17 / (SU-22 export) M3 or M4 version with a few different scoops and fairings. The kit has about 100 resin parts and these are exceptionally well casted. There are almost no air bubbles and details like wing fences are thin, well casted and look accurate. Impressive.
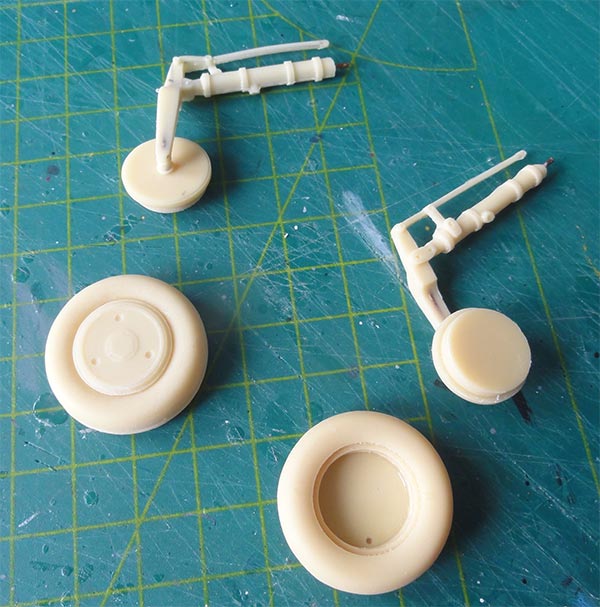
In the gear struts metal wires are contained for added strength inside the resin, very nice. This model will on the end be quite heavy. Wheels have 2 halves and separate hubs.
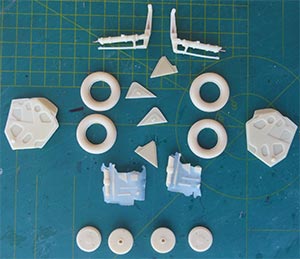
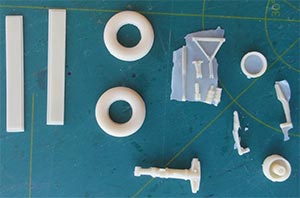
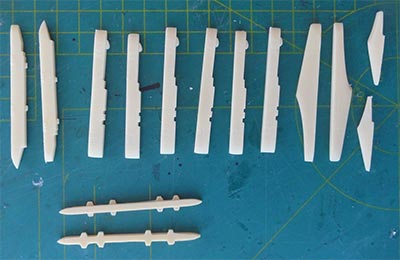
Pylons
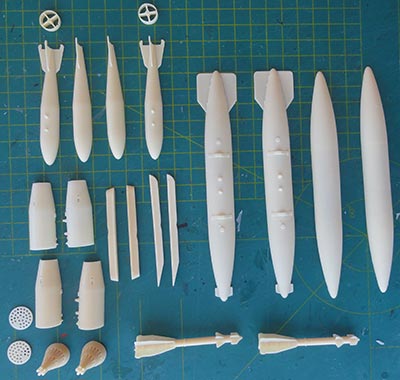
Stores...
The fuselage and fixed inboard wing sections are impressive being complete and hollow parts. The fuselage nose is seperate. Panellines are recessed and some details are raised like in gear bays which ar very well moulded. Adding hydraulics and wires from scrap will be easy.
A long length jet pipe is in the kit with an afterburner part.
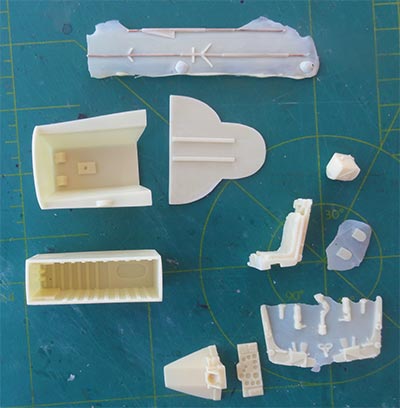
The kit cockpit is not very detailed but you get a reasonable ejection seat. You get a photo negative and main instrument panel. The modeller is supposed to add the details of side consoles and knobs and switches in the cockpit from scrap which is understandable as most 1/32 modellers would like to do this themselves.
For the windshield and canopy you get 2 vacuform clear parts.
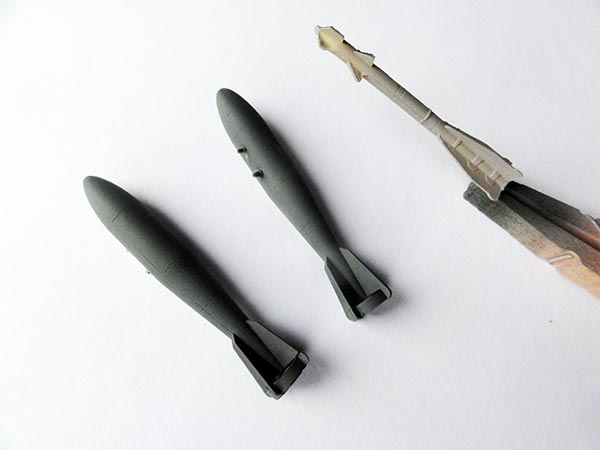
You also get quite good "stores" like 2 PTB-800 wing fuel tanks, unguided UB32A rocket pods, FAB-500 bombs and R-60 missiles including the pylons and launchers. These are very welcome.
The blow-in doors at the lower forward fuselage are always seen opened up a bit on parked or taking off or taxiing jets. The doors provide extra air. The kit has them closed. I found out very late and had a lot of work to make these open.
The kit looks well researched suggesting the kit mould designer had access to a real jet and a lot of other sources. I did a few checks on main dimensions and the sizes are correct.
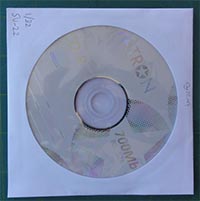
The kit comes with no instructions but with a CD-ROM with photos only. So for an accurate assembly you need to get your own information like from books and internet, see references.
NO decals are provided in the kit.
The modeller is assumed to source decals elsewhere so finding decals from other aircraft and compose a set yourself.
I designed my own decals, more about that later on.
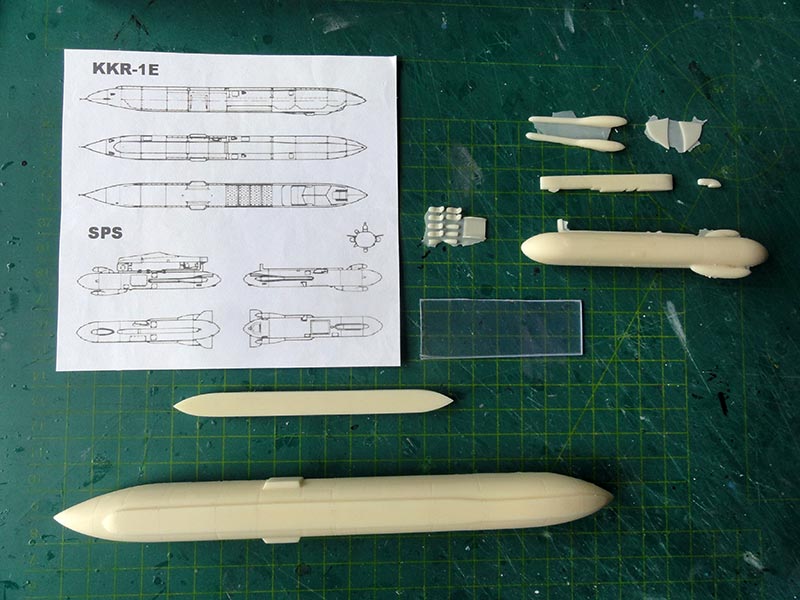
From LEM kits I also purchased this year their aftermarket 1/32 resin set with the KKR-1TE reconnaissance pod and SPS / V-141 MVGKE ECM pod.
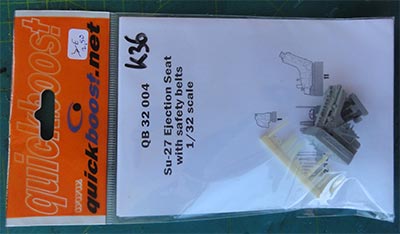
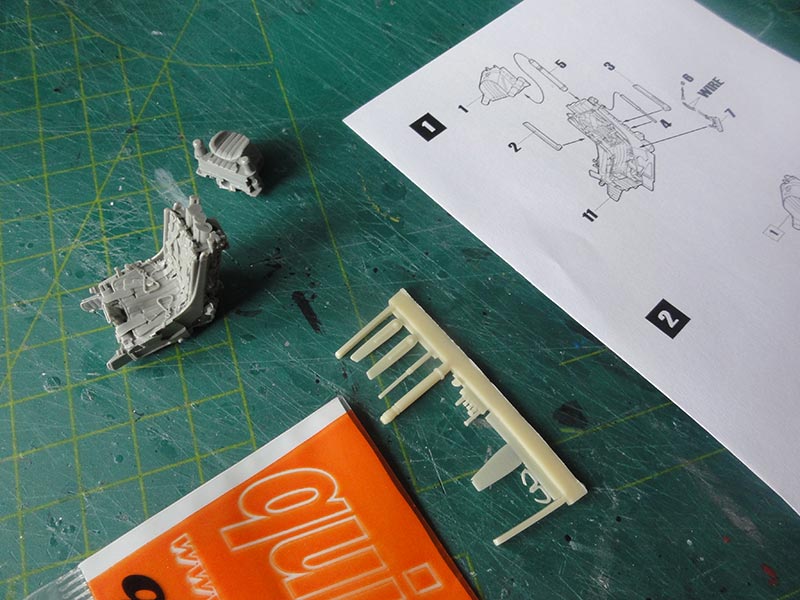
I also purchased a few years ago a 1/32 Quickboost 32004 aftermarket K-36 ejection seat with resin parts.

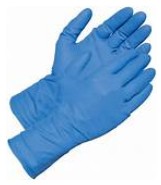
IMPORTANT: handling, cutting and sanding resin parts is EXTREMELY harmful for your health! It is really required to wear a face mask, sand UNDER water and wear NITRILE hand gloves. Please do so!
Use two-component glue for the bigger parts and thick superglue for smaller parts, take care here as well.
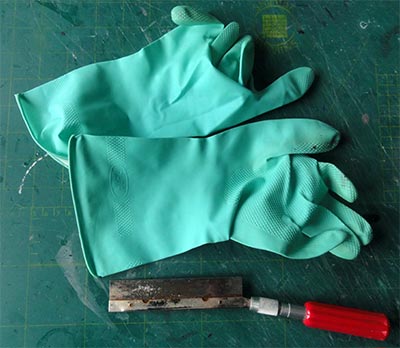

My 1/32 SU-17 model would be made in a UKRAINE air force aircraft SU-17 M4 flown in the mid nineties. More about that later on.
PREPARATIONS
The main resin parts were prepared, many needed just a bit cutting and sanding under water. Again, take health precautions!


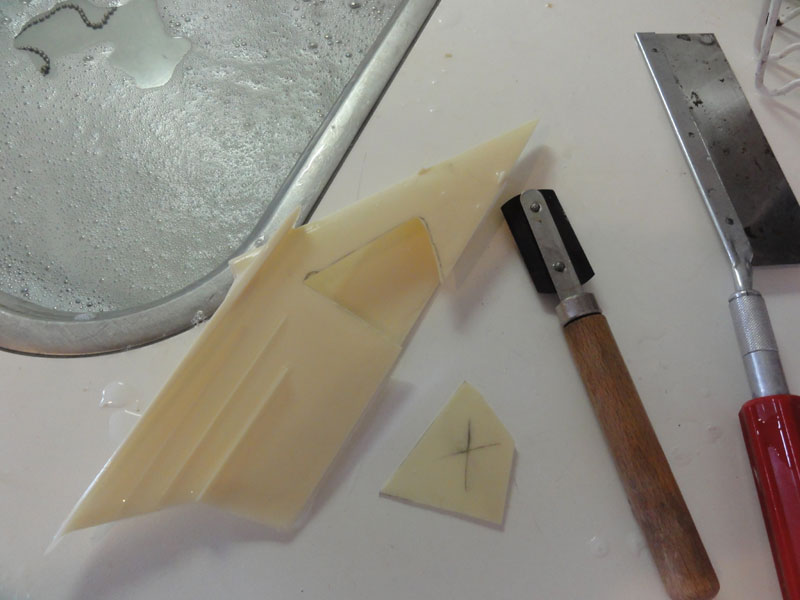
The gear bay openings were opened up
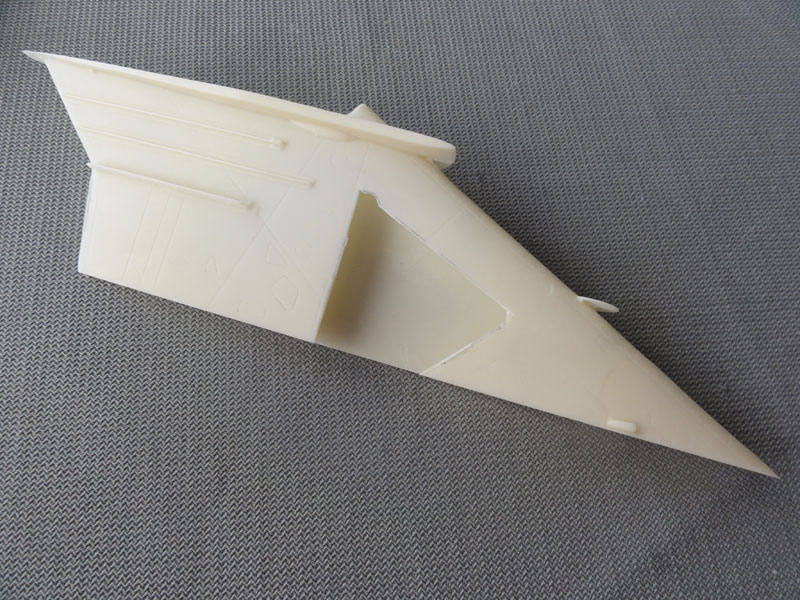
Wing glove
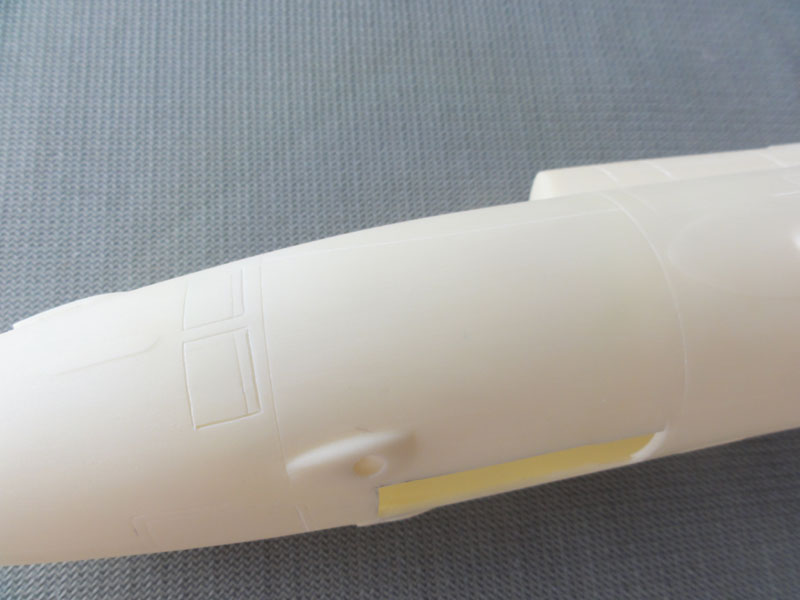
Note here the nice fairing for the landing lights.
NOTE: I forgot to open up at this stage the 2 pairs of blow-in doors in the lower front fuselage. Better do that now! It is not easy but really makes the model more realistic.
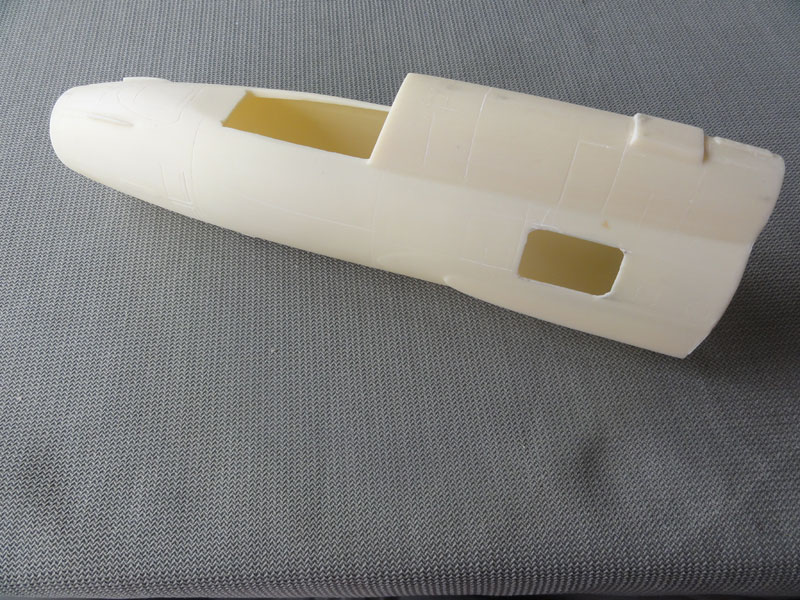
The very impressive one part nose. It was decided to open up an avionics bay panel and a rear engine bay panel. This was done after drilling some holes to have a start with an X-acto knife and sanding sticks.
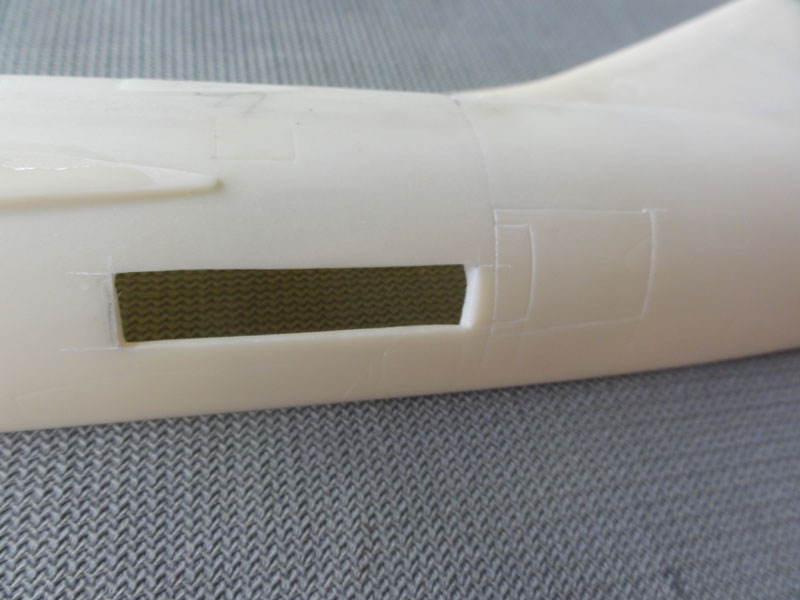
Opened rear hatch
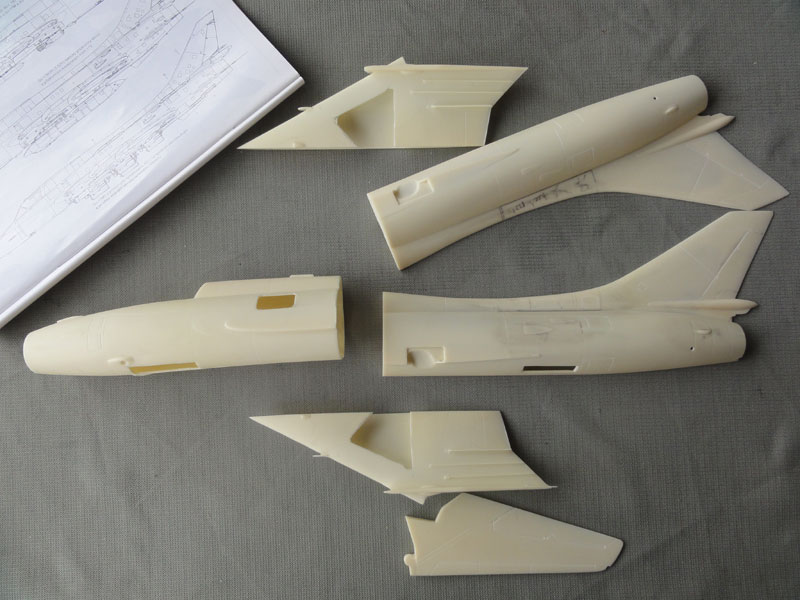
The model was to be made as SU-17 M4 and that needed removal of a section at the vertical tail spine. A supplied M4 intake fairing is to be installed here.
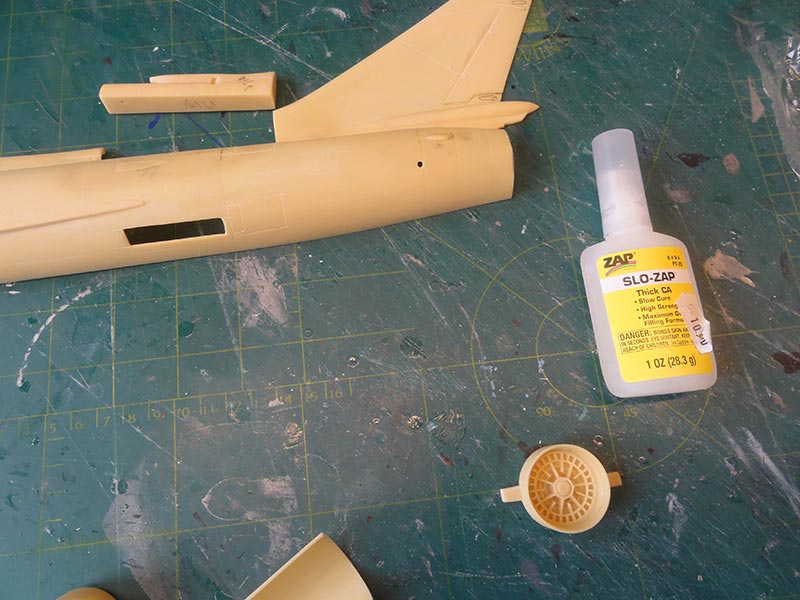
The jet pipe is also provided and set and fixed with some extra card.
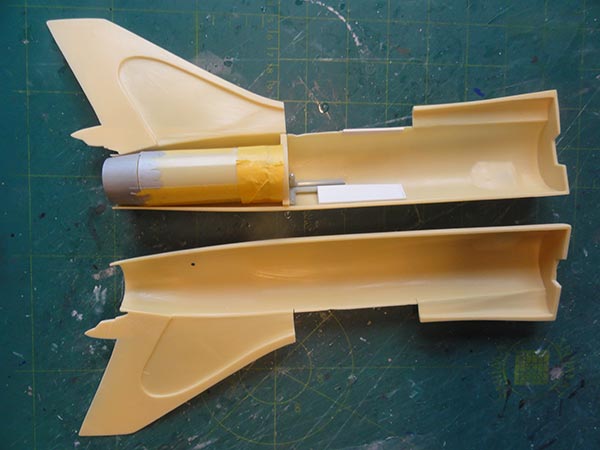
Closed up, clamps needed!
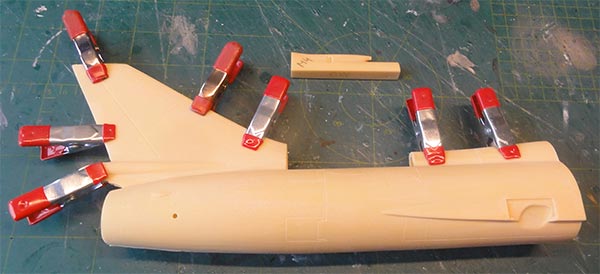
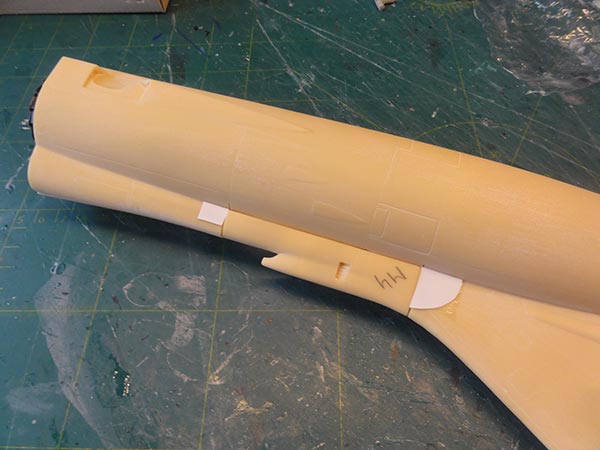
Some plastic card, quite some putty and wt sanding was obviously needed.
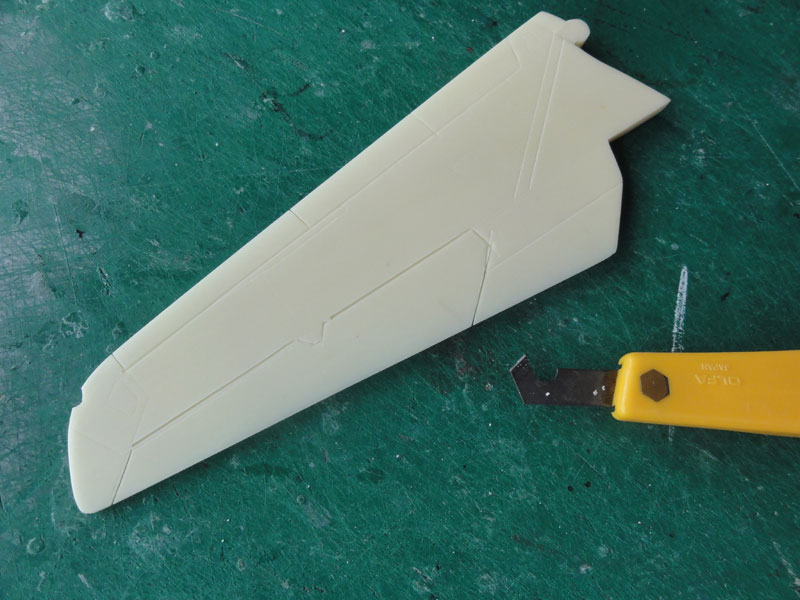
The outboard solid wing parts were also prepared, they will be set fixed later on. Their recesses for flaps were scribed a bit deeper and the edges opened/ cut with a razor saw.
Main preparations were now completed. Wash all parts and let dry.
ASSEMBLY
Further assembly of main components proceeded quite smoothly.

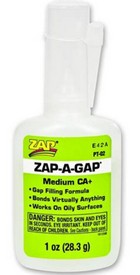
The main assembly was done with two component glue and thick superglue. Also Slow-Zap to allow a bit shifting before the glue sets.
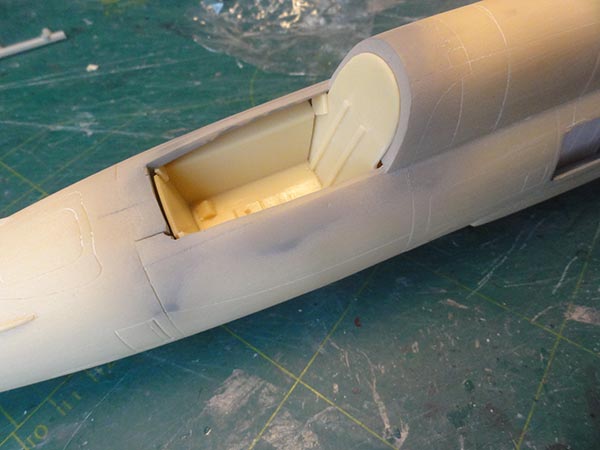
The cockpit tub was set with the intake bullet but the cockpit not yet detailed.
Behind the fuselage hatch openings, some plastic card was set to close the gaps and later get more details.
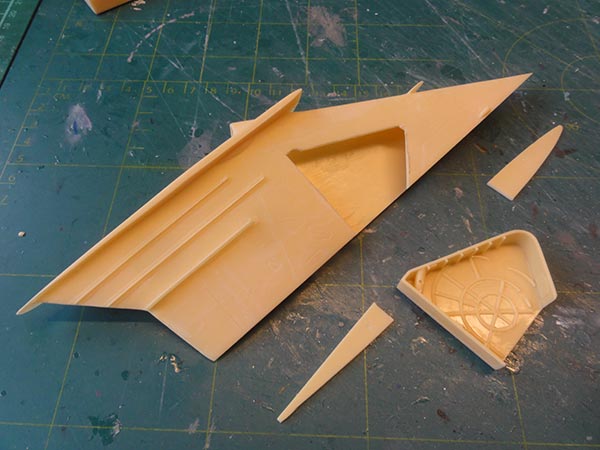
The wing gloves got their nicely detailed wheel bays slided in, more details inside like hydraulic lines and tubes will follow later.
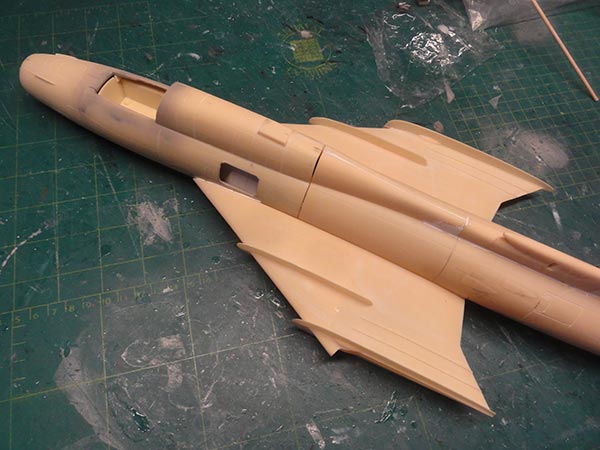

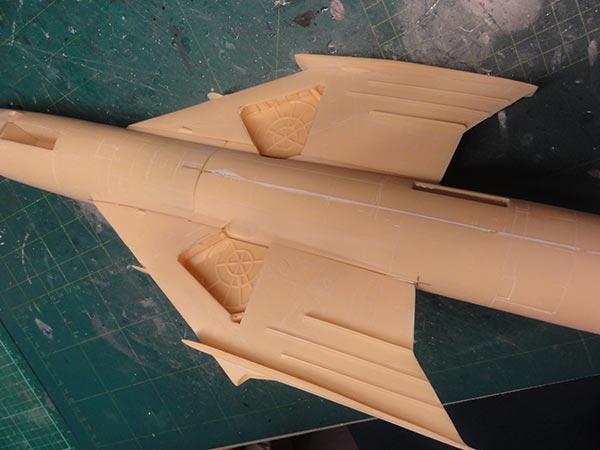
Some putty and sanding needed but that was no problem, this is a great large kit. I used Alabastine car filler as white putty that does not shrink a lot.
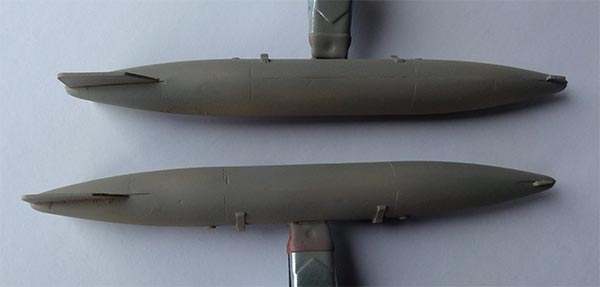
The various stores were also tackled, here the wing fuel tanks are seen. Their fit was pretty good.
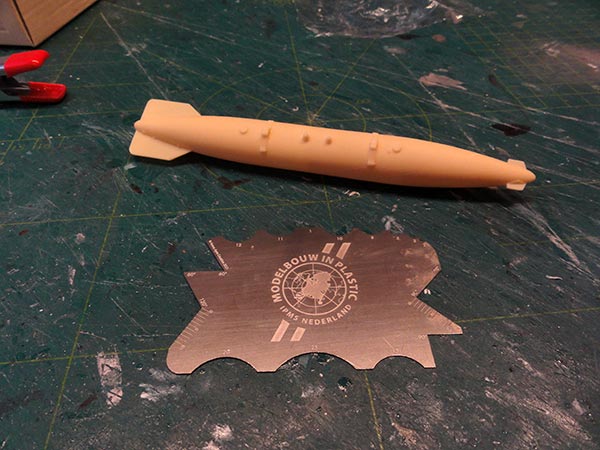
After the main assembly and the various other parts were ready, clean up very well with water.
The model got after drying a base grey primer coat with Revell Aqua 75 steingrau acrylic paint. The smaller parts and stores were not forgotten. The base paint also will reduce the resin fumes. Any imperfections showed up clearly and were repaired with putty and sanded.
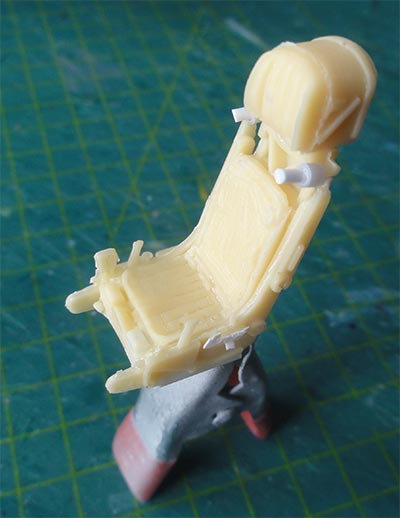
The kit seat is seen here and is nice. But the extra purchased 1/32 Quickboost K-36 seat has a little bit more detail.
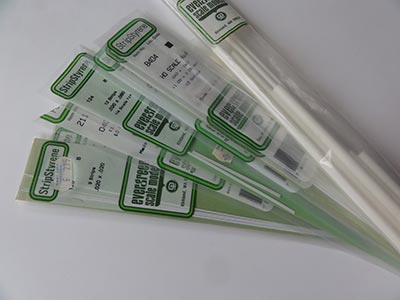
Inside the cockpit details were added with Evergreen plastic strip and bits. The kit provides a good base to work with. I looked at the Verlinden book.
NOTE: later on, an extra slot was sanded in the spine for the canopy hinge. Not yet seen here....
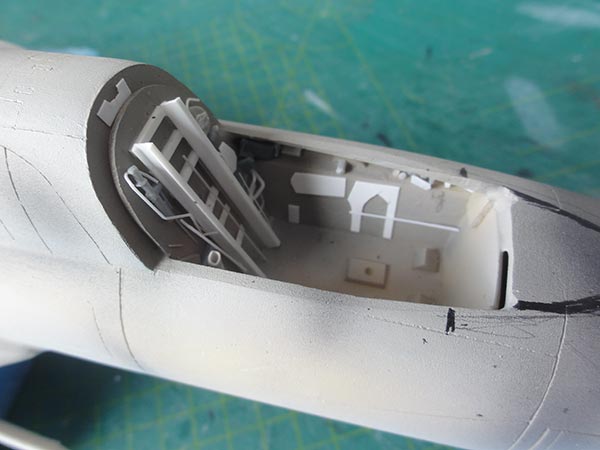
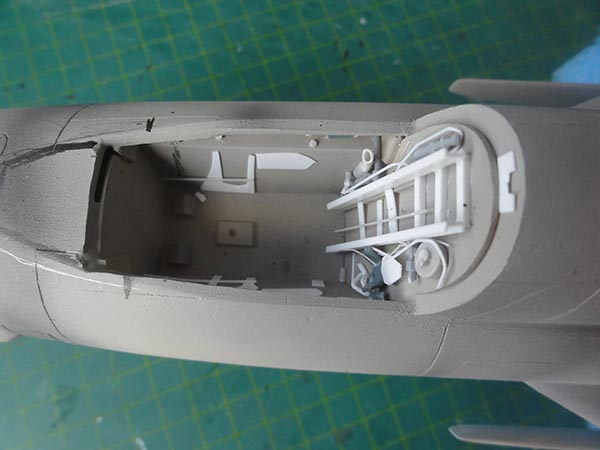
Some dry fitting was done. The resin parts as per kit are seen. The Quickboost seat also fits.
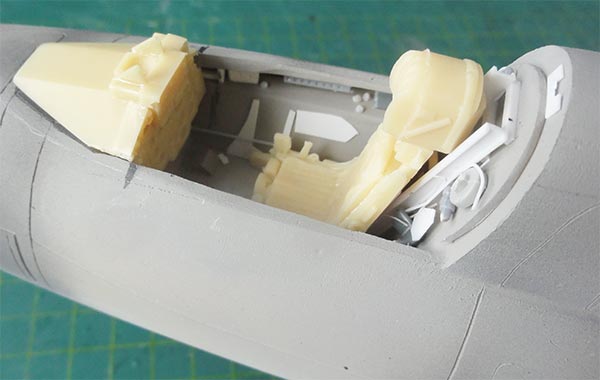
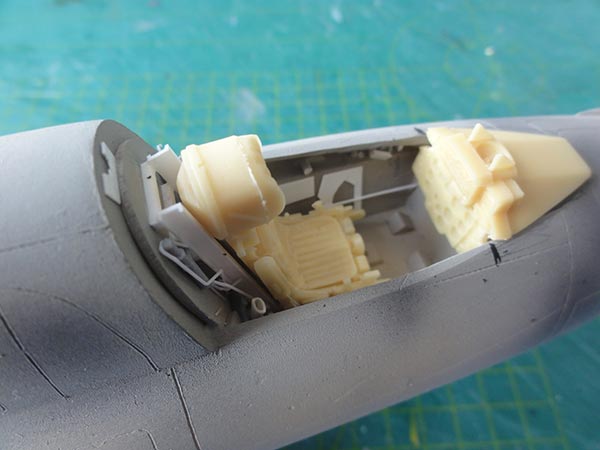
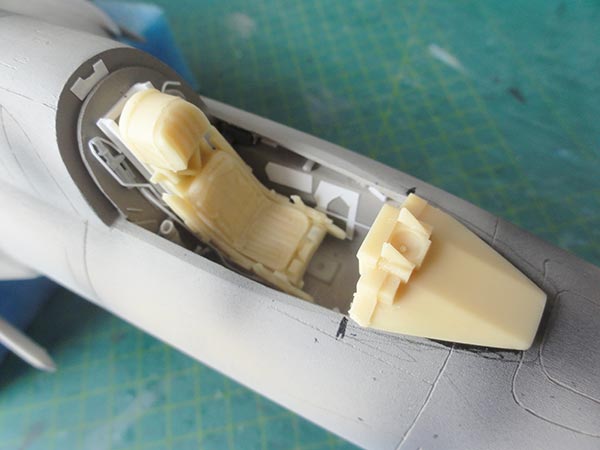
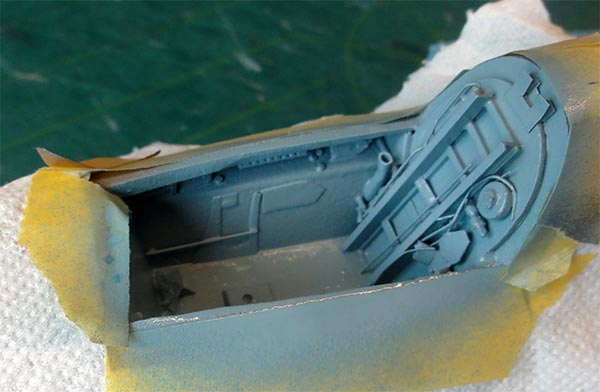
The cockpit tub and bay were airbrushed with a mix of light grey with few drops of blue mixed in. (So this jet has not the brighter blue'ish cockpit colour as often seen in MiGs).
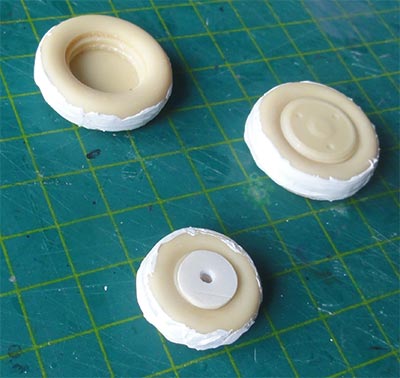
The big resin wheels are moulded in halves, putty and sanding was needed to close the gaps. I added a hub from scrap for the nose wheel and drilled a hole.
The nice re-enforced with metal wire resin gear struts as per kit also are seen here with 1 hub per wheel set. More later about needed extra strength.
The opened up avionics bay aft of the cockpit at port was detailed a bit. I looked at the Verlinden book.
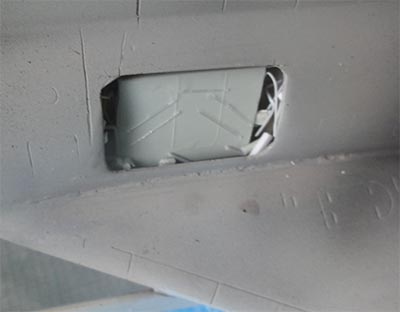

Now I found at that the blow-in doors at the lower front fuselage need to be opened up. They are always seen opened up a bit on parked or taking off or taxi'ing SU-17 jets. The doors provide extra air to the engine. With a drill holes were made and with an X-acto knife the doors removed. From plastic card 2 pairs of new doors were made and installed. At the rear there is an air flow slot/ gap. *I forgot to make photos.
The tub and small avionics bay were taped closed and the grey base model got a few black strakes airbrushed to suggest some deeper panels when the camouflage paints are to be added.
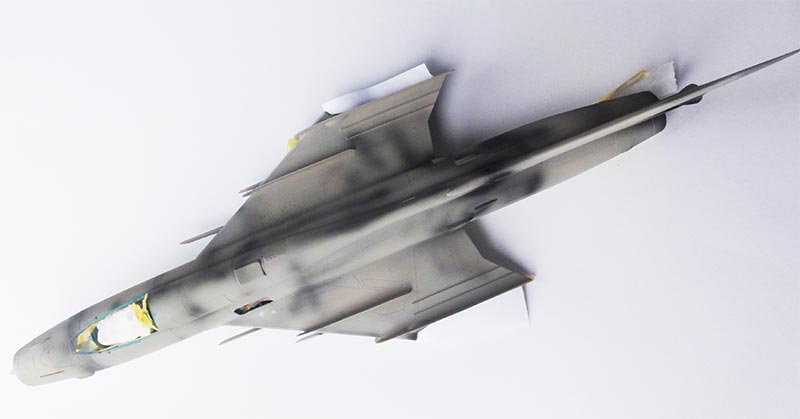
The model is huge!
Some smaller parts were prepared for airbrushing and some got base coats.
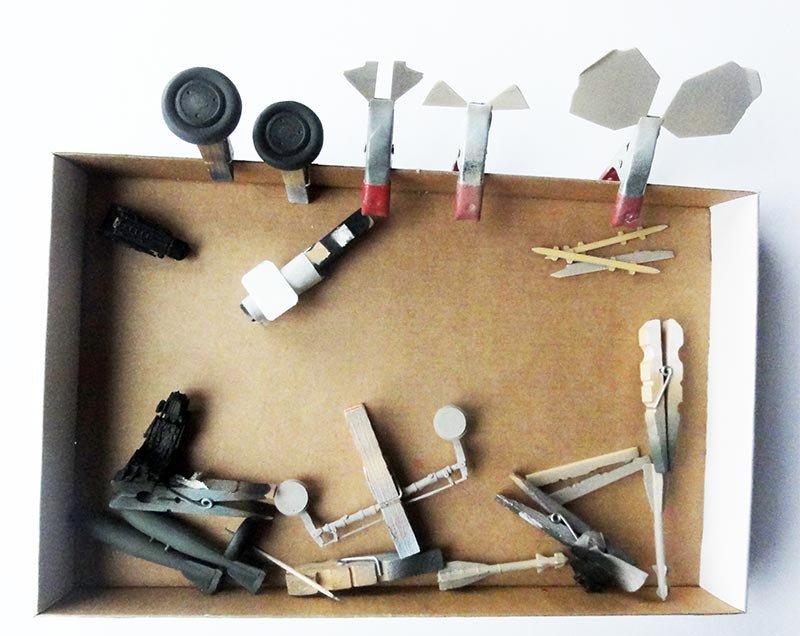
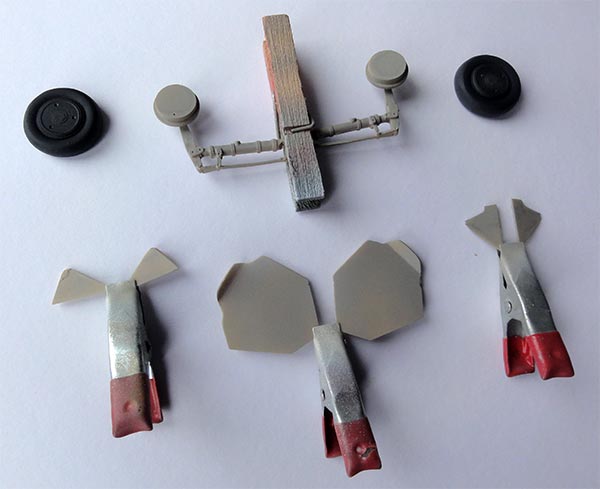
Some stores were not forgotten although some may be not needed as I also have an aftermarket LEM kits set with pods.
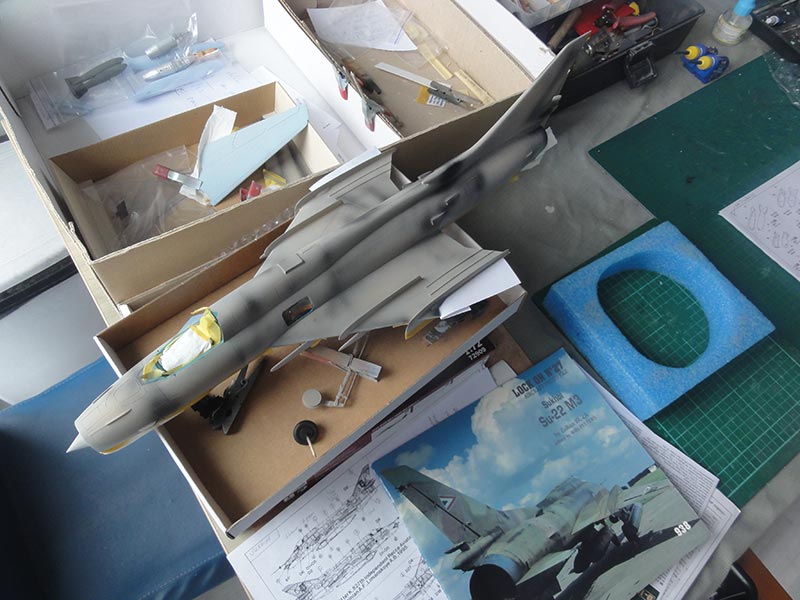

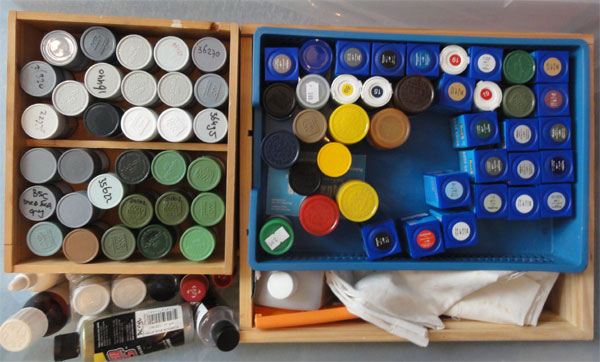
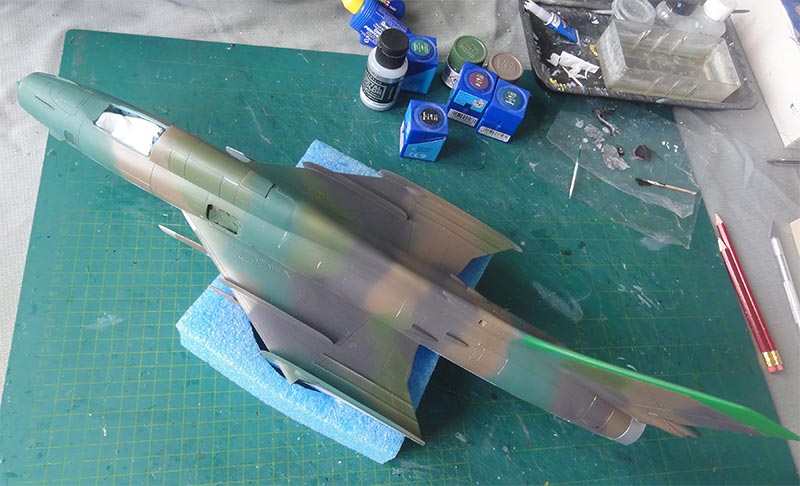
Regarding the UKRAINE SU-17 M4 camouflage colours I did not have official information. Various books, photos and available 1/72 decals were studied. Photos are also rare and difficult to interpret as old fashion photo films were used. It seemed for example that on UKRAINE jets the lower surface blue is often darker blue painted. Several paints were tried on small test samples.
These acrylic paint colours were finally choosen:
[a] lower surfaces a mix of 30% Revell Aqua blau 752 + 70% Revell Aqua white; *about FS35466.
[b] green about with Gunze Sangyo Mr.Hobby H340; *about FS34097;
[c] dark green about Revell Aqua 48 Seegrun; *about FS34090.
[d] brown with Gunze Sangyo H72 dark earth; *about FS30219.
[e] dark brown about 90% Revell Aqua 83 Rost + 10 Aqua black; *about FS30108.
De-electric panels and gear hubs: Revell Aqua 364 laubgrun; *about FS34230.
All the areas are to be masked and airbrushed.
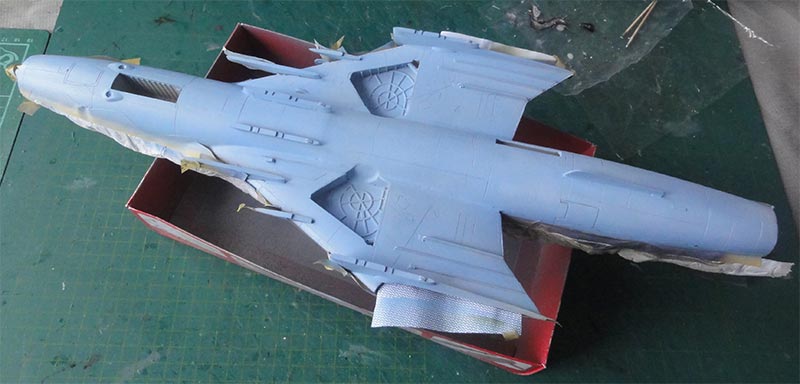
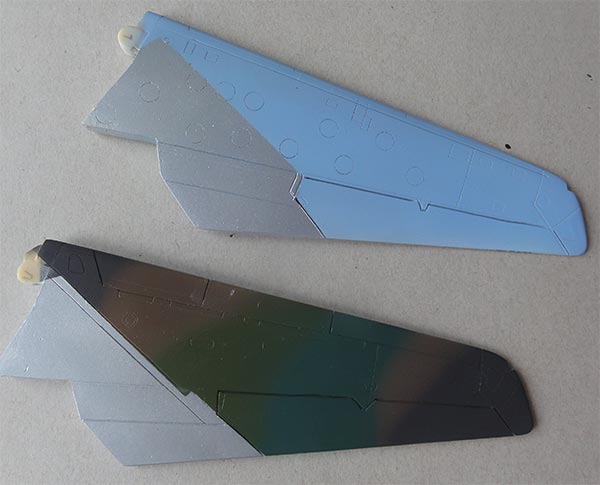
The lower light blue areas and wing were airbrushed first. When dry, the demarcations between lower and upper areas were than masked.
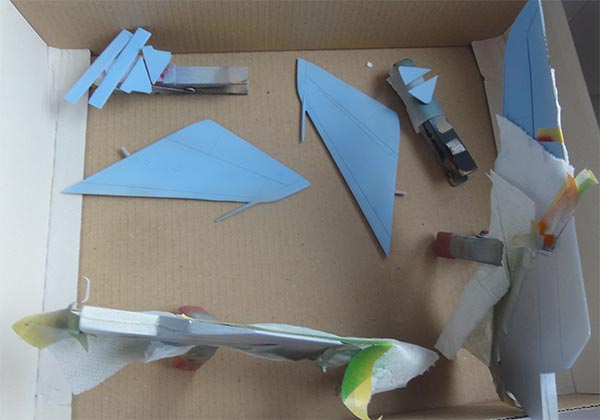
Also airbrush the wings, lower stabilizers and smaller parts like gear doors.
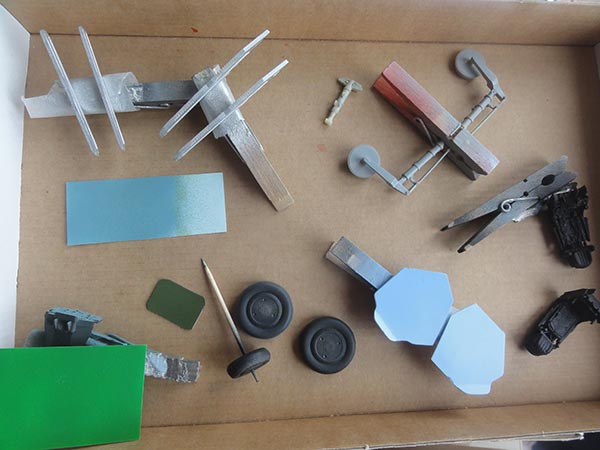
Mask the lower surfaces and than upper camouflage colours followed with free hand airbrushing. This takes considerable time and effort.
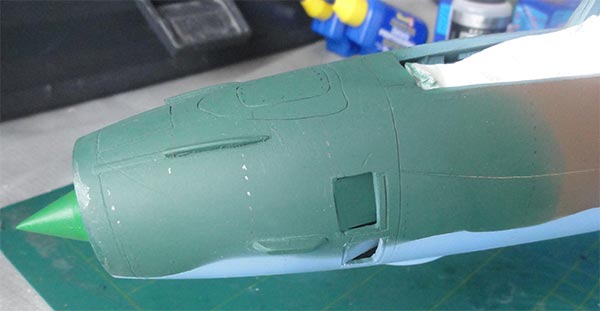
The de-electric panels were also airbrushed Revell Aqua 364 acrylic paint after masking as was the radar cone front.
The inside of the circular air intake was airbrushed metal. Note the (later) opened up blow-in doors.
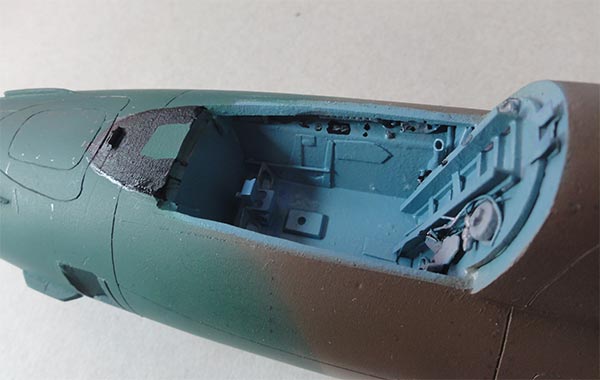
At the wing "swivelling areas", after masking, dull aluminium inside were airbrushed.
The rear fuselage area at the exhaust was hand painted burned metal.
All main parts had now obtained their colours.
On to next [ Page 2... ]
References:
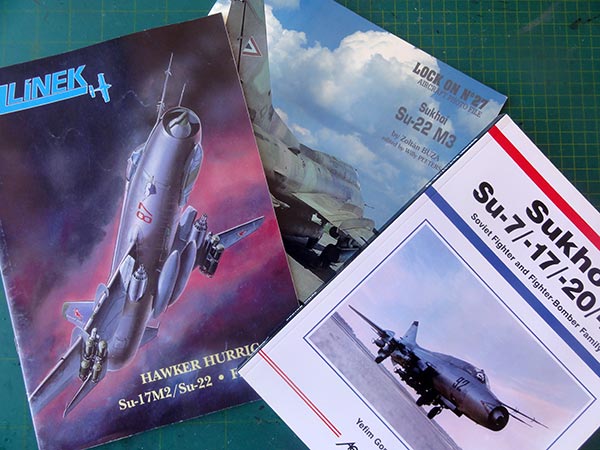
- Air international magazine, various volumes, vol 20, page 170
- SU-7/17/20/22, Yefim Gordon, Aerofax publications
- SU-22 M3, Lock-on #27, about Hungary jet, Zoltan Buza and Willy Peeters, Verlinden publications, 1994
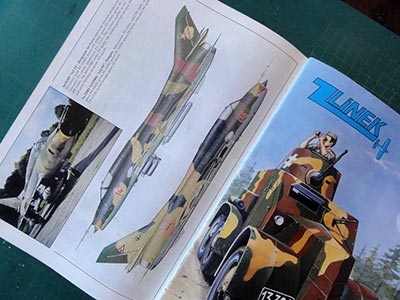
- Zlinek, SU-17/22 article, volume 1/III, about 1995
- Zlinek, SU-17/22 article, volume 3/III, about 1995
- Squadron Signal no.90, "Fitters in Action"
Web:
wiki Fitter page...
Back to 1/32 plastic scale models.......
(c) Copyright "designer"/ All rights reserved. Your comments are welcomed by webmaster
Created this page August 20, 2025