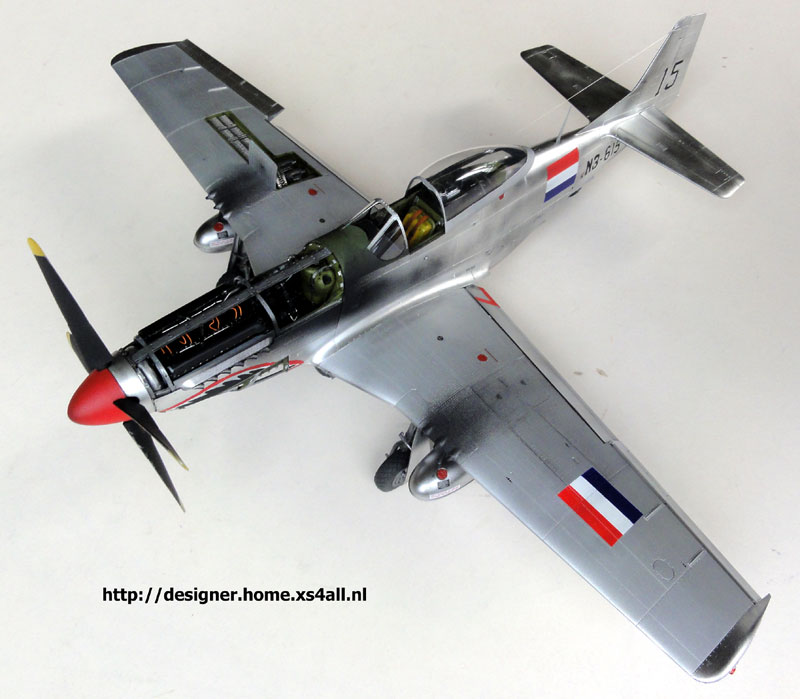
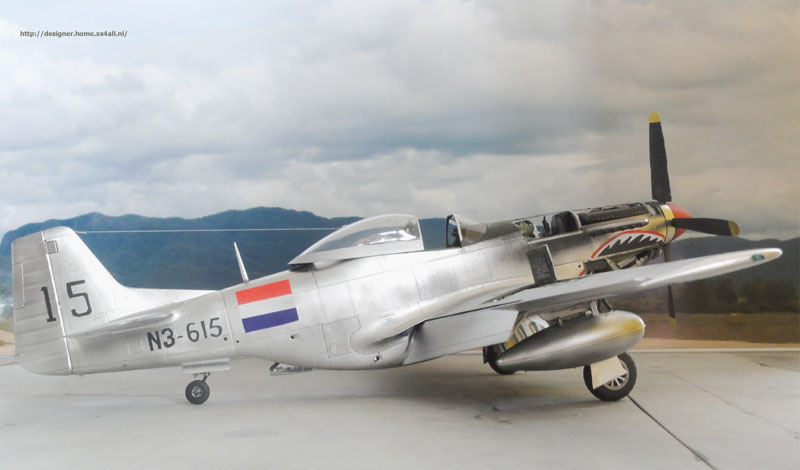
Dutch ML-KNIL
[ page 3 ]
Tamiya North American P-51D Mustang model kit in 1/32 scale
Page 1
Page 2
Page 3
...continued from page 2...
Markings for the Dutch ML-KNIL P-51 can be obtained from commercial decals sets, but it was decided that a much better result would be possible by hand-airbrushing all markings with the fine airbrush. FRISK film masking foil was used as well.
The very nice Dutch book "Camouflage
and kentekens" shows a very nice colour drawing made by JHN Greuter. This
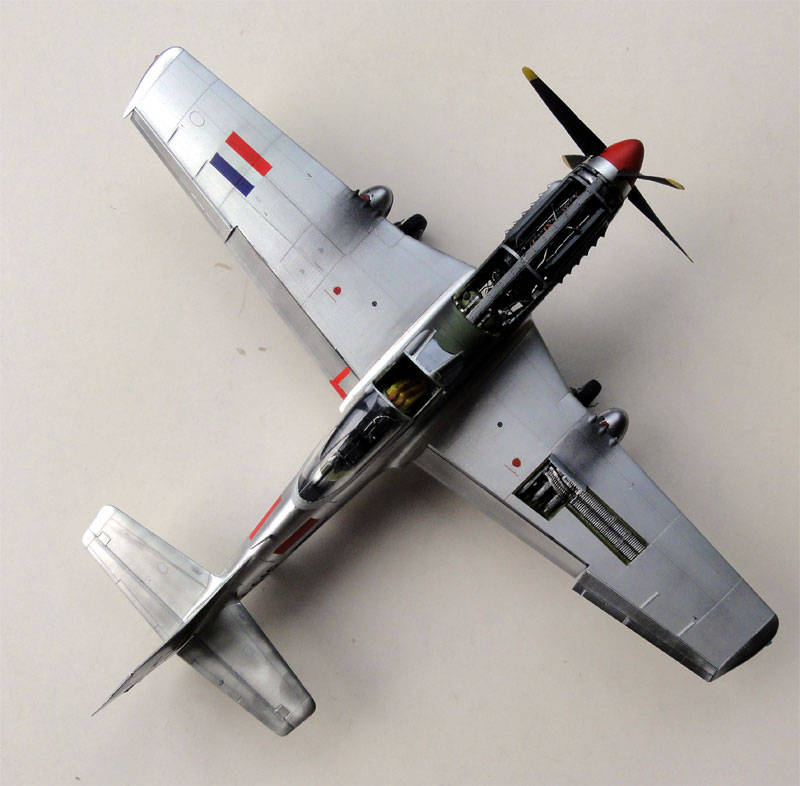
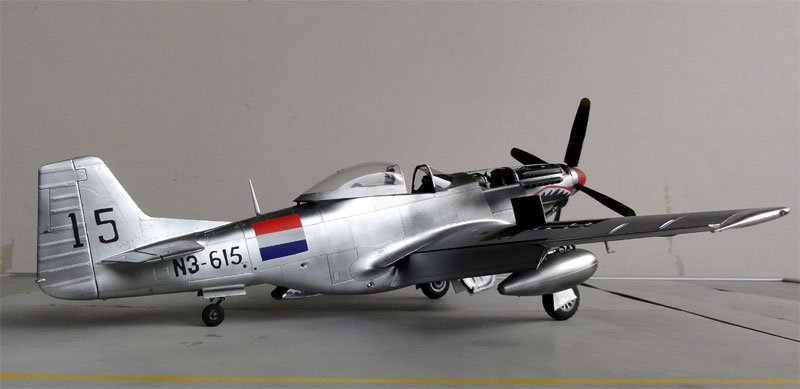
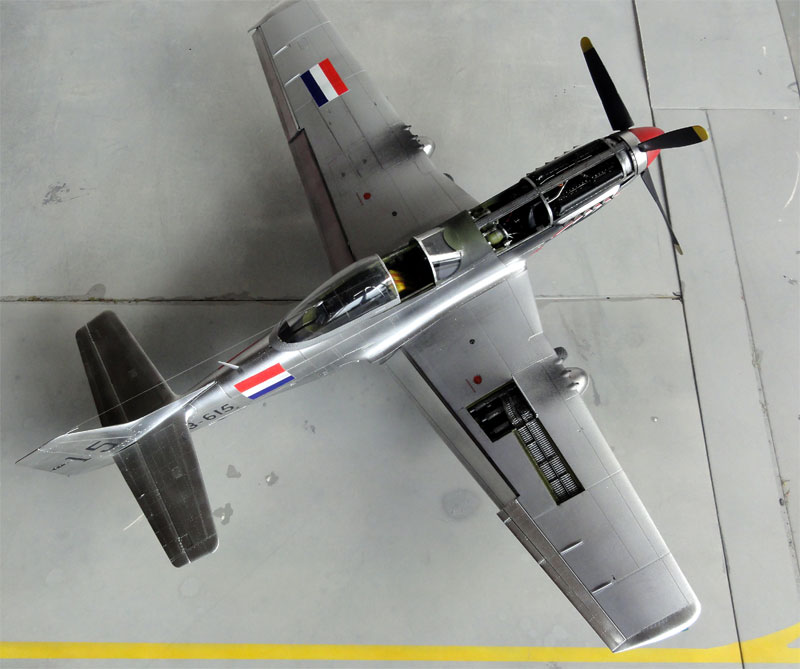
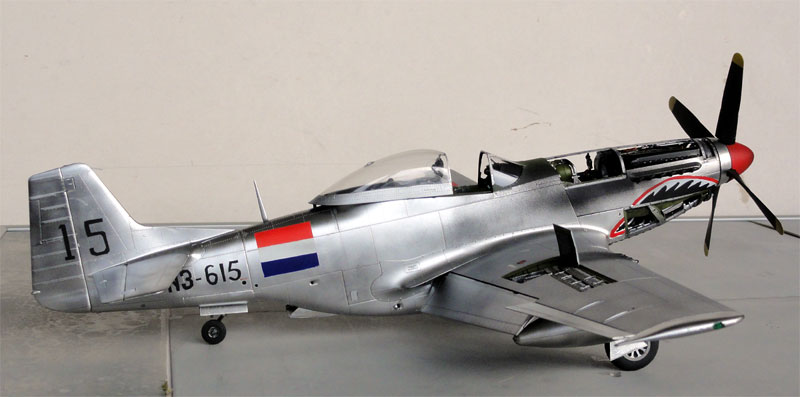
particular P-51D of the ML-KNIL has a red spinner, shark teeth markings
on the nose, large Dutch flags and a losely painted number of the tail.
This was a nice scheme with code N3-615 and "15".
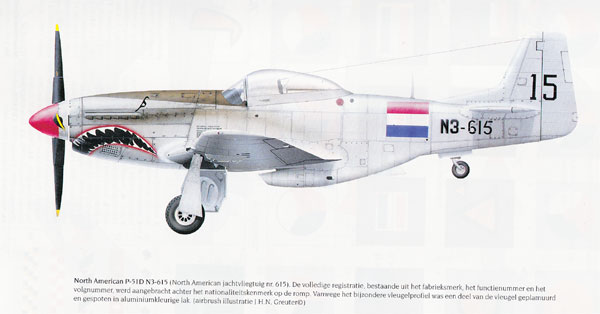
The drawing was scanned and enlarged
to 1/32 scale. This was to be used as a pattern. The FRISK film foil can
be set onto the paper and the mask cut out with very sharp knife (in fact
a scalpel).
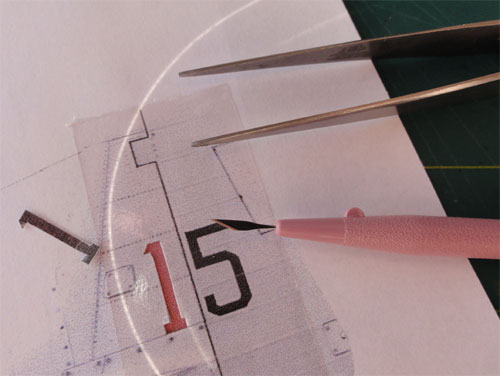
This is a tideous work needing a
steady hand, but when it works, very rewarding. The numbers are flat black
and were airbrushed onto the model. Mask off surrounding areas.
![]()
The Dutch flags are easier but require
3 colours: start with matt white, than red and finally the blue. Revell
Aqua acrylics were used.
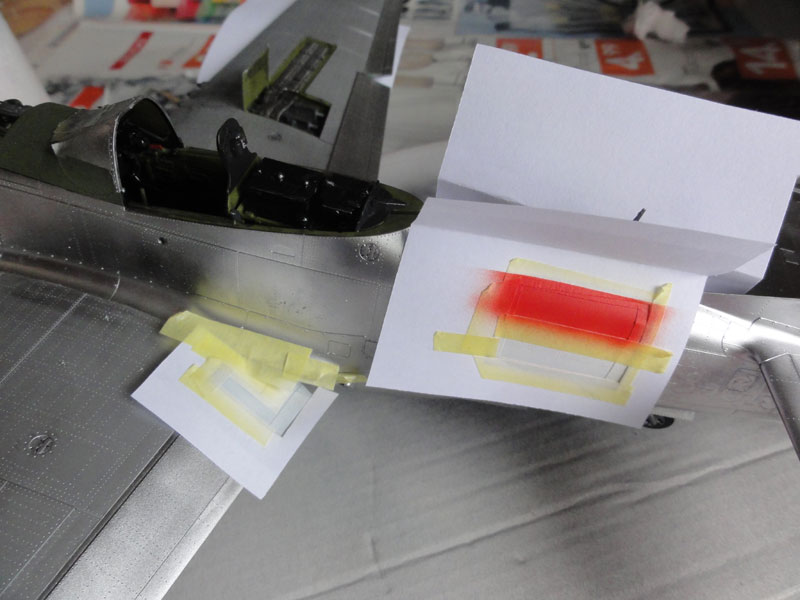
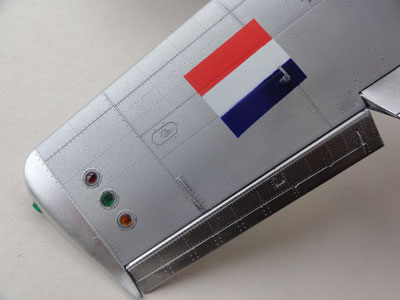
The flags and numbering were masked
directly on the model using FRISK masking film. Also not the red line to
be added at the inboard flap.
The shark teething was hand painted
free hand (as in reality by the KNIL crews) on the model and the loose
panels. First do the white, than black and red. Use a fine paint brush.
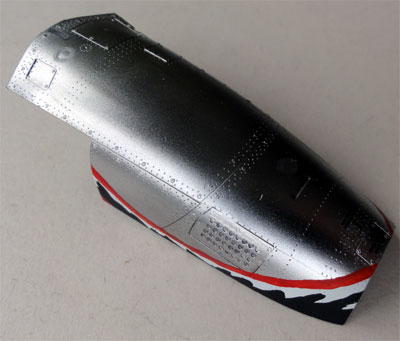
Finally, some stencilling from the
Tamiya decals were added, but not all of them. The Dutch P-51's were really
weathered in the tropical conditions in the Dutch East Indies.
For that reason, also with the airbrush, considerable black smoke and gun blasts were airbrushed, using matt black paint. The loose engine panels were not forgotten. Also, the rubber tyres in the kit got a matt black coat with some brown mixed in.
In various areas, a light coat with some brown paint were "freely" applied with the airbrush. Also, on top of the flags and the leading edges of wing and tailplanes. Inside the gear bays and on the gear legs, use some TAMIYA X19 Smoke.
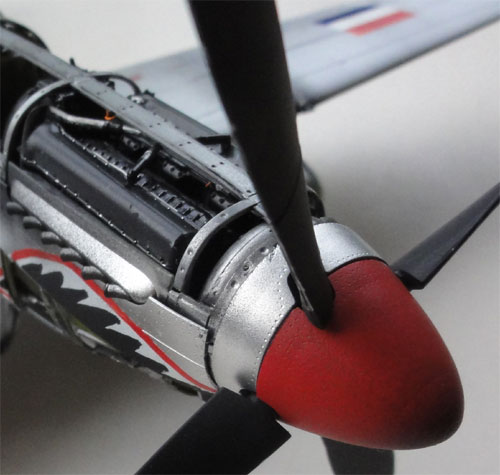
On the propeller, the manufacturer
markings were not used, these are "worn" and not seen anymore. The prop
got a used look, with some tiny aluminium strains and weathered yellow
wing tips.
![]()
Final Touches
Now, some final work is done:
(1) additional engine wiring on spark
plugs, rods etc were added inside the engine compartment. Use thin coloured
electricity wire when you have that. Also, add tubing and wires between
the engine and bulkhead. (tip: use the WALKAROUND photos as noted on References
on page 1...)
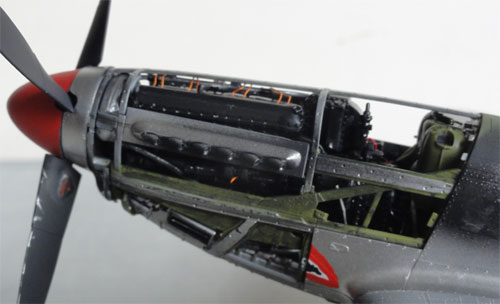
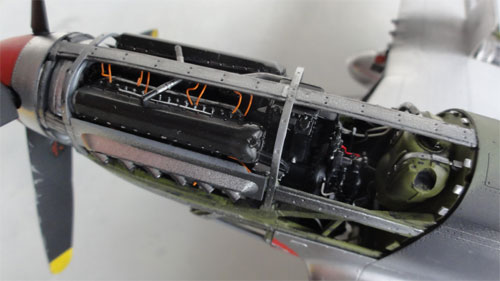
(2) additional wiring was set on top of the batteries aft of the seat.
(3) add the seat straps, para pack
and harnesses. Some of the etched metal belts in the kit were used, but
also tape and wire. See kit STEP 8 / 9. Brown colour was used, use the
Tamiya paint suggestions.
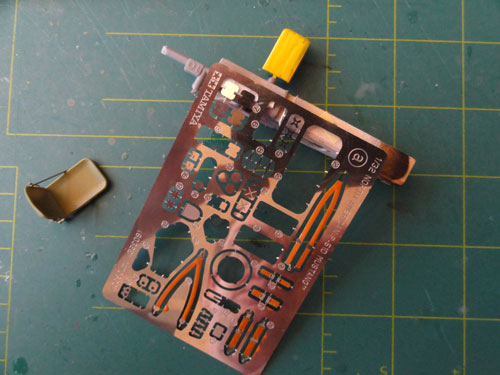
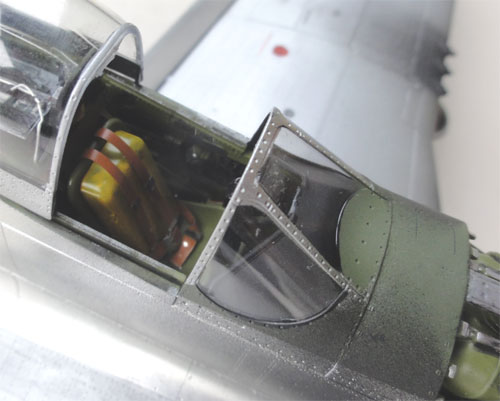
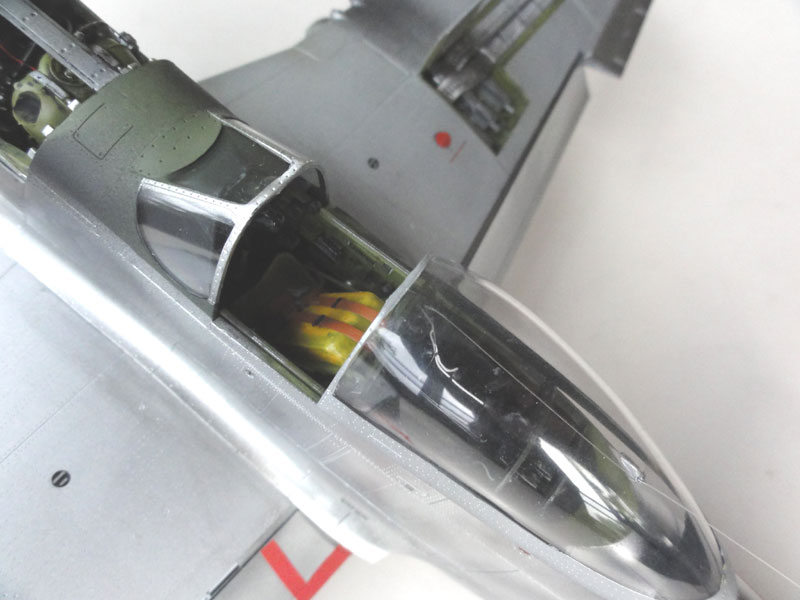
(4) the long wire antenna was set
in place, running through the drilled hole in the canopy and fixed with
superglue also on the tail fin. Fishing wire was used for the antenna.
This needs the canopy to be fixed in place.
(5) Various hydraulics lines and tubing
were added inside the main gear bays. Metal wire was used, that can be
bended and set in place. Not all wires were added, but a busy look should
be there as on a real P-51.
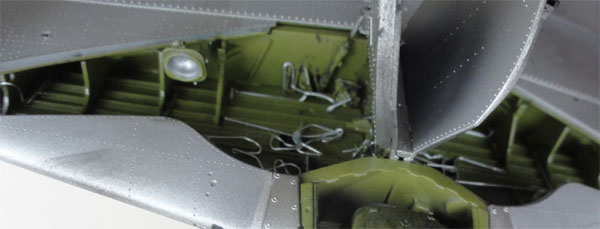
(6) the panels on the right wing gun bay was set in place. The engine panels are kept loose and detachable.
(7) the anti-collision lights got
painted with Tamiya clear paints as suggested in STEP 44. Also add the
wing tip lights.
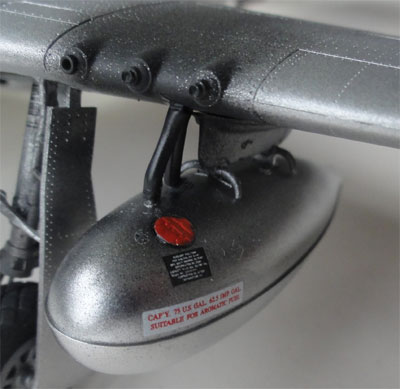
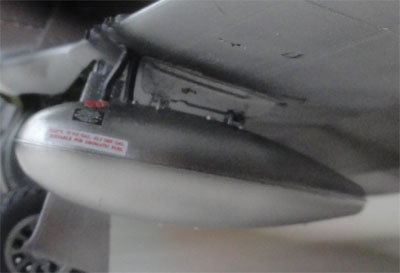
(8) the missing fuel and air vent
pipes were added between the fueltanks and the wing. These are well seen
on real P-51's. From thicker black electrical wire, these were made and
fitted with superglue. The fueltank markings and red filler caps were also
added and painted.
 ..
..
Results
The P-51D ML-KNIL model is finished and seen here.
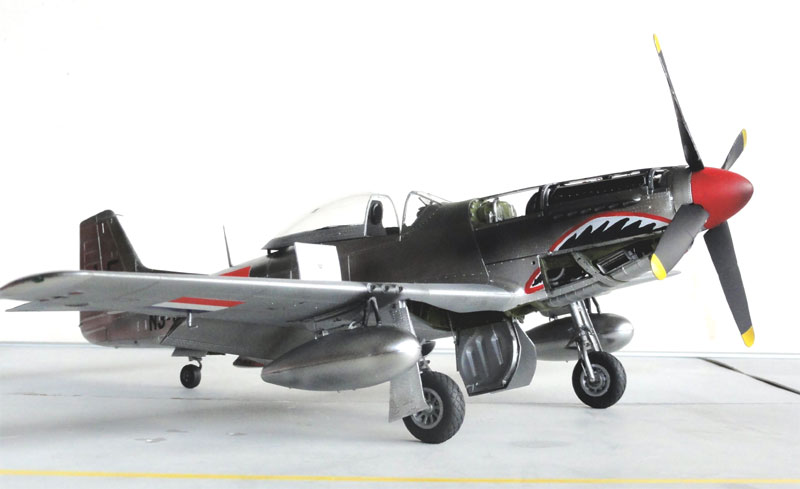
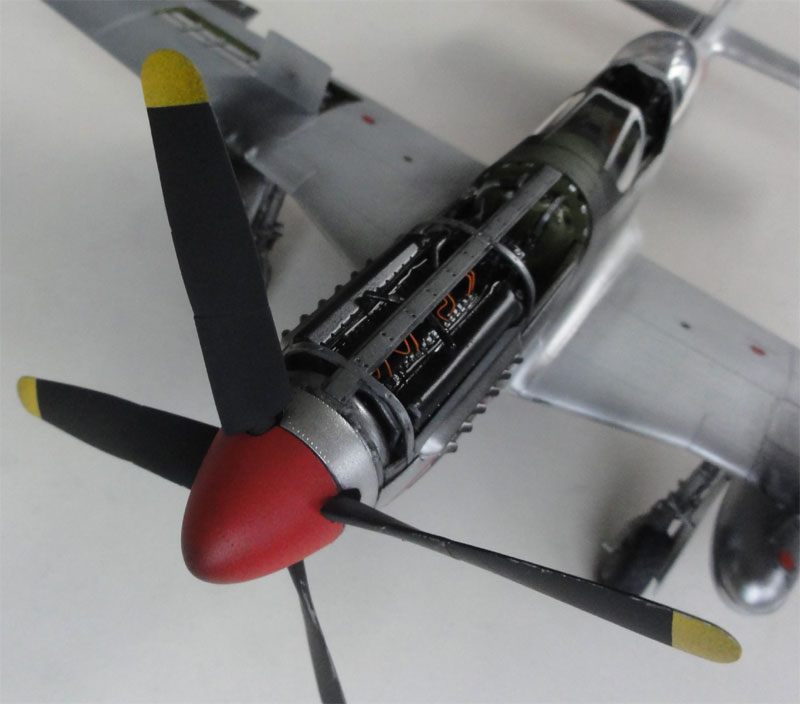
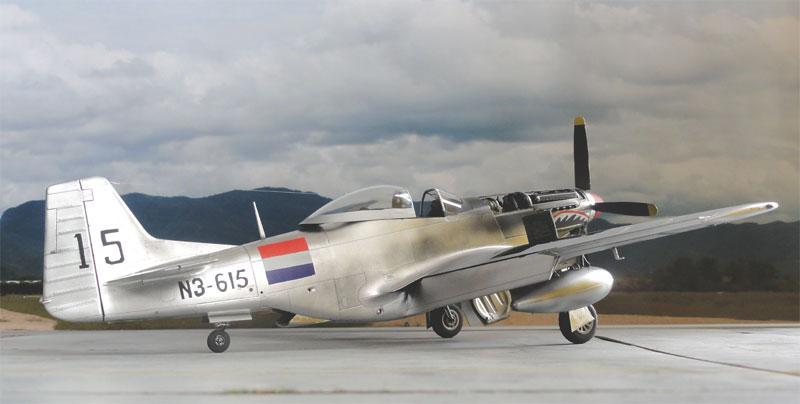
Somewhere in the Dutch East Indies
on Java....
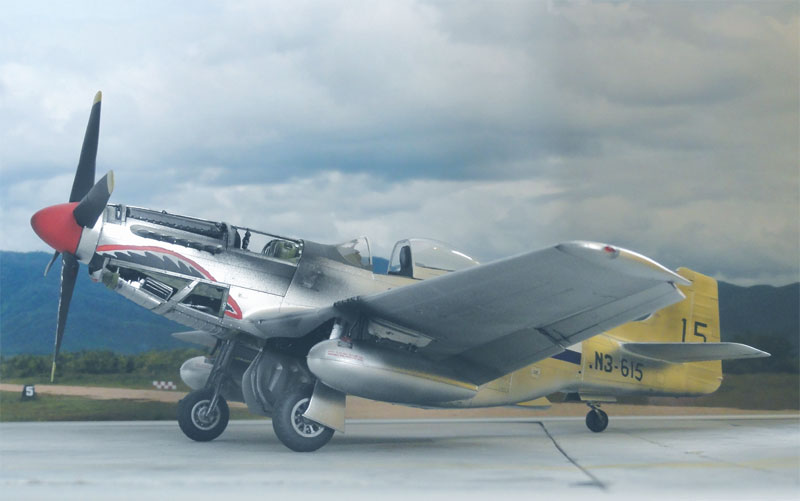
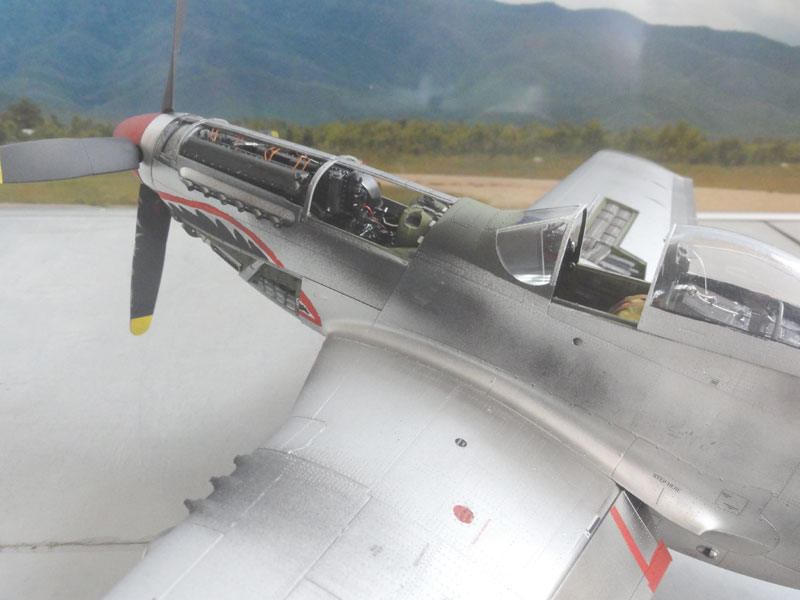
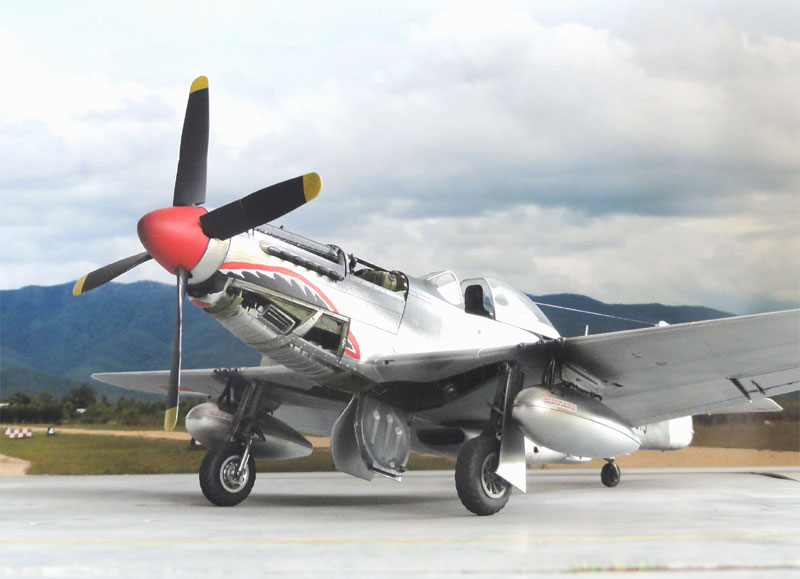
A very nice P-51 of the Dutch ML-KNIL period 1947-1952 is in the 1/32 collection. Now, I still have a Tamiya Spitfire somewhere......
(also check out a bunch of 1/72 scale Mustang models...)
Back to 1/32 scale Models.......

(c) Copyright Meindert "designer"/ All rights reserved. Your comments are welcomed by webmaster
Created this page November 21, 2013
