[ Page 2 ]
... continued from page 1....
![]()
PJ
Productions Resin
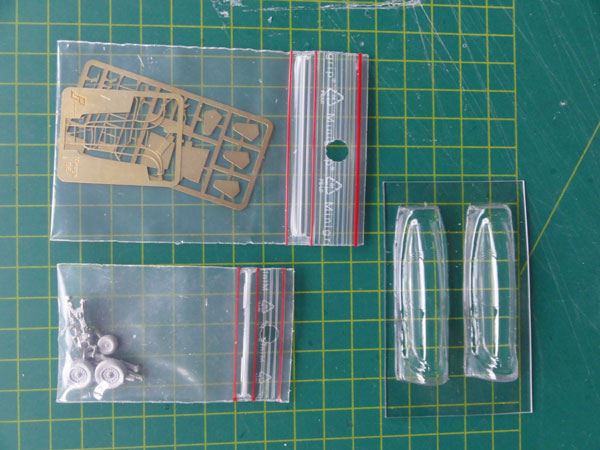
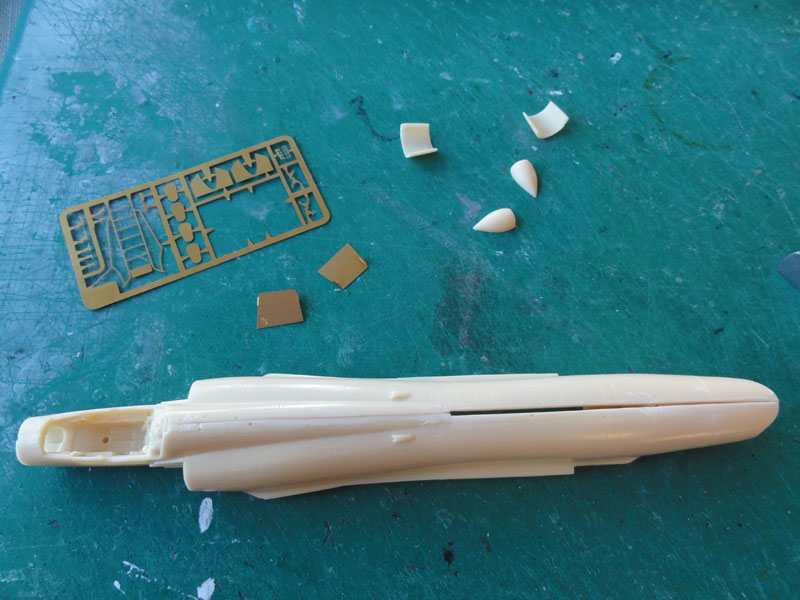
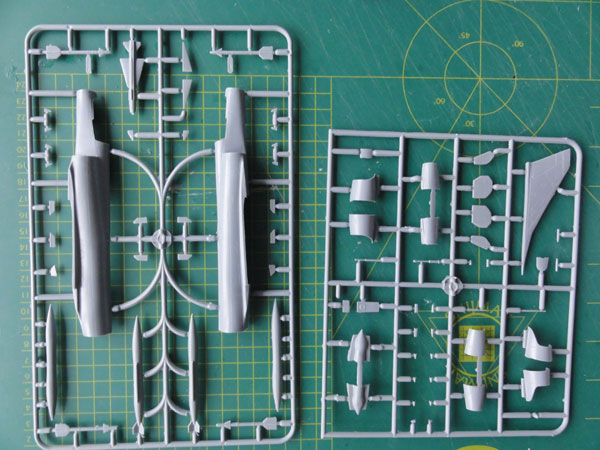
These are resin kits with not many
parts but they are well detailed. A bit expensive kits, but worth the money.
Each kit has about 35 fine resin
parts to a high standard. Also some etched metal parts inside e.g. for
a boarding ladder , tank fins etc. Cast metal parts are there for the landing
gear. Each kit has a vacuform canopy and one spare! Nice!
PJ
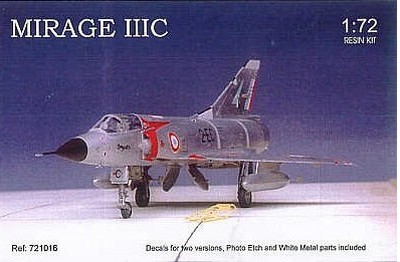
kit 1 is for Mirage
IIIC (kitno. 721016 ) with decals for schemes:
1. camouflaged Mirage IIIC Armee
de l'Air, EC 3/10 at Djibouti 1989
2. natural metal Mirage IIIC EC 1
/002 at Dijon 1966 (of the TV series "Les Chevaliers du Ciel")
It has the original not later extended
fuselage. This is seen as the intake begins halfway the cockpit.
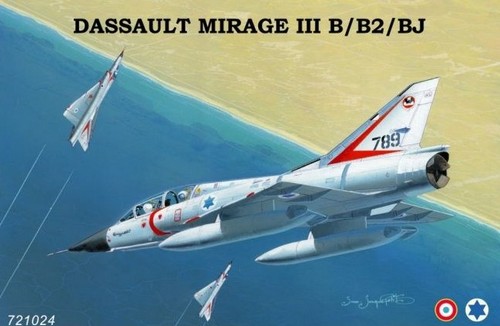
PJ kit
2 is for a Mirage III
B/B2/CJ, a two seater (kit no 721024) with decals for 3 schemes:
1. natural metal finish Mirage IIIB
of Armee de l'Air ER3/33 of 1964 Strasbourg
2. natural metal finish Mirage III
BJ, Israeli AF Bat squadron, about 1967
3. camouflaged Mirage III B of Armee
de l'Air , EC 1/13 at Colmar 1990
(note: PJ has released various other Mirages with different boxes and decals as well).
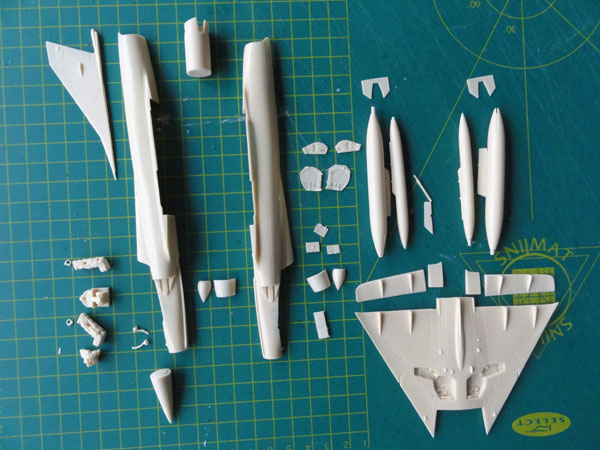
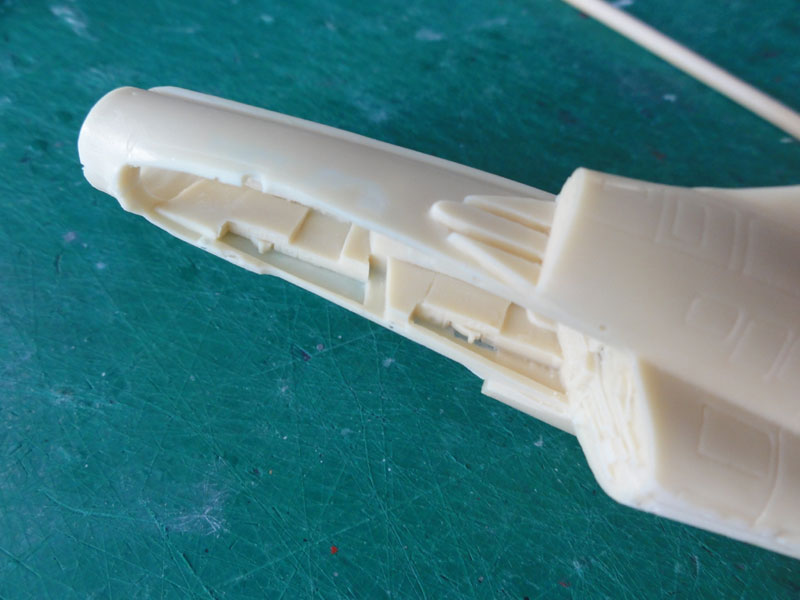
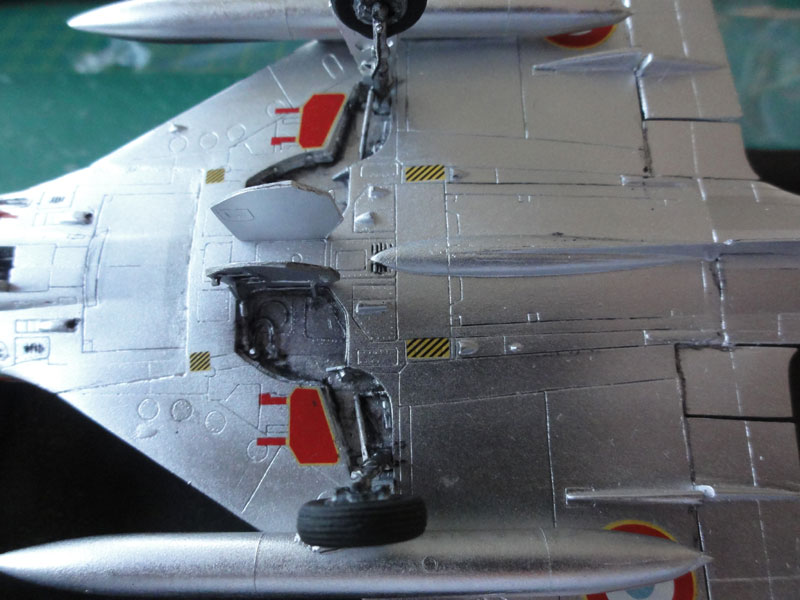
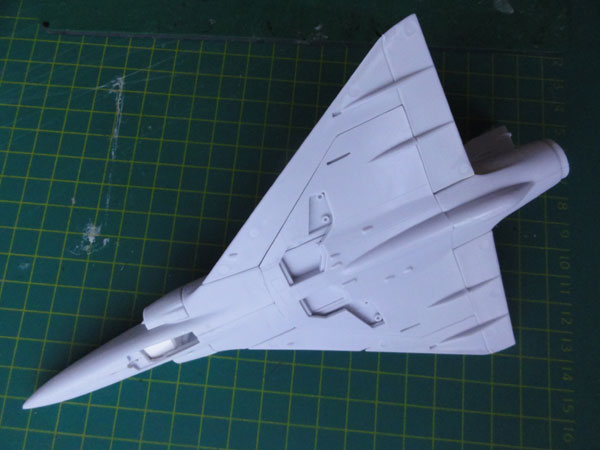
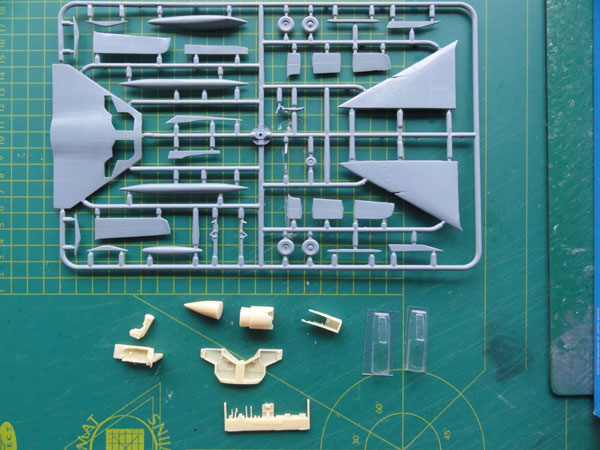
The resin surfaces have nice recessed panel lines. Gear bay interiors are very detailed and also a nice cockpit interior comes with it.
Here parts for the two seater are
seen...
A spare vacuform canopy is also in
each kit as well as a few etched metal parts, including a ladder.
Resin parts preparation needs taking
care of your health! Use a face mask and ONLY
sand and saw below water. Constantly rinse in water and avoid
the fine dangerous resin dust! 
Once the parts are separated from
their moulding bits and some sanding was done, the kit can be assembled.
This preparation work takes some 15 minutes.
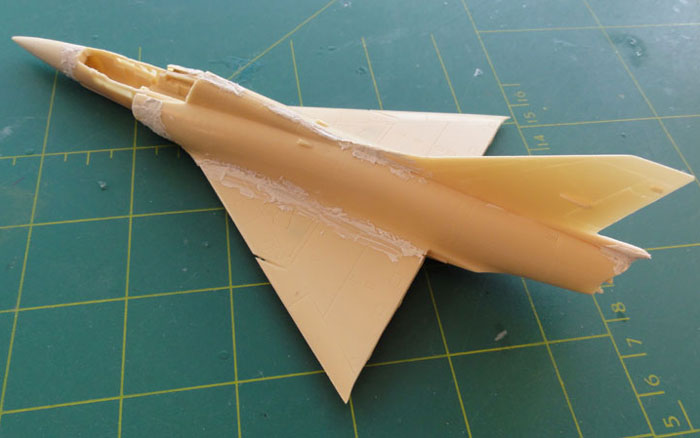
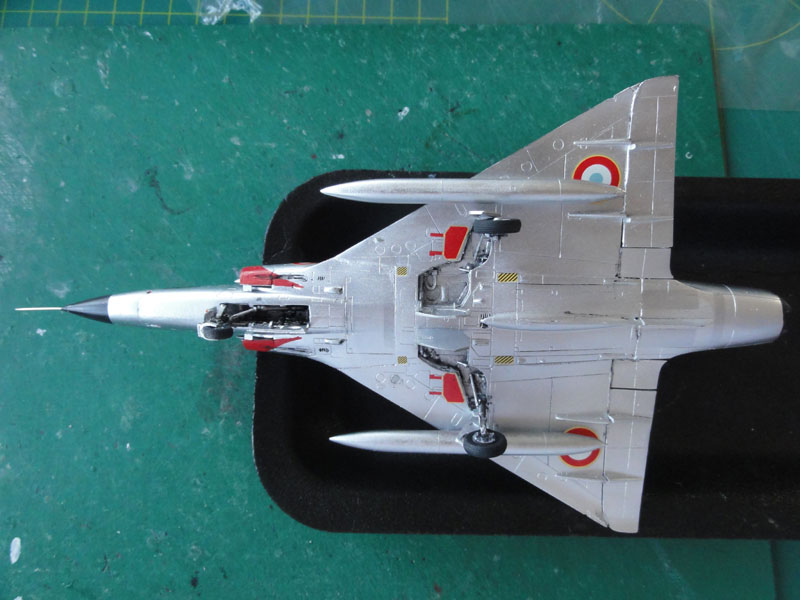
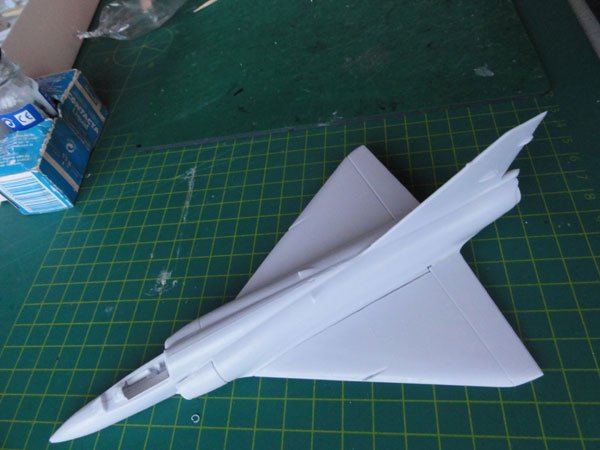
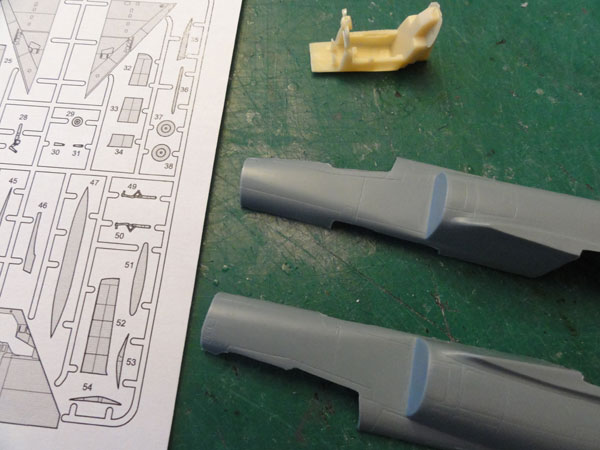
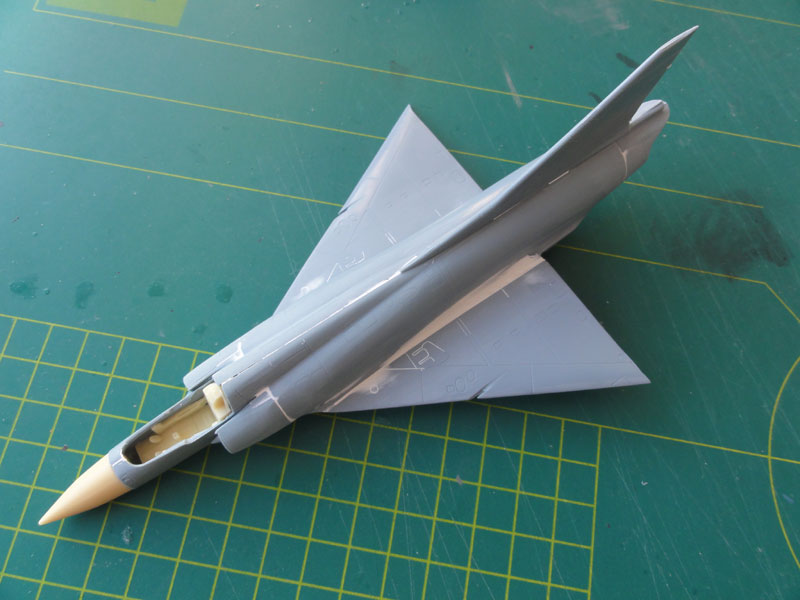
The PJ parts are fine with nice recessed panel lines, but need carefull assembly. Still, quite some putty is needed at wing root joints, intakes and the nose. Note that the flaps and ailerons are separate parts. These need trimming to fit properly.
Here the single seat Mirage IIIC is
seen:
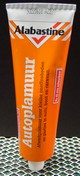
The spine needs filler, I use Alabastine
white car filler, and sanding as do the intakes. Very nice on this
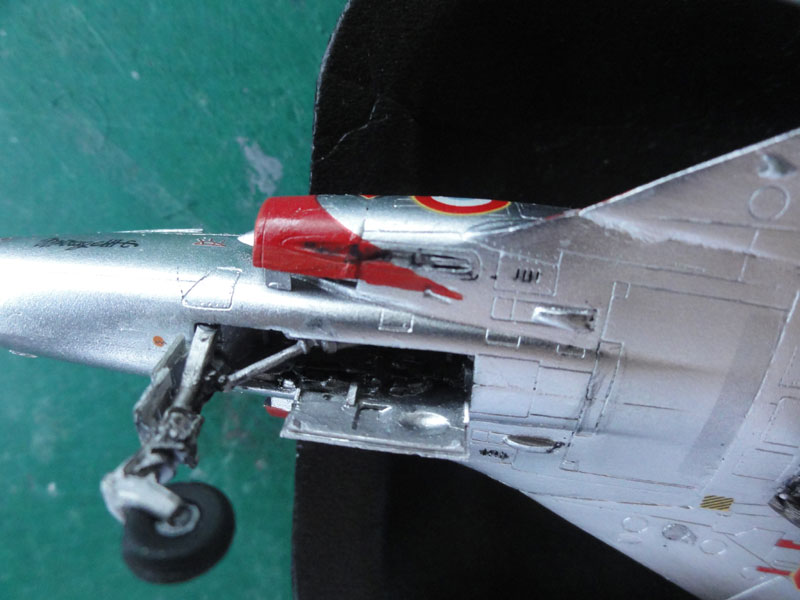
kit is the very good and deep nose gear bay as well as the cockpit tub.
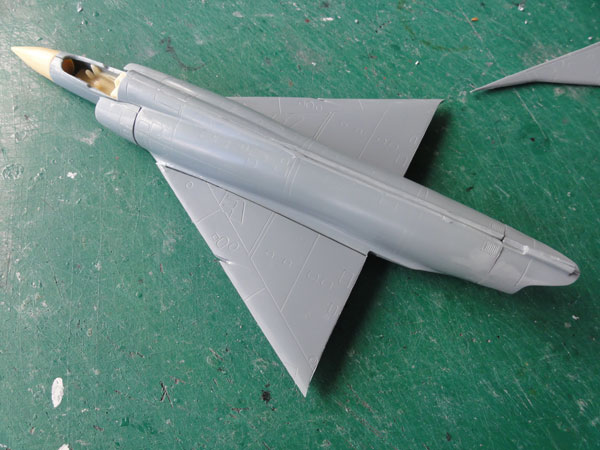
Here the PJ two seater is seen:
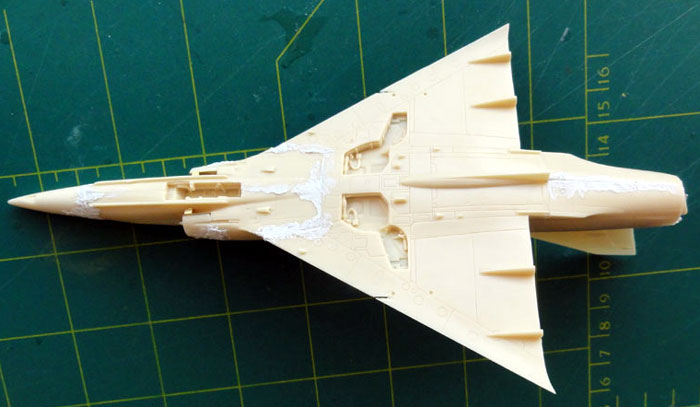
The model get a grey base coat to
check for any flaws for which Revell Aqua 371 acrylic was airbrushed. Some extra
filling and sanding was needed at some spots.
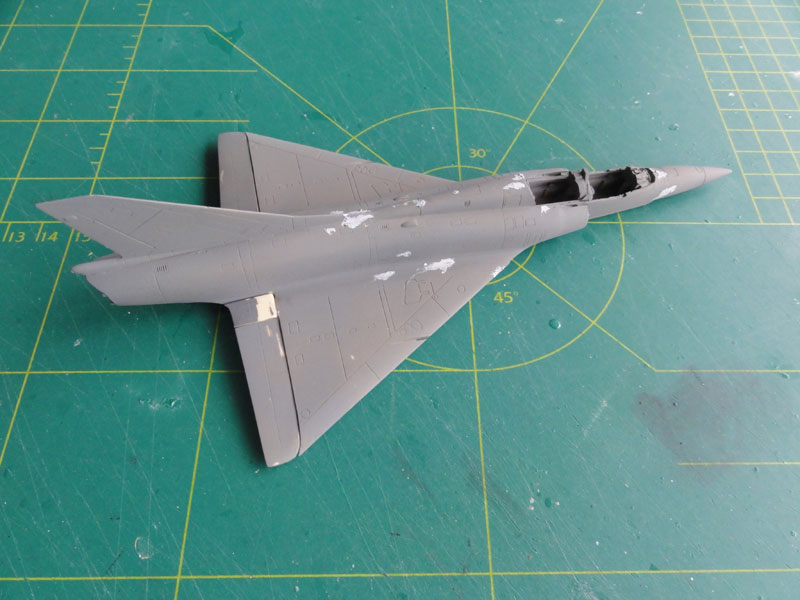
No scheme for this two seater model
was yet picked, decals are still to be researched. The model was set aside.
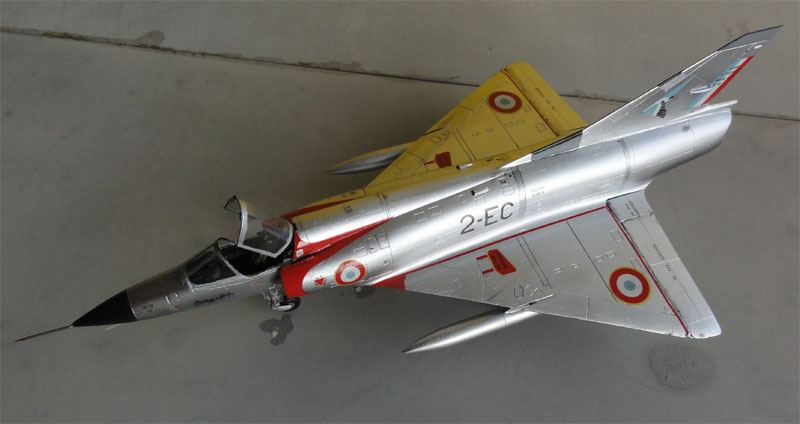
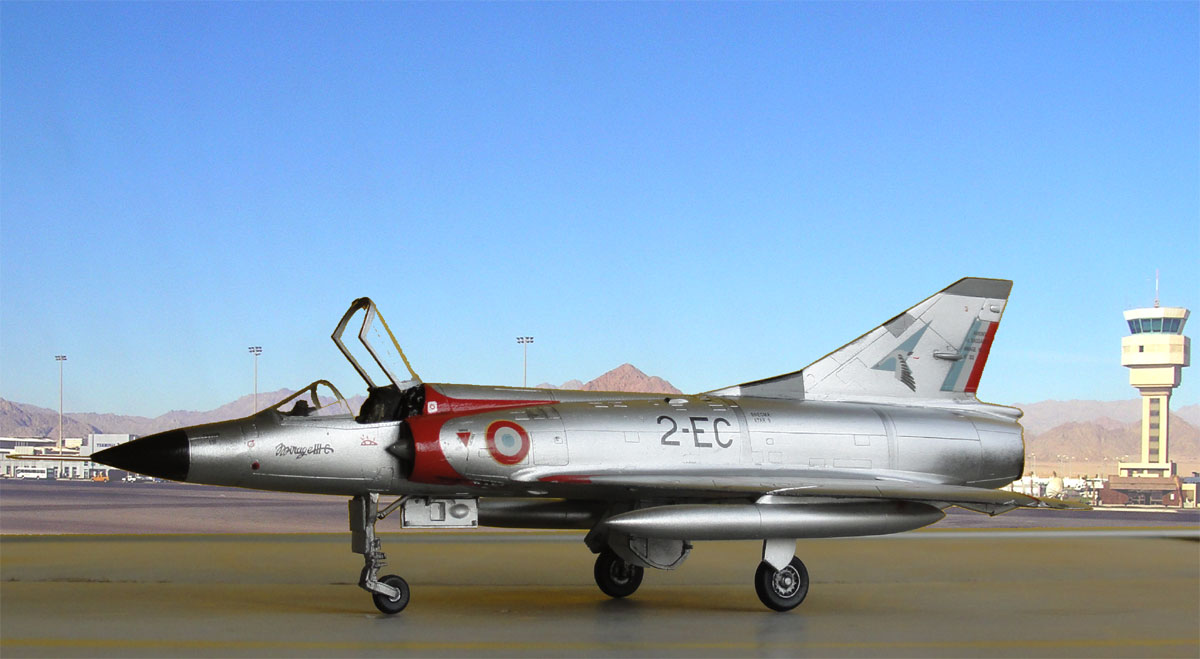
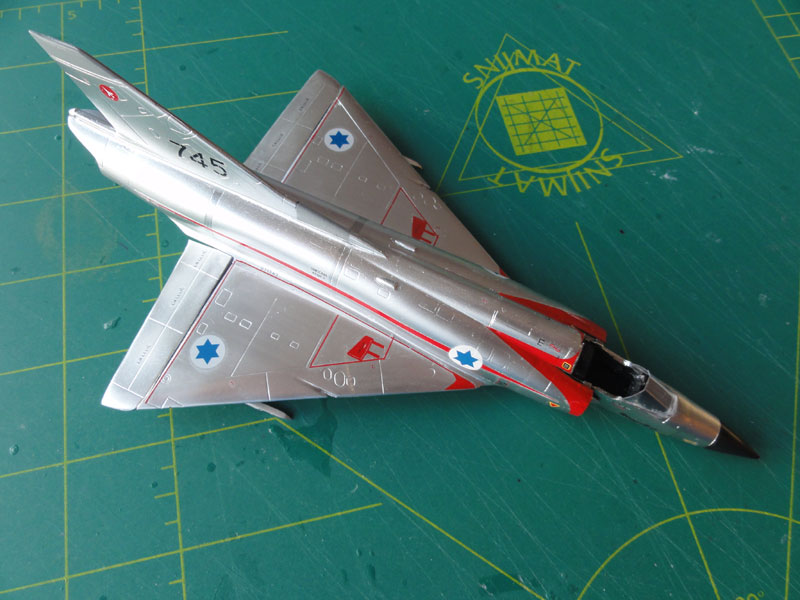
The single seater will be finished as a French Armee de l'Air Mirage using kit decals and in a natural metal look using PJ kit decals.
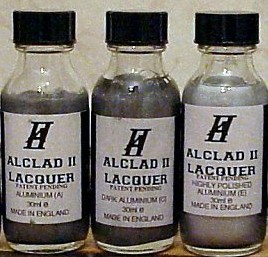
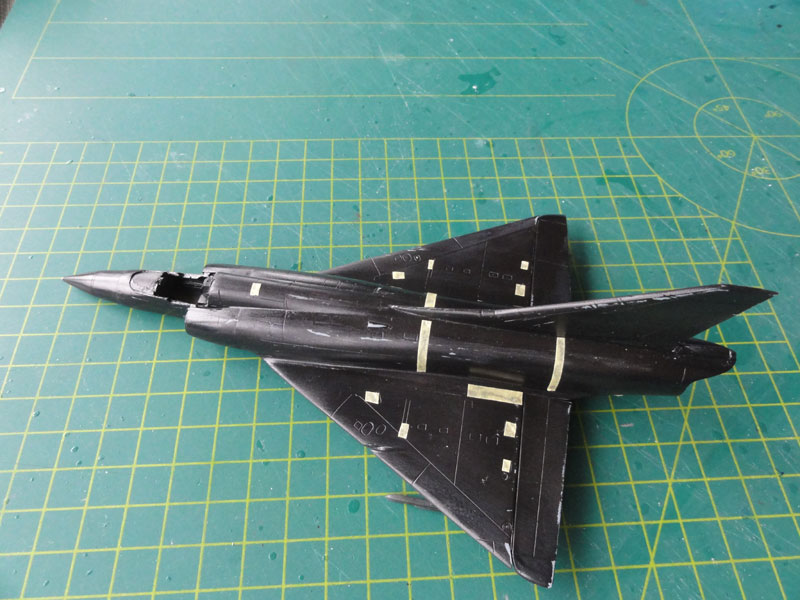
This requires a metallic aluminium coat, for which ALCLAD II "polished aluminium' lacquer was used. This requires a gloss Black undercoat, which was first applied with the airbrush.
Than, a special
trick was used to get a bit different metal hues:
a number of areas of the black was
masked off with tape. Than, the ALCLAD was airbrushed. Half way, the masked
taped areas were revealed by removing each tape and they got a light coat
of ALCLAD as well. This gives a slightly different hue.
NOTE: *the same effect can be achieved
using different ALCLAD colours, but this is easier and faster to do.
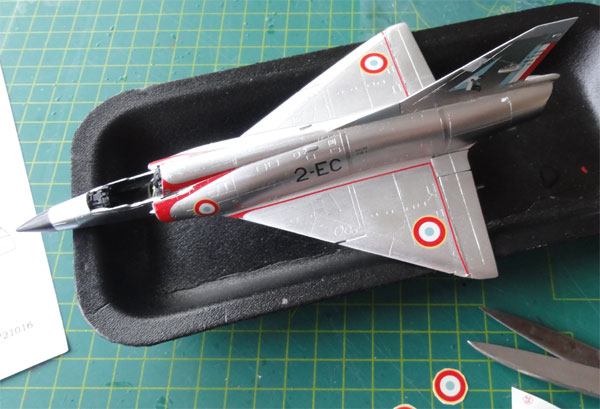
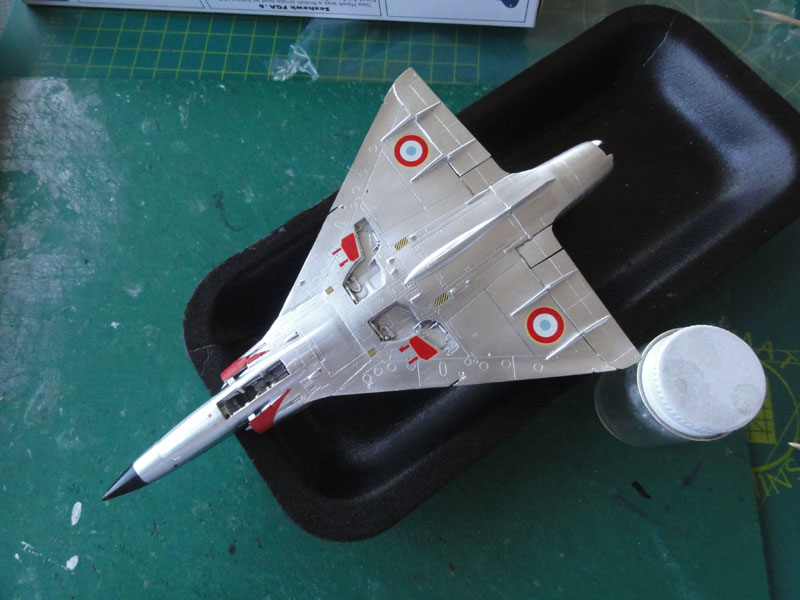
Now it was time for decalling. The
PJ kit decals are very good and fine with loads of detail and accurate.
The walkway lines are very thin but convincing.
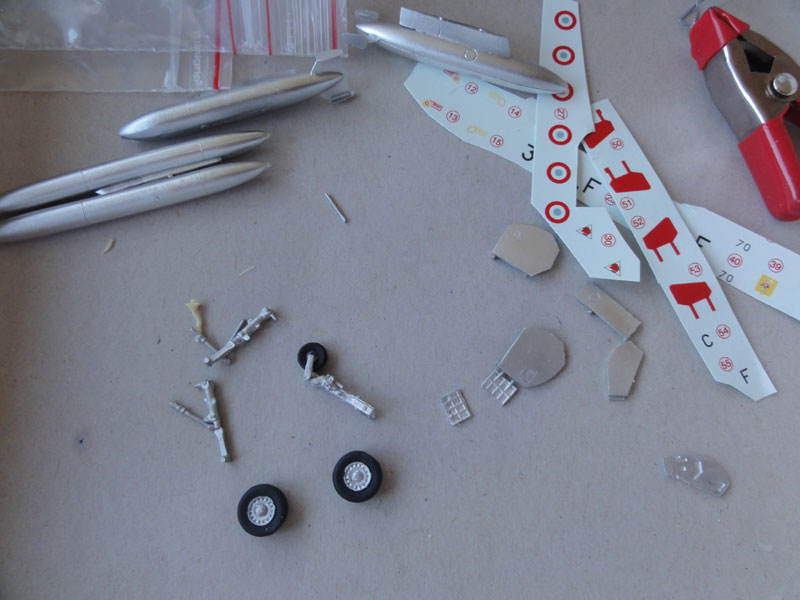
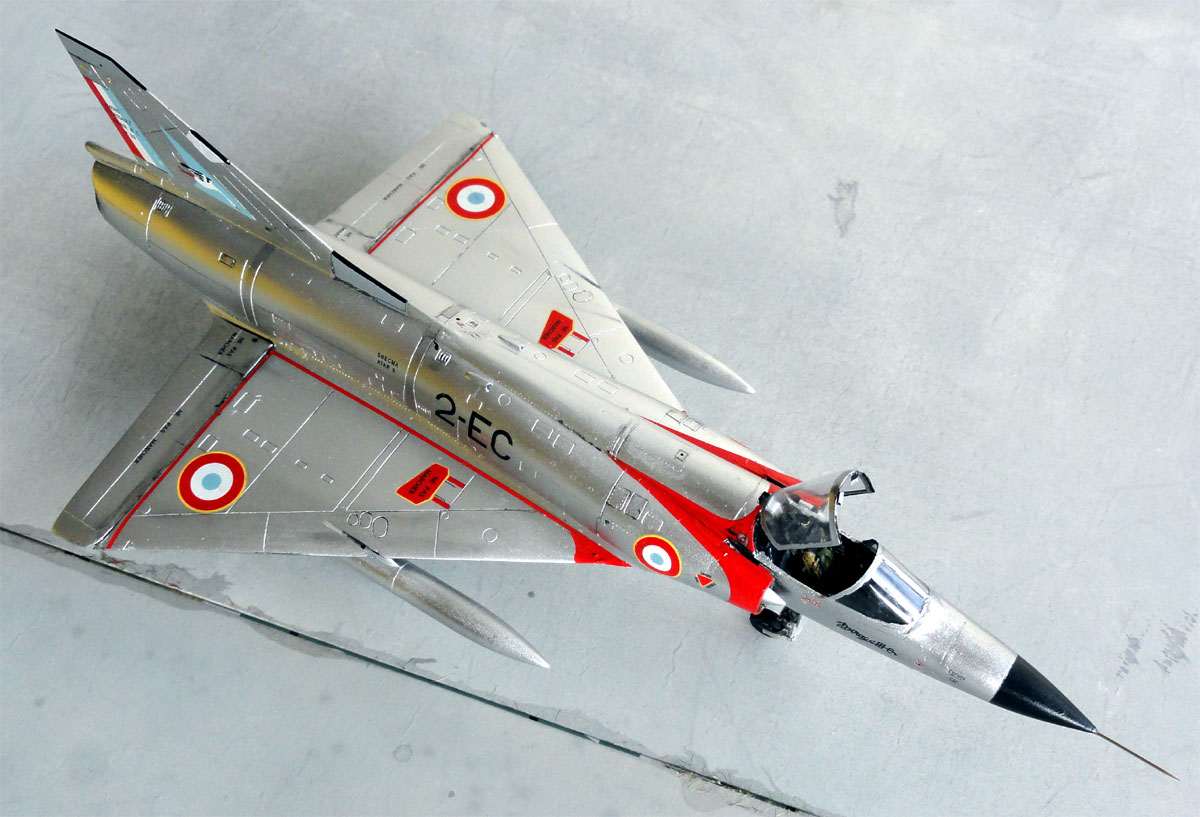
The landing gear and other details
like the fueltanks were installed. Some extra hydraulics wiring was added
as well that was made from stretched sprue and thin metal strips in the
bays and on the undercarriage legs.
 ..
..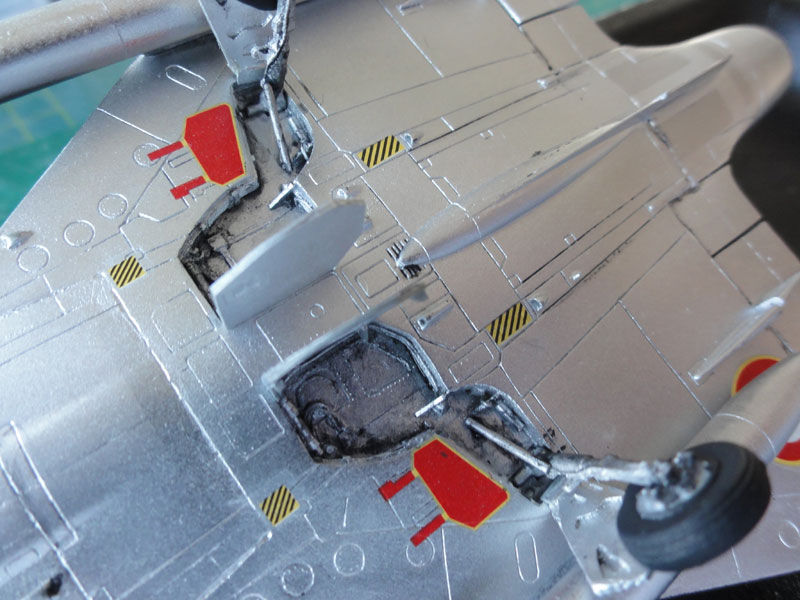
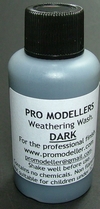
Some wash was applied with a brush
in areas using PROMODELLER black wash.
Nearly finished, the model got a decal protection gloss coat with the airbrush using Johnson Future, thinned with 40% Iso Propa Alkohol.
(NOTE: ALCLAD has released end 2013 a special gloss for covering their metal paints, but I found this gloss coat VERY SLOW DRYING and not better than the old fashioned Future. I will not use it again as I heard this from other modellers as well).
The canopy was installed and painted
with some extra detail added.

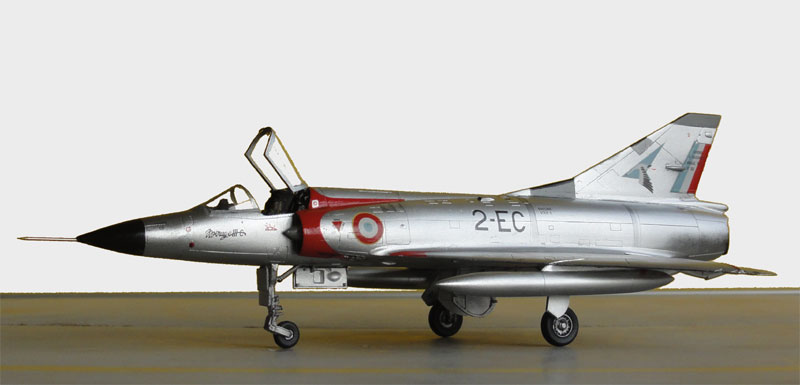
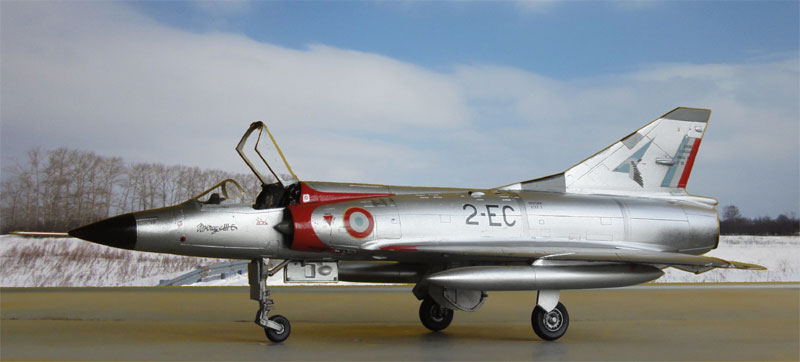
That completed this very nice PJ
model of a Mirage IIIC EC 2 at Dijon
air base, 1966 of French Armee de l'Air.

The PJ kit two seater Mirage awaits
to be finished.

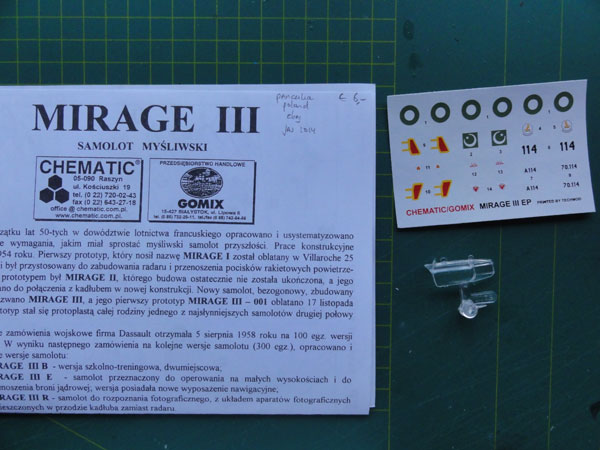
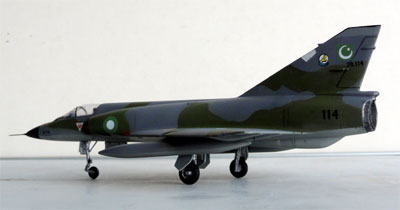
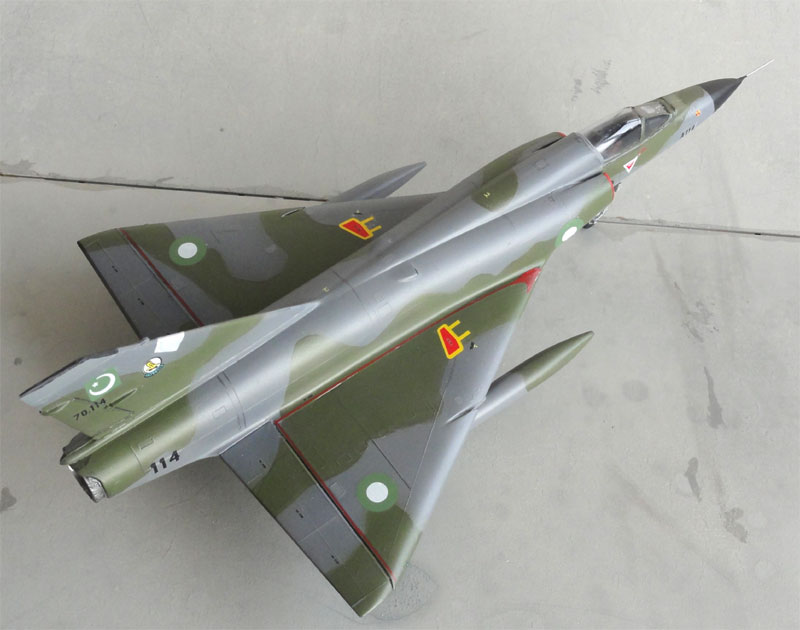
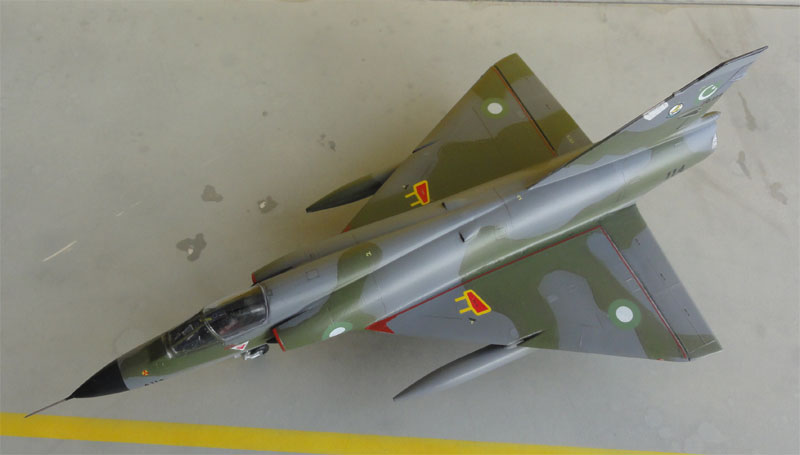
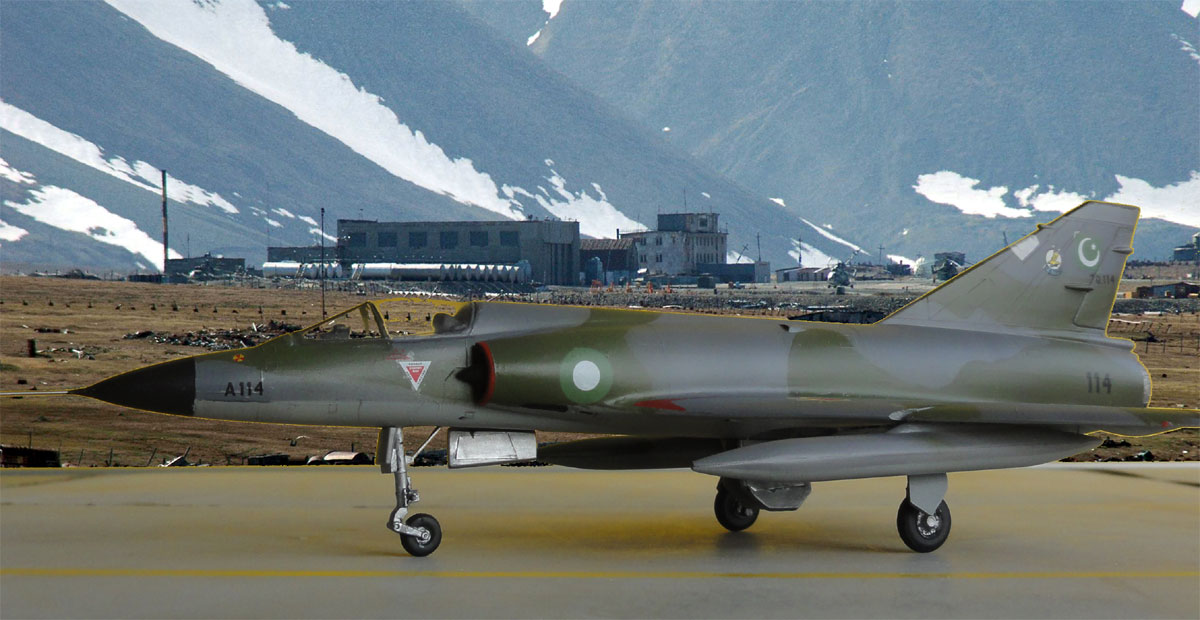
(6) Chematic ? Mirage III EP
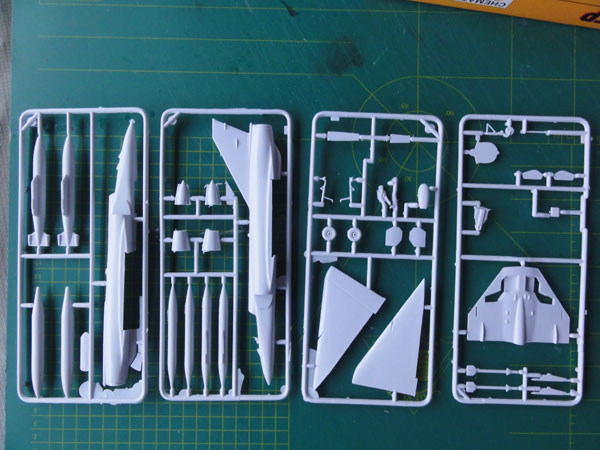
It is not clear exactly what the manufacturers name of this kit from Poland is, probably Chematic and the mould seems to be an old FROG. It is stated that it is a Mirage III EP with the later used longer fuselage. It is a very cheap inexpensive kit to buy.
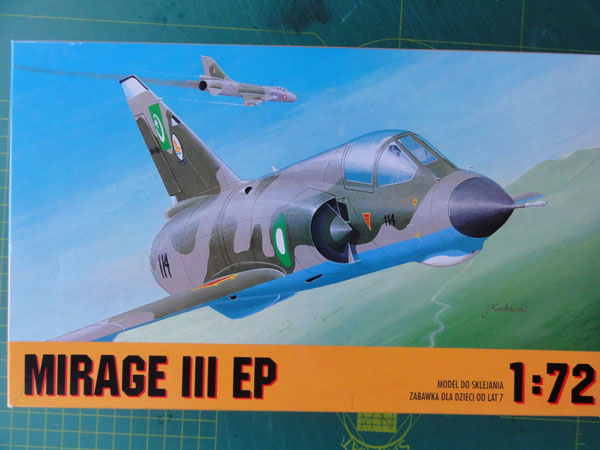
Although the parts are basic, when made straight on this is a nice kit. Fit is not too bad and it is simple and adequate. Panel lines are not recessed but finely raised.
The jet pipe is integrally moulded with the fuselage halves. A separate pipe could be added. The kit included Pakistan decals, but the drawing shows a Mirage IIIC. However, this is only a drawing error, Pakistan flew with the Mirage III EP and the kit can be used.
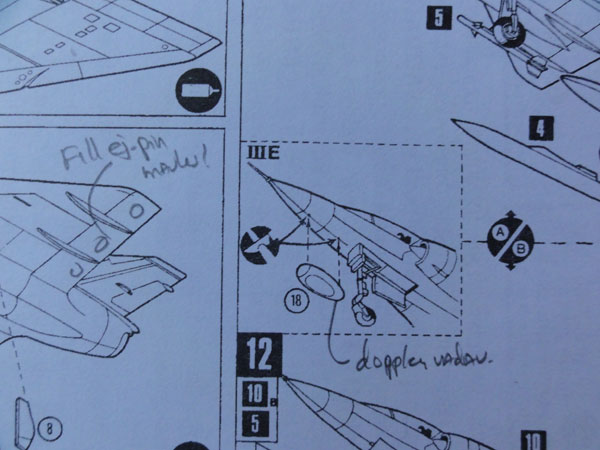
There are some awkward ejection pin
marks, particularly on the lower wing part. Fill and sand.
Also adding some scrap some cockpit
detail will enhance the model.
Undercarriage doors are very thick,
sand or replace with card.
The stores have very thick fins,
so if you have others, discard them.
The doppler fairing is a separate
part.
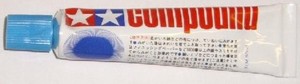
The canopy is a bit scratched. Polish
with a rubbing compound such as from Tamiya as necessary to a bright sheen.
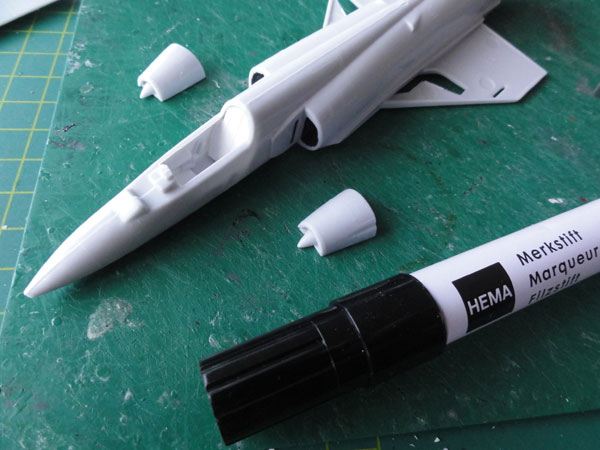
The intakes got a black panel to suggest depth with a permanent marker, but.... later nothing was seen of it!
The nose gear bay was cut open, made deeper and boxed in with plastic card to get a wheel bay.
Fit was not bad at all! Now it awaits some filler and sanding.
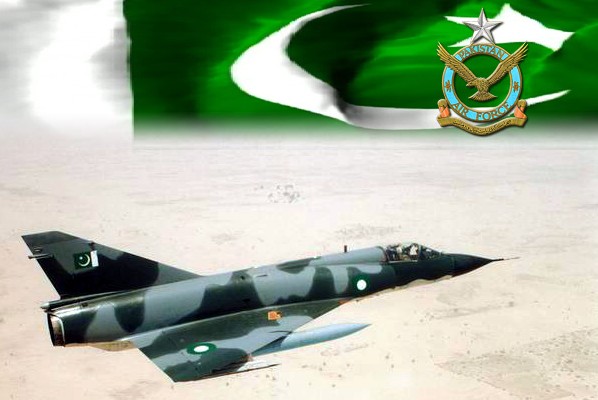
A grey base coat was airbrushed and next it was time for the camouflage scheme of a Pakistan Air Force Mirage 3 EP.
First, the lower grey was airbrushed, using acrylic paint Gunze Sangyo #332. Next, the dark grey was airbrushed using HUMBROL HU125 enamel "dark sea grey". The green using Gunze Sangyo #309 (about FS34079) was handpainted for a change as the demarcation between the colours is "hard".
The model was ready for its decals, using also a PAF set from a VERY OLD Scale Aircraft Modelling complementary decal sheet 72003 of 1981 !!!
First, a gloss coat was set on the model (using the Johnson Future gloss) to prevent decal silvering using this method.... From the spares decals from the other Mirage models, additional details were added like red walkway lines etc.
When dried, a semi-matt coat was added, using a mix of Johnson Future, thinned with 20% Iso Propa Alkohol with some 10% Tamiya matting acrylic X21 "Flat base" mixed in. This gives a nice sheen and protects the decals.
The kit canopy was not used, but a
spare one from the AML kit. This canopy was set closed and the gaps were
filled with White Glue that was hand painted in the surrounding colours
when dried. Gears were installed and a pitot tube using a metal needle.
 .....
..... 
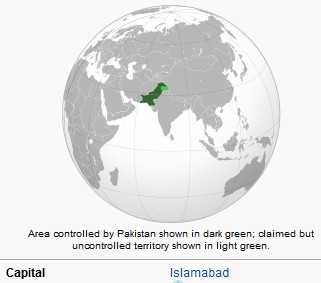
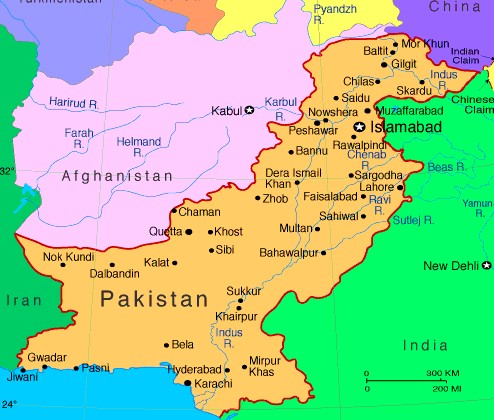
The result is a basic but nice Mirage
III EP of the Pakistan Air Force (PAF) • " Pak Fiza'ya". For more info about the PAF look here..... 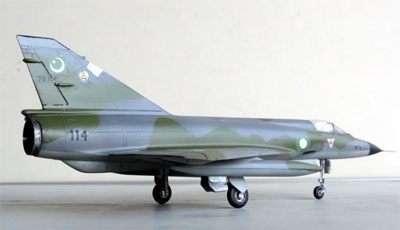 .
.
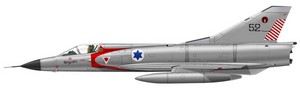
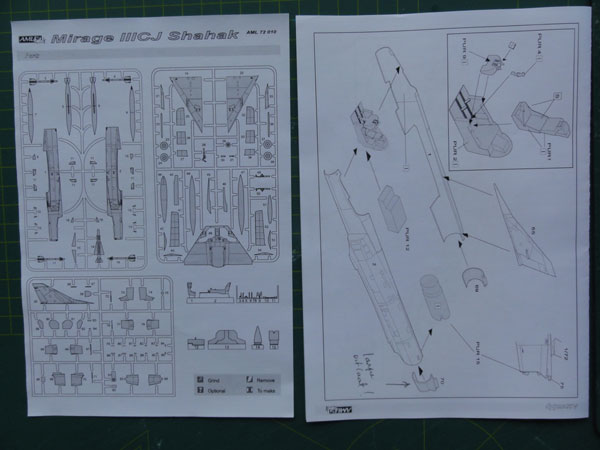
AML Mirage IIICJ Shahak
AML is from the Czech republic and this is an injection moulded plastic kit with about 110 plastic parts and some 15 resin parts. A vacuform canopy and a spare canopy is also included. It represents an Israeli Mirage III Shahak version wth a longer engine exhaust pipe and longer fairing. This kit dates from 2005.
(NOTE: AML has also released some other Mirage kits, like of the IIICJ recon. and a normal Mirage IIIC with not a longer exhaust).
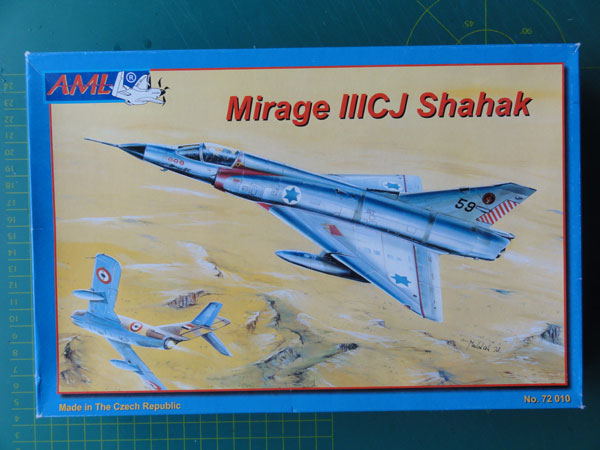
This kit (no.72010) has decals for 4 Shahak IAF schemes:
1. natural metal Israeli Mirage IIICJ in 1970 with 10 kills
2. camouflaged Mirage of 101 tayset, 1970
3. natural metal Mirage 117 tayset, 1967 war
4. camouflaged Mirage 117 tayset, 1970/1971
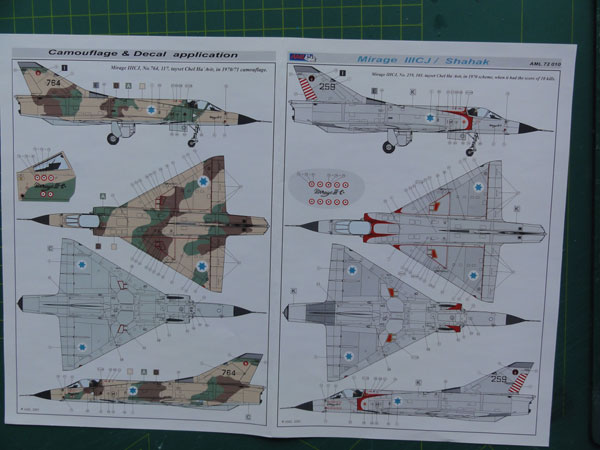
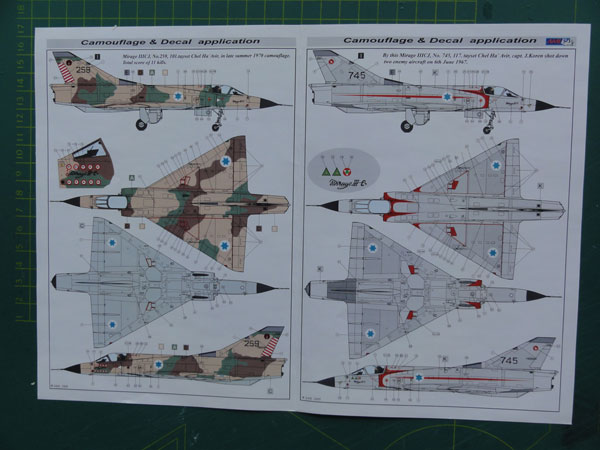
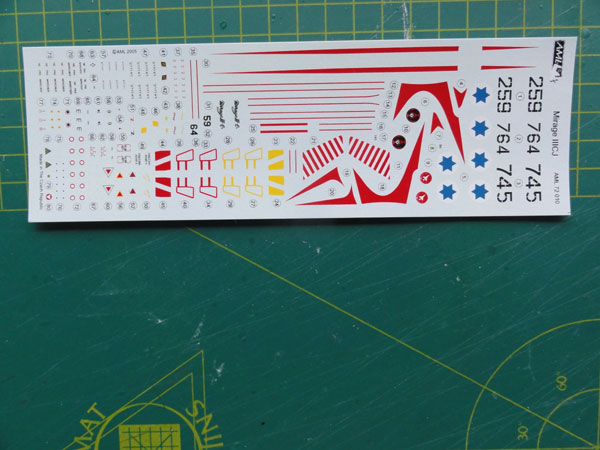
The decals are very nice.
The main plastic parts are roughly
moulded and the fit is not good. A lot of sanding on these short
run parts is needed. Sprue gates are thick. Lots of flash are also on the
parts.
The seat is nice and 2 good vacu canopies are included. (the spare will be used on other Mirage models).
And although there are nice detailed
resin parts... they do not fit! This will be seen during assembly. But
eventually, there will be a 1/72 Shahak to finish with painting and schemes......
After sanding the main gear bay resin part very very thin , it fitted with some trouble inside the upper and lower wing halves.
Large gaps are seen here with a terrible fit of the rear fuselage end.
A fit round of filling using Alabastine white car filler and sanding was done.

Now the model now awaits a base coat
to check for any errors on assembly and filling.
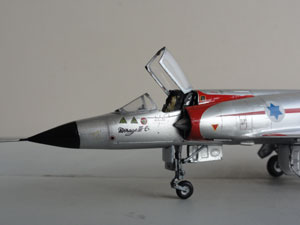
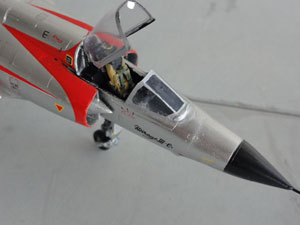
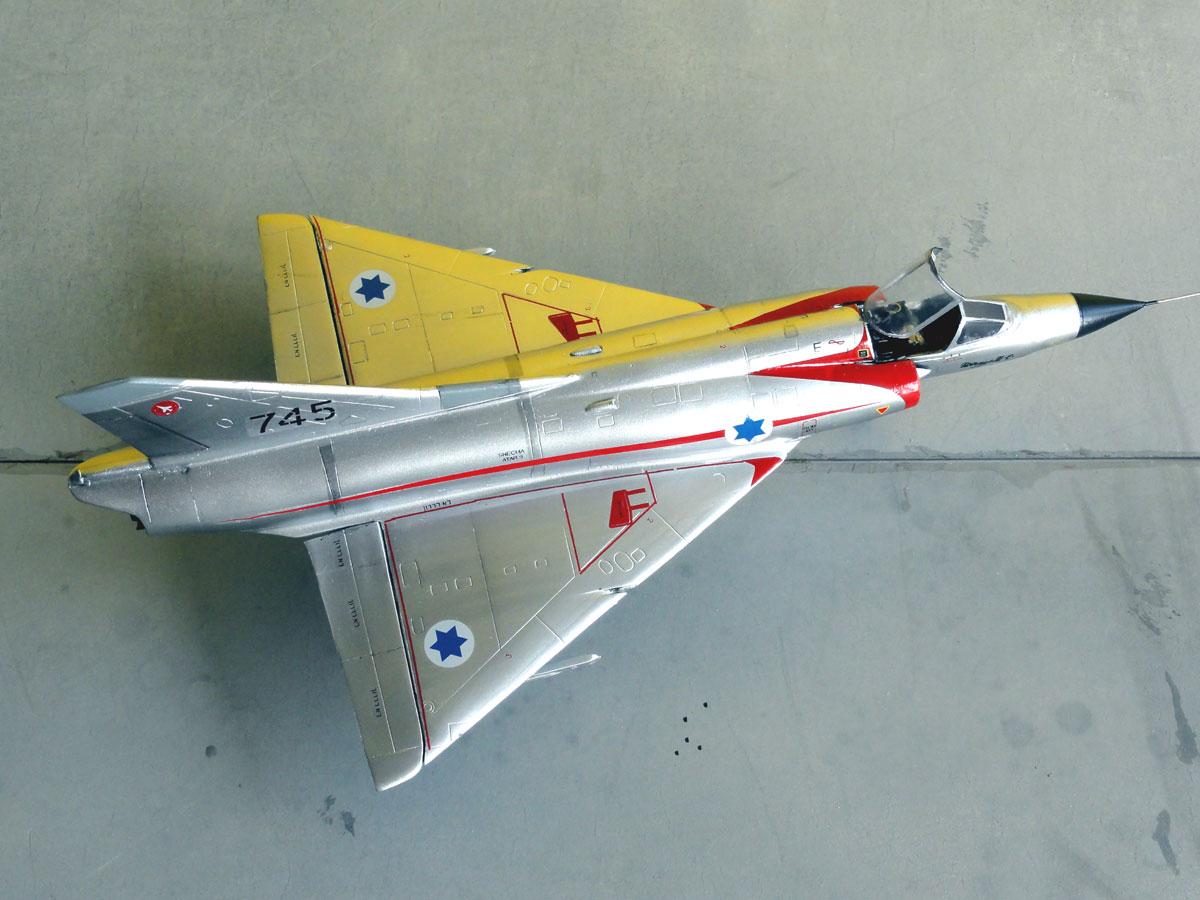
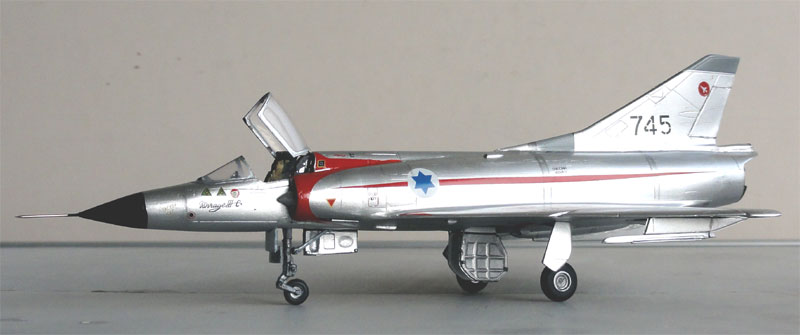
The scheme for this Israeli Mirage III CJ picked is from the kit for no.745/ 117 tayset Hel Ha' Avir that shot down 2 enemy aircraft on June 6, 1967.
This requires a metallic aluminium coat, for which ALCLAD II "polished aluminium' was used. This requires a gloss Black undercoat, which was first applied with the airbrush. The "special trick" as described above was used as well.
The nose was painted black after
masking and the various antenna panels were painted as wel.
Now it was time for decalling. The kit decals were very good and fine with loads of detail. The 2 kill markings on the nose are alo included. The red areas are a combination of red decals and some red paint to get a good red coverage. The decals are also accurate. The walkway lines are very thin but convincing.
Next the model got a decal protection
gloss coat with the airbrush using Johnson
Future, thinned with 40% Alkohol.
The windscreen needed carefull cutting
but fitted well, the tiny gaps were closed with White Glue and painted
aluminium after it dried.
The landing gear was set, with doors and so on. The details are aluminium.
Pylons were fixed and the very nice vacuform canopy was cut out with sharp sissors and edges painted aluminium. Some mirrors and handles were added from scrap using thick aluminium foil. A pitot tube was added. The kit resin seat was installed after it got painted black with leather brown and black details with a brush.
 .
. 
And that completed Mirage
III CJ , no.745/ 117 tayset Hel Ha' Avir , June 1967.


![]() ...
...

(c) Copyright Meindert "designer"/ All rights reserved. Your comments are welcomed by webmaster
Updated April 10, 2014