Dutch naval air service
[ page 3 ]
Conversion of Lynx model in 1/32 scale of Revell (Mk.88A, kit ref no 04652)
STEP 48
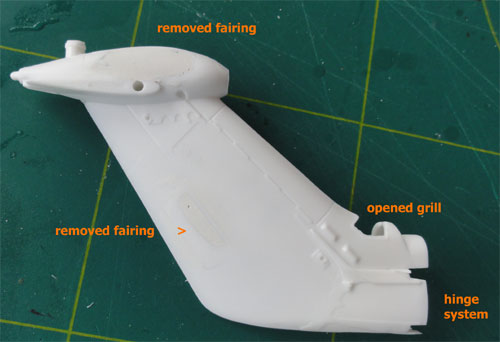
The tailboom as in the kit is for Lynx version that have a NON-folding rear tail end. All Dutch Lynxes have a folding rear tail end with the tailrotor. The kit parts need some slight work here to achieve this. Look carefully at photos such as in the Dutch IPMS Walkaround.
First, start with removing the bigger raised surface detail at both tailboom parts #218 + 219.
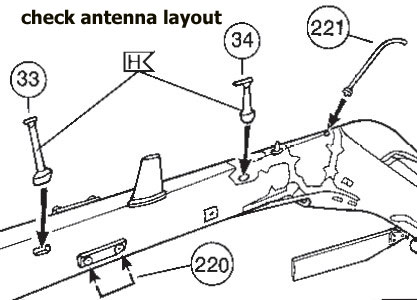
The antenna's #220 are also on a SH-14D, look different with more round bended shapes and they are also positioned more to the rear.
The raised details on the tailboom
is also much less for a Dutch Lynx, so sand flat the boom.
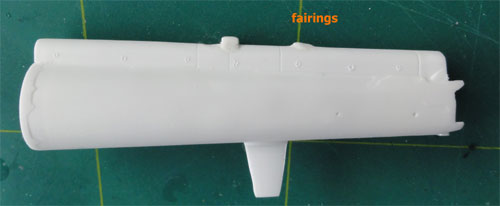
Add two small fairings on top, note
that these are different locations and shape on a Dutch SH-14D.

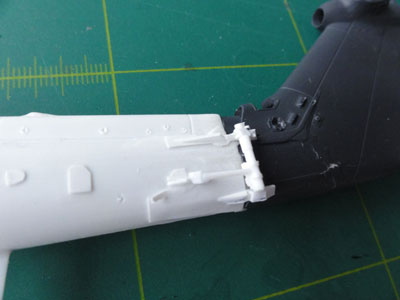
Next, we continue with the rear folding tail end.....
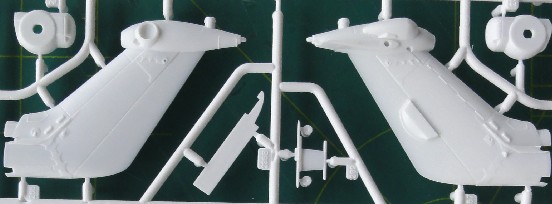
The foldable tail-end is in the kit
with extra parts: parts # 266 + 267.
NOTE: this is not indicated
in the kit instructions! We are lucky here!!
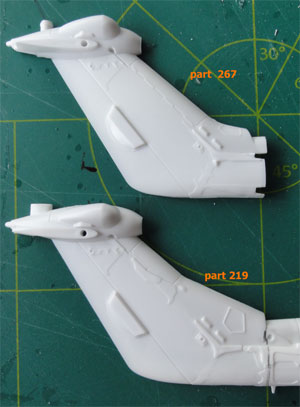
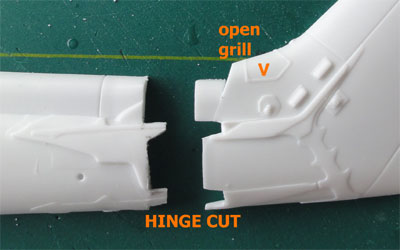
Than, remove the rear end / tail fin.
Make inserts and cut out the hinges
in the boom, use the parts # 266 + 267 as patterns.
 ..
..
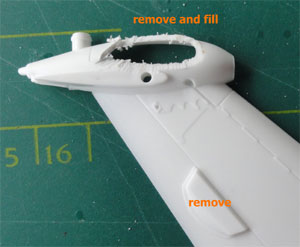
Remove the fairings on top as the
Dutch Lynxes had the old style tailrotor.
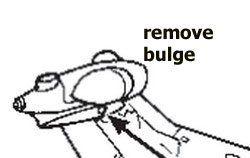
Open up the cooling grill. Also remove
the bulged fairing, note seen on old stye tailrotors. Close with card and
fill and sand.
 ..
..
Remove the protuding fairing on the
fin sail as well.
Sand and adjust as needed. The openened
up grill will be added from mesh later on.
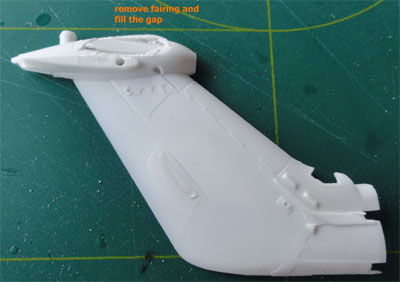
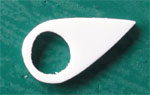
There is also a small tailrotor fairing
on the top of the rotorfin that is not seen on the Revell kit. This fairing
is seen here made from card and seen fitted here. Fill and sand any gaps.
 ...
...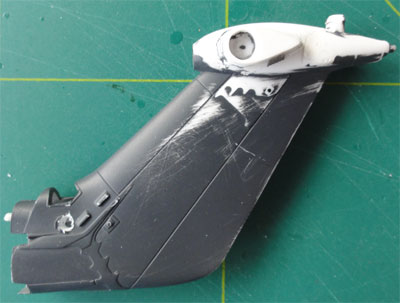
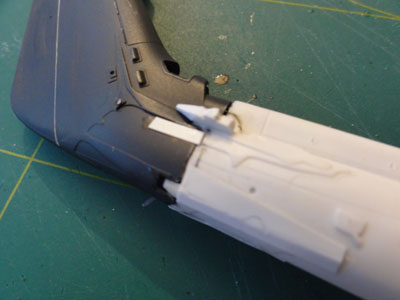
The Dutch SH-14D has a folding rear tail. So very prominent is are the linking hinges at the outside and the details both at left and right sides. Make from card, rod and putty.
To adde strength to the joint, a piece
of sprue was used as linking pin.
Note that the gaps are kept at the
hinge as seen on a real Lynx.
 .
.
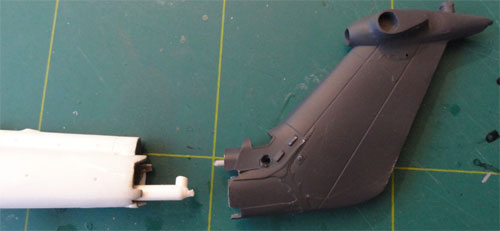
STEP 49
Parts #208 + 209 not required for
a Dutch Lynx. Fit the modified tailboom, and take care to align it correctly.
STEP 50
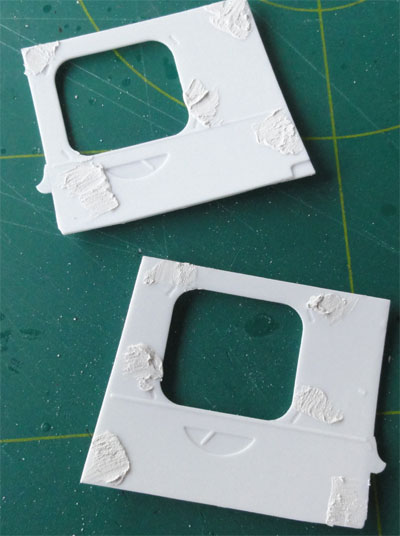
I missed the instruction step for
the other left door... but.... first fill any mould ejector prints inside
the doors, fill and sand:
 .....
.....
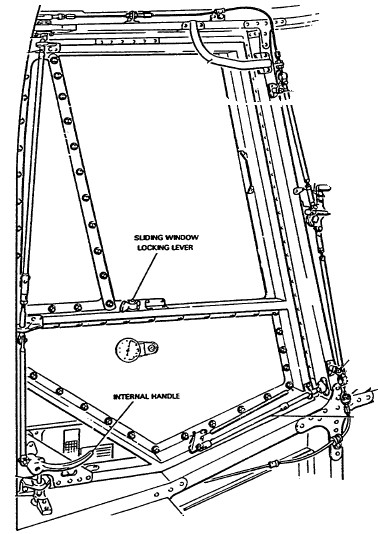
The cabin door windows should both
be flat for the Dutch Lynxes. Instructions indicate one flat window, but
in fact two are in the kit, see sprue " H". We are lucky here. There is
hardly any detail on the door insides on a real Lynx.
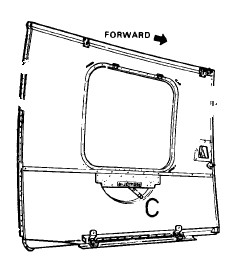
The door windows look about 1 millimeter too large, so by painting the frame edge a bit broader, the look can be improved.
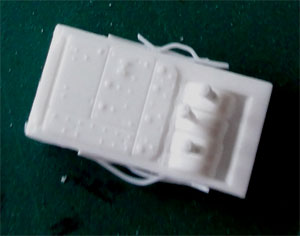
STEPS 51
The overhead panel and main glass
areas are fine. Some small details were added to the overhead panel ##75
.
STEPS 52-53
Glass windows and windscreen were
NOT yet fitted in the doors, painting first to be done at a later stage.
Also do not fit yet the crew doors with their windows.
Wait with fitting the antennas and
windscreen wipers, add at a later stage.
On to next [ page 4.... ]
Back to 1/32 scale Models.......
(c) Copyright Meindert "designer"/ All rights reserved. Your comments are welcomed by webmaster
Created this page November 16, 2012