[ Page 3 ]
As major assembly and the major sanding work was done, the next steps are fitting the vertical fin, tailplane and other parts.
STEPs 62-65
The airbrakes are nice parts and
assembled as per instructions. They were not yet fitted though.
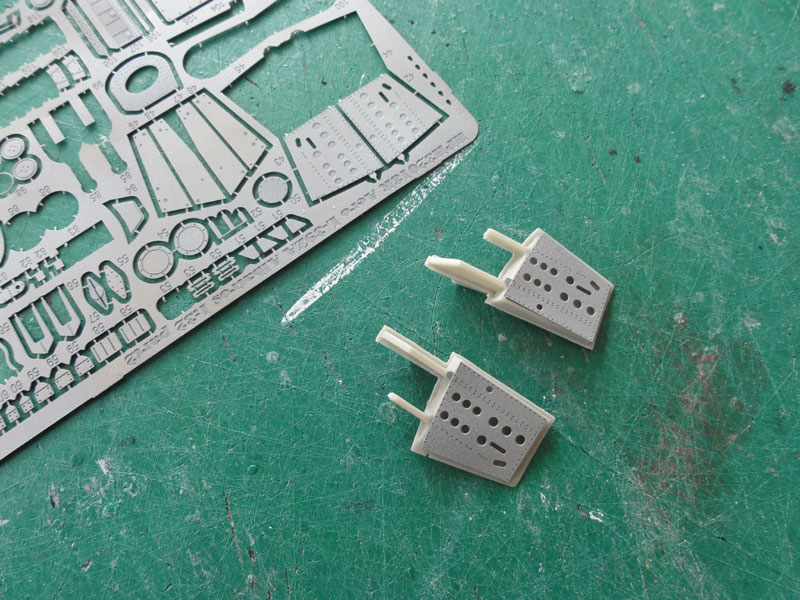
The detailstep 67 for undercarriage is done later, first do major fuselage work. Later I found out that I should have cut open and removed the main gear bay doors, but this is very unclear in the instructions!
In STEP 68 the lower inspection window was set.
STEPs 70-71
Some of the panel details are provided
as etched metal panels.
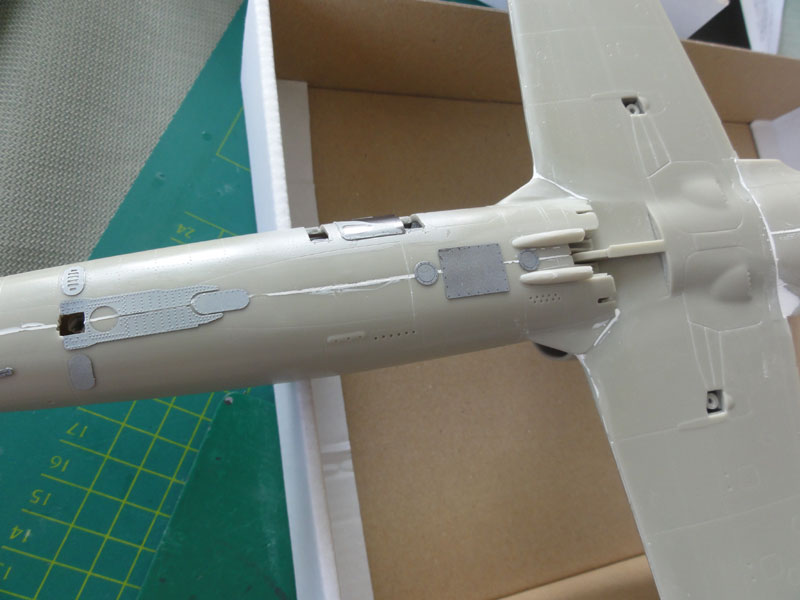
STEP 51
The vertical tail is nicely detailed
and a near perfect fit to the rear upper fuselage. Little amounts of putty
were needed.
The rudder #15 needed some removal
of material at it's upper edge. The parts PP100 and PP108 needed filler.
The horizontail tailplanes fit very good as well.
STEPs 73-75
Nice are the parts for the lower
gun fairing, complete with gun. The fairing will be set "open" as seen
during maintenance on the real aircraft. The gun fairing edges are etched
metal.
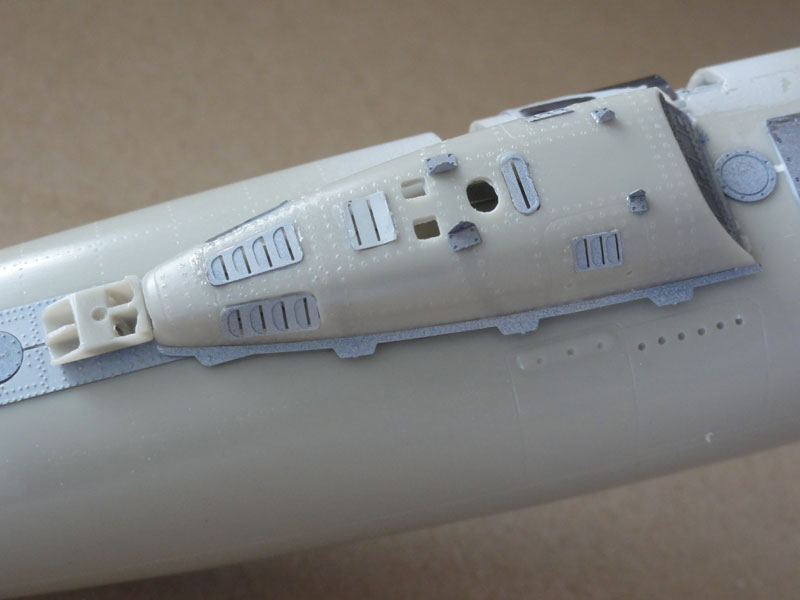
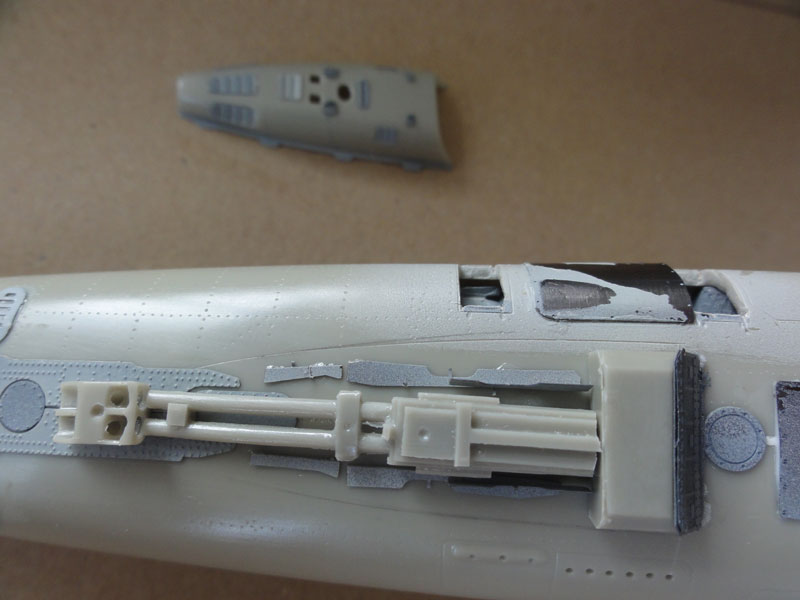
I added some extra detail inside
as the fairing will be set "open". The gun fairing was not set in place.
STEP 54s and 55
The rear trailing edge flaps were
set in the up/closed position, I left out the vane parts #20, 21. The fit
is good but I had to close some tiny gaps below the fairings #29,30 with
putty.
All major assembly work was now done. Other parts were set glued with "Superglue".
![]()
The main scheme picked was the desert
coloured Algerian Air Force scheme,
as supplied in the HPH kit complete with stencils and markings.
Algeria's no.2 squadron flies with 44 Aero Vodochody L-39 Albatros aircraft
(36 L-39ZA Albatros; 7 L-39C Albatros).
![]()
The model now got first a base coat and any surface irregularities will shown up.
I started with the lower aircraft model coat: HPH indicates FS25526 light blue for the Algeria AF L-39 which looked a lot like RLM blau. I used Gunze Sangyo acrylic #67, applied with the airbrush. The cockpittub area was masked.
Next, the lower surfaces where masked
off and after drying the upper surfaces got a coat of Revell Aqua grey
371 "hellgrau" acrylic paint. It looked all OK.
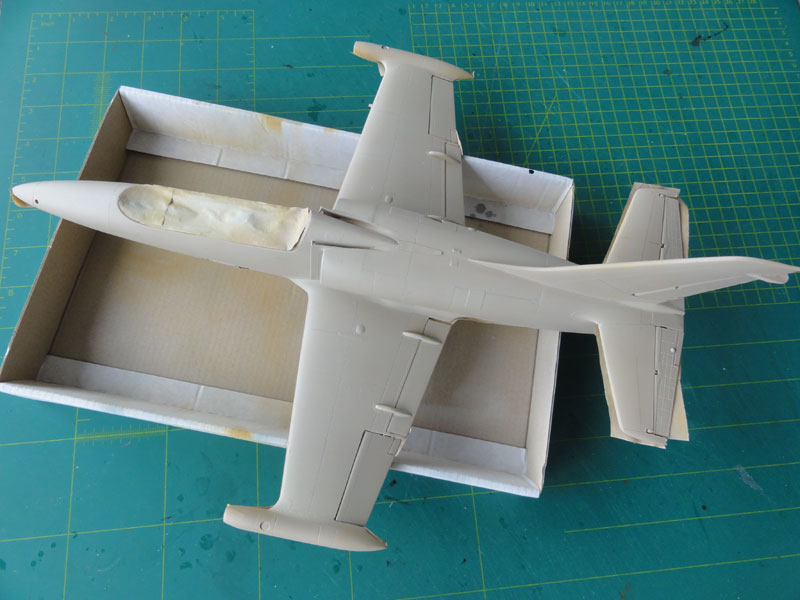
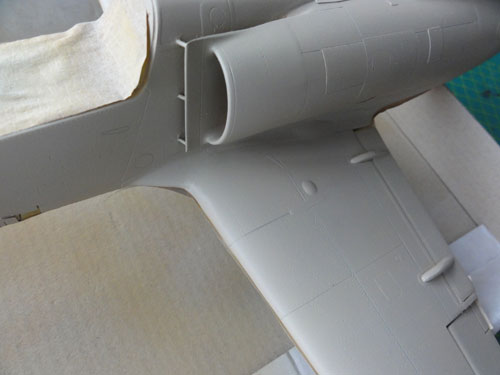
Other parts also got the grey basecoat,
like the undercarriage legs.
Next, the two desert camouflage colours for the Algeria AF L-39 were applied:
- Matt cream FS23619, for which I used Gunze Sangyo H313 sand.
- Matt light earth FS20277 for which I used a mix of 50% Revell aqua #17 + 40% aqua #85 and 10% aqua #65. This blends into a medium brown colour. Mix some extra paint and keep it in a spare jar for later re-touching work that is always needed!
I started with the cream and after drying the light earth (medium brown) for which I used paper masks held in my hand during airbrushing. This works very well as my Harder & Steinbeck airbrush is very fine and gives soft edges.
Also, do not forget to airbrush the
canopies and windscreen. HPH provides masks but these do not fully cover
the clear areas. I used them with some extra masking tape.
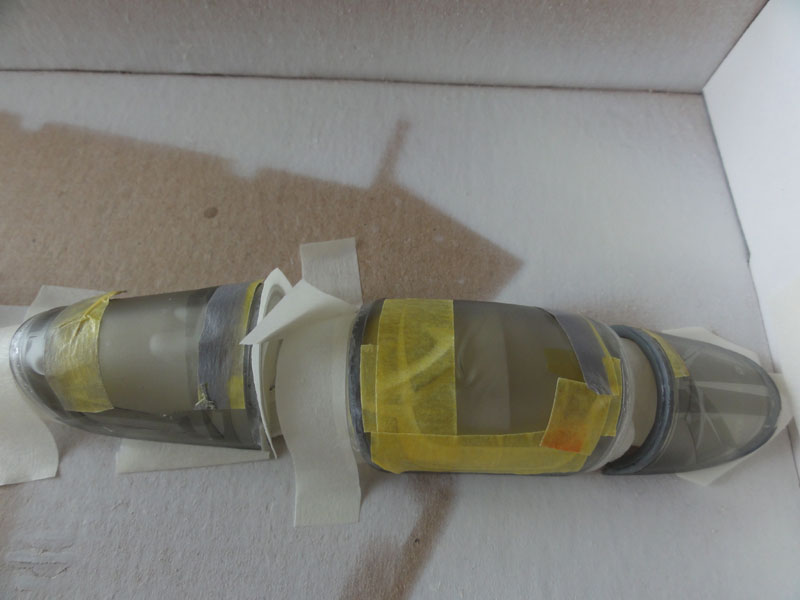
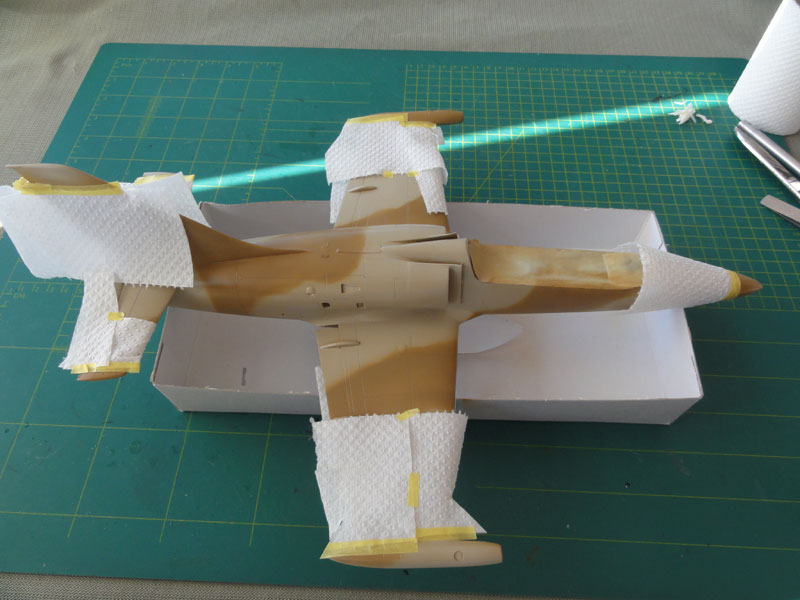
After all was OK, I applied the orange
FS22473 panels. Mask the tiptank areas, nose and fintip. Apply now a base
coat of white and then on top the orange, for which a mix of 50% Revell
aqua #25 red and 50% aqua #330 orange was used.
And finally, the black anti-glare panels on the nose and tiptanks were applied with airbrush after masking, using Revell aqua matt black #08.
![]()
DECALS AND SCHEME 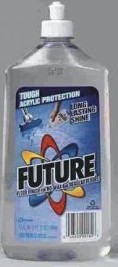
Time for the decals! But first, add
2 gloss coats of Johnson Future/Pledge varnish with the airbrush
to get a gloss decal undercoat using
this method... . This will prevent decals "silvering", the bad habbit
of decals to show trapped air below them when dried, spoiling the model
appearance.
The masks were removed.
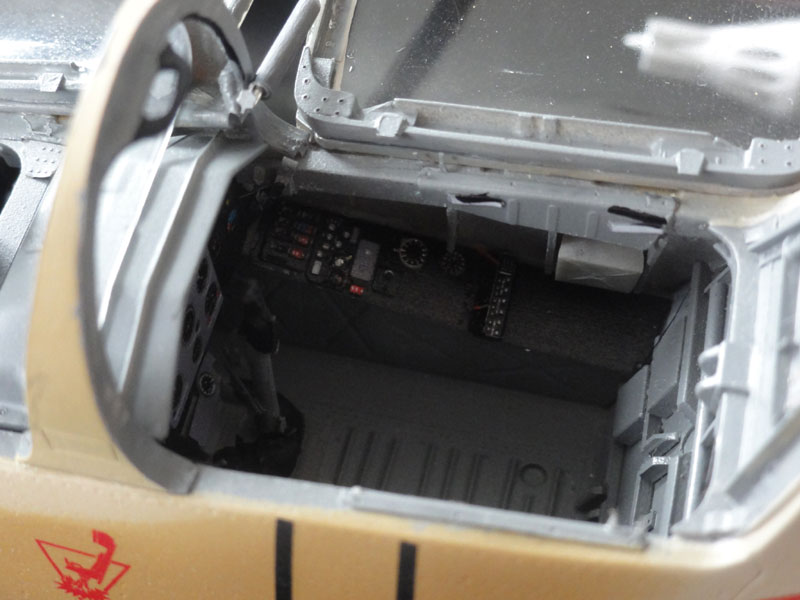
Inside the cockpit, the instrument
panels, as prepared in an earlier stage (see STEPs 1-5), were set in place.
I added drops of MicroScale Klear Fix to suggest glass work on the clocks.
I had to do some "bending" of parts
PP4 and PP5 in order to fit these in. The instrument cover #38 fitted OK
as well as the mid frame #28 (seen in STEP 36).
The HPH decals are fine but very thin, be carefull. All stencils are there and very well shown in the instructions.
I change the "57" number to "75" to
get a slightly different look of a L-39ZA Albatros
of the Algerian Air Force no. 2 squadron.
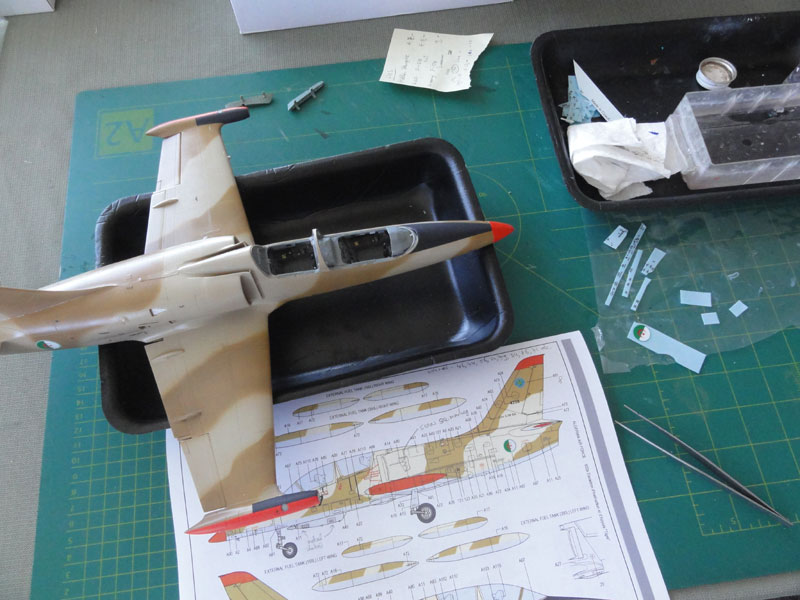
Decalling took a whole afternoon.
![]()
After decalling, the rest of the
model now could be completed.
For the weapons and stores, I picked the 2 rocket pods as in the kit seen in STEP 82. They are very detailed. Strangely though, I only had 2 pylons (and not 4). STEP 83 shows their position under the wing.
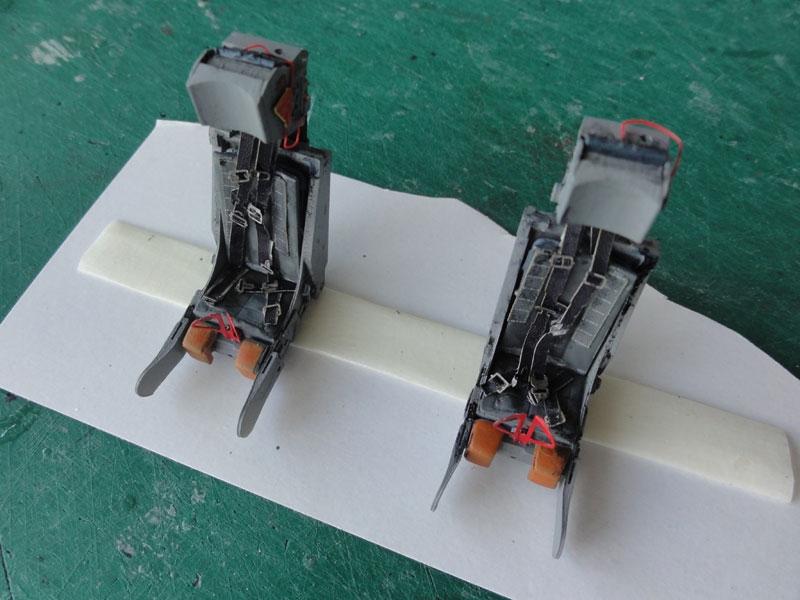
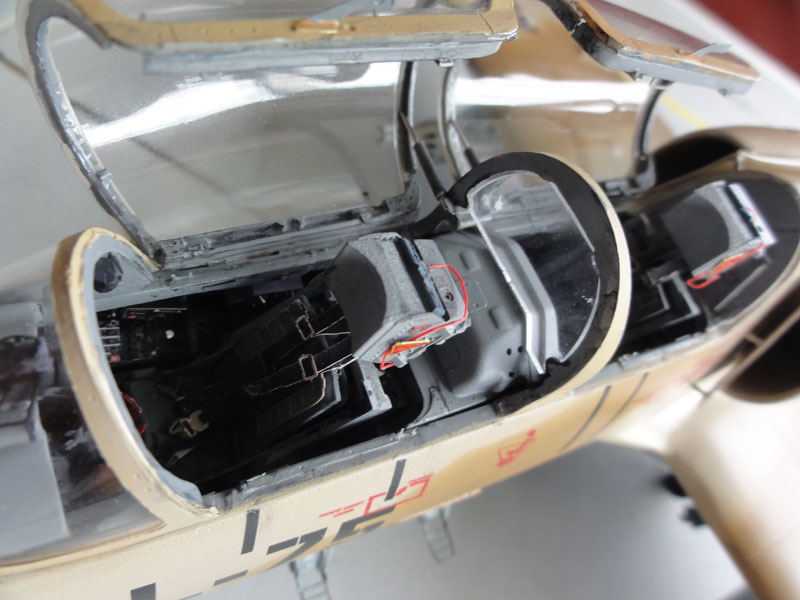
The seats were painted as shown in
kit instructions STEPs 8-14 and details added as provided in the kit. I
did not use the full harness details, but most of them.
NOTE:
Later I found out that the REAR seat should be reduced 3 mm in height!
I sanded away 3 mm from the base, better do this earlier!
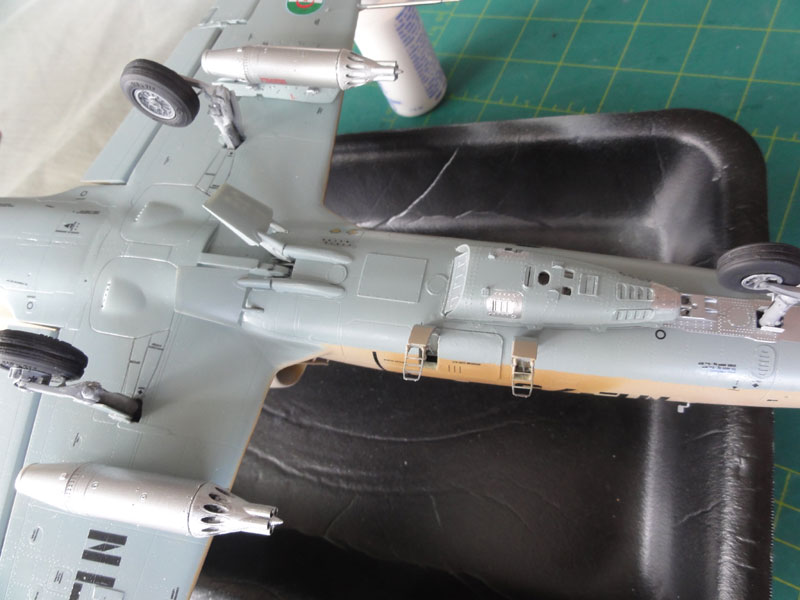
STEPs 66-67 UNDERCARRIAGE
First, the two main gear tyres needed
putty to join their 2 halves.
NOTE: I now added the undercarriage with the gear legs but found out that I should have removed the main gear bays doors! This is not shown in the HPH instructions.
NOTE: the
resin gear legs #70, 71 are as proved later TOO WEAK although having
metal wiring moulded inside by HPH.
I recommend you make your own gear
legs from thick metal wire and scratchbuild the legdetail. I settled with
the kit gearlegs but added tiny metal rods (made from cut needles) between
each tyre and leg to prevent it to bend under the model weight.
Also, on the gearlegs, I added some hydraulics wiring made from stretched sprue for the braking system as seen on a real L-39 Albatros.
STEP 78
The nose gear leg and it wheel was
installed without problems. HPH cleverly provides a metal wire for strength
here. Only a tiny brake hydraulics line was added.
The internal gun as seen in STEPs 75-77 was set in place. Some wiring was added and the gun cover part #73 already prepared after being painted metallic inside. When painted it was set in place in the open position. I used a piece of rubber to keep it flexible.
![]()
Now, all the tiny details were added
as shown in various steps of the HPH instructions, like:
- in STEP 23, the inspection glass
in the nose PP3;
- in STEP 35, the set opened up entry
steps;
- in STEP 36, the blast screen #C4
was fitted (but a top section was removed to get it to fit);
- in STEP 46, the upper antennas
(PP51, PP122 etc.);
- in STEP 51, the static dischargers
on vertical tail rudder and horizontal tail tips; these were made of electrical
flex wire;
- in STEP 68, the lower rear fuselage
details PP51;
- in STEP 70, the nose antenna rod
on base part PP81 and antenna's PP51 and IFF antenna PP52;
- in STEP 90, the angle of attack
vane PP82.
STEP 84
The cockpit gun sight was assembled,
but resin part #27 is too large, reduce its height. Also, some smaller
gunsight glasses were cut from the provided clear sheet otherwise they
do not fit under the windscreen as seen in STEP 86.
STEP 86
The windscreen framing #35 was already
set in place and the screen frame painted. It fits perfectly to the nose.
I did not use PP84 part in front of the screen.
STEPs 87-90
The internal canopy framing parts
#39,40,41,42 provided did not fit 100%. I reduced some lengths of the ends
of these. Paint the frames first matt grey FS34226 (using e.g. Gunze Sangyo
H335) before adding these frames inside the clear canopies. On the outside
of canopies, the opening handles were set in place PP56.
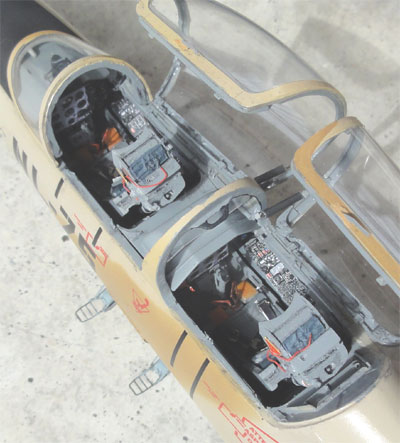
Please note that setting the canopies CLOSED is not well possible on this model as their fit gives large gaps around the canopies. So, the canopies were set open and that shows the cockpit details to good advantage.
From metal wire the actuators/retracting
bars were made from scratch as shown in STEP 89. The tiny canopy locks
(PP110) were finally set in place and painted light grey.
The ejection seat "crew leg
wiring" as suggested in STEP 90 was left out, not a lot is seen when the
seats are installed. The seats were set in place (as NOTED before, the
rear seat base was reduced 3 mm in height).
STEPs 59 and 60
The tiptank glass noses were added.
HPH provides good clear vacu noses and some spares. The tiny gaps were
closed with white glue and painted when dried.
Also the two large wing leading edge
pitot tubes were added; these were made from thick metal hairpins and needles.
Use superglue here. Two tiny red and green clear position lights are also
provided and set in place.
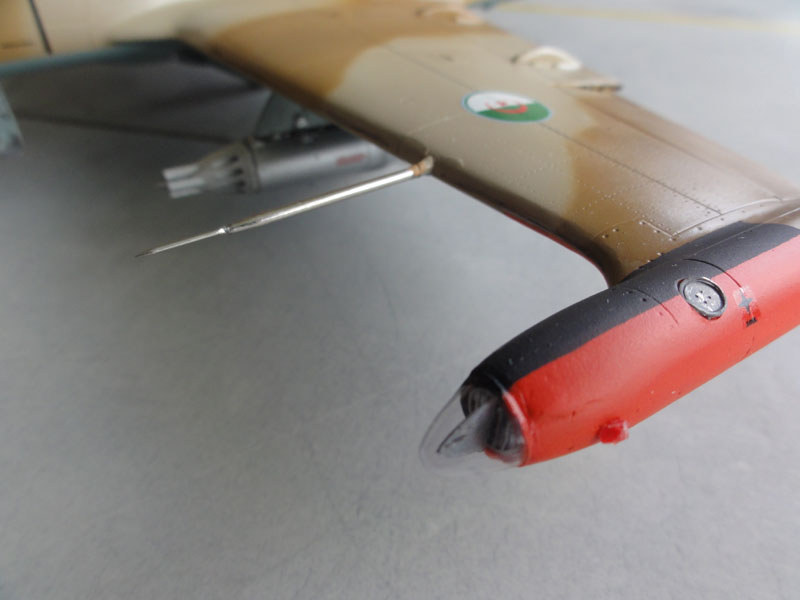
Some light weathering was done with a pencil and ProModeller wash in aileron panels, trimtabs ansd wheelhubs and legs.
Finally, the model got a coat of semi-matt varnish, using Johnson Future/Pledge with 5% mixed in TAMIYA X-21 "flat base" matting agent. This was applied with the airbrush. It gives the decals a protective coat and the model a nice even semi-matt look.
That completed
a 1/32 L-39 ALBATROS. Not an easy kit to make, but worthwhile looking at
the result!
Look for
the completed model photos at
To next
final [ Page 4....]

(c) Copyright Meindert "designer"/ All rights reserved. Your comments are welcomed by webmaster
Created this page
June 16, 2014