HPH 1/32
[ page 2 ]

building the 1/32 HPH L-29 Delfin
... continued from page 1...
real L-29
page 1
page 2
page 3
Wheel bays were prepared.
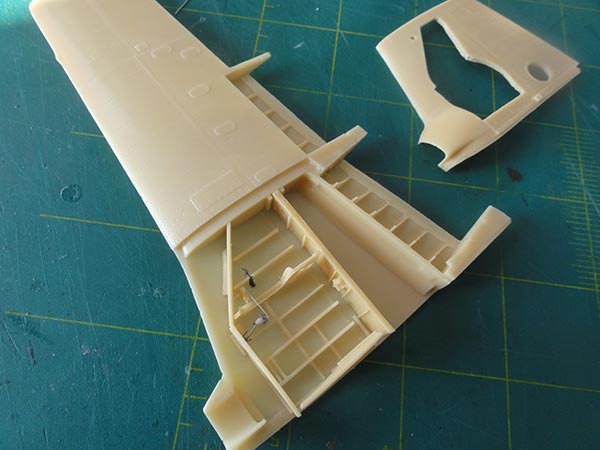
I opted not to add all details and hydraulics to be made from wire at this stage. That will be done later to avoid handling damage.
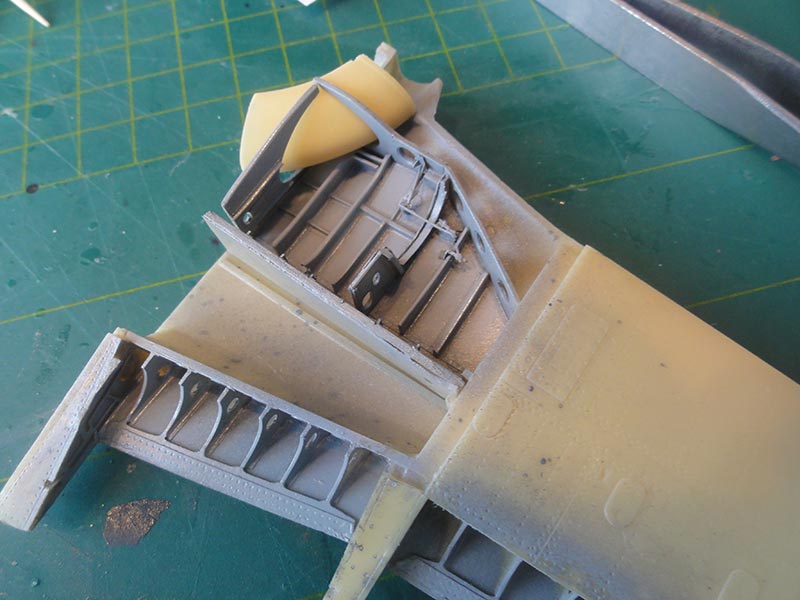
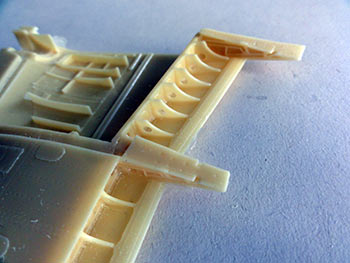
The separate lower panel needs a bit adjustment and sanding on their insides and clamps while drying the 2-component glue.
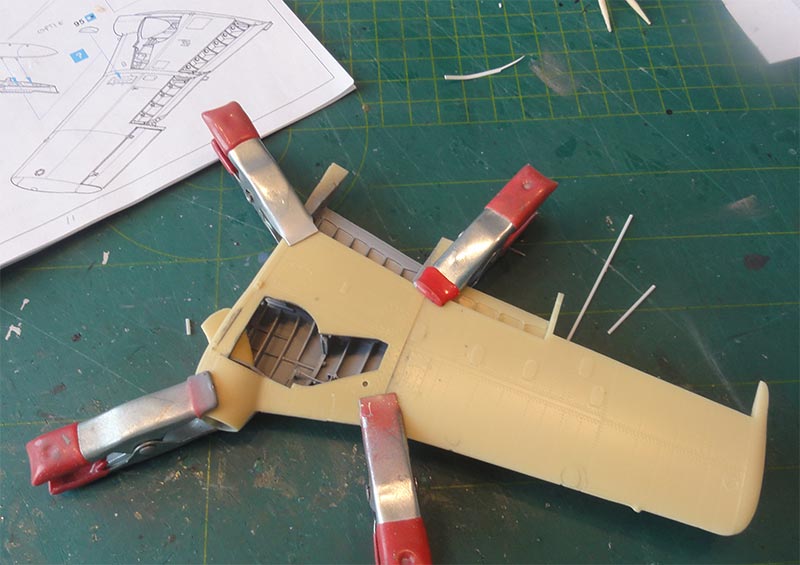
The wing leading edges and intakes also need quite some putty/ filling.
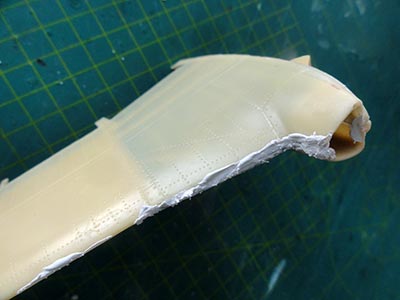
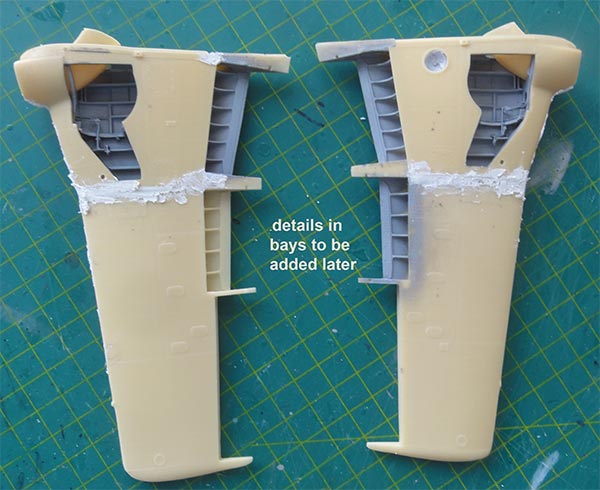
The wing halves were joint with the fuselage. Do one half at the time and let dry. Some extra scrap plastic was used on the inside to get a stronger joint with 2-component epoxy glue.
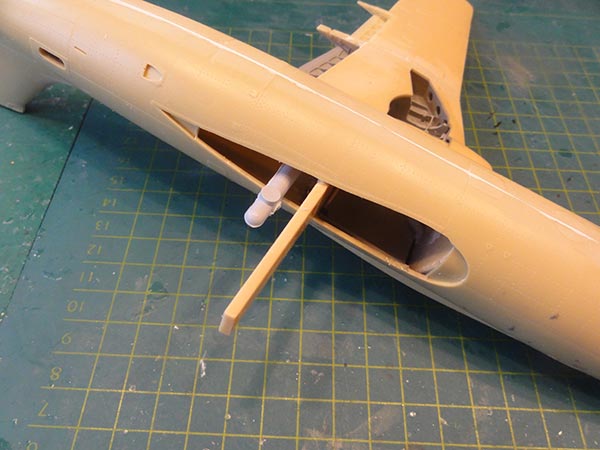
After a few hours, try to use a scrap plastic rod to act as spar. I had some trouble with the supplied spar part but probably my fault. Allow ample time to dry.
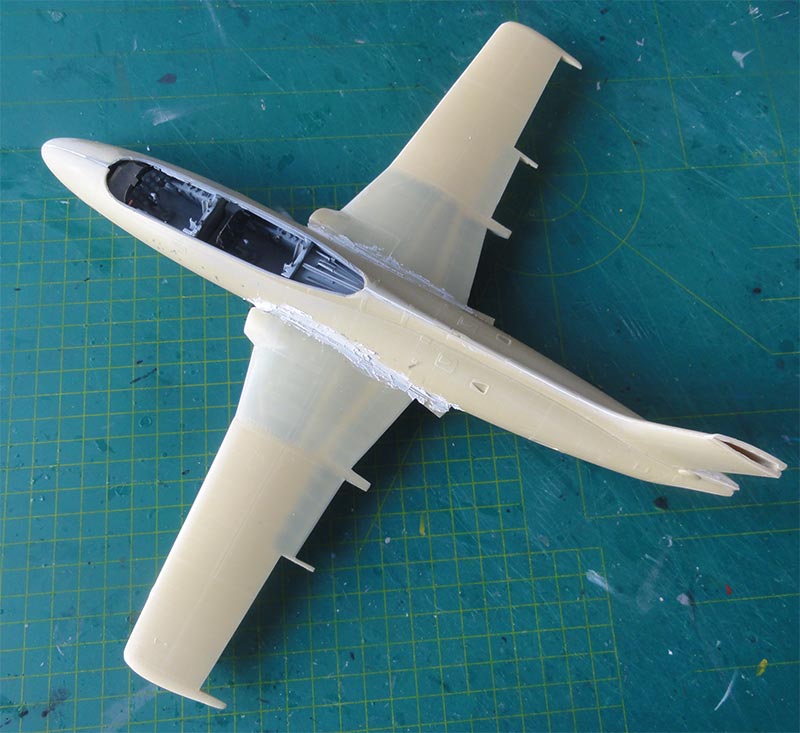
Putty was needed at the root joints, but the end joints are strong.
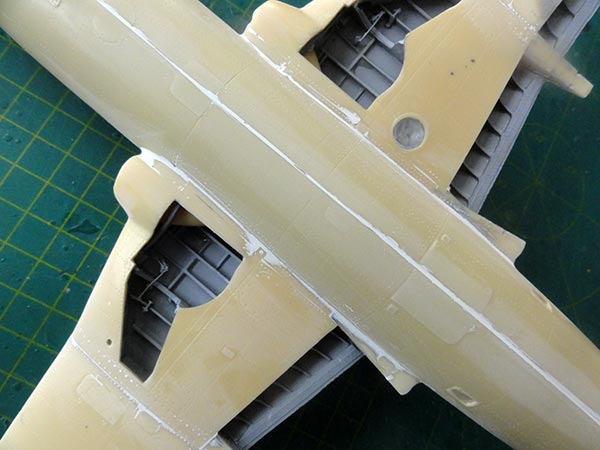
The Fowler flaps and ailerons got their tiny etched metal bits. But the moving surfaces were not yet set onto the wing. The wheel bays were painted medium grey.
A base grey coat with Revell Aqua 75 stein grau acrylic was airbrushed as primer now, also on the larger bits like the flaps and ailerons. This will reveal any forgotten resin holes and gaps. Do not forget to mask off the large cockpit openings and paper towels in wheel bays to mask these.
Note that at this stage the T-tail is not yet installed to avoid damage while handling the model.
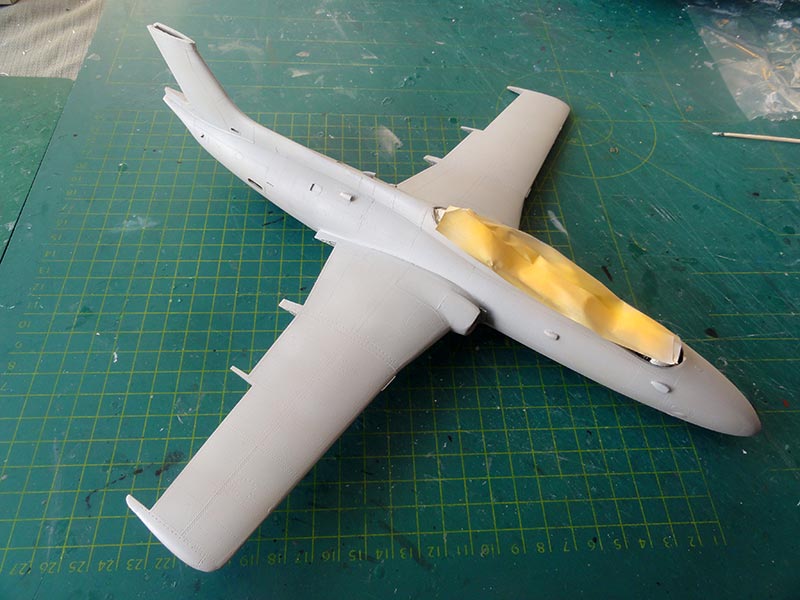
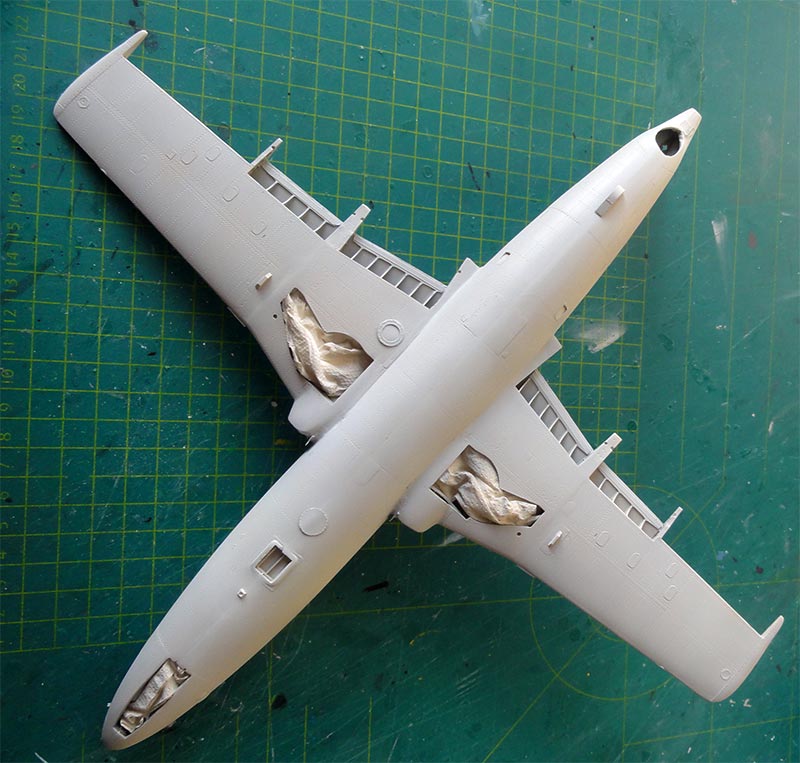
Some small joints and areas got another putty layer and were sanded flush.
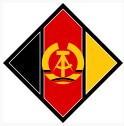
The paint scheme desired was different than those in the kit. I opted for a East German "DDR" L-29 in a bare metal scheme. The nice booklet of "Mark 1" and the book about "DDR Flugzeuge" inspired here (seen real L-29 page references). This will need some custom decals as we will see later on.
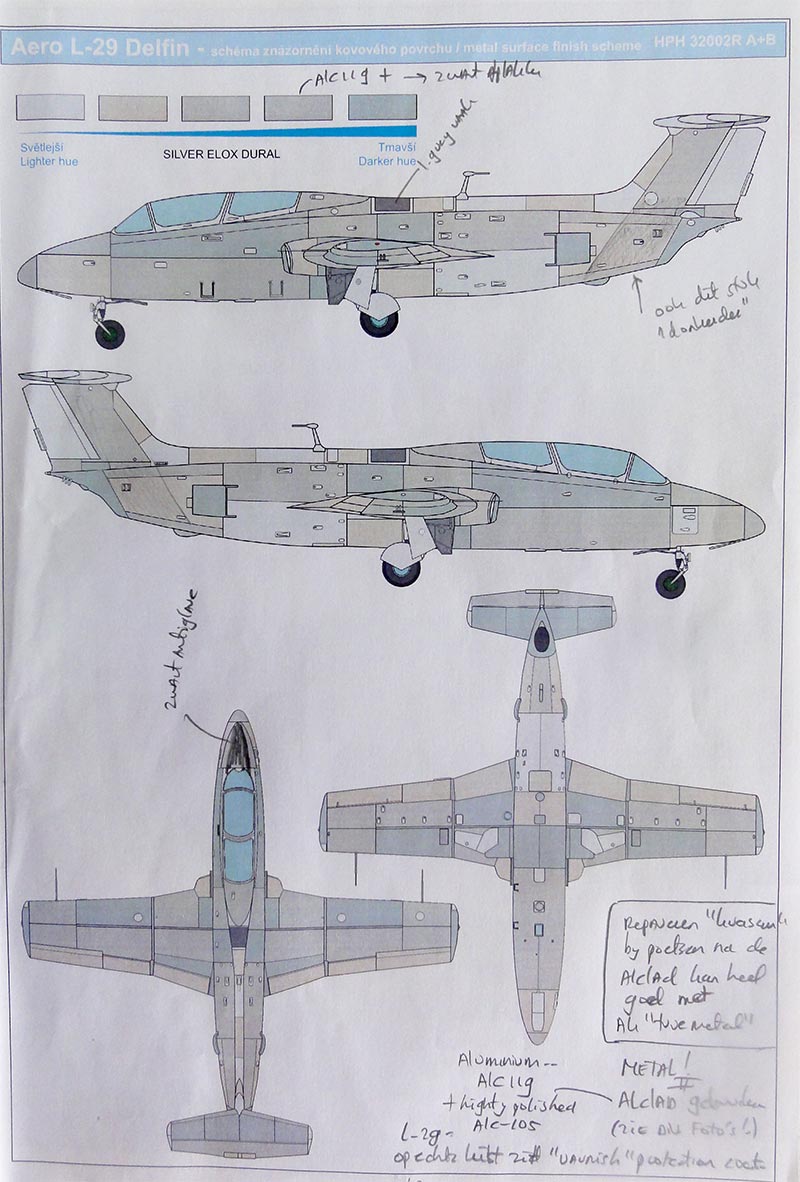
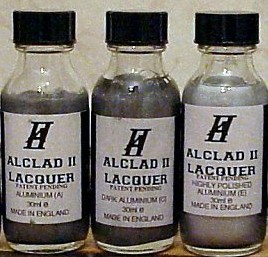
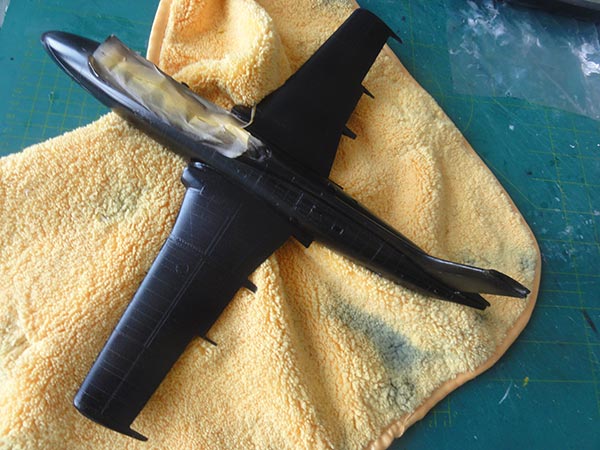
I used the ALCLAD metal paints system, requiring first that the overall model got gloss black coats airbrushed (using Revell Aqua 08 + 07 black acrylics).
Polish the areas with a special cloth when dried to get a scratch free black under surface.
For the DDR scheme, now some red trim at tips and nose were airbrushed with Revell Aqua 330 Red after masking.
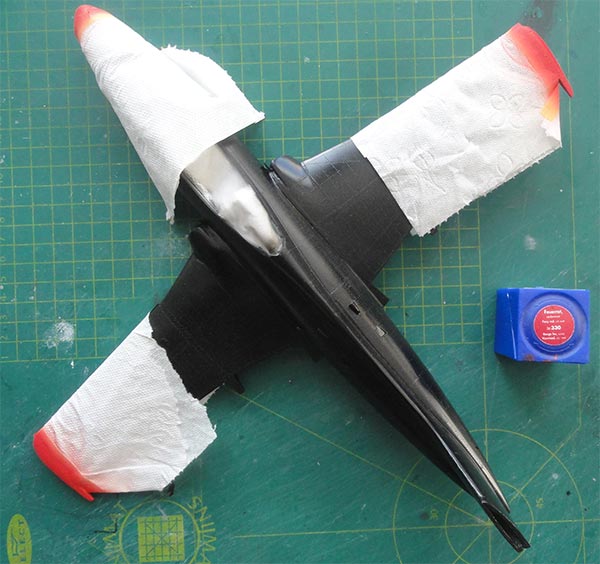
When dried, mask and protect the red areas.
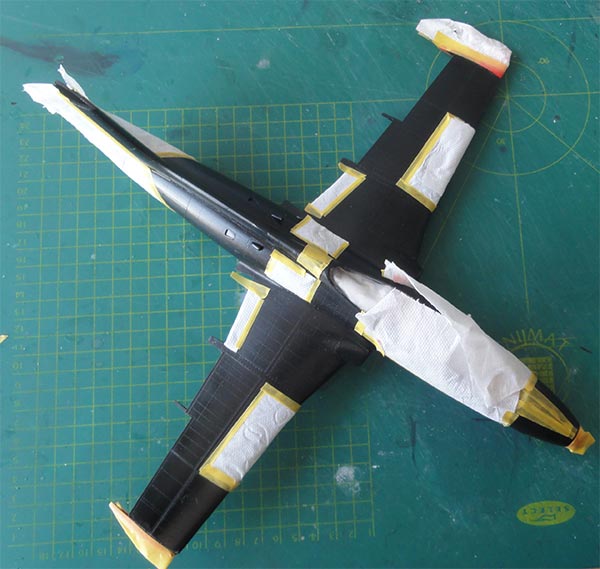
A simple technique now was used to achieve relatively simple different shades.
(1) First mask off several panel areas of the black.
(2) During airbrushing the first ALCLAD ALC-119 aluminium metal coat, after a few passes...
(3) remove the masks. Than again overspray the revealed black areas in passes, this will give a slightly different darker sheen (so without using another ALCLAD bottle).
Some smaller panels were airbrushed ALC-105 polished aluminium. Avoid to set masking tape on Alclad surfaces, it will often tear off. Loosely hand hold carton to the panel lines to form a sort of mask.
The result is seen here. Note that a real L-29 does not "blink" and shine, these are well used aircraft....
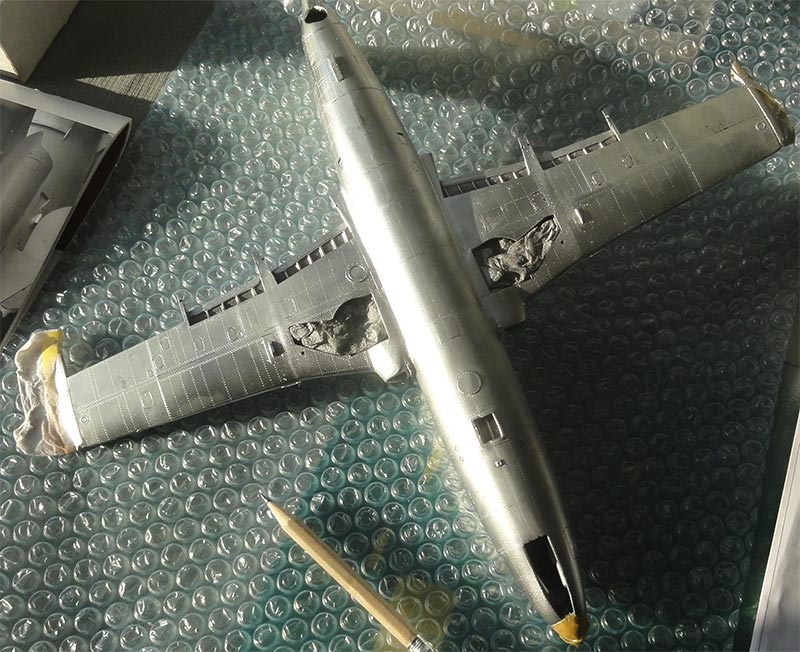
I enscribed some smaller panels of access hatches with a pencil, this suggests a hatch a bit more.
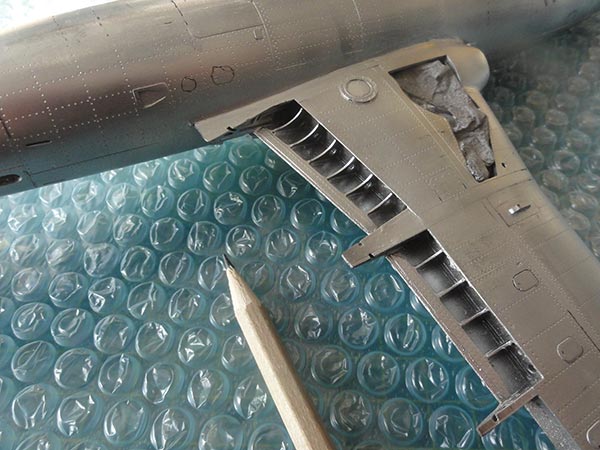
(4) Now, the metal surfaces were again polished with the cloth. Some scratches appeared, damaging the surface. To repair, a metal paste from AK interactive Aluminium #AK455 was added with a brush. Immediately polish the paste to shine with a cotton swab. Locally, Alclad coats were airbrushed at these.

It all looked good now.
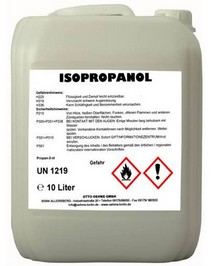
(5) ALCLAD surfaces remain very vulnerable, so afew gloss varnish coats were airbrushed for protection. Johnson Future/ Pledge acrylic varnish was used, thinned with 20% IPA.
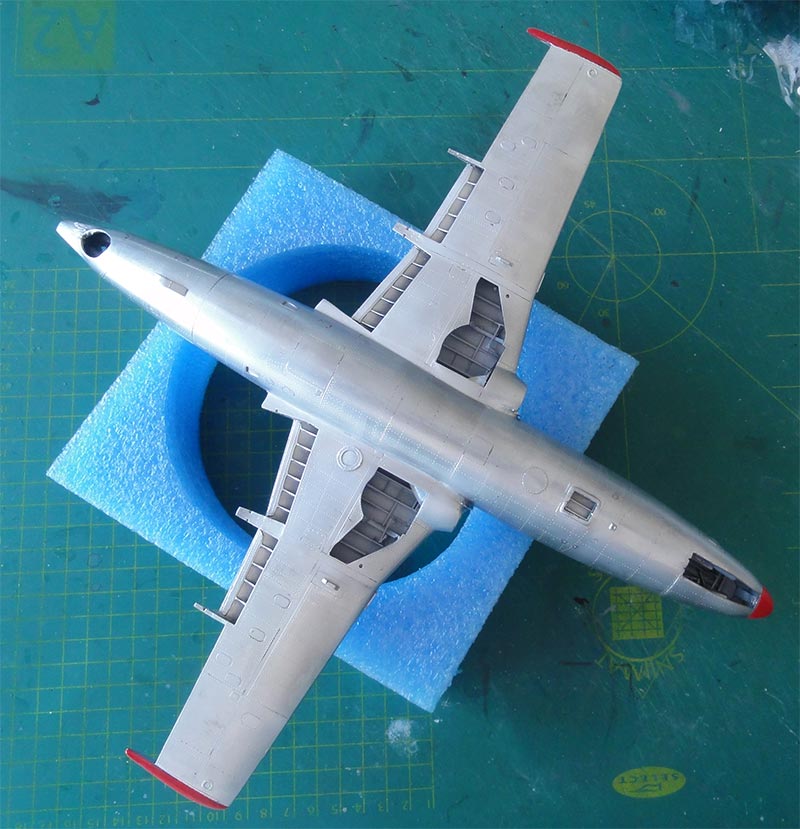
The result looks good with different shades of metal. Weathering and wash will be added at a later stage.
On to next [ Page 3... ]

(c) Copyright Meindert "designer"/ All rights reserved. Your comments are welcomed by webmaster
this page created May 7, 2021