[ Page 4 ]
1/32 scale Hawker Siddeley/BAe Hawk jet trainers: REVELL
... continued from page 3 .....
After decalling, both models were given another type of end-finish. Hawks are very glossy and kept in pristine condition by the Royal Air Force.
As noted before, the plastic surface
of the Revell kit has a sort of grain, and needs polishing. A few coat
of the usual Johnson Future/Kleer/Pledge
will not give the glossy effect.
So, I used another way here:
Revell acrylic Aqua gloss clear
("Farblos") "01" was applied by hand painting with a good wide paintbrush.
After each coat wait 24 hours, and
apply a next coat. At the black Hawk , 3 coats were applied. 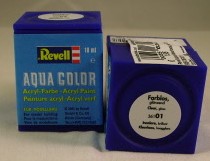 On the red-white Hawk, first a coat was airbrushed on the grey mid wing
panels using Johnson Future/Kleer/Pledge. But for the white, one coat of
Revell Aqua "01" was added and 2 coats on the red surfaces.
On the red-white Hawk, first a coat was airbrushed on the grey mid wing
panels using Johnson Future/Kleer/Pledge. But for the white, one coat of
Revell Aqua "01" was added and 2 coats on the red surfaces.
This gloss work was done at this stage
for better model handling. Also, the tailplanes, flaps, ailerons, wheel
doors and so on got this treatment.
BACK TO STEPs 4 and 5
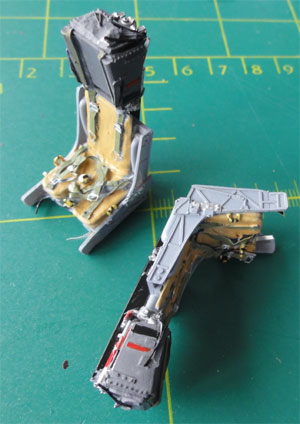
The Hawk has always had the Martin Baker Mk.10 seats but later on, the headrests became more "squared".
As noted
before, the MB Mk.10 seats used for the kits were 2 resin ones from
CMK
#32158 set and 2 from the kit, these were further detailed using the
resin seats as example but alos looking to photos. On the CMK seats, some
top rest straps are missing. Straps were made from cut lengths from aluminium
household sheet and all painted. The flat Revell seat back section got
a coat of masking fluid to get a suggestion for a "texture". This was painted.
Buckles and harness parts came from
spare etched metal sets. Bits of plastic were also added.
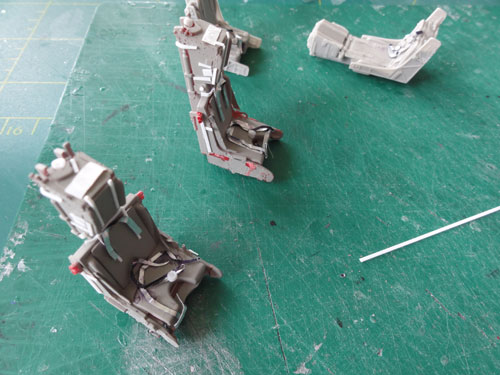
The seats got a mix of medium grey
and black with various colours for the cushions and packs. Some stencil
detail are also nicely provided on the Revell decal sheet.
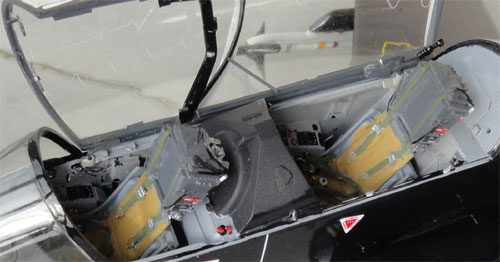
The MB mk.10 seats themselves are a very tight
fit inside the cockpit tub. Check and remove any material on the seat pan
sidewalls as needed.
Instrument panels and cockpit detailing
The final cockpit detailling was not yet done (STEPs 1-3). Looking at photos, additional details were now added.
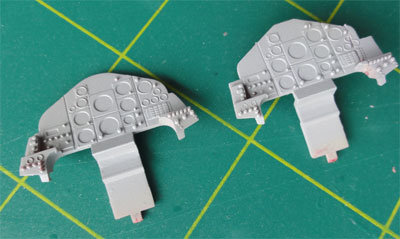
On t instrument panels a right panle was cut away seen below, this will enable installment later on. Revell provides decals for the instrument, clock work and so on. The later T.1a kit has a slightly different style than the Red Arrow kit decals with less instrument border panels, both are OK.
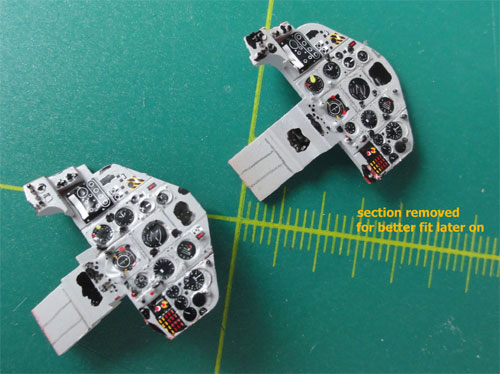
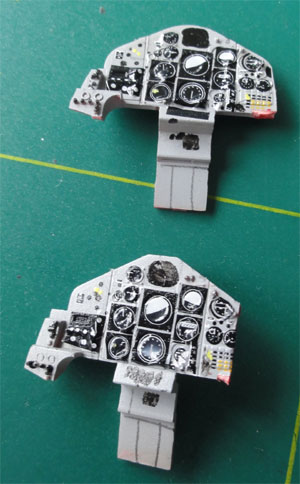
Most of the kit decals were used, other details were made from scrap. On the instruments glass work, a coat of Micro Kristal Kleer was added with a tooth pick to get a "glass look". Painting was done in various colours.
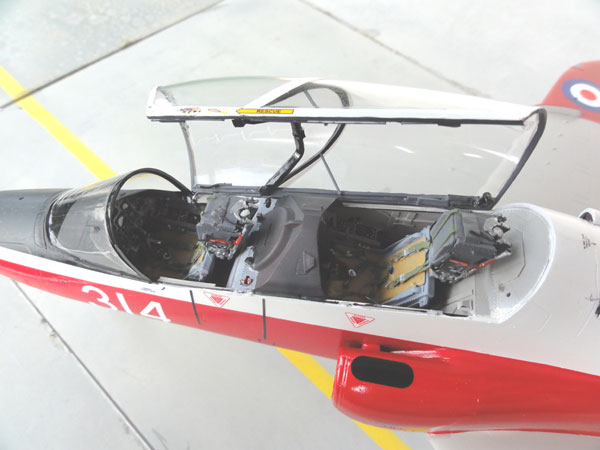
STEP 49 (or 56 on the other kit T.1A)
The windscreen was fitted, but I kept the forward cockpit instrument hood/cover "loose". This well enable a good central fit between the windscreen sides. The windscreen has some very tiny gpas left, these were filled with White Glue. When dry, paint in the appropriate black colour.
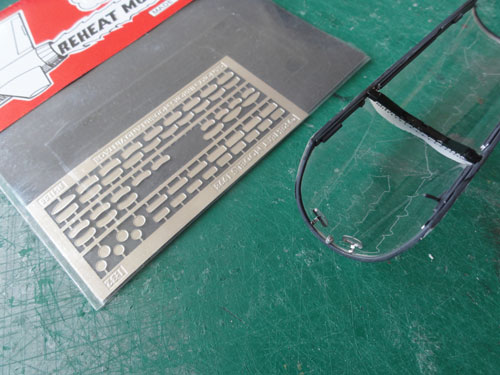
Now it was time to look at the canopies.
They got as seen above their outside frame colours, but the internal frame
details were to be added. Inside each canopy, frame details were made on
a plastic strip and rod added. These were painted Dark grey and are to
be glued inside.

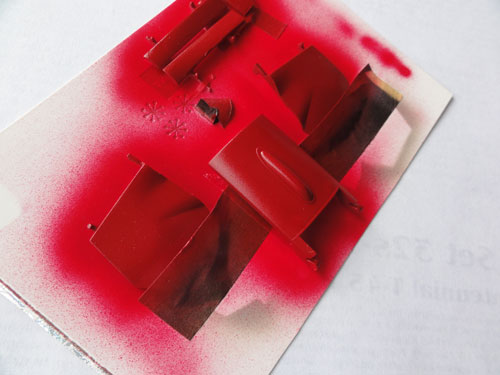
Inside the real HAWK, also a very
noticeable canopy detonation chord is seen in the glass work. Revell has
decals for this, but these have carrier film and are very vulnerable. I
decided for another approach: the chord would be engraved on the inside
of each canopy:
(1) a paper copy was made of the
Revell decals 52, 53, 54.
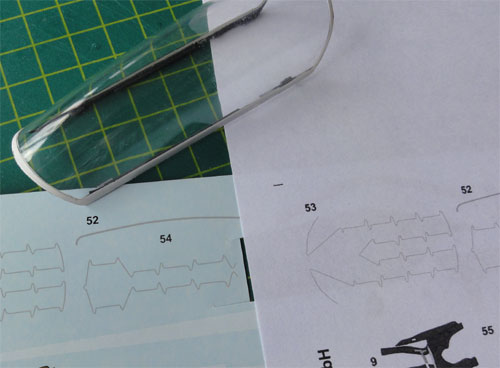
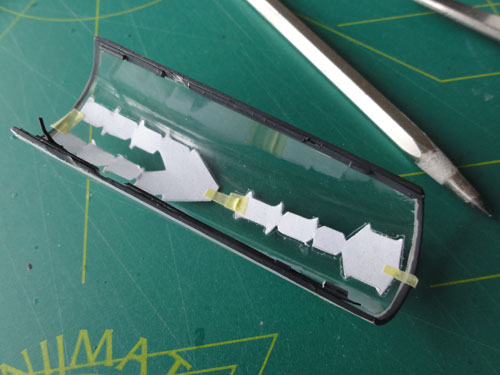
(2) this paper canopy was cut out
with scissors and will be used as pattern.
(3) It was taped on the inside
(4) with a very sharp panel engraver,
the chord was engraved by hand.
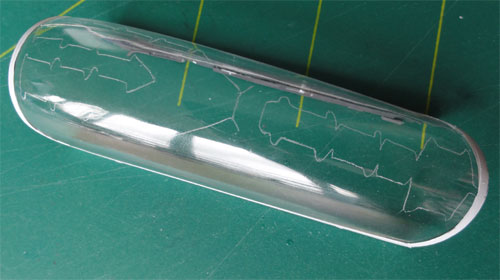
...... with the result seen here.
Although not perfect, it looks better than a decal.
Also, I added the white sealing seen
around the canopy frame on the "black Hawk". From spare white decals, very
fine decalstripes were cut and added.
The mid frame was also made from a
spare white decal. It was cut round and fitted. Please note that the internal
protection blast transparant screen Revell part #113 has it frames
painted black, let dry before fitting it inside the canopy.
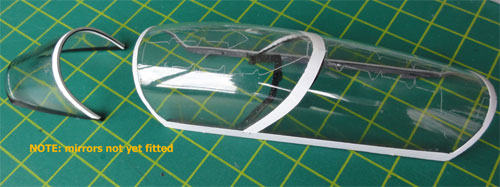
Mirrors were added as well inside
the canopy, using etched metal REHEAT ones from the after market.

A couple of strengthening rods are
seen as well inside a real Hawk canopy, these are seen here made from plastic
rod.
Canopies are very fragile and once
in a while need cleaning. Therefor, it was decided to keep them detachable.
From small metal rods, a sort of attachment was made so the canopy can
be removed.
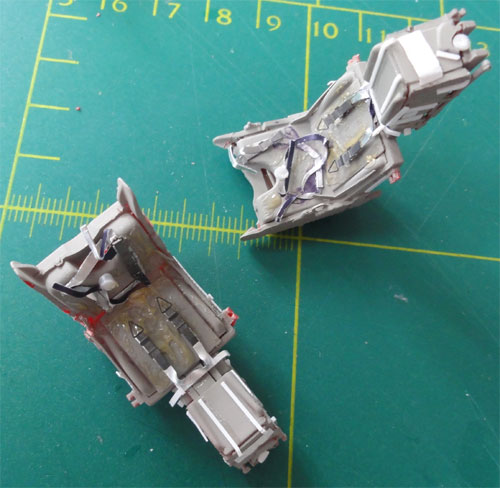
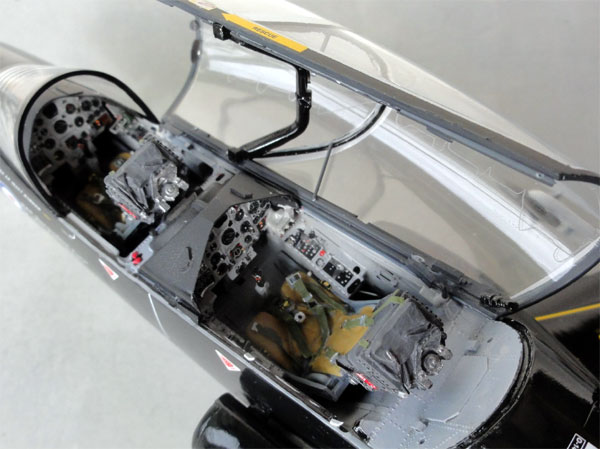
The results for the cockpits are seen
here for both Hawks.
The undercarriage and legs were simply now added as per instructions. On the main gear legs some hydraulic wiring was added. Door rods and mechanisms as per kit were set in place, but the instructions are a bit unclear. Look at photos.
Inside the main wheel bays from stretched
sprue some wiring was added as well. A "used look" was achieved by painting
some wiring with a wash coat of Tamiya Smoke X19.
The rear speed brake below the fuselage tail was simply assembled and set in place "almost closed"
On one kit, it sprayed red
first
along with the other gear doors.
STEPs 45, 47 , 48 (on kit #04849)
The pod looks like a "smoke pod"
in the Red Arrows kit. I did not use it. Also, the Red Arrows smoke pipes
in STEP 47 above the jet exhaust pipe were not needed on my model.
STEP 46, 49
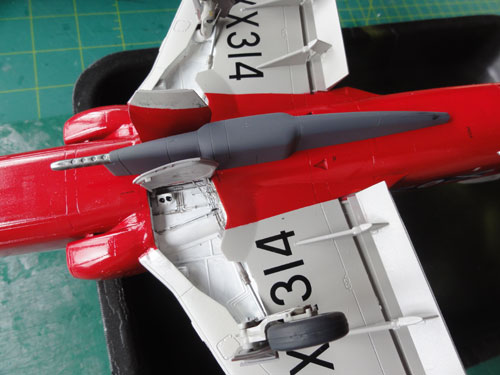
There is also a gun pod supplied
in the kit, one will be used on one Hawk. It needs a tiny bit of sanding
in the middle mating surface to have only a tiny gap. It got a extra dark
grey mat paint. Paint the gun barrel metallic.
The horizontal stabilizers were installed (at the correct angle) as well as the ailerons, gear doors, and so on.
The holes in the fuselage were, where applicable, filled with transparant Micro Kristal Kleer (as parts #21,22,36 were not preferred).
STEPs 33, 44, 54, 55
Various antenna's were installed
as indicated. The thick antenna parts #116 were replaced with thinner ones
from plastic card. One such an antenna should also be fitted immediately
aft of the low speed brake, see STEP 44 (a gap is there on the kit, but
Revell forgot to indicate this; use part #113 or #117).
Static probe #115 on the right cockpit
side was not installed, it is not always seen on Hawks.
The pitot tube #120 was added, it
is very fine and usuable.
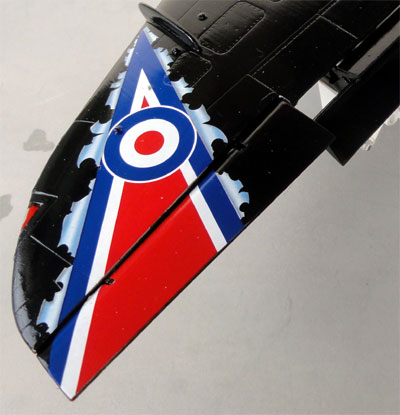
The anti-collision lights #52 are nicely done by Revell. The white tri-angular lights are fitted on the spine and in front of the lower speed brake.
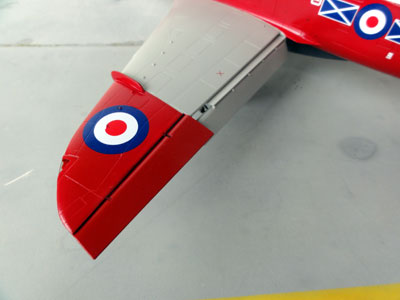
The wing tips lights are also in the
kit, nicely done. Blend them in using some white glue and paint the
edges. The wingtip lights themselved were given coat of transparant red
and blue using Tamiya Clear acrylic.
OTHER STORES
Hawks were designed to carry a lot of stores. In the beginning for the "attack role", stores were like 30mm centreline Aden guns, rocket pods and also bombs for ground attack training, on four pylons. No "wet pylons" were fitted, so no fueltanks could be carried by RAF Hawks.
STEPs 47-53
The later Revell kit ( #04849 "RAF")
with grey plastic has four pylons and a set of rocket pods and fueltanks.
These fueltanks are however not applicable for early Hawks. I believe the
later Hawk 100 series was capable of carrying such tanks. The Revell kit
parts will be used for the Kinetic 1/32 Hawk series 100 (which are not
in that kit unfortunately as well as any pylons, more on that in a Future
modelling report...).
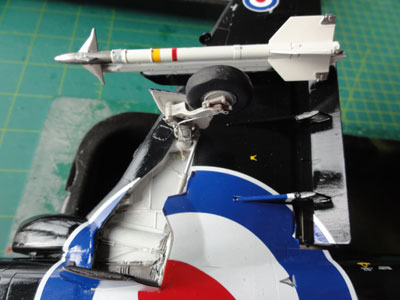
In early 1983, many RAF Hawks were converted to be able to fire the AIM-9L Sidewinder AA missile. After this conversion, aircraft were designated Hawk T.1A. So a model with the Sidewinders would be nice as later used by the RAF.
From the spares box, 2 AIM-9L Sidewinders
were retrieved as well as some good looking launch rails (I believe from
a F-16 SUFA Academy kit). Each rail was reduced 4 mm in length (total length
about 85 mm).
The inboard pylons #127, 128 of the
Revell kit #04849 were used with the launch rails added.
On the black Hawk, a small fairing
was added on the right-mid side of the compartment above the exhaust. Sometimes
seen. It has a white tip.
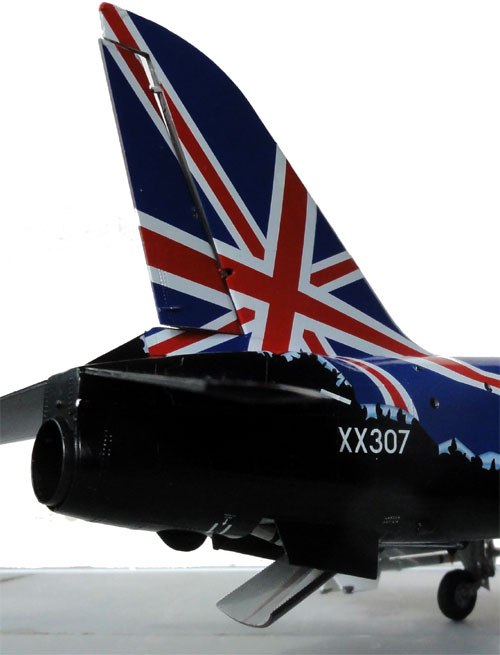
The two Revell Hawks are ready.. look at the results on........
To next [ Page
5..... ]
Back to 1/32 Models.......

(c) Copyright Meindert "designer"/ All rights reserved. Your comments are welcomed by webmaster
Created this page
July 7 , 2013