in 1/32 scale
[ page 3 ]
F-86D (called "Sabre dog") 1/32 scale Kitty Hawk kit
... continued from page 2....
The forward and aft fuselage sections
and joint is seen here. Considerable sanding was needed and rescribing
some panellines.
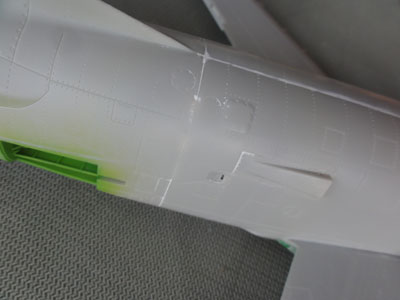
At the upper wing-fuselage joint
a little putty was needed to close the gaps as well.
STEP 16
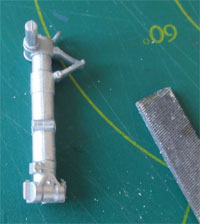
The main gear struts are nicely detailed,
only add some hydraulic brake piping from sprue later on. The struts may
seam a bit weak with upper and lower halves, but time will tell....
During dry-fitting I found that the
location lugs are way too thick. It had to remove them quite a bit in order
to slide the struts into the wing wheel bay.
 .
. .
. .
.
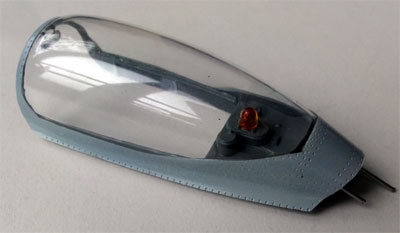
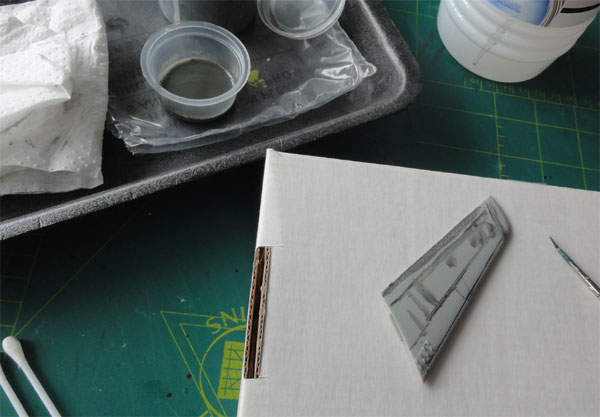
STEP 20
The nice clamshell upward tilting
canopy is very good. The very nice canopy rear interior with warning light
looks fine. Even some interior framing parts E7 and E8 are in the kit.
The rear cover is also there with the beacon. I replaced the mirror part
GP9 with a metal one from REHEAT models.
I did not install the rear part E50
with a moulded stub as I want to make a sort of hinge so that the canopy
is detachable on the model. This was done with metal pins.
Paint the canopy details inside FS
36231 grey.
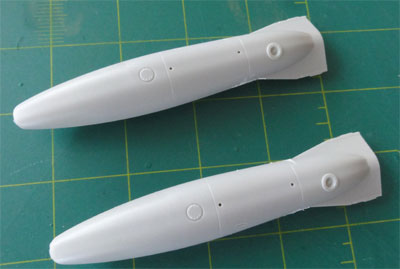
STEPs 22 and 23
The main external fueltanks were
assembled and some filler is needed. The pylons are nicely provided as
well and the fit is good. Do not install yet.
In the early days, the FFAR rockets
were the only F-86D Sabre Dog armament. Other stores are the GAR-8 Sidewinders
and their inboard pylons of correct shape are in the Kitty Hawk kit. Probably
the early Sidewinders were only used by a few squadrons, otherwise do not
install them. They are however often seen on upgraded Sabredogs like those
used in Asia.
STEP 21 + STEP 23
The windscreen is fine and the fit
is OK but will be done as last step.
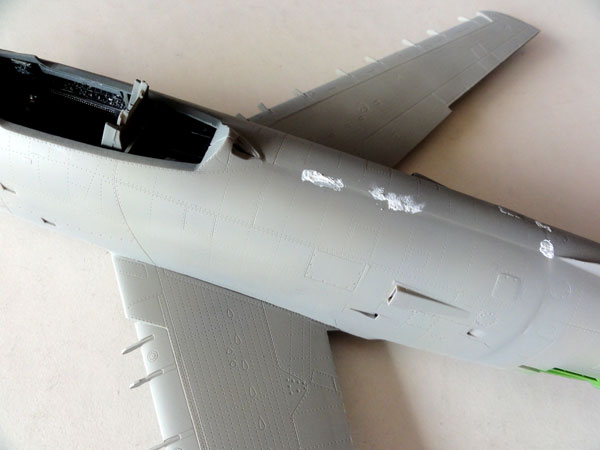
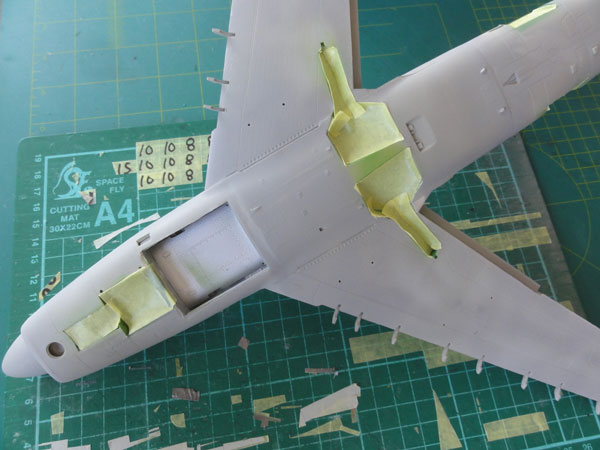
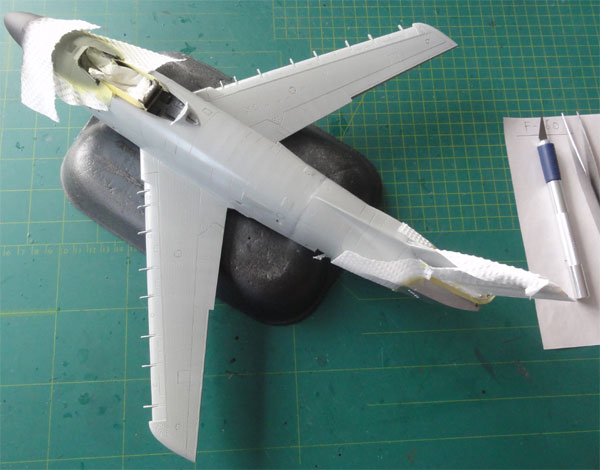
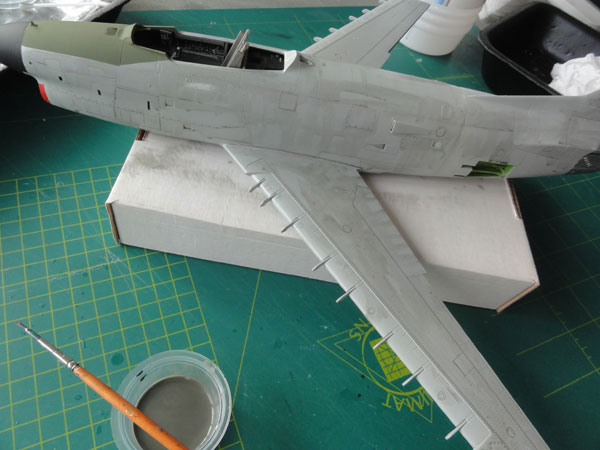
The main parts are now assembled and ready to get a base coat.
The base coat was airbrushed after masking off the cockpit area and polishing any irregularities with a sanding and polishing block . Revell Aqua 75 base grey was used here as base coat. All small errors were corrected with putty and then the next coat was to be airbrushed.
Next, the gear bays, inside of gear doors, airbrake doors and various bit were airbrushed interior green using Revell Aqua 360 green.
After that, these bays were masked
before applying the next colour of the Sabredog scheme desired.
 .
.
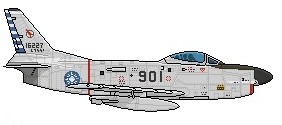
COLOUR SCHEME : TAIWAN AIR FORCE
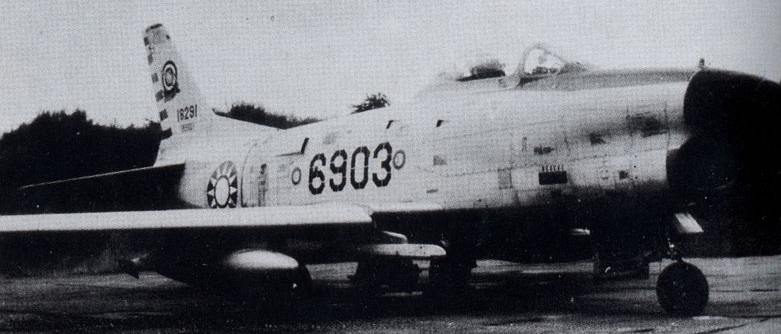
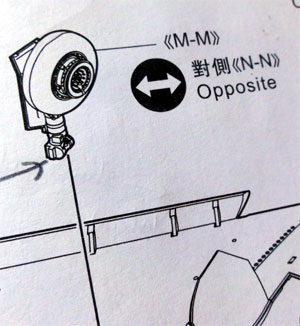
After 1958 exports were allowed and the F-86D Dog was also exported to some American Allies like Japan and Taiwan and some upgrades were also done like the Sidewinder capability. Note in the photo above that the missile box is seen fitted inside on the windscreen. This export was allowed as the systems were thought less sensitive as the USAF got the more advanced F-102.
The colour scheme picked for this model is in the kit: the scheme "F" for the grey "Republic of China (ROC)" e.g TAIWAN Air Force F-86D. It is somewhat different than most metal coloured Sabres and I already had a metallic looking F-86K in 1/32 made.

The TAIWAN roundel decals in the
kit look fine as I discovered that the blues varied a bit during the years
(darker v.s. lighter in earlier years).
Kitty Hawk suggests that for the TAIWAN Air Force Sabredogs 2 greys were used : Fed.Std 16440 gull grey and Barley like grey. Looking at the few TAIWAN aircraft photos found, I think that a single Air Defense Command grey Fed.Std 16473 looks much better. This was also a common grey used in the USAF in later years.
The model got an overall ADC 16473 grey using Gunze Sangyo H61 acrylic paint. And also the canopy outside frames, windscreen frame outsides were masked and also airbrushed ADC 16473 as well as the external wheel gear doors. And obviously the separate slats, flaps, airbrake exteriors and pylons. And the outside of the deployed FFAR Rocket tray.
Some areas were masked off. The anti-glare
panel got, after masking, a coat of olive green using Revell Aqua 362 green.
When dried, the same ADC 16473 paint
was thinned with some Gunze Sangyo white H1 (about 20%) and many
but small patches on the airframe were airbrushed loosely by hand and with
some masking in this lighter colour. This gives a bit weathered effect
and looks realistic.
It seems Taiwanese Sabredogs had lighter grey coloured ailerons when looking at photos. So I airbrushed the two big ailerons overall an even lighter grey using ADC 16473 with more H1 white!
When this was all dry, it forms a
perfect gloss acrylic base for some additional "wash".
This wash will show a bit more the
recessed panels and rivets. I used a mix of dark grey Enamel and White
Spirit. Do NOT use black as this shows too much and is too dark! Apply
the wash with a brush at areas of the model and let dry for say 30 minutes.
The enamel based wash will NOT affect the base acrylic colours. This is
essential when using this technique.
Next, using many cotton swabs, the
wash was removed at various places and panels. Do this in the airflow direction.
Much of the dark grey wash stays in the recessed panels and this gives
a subtle weathering effect indeed.
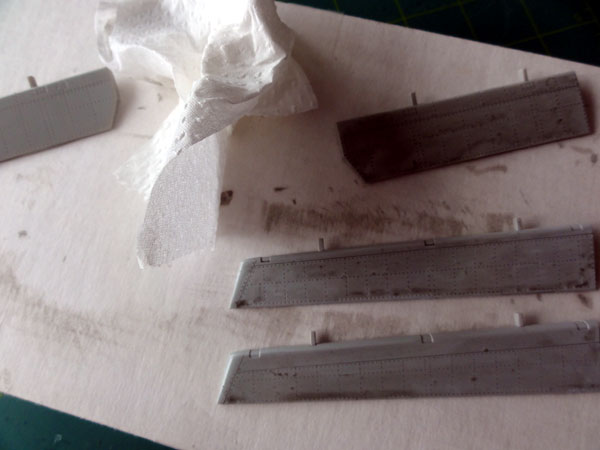
photos shown... the wash needs still
be removed using cotton swobs.
When not satisfied, simply apply again wash, let dry and remove when slightly dried. The entire model was given this treatment. Also apply to the parts like the ADC grey airbrushed parts like stabilizers, slats, ailerons and flaps. Also the gear doors external surfaces.
The model and the parts were now set
aside and allowed to dry for 48 hours.
 .......
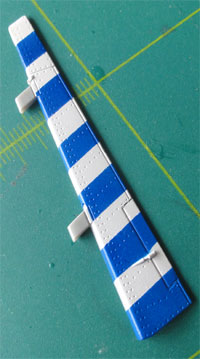
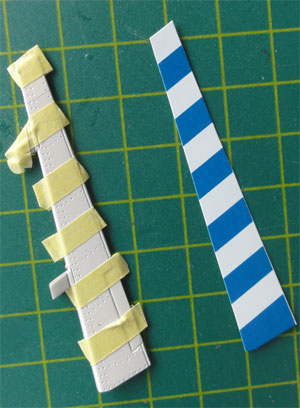
Meanwhile, the white-blue rudder
was airbrushed using the rudder decals 95 as a guide. Masking was needed.
For the blue I used Revell Aqua 52 blue acrylic.
Additional paint work was done after at least 48 hours:
- Various bare aluminium areas were airbrushed. First, the gear struts as well as the fuel drop tanks. And after masking, the rear of the fuselage exhaust area and in the insides of the jet exhaust pipe and area with a drop of black mixed in.
- The top of the vertical tail got a white panel and black tip, note that the Kitty Hawk drawing is a bit inaccurate as the white panel extends to the leading edge.
- The radar nose was airbrushed, after masking, matt black. Note that some Taiwanese Sabredogs had different coloured radar noses! I took the safe option with matt black.
- The intake lip was handpainted red.
- The wheel tyres were airbrushed
"panzergrey" Revell Aqua 78 acrylic.
.
Back to 1/32 Models

(c) Copyright "designer"/ All rights reserved. Your comments are welcomed by webmaster
Created this page
October 14, 2015