Classic Plane conversion
Fokker 60 model in 1/72 scale: kit review & modelling report
NEDERLANDSE LEZERS: LEES HIER.....
The Fokker 50 I already made in 1/72 so I decided to make the special Dutch AF Fokker 60 model variant. Check out more of the kits' details here for the Fokker 50..
The Fokker 60 is a dedicated transport aircraft with a longer fuselage a large cargo door in the forward right fuselage. The Fokker 60 is thus longer, thus the Fokker 50 kit thus needs significant modification in the fuselage area.
The Fokker 60 is not available as a 1/72 model so a Fokker 50 model was converted released in the summer of 2002 by Classic Plane. It is a mixed media kit.
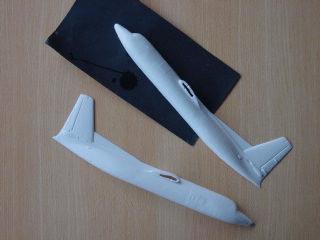
The fuselage
is a vacuform with resin wings and details. The kit is quite good
but the construction is not so easy.

The Fokker 50
fuselage was cut in several section
to get extensions. 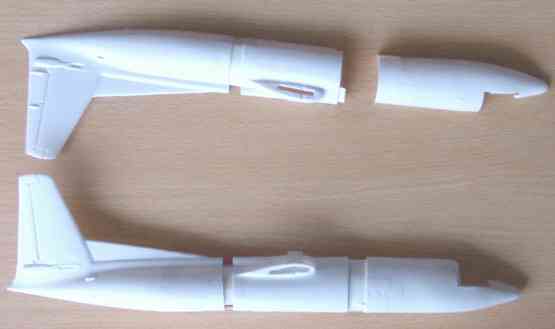
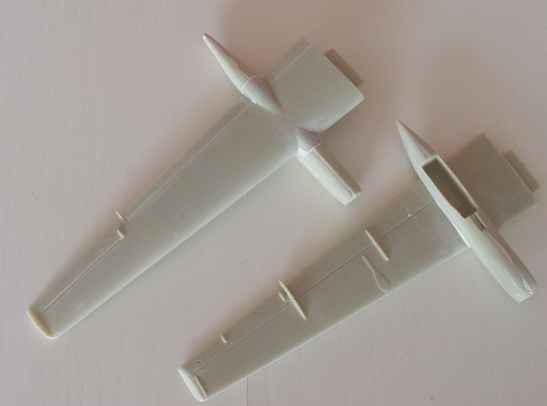
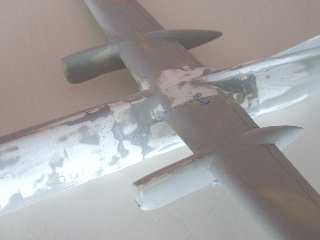
The sanded
and cut out vacuform fuselage halves, with the cuts made for the Fokker
60 and the lower half already assembled. Note inserted pieces of bended
plastic card strips and because of the flat half, straight alignment is possible! Glue
and let dry a long time. Add strips inside to get strength.
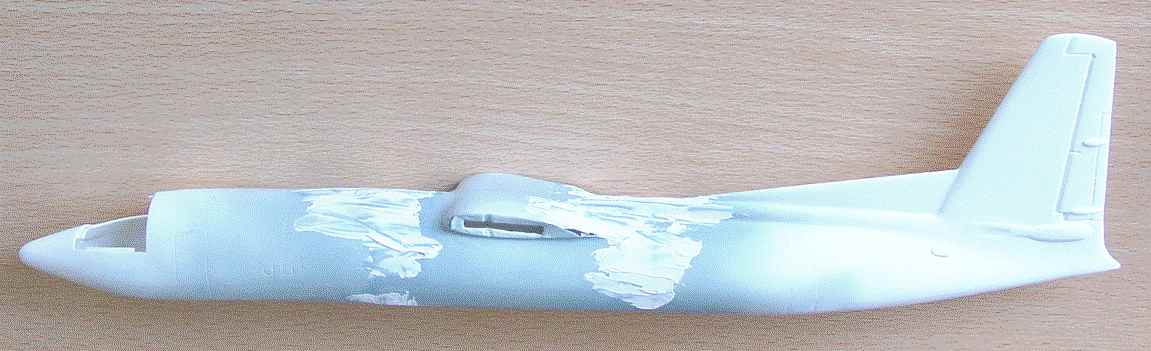
The assembled lengthened fuselage, still being sanded and added putty needed in areas.
Some parts of this Classic Plane Fokker 50 kit used are shown here:
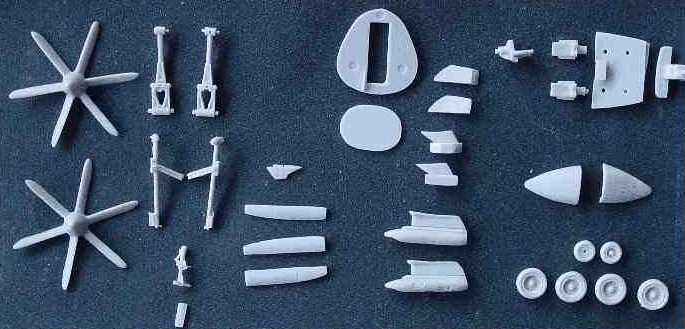
The resin parts
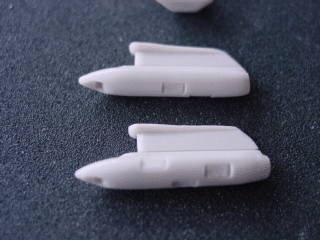
... and chaff pods included for the RNLAF Fokker 50/Fokker 60
 ..
..
The Dutch A See the links
on bottom of this page for more information!
-------------------------------------------------------------
F-27 mk.500
Fokker 50 Fokker 60
fwd of
wing: 14 mm
14 mm 28 mm
aft
of wing: 7 mm
7 mm 15 mm
-------------------------------------------------------------
NOTE: without the radar nose separately,
being 6 mm longer in 1/72 scale (the Airfixd kit re-issued 2009 has these longer nose
parts!)
The Classic Plane mixed media kit
is correct for the Fokker 50 and thus does NOT have the appropriate longer fuselage
for the Fokker 60; lengthening is needed.
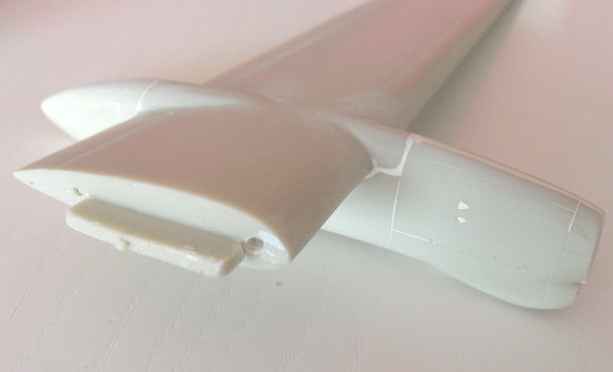
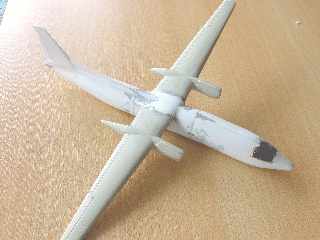
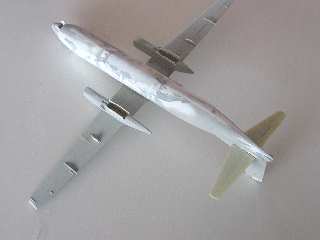
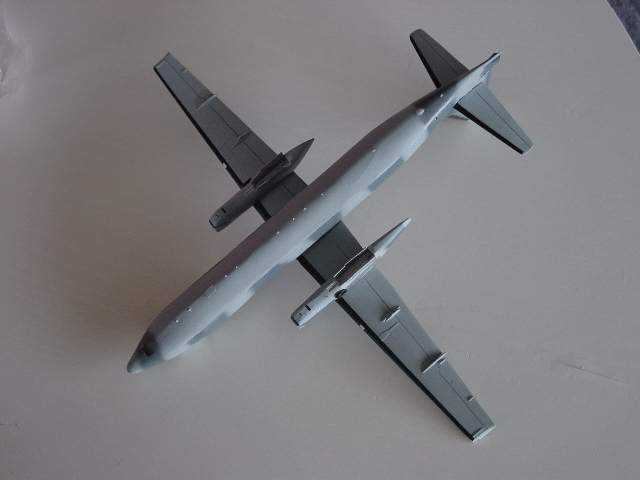
The resin wings with nacelles fitted. Quite some putty and sanding is needed here. Note the Fokker 60 forward engine nacelle shape with intake.
The basic Fokker 50 1/72 kit fuselage needs extension to get a Fokker 60 model of thus 14 mm forward and 8 mm aft of the wing. Also, the wing is very heavy, being of resin. So I drilled tow holes in the flat ends of the resin wings to get a connection later on with a piece of metal rod. I will also add a bulkhead in the fuselage area to get the required strength.
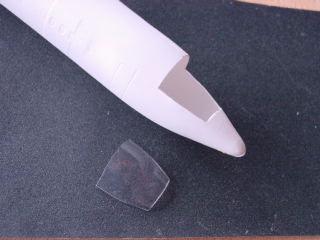
First, carefully sand out the fuselage halves, the cockpit glazing being a separate transparent part of thin acrylic plastic. The normal vacuform technique is used here.
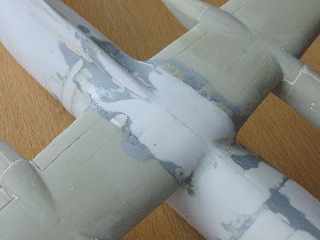
The fuselage extension itself is NOT easy. I had to cut at some different areas. I choose to make ASYMMETRIC cuts on right and left halves to get a stronger fuselage in the end. Add strips and bits of bended cart. Take your time, you need to be patient here....
The fuselage is than endlessly sanded, putty added etc etcetera. Several times of sanding and puttying is needed. Take care to get a straight result, using sanding blocks of long length.
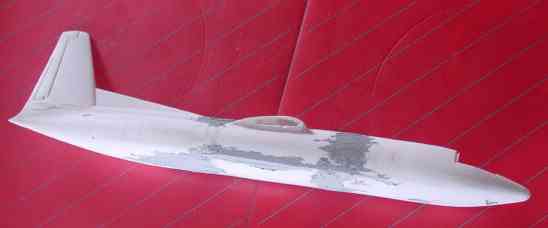
The Fokker 60 fuselage is now glued and first smoothing actions on the fuselage are done with lots of thin layers of putty..
 .
.
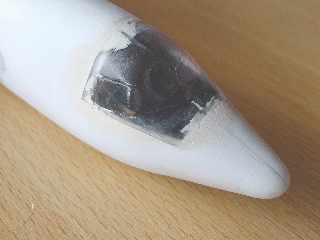
Also, the canopy / cockpit glazing
was fitted as supplied in the kit, after some detailing with three seats
and an instrument panel the cockpit area. This gave no problems, the transparent
section edges being puttied and sanded.
The model was given a basic light grey paint and corrected in places with putty and the overall model sanded again. When all looked good, on to the smaller parts...
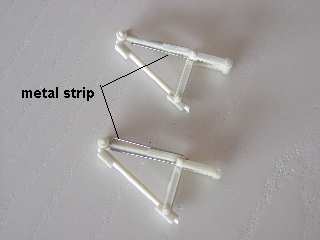
The resin undercarriage legs were
strengthened by glueing with superglue thin strips of metal that I had
from a spare etched metal plate and some needles.
 .
. 
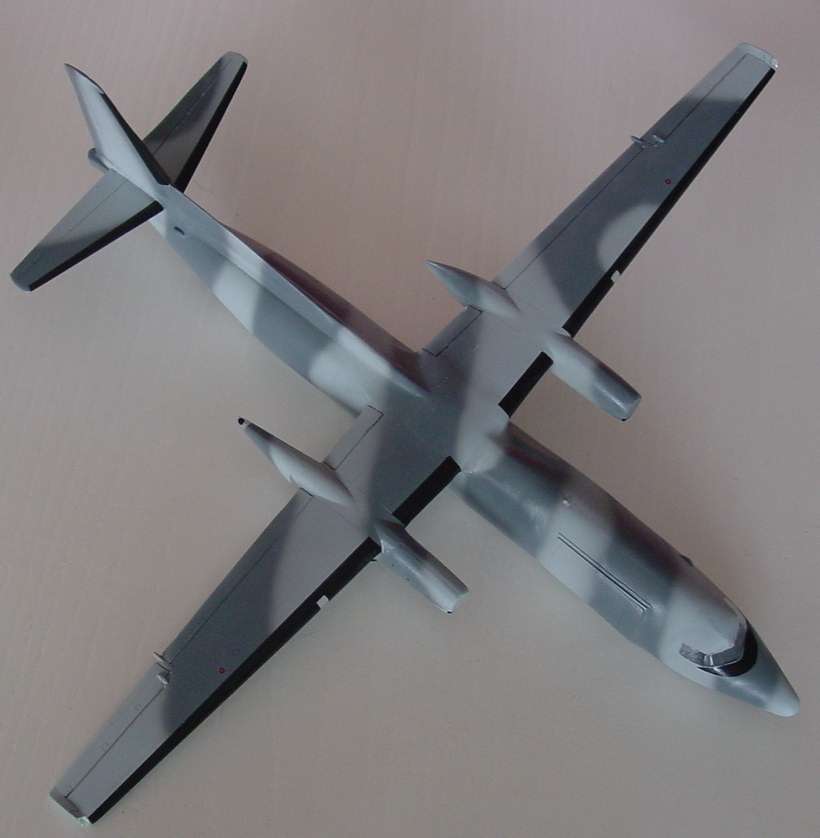
The model cockpit area was masked with maskol from Humbrol and now would get the paint scheme.
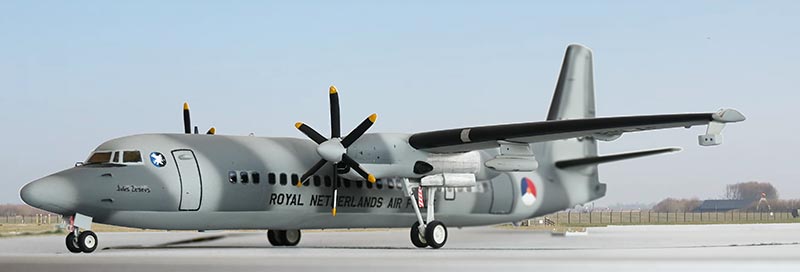
The Fokker 60 has a special paint scheme
 my drawing of camouflage
paint scheme
my drawing of camouflage
paint scheme
First the middle grey was added, the FS 26376
for which Humbrol paint no.127 enamel was airbrushed. After two hours drying, the dark
grey FS 26118 using Humbrol 125 was airbrushed from the "hand" without
masking. When you have some experience, this can be done.


Also, now the smaller detail parts
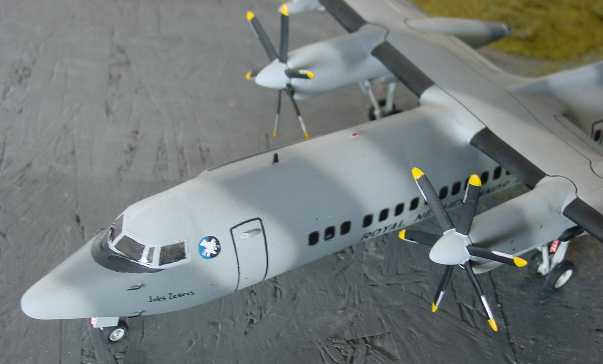
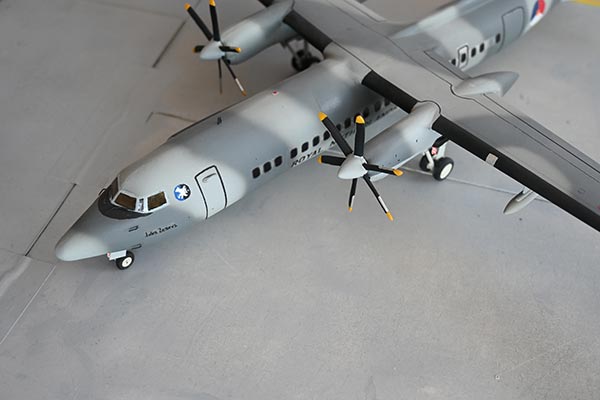
are painted. For the Fokker 60, the propeller blades were black with yellow
tips and the spinner middle grey when the plane appeared. The resin model
props were temporarily set on two small pieces of sprue. You can then rotate
and easily paint them!
The undercarriage legs and the wheel hubs are a mix of white/grey with metal details. The flare and ECM pods are middle grey.
The various small windows can not really be made, a decal is much more easier. A pattern was made up and drawn for the windows and various other markings for the RNLAF Fokker plane.
As the markings are "all black" , the you only need to copy it on clear decalsheet. I used clear sheet from AeroClub and a plain office lasercopier. The decal is easily made this way and need no varnish to protect it for the soaking water later on. All separate items are than cut from the sheet.

On a spare decal I also hand painted
the few coloured items, such as the 334 squadron badge.
After extensive glossing the basic surfaces, the decals were
individually cut out and applied. After that, the model was given a coat of "matt" varnish
with the airbrush.
The windows were given a gloss overcoat of Tamiya X-19 "smoke", the transparent paint to give them a deepened look. The propeller tips and the main undercarriage legs were given a coat of clear varnish.
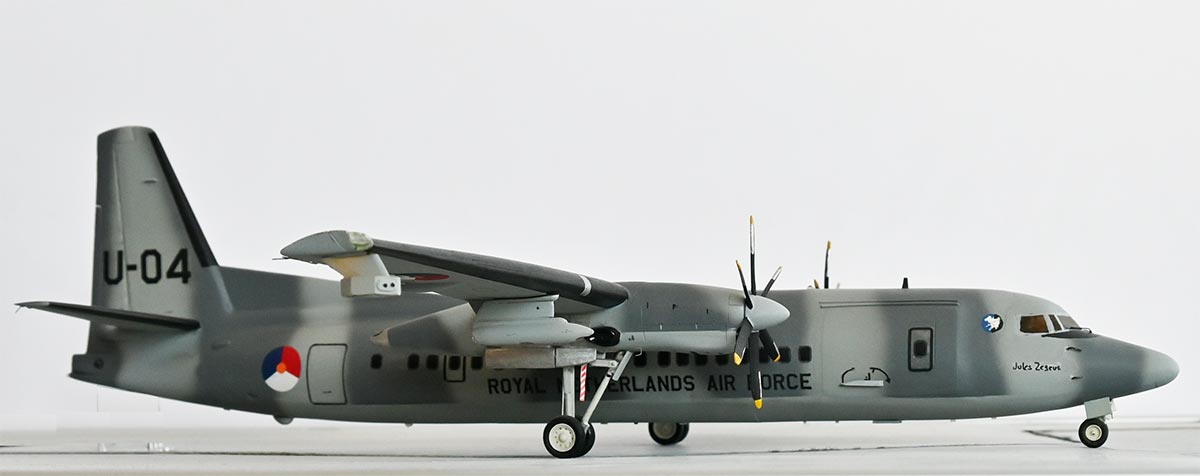
The final model got a semi-mat varnish airbrushed and that was it!

 .
. 
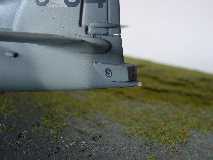
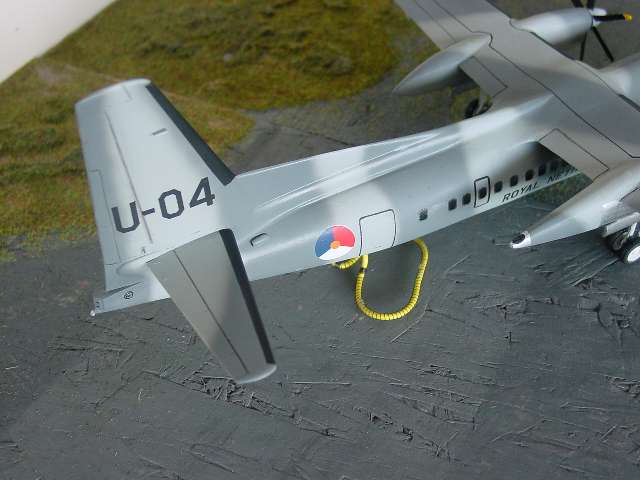
left: ECM fairing
at end of fuselage with Fokker logo
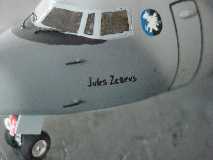
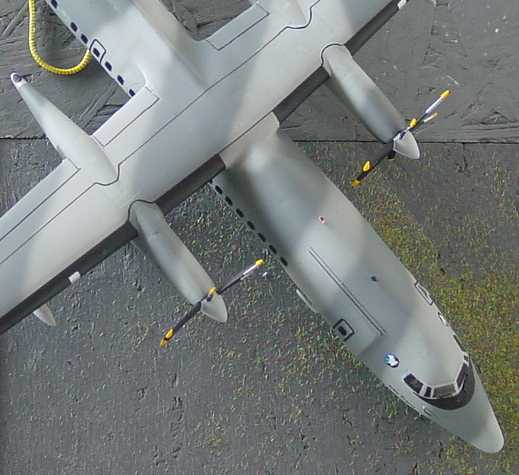
right: nose
with pitot tubes and windscreen wipers!
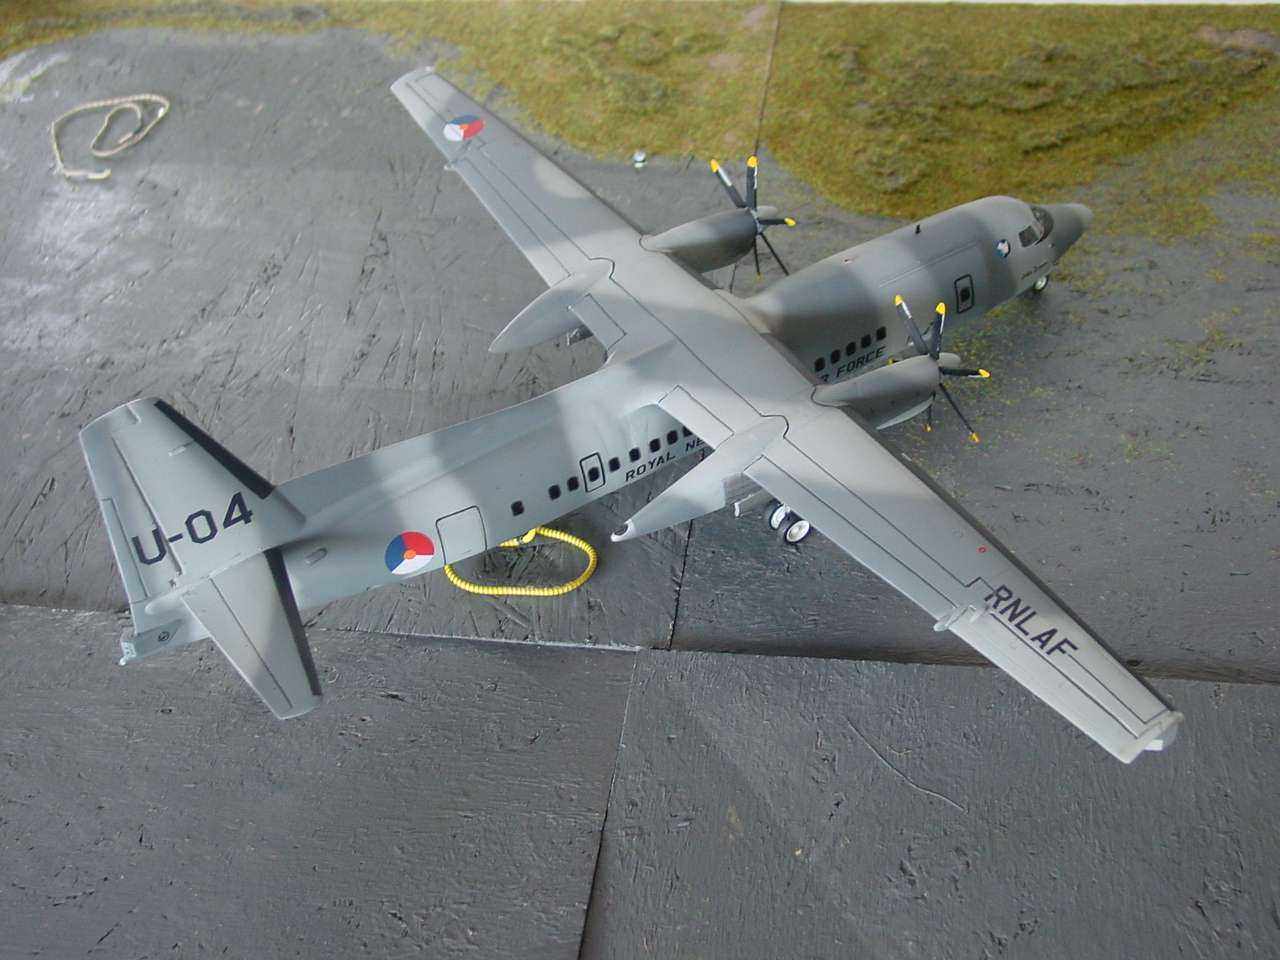
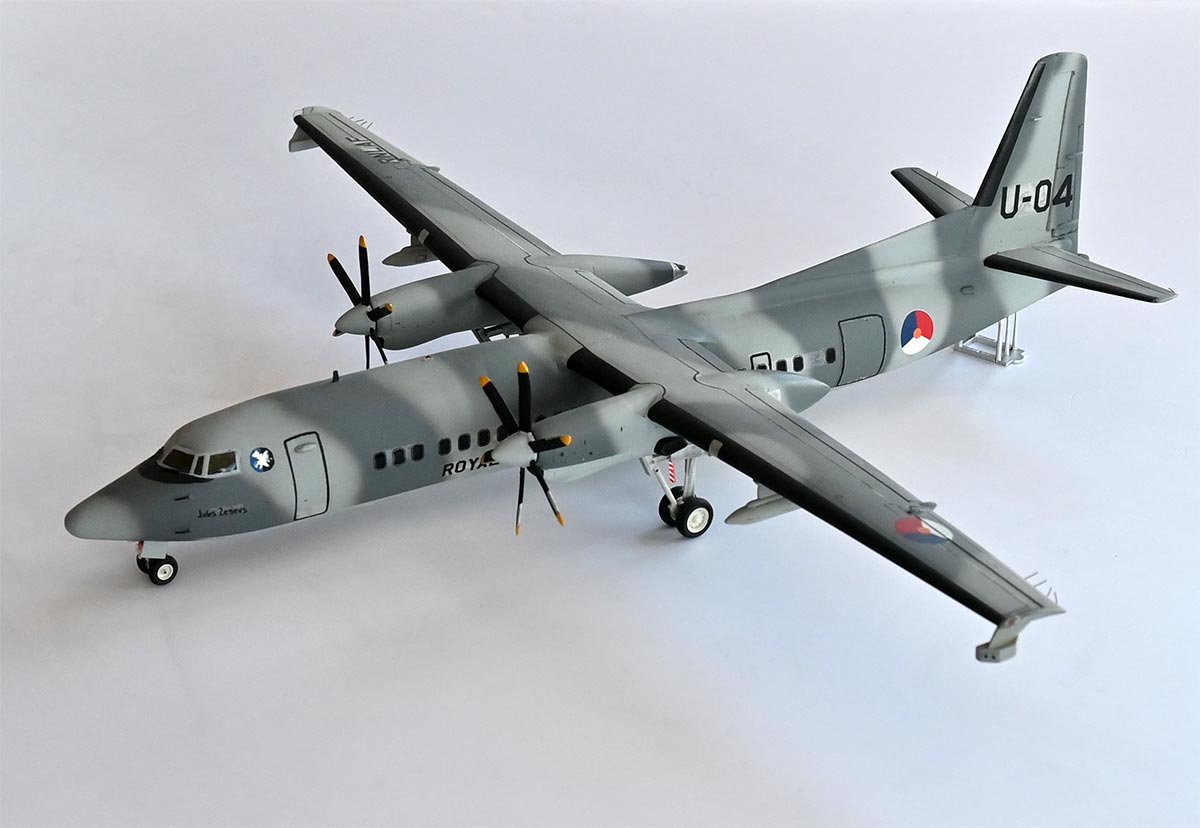
Fokker 60, coded "U-04", the plane named Jules Zegers
 .
.

IPMS Nederland Fokker 60 real info pages..
Also check out my Airfix conversion of the Fokker 50
... and the Fokker 50 using the iMC kit
(c) Copyright "designer"/ All rights reserved. Your comments are welcomed by webmaster
Created this page
October, 2002