ITALERI
[ Page 5 ]
F-35A in 1/32 scale: kit review & modelling report of the ITALERI kit
... continued from F-35 page 4....
page 2
page 3
page 4
page 5
page 6
page 7
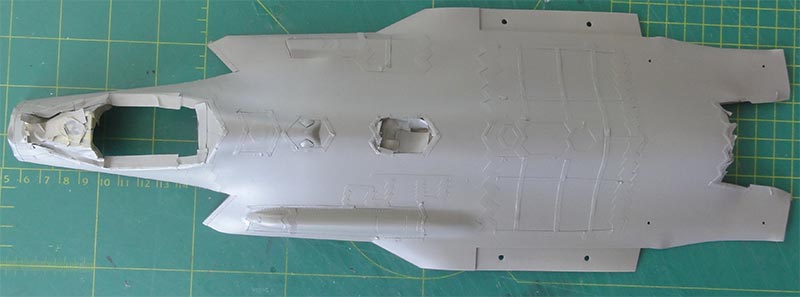
The lighter grey zig-zag panels were given finally a colour of:
60% FS36375 using Vallejo 71.061 +
30% FS36170 using Vallejo 71.280 +
10% aluminium using Vallejo 71.062
I thinned this mix with a third of the Vallejo thinner for airbrush application.
This was airbrushed over the upper and lower fuselage havles, wing, tailplanes and so on and all the outsides of the doors, hatches etc. Also, the nose got this mixed colour.
So the base of the lighter grey is now ready on the model.
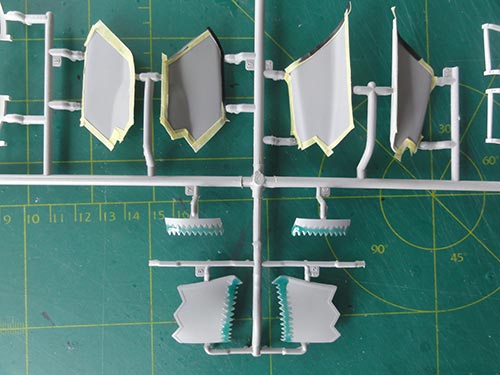
Over the lighter grey, the darker grey would follow. This needs first that all the edges and zig-zag panels need masking!
Italeri provides a sheet with white masking foil but that only for a few panels.
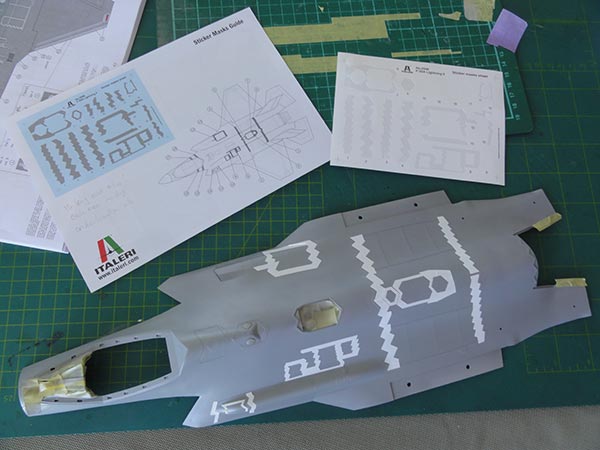
Much more lighter coloured zig-zag panels are seen on the real F-35. So a lot of additional work is needed. The Italeri drawings are quite accurate and can be used as a guide. Many meters (obver 30 feet!!) long thin masking tape cut in stripes was applied. I used a cheaper low tack tape here cut in long slices.

.

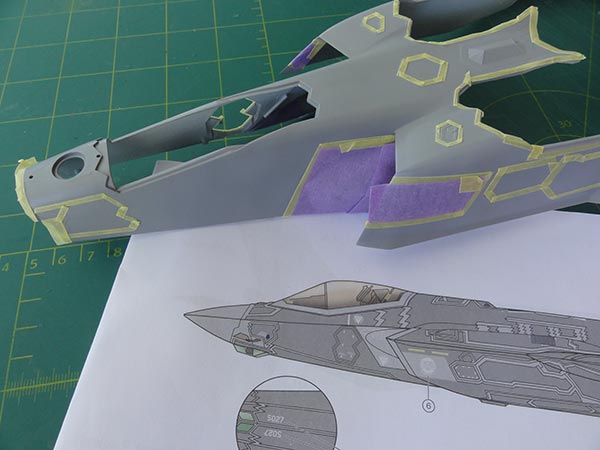
Masking is also needed for all edges of the many edges of doors.
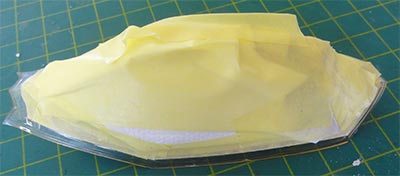
I also used masking fluid in some areas and other low tack tape. The canopy was also not forgotten.

Overal, masking took 3 whole afternoons.
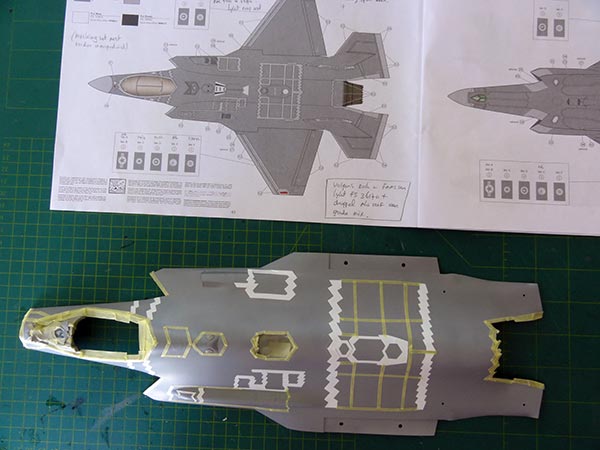
With masking done, it was time for the darker grey F-35 colour. For the darker grey FS36170 was airbrushed with a mix of 90% FS36170 + 10% aluminium. (see above for which paints were used). The aluminium mixed in suggests a bit the "stealth" HAVE GLASS effect.
The airbrushing takes a couple of hours as well.
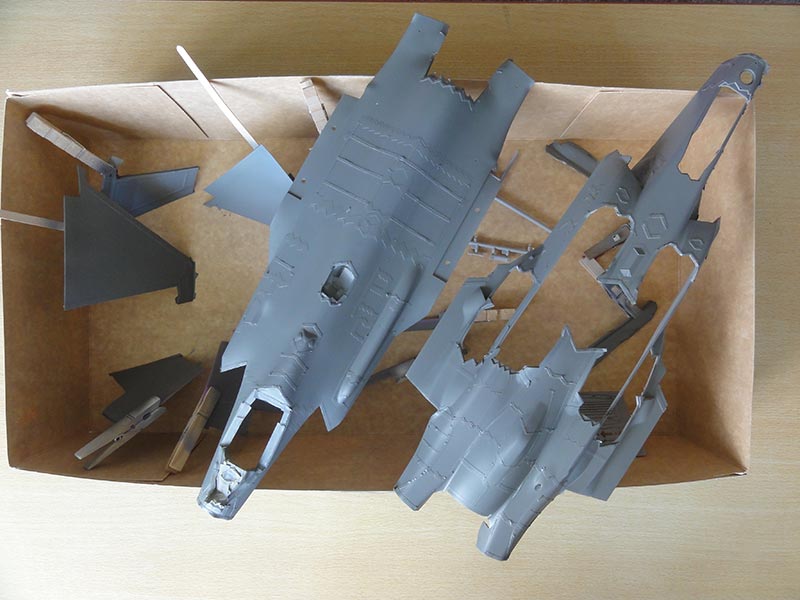
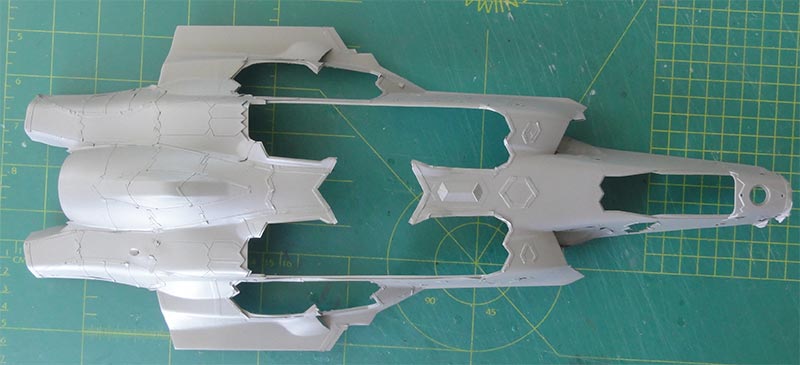
Further model assembly is now to be done with all the major components. The masking tape is KEPT on the larger parts like of the fuselage and wing. The reason is that additional airbrushing the darker grey areas is probably needed when the joints are set togther, filling is done and sanding. A quick look reveals this is surely needed at the wing-fuselage joints.
May be still wondering why this sequence was choosen: the reason is that masking the main parts and airbrushing is much easier BEFORE assembly than after.
THE VALLEJO MODEL PAINT IS DRYING NOW AND STILL AFTER A WEEK NOT FULLY CURED. I CAN ONLY HOPE THAT THAT HAPPENS....
OK, next to the details....
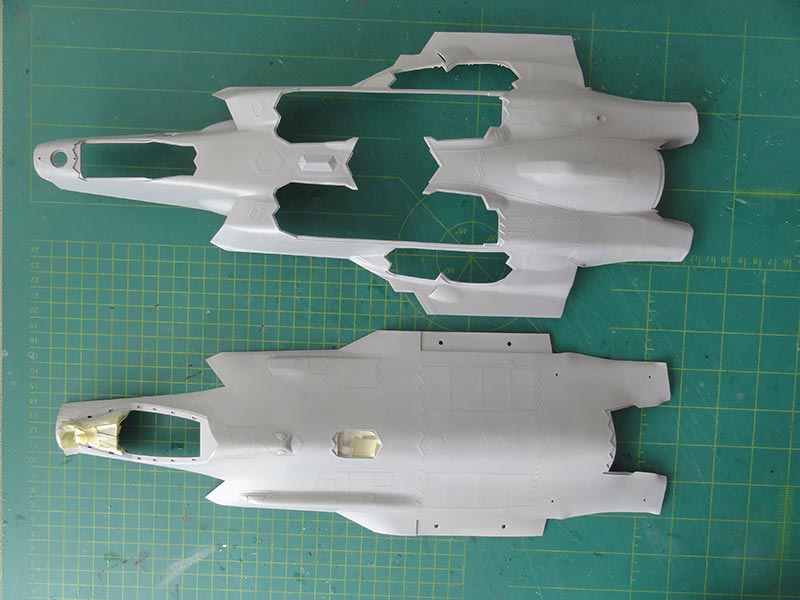
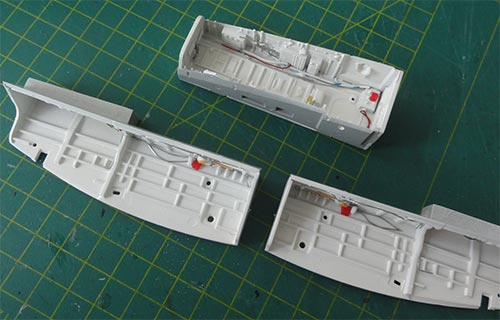
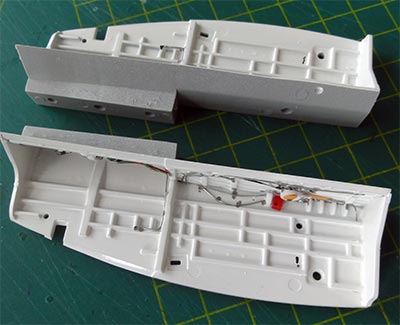
Inside the fuselage are the various bays so these were tackled next. I had no good photos for the details so relied on what Italeri moulded within the bays. I assumed that Italeri were able to check these out at the F-35 assembly facility in Italy.
The various moulded lines were given additional metal wires made from metal wire, of various colours. Super glue was used to fix them in place.
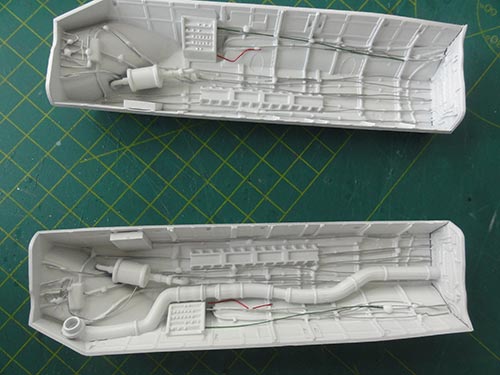
When dried tiny drops of white glue added to suggest their brackets. The brackets were painted light grey.
Main bays:
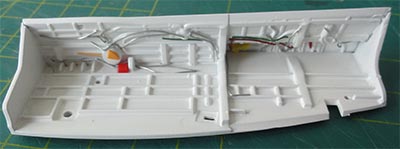
I also accentuated the various lines with a tooth pick in black.
Nose gear bay:

Weapons bays:
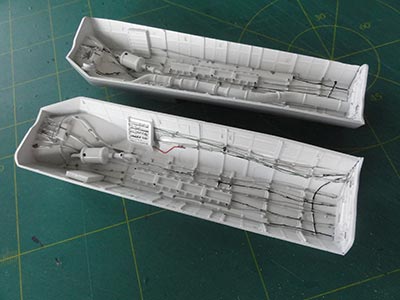
The various bays look pretty detailed now and ready for installment inside the fuselage.
On to next [ Page 6...]
Back to 1/32 Models
(c) Copyright "designer"/ All rights reserved. Your comments are welcomed by webmaster
Created this page
June 3, 2017